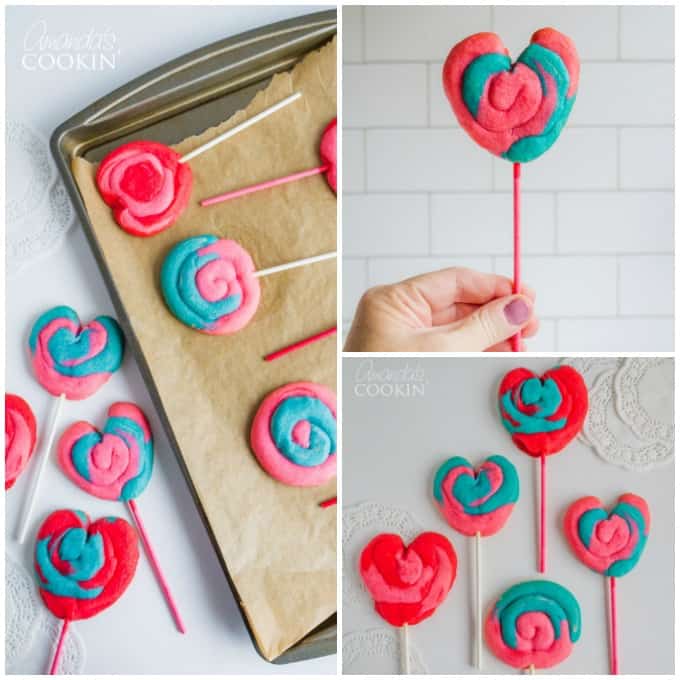
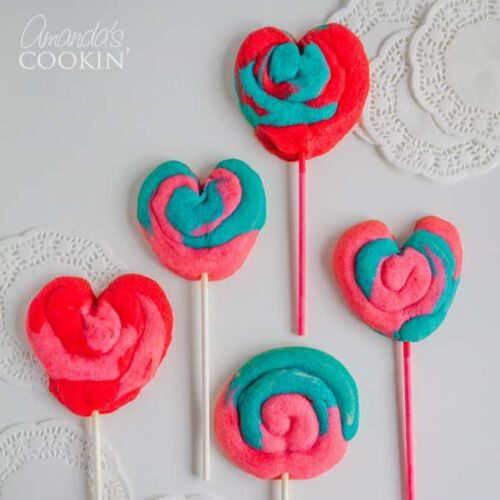
These Valentine Play Dough Cookie Pops are a fun colorful treat for the kids to help make and give to their friends or teacher. They aren’t really made of Play Dough, but their fun colors remind us for Play Dough!
Shape them into hearts for an even more special Valentine’s Day goodie, just like my Heart Shaped Valentine Cupcakes, which are another great V-day edible gift!
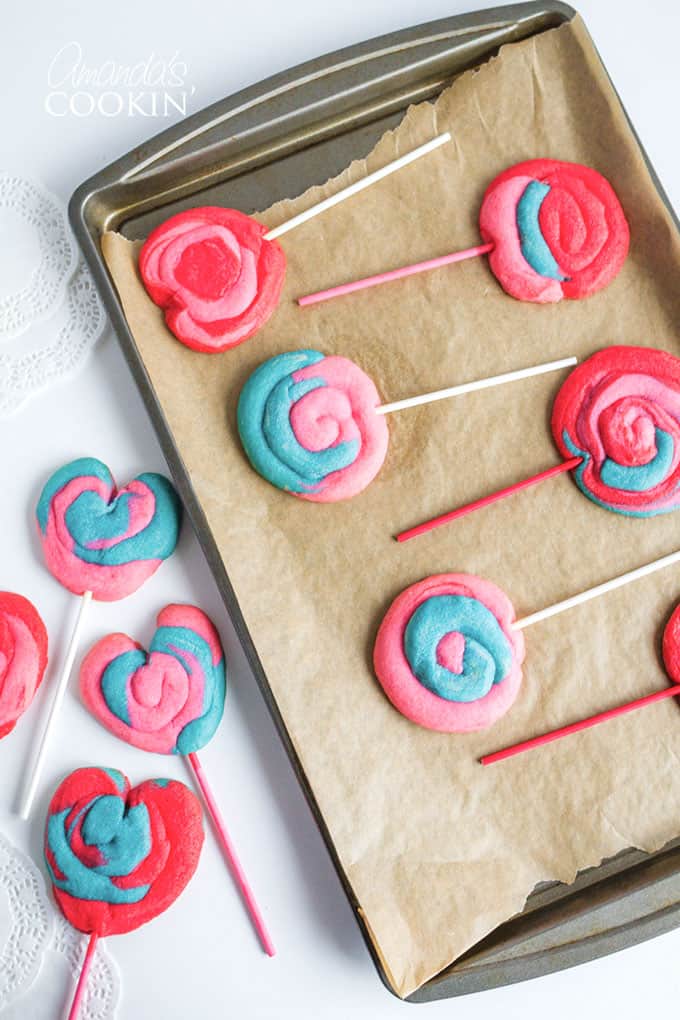
Valentine Play Dough Cookie Pops
My play dough cookies are made from a simple sugar cookie dough tinted with paste food coloring, then rolled into balls and eventually snakes to twist up and make fun color combinations.
You can find this recipe in several places, but I used some Valentine colors and shaped some into hearts.
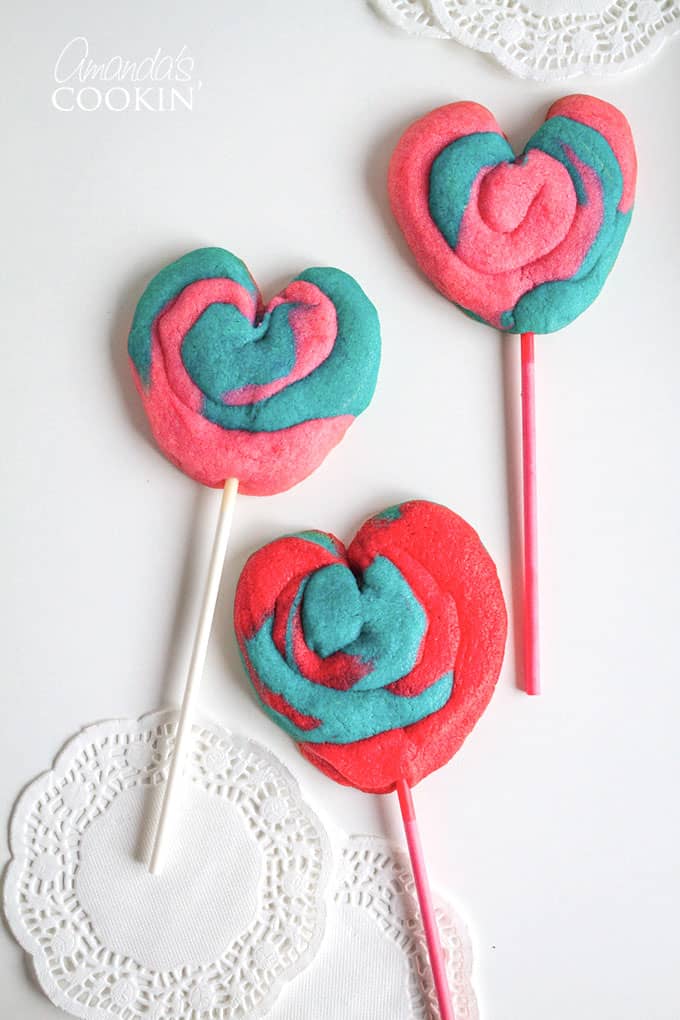
These cookies last a while too! I wrapped them in plastic wrap and tested one each day (it’s a dirty job, I know), they tasted just as good on the 6th day as they did the 1st. These were lots of fun, well received and easy to make.

Valentine Playdough Cookie Pops Ingredients
- 3/4 cup butter, softened
- 1 teaspoon vanilla extract
- 3 ounces cream cheese
- 1 cup white sugar
- 2 3/4 cups all-purpose flour
- 1 egg
- 1 teaspoon baking powder
- 1/4 teaspoon salt
- assorted colors of paste food coloring
- 24 lollipop sticks
Helpful Kitchen Tools
How to make Play Dough Cookie Pops
- In a bowl cream butter, cream cheese and sugar until fluffy. Add egg and vanilla; beat until smooth.
- In a medium bowl combine flour, baking powder and salt. Add dry ingredients to the creamed mixture. Stir till soft dough forms. Divide dough according to however many colors you plan to use. Tint each with a different food color. Wrap in plastic wrap and chill for 2 hours.
- Preheat oven to 350 degrees F. Shape dough into 3/4 inch balls and for each cookie place 3-4 different colored balls together to make 1 large ball. Roll it just enough to form a rough ball, then shape into a 12-inch long roll (like a snake).
- Starting at one end, coil roll to make a 2 3/4 inch round cookie. Place cookies 3 inches apart on lightly greased baking sheet. Carefully insert lollipop sticks into bottoms of cookies.
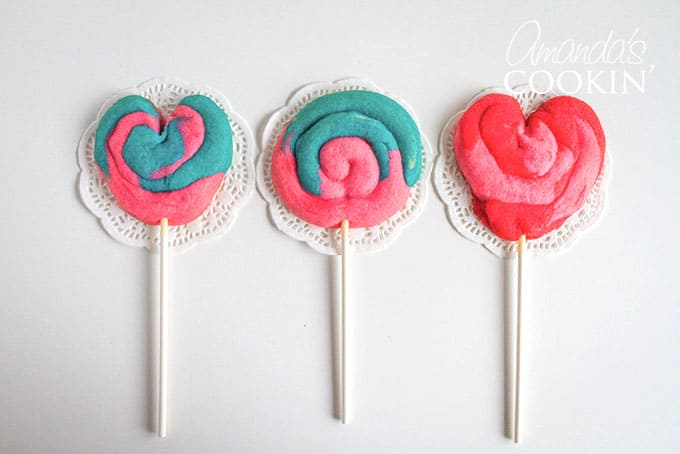
- For hearts, follow the instructions above. After inserting the stick, use your fingers to squeeze the dough at the bottom of the circle and combine at the stick, then use a separate lollipop stick or a butter knife to create an indent in the top and shape the heart.
- Bake cookies for 8 minutes or until lightly browned. Cool and store in an airtight container.
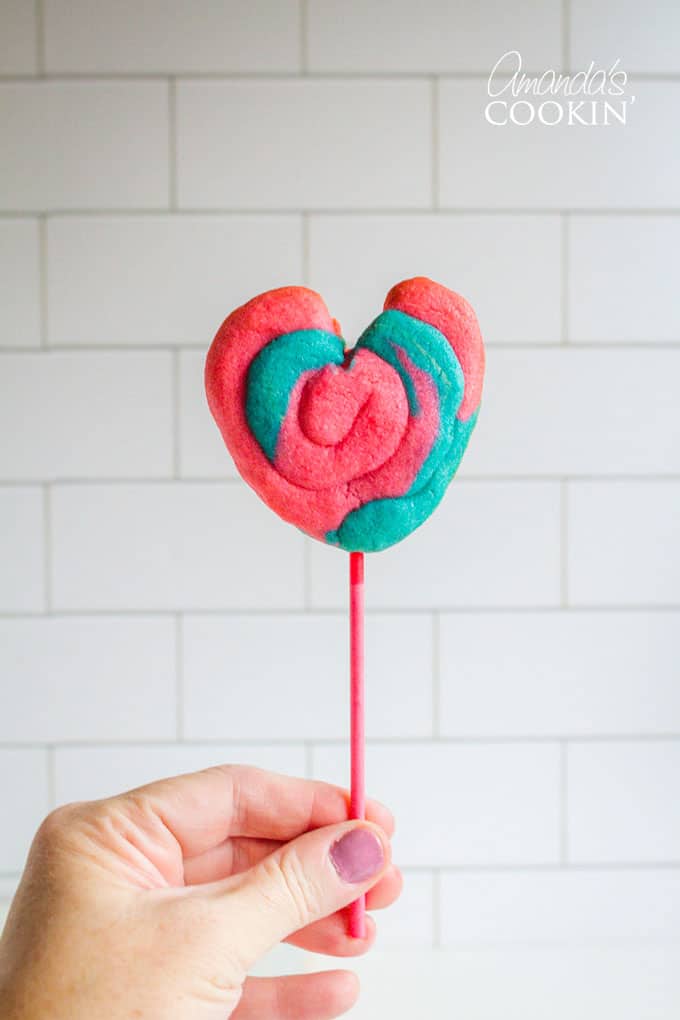
These Valentine’s Day treats would look so cute wrapped in a decorative treat bag and tied with some ribbon!
- Heart Oreo Truffles
- Valentine’s Mudslide
- Chocolate Covered Fruit Truffles
- Red Velvet Oatmeal Fudge Bars
- Conversation Heart Brownies
- Red Velvet Fudge
- Cupid’s Cocktail
- Chocolate Chip Cookies for Two
- Valentine Cherry Hand Pies
- Conversation Heart Cookies

Valentine Play Dough Cookie Pops
IMPORTANT - There are often Frequently Asked Questions within the blog post that you may find helpful. Simply scroll back up to read them!
Print It Rate ItIngredients
- ¾ cup butter softened
- 3 ounces cream cheese
- 1 cup white sugar
- 1 large egg
- 1 teaspoon vanilla extract
- 2 ¾ cups all-purpose flour
- 1 teaspoon baking powder
- ¼ teaspoon salt
- assorted colors of paste food coloring
- 24 lollipop sticks
Instructions
- In a bowl cream butter, cream cheese and sugar until fluffy. Add egg and vanilla; beat until smooth.
- In a medium bowl combine flour, baking powder and salt. Add dry ingredients to the creamed mixture. Stir till soft dough forms. Divide dough according to however many colors you plan to use. Tint each with a different food color. Wrap in plastic wrap and chill for 2 hours.
- Preheat oven to 350 degrees F. Shape dough into 3/4 inch balls and for each cookie place 3-4 different colored balls together to make 1 large ball. Roll it just enough to form a rough ball, then shape into a 12-inch long roll (like a snake).
- Starting at one end, coil roll to make a 2 3/4 inch round cookie. Place cookies 3 inches apart on lightly greased baking sheet. Carefully insert lollipop sticks into bottoms of cookies.
- For hearts, follow the instructions above. After inserting the stick, use your fingers to squeeze the dough at the bottom of the circle and combine at the stick, then use a separate lollipop stick or a butter knife to create an indent in the top and shape the heart.
- Bake cookies for 8 minutes or until lightly browned. Cool and store in an airtight container.
Nutrition

This post was originally published on this blog on Jan 19, 2014.
Amanda Davis
Latest posts by Amanda Davis (see all)
- Banana Bundt Cake - July 23, 2024
- Lemon Icebox Cake - July 22, 2024
- Philly Cheesesteak Dip - July 15, 2024


Amanda says
Hi Anon – Adding more sugar, at least enough to make a difference, will change the consistency of the dough. You could certainly try it, but I don't know how successful the result would be. I like the way they taste as is, but if yo don't something you can try is to add more vanilla, or (in my opinion) better yet, add some almond extract. :)
Anonymous says
Would it taste better if i added more sugar?
Amanda says
Hi Amy. I have not tried margarine myself, only butter. The general consensus is that you can substitute equal amounts of margarine for butter in a baking type recipe. That said, I do want to repeat that I myself have not tried margarine in this, but I would be interested in hearing your results should you try it! :)
amy says
Can I use margarine instead of butter?
Amanda says
Little Bean thank you so much for the link!
Anon – Thanks! I am so glad you like these, i was so happy with how easy they are. a wonderful recipe to do with kids :)
Anonymous says
Thank you for this post! These cookies look AND taste great. (I can hardly keep from eating the dough as I work.)
I made these (without sticks) for Valentine's Day this year. They were such a hit I was asked to make them again! This time around I'm making more colors and am going to try some flower shapes to celebrate the coming of Spring. Thanks for the great recipe and idea! :)
Little Bean says
I can't tell you how much I love these! I linked to you here: http://littlebeanworkshop.blogspot.com/2011/02/snowy-or-rainy-day-kid-project-cookie.html
Amanda says
Thanks! I like the new layout too, seems much cleaner ;) Here's how to highlight author comments
http://www.bloggerbuster.com/2008/05/how-to-highlight-author-comments.html
Avanika [YumsiliciousBakes] says
I've been seeing these everywhere, I love how they look. Very cutely made :)
Oh I love the new look, it's much cleaner. How did you manage to get your comment highlighted though? I couldn't find a way to do it on Blogger!
Amanda says
Anon – Don't apologize! Not everyone enjoys the same things :) The first time I tasted them, shortly after they cooled, I didn't think they tasted very good. But after waiting a while they were much better. I kept my opinions quiet and waited for all the kids. They each tried and loved them, so I just didn't say anything. They certainly are of the plain variety where flavor is concerned, and I'm thinking if they weren't so pretty my kids may have actually noticed that. LOL! I'm glad you had fun making them though :)
Anonymous says
Thanks for posting the recipe. They were fun to make with my 4 year old, but I sadly have to say they tasted horrible. Maybe it was the food coloring, or I'm more of a thin and crispy sugar cookie person. Sorry for the negative input.
mizme's mommy says
My MIL is in a rehab hospital after suffering a stroke. These cookies were a wonderful treat that my toddler and I made to help cheer her up. Thanks for such a yummy recipe!
LocalFunForKids says
I love them! I think I'm going to make them for my Valentine's Day play date. You should come link up at Fun for Kids Friday http://www.localfunforkids.com/
Chiara says
Darling! What a creative idea! I might use this in my son's classroom!
sheila @ Elements says
Those are just darling!!!!! What an awesome gift idea!! :)
Jamie says
Yummy! My kids would have a ball doing this!
Alexis AKA MOM says
I can't wait to make these for my sons class room! Thanks so much
simplydesigning.blogspot.com says
These are so stinkin cute!!!
Ashley
http://www.simplydesigning.blogspot.com
Stephanie Lynn @Under the Table and Dreaming says
Amanda – These look fabulous! I love all the colors. Thanks so much for linking to the Sunday Showcase – I greatly appreciate it. I'll be featuring this today. Hope you have a wonderful week ~ Stephanie Lynn
creativejewishmom/sara says
wow Amanda, these are great! At first I was disappointed when I saw the title, thinking they were really play dough….then I was happy to see they're edible. I'd love to make these using all natural food coloring which is in powder form, so I don't think that would change the consistency of the dough, yippee! Thanks so much for sharing on Craft Schooling Sunday!