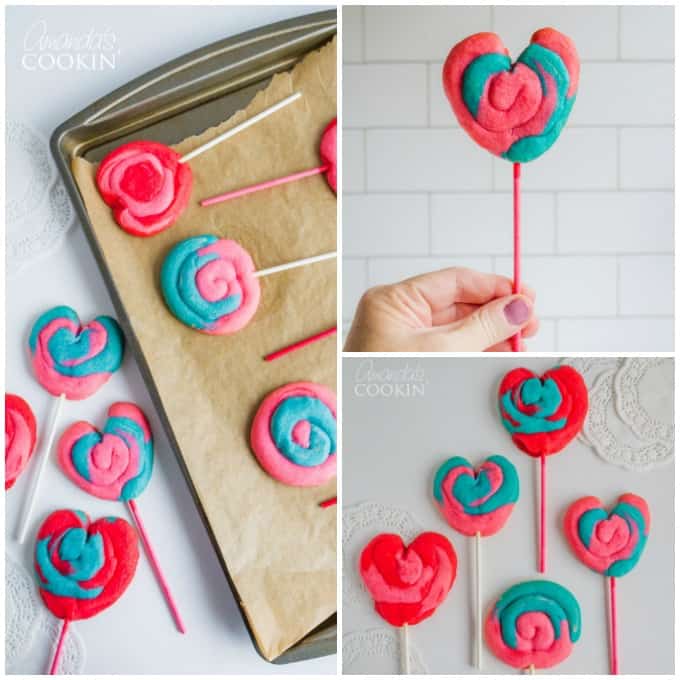
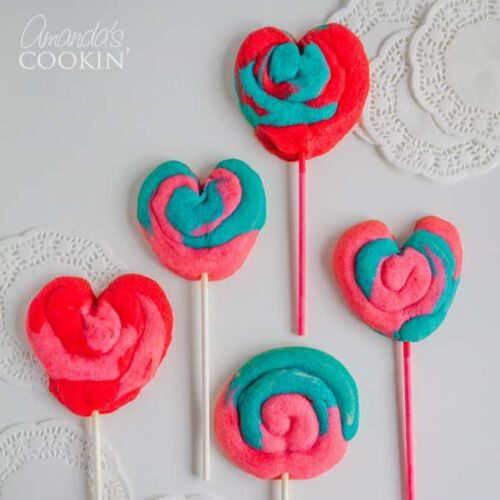
These Valentine Play Dough Cookie Pops are a fun colorful treat for the kids to help make and give to their friends or teacher. They aren’t really made of Play Dough, but their fun colors remind us for Play Dough!
Shape them into hearts for an even more special Valentine’s Day goodie, just like my Heart Shaped Valentine Cupcakes, which are another great V-day edible gift!
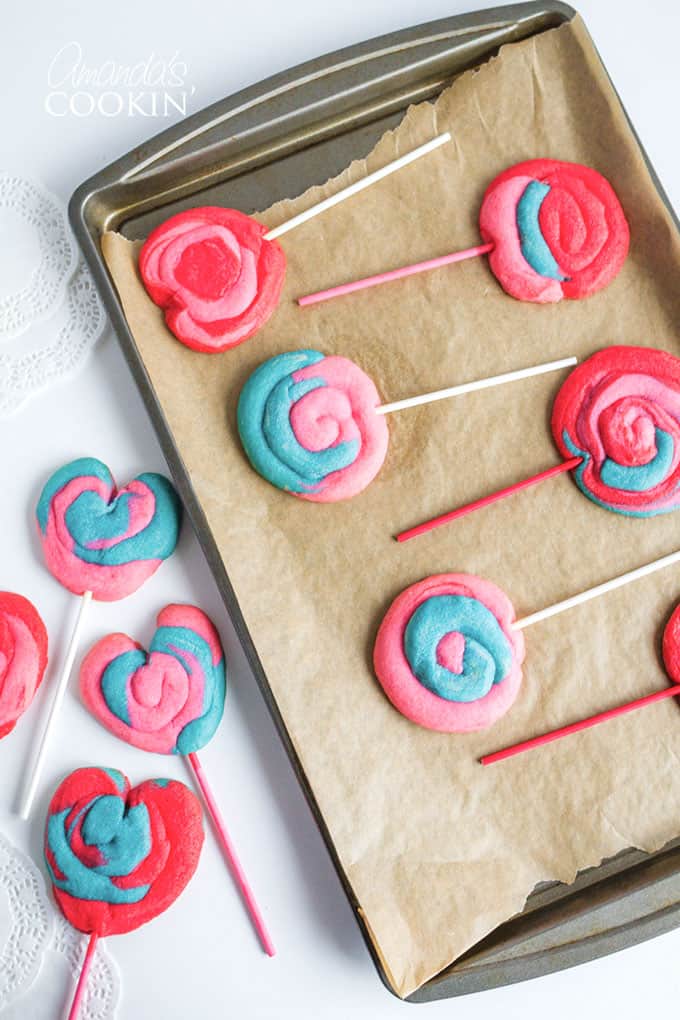
Valentine Play Dough Cookie Pops
My play dough cookies are made from a simple sugar cookie dough tinted with paste food coloring, then rolled into balls and eventually snakes to twist up and make fun color combinations.
You can find this recipe in several places, but I used some Valentine colors and shaped some into hearts.
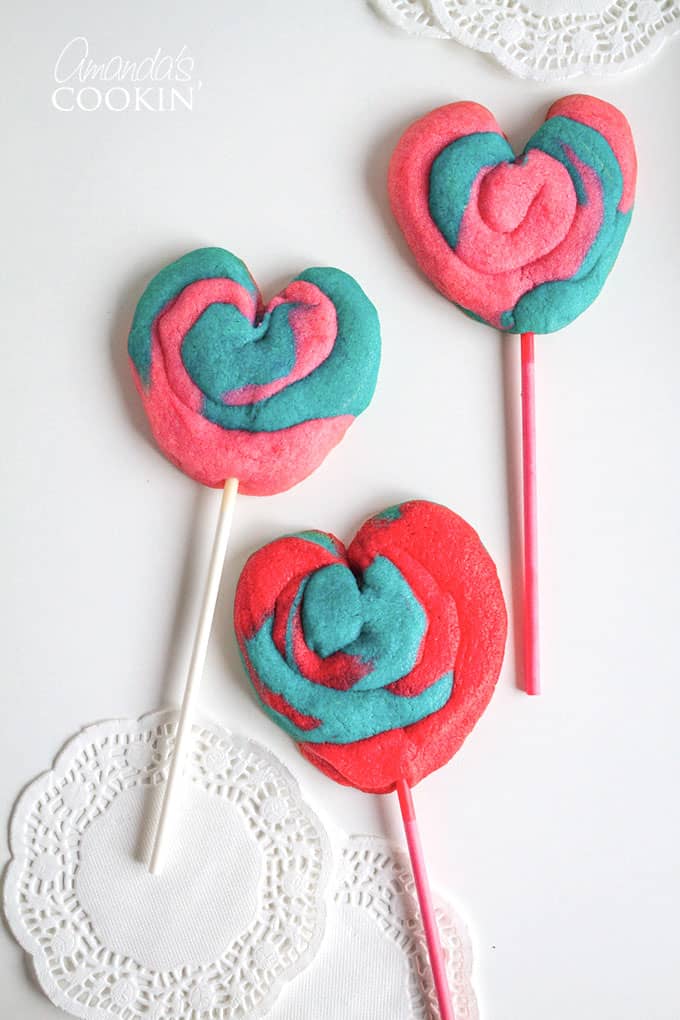
These cookies last a while too! I wrapped them in plastic wrap and tested one each day (it’s a dirty job, I know), they tasted just as good on the 6th day as they did the 1st. These were lots of fun, well received and easy to make.

Valentine Playdough Cookie Pops Ingredients
- 3/4 cup butter, softened
- 1 teaspoon vanilla extract
- 3 ounces cream cheese
- 1 cup white sugar
- 2 3/4 cups all-purpose flour
- 1 egg
- 1 teaspoon baking powder
- 1/4 teaspoon salt
- assorted colors of paste food coloring
- 24 lollipop sticks
Helpful Kitchen Tools
How to make Play Dough Cookie Pops
- In a bowl cream butter, cream cheese and sugar until fluffy. Add egg and vanilla; beat until smooth.
- In a medium bowl combine flour, baking powder and salt. Add dry ingredients to the creamed mixture. Stir till soft dough forms. Divide dough according to however many colors you plan to use. Tint each with a different food color. Wrap in plastic wrap and chill for 2 hours.
- Preheat oven to 350 degrees F. Shape dough into 3/4 inch balls and for each cookie place 3-4 different colored balls together to make 1 large ball. Roll it just enough to form a rough ball, then shape into a 12-inch long roll (like a snake).
- Starting at one end, coil roll to make a 2 3/4 inch round cookie. Place cookies 3 inches apart on lightly greased baking sheet. Carefully insert lollipop sticks into bottoms of cookies.
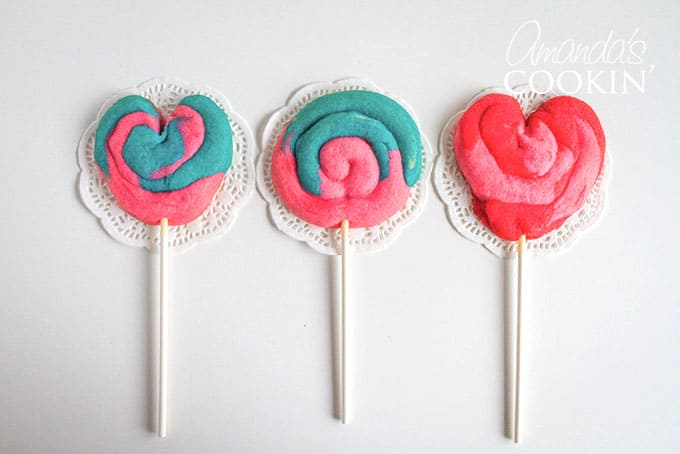
- For hearts, follow the instructions above. After inserting the stick, use your fingers to squeeze the dough at the bottom of the circle and combine at the stick, then use a separate lollipop stick or a butter knife to create an indent in the top and shape the heart.
- Bake cookies for 8 minutes or until lightly browned. Cool and store in an airtight container.
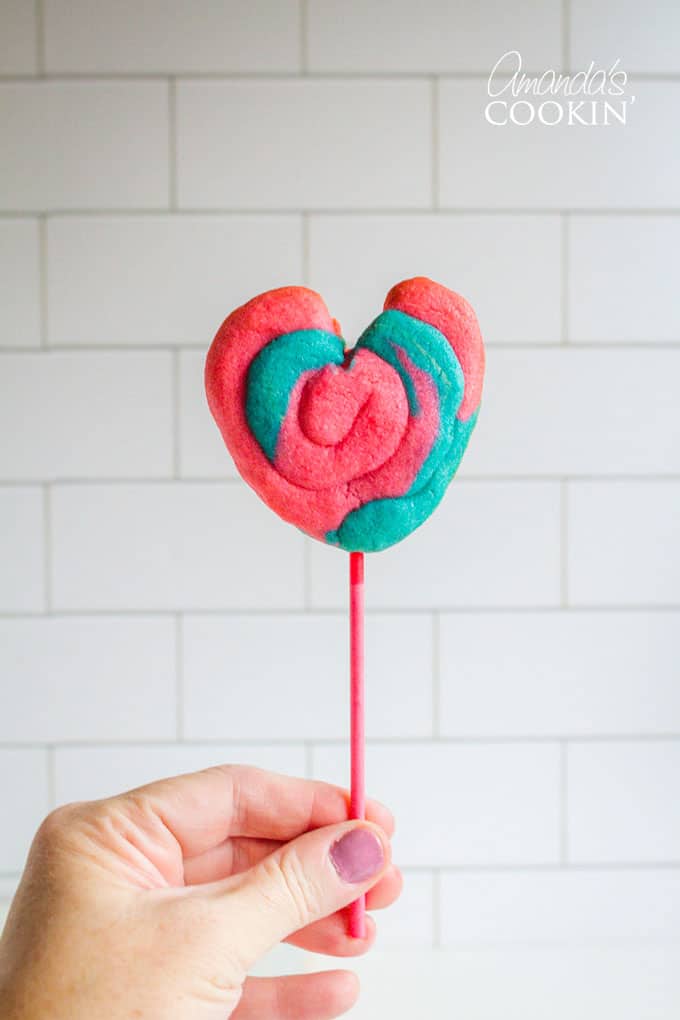
These Valentine’s Day treats would look so cute wrapped in a decorative treat bag and tied with some ribbon!
- Heart Oreo Truffles
- Valentine’s Mudslide
- Chocolate Covered Fruit Truffles
- Red Velvet Oatmeal Fudge Bars
- Conversation Heart Brownies
- Red Velvet Fudge
- Cupid’s Cocktail
- Chocolate Chip Cookies for Two
- Valentine Cherry Hand Pies
- Conversation Heart Cookies

Valentine Play Dough Cookie Pops
IMPORTANT - There are often Frequently Asked Questions within the blog post that you may find helpful. Simply scroll back up to read them!
Print It Rate ItIngredients
- ¾ cup butter softened
- 3 ounces cream cheese
- 1 cup white sugar
- 1 large egg
- 1 teaspoon vanilla extract
- 2 ¾ cups all-purpose flour
- 1 teaspoon baking powder
- ¼ teaspoon salt
- assorted colors of paste food coloring
- 24 lollipop sticks
Instructions
- In a bowl cream butter, cream cheese and sugar until fluffy. Add egg and vanilla; beat until smooth.
- In a medium bowl combine flour, baking powder and salt. Add dry ingredients to the creamed mixture. Stir till soft dough forms. Divide dough according to however many colors you plan to use. Tint each with a different food color. Wrap in plastic wrap and chill for 2 hours.
- Preheat oven to 350 degrees F. Shape dough into 3/4 inch balls and for each cookie place 3-4 different colored balls together to make 1 large ball. Roll it just enough to form a rough ball, then shape into a 12-inch long roll (like a snake).
- Starting at one end, coil roll to make a 2 3/4 inch round cookie. Place cookies 3 inches apart on lightly greased baking sheet. Carefully insert lollipop sticks into bottoms of cookies.
- For hearts, follow the instructions above. After inserting the stick, use your fingers to squeeze the dough at the bottom of the circle and combine at the stick, then use a separate lollipop stick or a butter knife to create an indent in the top and shape the heart.
- Bake cookies for 8 minutes or until lightly browned. Cool and store in an airtight container.
Nutrition

This post was originally published on this blog on Jan 19, 2014.
Amanda Davis
Latest posts by Amanda Davis (see all)
- Cloud Bread - January 6, 2025
- Shrimp Tacos - January 2, 2025
- Shrimp Cocktail - December 30, 2024


Mama Peck says
These are adorable.. a fun alternative to the traditional cut-out cookies!
Lisa says
These look so sweet and I love how pretty they are. You really did a great job on them. I have a new linky party on my blog called "Sweets for a Saturday" and I'd like to invite you to stop by this weekend and link this up. http://sweet-as-sugar-cookies.blogspot.com/2011/01/sweets-for-saturday-1_21.html
Afner says
Wow, very nice job… I´lltry to make something like that for my girlfriend this feb 14th… she will sure appreciate that!
http://cucharaoriginal.blogspot.com/
marla says
So cute, bright & cheery too!
Erin says
These are great! So colorful!!!
Jerri says
These turned out so cute! Great idea!
Sugar Mama says
My daycare kids would LOVE these! I have to provide the treat for my daughter's 2nd grade Valentine part… this would be a fabulous idea. Thanks for sharing! (found you from Tidy Mom)
Megan says
These are so cute and I'm glad to know they last a long time and still taste good. Everything taste better on a stick! What a fun little cookie!
Amanda says
@Nicole – I hold the dough in my hand, use a toothpick to grab some paste food color, slide the toothpick in the center of the dough and start folding the dough over and over itself, like kneading bread dough. Works like a charm.
Nicole/Life's a Batch says
LOVED these! I always love the look of colored dough, but I'm nervous not to dye my hands trying to do it. I just may give it a try with these… using plastic baggies, too! ;-)
SmileMonsters says
I'd love for you to come link up.
http://smilemonsters.blogspot.com/2011/01/fun-for-kids-friday_20.html
Jo @ SmileMonsters
Maria says
SO COOL!
Christina W. says
I posted about this/linked to here on my new blog. I LOVE the idea and can't wait to try it with my daughter.
Amanda says
artsy momma – Paste (gel) food coloring is probably your best bet with this. Liquid food coloring will change the consistency of the dough making it too wet. Then you would have to compensate with flour and you could end up with cookies that crack. Gel food colorings are available at WalMart by the Wilton cake decorating stuff, which is usually near the party supplies and craft supplies :)
Nic :) says
Woah! These are well cool! ♥
thanks for sharing
artsy_momma says
Yum! I have to try these. Can I just use regular food coloring or does it have to be for paste? Thanks!
Jenn @ BentoForKidlet says
Yummy, those look like so much fun!
Flourchild says
Aww Amanda these look great. I miss coming to your blog, I can see your still crafting and baking!!!
Sue says
Your cookie pops look so cute! Love the Valentine version!
Alison says
What a yummy and fun idea!!