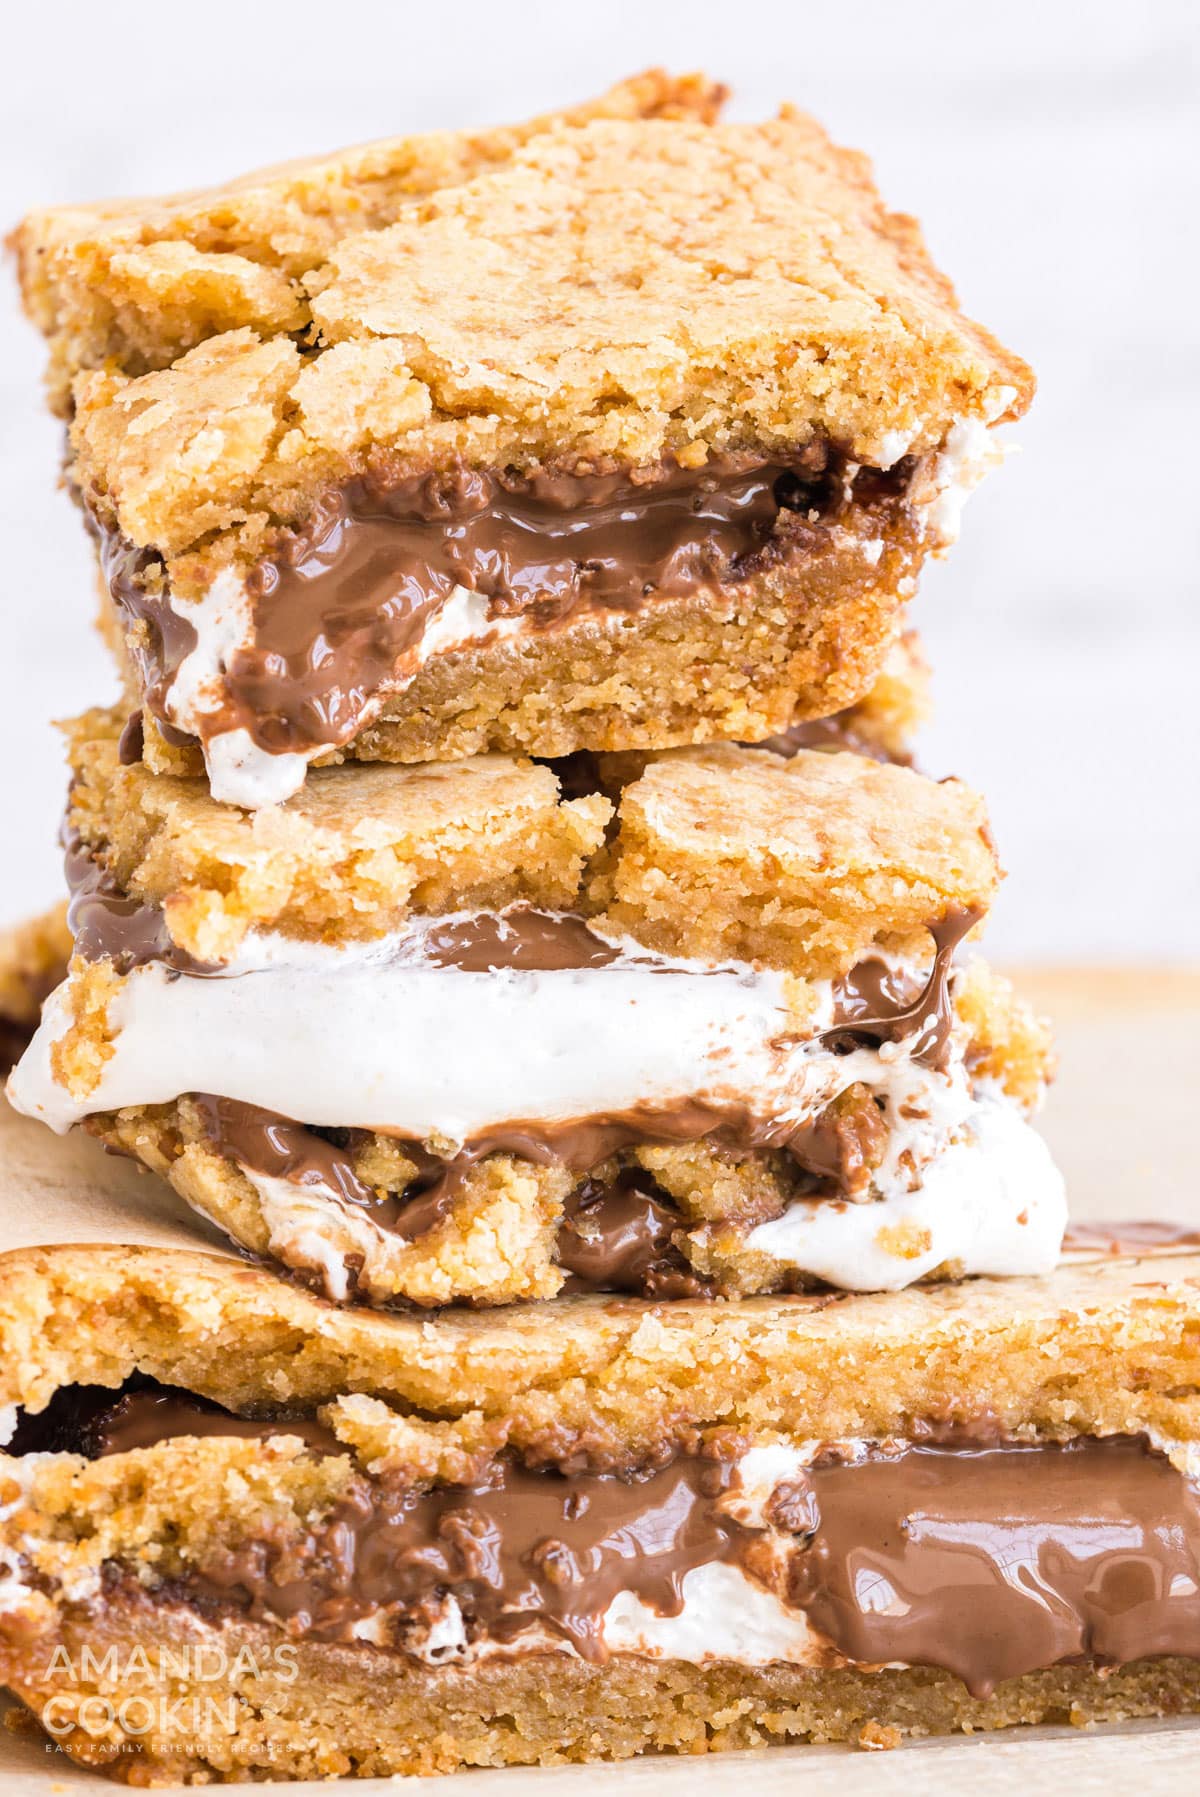
Looking for an ooey-gooey chocolate treat that melts in your mouth and reminds you of summer campfires? These S’mores Bars are exactly what you need, I promise! This amazing dessert taste just like s’mores, but in bar form.
Why this recipe works so well
The beauty of these S’mores Bars is they are portable. That means you can take your s’mores with you! These make a great treat for a slumber party, potluck or backyard barbecue.
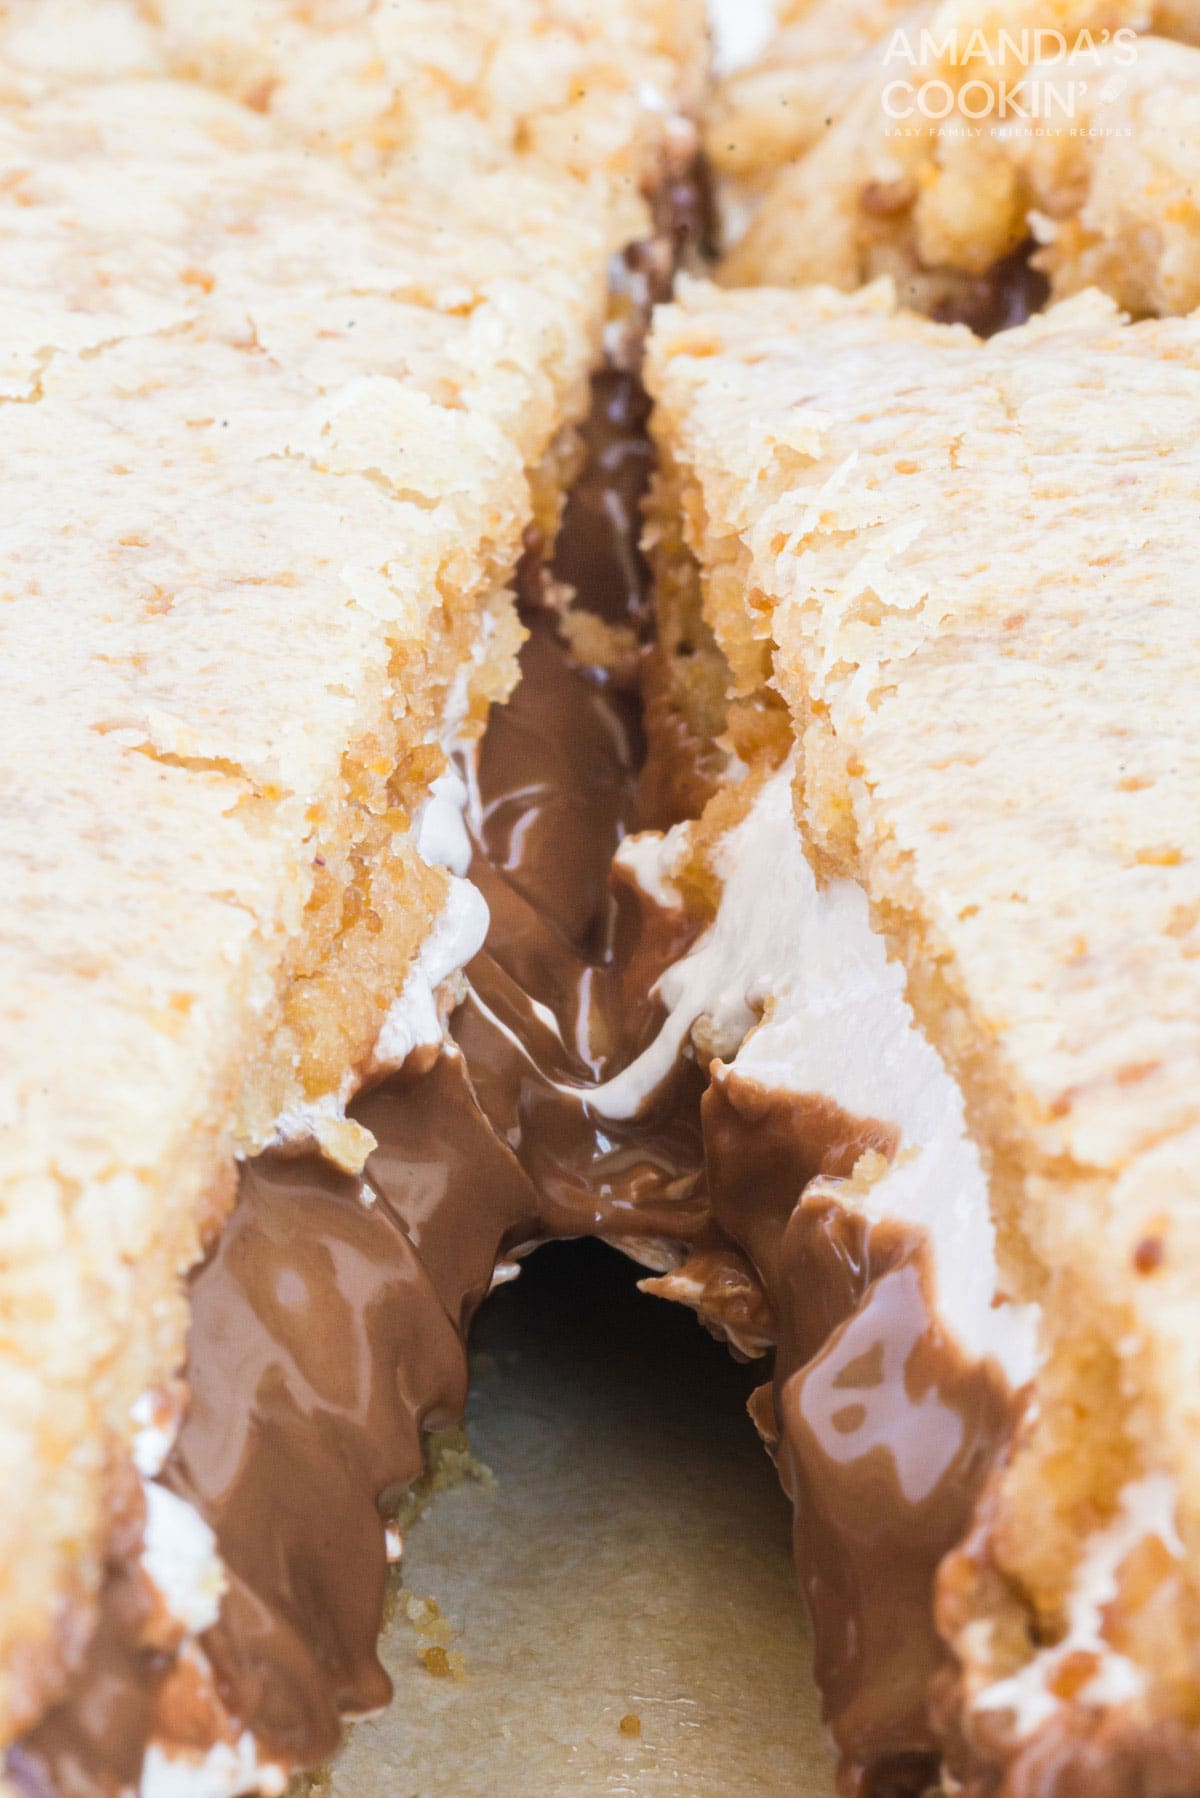
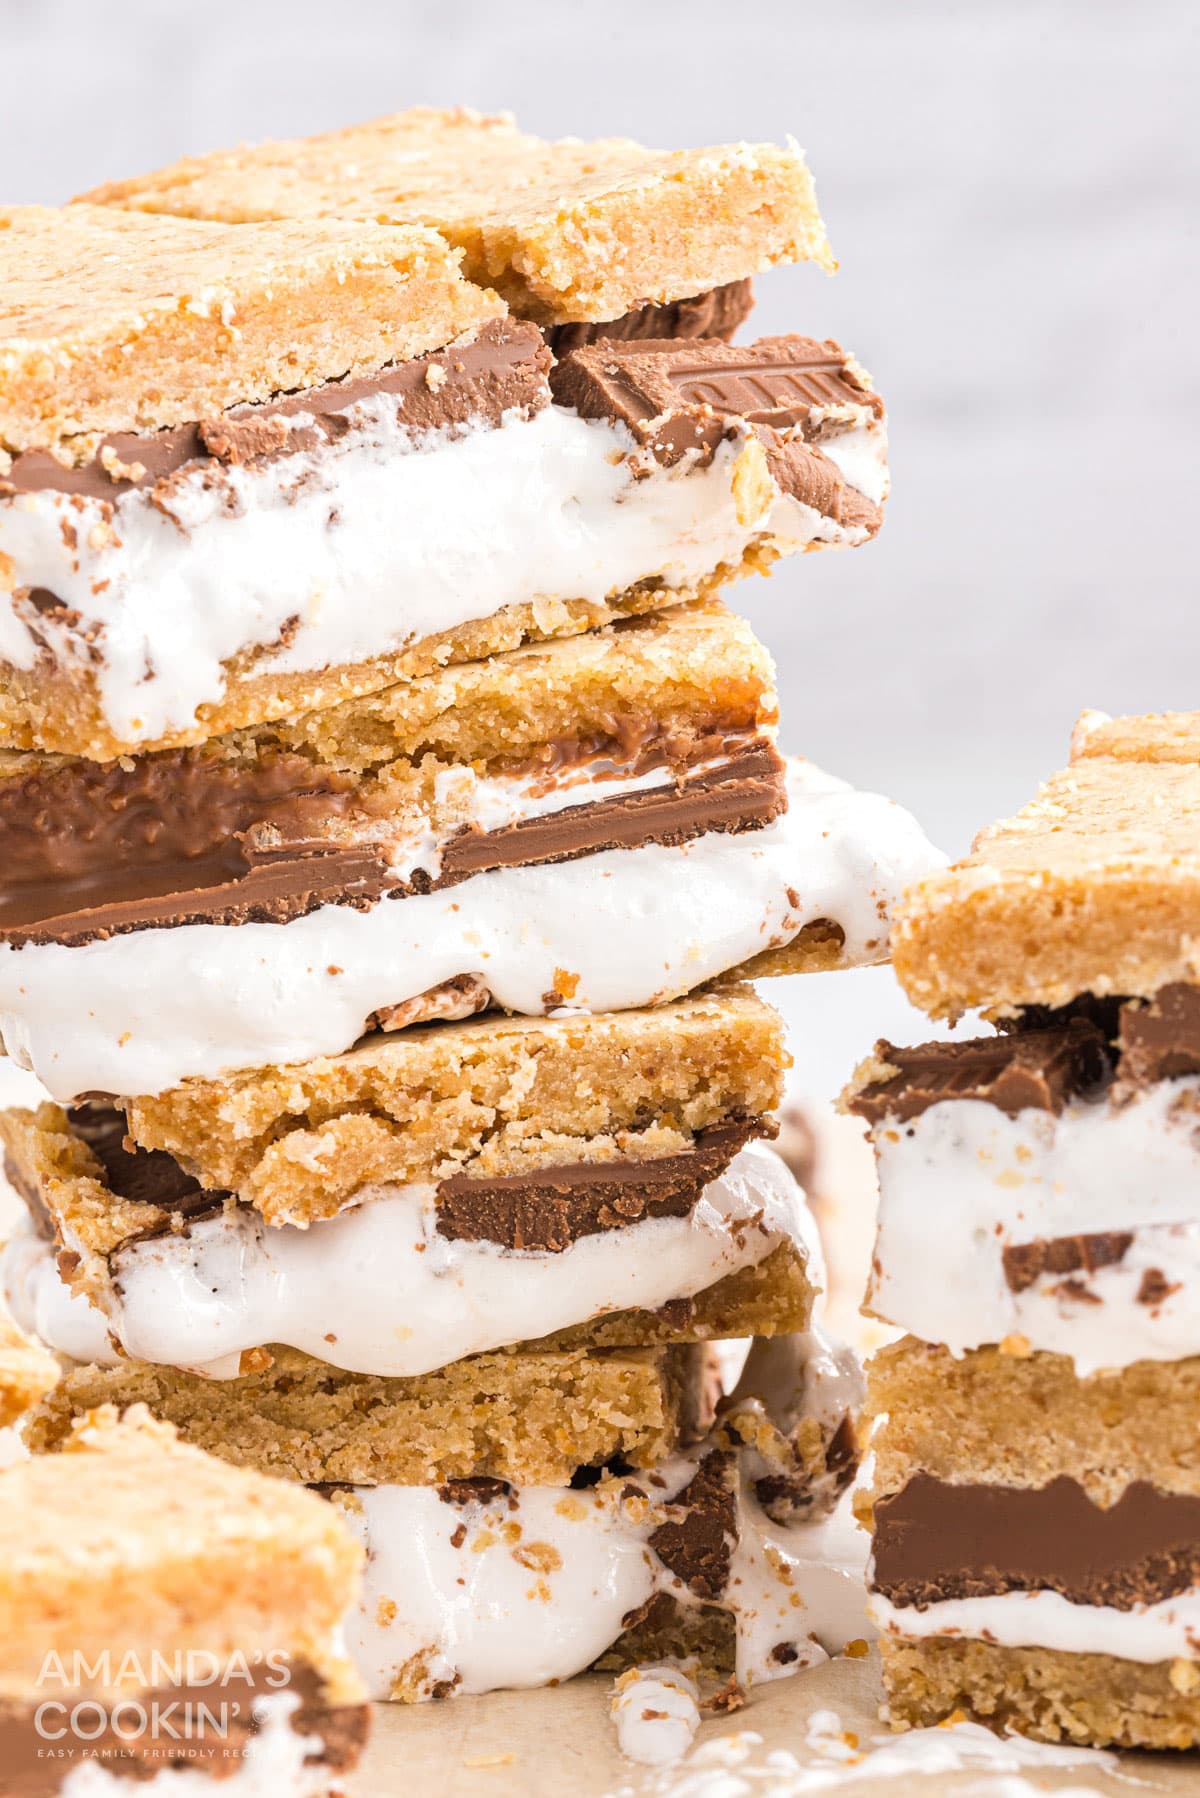
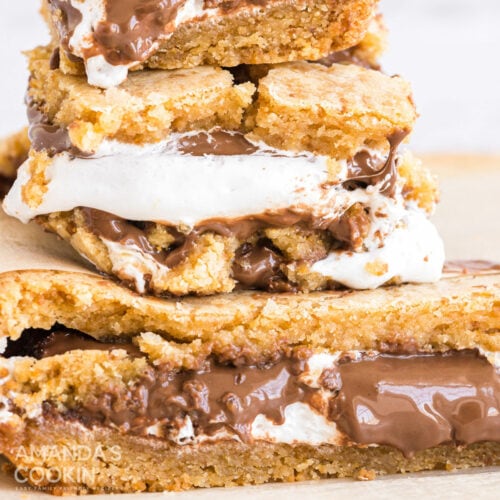
You can eat these while they are still warm, but they will be melty and messy! We’re showing pictures here of the warm and melty bars, as well as the cooled bars that were left on the counter for bit. They are delicious either way.
Bars are portable! Do you love how dessert bars are so easy to take with you? Before heading to your next potluck, consider my amazing lemon bars, my super chewy fudge brownies, or my popular no-bake peanut butter bars!
Expert Tips & FAQs
- Don’t want to run to the store for marshmallow creme? Here’s how to make your own: Over low heat melt 7 ounces (about 4 1/2 cups) of miniature marshmallows and 3 tablespoons of light corn syrup. Let cool in a bowl sprayed with cooking spray. Your homemade marshmallow creme will slide right out when you are ready to add it to the recipe.
- I highly recommend an inexpensive kitchen scale for so many recipes. It’s super handy when you have to portion out dough or batter, like splitting cake batter into pans.
Ingredients You Will Need for S’mores Bars
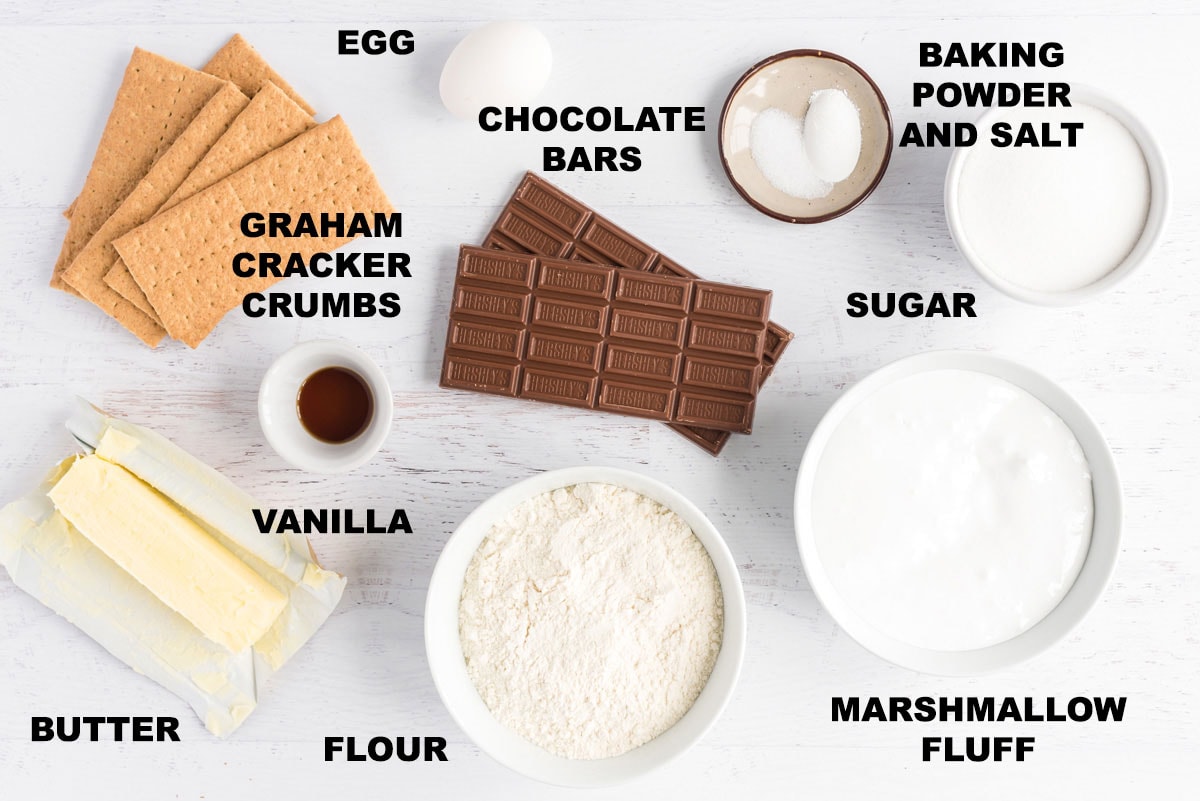
(scroll down for measurements in the printable version)
Aside from the marshmallow creme (see above tip for making your own if you prefer) and chocolate bars, you likely have everything you need.
How to Make S’mores Bars
These step by step photos and instructions are here to help you visualize how to make this recipe. Please scroll down to simply print out the recipe!
- Preheat oven to 350 degrees. Lightly grease an 8-inch square baking pan. You can also line the pan with parchment and let the sides hang over to use as handles.
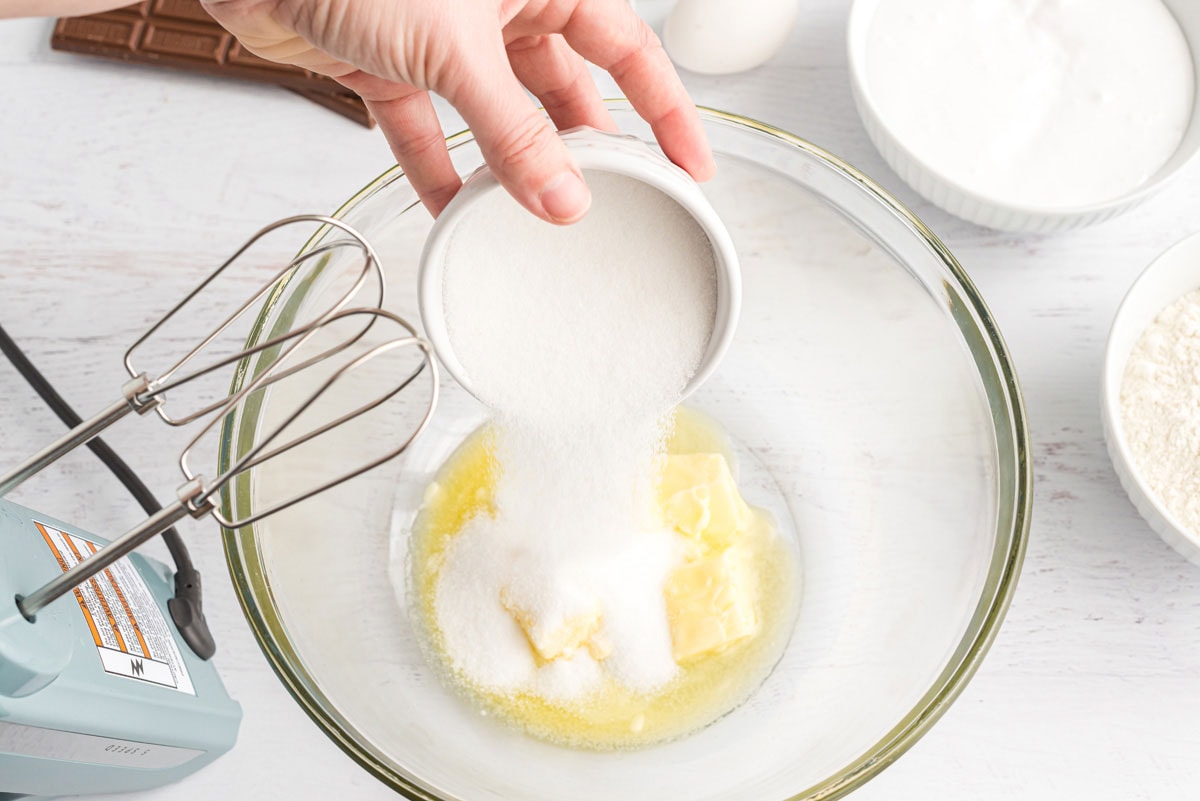
- In a large bowl, beat butter and sugar with an electric mixer until creamy.
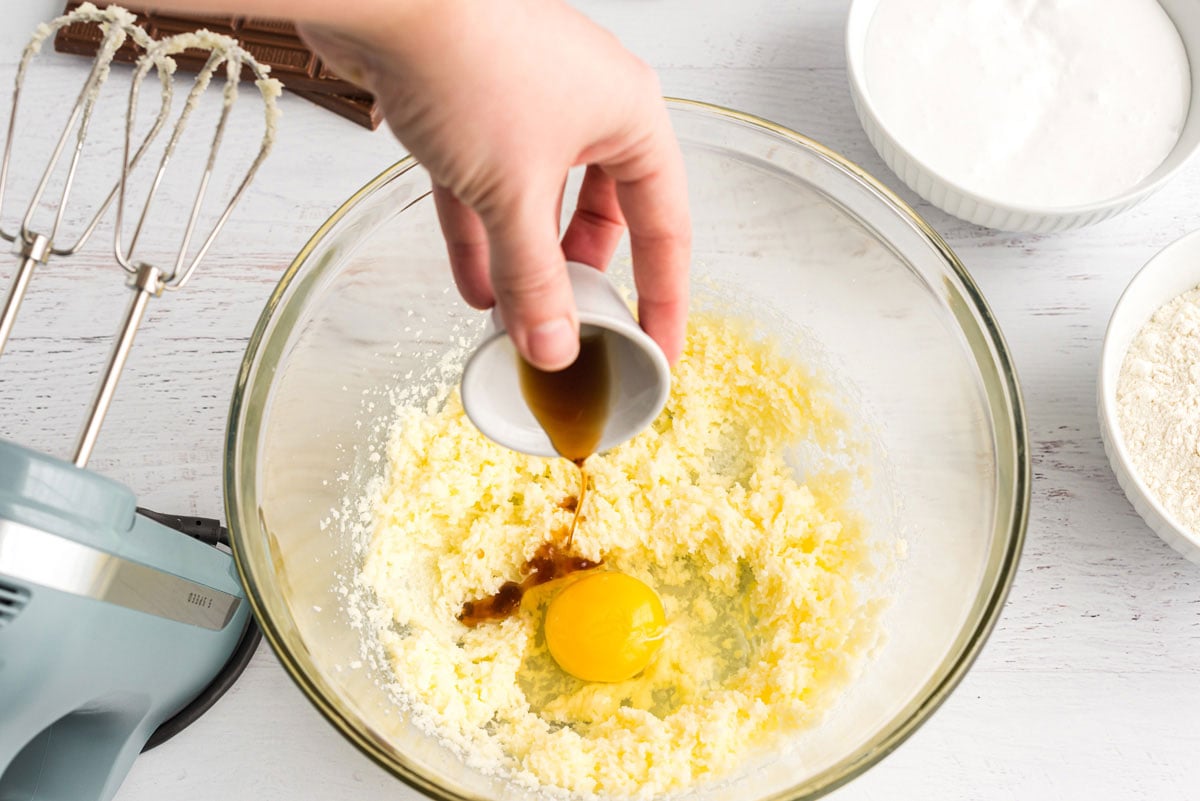
- Add eggs and vanilla; beat until combined.
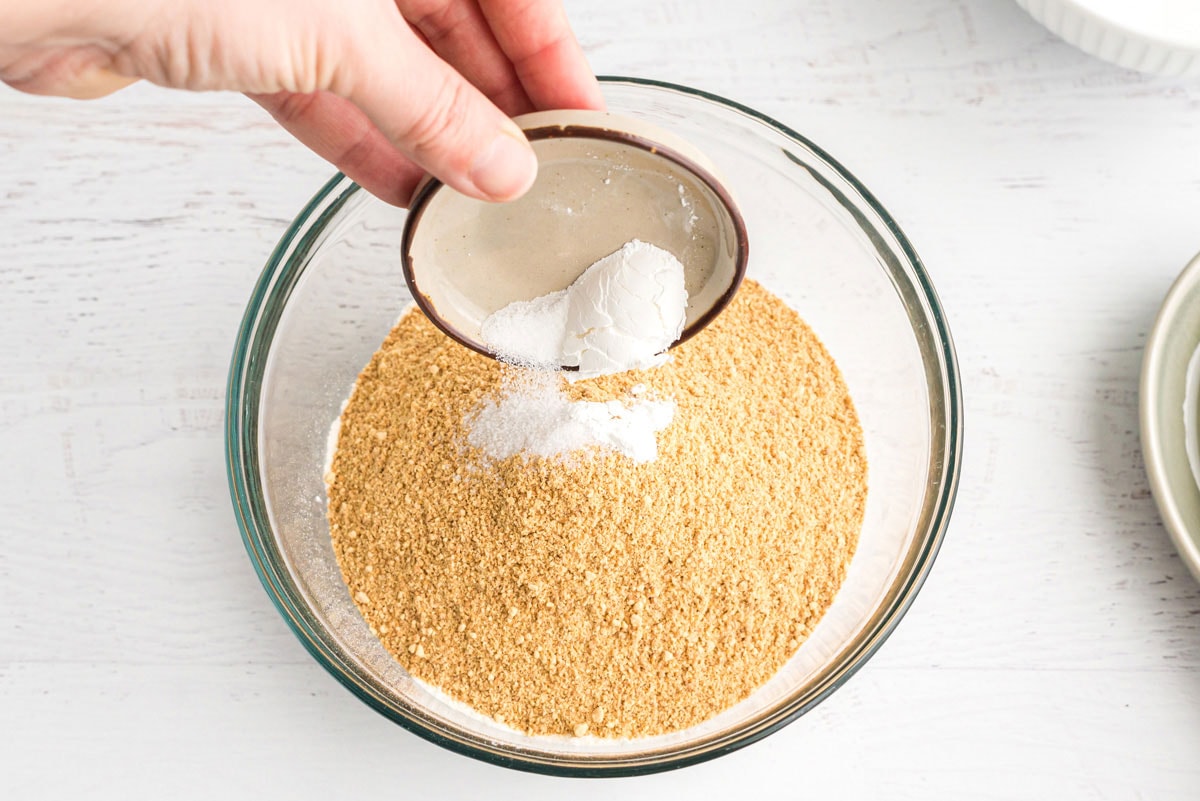
- In a small bowl, combine flour, graham cracker crumbs, baking powder, and salt.
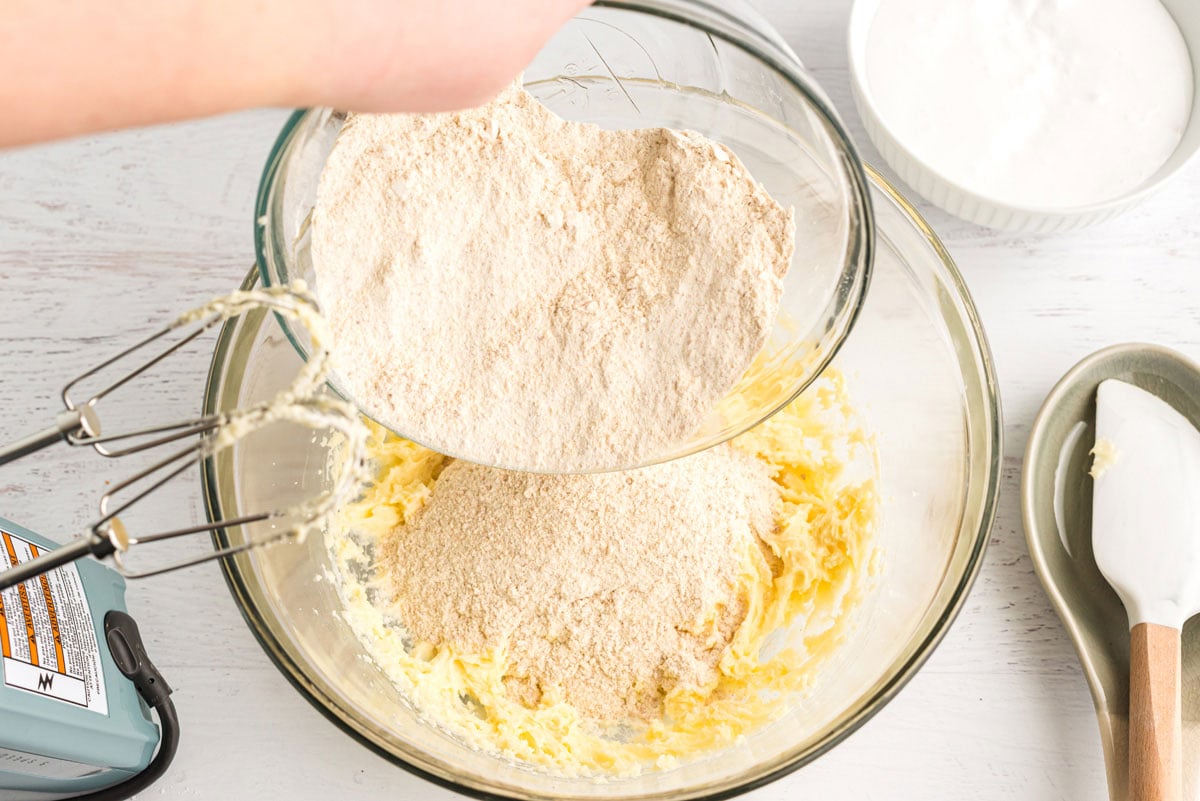
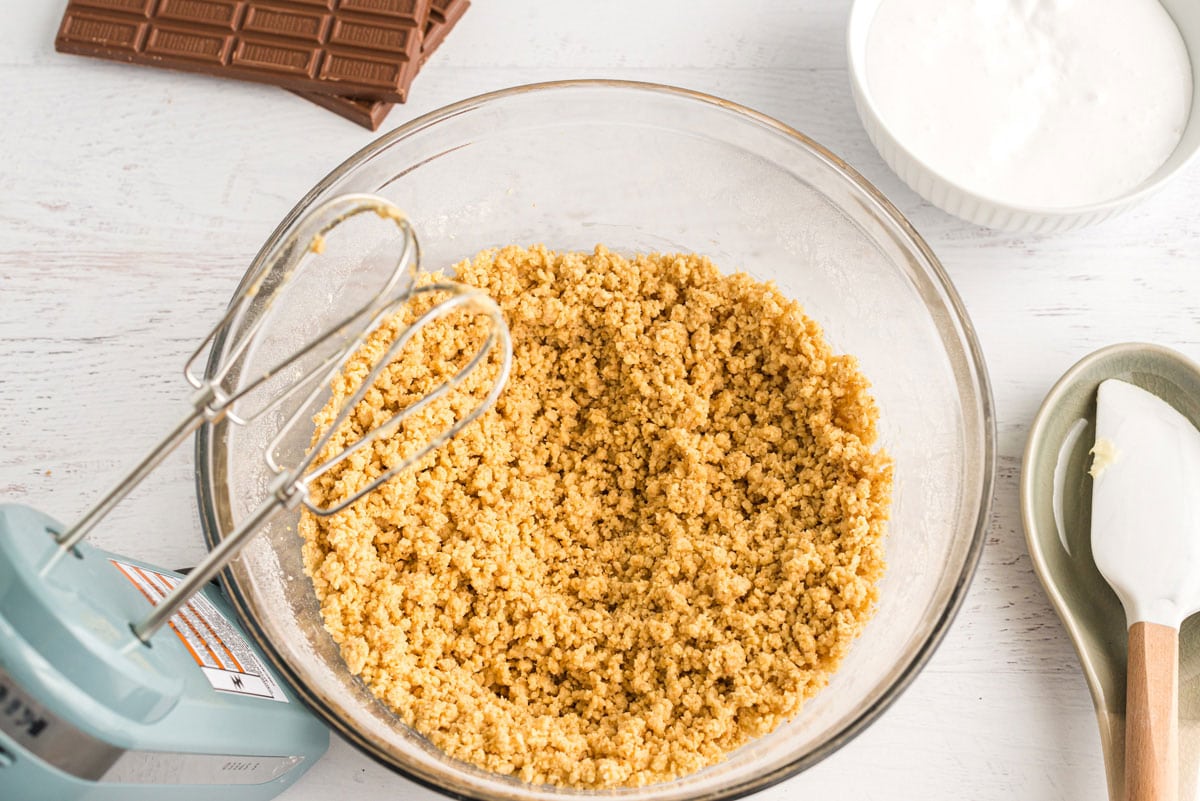
- Add to butter mixture, and beat until combined.
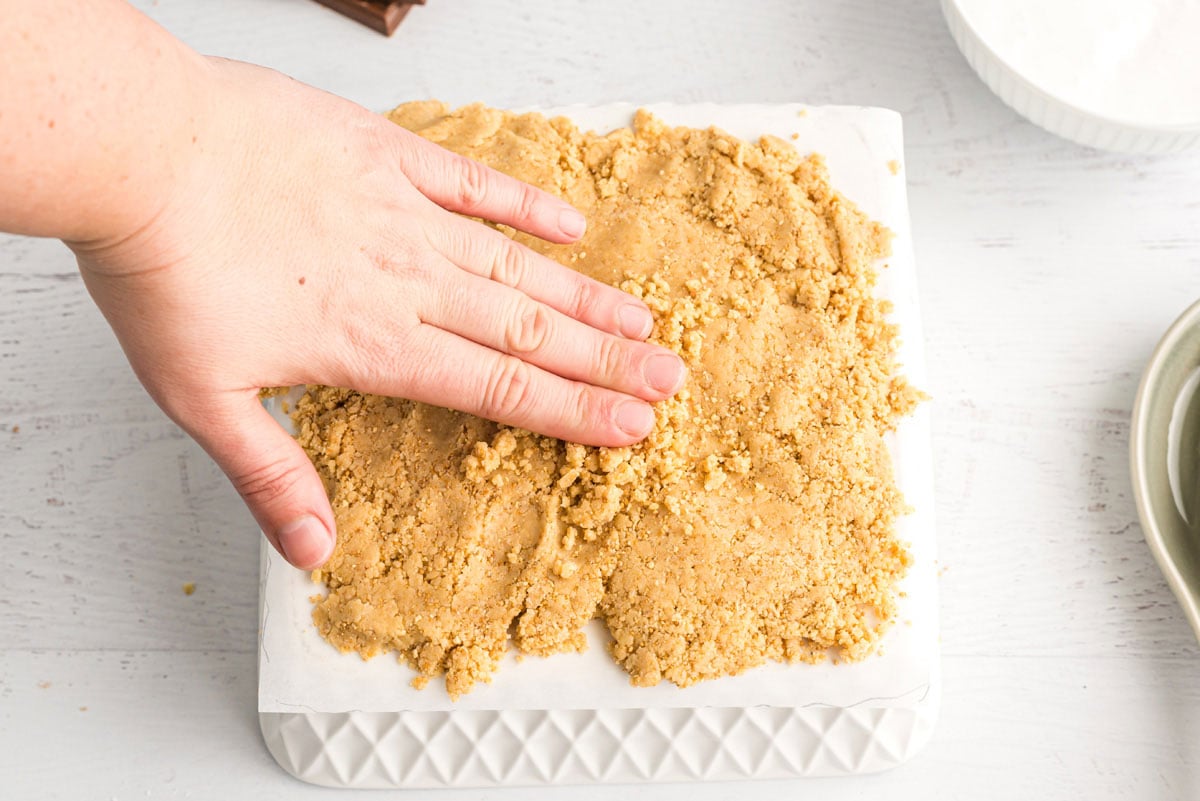
- Turn the baking pan upside down and place a piece of waxed paper on top. Press half of the dough onto the waxed paper, using the bottom of the pan as a guide for the size. Set aside. Turn pan back over.
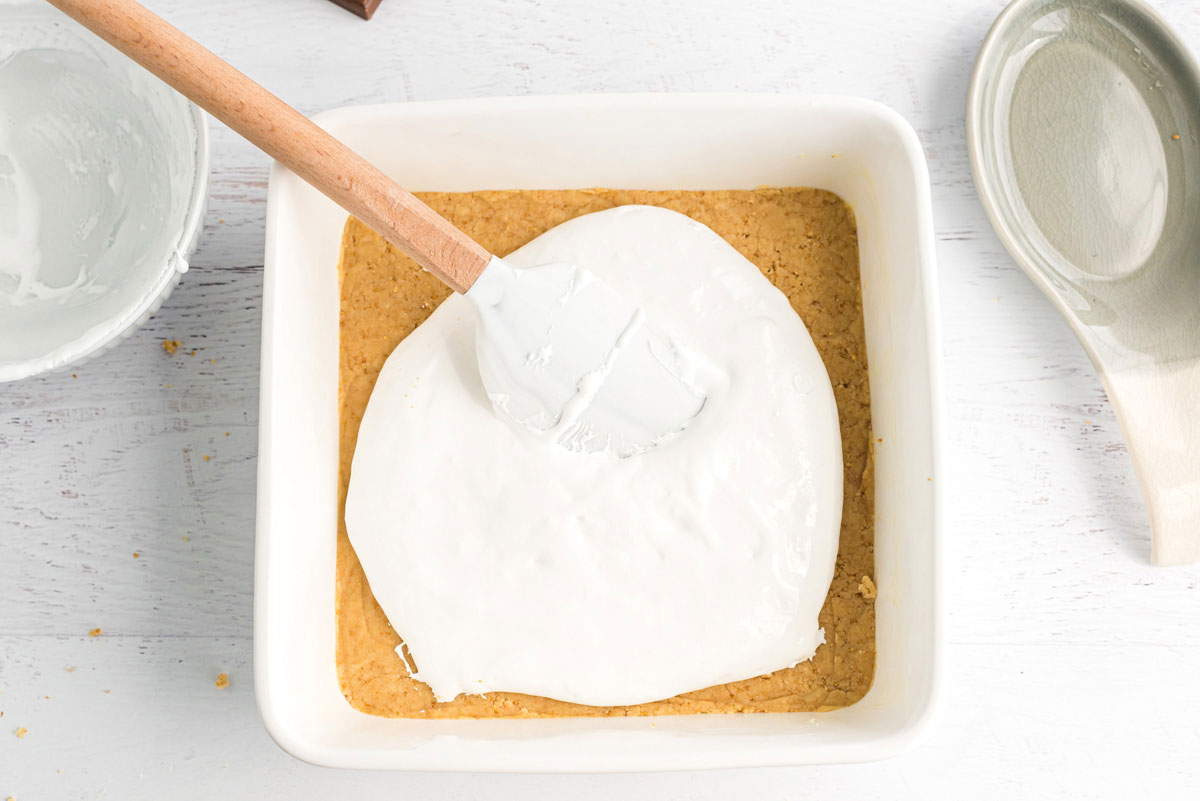
- Press the other half of the dough evenly in the bottom of the pan. Spread marshmallow cream over the dough, but don’t go all the way to the edge.
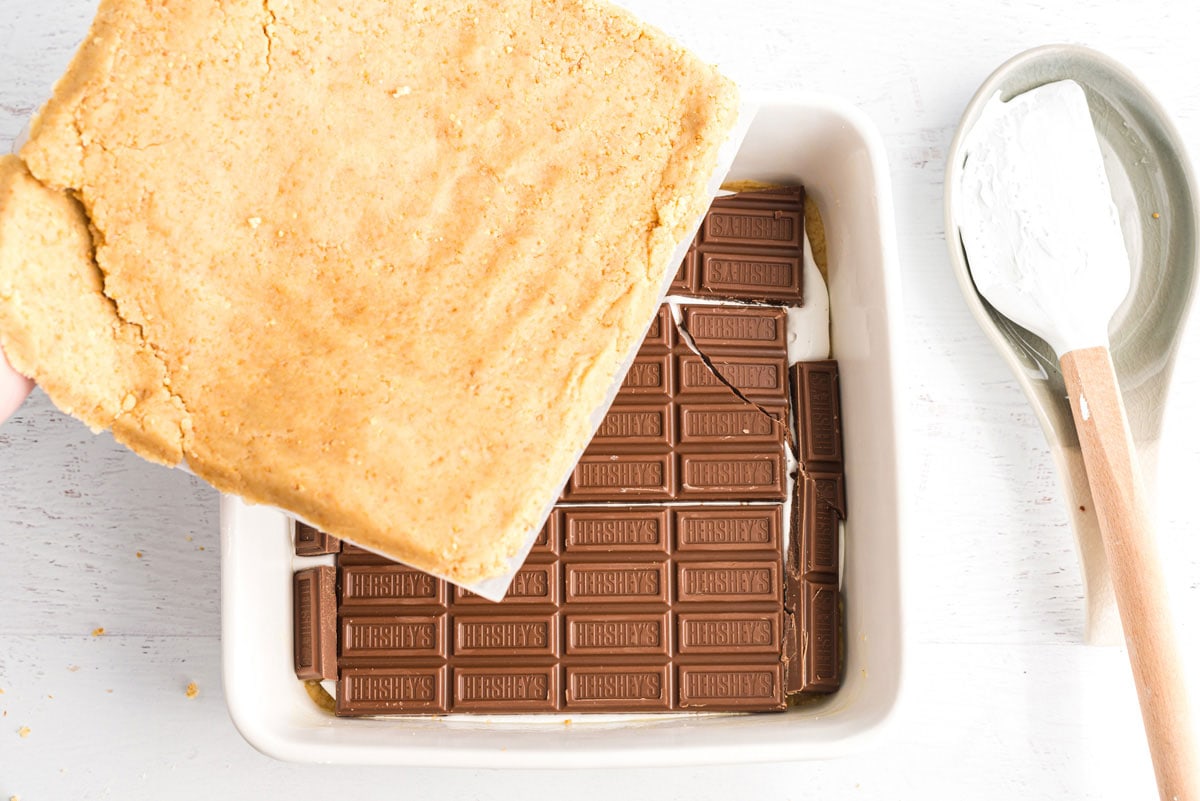
- Lay the chocolate bars on top of the marshmallow creme, breaking apart as needed to create an even layer of chocolate.
- Take the preformed dough that you set aside earlier and invert onto the top of the chocolate and peel away the waxed paper. Spread gently to the edges if needed.
- Bake for 25-30 minutes (mine was 27). Cool completely before cutting into squares.
I hope you love these gooey, chocolatey S’mores Bars as much as we do. They’re always a hit!
More Fun Recipes You Should Try
I love to bake and cook and share my recipes with you! I know it’s hard to remember to come back and search, so I’ve made it easy for you with my weekly newsletter! You can subscribe for free and I’ll send you delicious recipes every week right to your email.
S’mores Bars
IMPORTANT - There are often Frequently Asked Questions within the blog post that you may find helpful. Simply scroll back up to read them!
Print It Rate ItIngredients
- ½ cup butter softened
- ¾ cup sugar
- 1 large egg
- 1 teaspoon vanilla
- 1 ⅓ cups flour
- ¾ cup graham cracker crumbs about 5-6 sheets of graham crackers
- 1 teaspoon baking powder
- ¼ teaspoon salt
- 6 ounces Hershey’s Milk Chocolate Bars 4 bars (1.5-ounce each)
- 7 ounces marshmallow fluff
Things You'll Need
Before You Begin
- Don't want to run to the store for marshmallow creme? Here's how to make your own: Over low heat melt 7 ounces (about 4 1/2 cups) of miniature marshmallows and 3 tablespoons of light corn syrup. Let cool in a bowl sprayed with cooking spray. Your homemade marshmallow creme will slide right out when you are ready to add it to the recipe.
- I highly recommend an inexpensive kitchen scale for so many recipes. It's super handy when you have to portion out dough or batter, like splitting cake batter into pans.
Instructions
- Preheat oven to 350 degrees. Lightly grease an 8-inch square baking pan.
- In a large bowl, beat butter and sugar with an electric mixer until creamy. Add eggs and vanilla; beat until combined.
- In a small bowl, combine flour, graham cracker crumbs, baking powder, and salt. Add to butter mixture, and beat until combined.
- Turn the baking pan upside down and place a piece of waxed paper on top. Press half of the dough onto the waxed paper, using the bottom of the pan as a guide for the size. Set aside. Turn pan back over.
- Press the other half of the dough evenly in the bottom of the pan. Spread marshmallow cream over the dough, but don’t go all the way to the edge. Lay the chocolate bars on top of the marshmallow creme, breaking apart as needed to create an even layer of chocolate. Take the preformed dough that you set aside earlier and invert onto the top of the chocolate and peel away the waxed paper. Spread gently to the edges if needed.
- Bake for 25-30 minutes (mine was 27). Cool completely before cutting into squares.
Nutrition
This post was originally published here on Nov 7, 2011 and has since been updated with new photos and tips.
Amanda Davis
Latest posts by Amanda Davis (see all)
- Cauliflower Pizza Crust - January 13, 2025
- Keto Peanut Butter Cookies - January 9, 2025
- Cloud Bread - January 6, 2025


Jordy says
I thought I already posted this so please forgive me if it’s a double post, but I love these bars and wanted to make them for a family get together. But the get together is on a Saturday and I would have to make them on Tuesday. Would that be okay?
Amanda Formaro says
I’m afraid that might be too long and the marshmallow would break down :(
S. Harris says
Oh my goodness! These look wonderful, and you went through all the trouble of working the kinks out for us! What a DEAR you are! I want to make these SO bad! I bake gluten free though so I’ll have to see if I can convert the recipe (I’m pretty sure I can) and I’ll let you know how it turns out! Thank you for the tempting recipe.
Amanda Formaro says
I hope it works out, please do let me know, thanks!
Carla Allen says
Loved the S’mores Bars! The preform tip for the top layer is brilliant! My daughter is taking them to a party tonight! Shared on my blog in my “Friday Football Fare”
http://tisablessingtobe.blogspot.com/2012/11/friday-football-fare-its-football-yall.html
Christy says
My husband–who doesn’t normally eat sweets–said this was the best dessert I’ve ever made… yippee! These have an uncomplicated, old-fashioned s’mores flavor, which I love. Thank you!!! :)
Amanda says
Awesome!
Brittany says
These are in the oven right now! Hoping they come out tasting as good as they look :-)
Amanda says
I hope they were fabulous!
Marie says
These are awesome!! They get more delicious, each time I make them. Thank you for the tip about using the pan to form the top dough :).
Amanda says
That’s awesome, so glad you enjoy them!
MetalTeK says
Yep……..no one could stop eating them. Awesome!
Kathy says
These bars are amazing! I always get requests to make them, everyone loves them.
Foodiewife says
Is it my imagination, or are S’mores the new cupcake rage? So far,this is the best recipe version I’ve seen. The gooey marshmallow and melted chocolate is really making me drool. Absolutely fantastic tutorial, and very genius way that you made these work. I’m so hoping to find time to make these– and promptly give them away. They do look rich and very addictive.
Amanda Formaro says
I agree, they are the newest rage, I see s’mores stuff everywhere!
Delishhh says
As always you just go crazy and something out of this world – this looks fabulous!
Connie says
I gave up marshmallows when I became a vegetarian….this recipe makes me miss them more. Mmmmmm….
Margaret says
S’mores in a bar. Be. Still. My. Heart. I HAVE to make these. And I dont’ need a fire to do it. YAY!!
Cookbook Queen says
First off: These look super duper yummy.
Second off: I’m so glad you said that these are good anytime, because that’s pretty much when I always eat my dessert.
Barb @ Mom's Fridge says
Now I know the first cookies I’ll make when my older son comes home to visit from college next time!
[email protected] says
Thanks for doing all the legwork for us! Your photos and wonderfully detailed instructions will make it so much easier for my first crack at these. The s’mores bars look absolutely amazing–can’t wait to try them! (Your last photo of the bars oozing chocolate and marshmallow has me drooling!)