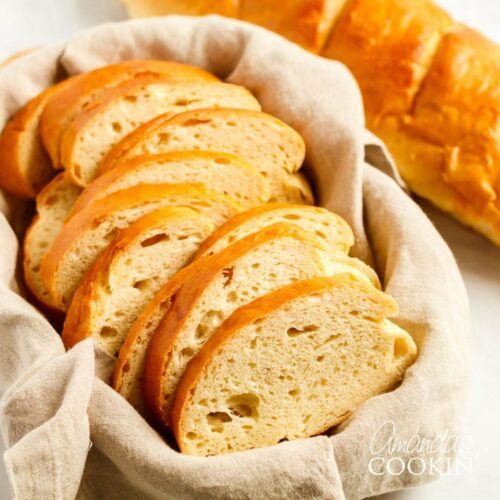
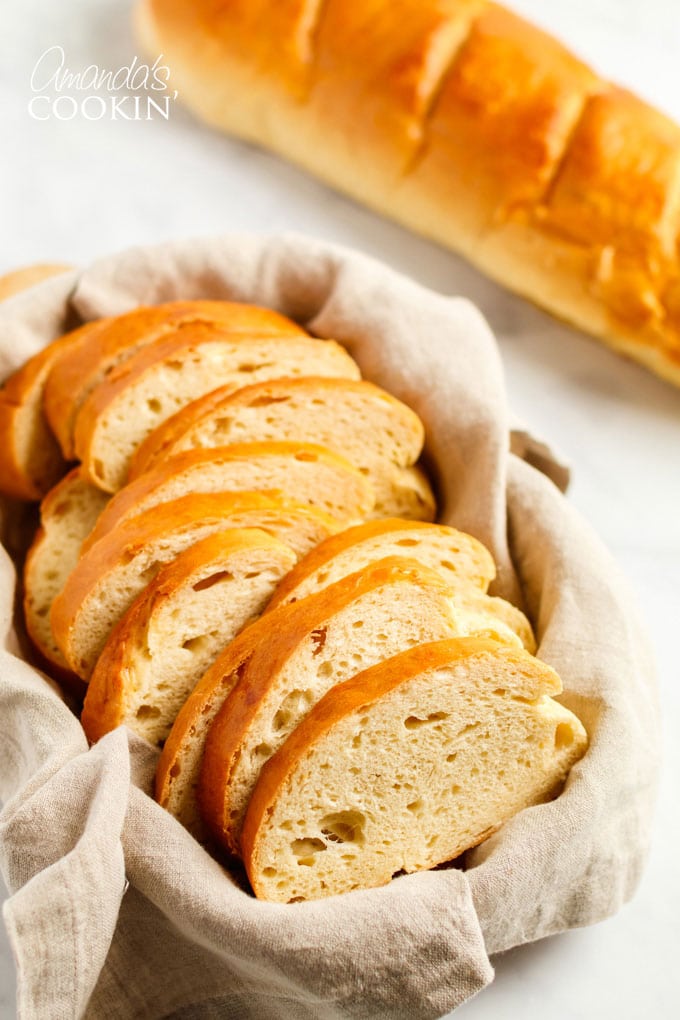
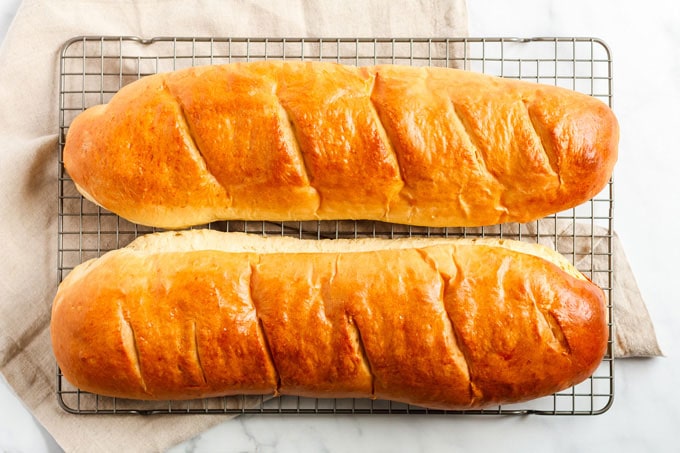
Homemade Italian bread is actually very easy to make and tastes delicious! While you could buy a loaf of Italian bread from the grocery store, baking bread is fun and satisfying. Warm, toasty bread from the oven is pure comfort food.
I love my 1963 homemade white bread for sandwiches and everything peasant bread for snacking, but this Italian loaf is perfect with a bowl of spaghetti, or alongside a plate of my crockpot roast beef!
Italian Bread Recipe
There’s a definite difference between French bread and Italian bread. Most of the general population either doesn’t know or simply doesn’t care, but there are differences nonetheless.
Basically though, French bread only uses flour, yeast, salt, and water. In fact, French law states that added oils or fats are prohibited. A French loaf is usually long and thin, while an Italian loaf is shorter and wider.
Expert Tips & FAQs
In this section I like to provide tips and recommendations about the different ingredients used. I also try to answer questions about substitutions. You will find the full list of ingredients with measurements in the printable recipe card at the end of this post.
- You can use the packets of active dry yeast available at any grocery store. I bake a lot of bread, so I prefer to by SAF instant yeast in larger packages.
- When a bread recipe calls for warm water, the temperature should be around 110 degrees F. If the water is too hot it will kill the yeast, and too cold will delay the rise process.
- You’ll also use hot water in this recipe, but since you are mixing it with other ingredients before adding the yeast mixture it will be fine. You want hot tap water, about 115-120 F, not boiling water.
- This recipe calls for vegetable oil, but olive oil can also be used.
- We are using all-purpose flour, white not wheat, to make this bread.
You can freeze the dough for up to 3 months. If kept in the fridge, the yeast will continue to grow, even if it’s slowly. This can be done for about a day, but I wouldn’t do it much longer than that. Wrap the dough tightly in plastic wrap and store in freezer bags. When ready to bake, remove from the freezer and thaw at room temperature. It will take about 4 hours to thaw. Then bake according to the recipe.
Helpful kitchen tools:
- Mixing bowls
- Stand mixer or hand mixer
- Baking sheets
- Wire cooling rack
- Pastry brush
- Rolling pin
- Bread knife
Bread Machine instructions are at the end!
How to Make Italian Bread
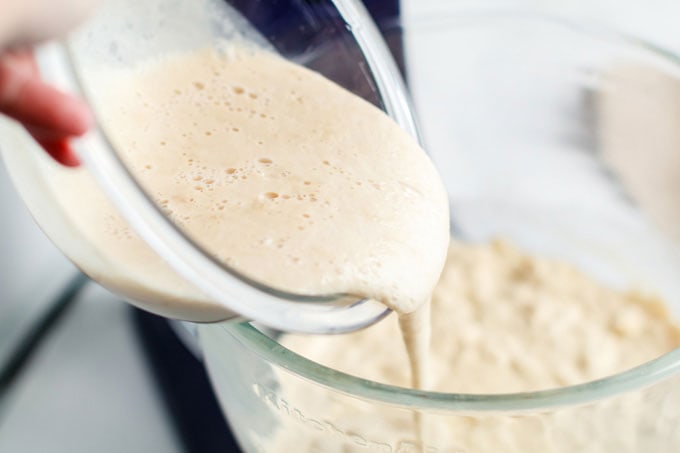
- Dissolve yeast, 1/2 cup warm water (110 F), and 1/2 teaspoon granulated sugar in a small bowl.
A NOTE ABOUT YEAST: You can use either active dry yeast or instant yeast. If you use active dry yeast it needs to be proofed in order for it to be reactivated. Instant dry yeast doesn’t need proofing. Active dry yeast must be reactivated by proofing in warm water, or the bread won’t rise properly. This process is to “prove” that the yeast is still alive.
- In a large bowl or stand mixer, combine 2 cups hot water (115-120 F), 3 tablespoons granulated sugar, the salt, and the oil. Add 3 cups of flour to the mixture in this large bowl/mixer and mix well.
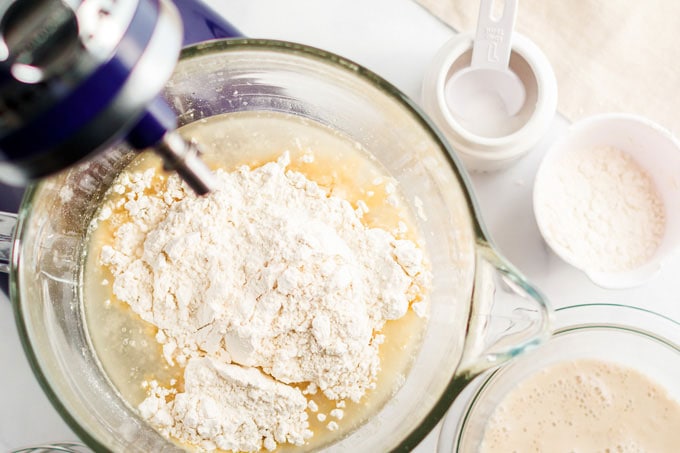
- Stir in yeast mixture.
- Add 2 – 3 cups more flour and mix until well blended. (At this point your dough will still be quite sticky).
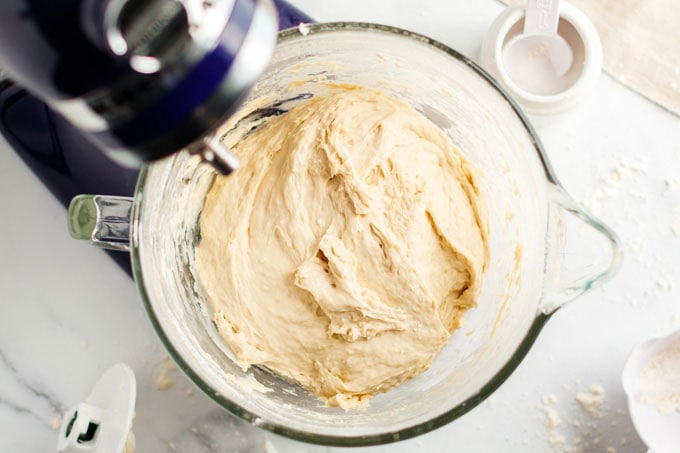
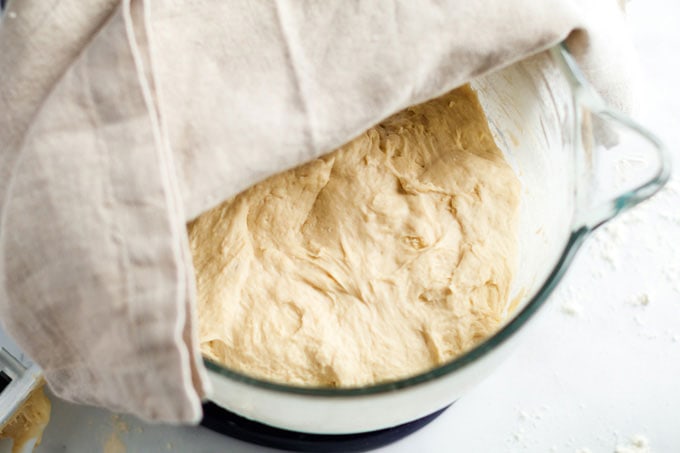
- Leave in bowl, cover with a towel and let rise for 1 hour. (If using a mixer, remove the bowl from the mixer and cover it with a towel. Otherwise your paddle attachment or dough hook will get covered in dough when it rises).
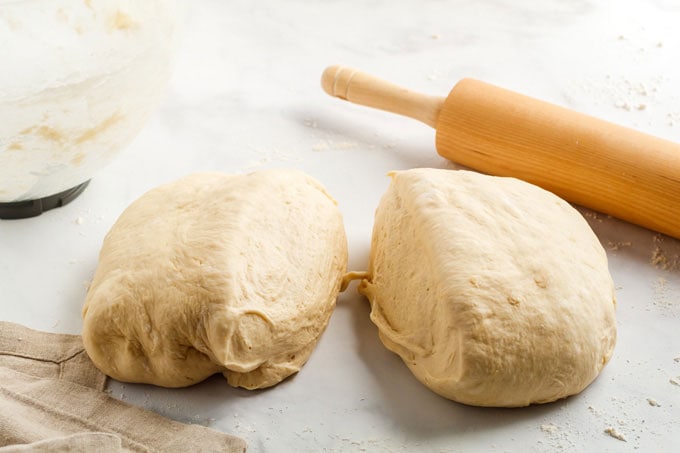
- Divide dough into 2 (or 3 if you want smaller loaves) pieces.
NOTE: This dough does not require kneading.
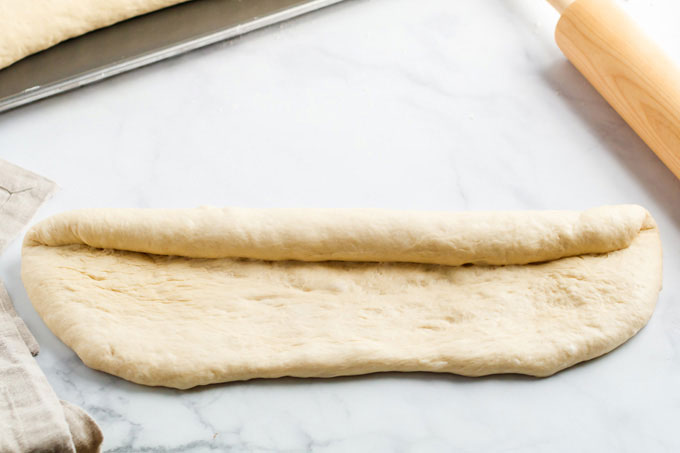
- Roll out each piece on a floured surface into the length desired then roll up length wise like a jelly roll.
- Put on a greased cookie sheet, sealed side down, and tuck the ends under. Slash the top diagonally across the top every couple of inches with a sharp knife.
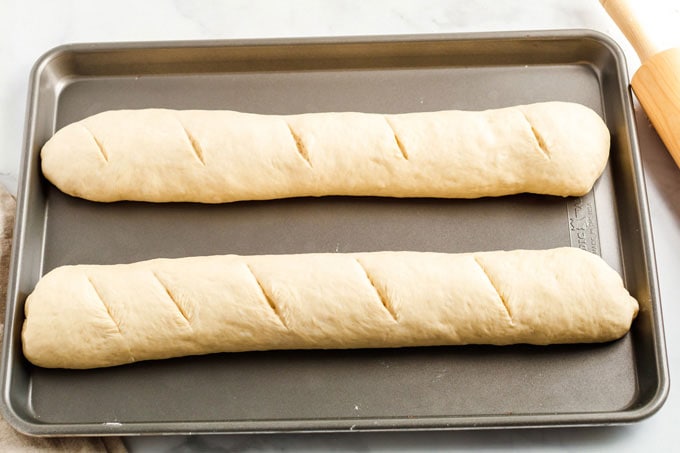
- Cover and let loaves rise 30 more minutes.

- While loaves are rising, preheat oven to 400 degrees Fahrenheit.
- Whisk the egg white and brush over the top of loaves.
- Bake for 25 – 30 minutes.
How to Make Italian Bread in a Bread Machine
Several people have asked if this Italian bread can be prepared in a bread machine. We were able to test it successfully and have provided the instructions below. Please note, the preparation of the dough is in the bread machine, but you will still remove the dough, form a loaf, and bake it in your conventional oven.
- Using the printable recipe below, cut the ingredients in half, and eliminate the water and sugar step used for proofing the yeast.
- Put 1 cup of water (110 F) and 1/4 cup oil in the bread machine bucket (make sure the paddle is on).
- Add 4 1/2 teaspoons sugar and 1 1/2 teaspoons salt.
- Gently add 3 cups flour over the water mixture so that it is all covered.
- Place 2 1/4 teaspoons (one packet) of yeast on top of flour with nothing else touching it.
- Place bucket in bread machine and enter dough cycle.
- When it beeps, take out and roll dough, adding more flour if needed.
- Roll up (follow instructions in printable recipe for forming loaf) and place on baking sheet, add slashes to top, and cover with towel to let rise (again, according to recipe).
- Brush with egg white and bake at 400 F (see recipe instructions below).
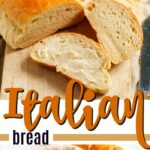
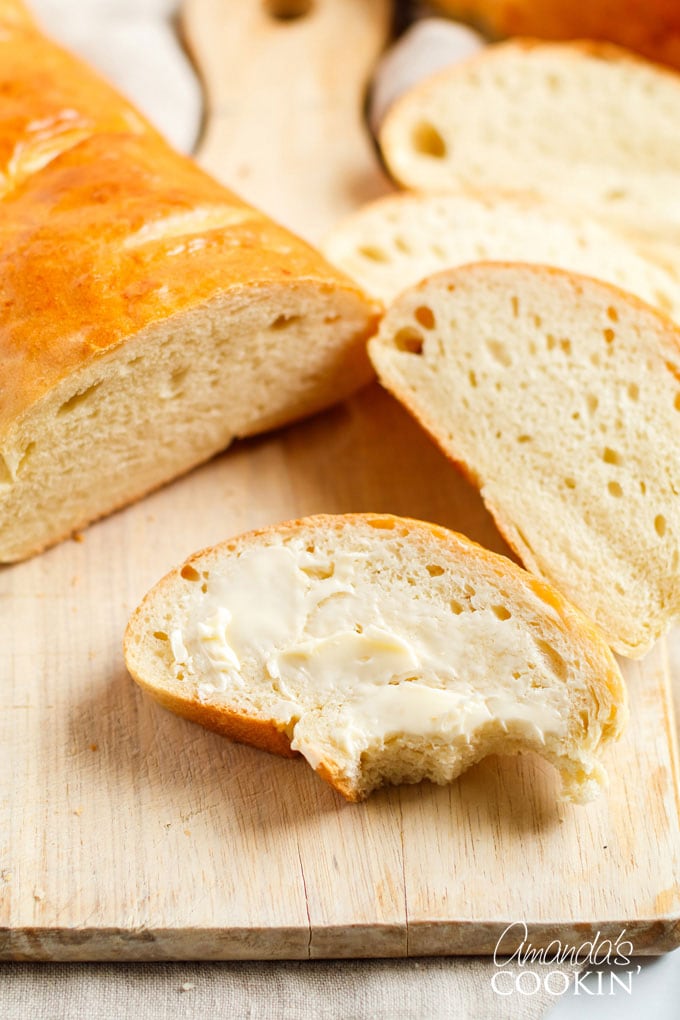
How to Enjoy this Italian Bread
There are plenty of dinners that we like to eat this homemade bread with, and they aren’t all Italian meals! I’ve been known to sop up the juices of my favorite pork sirloin roast using a hunk of this bread.
A big bowl of Italian Sausage Tomato Orzo Soup or my Cheddar Cheese Potato Soup screams for a piece of warm, buttered bread. It’s also amazing with this Zuppa Toscana for those Olive Garden fans out there! Another dinnertime favorite is this Chicken Cacciatore, and it’s great to have a hunk of bread for dipping into the sauce.
Try our new Crockpot Lasagna, it would be perfect with this bread!
Need more ideas? Find all my dinner recipes here!
What Our Readers Are Saying
Never baked bread before? Want to make sure before you invest the time and ingredients? Here’s just a small sampling of what our readers are saying about this recipe! You can find more reviews in the comments down below!
“I have made this twice and it is very tasty, good crust and soft inner not dense , very good flavor, I have been baking bread for 40 years, this is in the top five, Thanks.” ~ Thomas
“By far one of the best and easiest bread recipes I have come across!! Dough comes out perfect and is so easy to roll!! So glad I came across this recipe it’s a game changer.” ~ Tracy
“This bread was so, so delicious! I am proud of myself for going through with it. I was scared to do it and usually need video ( visual learner ) but went ahead and one of the two loaves is already gone! I wish I could attach a pic! I will make this over and over!” ~ Desiree
“I never post reviews… but after making this, I had to!!! I only had bread flour, so used that… but that was the only deviation. I followed the recipe exactly. The bread came out PERFECT! Crispy outside and moist inside. This is some of the best bread I’ve ever made. It will definitely be made again. Thank you!!” ~ Terri
“‘This is a million times better than store bought bread’
‘You have to make this every time we have pasta now’
‘Nom nom nom…’Feedback from my family after serving them this bread for dinner. Excellent recipe!” ~Dave
“OMG! I made this bread today and have to say this is the BEST bread I have ever made, and I’ve tried a lot of recipes! It was very light and fluffy yet just crispy enough on the crust. The only changes I made were I used bread flour and only used 2.5 tablespoons of the sugar instead of three. Thank you for sharing this! I am throwing away all my other bread recipes!” ~ Nadine

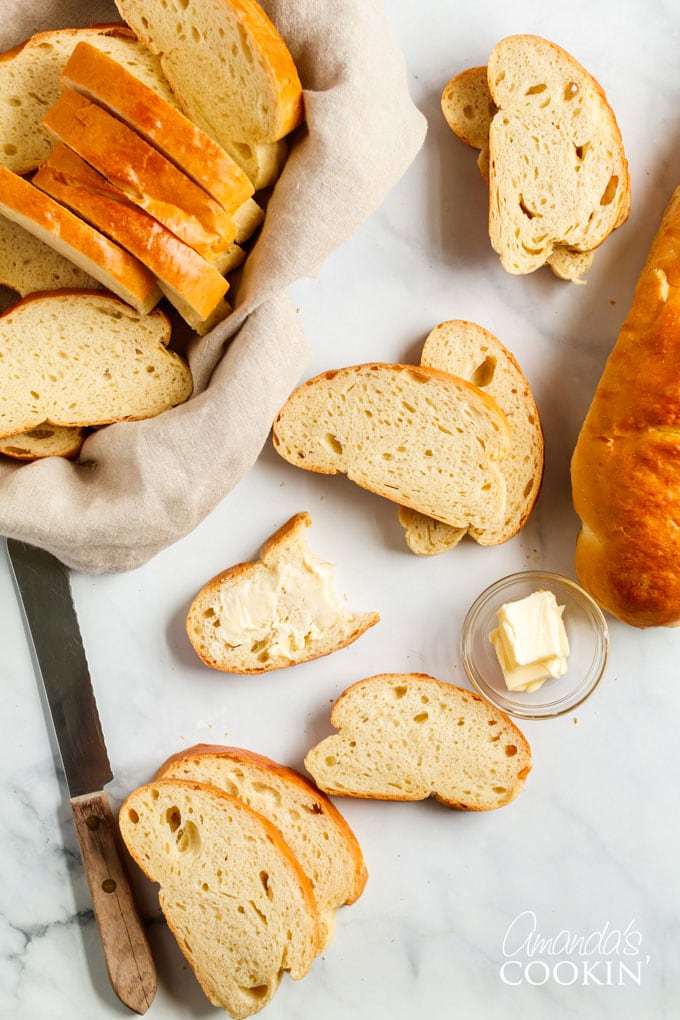
Homemade Italian Bread
IMPORTANT – There are often Frequently Asked Questions within the blog post that you may find helpful. Simply scroll back up to read them!
Print It Pin It Rate ItIngredients
- 1 ½ tablespoons active dry yeast 2 packets
- ½ cup warm water 110F
- ½ teaspoon granulated sugar
- 2 cups hot water hot to the touch, not boiling (115-120F)
- 3 tablespoons granulated sugar
- 1 tablespoon salt
- ½ cup vegetable oil
- 5-6 cups all-purpose flour add more if needed to get to a pliable dough
- 1 large egg white for brushing on loaves
Before You Begin
- If your dough is still super sticky, you can add small amounts of flour until the dough just comes together.
- You can use the packets of active dry yeast available at any grocery store. I bake a lot of bread, so I prefer to by SAF instant yeast in larger packages. If you use active dry, just follow the instructions in the recipe and let it sit for a few minutes to proof (it will get a little foamy).
- When a bread recipe calls for warm water, the temperature should be around 110 degrees F. If the water is too hot it will kill the yeast, and too cold will delay the rise process.
- Use regular white granulated sugar for this recipe.
- In a separate step, you’ll also use hot water in this recipe. Since you are mixing it with other ingredients before adding the yeast mixture it will be fine. You want hot tap water, not boiling water.
- Regular everyday table salt is used, not Kosher or sea salt.
- This recipe calls for vegetable oil, but olive oil can also be used.
- We are using all-purpose flour, white not wheat, to make this bread.
Instructions
- Dissolve yeast, 1/2 cup warm water (110F), and 1/2 teaspoon granulated sugar in a small bowl.
- In a large bowl or stand mixer, combine 2 cups hot water (115-120F), 3 tablespoons granulated sugar, the salt, and the oil. Add 3 cups of flour to the mixture in this large bowl/mixer and mix well. Stir in yeast mixture.
- Add 2 – 3 cups more flour and mix until well blended. (At this point your dough will still be quite sticky). Leave in bowl, cover with a towel and let rise for 1 hour. (If using a mixer, remove the bowl from the mixer and cover. Otherwise your paddle attachment or dough hook will get covered in dough when it rises). NO KNEADING IS REQUIRED.
- After the rise, if the dough is too sticky to handle, add more flour until its workable. For some people this can be up to a cup or more! Just don't dry out the dough. Add by quarter cupfuls until its workable.
- Divide dough into 2 (or 3 if you want smaller loaves) pieces. Roll out each piece on a floured surface into the length desired then roll up lengthwise like a jelly roll. If it's still too sticky, add more flour until it's workable but not dry.
- Put on a greased cookie sheet, sealed side down, and tuck the ends under. Slash the top diagonally across the top every couple of inches with a sharp knife.
- Cover and let loaves rise 30 more minutes.
- While loaves are rising, preheat oven to 400 degrees Fahrenheit.
- Whisk the egg white and brush over the top of loaves.
- Bake for 25 – 30 minutes.
Nutrition
The recipes on this blog are tested with a conventional gas oven and gas stovetop. It’s important to note that some ovens, especially as they age, can cook and bake inconsistently. Using an inexpensive oven thermometer can assure you that your oven is truly heating to the proper temperature. If you use a toaster oven or countertop oven, please keep in mind that they may not distribute heat the same as a conventional full sized oven and you may need to adjust your cooking/baking times. In the case of recipes made with a pressure cooker, air fryer, slow cooker, or other appliance, a link to the appliances we use is listed within each respective recipe. For baking recipes where measurements are given by weight, please note that results may not be the same if cups are used instead, and we can’t guarantee success with that method.
This recipe was originally published here on January 28, 2009

- Pineapple Salsa - July 16, 2026
- 26 Best Ground Beef Casseroles for Easy Family Dinners - July 8, 2026
- Strawberry Shortcake Kabobs - July 2, 2026


Erin says
Mine turned out so dense and outside was as hard as a brick. I used instant yeast and gluten free flour. I didn’t prep the yeast, as you instructions and packet explained.
Any idea what I did wrong?
Amanda Formaro says
I have not tested this recipe with gluten free flour so I don’t know how it would behave. This article has some good information about why your bread may have been dense https://mikeswindow.com/notebook/5-reasons-your-homemade-bread-is-dense/
Michelle Swanson says
Gluten-free flour such as Bob’s Red Mill is extremely dense. You should never try to adapt your own recipe with it unless you know what you’re doing.
In general, additives such as xantham gum are required to replicate the gluten and you should use less flour.
Sorry you had to learn the hard way! I’ve had many mishaps too with GF flour. Better off letting someone else trial and error until you can use their recipe without the fuss and the heartbreak :)
joseph says
Can you substitute kosher salt?
Amanda Formaro says
It’s better to use regular everyday table salt, not Kosher or sea salt. If you only have kosher, you can substitute but you will need to increase the amount from 1 tablespoon table salt up to 1 1/2 tablespoons Kosher salt.
Abby Comerford says
I love this bread! Could I mix this up the night before and have the second rise overnight in the fridge?
Amanda Formaro says
I haven’t tried it but it should work. It will rise in the fridge, just a lot slower :)
Kelli says
I love this bread and so does my entire family. I tried it for the first time at the beginning of the pandemic and was making double batches every few days. I made it for family members, friends and coworkers. I find if you use organic flour you need a lot more to soak up the liquid. Also, if you don’t let the yeast get very fluffy it doesn’t work properly. So let the yeast work first before you mix the other ingredients. Thank you so much for sharing this. Its delicious.
Alicia says
What is the best way to store the bread? This recipe was fabulous, the entire family loved it!
Amanda Formaro says
Room temp wrapped in foil for a couple days or in the fridge. There’s never any left over when I make it so… HAHA!
John says
First time trying to bake Italian bread ! Excellent !! Easy to follow & the taste , crust WOW ! How can I make the bread lighter ?? Thanks !
Amanda Formaro says
Hi John! What do you mean by lighter? Like less calories or a lighter crust?
Sara says
Hi, how do you add more flour into the dough in step 4? Do you work it with your hands or can you use the mixer dough hook? Do I need to worry about over working the dough when I add in more flour? It seems like no matter how much I add in, the dough is still sticky and I end up just baking it as a messy looking glob of dough. At least it seems like a somewhat forgiving recipe cause I think it still turns out tasty. :) (I’m a beginner bread maker)
Amanda Formaro says
Either way, you can add it in the mixer or with your hands. :)
Kari says
This bread is one of my absolute favorites!! Do you think I could freeze the dough for later use? I was thinking of making a couple of batches and bringing with us on a camping trip?
Amanda Formaro says
Freezing bread dough is tricky. The best way to do it is to parbake the loaves, which means baking them just enough for a light crust to form, but not brown. Let cool, freeze, then bake as usual.
Marilyn Holtz says
Stayed way too sticky to work with. I measured everything accurately. In order to make it workable, I carefully added more flour. When I got to 6 1/2 cups it was still too sticky. Enough flour wasted (not to mention yeast), I put it in loaf pans…
Now I noticed something: your recipe is similar to one I’ve used for many years for white loaves, except it has 1/2 cup more water, 1/2 cup more oil and 1.33 Tablespoons more sugar! I should have used more flour to begin with.
No wonder I couldn’t shape it.
My old white bread recipe has an option to make beautiful braided loaves. Those and every other variation I’ve tried with this ancient recipe (1’m 70 and learned to make this as a child) have turned out well…should have stuck with the tried and true.
This bread ended up too dense and a little Doughy.
I should have learned my lesson when I failed Sourdough 101!
Amanda Formaro says
Additional flour, even more than you added, would have solved the issue. If you happen to make it again, just add enough flour until you get to a workable dough. It’s a different amount for everyone, depends on lots of factors like baromoetric pressure, the way you measure your flour, etc.
Linda Schott says
Would this recipe be easily adapted to being gluten free? If so, what adjustments should I make. Looking for good GF bread recipes. Have not been too successful!
Amanda Formaro says
I am not a gluten free baker so I cannot give you advice on this. I’m so sorry!
Denise says
I wanted to bake some gluten free bread for a friend, and tried to find a good recipe to no avail. I finally went to a local bakery that specializes in GF products, and the owner said that you really CAN’T make a “good gluten free bread” because of the lack of gluten…which is a key component of bread. That’s not to say that it can’t be done, but rather that it will never taste very good. There are potato breads and such that work, but not your typical “flour” style breads.
Shveta says
Hi,
Would it be okay if I use bread flour instead of All purpose flour?
Thanks!
Shveta.
Amanda Formaro says
Yes!
Penelope Garcia says
Absolutely amazing! I made it today and the bread came out fluffy inside and nice and crunchy outside. The flavor is just incredible and the recipe was super easy to follow. I will not buy bread in-store ever again! Thank you, Amanda ♥️
Claudia Sherman says
Don’t know what I did wrong. It was very heavy and dense.
Joyce says
I am not one to rate recipes very often but I always read them. I made this this morning and it is absolutely delicious! Yes the dough was sticky, I ended up adding almost another cup of flour but not to the point of making it dry, as you stated in your notes.
Thank you so much for sharing this! I have it written down and will be my go to from now on. We will be enjoying this with some beef stew tonight and I’m freezing the other loaf.
Vicki OBrien says
Like a previous commenter, I don’t often give reviews, but O.M.G. this recipe is kinda idiot proof! I have made a lot of bread in my life, none with this particular method though, and I am sold. It was super easy and required zero physical exertion since I used my stand mixer. I didn’t time things right and ended up letting it rise for 2 hours, but the bread didn’t seem to mind. It happily formed into two beautiful loaves that baked up perfectly.
I used Bob’s Red Mill bread flour because I love it and a good, fruity olive oil. The flavor and texture is amazing. Total keeper.
Joan Tallman says
You can achieve a crispier crust by having a pan of water to create steam in the oven. I also spray my loaves or rolls with water after they have been in the hot oven for a few minutes.
ROBYN LINKER says
Can you make the dough in the bread machine and then roll out and bake in the overn?
Amanda Formaro says
I haven’t tried that, but I’m sure it would be fine. But honestly, there’s no kneading required, and that’s usually why people prefer a bread machine. So I don’t think it’s necessary.
Paula says
First attempt at bread baking & it turned out fabulous! Will use it to attempt rolls for Thanksgiving! Can you reccomend how to store it? Thanks
Paul says
Have baked this bread a few times and it’s a wonderful recipe! It’s super tasty! And has a great texture! Used it for sandwiches and for pasta nights. And it makes the best bruschetta!!!
The site on my tablet jumped around a bit making it a little difficult to refined my spot while making it but printed it out and no more problems! Trying your cherry hand pie recipe next, really enjoy your food that we have tried! Thank you!
Amanda Formaro says
That’s great news, thank you! On your tablet, tap on the print button. It should open a black and white plain version of the recipe that won’t be affected be refreshing ads :)
Amaya says
I’m going to average my rating with that of my guests who said it was some of the best bread they’d ever eaten and asked for the recipe. My daughters too ate the whole first loaf in the first couple hours while still warm. I on the other hand would just rate this at three stars. I didn’t mind the sticky factor while handling the dough, but it just didn’t have that classic contrast in bakery Italian loaves where the the crust is crisp almost like a cracker and when broken the inside is light, fluffy, and slightly moist. To me that contrast between crust/inside was not quite what I had hoped it would be. I don’t know if an egg white brushing of the whole surface area and not just the top would have helped, because even where there was a brushing, it still didn’t create the desired texture. Also, I would have added another teaspoon of salt before mixing. But thank you for a dinner party hit, and I’ll be passing along your site to those who want to bake this again.
Patti says
You can mix a little bit of corn starch into your dry flour to make the crust more crispy.
Sally says
How much is a little bit? Like a dash, or a teaspoon, ect?