
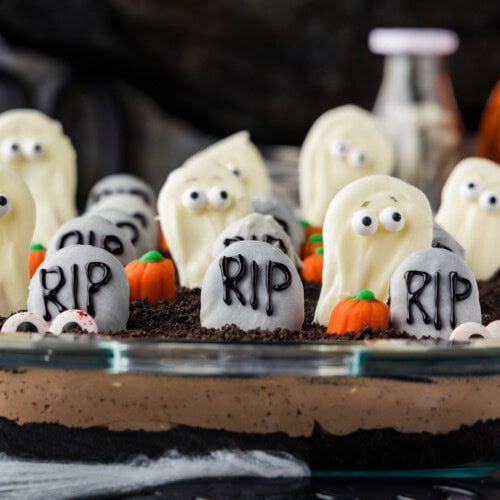







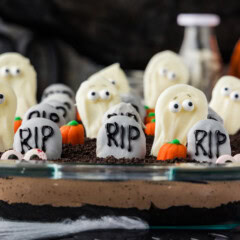
A no bake Oreo dirt cake with a creamy chocolate pudding layer, crushed cookie dirt, and a full graveyard of cookie tombstones decorated with white chocolate ghosts and candy pumpkins. No oven needed and perfect for making ahead!
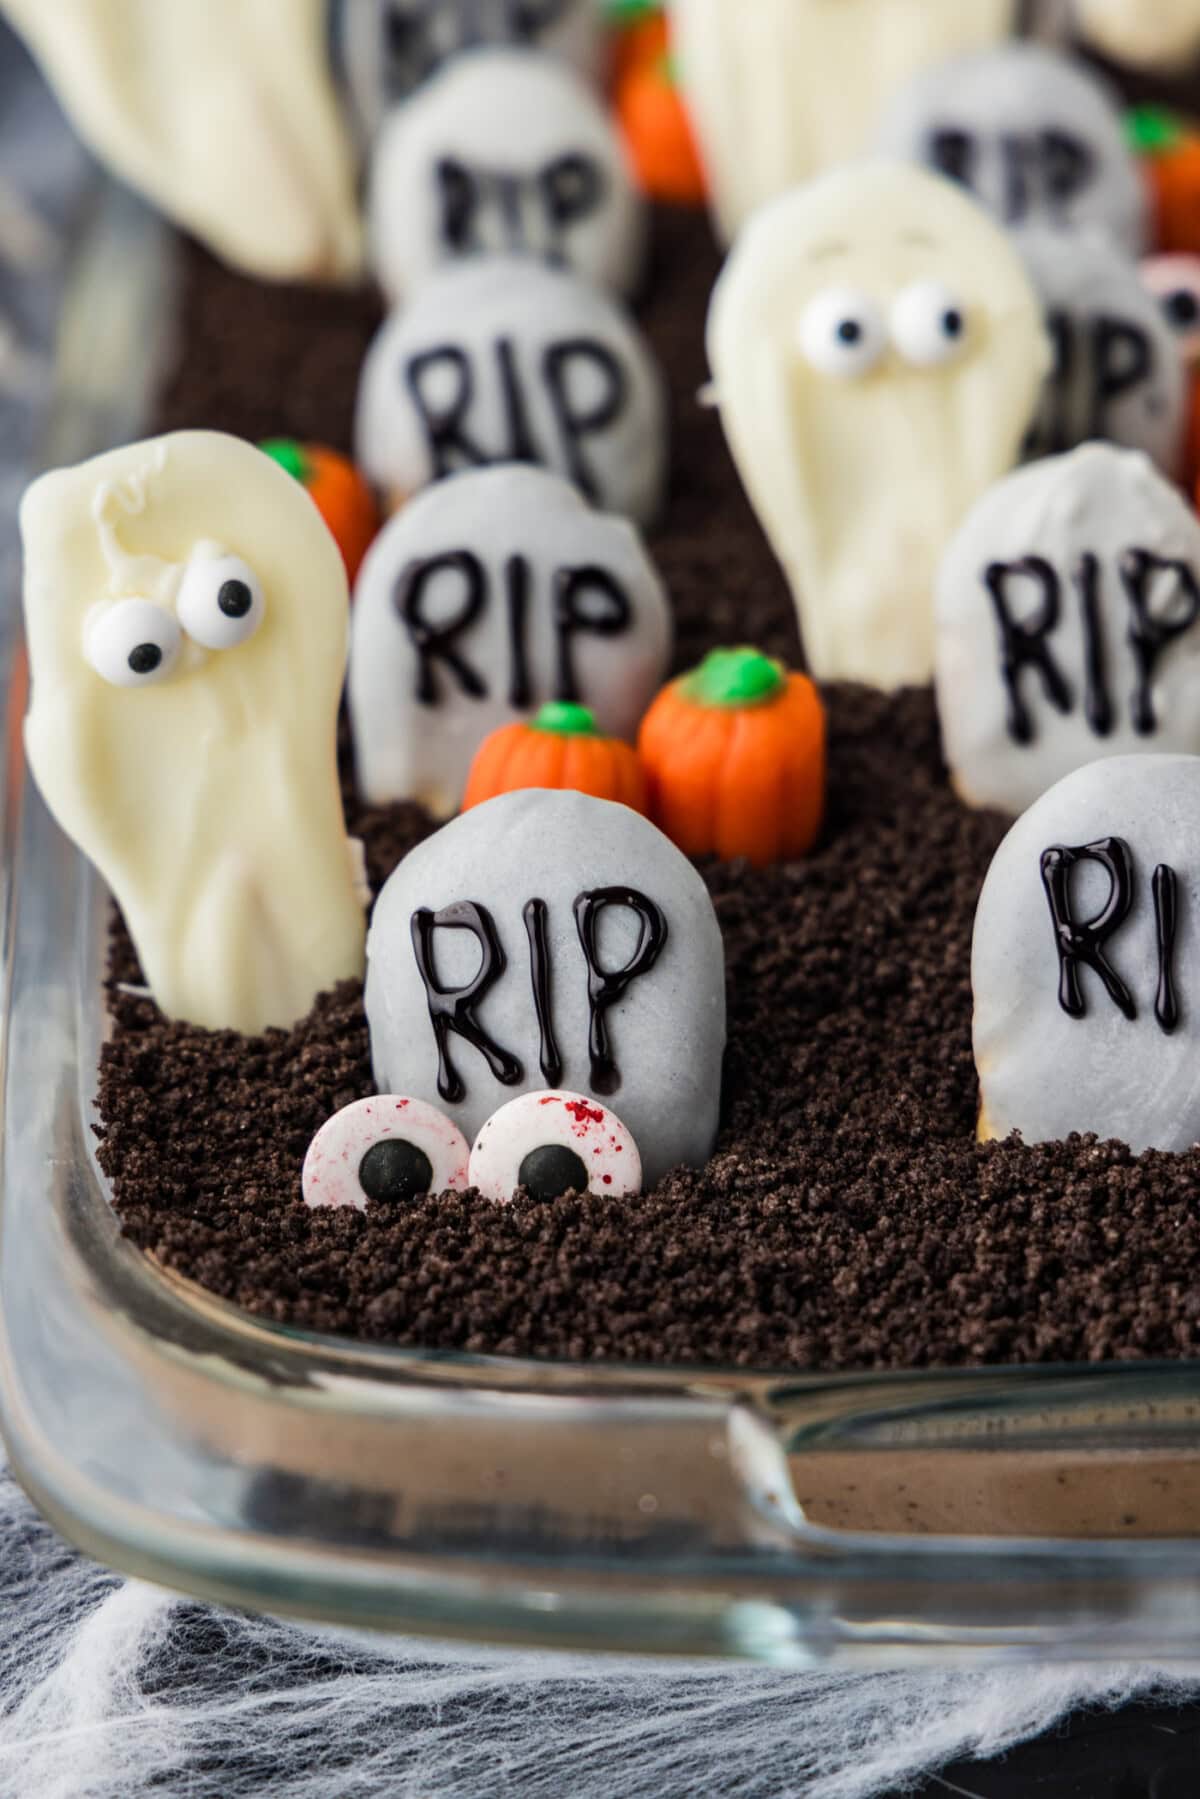
Why this recipe works
You crush a package of Oreos, press some into the bottom of a 13×9, fold cream cheese and Cool Whip into chocolate pudding, pour it over, and finish with the rest of the crumbs. That’s the entire cake. It takes about thirty minutes of actual work and then chills in the fridge so you can get ready for the party.
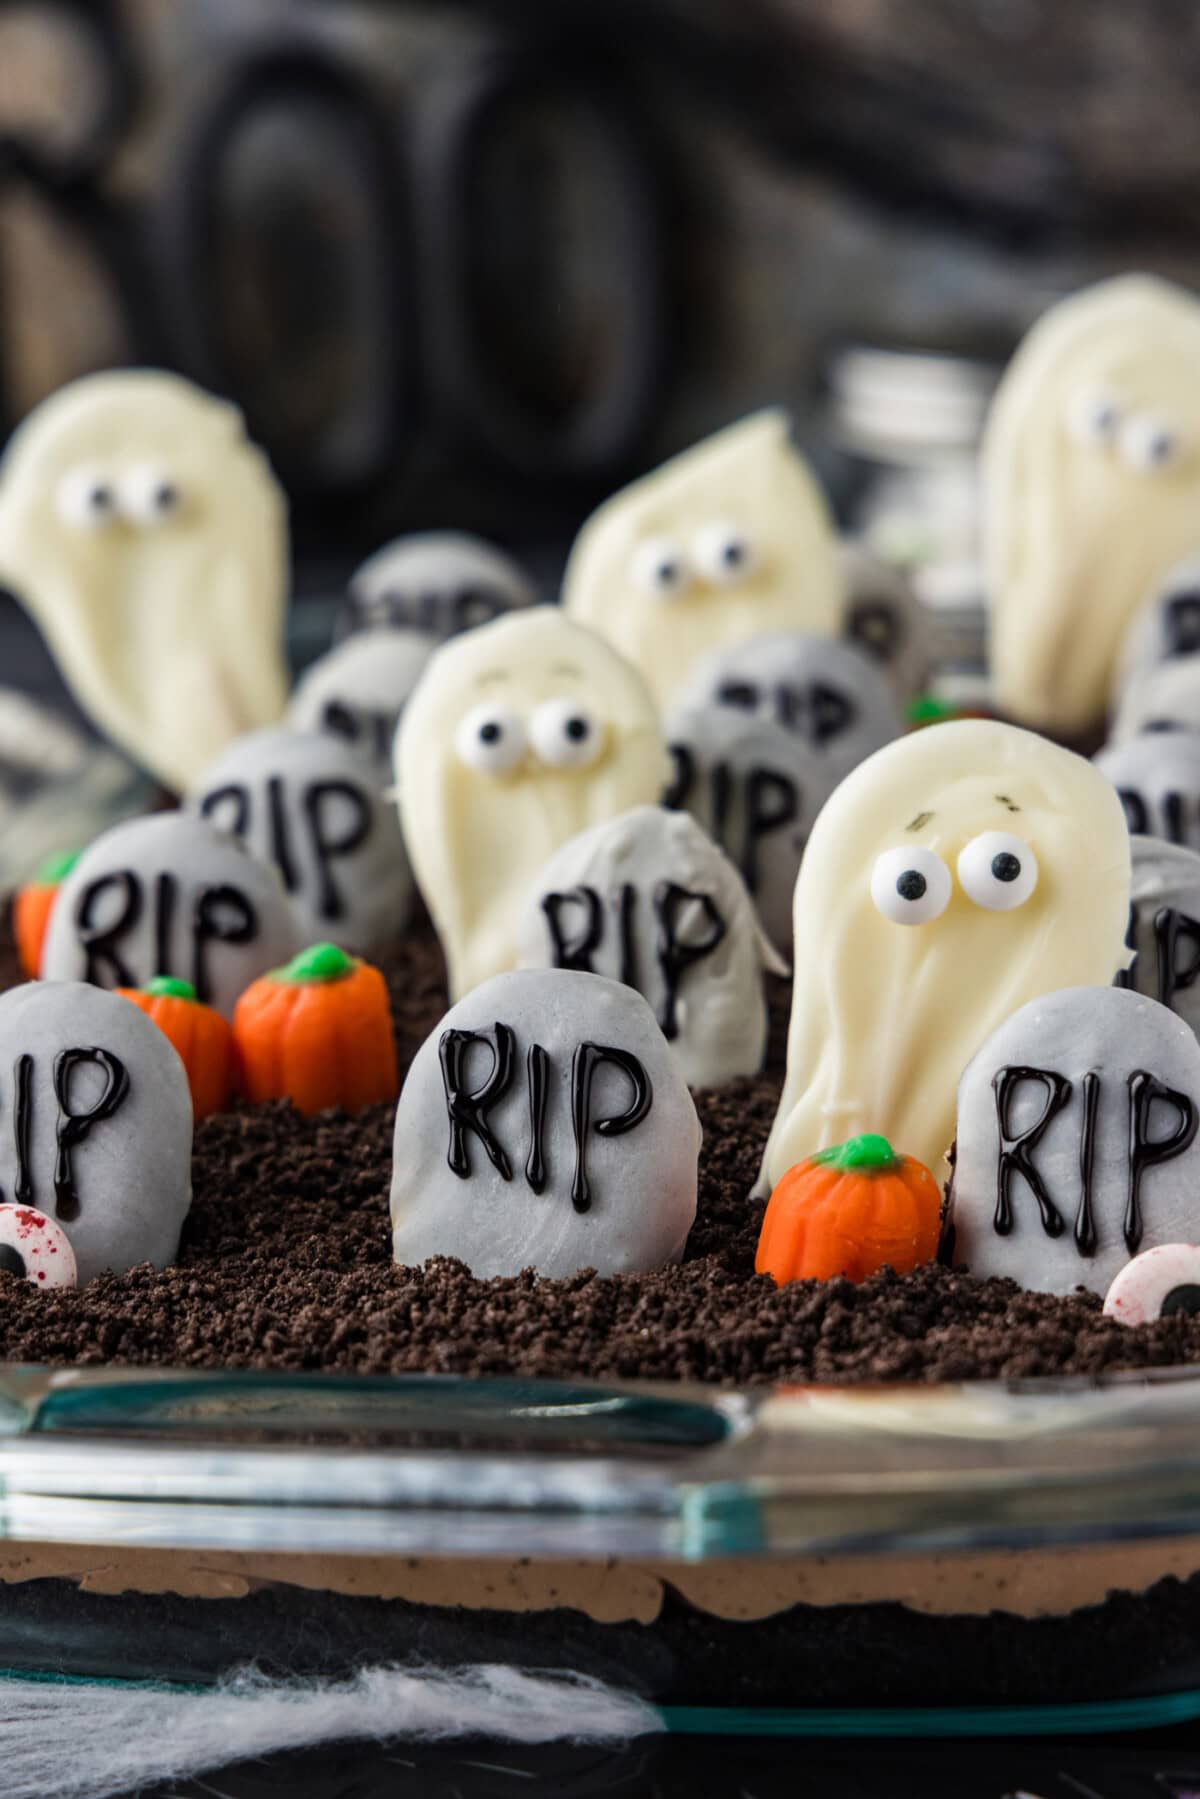
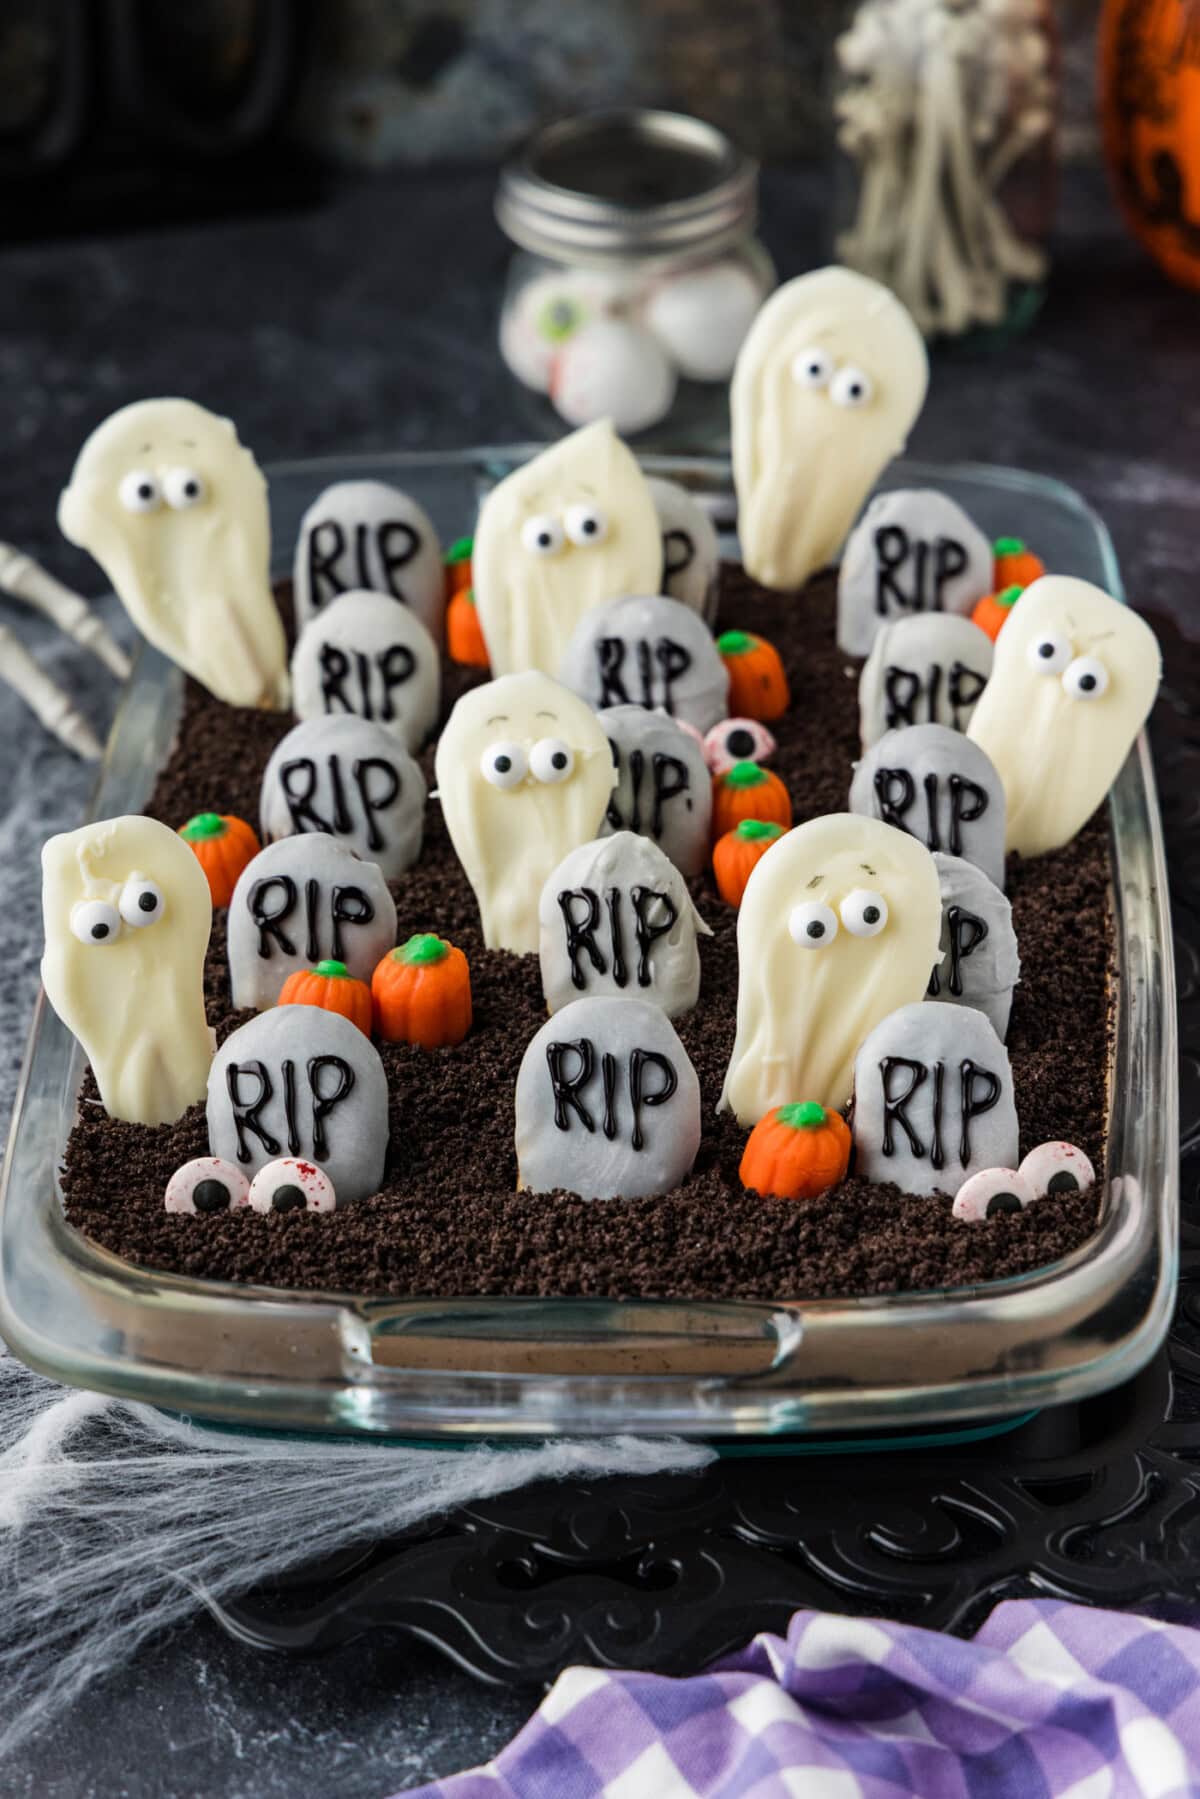
The spooky graveyard scene on top is made up of tombstone cookies, ghost pops, candy pumpkins, and eyeballs peeking out of the dirt. This is a really easy Halloween dessert, even the toppers are simple to make so don’t let the cuteness fool you into thinking it will take forever to create. If you wanted smaller individual servings, layer them into cups like we do in our Halloween dirt cups.
I’m crafty, so making fun desserts like this truly gives me joy. I love creating the decorative elements and making the dessert look festive. I took this to a party and everyone raved about it, they especially loved the little ghost pops! The dish was cleared out by the time I left. That speaks for itself!
Ingredients you will need
Get all measurements, ingredients, and instructions in the printable version at the end of this post.
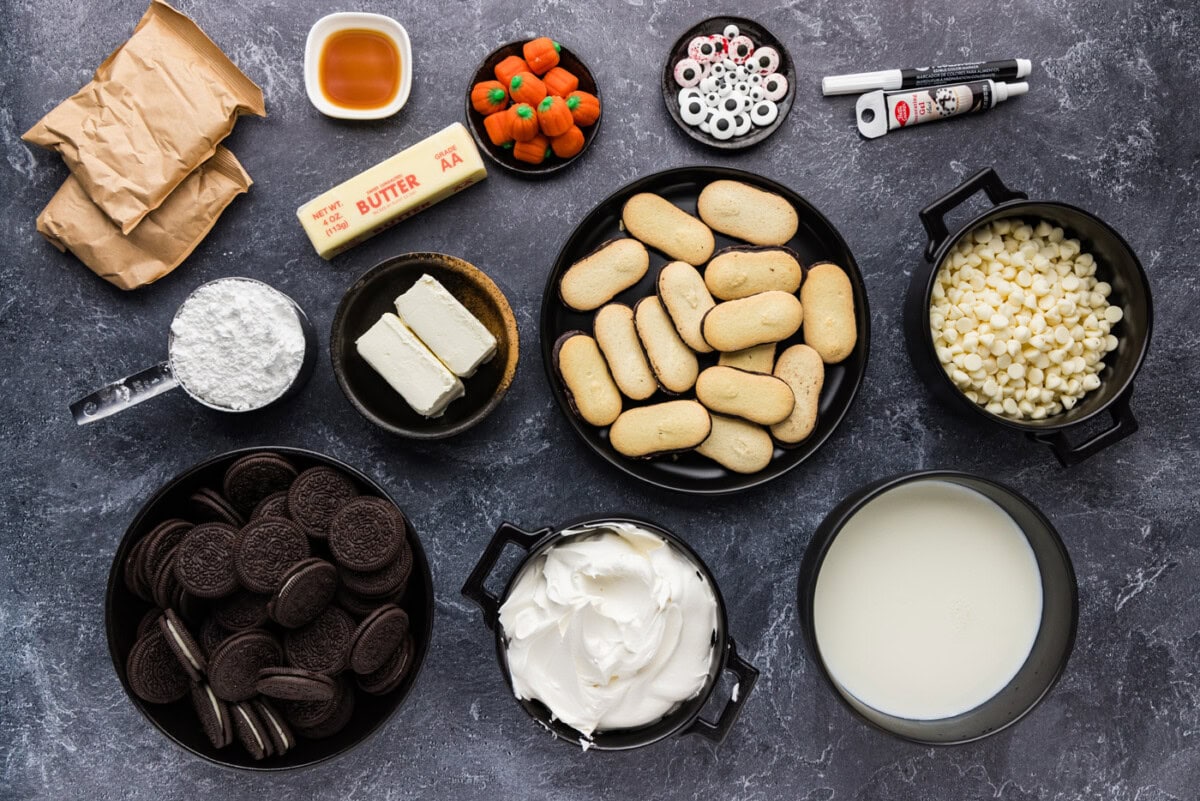
Ingredient Info and Substitution Suggestions
OREOS – You’ll need a 19.1 ounce package of Oreos including the cream centers. Don’t scrape them out! The cream is part of what binds the bottom crust together, and without it the base is loose and powdery. Set aside a third of the crumbs before you press the rest into the pan. The reserved third creates the dirt on top.
INSTANT PUDDING – Use two 3.4 ounce boxes of instant pudding, not cook and serve. Cook and serve pudding sets firm as it chills and will give you a sliceable layer rather than the soft scoopable one this dessert is supposed to have. This cake is served with a spoon, not cut into squares.
CREAM CHEESE – Brick-style cream cheese (not the spreadable kind) is ideal. Let it come to room temp before starting so you don’t end up with lumps in your mixture. Cut the cream cheese into cubes and let it rest on the counter to bring it to room temp.
BUTTER – Definitely use unsalted butter here, not salted like we do in our Easter dirt cake. Let the butter soften along with the cream cheese before beginning.
COOL WHIP – Let your cool whip thaw first and be sure to fold it in with a spatula, don’t beat it in. Folding keeps the filling nice and light. If you beat it in with a mixer you’ll knock the air out and end up with a dense, heavy filling.
WHITE CHOCOLATE CHIPS – White chocolate scorches faster than dark, so melt it slowly at 50% power in the microwave or over a double boiler. If it seizes into a grainy paste it can’t be rescued and you’ll have to start over.
MILANO COOKIES – These cookies are already shaped like tombstones and are sturdy enough to stand up in the dirt. We coat ours in tinted white chocolate, but you can definitely leave them as is if you want! Nutter Butters will also work, though they are wider which means less will fit in the pan.
CANDY EYEBALLS – The small ones are for the ghost faces, pressed into the white chocolate while it’s still wet. The large bloodshot ones are the ones you half bury in the dirt so they look like something is peering up out of the ground.
How to Make Halloween Dirt Cake
These step by step photos and instructions are here to help you visualize how to make this recipe. You can Jump to Recipe to get the printable version of this recipe, complete with measurements and instructions at the bottom.
- Add Oreos (filling included) to a food processor and blend until they reach a fine crumb. You can also place them in a large zip-top bag and crush them with a rolling pin.
- Set aside 1/3 (around 9-10 cookies worth) of the Oreo mixture for the top of the cake. Press the remaining Oreo crumbs evenly into the bottom of a 13×9 pan.
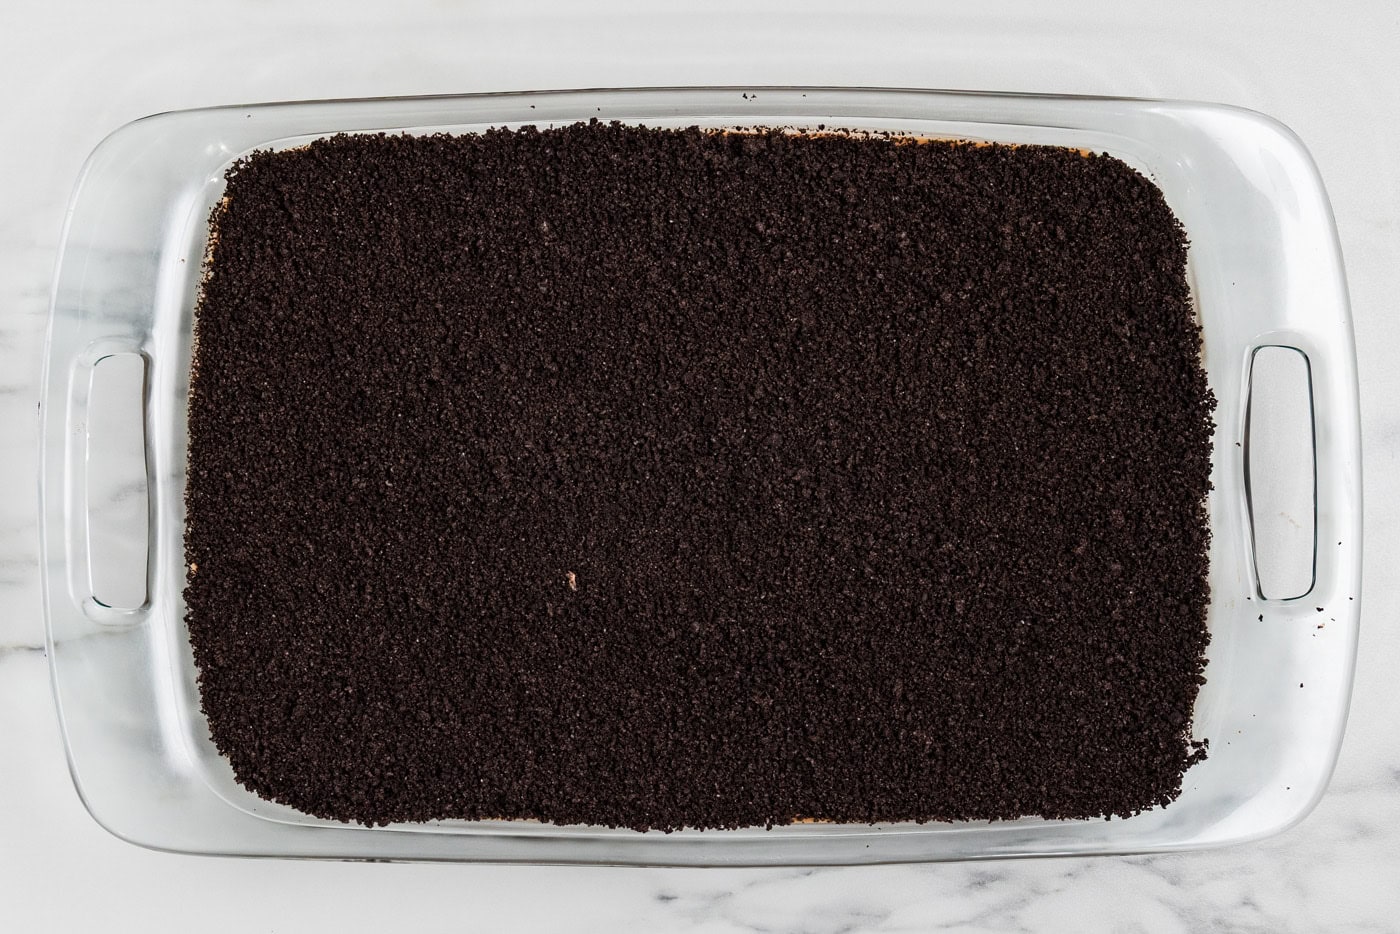
- With a hand mixer, combine the butter and cream cheese, beating until smooth and creamy, about 25-45 seconds.
- Add the powdered sugar and vanilla extract, mixing to combine on low speed.
- Fold the cool whip into the cream cheese mixture with a rubber spatula.
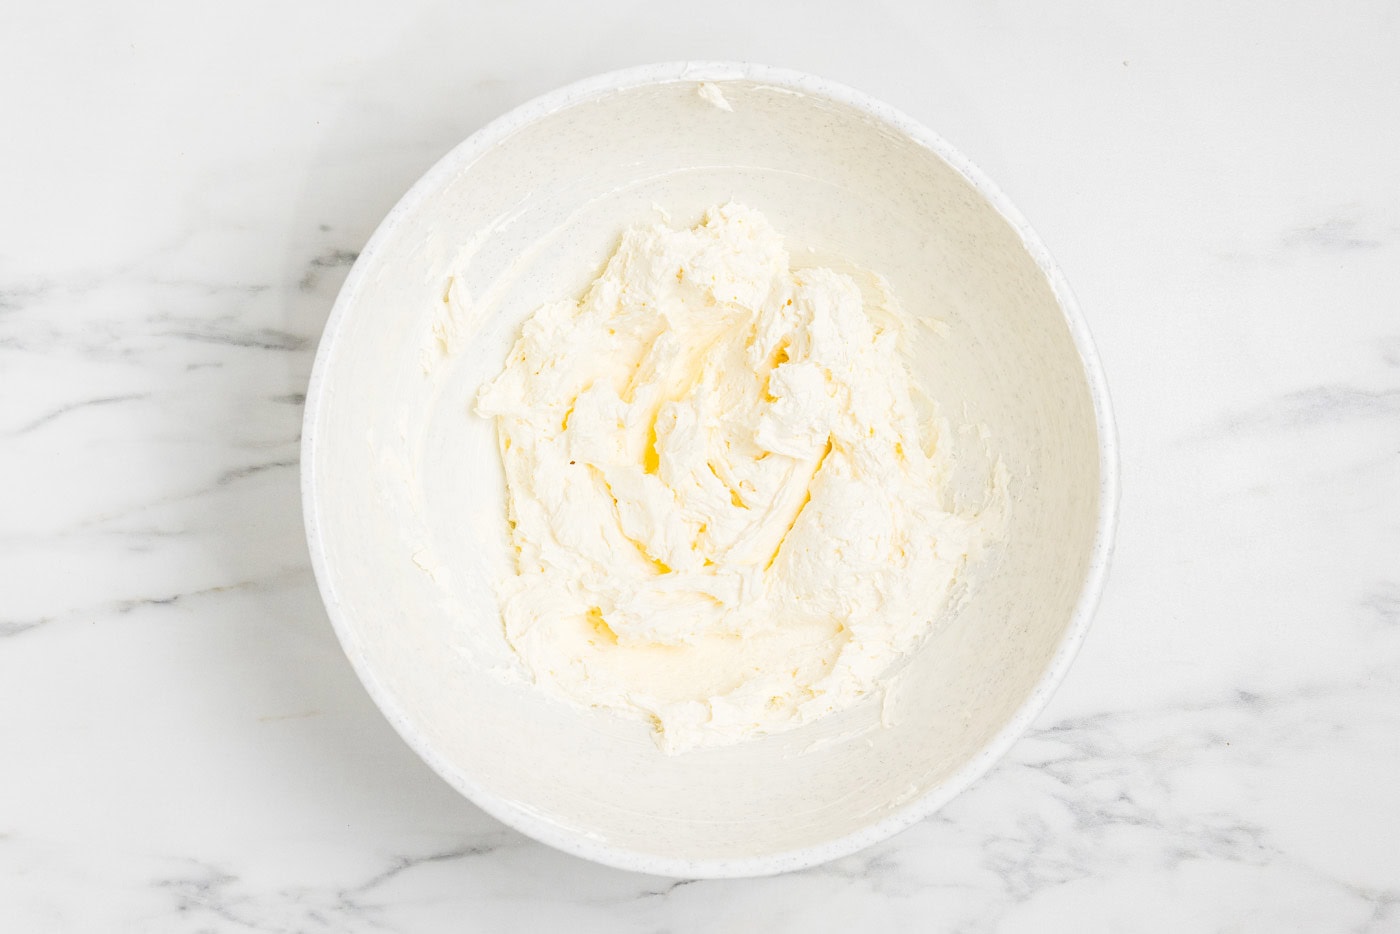
- In a separate bowl, whisk together the milk and instant chocolate pudding until smooth and the mixture begins to slightly thicken. Allow the mixture to set in the refrigerator for about 10 minutes.
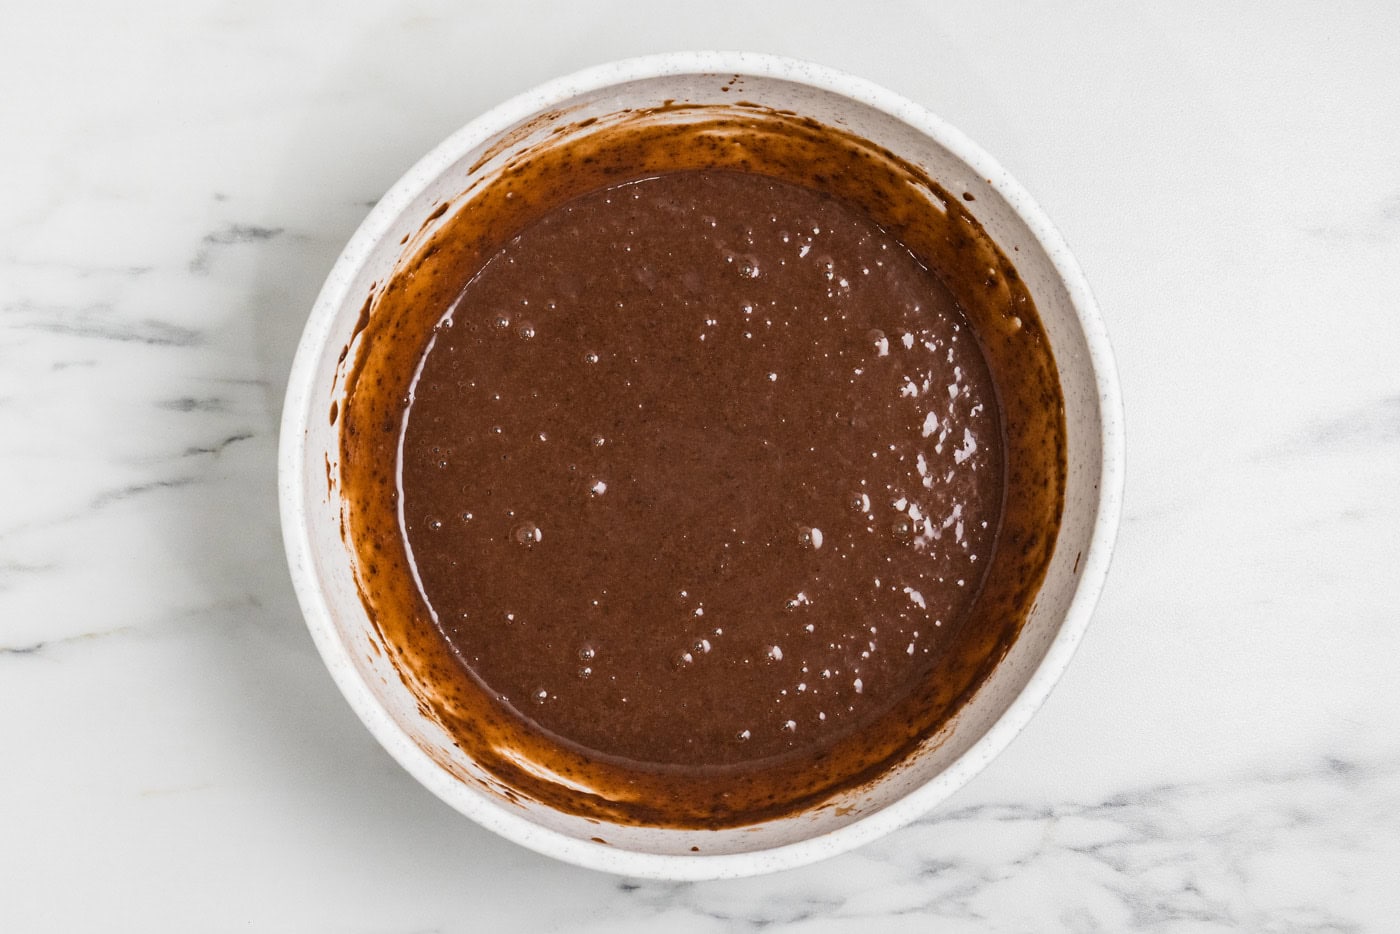
- Fold the cream cheese mixture into the pudding mixture.
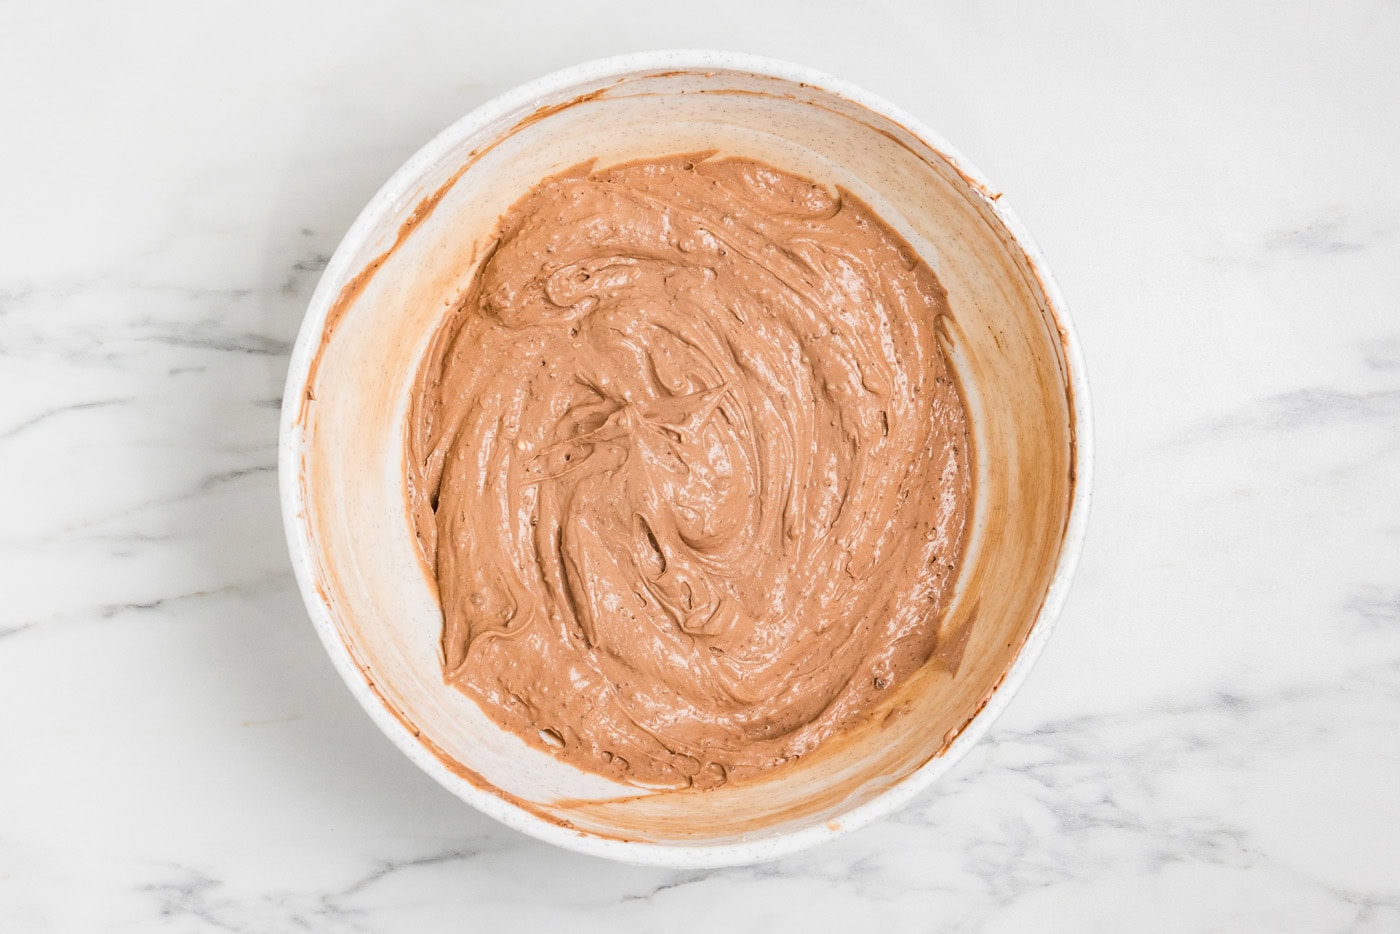
- Pour over the Oreo crust, spreading gently to evenly distribute.
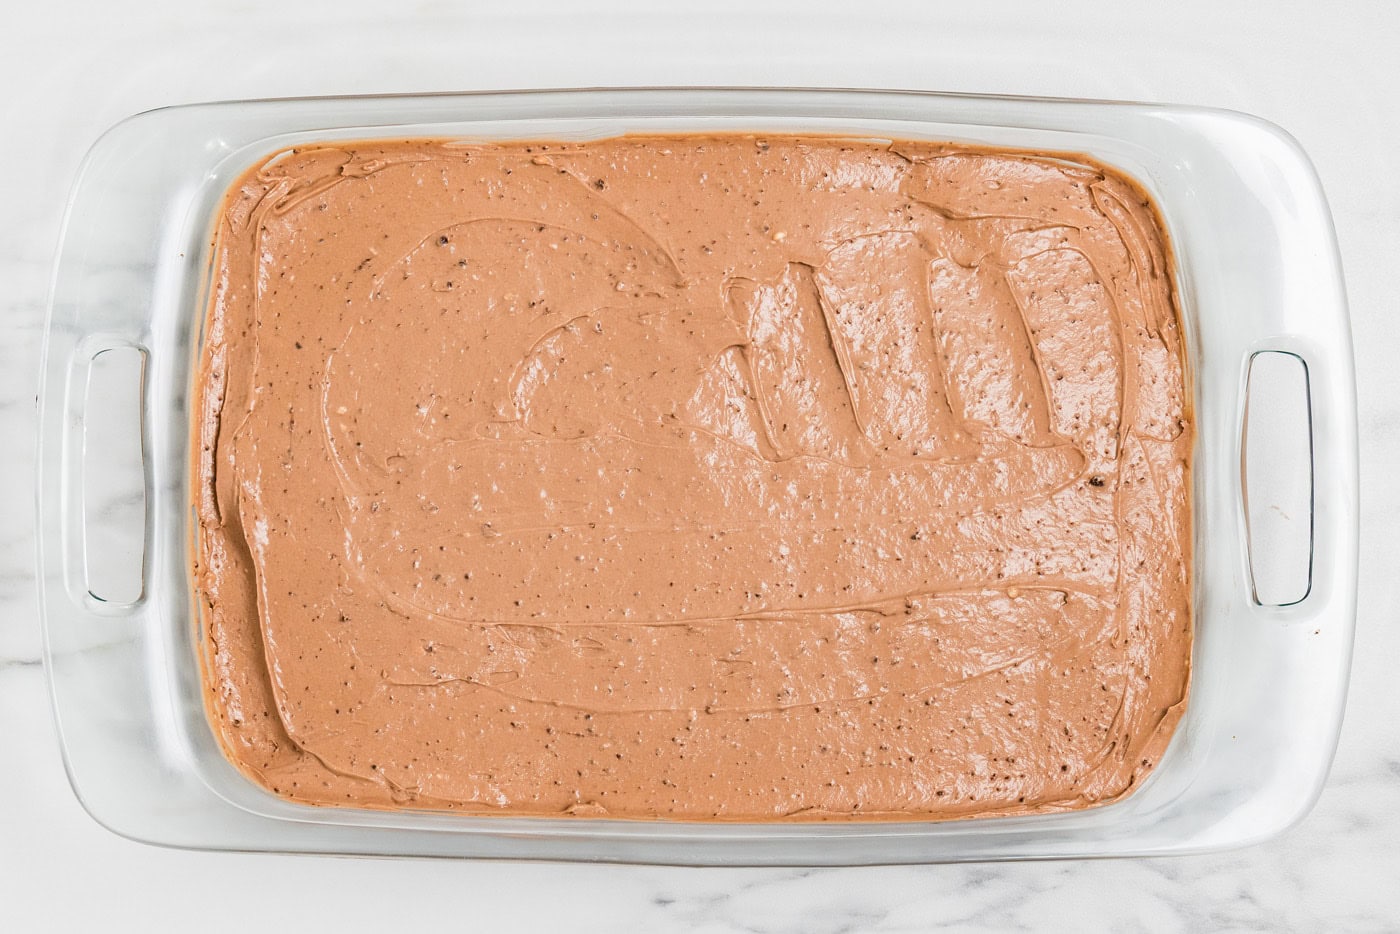
- Add the remaining Oreo crumbs evenly on top of the dessert.
- Cover and refrigerate for at minimum 3 hours or overnight.
For the Tombstones and Ghosts
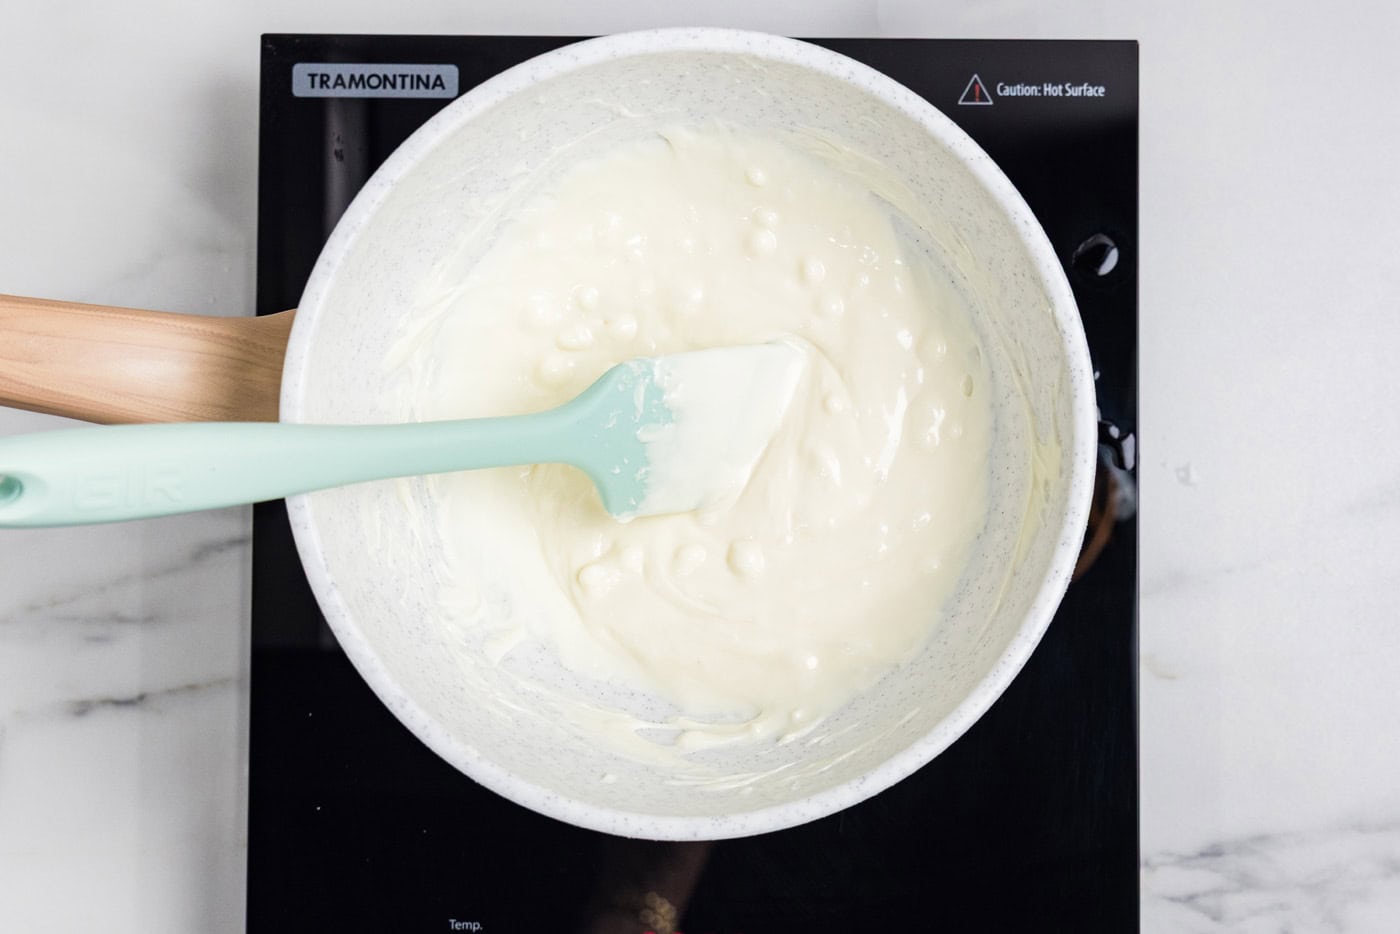
- Melt the white chocolate over a double boiler or in the microwave on 50% power. White chocolate scorches easily, so slow is the best way to melt it.
- Place 2 pieces of wax paper on your work surface.
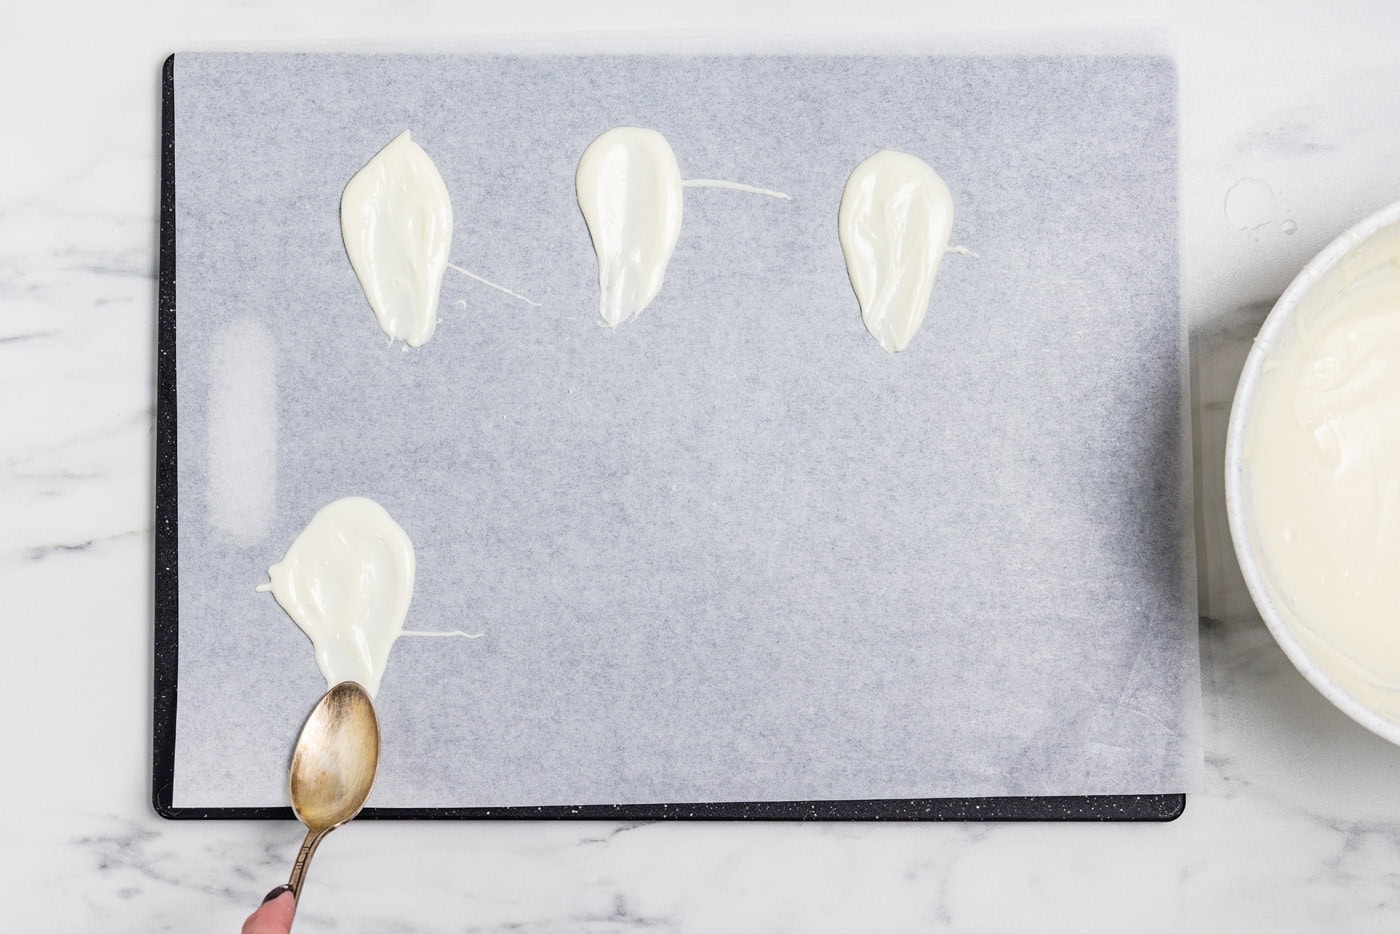
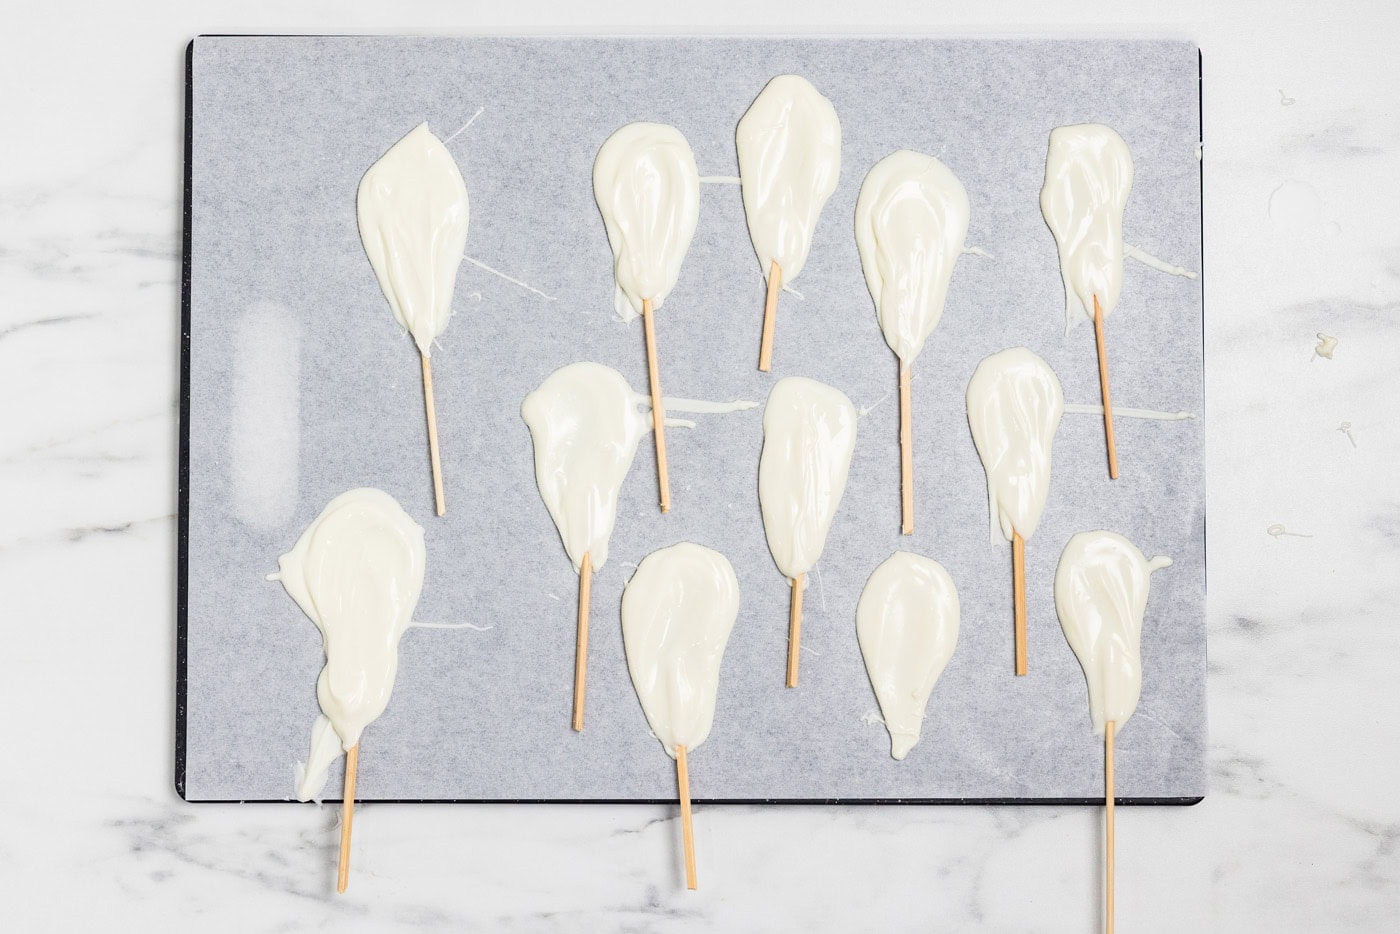
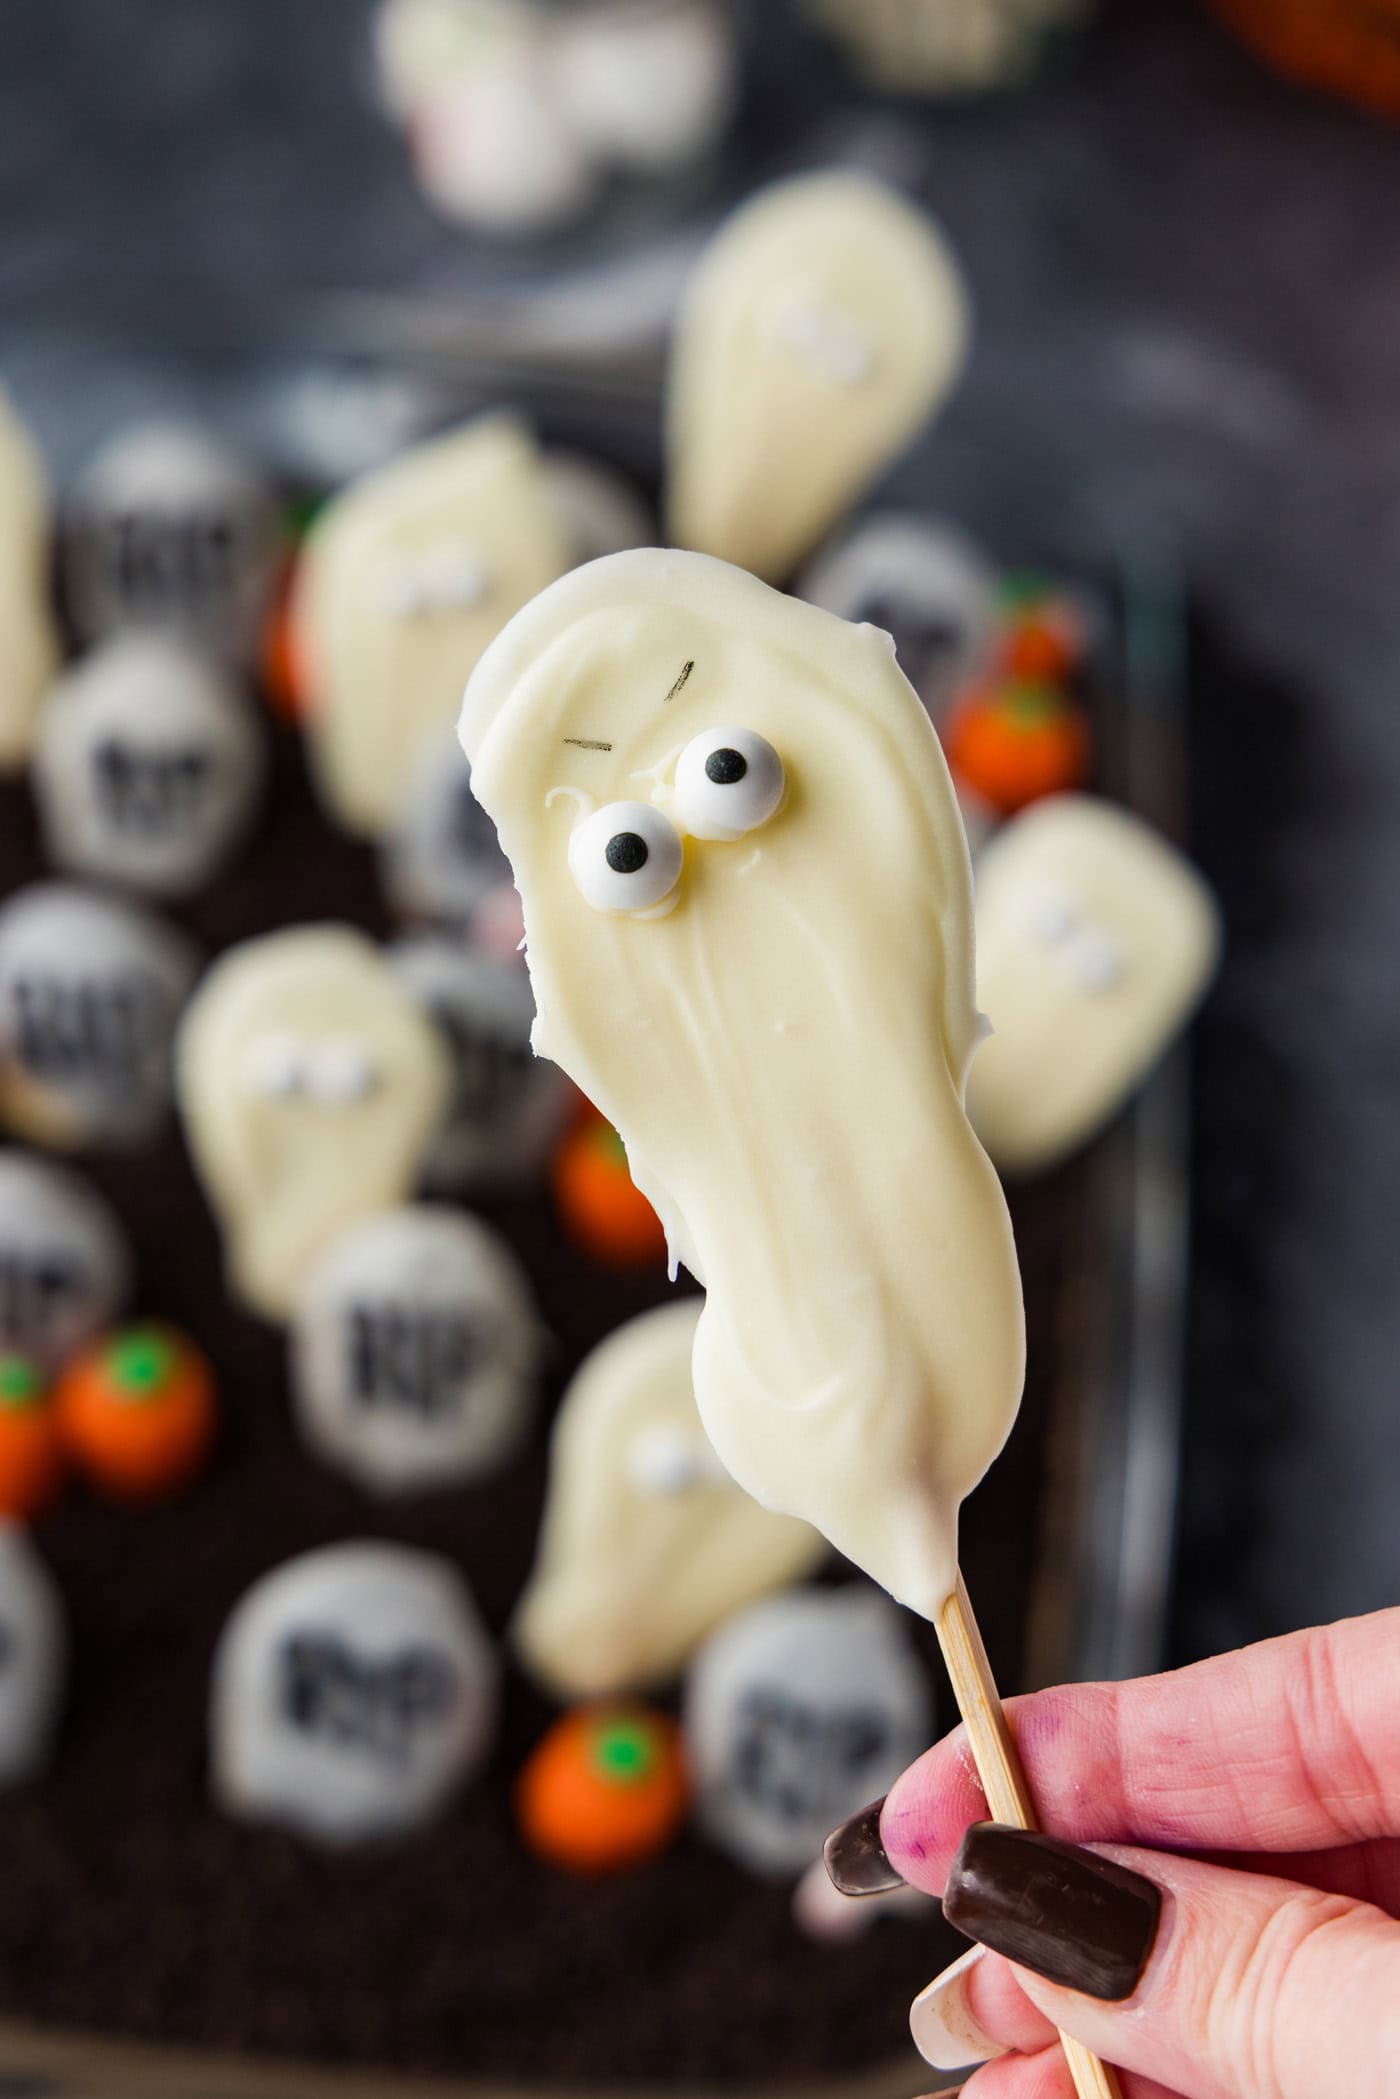
- To create ghosts, add a spoonful of melted white chocolate to the first waxed paper sheet, then use the back of the spoon to drag some of the chocolate downward. Dip the end of a lollipop stick into melted chocolate then add to the ghost body, twirling it to bury it in chocolate. Add small candy eyeballs then put aside to set completely. You can use an edible marker to add eyebrows after they have set.
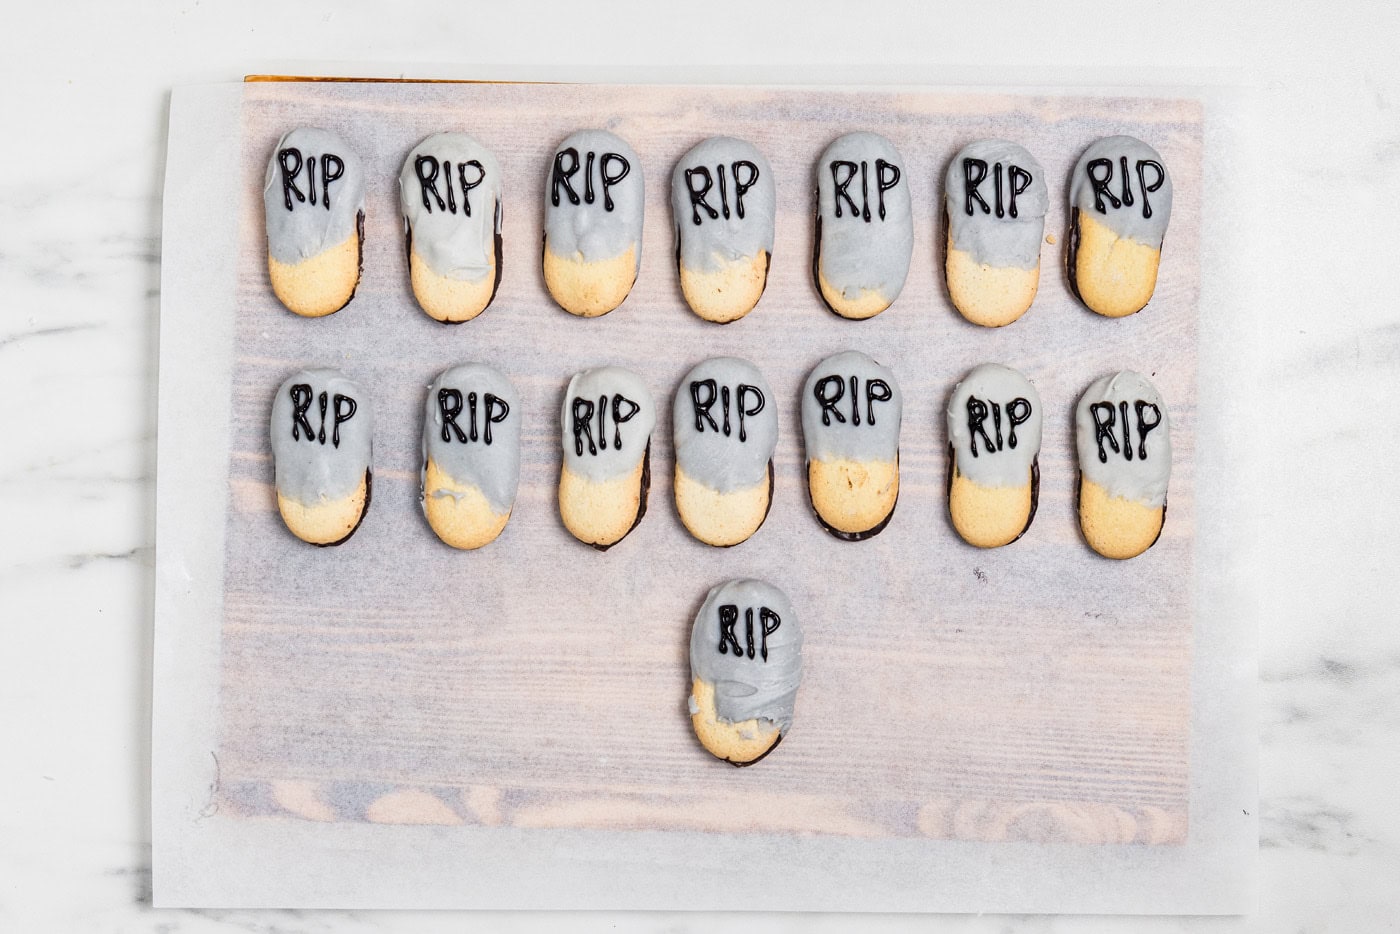
- To create tombstones, you can simply write RIP on the cookies themselves, or make the tombstones gray like we did. To do so, tint the remaining melted white chocolate with a small amount of black gel food coloring. Dip 2/3 of the cookie into the gray chocolate then place on second sheet of wax paper. Repeat for all cookies and allow chocolate to set completely. Once set, write RIP on the cookies with black decorator gel.
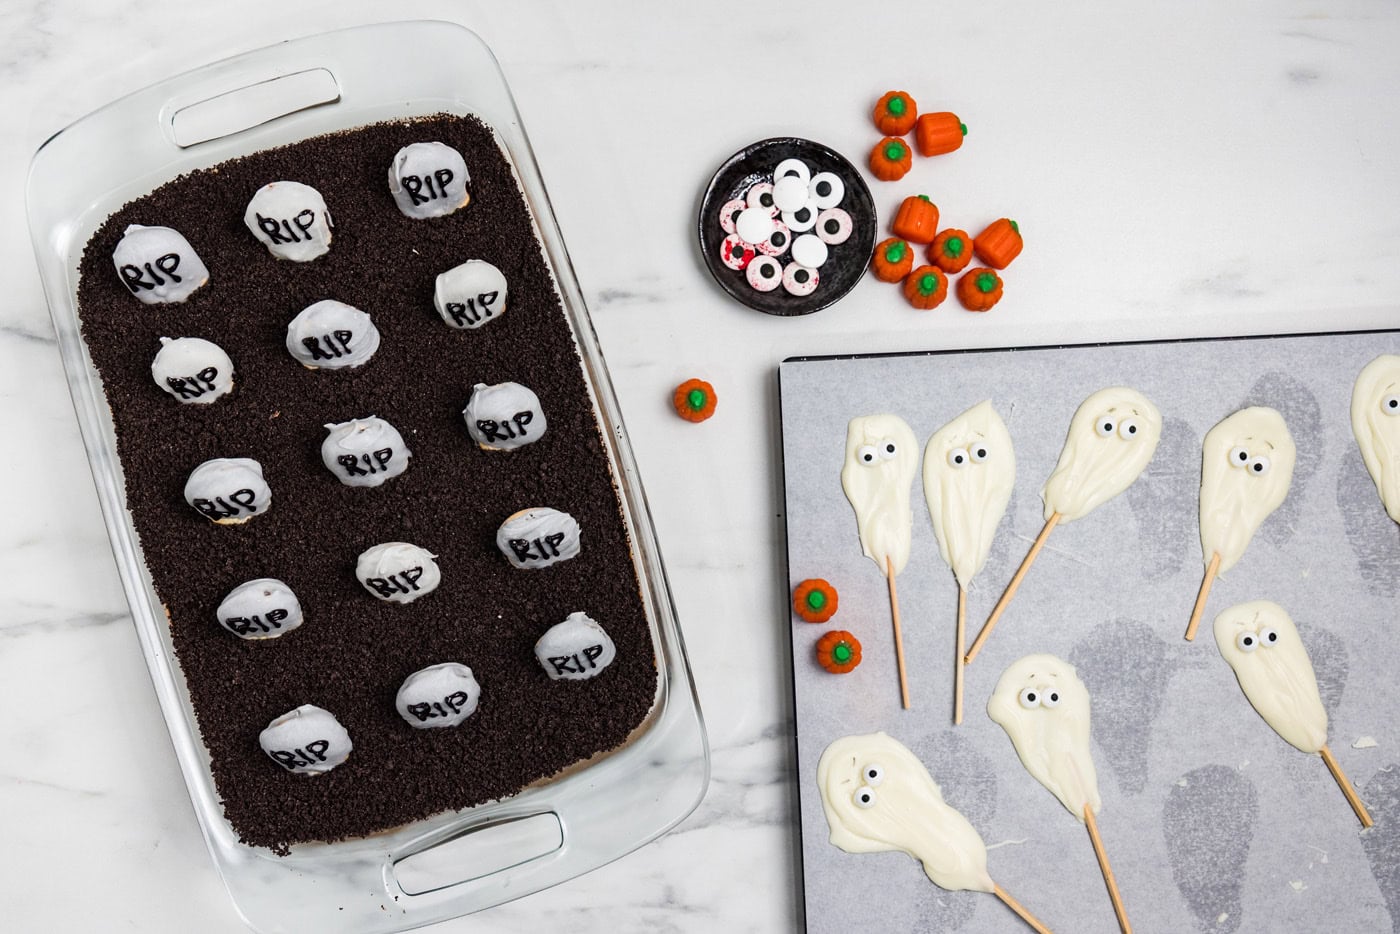
- Decorate with cookie tombstones, ghost pops, pumpkins, and eyeballs.
Frequently Asked Questions & Expert Tips
Yes, it’s better to make it ahead of time! Chill it at least 3 hours, though overnight is better, since the Oreo crust firms up and the layers stop shifting when you scoop. This is a scoopable dessert rather than a sliceable one, so you’re chilling it until it holds its layers on a spoon, not until it cuts into squares. You can decorate the day before as well, I tested this to be sure. If you have the choice, though, wait until after the chill to add the tombstones and ghosts. The cake is firmer by then and the decorations hold up more securely.
Yes. Nutter Butters will work the exact same. They’re noticeably wider than Milanos, so you’ll fit fewer tombstones across the pan and the graveyard will look a little sparser.
If your melted white chocolate is grainy, it seized, which happens when white chocolate gets too hot or when any water reaches it. Once it’s seized it isn’t revivable and you’ll need to start over. To avoid it, microwave at 50% power in short bursts and stir between each one, or use a double boiler making sure the bowl never touches the water and no steam escapes up the sides into the chocolate.
No. You can absolutely decorate the top as you please. It would look great with store bought Halloween candy if you prefer. If you’re worried about time, the decorations can be made a day or two ahead and stored in a single layer so you can assemble whenever!
We didn’t include gummy worms in our recipe, though you can easily add them if you want. I didn’t want it to look too busy given that it’s already decorated with tombstones, ghosts, pumpkins, and eyeballs. I use gummy worms in both my Halloween dirt cups and Halloween dirt cupcakes and think they’re super cute. Again, you can decorate it with whatever candies you see fit!
Storage and Freezing Information
Store the cake covered in the refrigerator for three to five days. The decorations should hold up just fine. For easier to grab portions, scoop the leftovers into single serving containers with lids.
To freeze, leave the decorations off. Prep the cake up through the dirt layer, cover the dish with an airtight lid, or wrap it in plastic wrap followed by aluminum foil, and freeze for up to three months. Thaw it overnight in the refrigerator, then add the tombstones, ghosts, pumpkins and eyeballs before serving.
Serving Suggestions
Serve your Halloween dirt cake straight from the dish with a big spoon. Pull it out of the refrigerator right before you serve, since the pudding layer is at its best cold and the white chocolate decorations start to look soft if they sit out too long.
It looks great as a Halloween dessert table centerpiece. Set it out with ghost brownies and mummy cookies so there’s some variety in shape and texture. For adult parties, pair it with a Frankenstein margarita. For the kids, candy corn punch is always fun!
If you want something savory on the same table, our graveyard taco dip fits the theme perfectly.
More Halloween Recipes
This one is for Halloween, but the same no bake dirt cake works year round. Our Easter dirt cake is the spring version with vanilla pudding instead of chocolate. If you want a dessert that genuinely horrified a room full of sixth graders, the kitty litter cake is always a hit.
I love to bake and cook and share my kitchen experience with all of you! Remembering to come back each day can be tough, that’s why I offer a convenient newsletter every time a new recipe posts. Simply subscribe and start receiving your free daily recipes!
Halloween Dirt Cake
IMPORTANT – There are often Frequently Asked Questions within the blog post that you may find helpful. Simply scroll back up to read them!
Print It Pin It Rate ItIngredients
- 19.1 ounce Oreos regular stuffed, crushed and divided
- 8 Tablespoons unsalted butter softened at room temp
- 8 ounces cream cheese brick-style, softened at room temp
- 1 cup powdered sugar
- 1 teaspoon vanilla extract
- 8 ounces Cool Whip
- 6.8 ounces instant chocolate pudding two 3.4 ounce boxes
- 3 cups milk
- 7.5 ounces Milano cookies
- black decorator gel
Optional Decorations
- 12 ounces white chocolate chips
- black gel food coloring
- candy pumpkins
- large candy eyeballs
- small candy eyeballs
- black edible marker
Things You’ll Need
Before You Begin
- Take the cream cheese and unsalted butter out ahead of time. Both need to be properly soft or the filling will be lumpy. You’ll also want to thaw your Cool Whip before beginning.
- Use instant pudding, not cook and serve. Cook and serve sets too firm for this.
- White chocolate scorches easily. Melt it at 50% power or over a double boiler, slowly.
- Decorate after the chill if you can. The cake is firmer by then and the tombstones sit more securely in the dirt.
- If you don’t have a double boiler, fill a saucepan halfway with water and bring it to a boil. Place a bowl on top that just fits, making sure the bowl doesn’t touch the water. Put the white chocolate chips in the bowl and turn the heat down to a simmer. Let the chocolate begin to melt, stirring as it goes. When it can be stirred but there are still unmelted pieces, turn the heat off. The steam will finish melting it. Keep stirring until all the pieces are gone.
Instructions
- Add Oreos (filling included) to a food processor and blend until they reach a fine crumb. You can also place them in a large zip-top bag and crush them with a rolling pin.19.1 ounce Oreos
- Set aside 1/3 (around 9-10 cookies worth) of the Oreo mixture for the top of the cake. Press the remaining Oreo crumbs evenly into the bottom of a 13×9 pan.
- With a hand mixer, combine the butter and cream cheese, beating until smooth and creamy, about 25-45 seconds.8 ounces cream cheese, 8 Tablespoons unsalted butter
- Add the powdered sugar and vanilla extract, mixing to combine on low speed.1 cup powdered sugar, 1 teaspoon vanilla extract
- Fold the cool whip into the cream cheese mixture with a rubber spatula.8 ounces Cool Whip
- In a separate bowl, whisk together the milk and instant chocolate pudding until smooth and the mixture begins to slightly thicken. Allow the mixture to set in the refrigerator for about 10 minutes.6.8 ounces instant chocolate pudding, 3 cups milk
- Fold the cream cheese mixture into the pudding mixture.
- Pour over the Oreo crust, spreading gently to evenly distribute.
- Add the remaining Oreo crumbs evenly on top of the dessert.
- Cover and refrigerate for at minimum 3 hours or overnight.
For the Tombstones and Ghosts
- Melt the white chocolate over a double boiler or in the microwave on 50% power. White chocolate scorches easily, so slow is the best way to melt it.12 ounces white chocolate chips
- Place 2 pieces of wax paper on your work surface.
- To create ghosts, add a spoonful of melted white chocolate to the first waxed paper sheet, then use the back of the spoon to drag some of the chocolate downward. Dip the end of a lollipop stick into melted chocolate then add to the ghost body, twirling it to bury it in chocolate. Add small candy eyeballs then put aside to set completely. You can use an edible marker to add eyebrows after they have set.
- To create tombstones, you can simply write RIP on the cookies themselves, or make the tombstones gray like we did. To do so, tint the remaining melted white chocolate with a small amount of black gel food coloring. Dip 2/3 of the cookie into the gray chocolate then place on second sheet of wax paper. Repeat for all cookies and allow chocolate to set completely. Once set, write RIP on the cookies with black decorator gel.7.5 ounces Milano cookies
- Decorate cake with cookie tombstones, ghost pops, pumpkins, and eyeballs. See below.
Expert Tips & FAQs
- Nutritional analysis only accounts for the cake ingredients, as not everyone will consume the cookies and candy. Check the cookie package for nutritional information.
- Chill at least 3 hours, though overnight is better. This is a scoopable dessert, not a sliceable one.
- Store the cake covered in the refrigerator for three to five days. The decorations should hold up just fine. For easier to grab portions, scoop the leftovers into single serving containers with lids.
- To freeze, leave the decorations off. Prep the cake up through the dirt layer, cover the dish with an airtight lid, or wrap it in plastic wrap followed by aluminum foil, and freeze for up to three months. Thaw it overnight in the refrigerator, then add the tombstones, ghosts, pumpkins and eyeballs before serving.
Nutrition
The recipes on this blog are tested with a conventional gas oven and gas stovetop. It’s important to note that some ovens, especially as they age, can cook and bake inconsistently. Using an inexpensive oven thermometer can assure you that your oven is truly heating to the proper temperature. If you use a toaster oven or countertop oven, please keep in mind that they may not distribute heat the same as a conventional full sized oven and you may need to adjust your cooking/baking times. In the case of recipes made with a pressure cooker, air fryer, slow cooker, or other appliance, a link to the appliances we use is listed within each respective recipe. For baking recipes where measurements are given by weight, please note that results may not be the same if cups are used instead, and we can’t guarantee success with that method.
- Halloween Dirt Cake - October 14, 2026
- Graveyard Taco Dip - October 13, 2026
- Halloween Pretzel Cigarettes - October 7, 2026








Leave a Reply