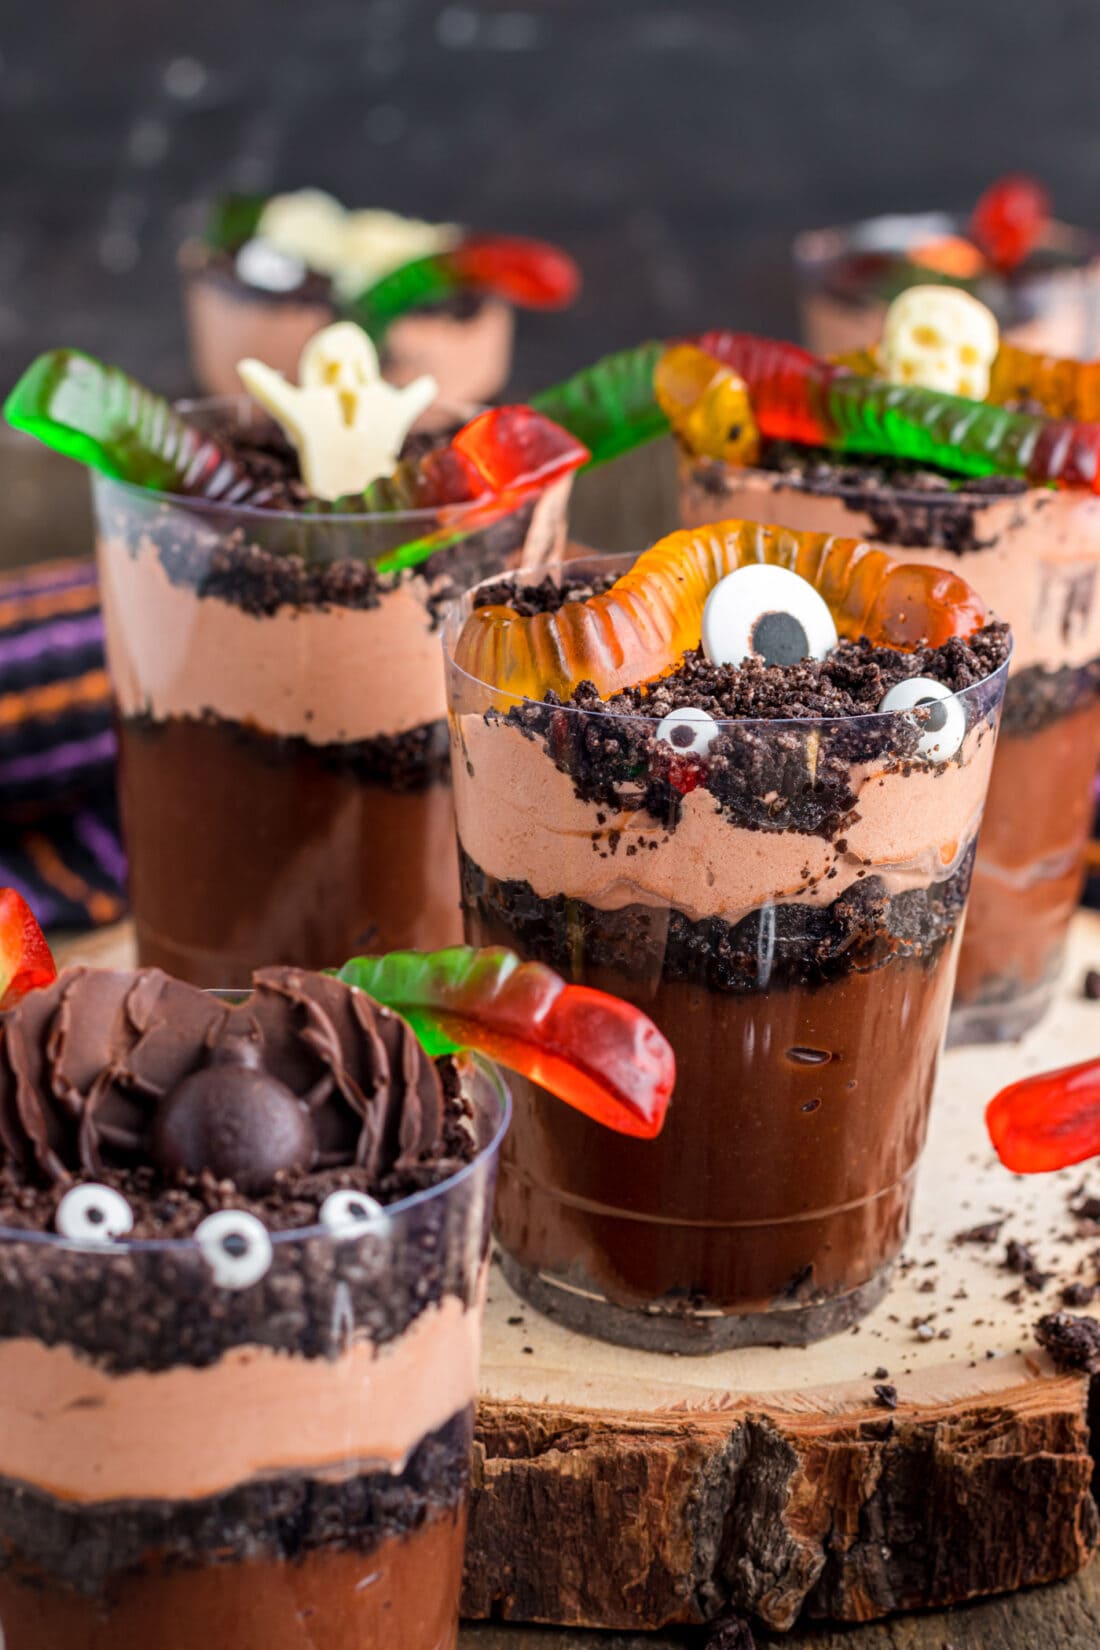
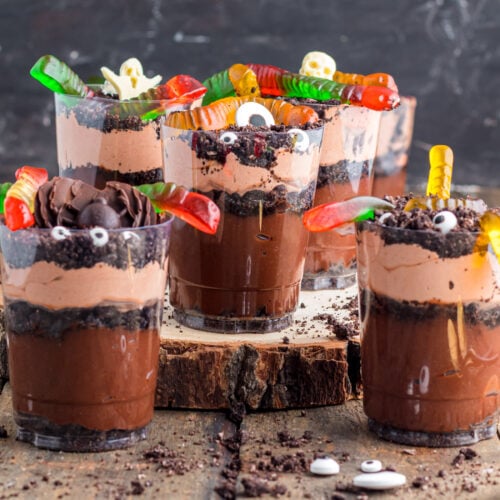
These Halloween dirt cups are filled with chocolate pudding, Cool Whip, crushed Oreos, spooky candies, and creepy crawlies. They’re the perfect little Halloween party dessert for both kids and adults!
Why this recipe works
Halloween has got to be my favorite holiday for fun treats and appetizers from spider web taco dip to witch finger cookies and beyond. These Halloween dirt cups fit snuggly into our arsenal of all things creepy-cute, and they couldn’t be easier to whip together using instant pudding, milk, Cool Whip, and Oreo cookies plus all the festive-themed candy and decorations you can conjure up in your crystal ball.
These dirt cups really are such a fun addition to a Halloween dessert spread whether the party is for adults or kids. Just about everyone can get behind a sweet chocolate pudding and Oreo cookie combination, right?
Ingredients you will need
Get all measurements, ingredients, and instructions in the printable version at the end of this post.
Ingredient Info and Substitution Suggestions
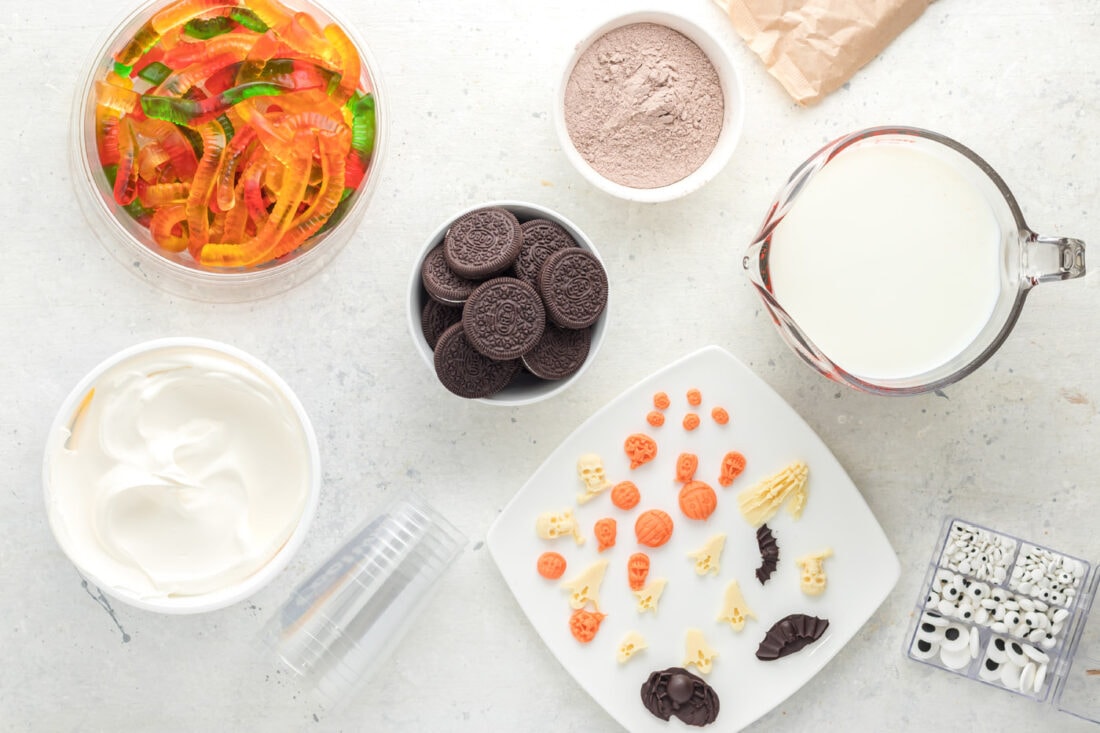
PUDDING – To creep-it-realistic, use instant chocolate pudding to mimic the look of dirt. However, you can certainly use any flavor of pudding you would like if you want to switch it up a bit. We are using instant pudding here. If you are using regular pudding, follow the directions and ingredients needed on the back of your pudding box to prepare.
COOL WHIP – If you prefer not to use the cool whip you can skip it and just layer the pudding and dirt. It simply creates more visual layering while adding a creamy-fluffy layer in between.
OREOS – You will add the entire Oreo, cream included, to the food processor.
How to Make Halloween Dirt Cups
These step by step photos and instructions are here to help you visualize how to make this recipe. You can Jump to Recipe to get the printable version of this recipe, complete with measurements and instructions at the bottom.
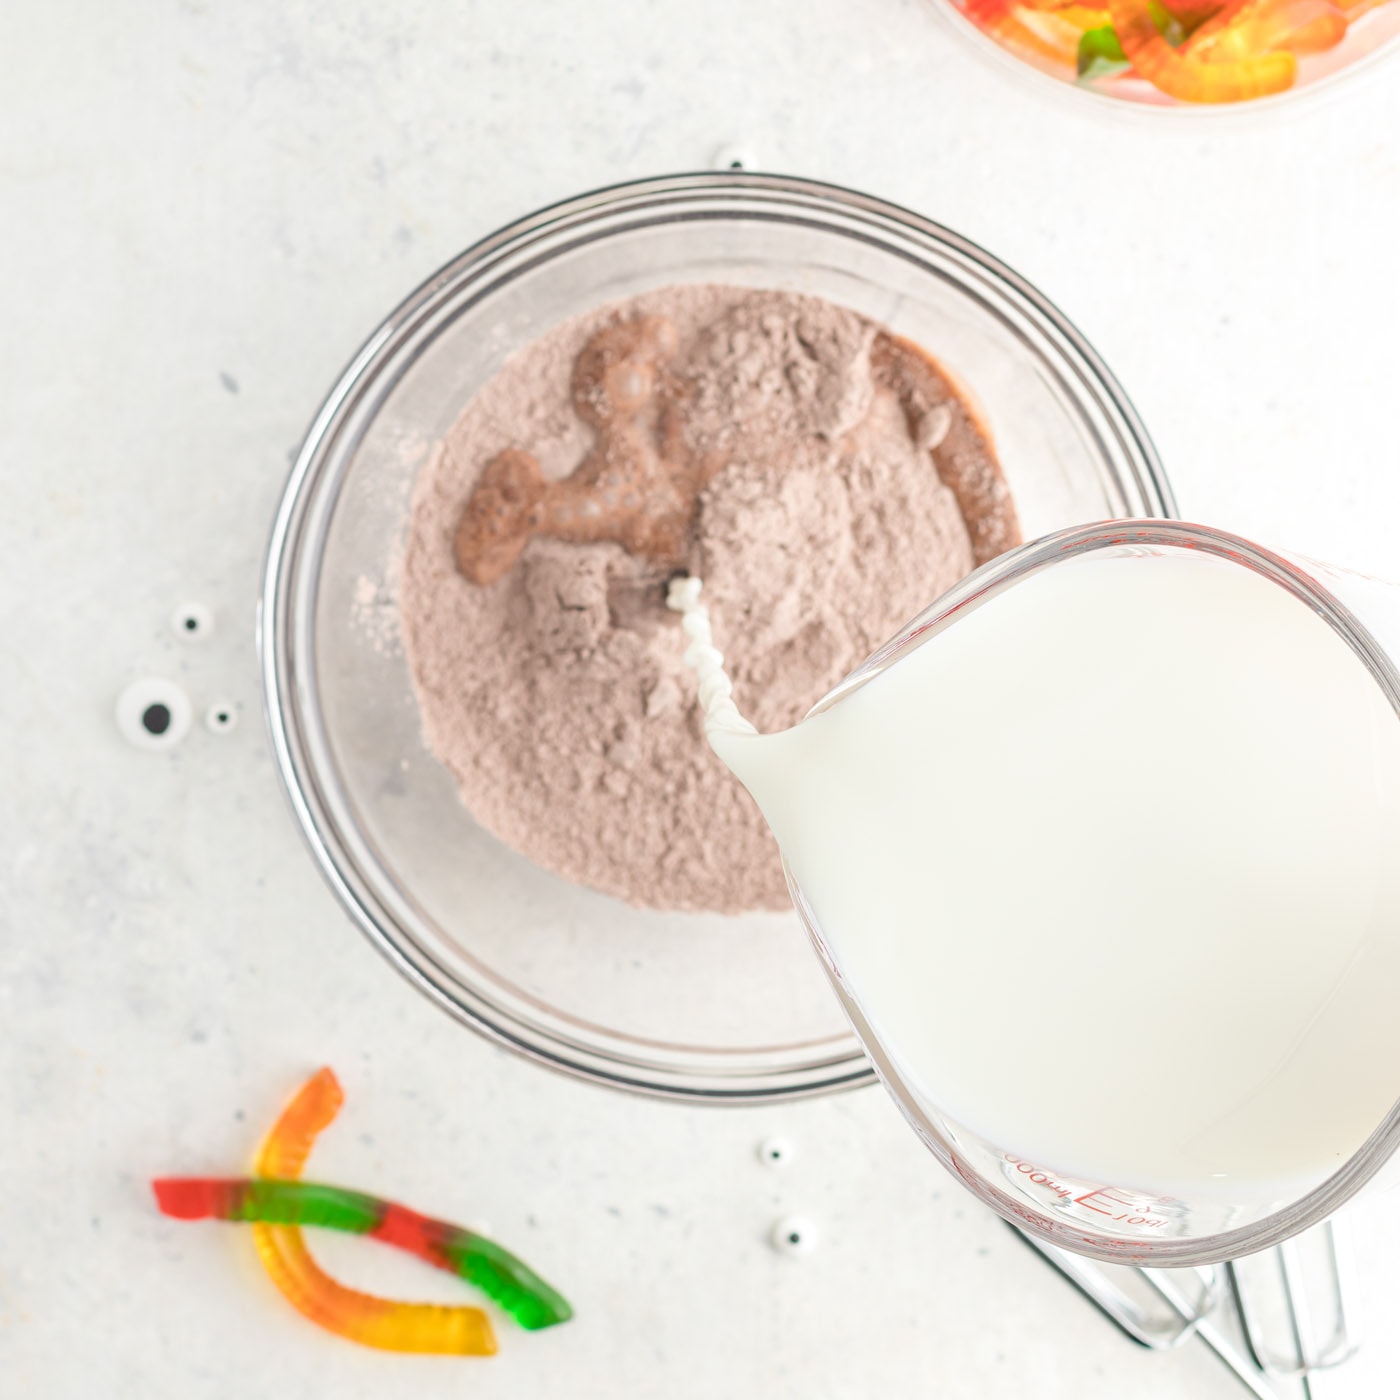
- Add the 2 packages of chocolate instant pudding and 4 cups of milk to a large bowl. Mix with an electric mixer starting on low speed and switching to medium speed until it becomes a thick pudding consistency and is thoroughly combined (about 2-3 minutes).
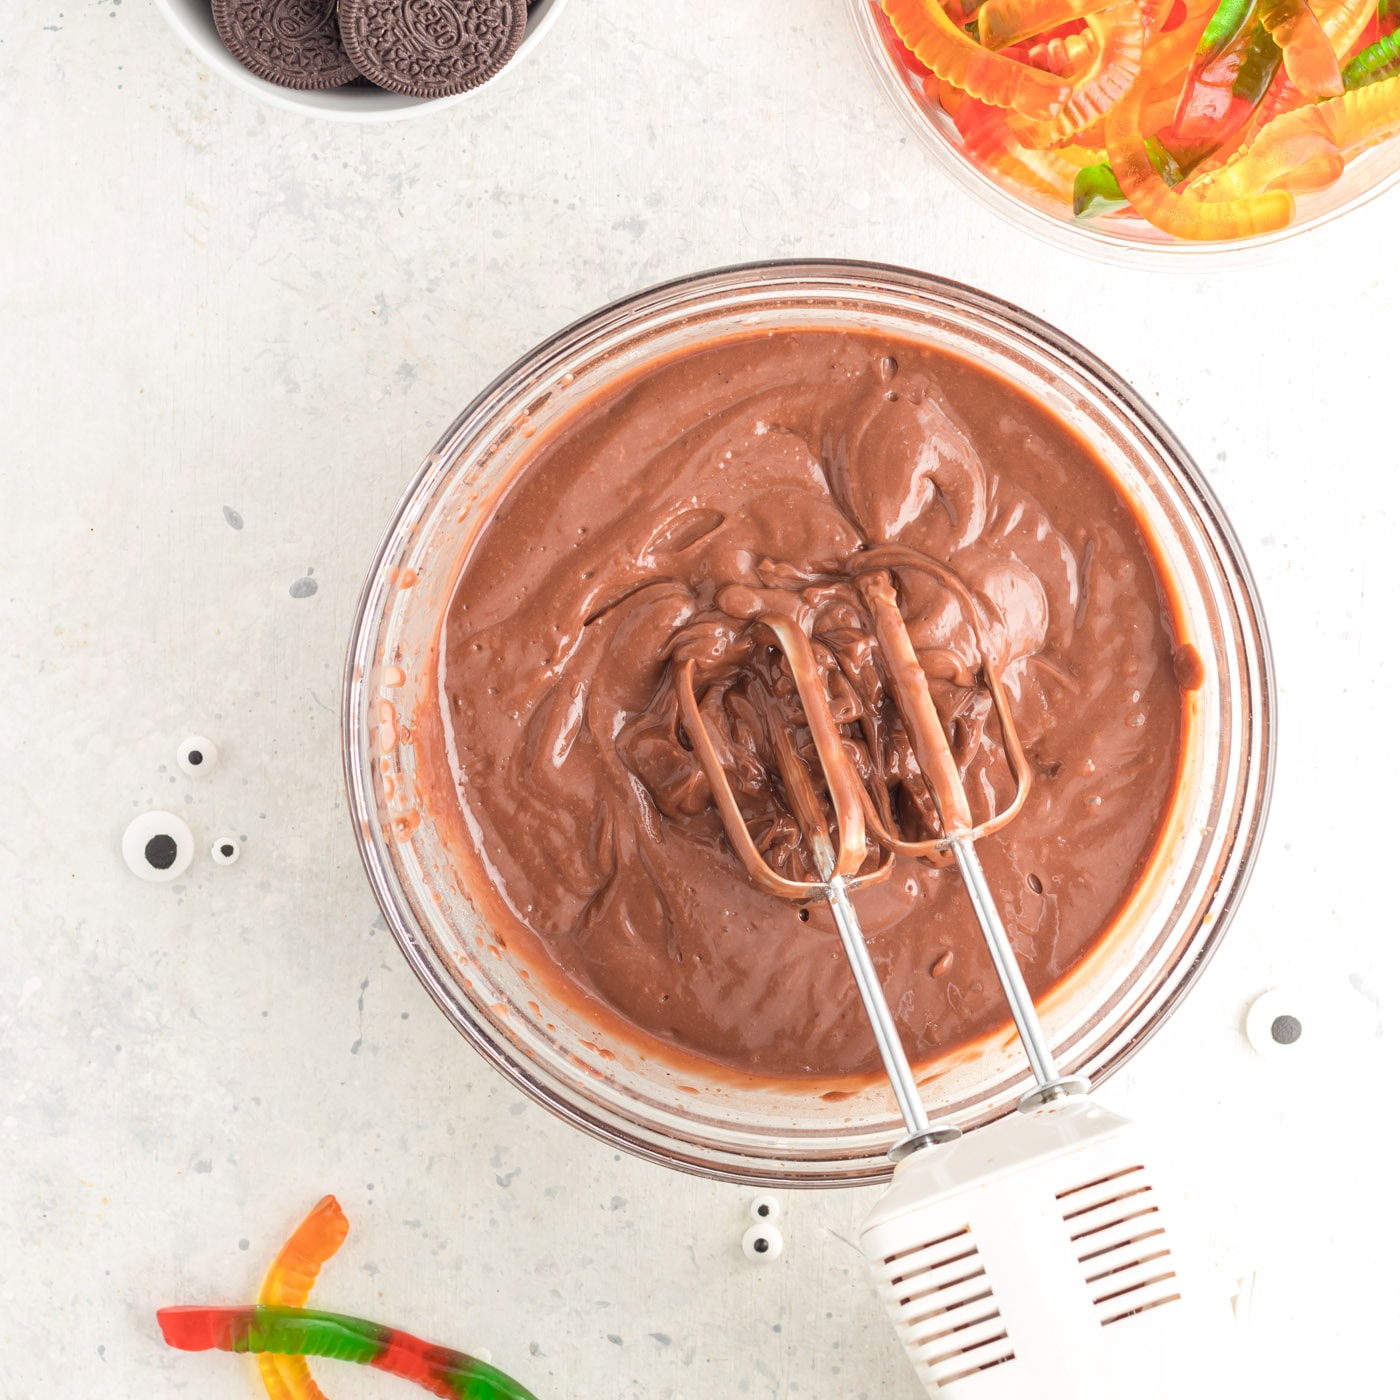
- In a medium bowl, add 1 cup of thawed cool whip and 1 cup of the chocolate pudding from step 1. Mix on medium speed until combined, about 2 minutes.
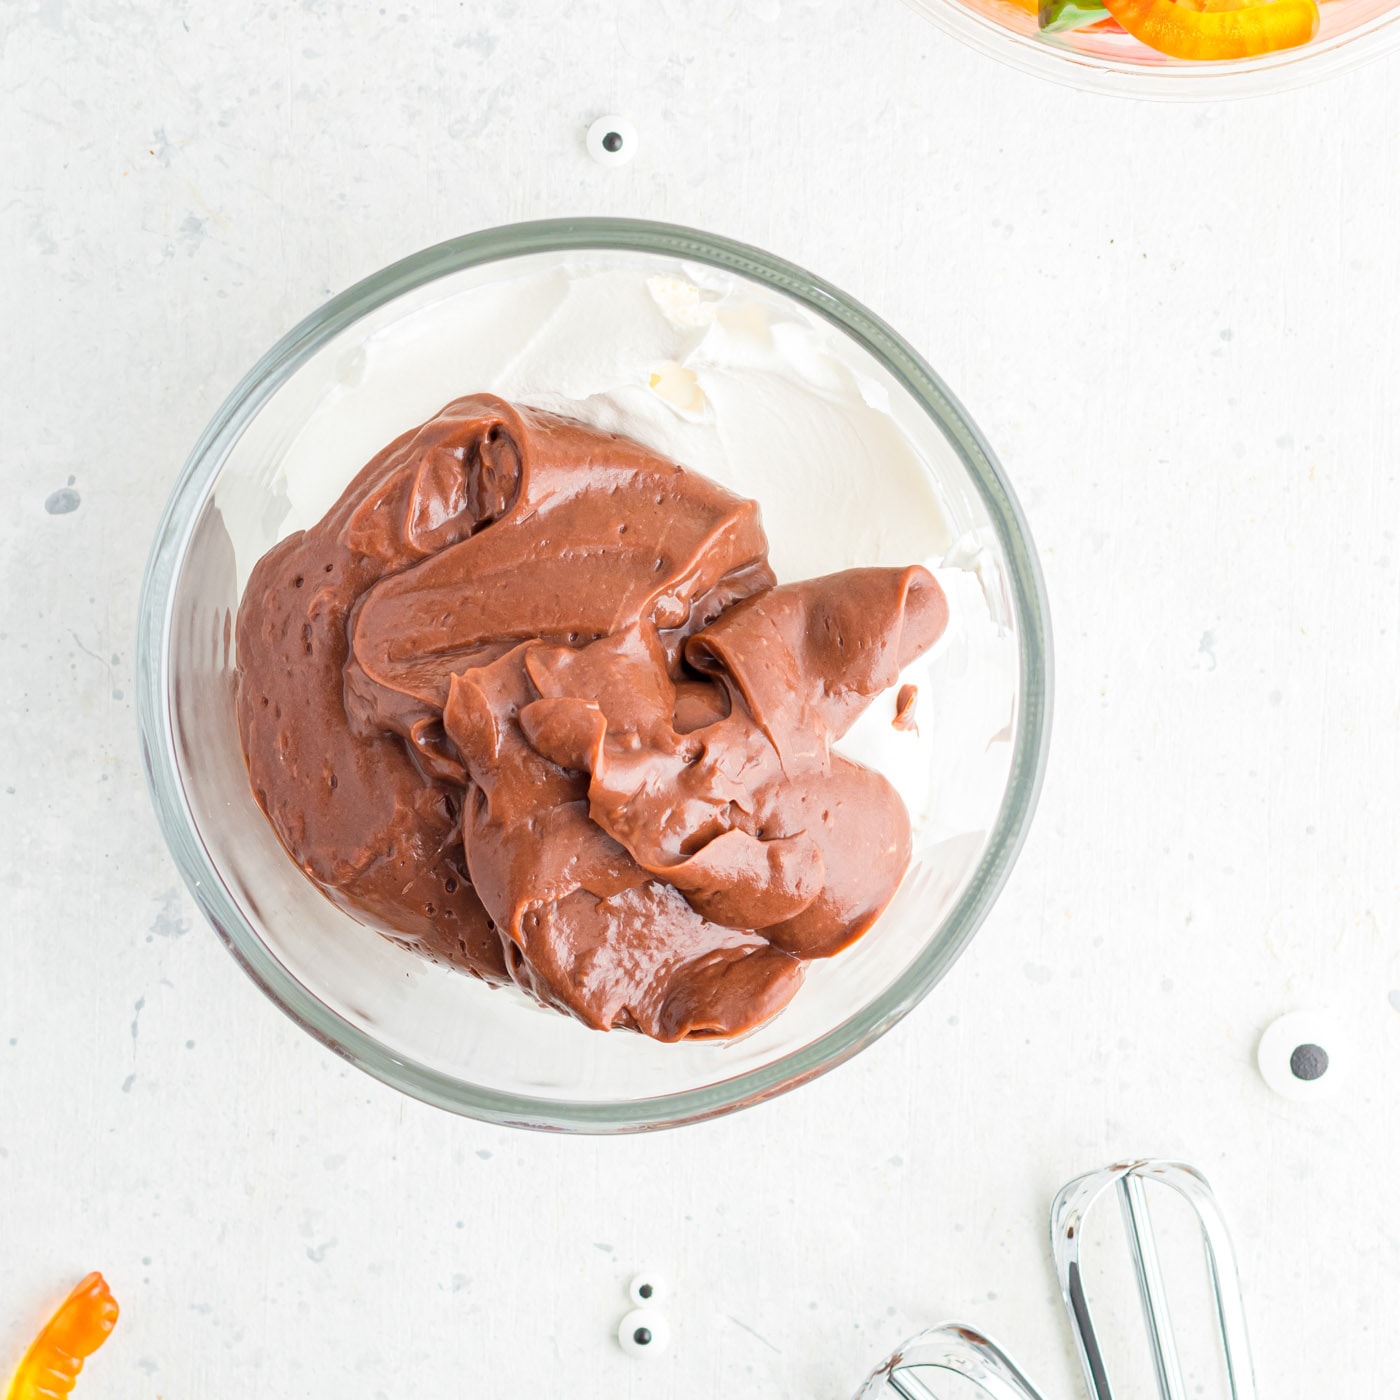
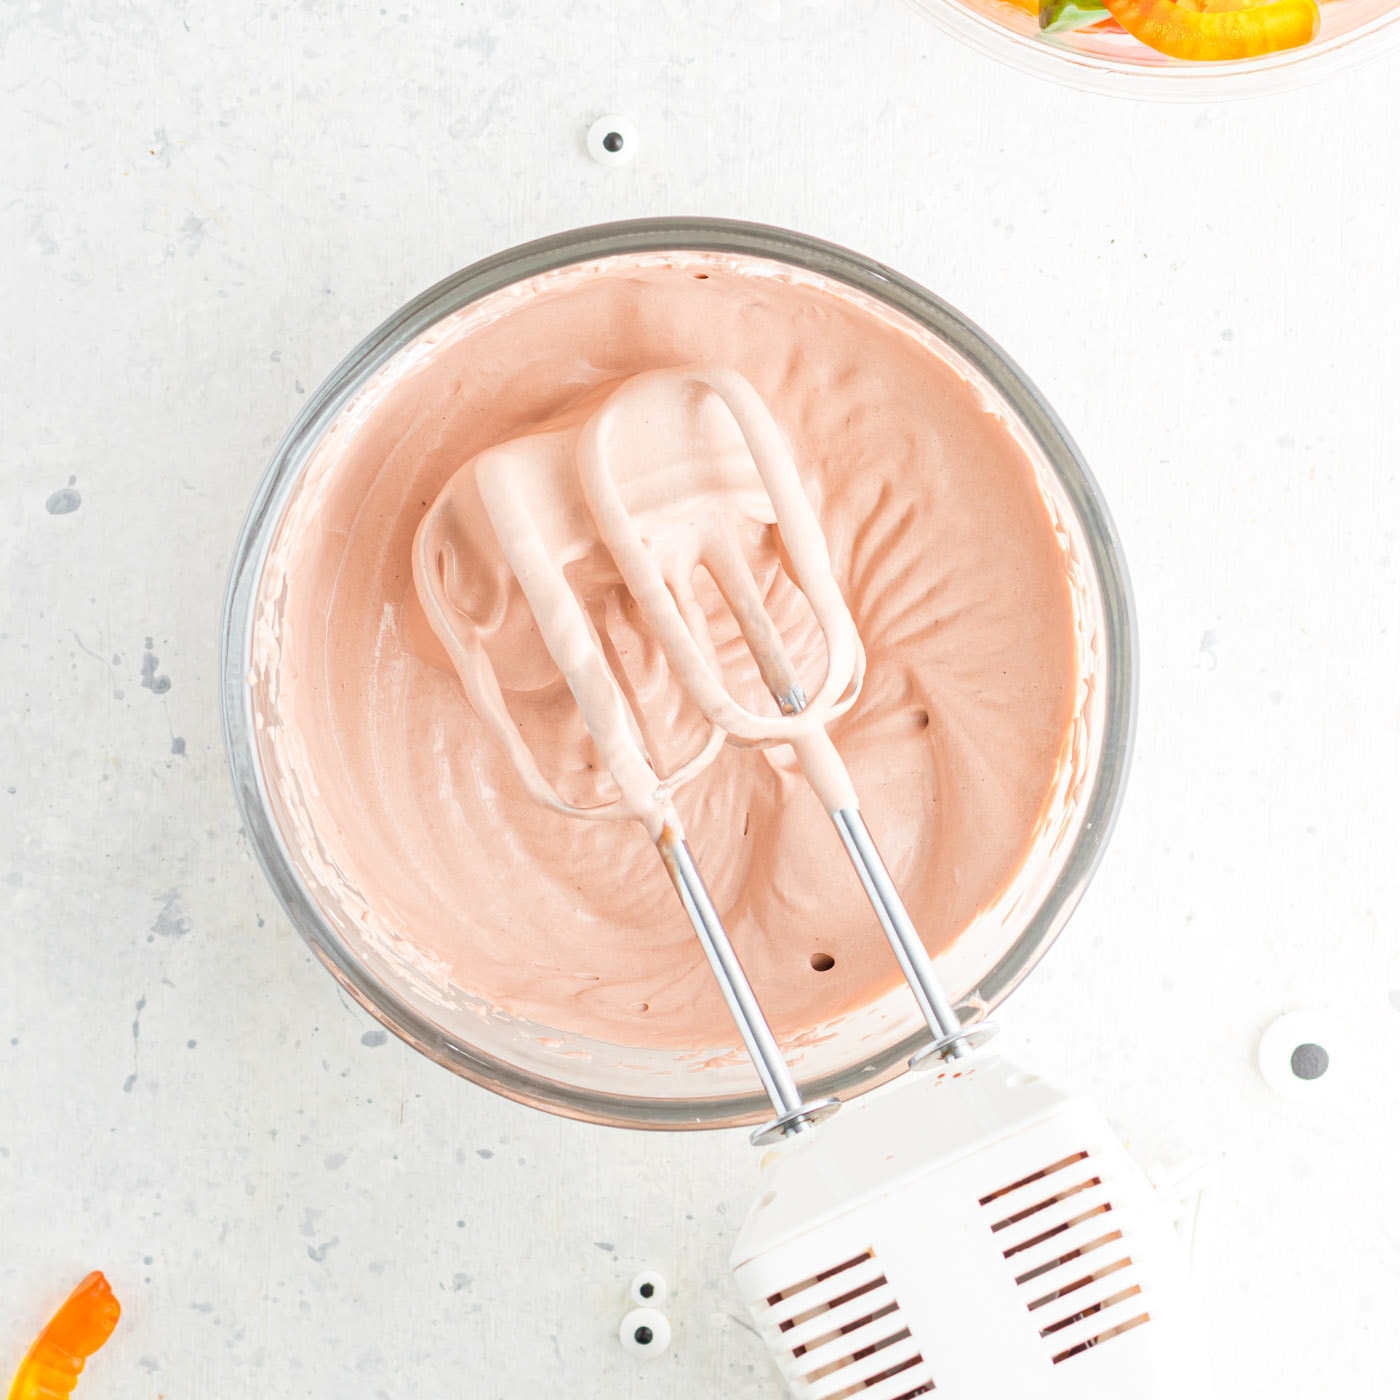
- Place pudding and whipped topping mixture in the refrigerator while you prepare the “dirt”.
- Place Oreos in the base of a food processor and pulse until medium-fine crumbs are created.
EXPERT TIP – If you do not have a food processor, you can crush the Oreos by placing them in a zip top bag and rolling over them with a rolling pin until completely crushed into crumbs.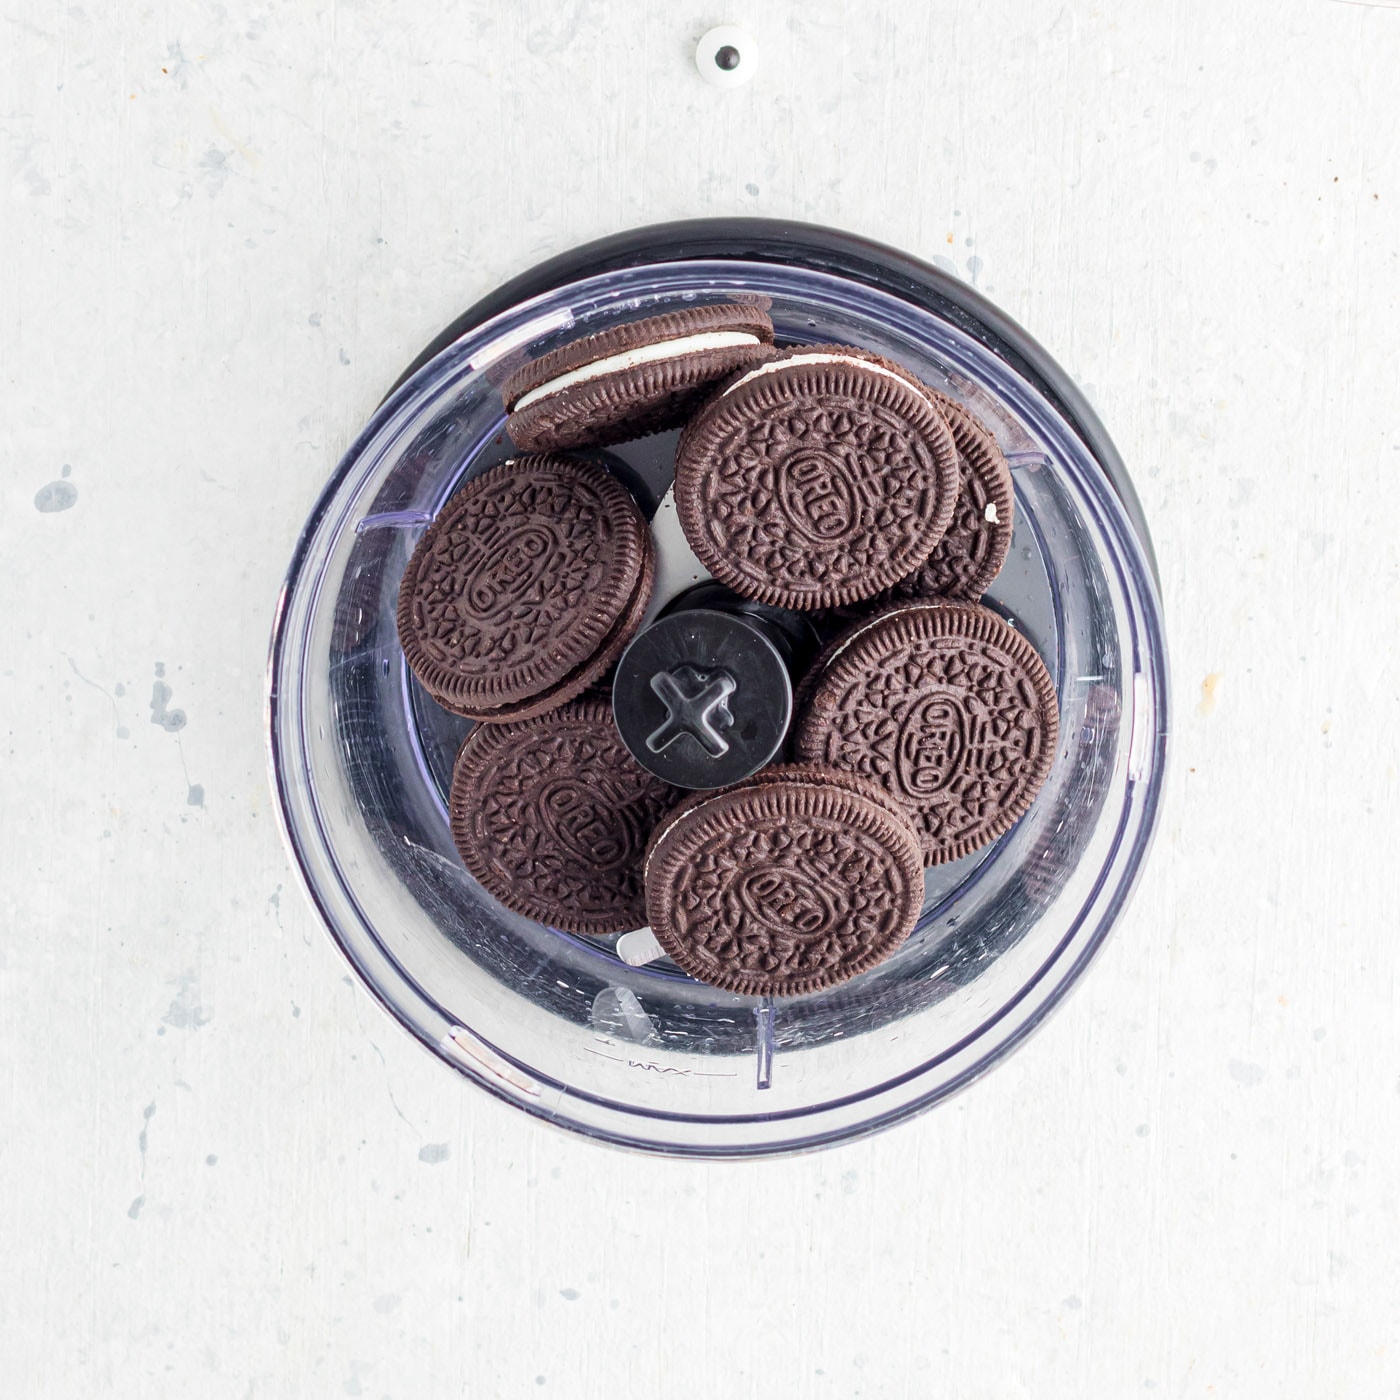
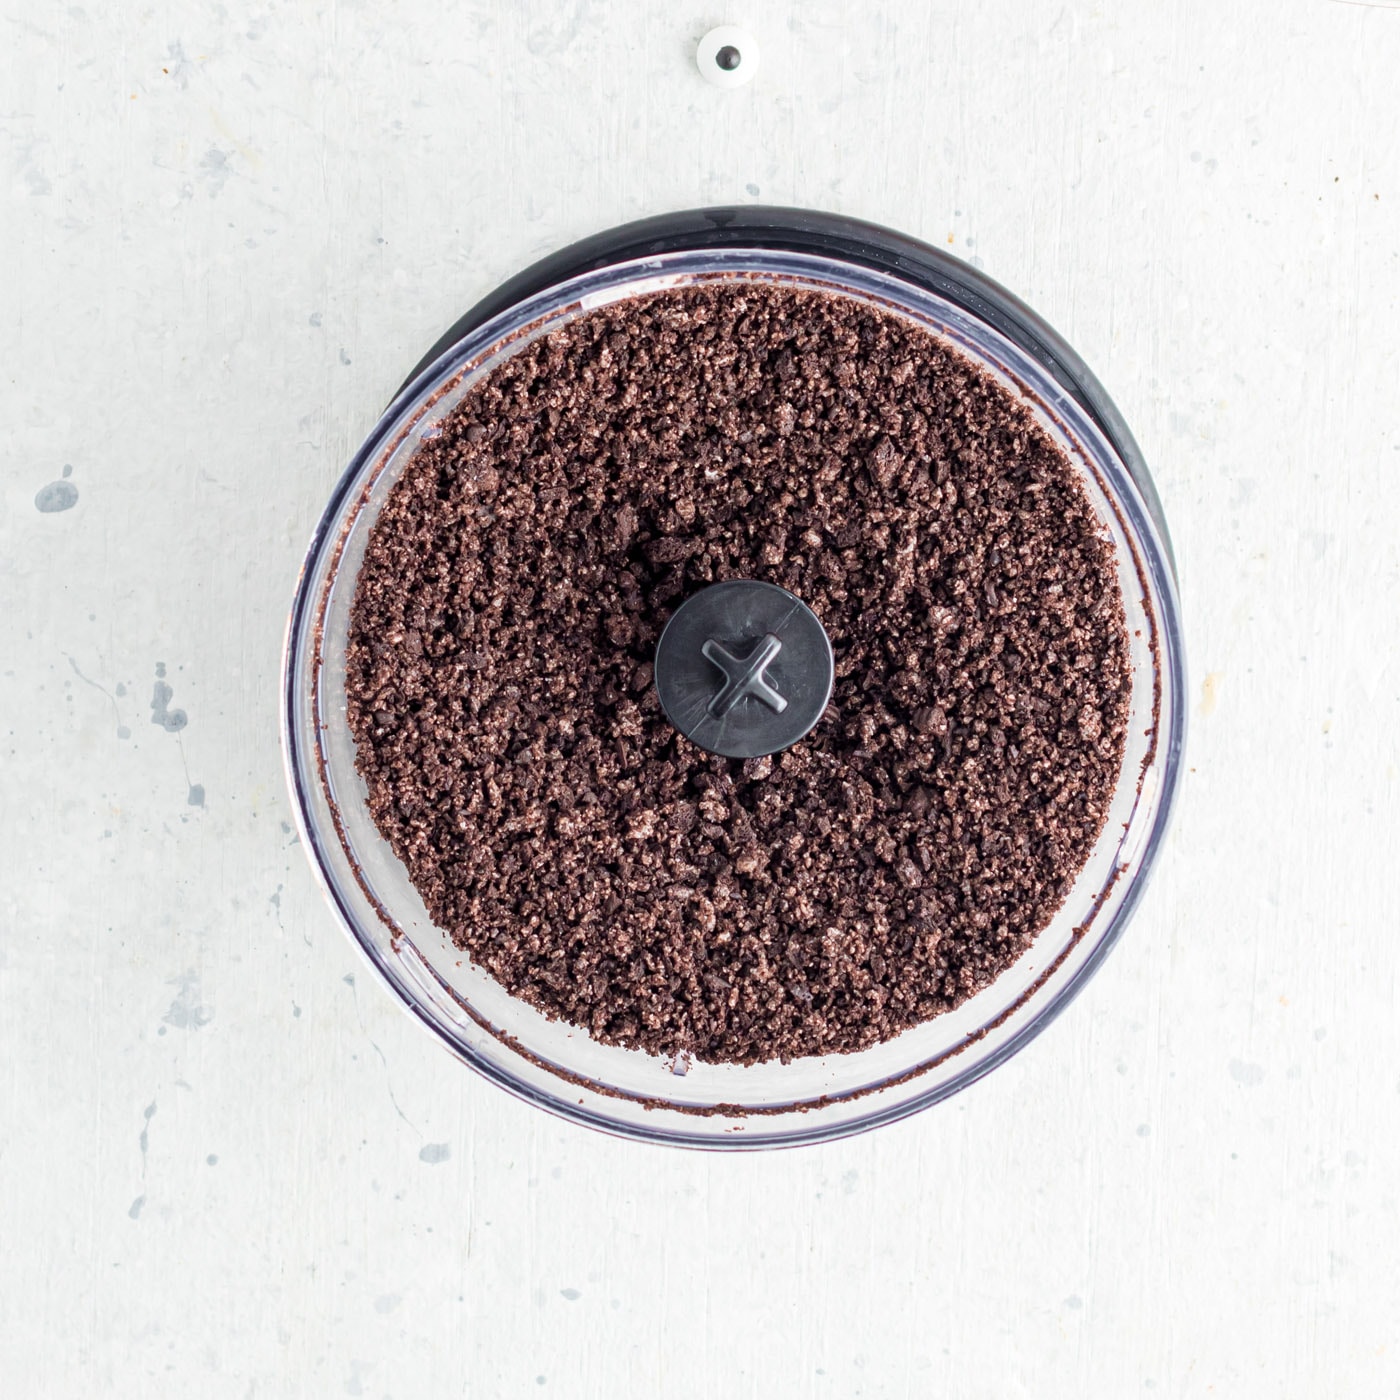
- Create your work station for assembly. Remove the pudding and whipped topping mixture from the refrigerator. Lay out the plastic cups. You can either work on all cups simultaneously or 1 by 1.
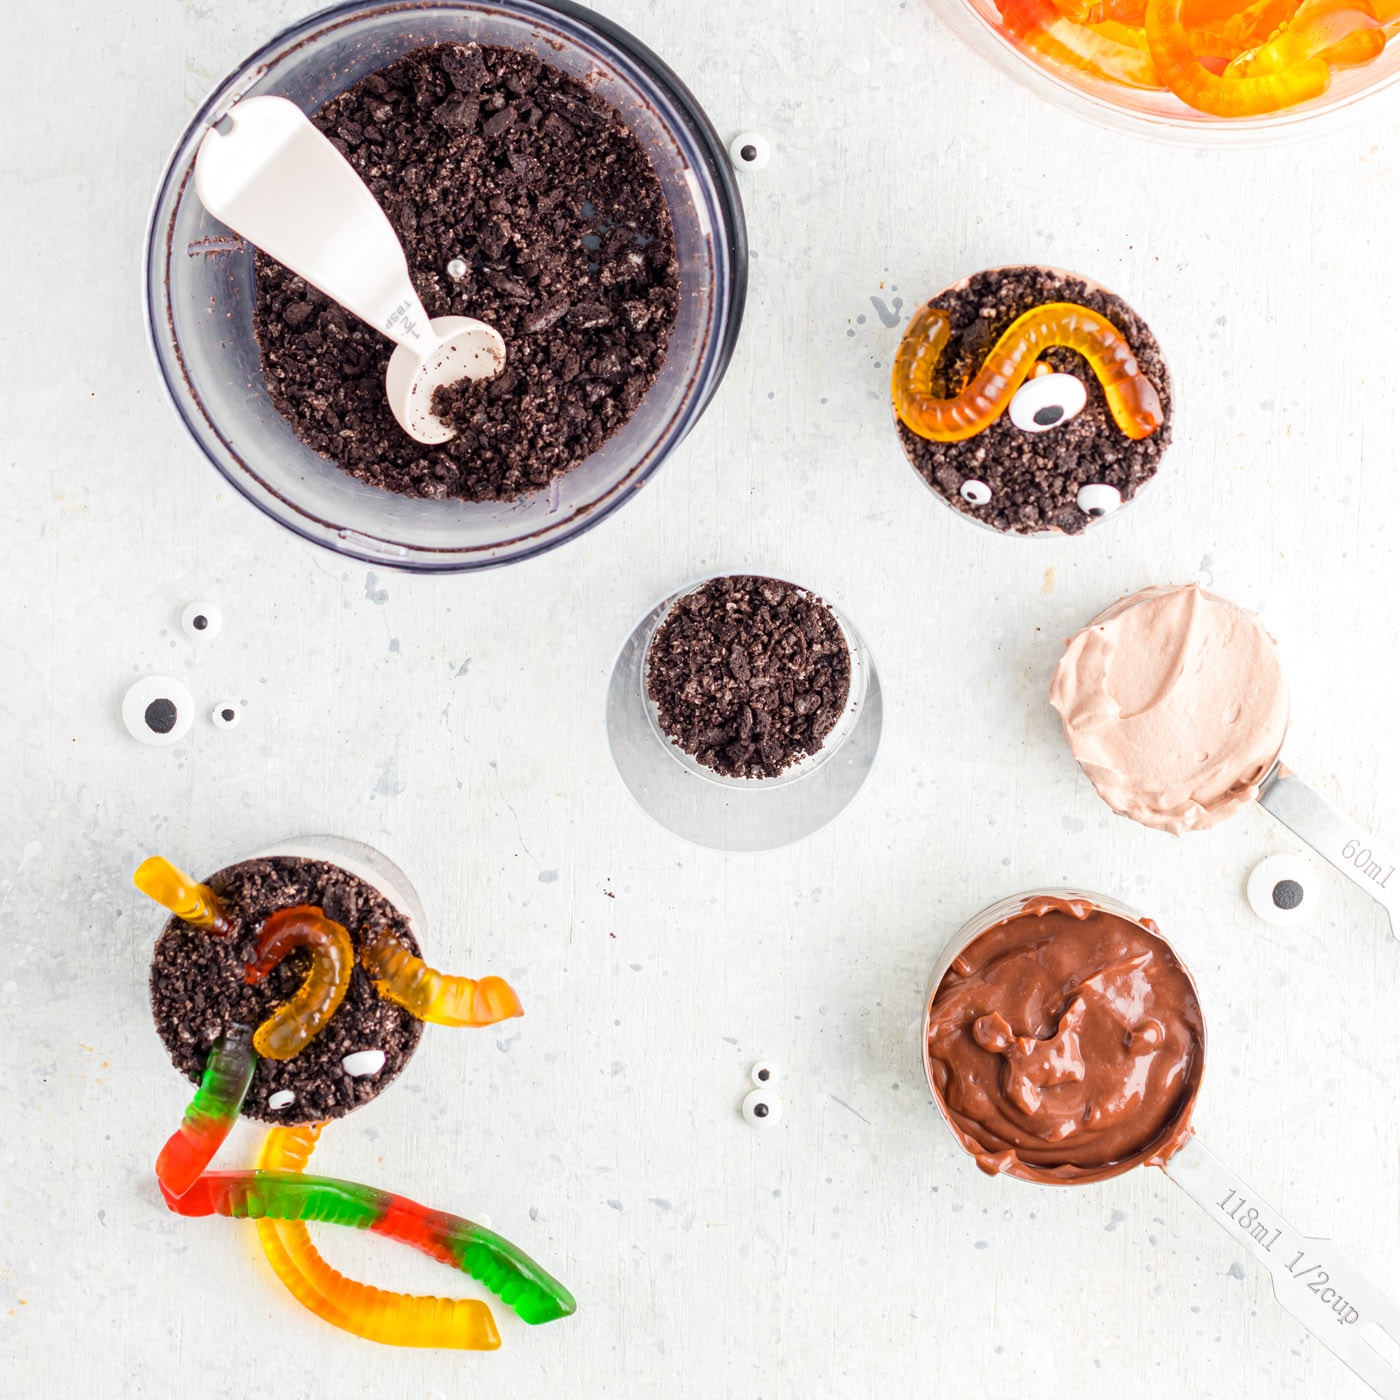
- Start by layering 1 tablespoon of the Oreo dirt in the bottom of the cup.
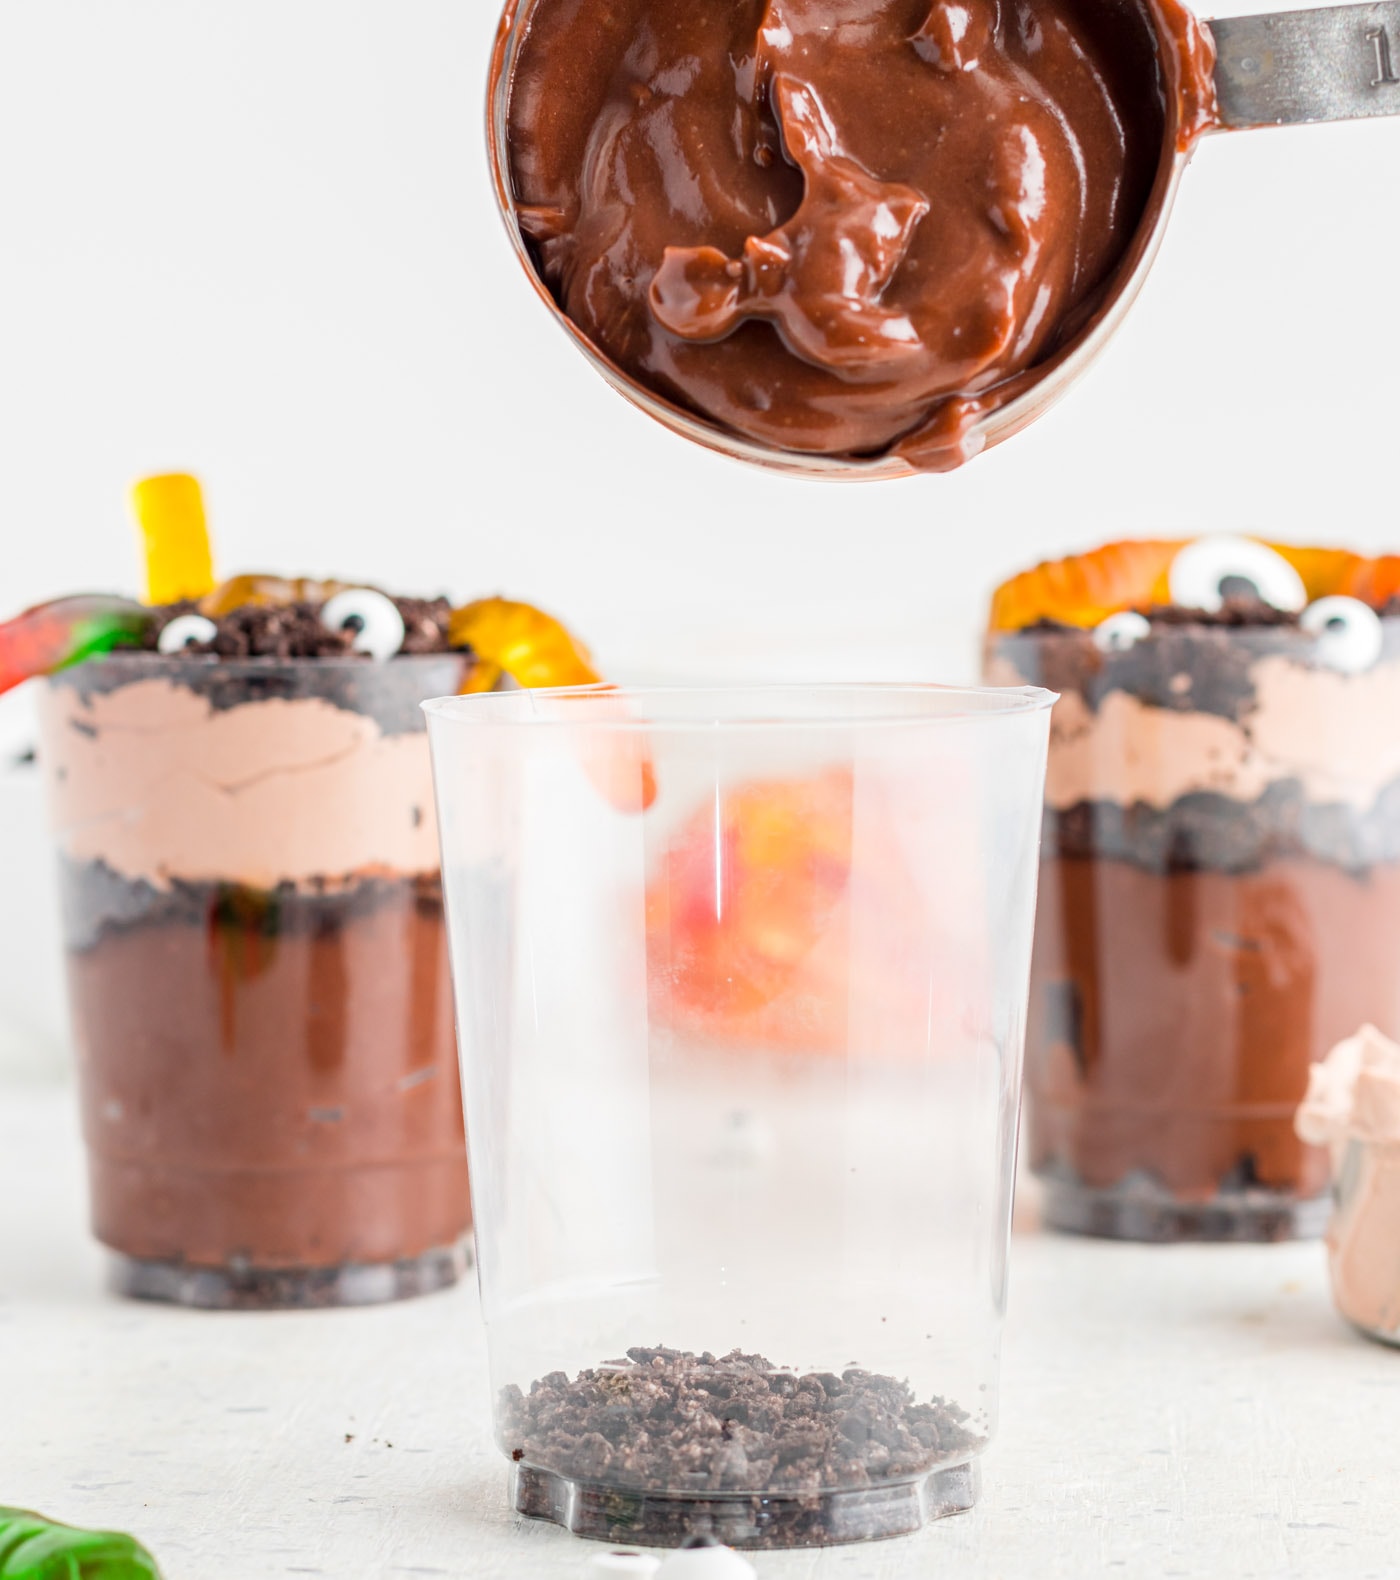
- Next layer with 1⁄2 cup of chocolate pudding. Tap the cup on the counter to level the pudding for the next layer.
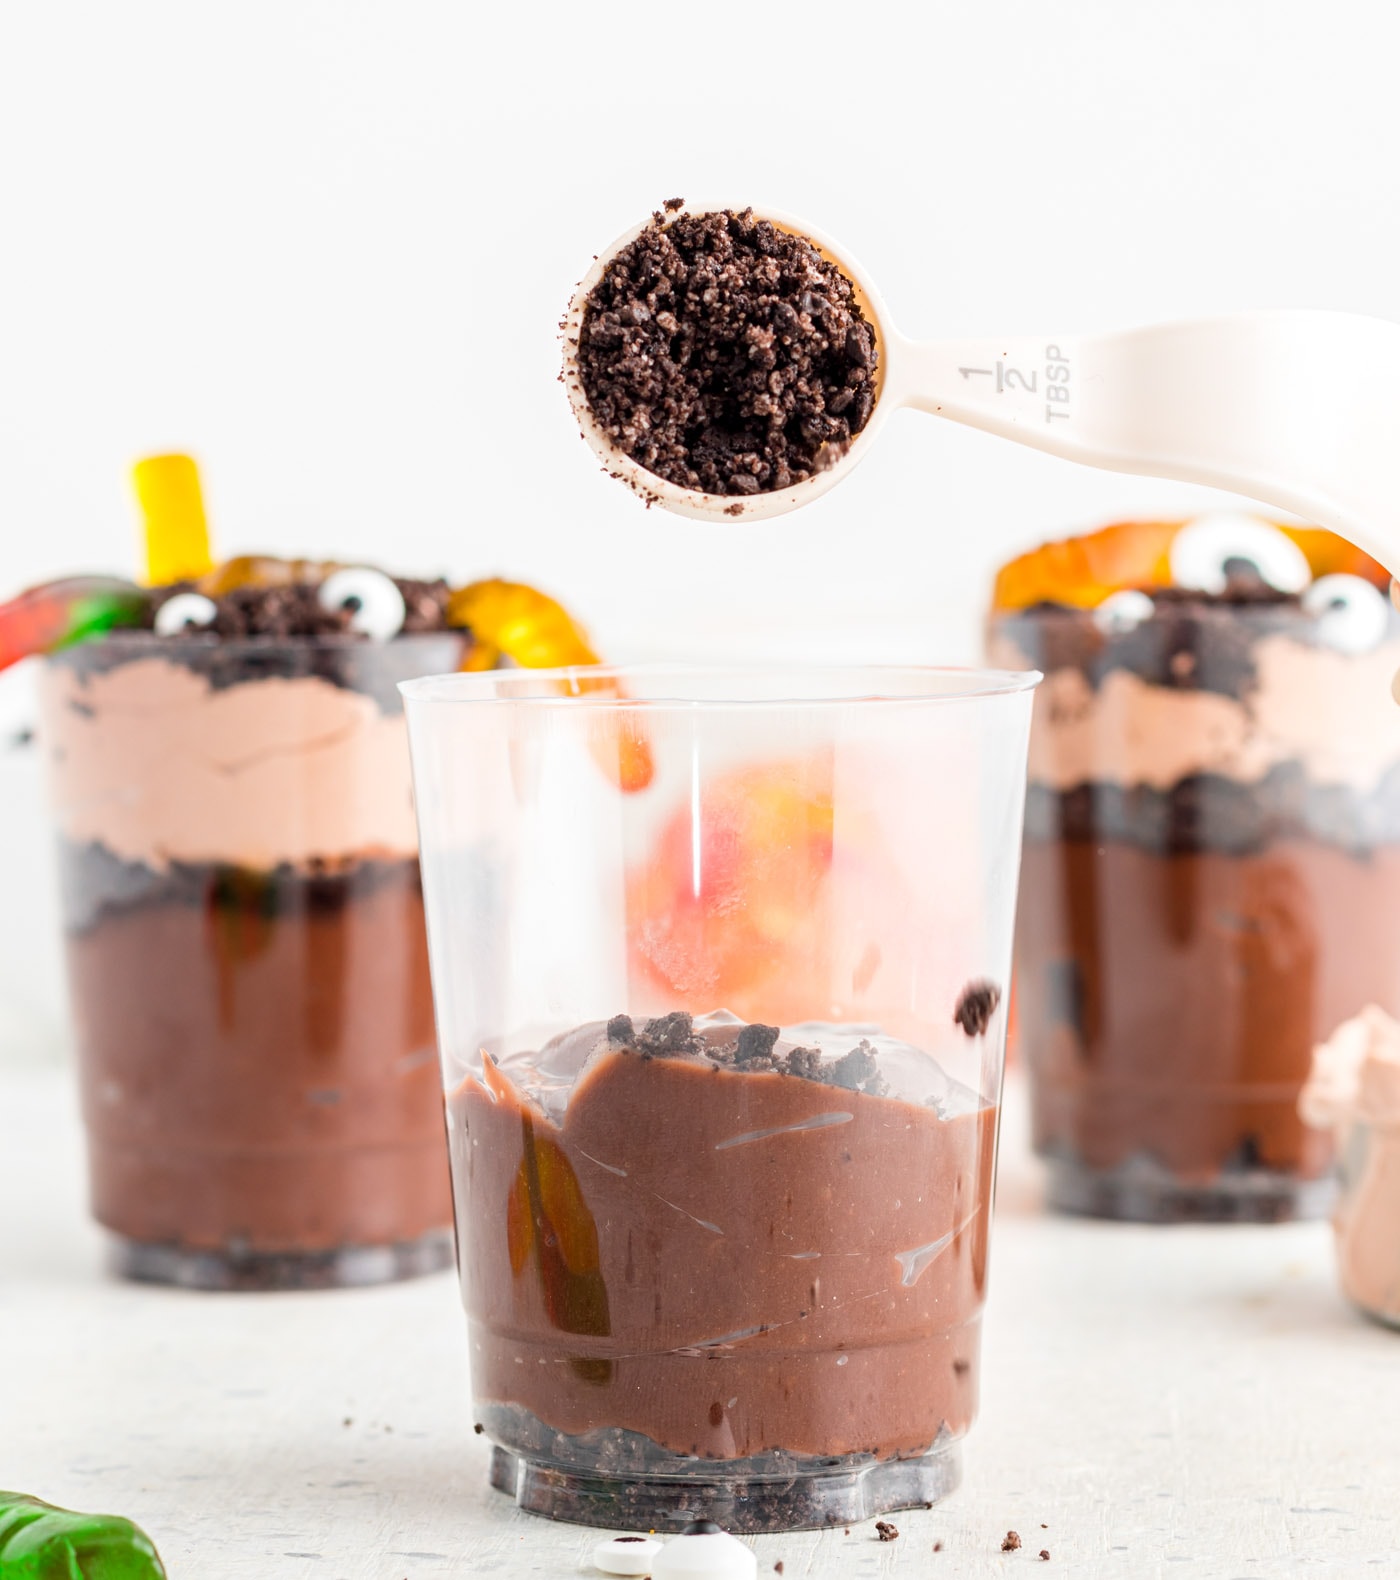
- Add another tablespoon of dirt over the chocolate pudding.
- Next, add a heaping 1⁄4 cup of the whipped topping mixture over the dirt. Tap the cup on the counter to level out the layer.
EXPERT TIP – Be careful when adding the pudding and whipped topping mixture to the cup. Be sure that you are keeping the sides of your cup clean so you can see the layers. If you make a mistake and pudding or whipped topping smudges end up on the cup, take a wet paper towel and clean it before proceeding to the next step.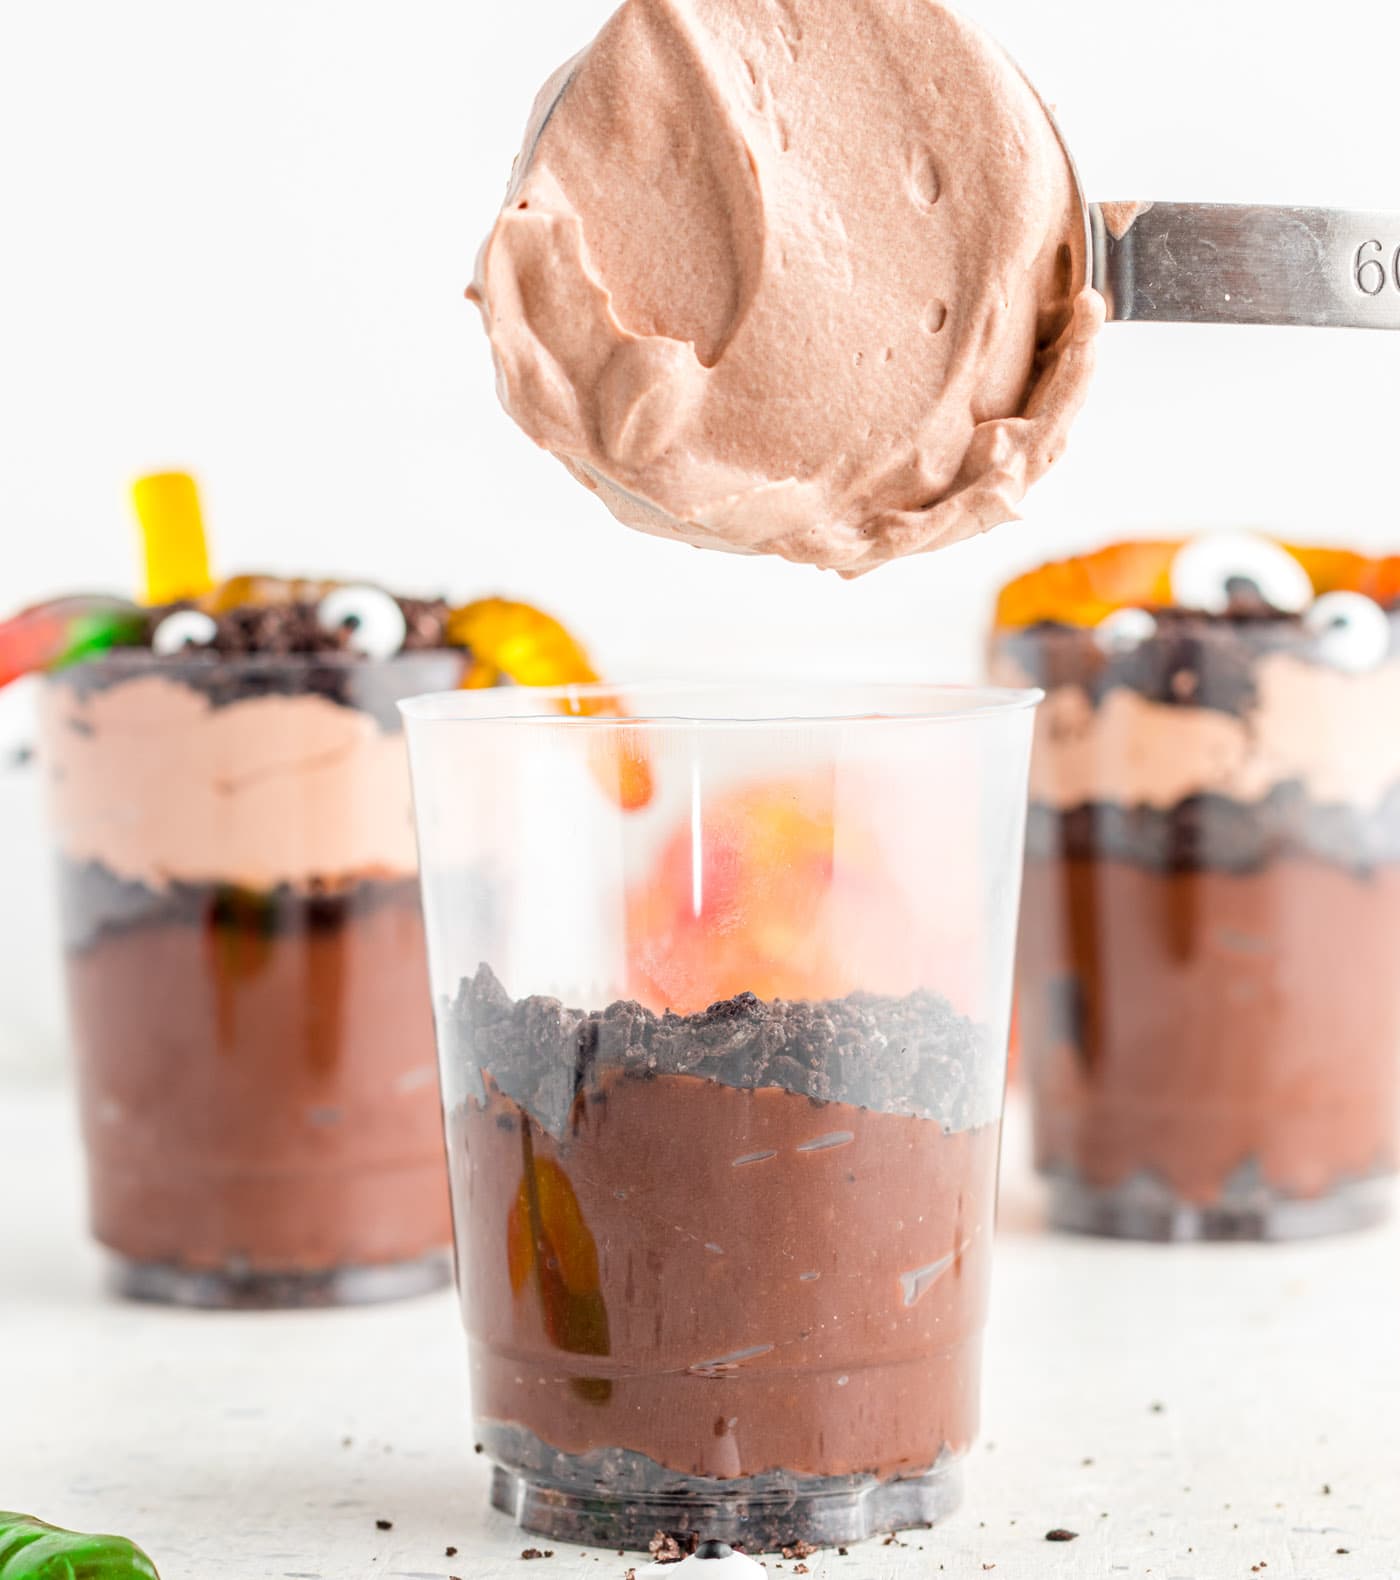
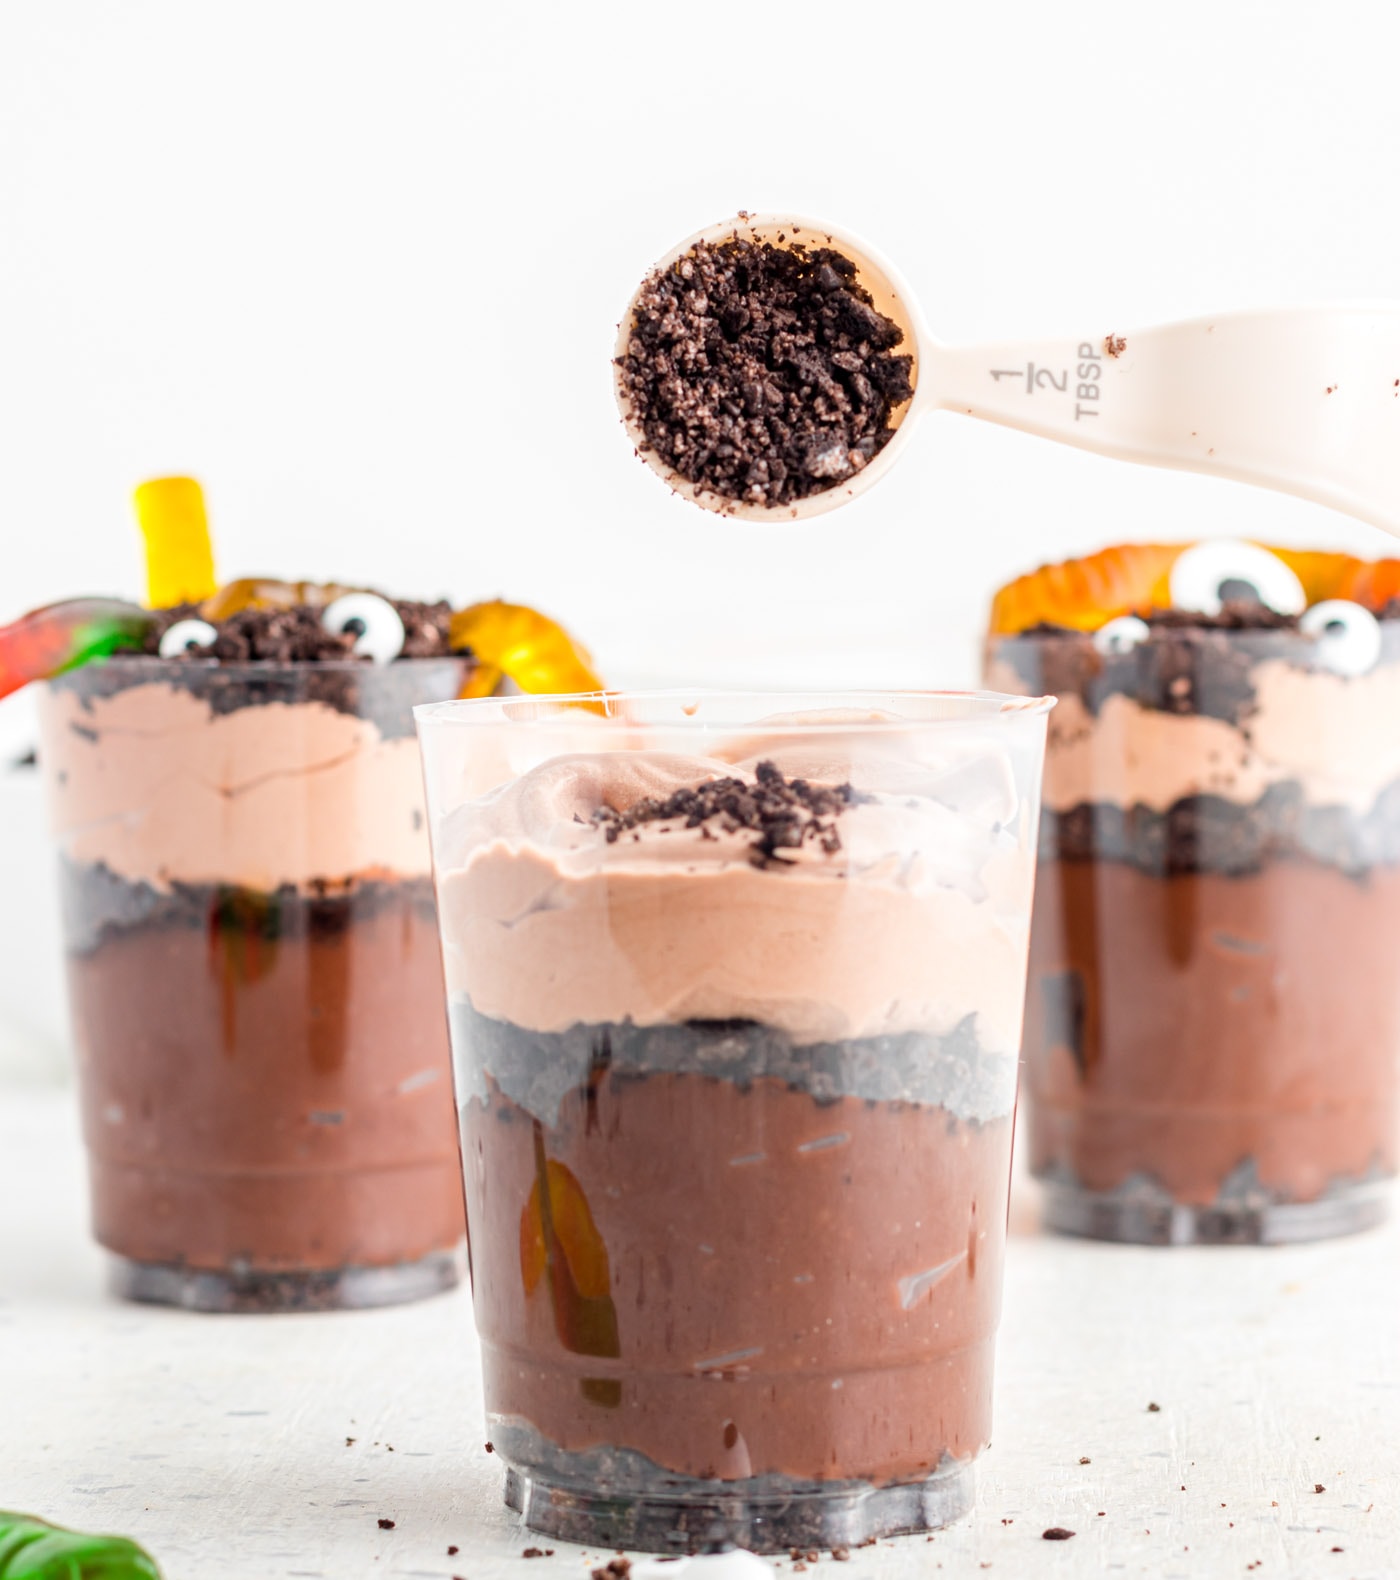
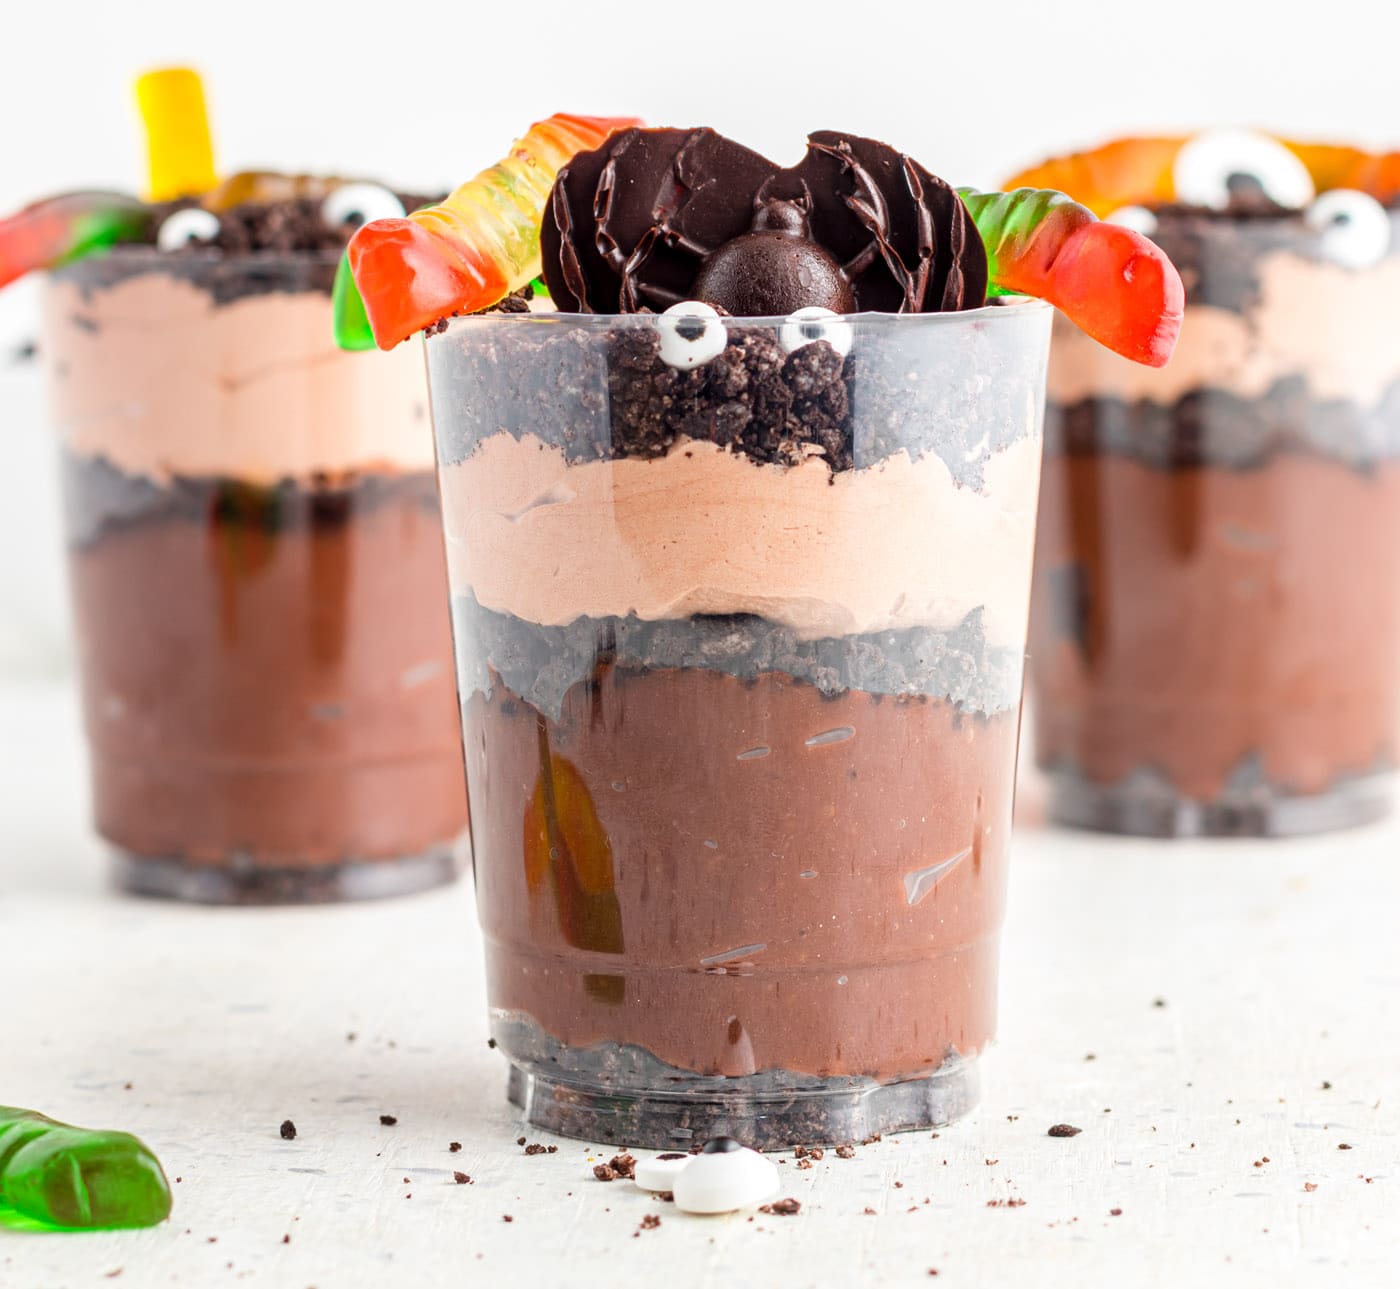
- Finish with a last tablespoon of dirt and garnish with gummy worms and candy of your choice! Allow the dirt cups to chill for at least 30 minutes before serving and enjoy.
Frequently Asked Questions & Expert Tips
The individual layers such as the pudding, dirt layer, and whipped topping layer can be made a day ahead and stored separately in the refrigerator. I wouldn’t suggest layering everything together until you are ready to serve as the Oreos and gummies will become soggy in the refrigerator. Leftovers can be stored in the refrigerator for up to 3 days.
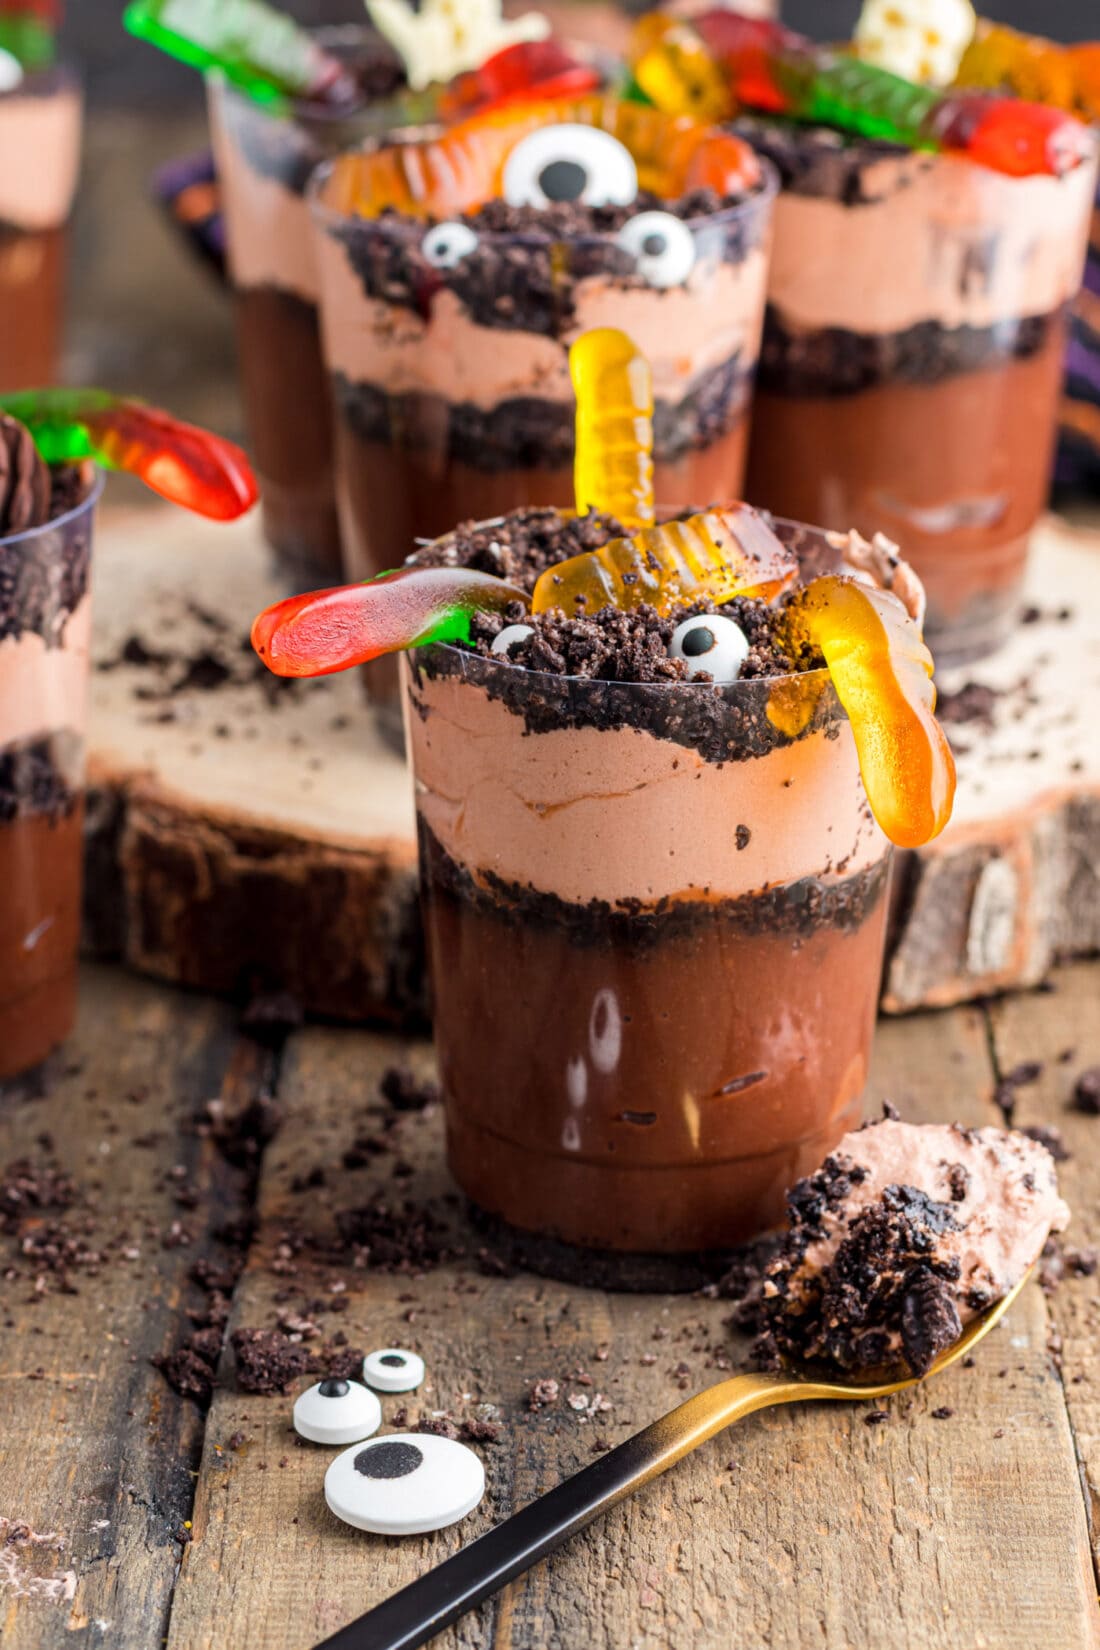
There are so many different fun variations of Halloween dirt cups out there to choose from. You can make them into graveyard dirt cups or even pumpkin patch dirt cups simply by using Halloween-themed candy or cookies to decorate. We used these candy eyeballs and these mini Halloween molds that come in different shapes like spiders, witches, ghosts, and pumpkins that you can fill with melted chocolate and let set. Or, simply decorate with gummy worms and candy eyeballs! Have fun and play around with them, there are no set rules.
Serving Suggestions
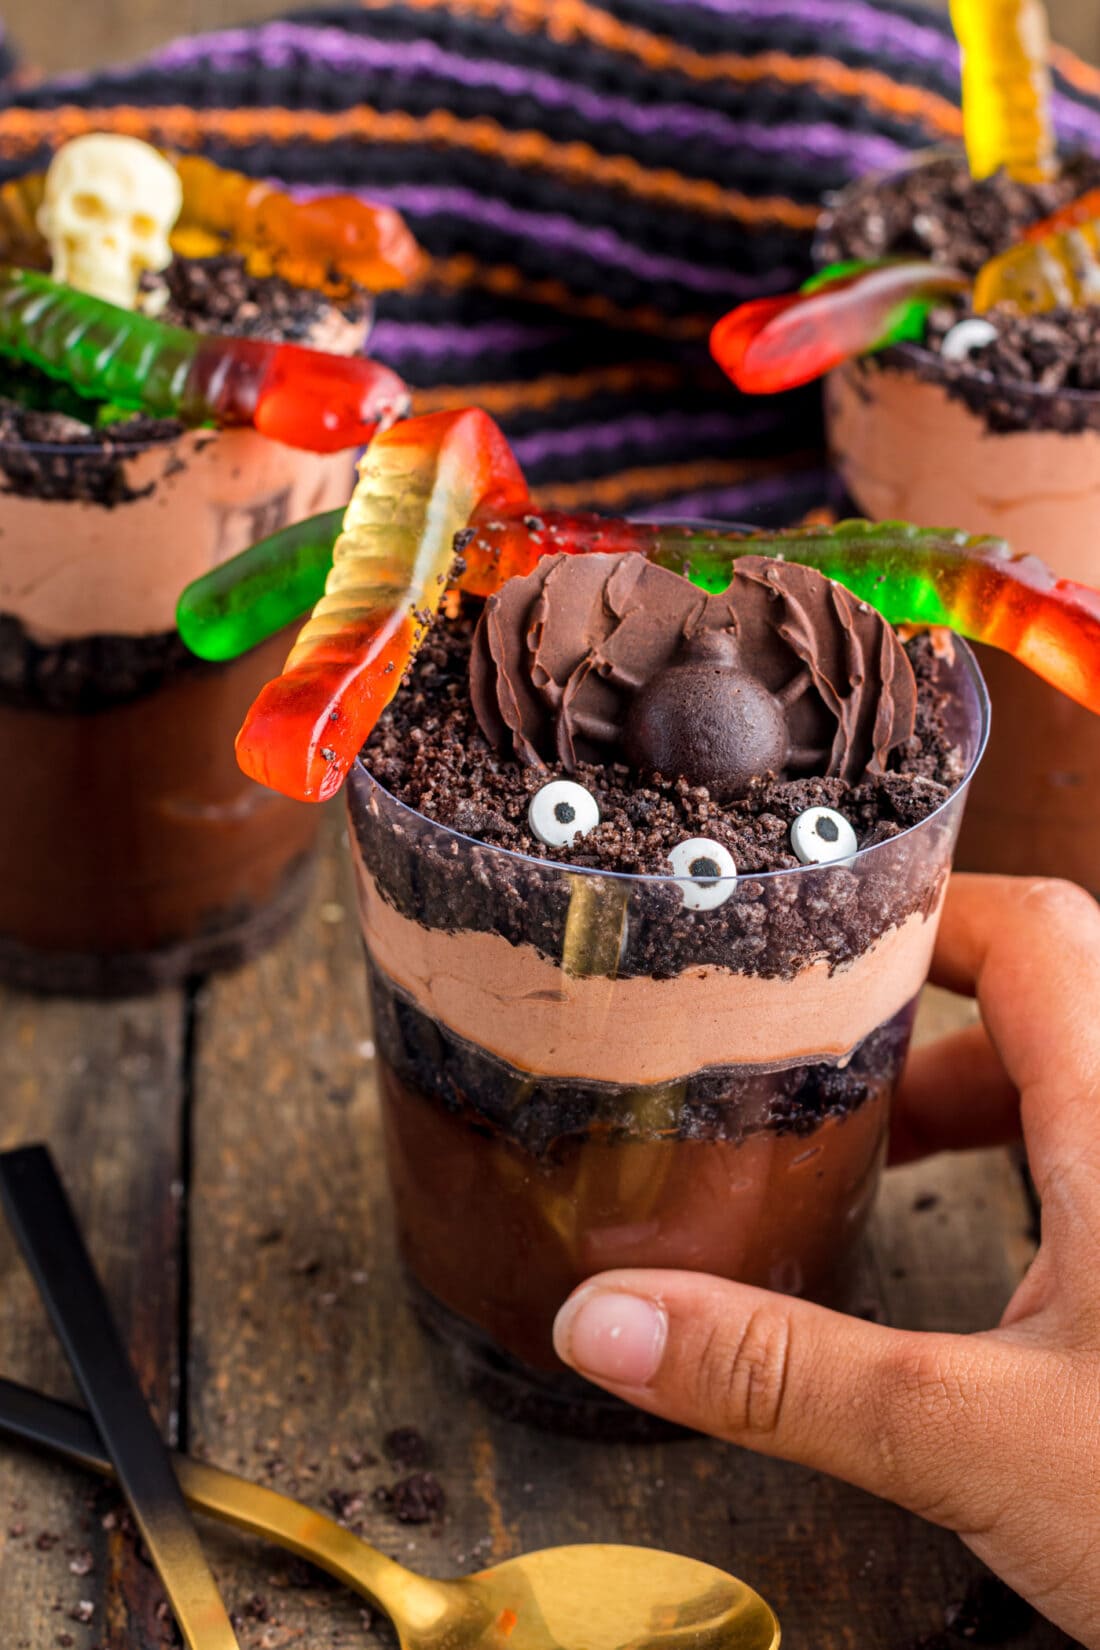
As I mentioned above, you can decorate these spooky Halloween dirt cups however you’d like using festive-themed candies and cookies. You can make your own decorations by filling these mini molds with chocolate or create your own shapes by piping melted chocolate onto parchment paper and allowing them to harden. The options are endless! Serve these dirt cups on a cute Halloween platter and enjoy.
For the adults looking for fun Halloween cocktails, check out our Frankenstein Margarita and our Spiderweb Cocktail. For the kiddos, our candy corn punch and vanilla orange punch are always a hit.
More Halloween Recipes
- Ghost Brownies
- Jalapeno Popper Mummies
- Halloween Candy Apples
- Marshmallow Frankensteins
- Vampire Sandwich Cookies
- Halloween Eyeball Salsa
- Cheese and Pretzel Broomsticks
- Mummy Cookies
I love to bake and cook and share my kitchen experience with all of you! Remembering to come back each day can be tough, that’s why I offer a convenient newsletter every time a new recipe posts. Simply subscribe and start receiving your free daily recipes!

Halloween Dirt Cups
IMPORTANT – There are often Frequently Asked Questions within the blog post that you may find helpful. Simply scroll back up to read them!
Print It Rate ItIngredients
- 7.8 ounces instant chocolate pudding 2 – 3.9 ounce boxes
- 4 cups milk
- 1 cup Cool Whip thawed
- 15 Oreo cookies cream included
Garnish
- candy eyeballs
- gummy worms
- chocolate pumpkins
- or other Halloween-themed candies
Things You’ll Need
- 8 plastic dessert cups – 8 ounces each
Before You Begin
- This recipe makes 8 large servings. You use smaller cups and divide the ingredients to make smaller servings or cut the recipe in half to just make 4.
- Be careful when adding the pudding and whipped topping mixture to the cup. Be sure that you are keeping the sides of your cup clean so you can see the layers. If you make a mistake and pudding or whipped topping smudges end up on the cup, take a wet paper towel and clean it before proceeding to the next step.
- You can make chocolate toppings using candy melts or melted white chocolate using silicone molds for really unique decorating or simply stick to candy eyeballs and gummy worms.
- If you prefer not to use cool whip you can skip it and just layer the pudding and dirt.
- The pudding can be made ahead for these dirt cups and then everything can be layered before serving.
- Oreos and gummies become soggy in the refrigerator so these cups are best served the day they are made but can be stored in the refrigerator for 3 days if there are leftovers.
Instructions
- Add the 2 packages of chocolate instant pudding and 4 cups of milk to a large bowl. Mix with an electric mixer starting on low speed and switching to medium speed until it becomes a thick pudding consistency and thoroughly combined (about 2-3 minutes).
- In a medium bowl, add 1 cup of thawed cool whip and 1 cup of the chocolate pudding from step 1. Mix on medium speed until combined about 2 minutes.
- Place pudding and whipped topping mixture in the refrigerator while you prepare the “dirt”.
- Place Oreos in the base of a food processor and pulse until medium fine crumbs are created. If you do not have a food processor, you can crush the Oreos by placing them in a zip top bag and rolling over them with a rolling pin until completely crushed into crumbs.
- Create your work station for assembly. Remove the pudding and whipped topping mixture from the refrigerator. Lay out the plastic cups. You can either work on all cups simultaneously or 1 by 1.
- Start by layering 1 tablespoon of the Oreo dirt in the bottom of the cup.
- Next, layer with 1⁄2 cup of chocolate pudding. Tap the cup on the counter to level the pudding for the next layer.
- Add another tablespoon of dirt over the chocolate pudding.
- Next, add a heaping 1⁄4 cup of the whipped topping mixture over the dirt. Tap the cup on the counter to level out the layer.
- Finish with a last tablespoon of dirt and garnish with gummy worms and candy of your choice! Allow the dirt cups to chill for at least 30 minutes before serving and enjoy.
Nutrition
Amanda Davis
Latest posts by Amanda Davis (see all)
- Banana Bundt Cake - July 23, 2024
- Lemon Icebox Cake - July 22, 2024
- Philly Cheesesteak Dip - July 15, 2024


KathyFrontiero says
Oh how fun! Thank you for the posting and ideas, looking forward to making these! Nanny