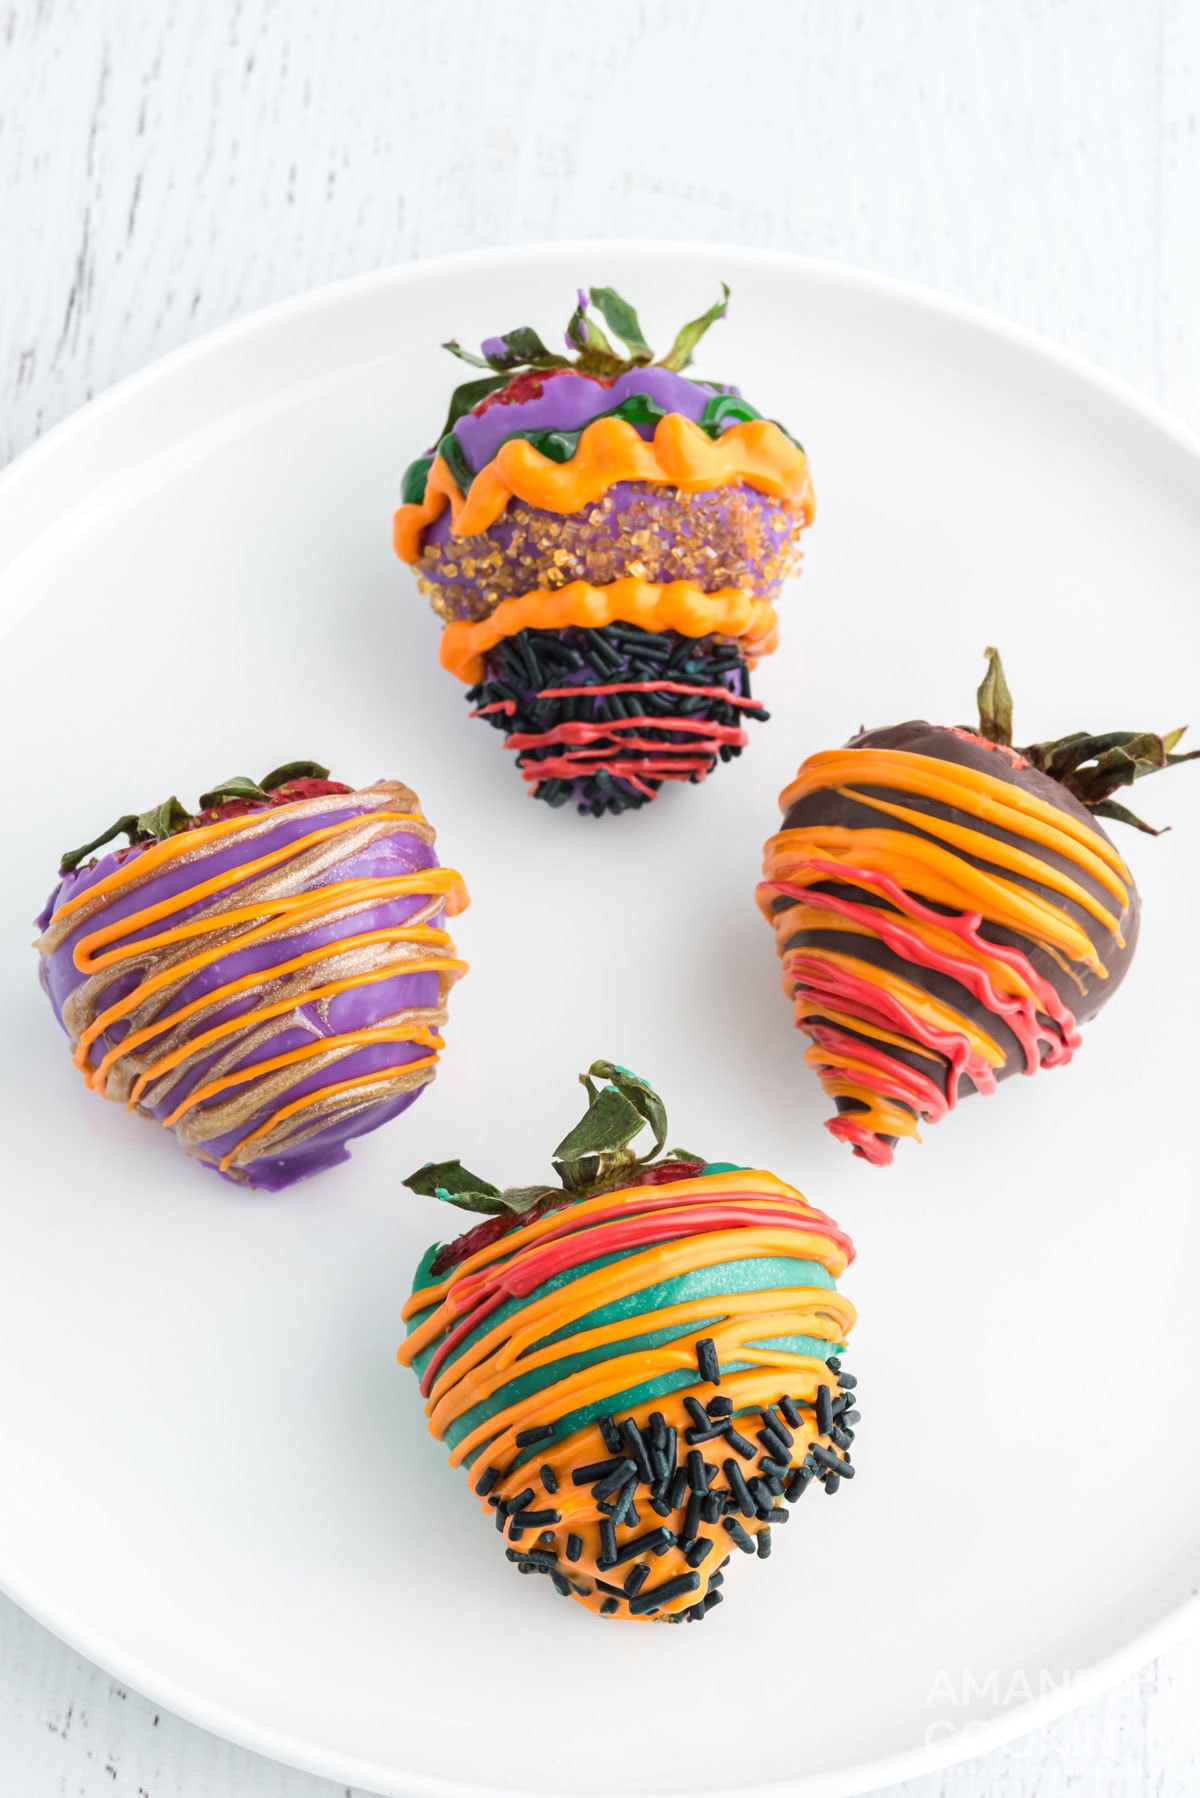
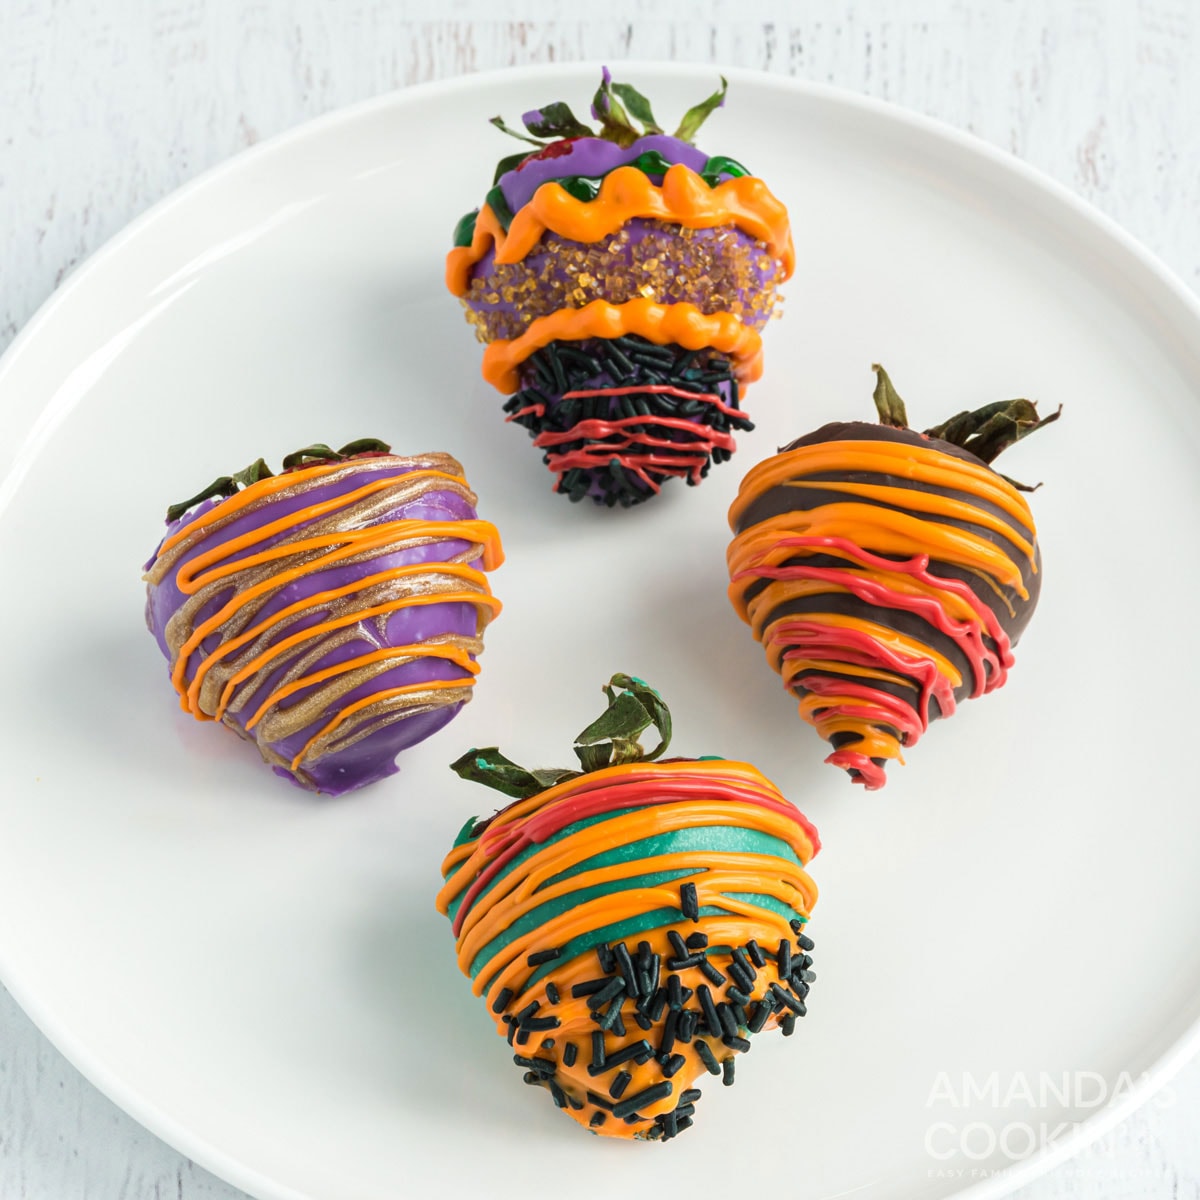
Halloween parties are fun for both kids and adults. So are these Halloween chocolate covered strawberries! You don’t have to be a professional decorator or candy maker to create your own plate full of beautiful berries. Who doesn’t love a chocolate covered strawberry?

Why this recipe works
These are a great choice because kids and adults alike will enjoy them.
Chocolate covered strawberries are easy to make, and a quick switch out of colors turns an already amazing dessert into a Halloween themed treat.
You can easily use a candy melt pot to melt your chocolate, then use skewers or a fork to dip in the strawberries instead of risking burning your chocolate in the microwave. However, using a homemade double boiler works just as well as a candy melt pot!
Occasions these are great for
- Halloween parties and get-togethers
- Addition to a “You’ve Been Boo’d” bag
- Hostess gift for Halloween party
- Dessert or appetizer for a pumpkin painting party

How to Make Halloween Chocolate Covered Strawberries
This recipe and step-by-step photos are all available on my original recipe for Chocolate Covered Strawberries. You can print out the recipe below as well, but if you want visual aids, please go to the original post.
Colors that are usually associated with Halloween are orange, black, green, red, yellow, purple.
More Halloween Food Ideas
- Kitty Litter Cake
- Monster Brownies
- Boogers on a Stick
- Mummy Meatloaf
- Halloween Dirt Cups
- Jalapeno Popper Mummies
- Spider Web Taco Dip
I love to bake and cook and share my recipes with you! I know it’s hard to remember to come back and search, so I’ve made it easy for you with my weekly newsletter! You can subscribe for free and I’ll send you delicious recipes every week right to your email.

Halloween Chocolate Covered Strawberries
IMPORTANT - There are often Frequently Asked Questions within the blog post that you may find helpful. Simply scroll back up to read them!
Print It Rate ItIngredients
- 2 pounds strawberries 18-20 evenly sized strawberries
- 12 oz semi-sweet or dark chocolate
- 12 oz colored candy melts black, orange, purple, red, green, yellow
Optional Decorations
- Coarse colored sugar
- Decorator gel
- Decorative sprinkles
- Sprinkle mix
- Nonpareils
- Jimmies
Things You'll Need
Before You Begin
- In order to prevent clumping and possible overcooking, I melt my chocolate in a homemade double boiler. That is to say in a glass bowl that has been placed over a saucepan of simmered water.
- Microwaves will do the job, but the chocolate will continue to cook after you take it out. Therefore if you melt it in the microwave until it is completely melted, you run the risk of scorching it. If you are microwaving your chocolate, start with one minute on high, then stir. Then continue cooking in 20 second intervals on MEDIUM POWER until almost melted. Remove and stir, stir, stir until all the pieces have melted.
- The chilled sheet pan will help the chocolate begin to harden and set as soon as you place the strawberry onto it.
Instructions
- First, line a sheet pan with waxed or parchment paper and place it in the freezer to chill. Insert a skewer into the stem end of each strawberry.
- Place the chocolate and candy melts into separate glass or heat proof bowls.
- Put about 2 inches of water into two saucepans and bring to a simmer over medium heat. Turn off the heat and set the bowls of chocolate over the water to melt. Stir chocolate until smooth.
- Remove the sheet pan from the freezer.
- Using the skewer as a handle, dip the fruit into the chocolate. Lift and turn, allowing excess chocolate to drip back into the bowl. Place dipped berries onto the chilled lined sheet pan.
- Repeat with remaining strawberries.
Decorating Options
- Dip a fork into melted chocolate/candy melts and drizzle over the dipped strawberries.
- Dip one half of the chocolate covered strawberry into colored candy melt.
- Roll dipped strawberries into colorful sprinkles or decorator sugar.
- Sprinkle freshly dipped strawberries with sprinkles or nonpareils.
Chill
- Place in the refrigerator to set for 15 minutes. Remove from the refrigerator after that so that the chocolate doesn't sweat.
Nutrition
Amanda Davis
Latest posts by Amanda Davis (see all)
- Keto Peanut Butter Cookies - January 9, 2025
- Cloud Bread - January 6, 2025
- Shrimp Tacos - January 2, 2025


Leave a Reply