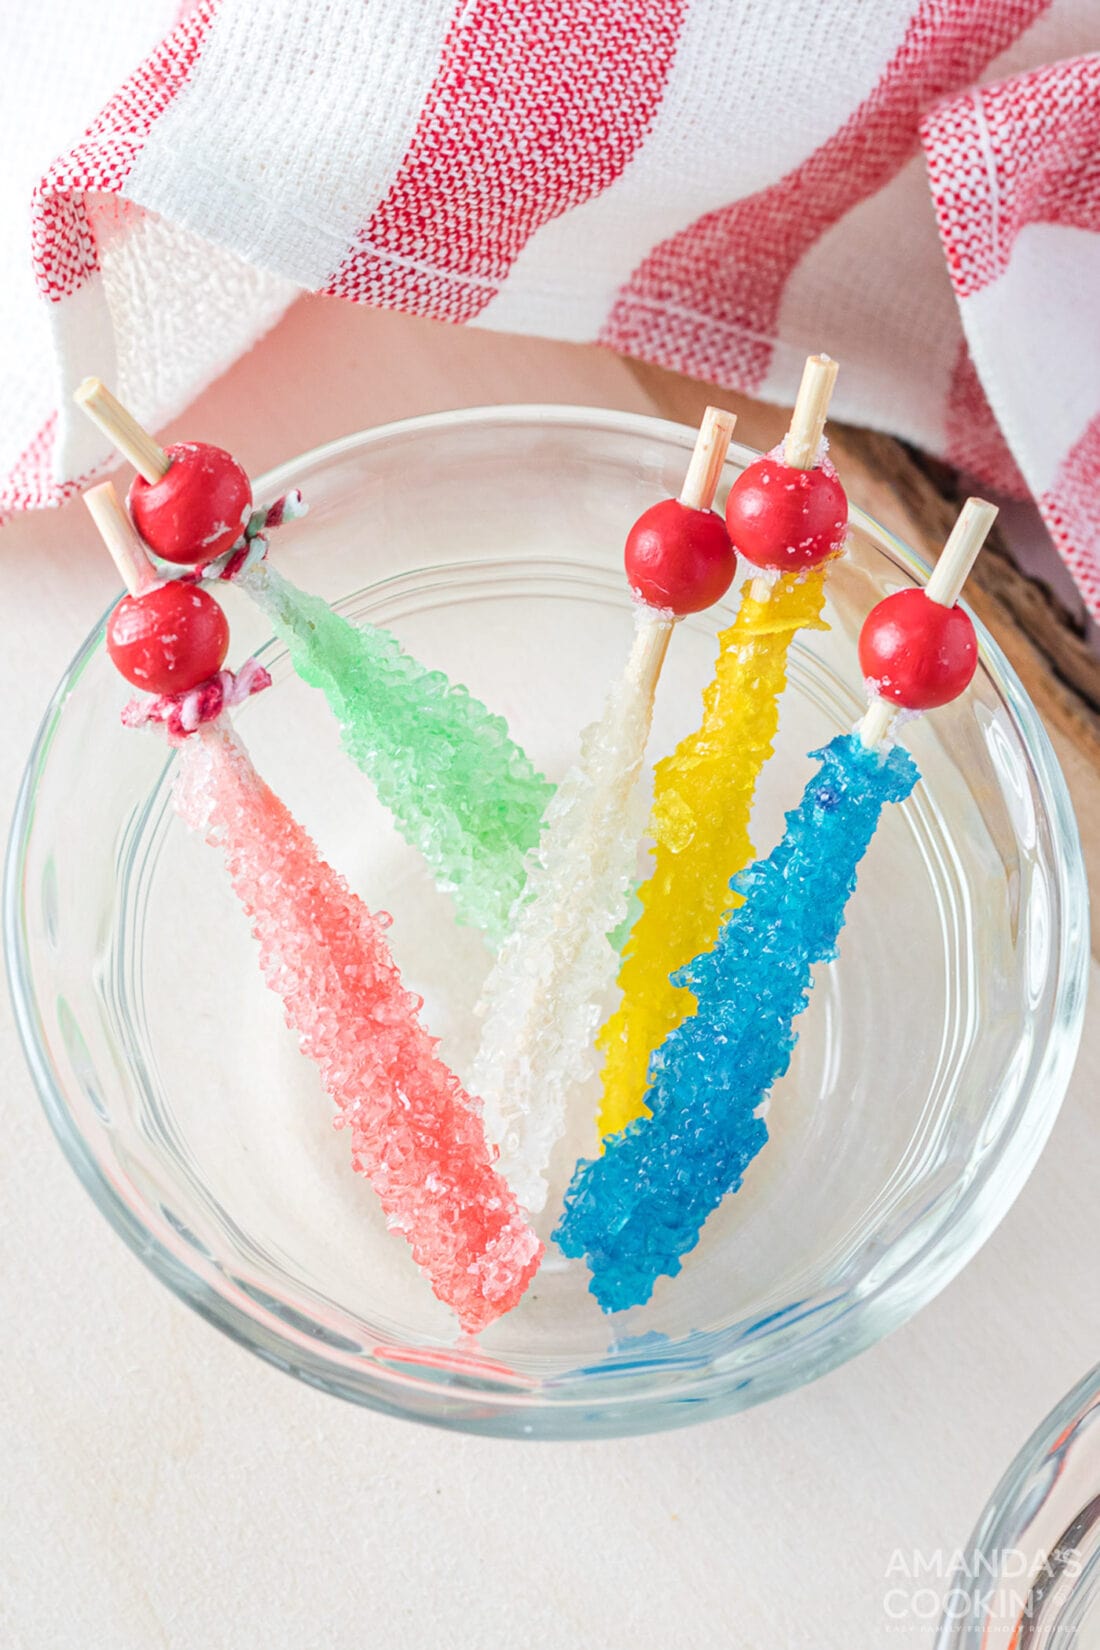
Making rock candy is a fun science experiment to do with the kids, and the finished rock candy sticks make great party favors or gifts! Make this rock candy recipe in a mason jar so you can watch the crystal growth each day.
Why this recipe works
Homemade rock candy is not only a sweet treat, it’s a great learning experiment kids and adults can do together.
It takes anywhere from a few days to ten days for the rock candy crystals to fully form, so use your phone to take a picture every day at the same time to track the progress.
ANOTHER RECIPE YOU MIGHT LIKE: Saltine Toffee
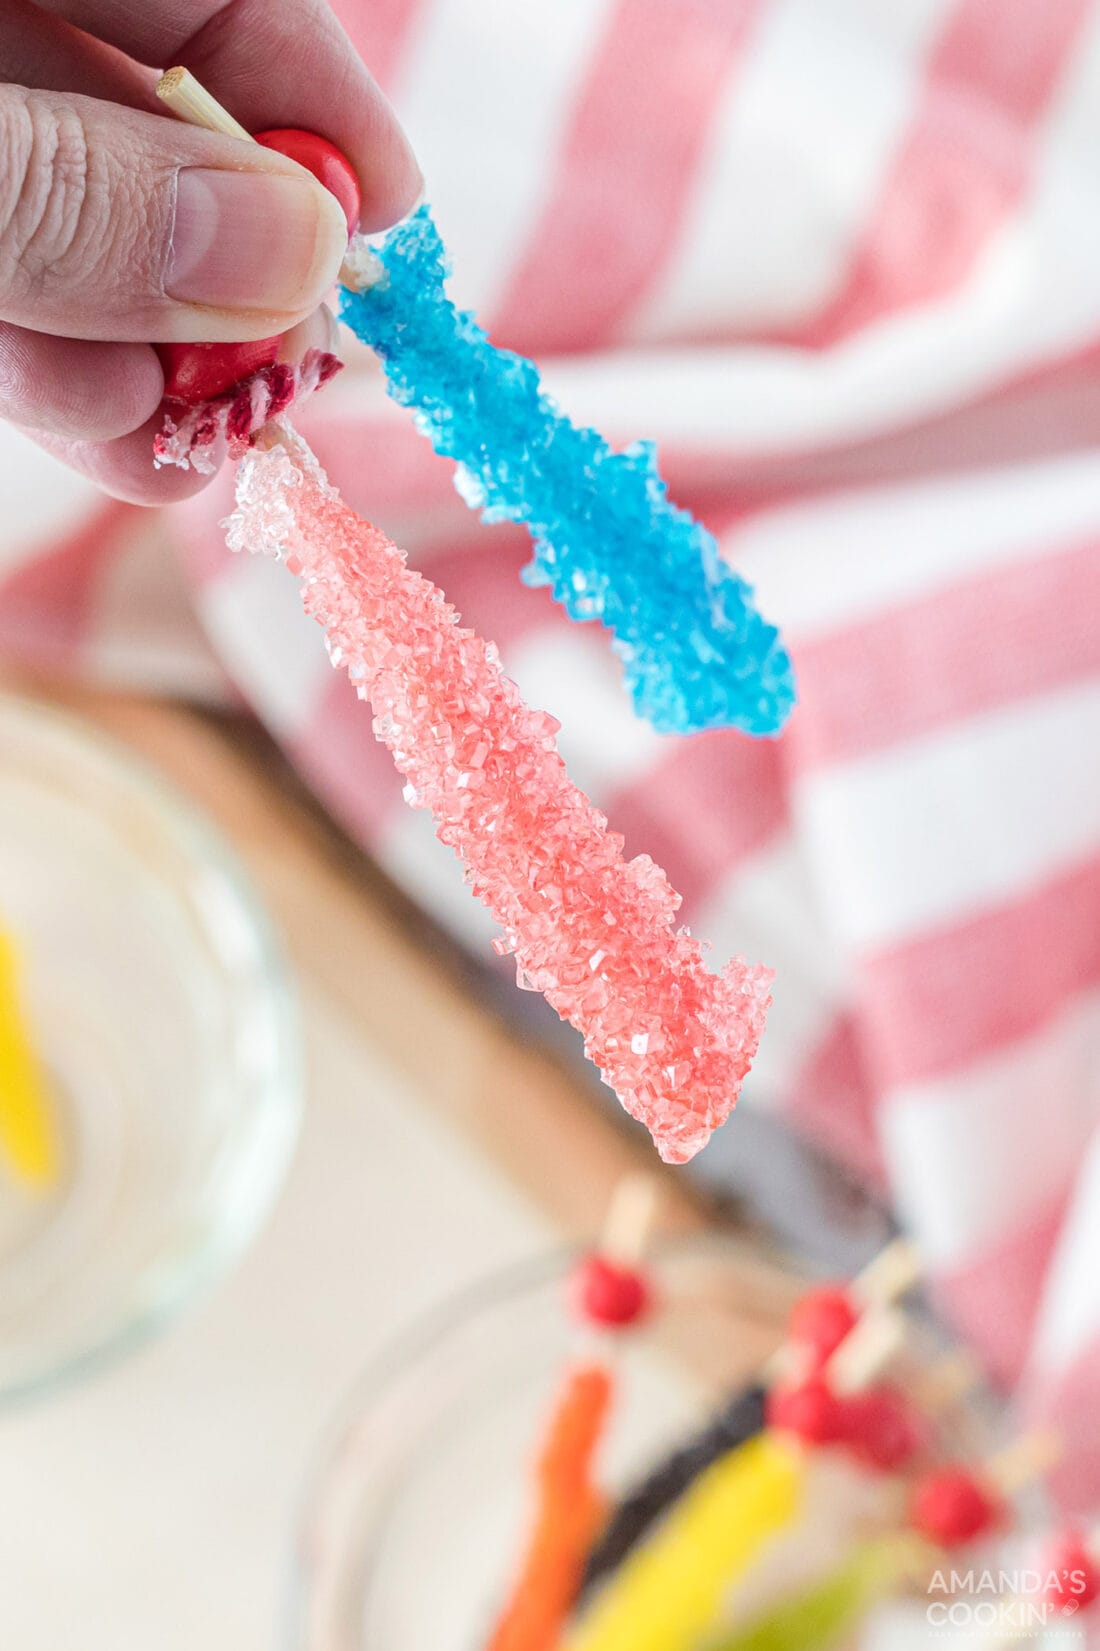
Ingredients you will need
Get all measurements, ingredients, and instructions in the printable version at the end of this post.
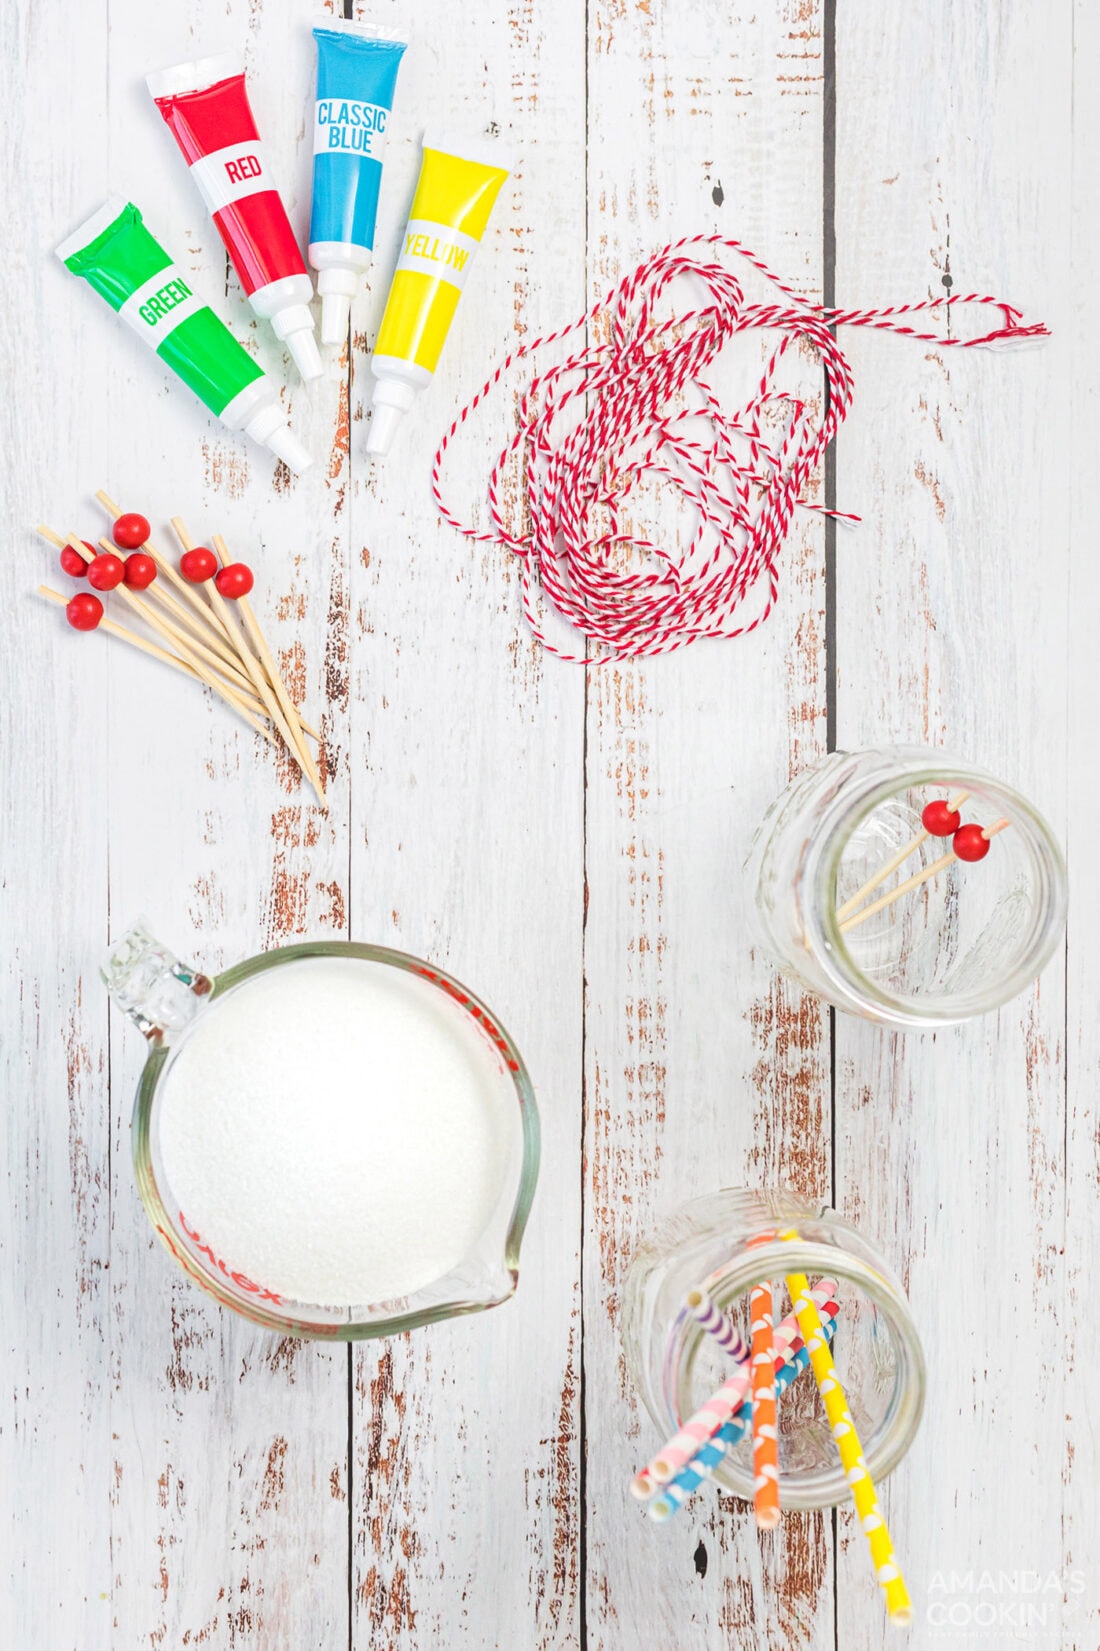
TYPE OF SUGAR – While you can use brown sugar or even organic sugar, white granulated sugar will create the largest crystals. Luckily this is something just about everyone has in their pantry already!
COLORING & FLAVORING – Rock candy is already sweet, but if you want a different flavor you can use flavored extracts. You can skip the food coloring and make white rock candy, or use food dye to make a rainbow of colors.
How to Make Rock Candy
These step by step photos and instructions are here to help you visualize how to make this recipe. You can Jump to Recipe to get the printable version of this recipe, complete with measurements and instructions at the bottom.
- Add sugar and water to a saucepan and heat over high heat, stirring constantly until it reaches a rolling boil. Be careful not to boil it too long or the candy will start to harden. Keep stirring!
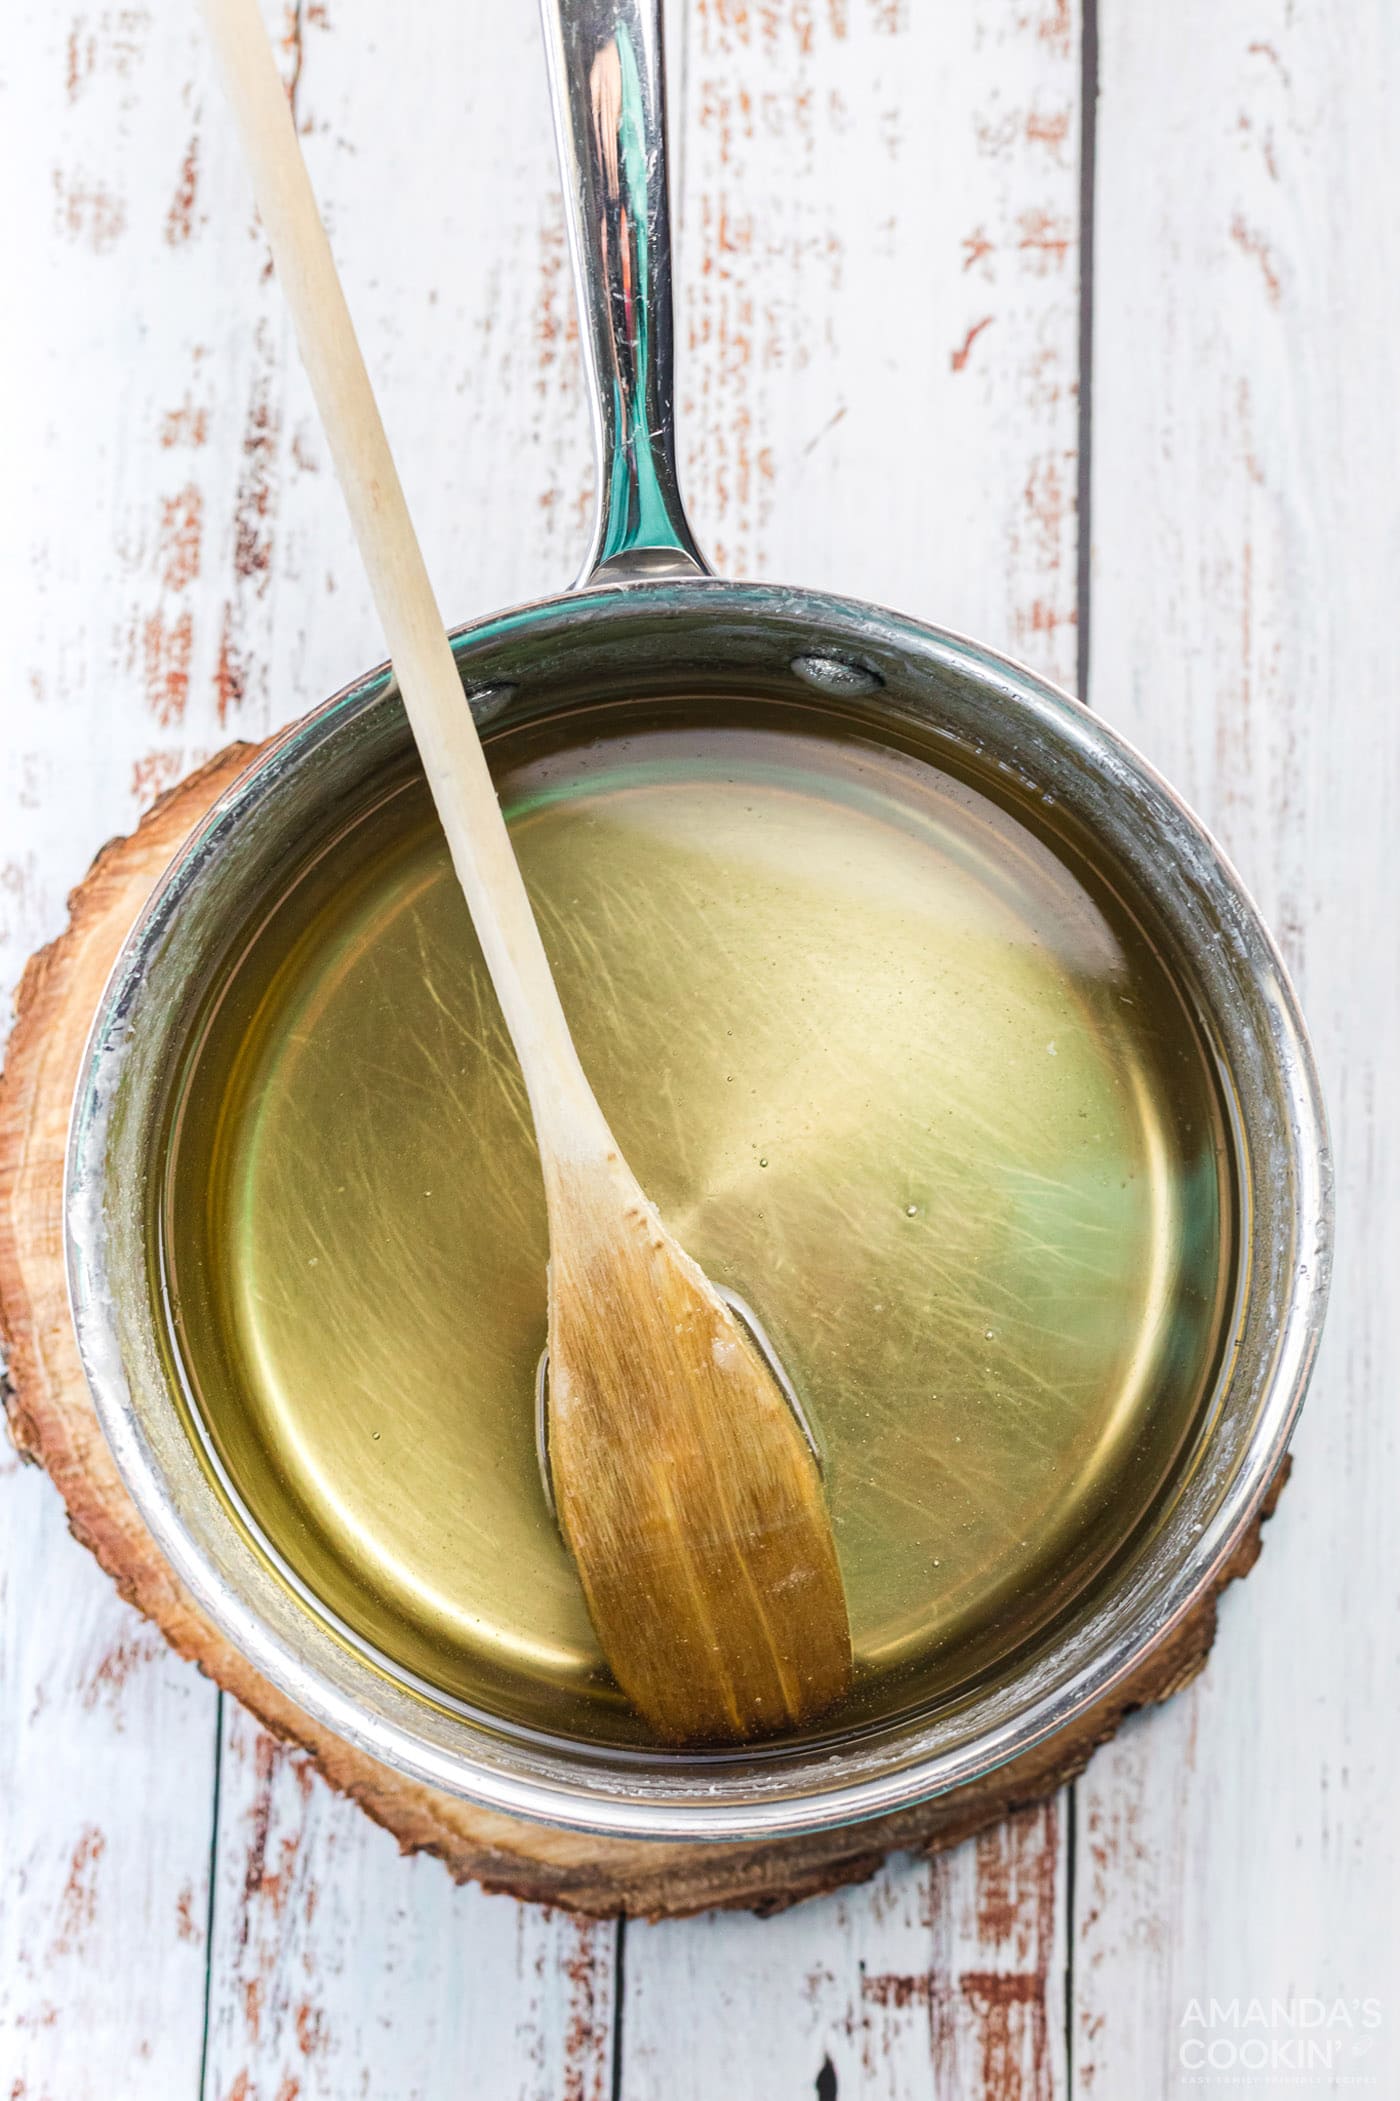
- Remove from heat and keep stirring until all of the sugar granules have dissolved. The mixture will suddenly get clearer when this happens.
- Hold the outside of each jar under hot tap water for a few seconds to warm them up. Carefully pour hot sugar mixture into your jars and put in the refrigerator to cool a bit. This usually takes 30 minutes to one hour depending on the size of your jars. We don’t want the mixture to be cold, just about room temperature.
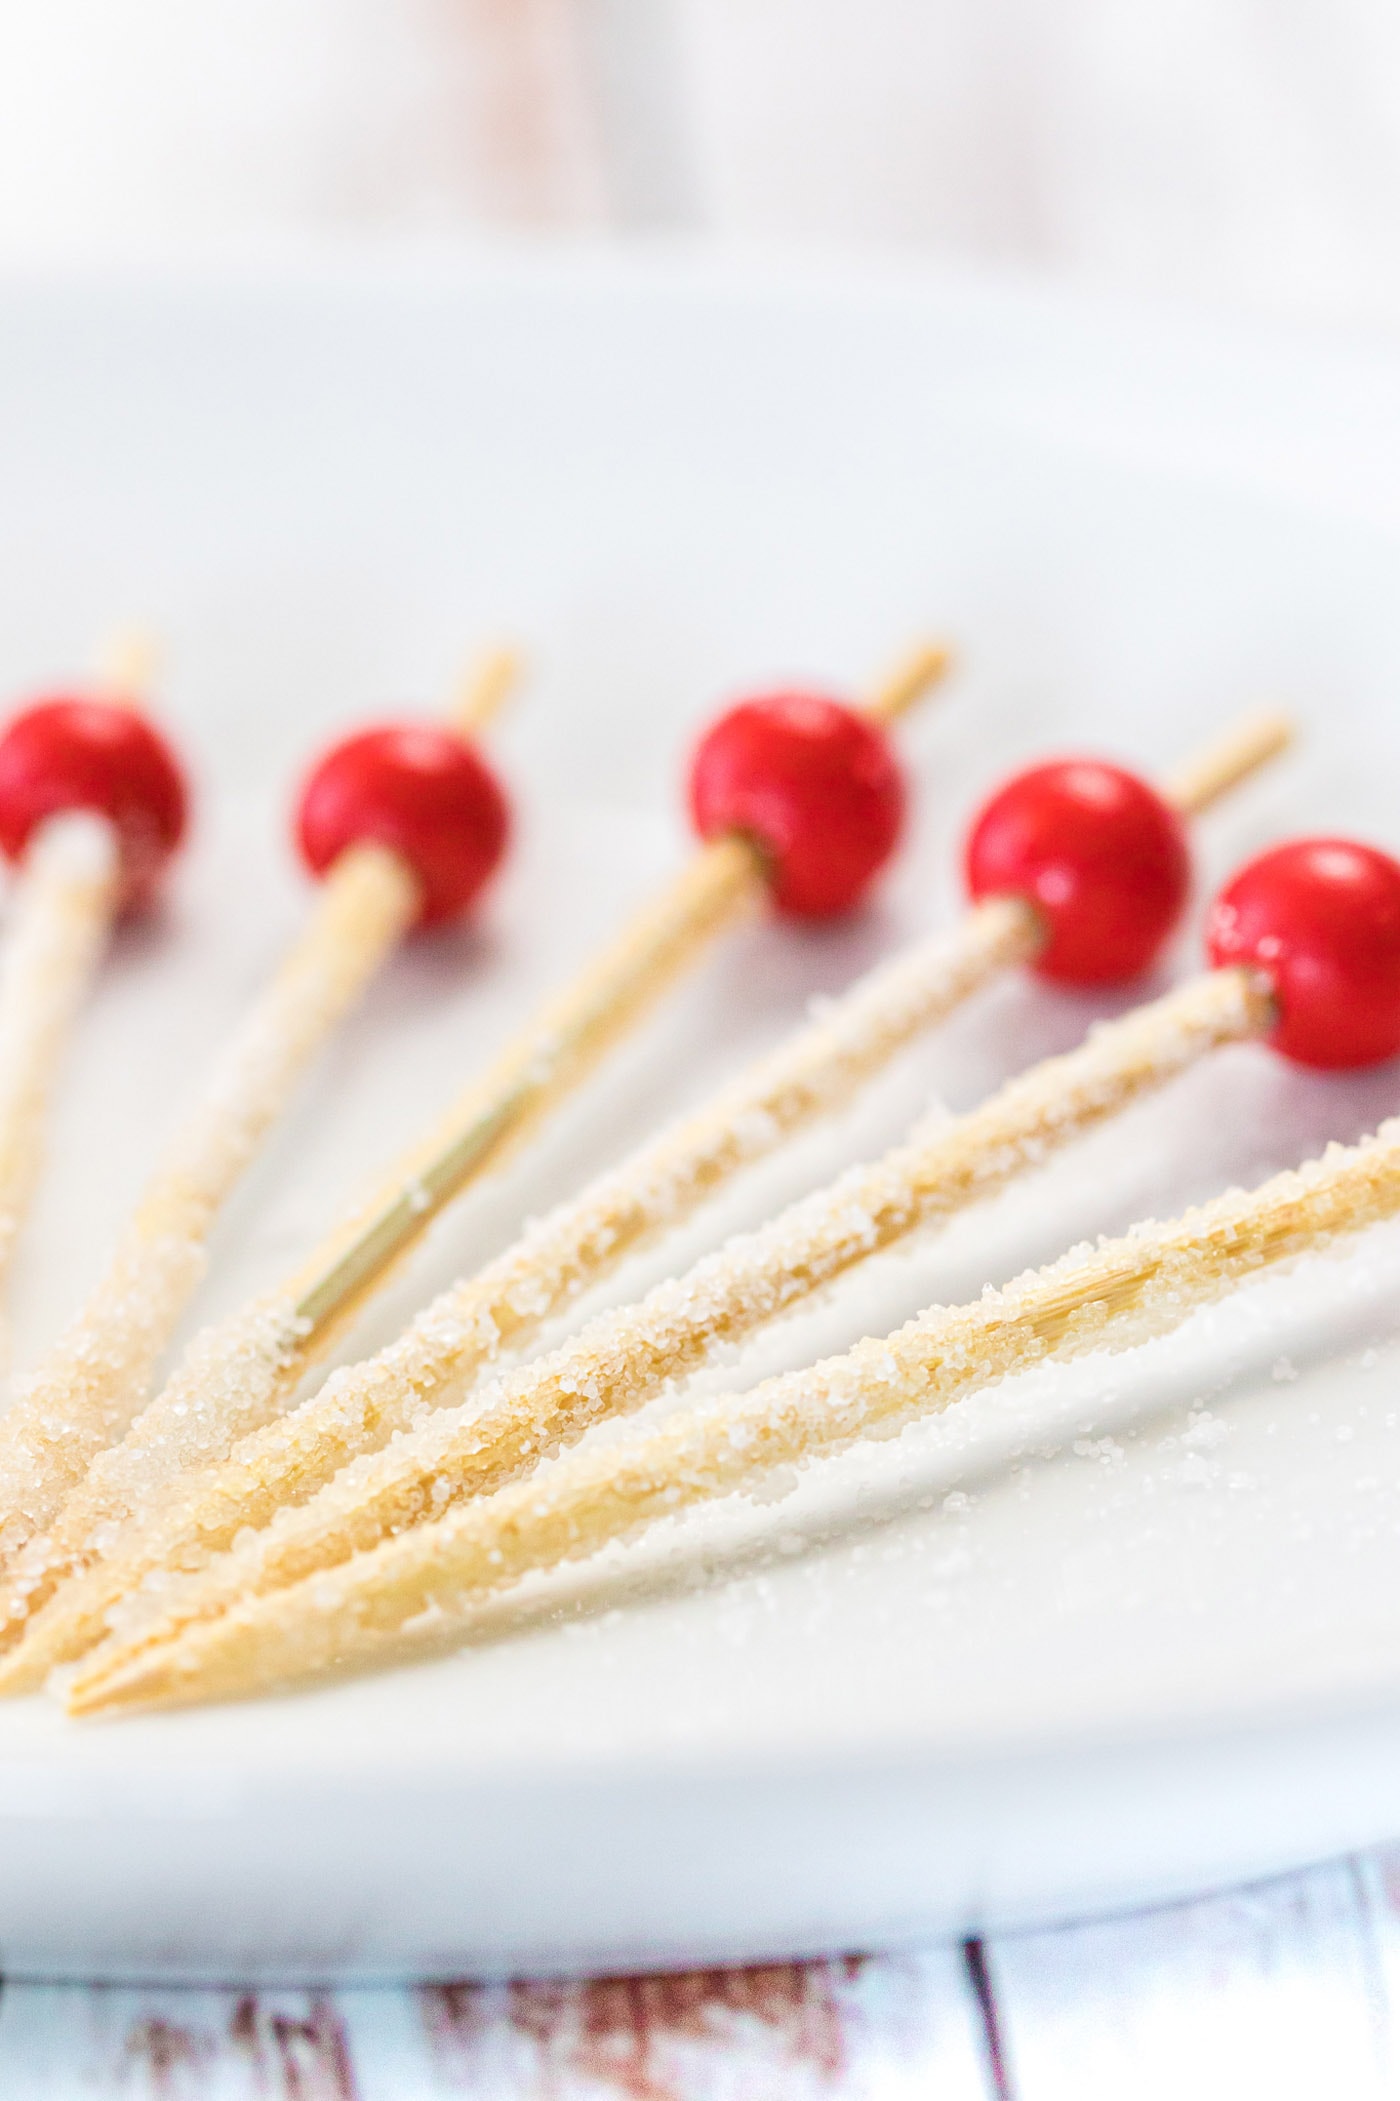
- While your mixture is cooling, prepare your wooden skewers by getting them damp and rolling them in sugar. Once they have a coating of dry sugar on them, set them aside to dry. This sugar coating will give our sugar mixture something to attach itself to and help us have bigger sugar crystals in our rock candy!
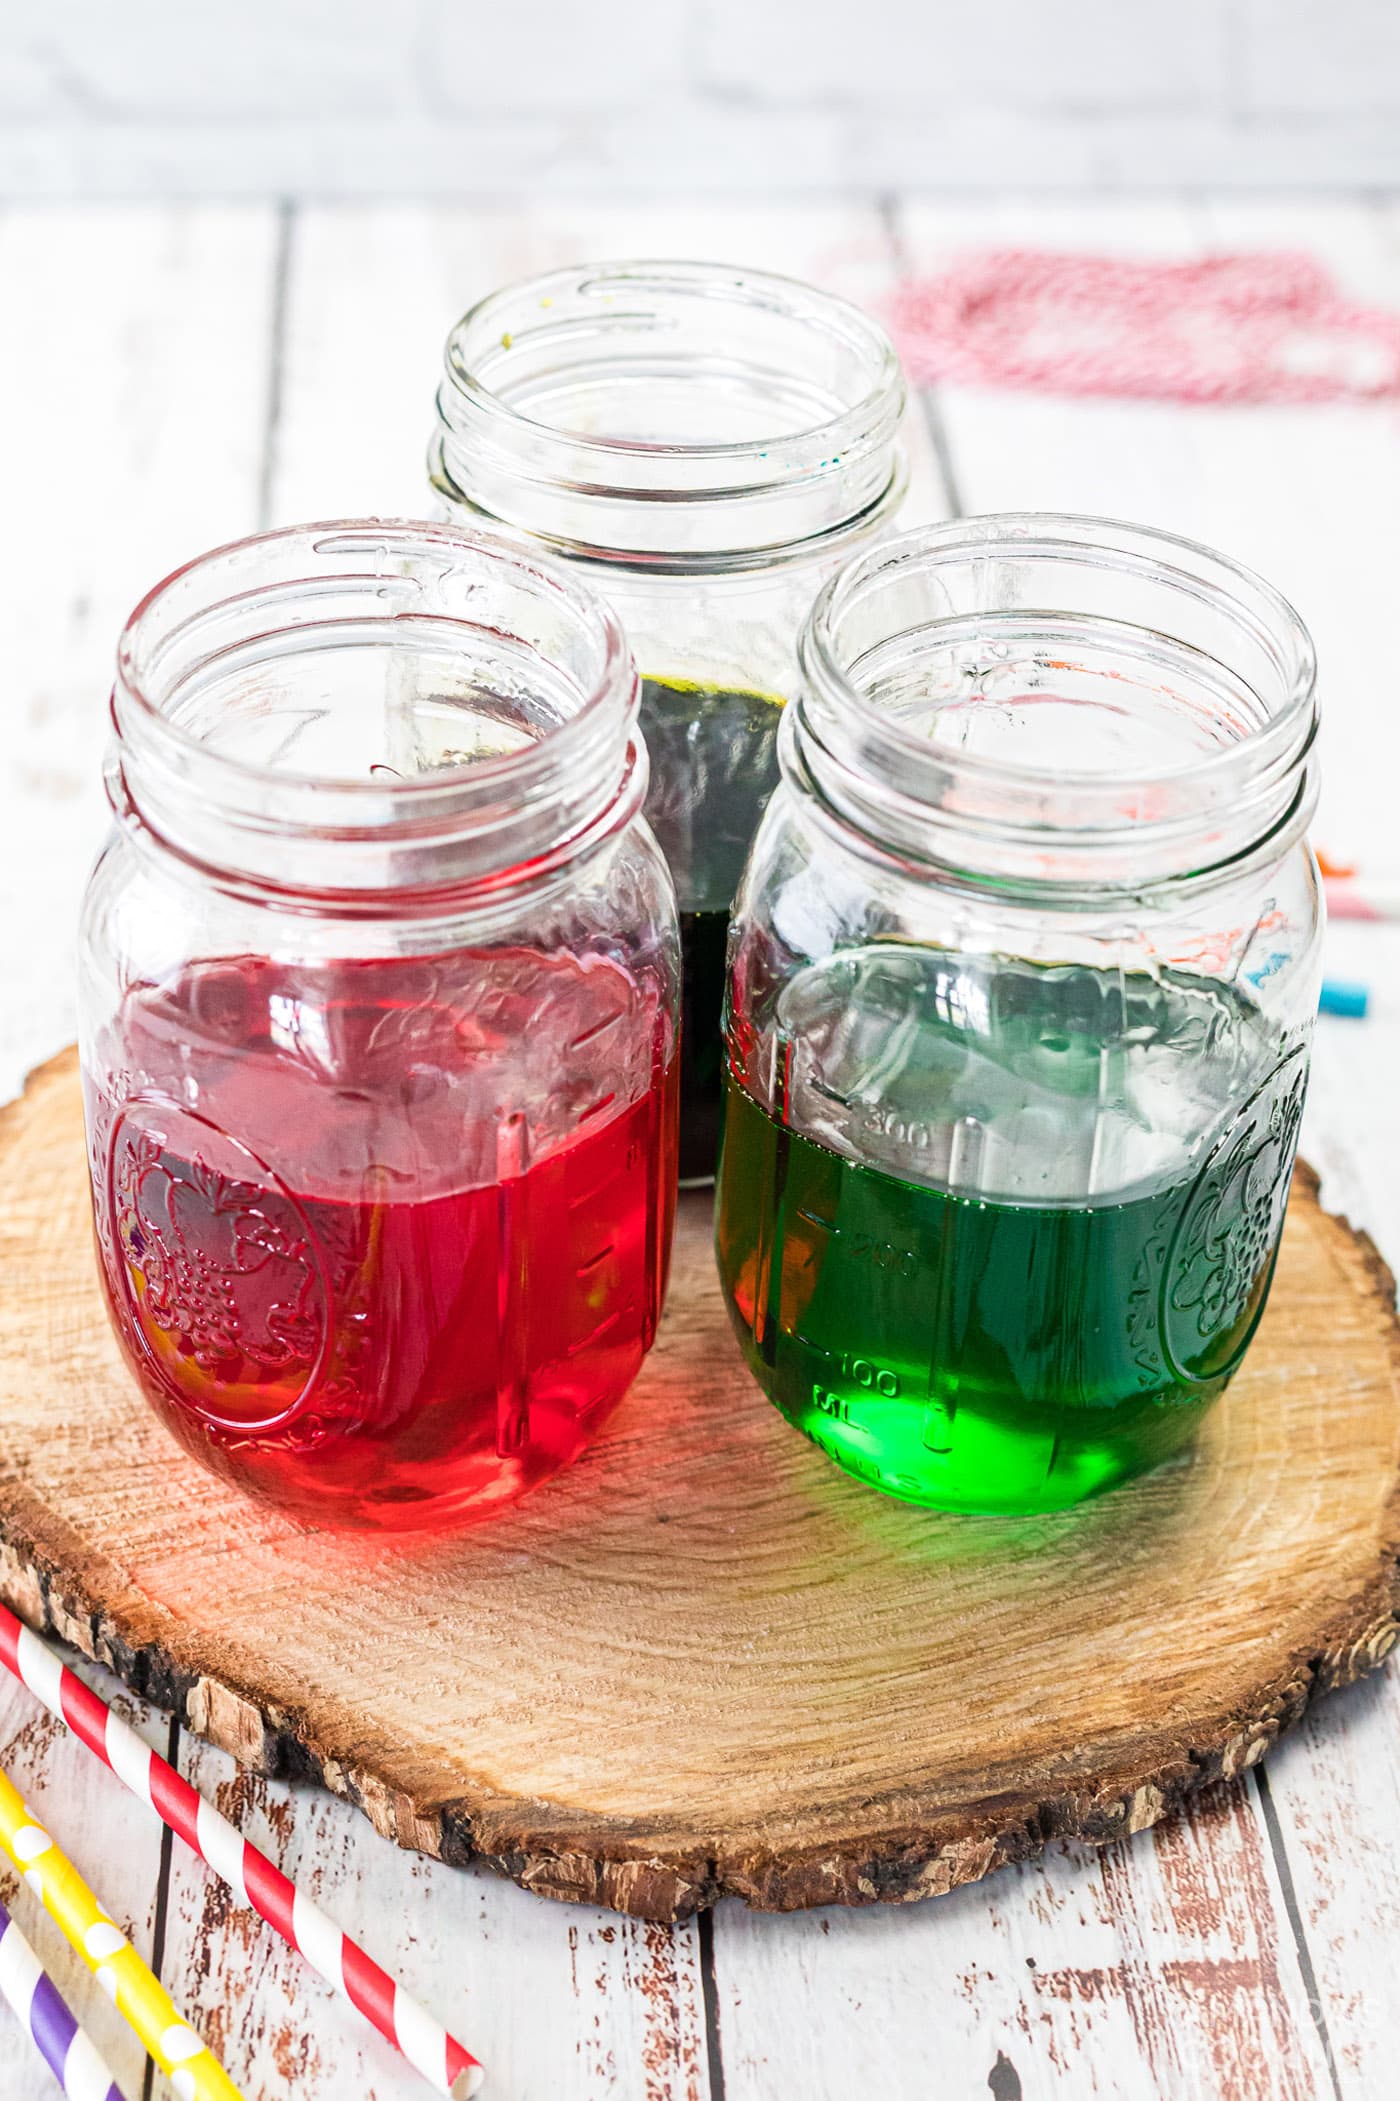
- When they cool to near room temperature, remove the jars from the refrigerator. If you are adding flavoring or food coloring do that step now.
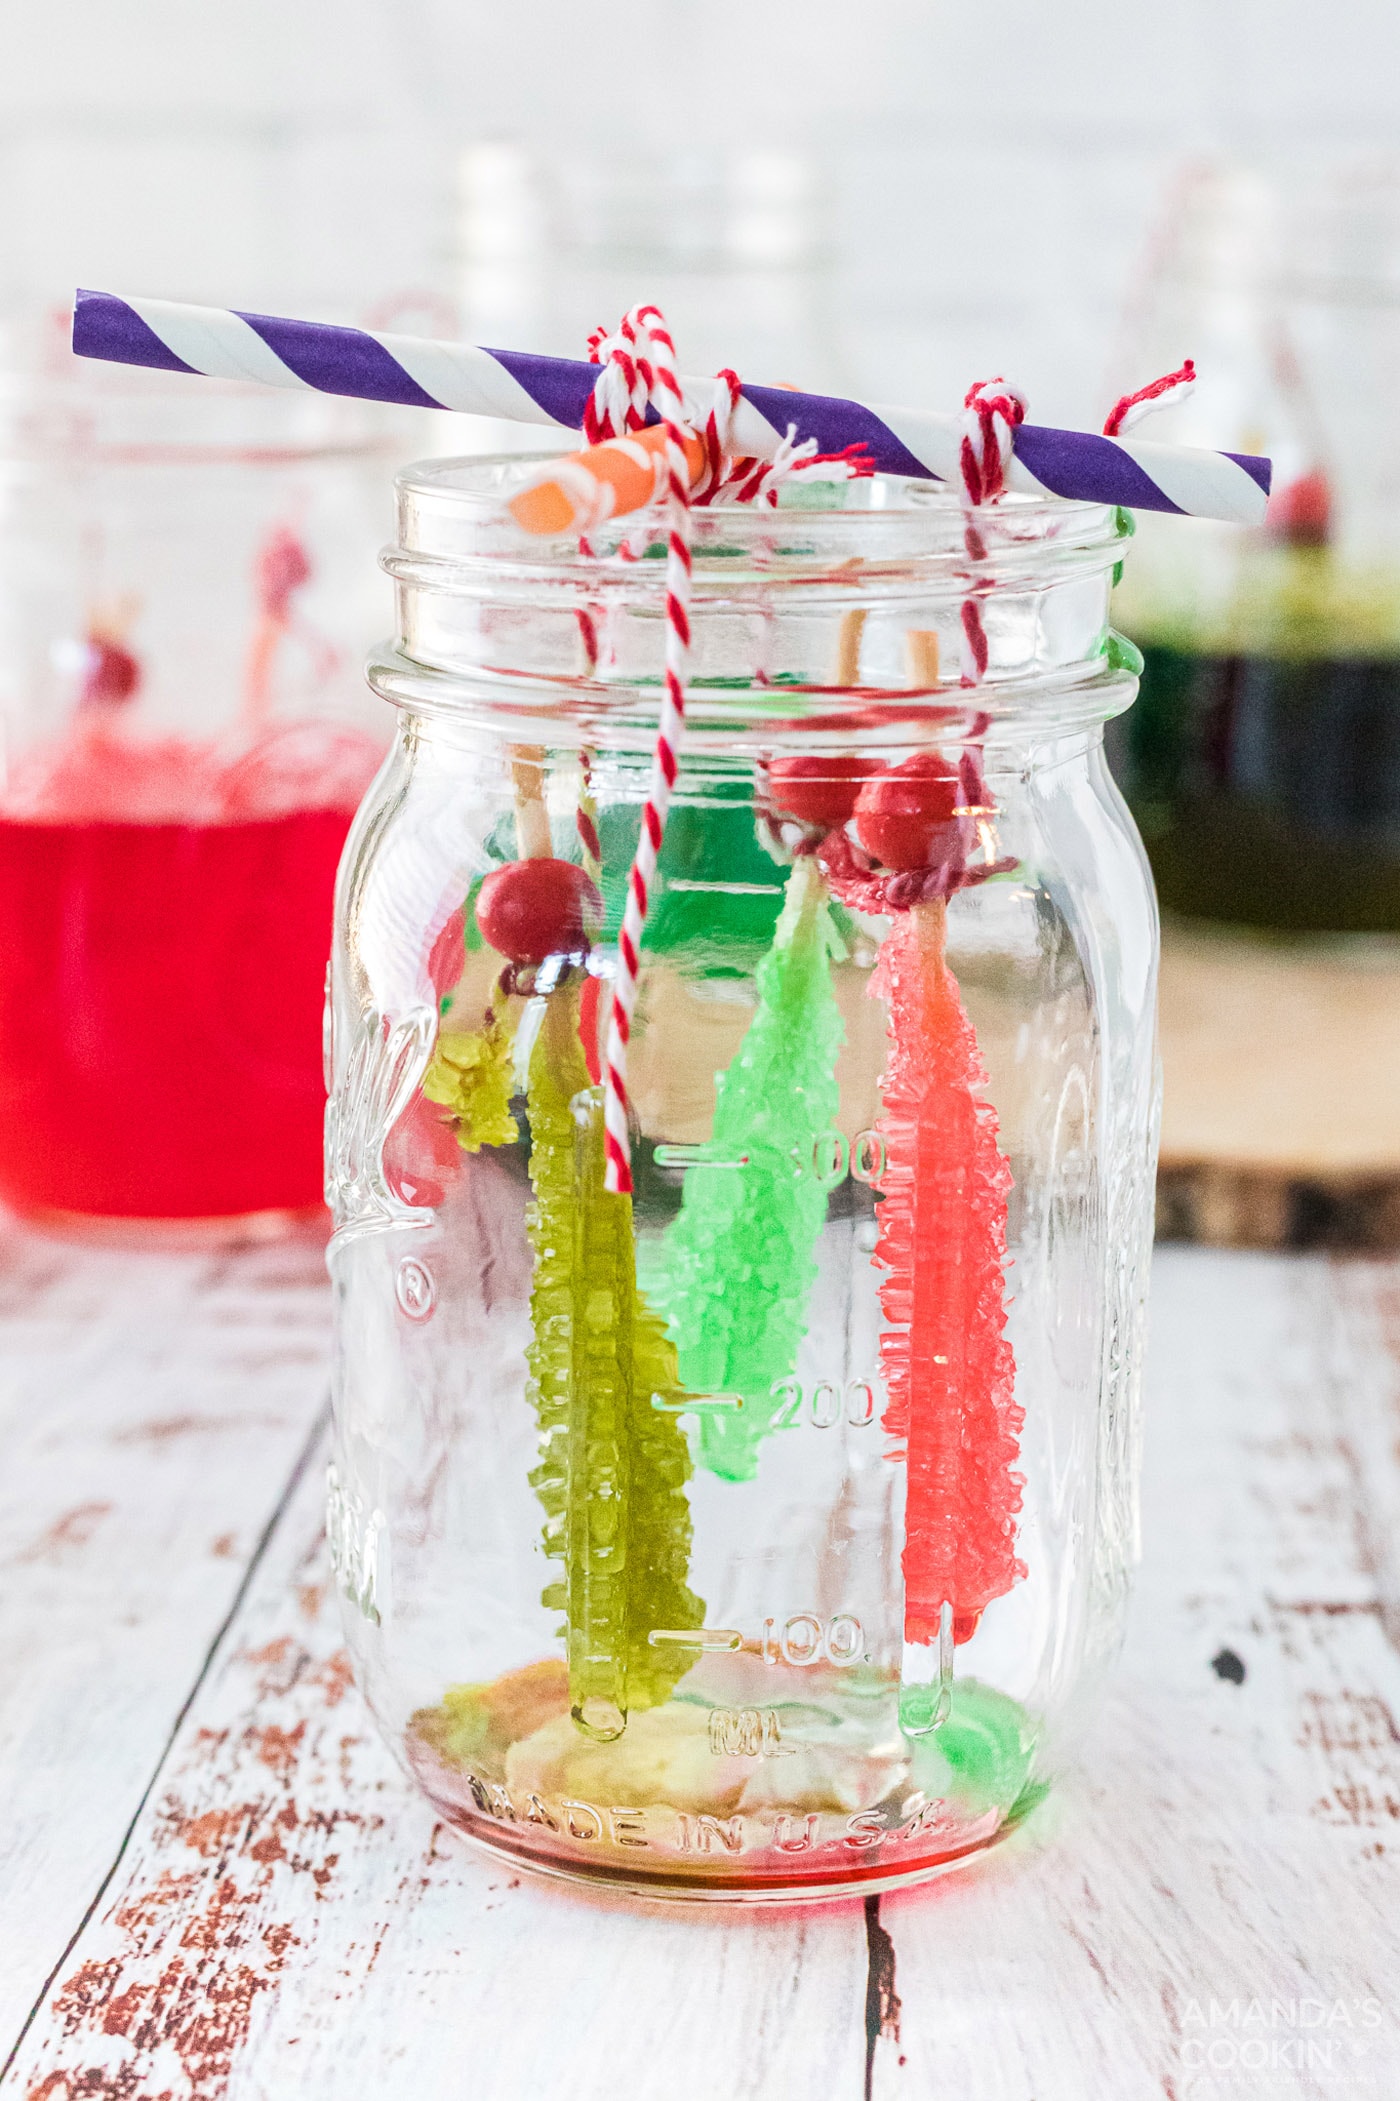
- Tie baker’s twine to your picks and dangle them into the sugar mixture, try to keep them from touching the bottom or each other. Once you get the picks placed where you want them in the jar, hold their strings along the sides of the jar screw the top on to hold the strings in place.
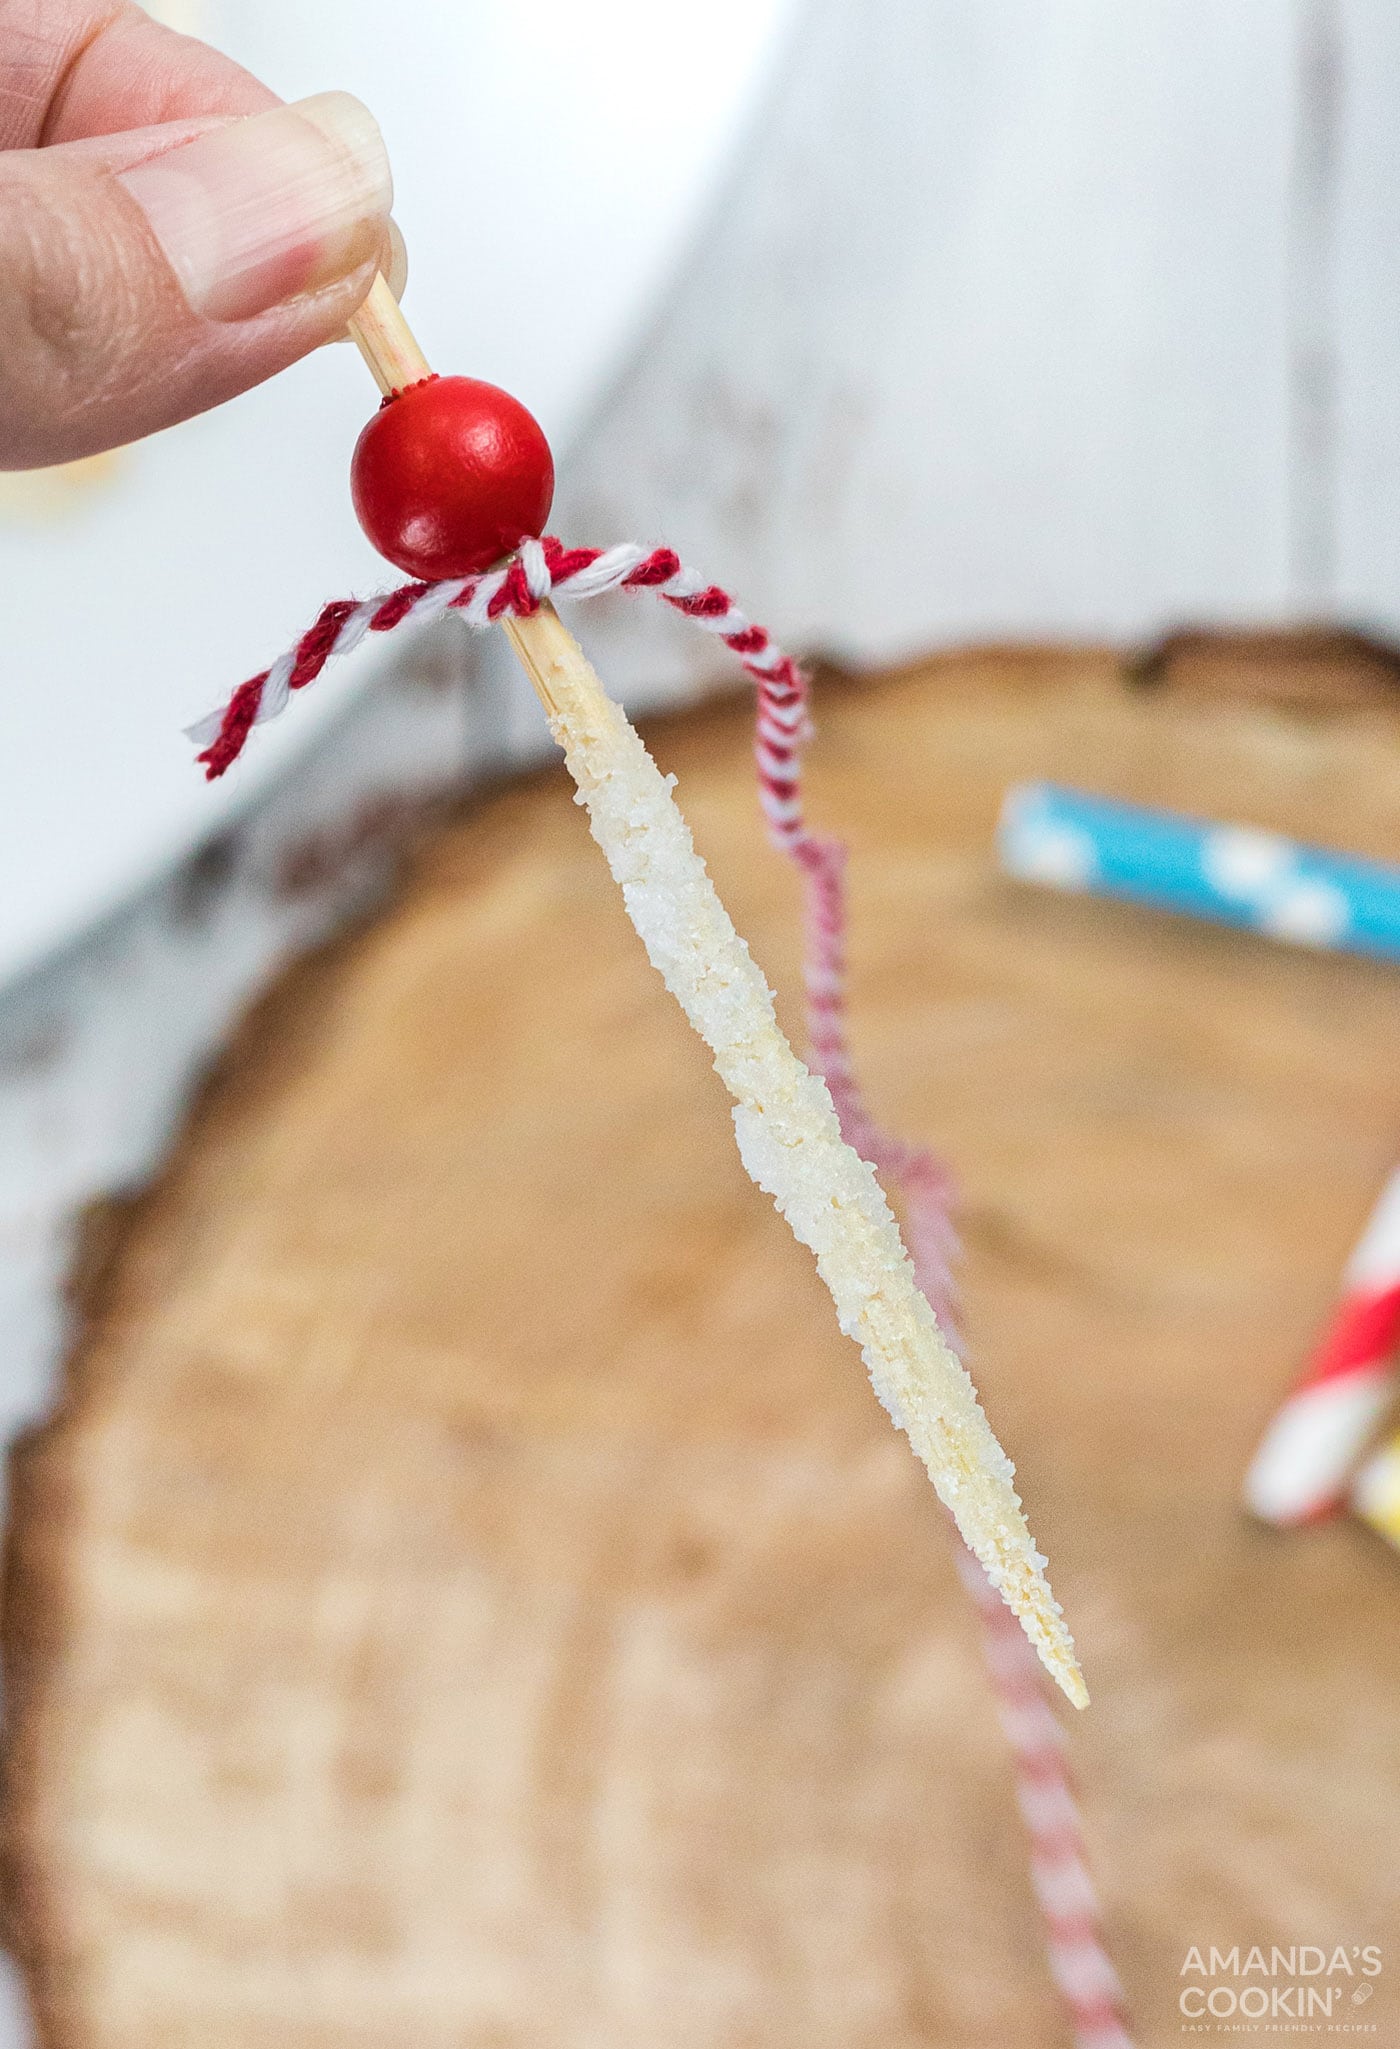
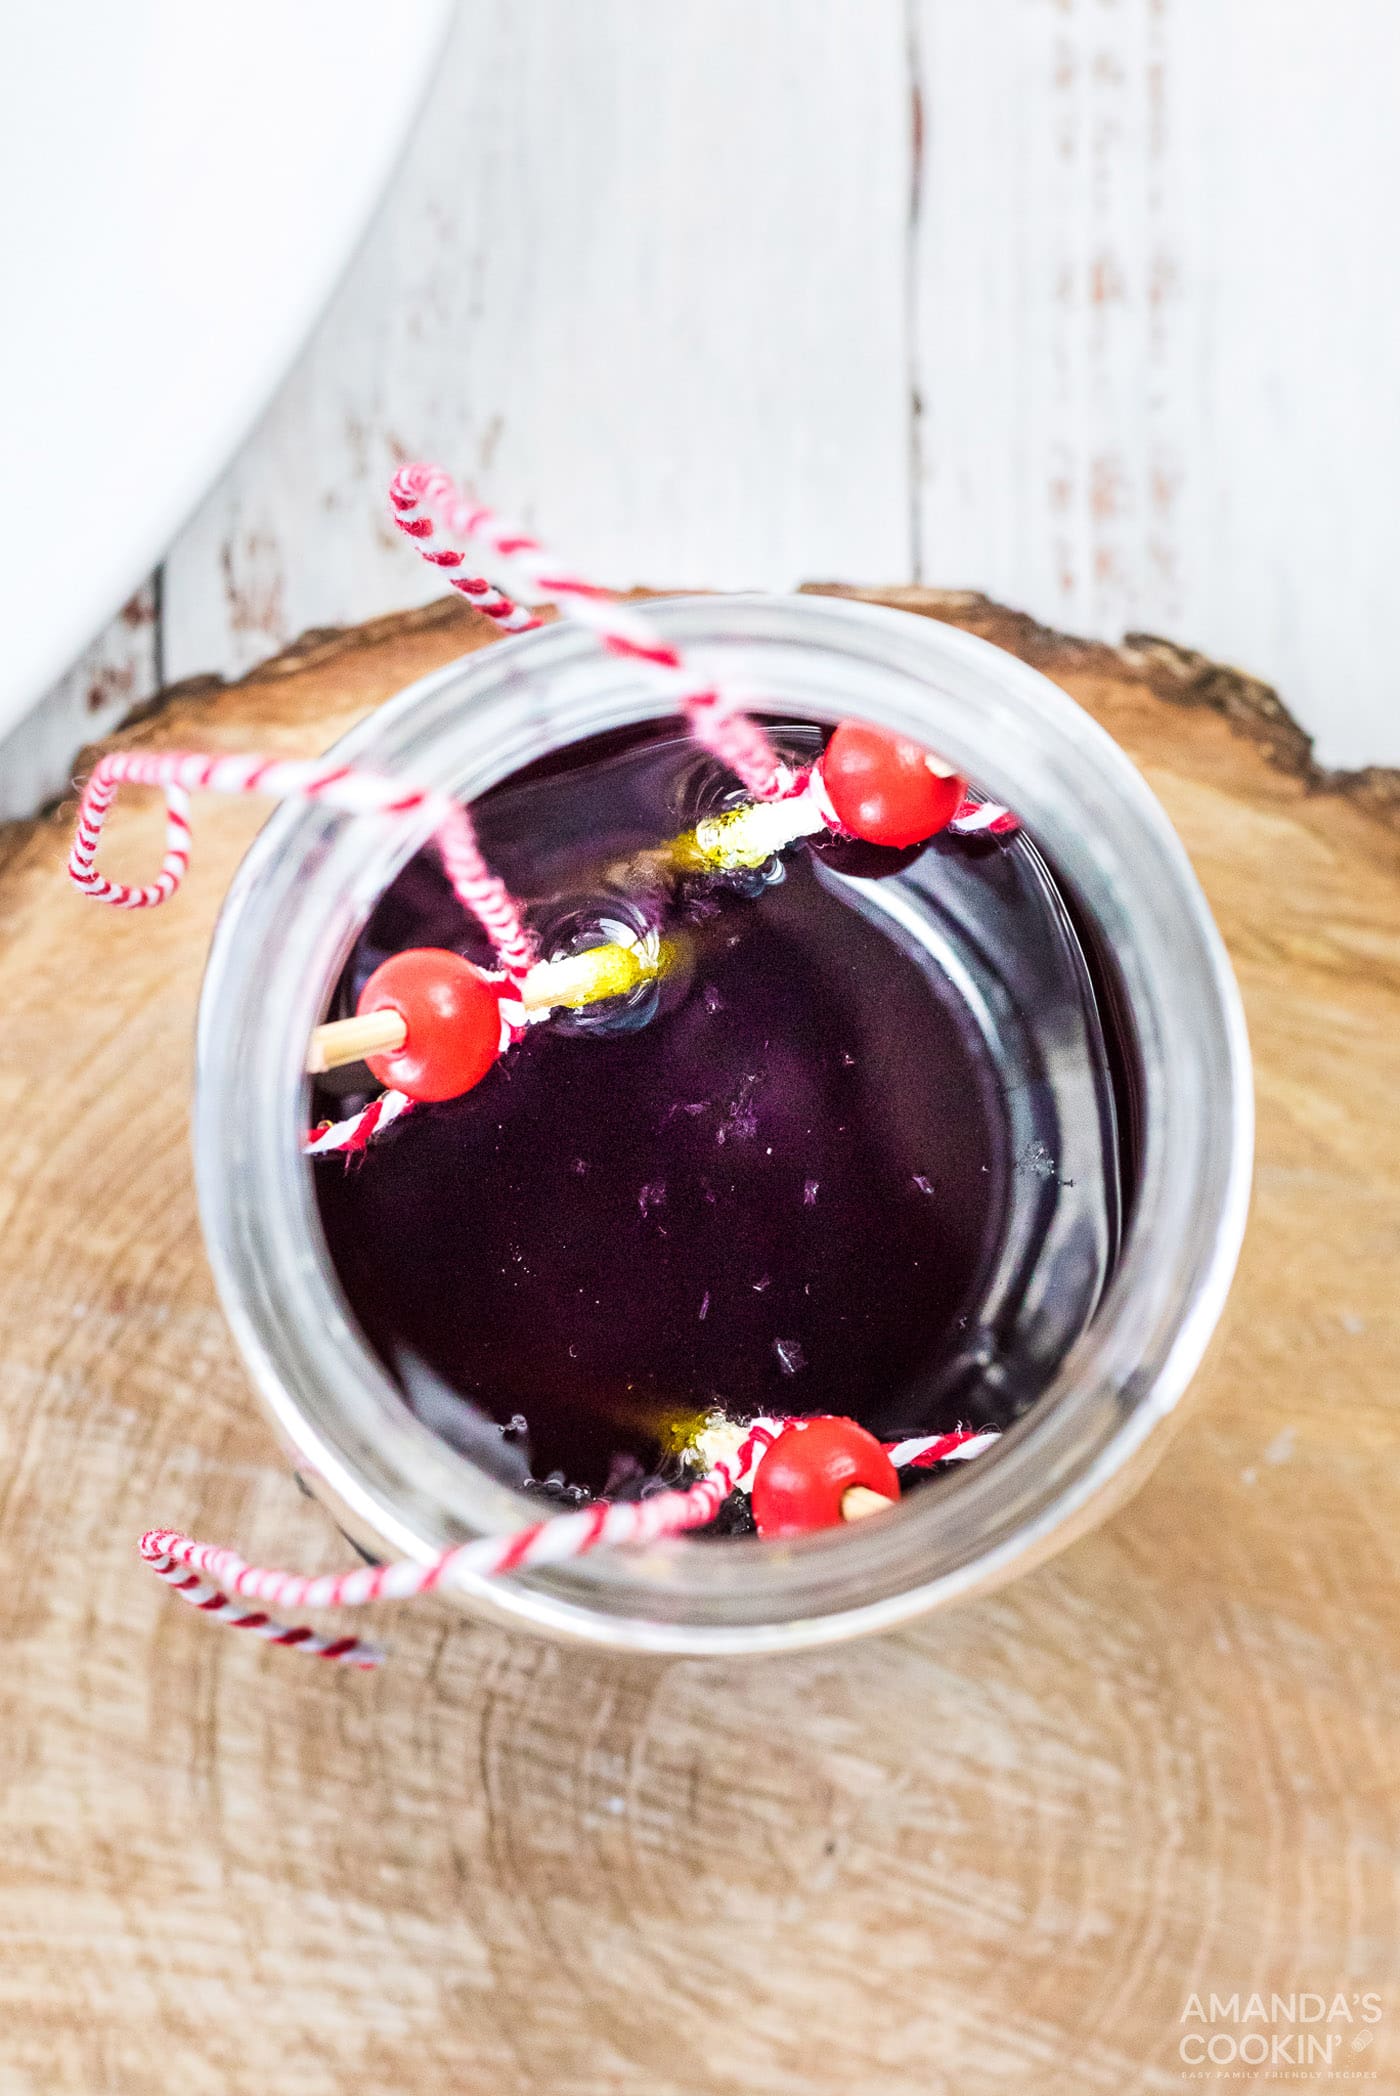
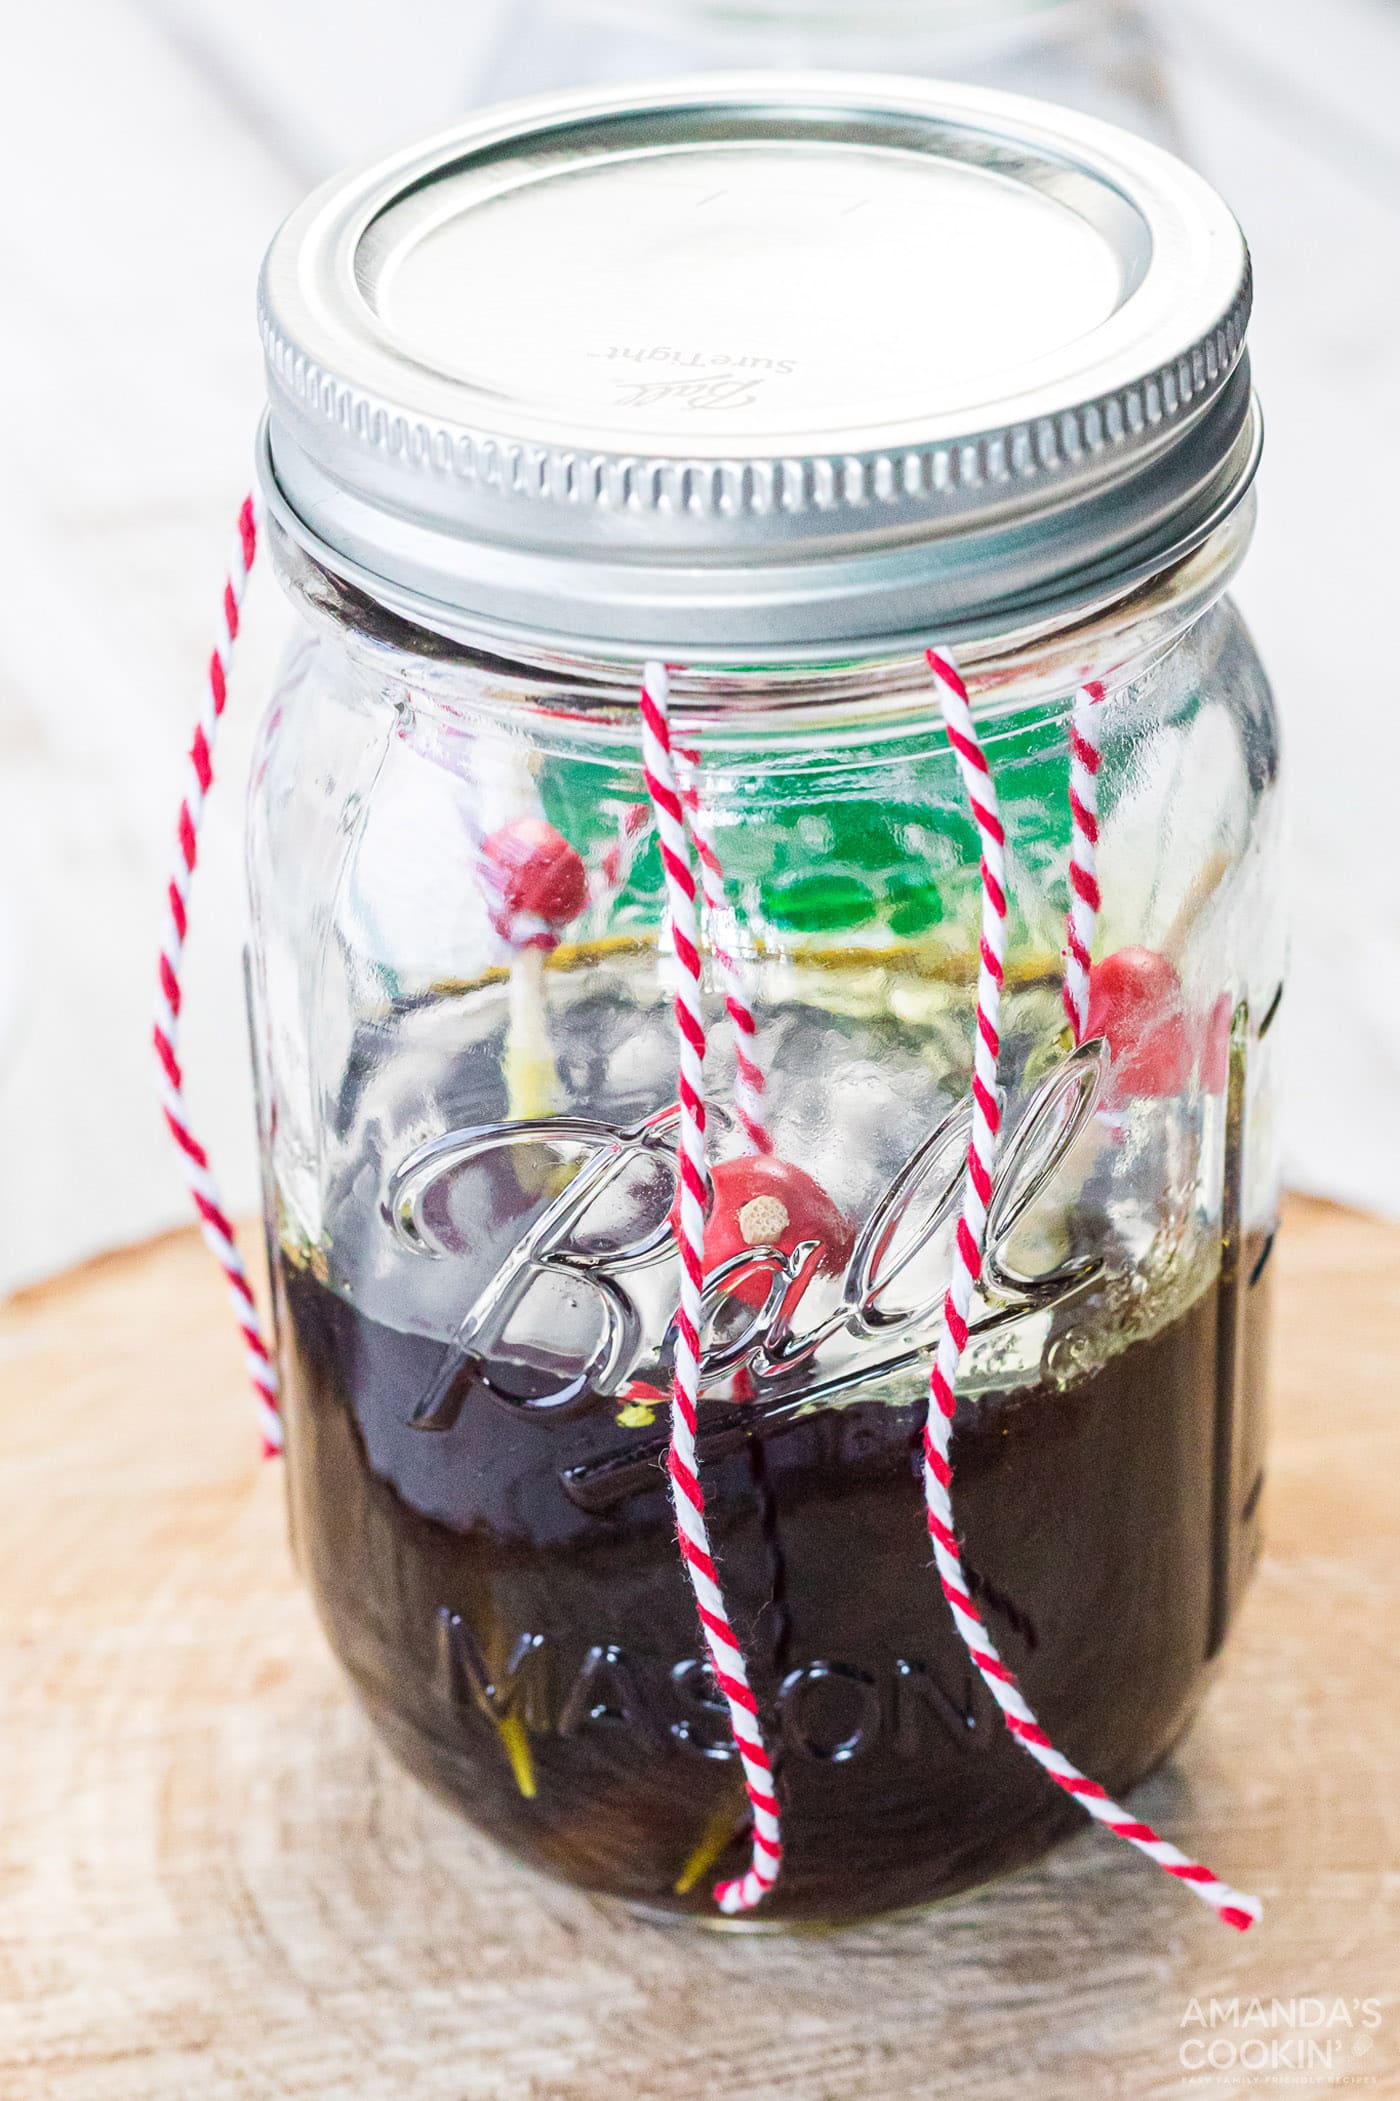
- Set the jar aside somewhere where it won’t be disturbed and wait 3-10 days for the sugar crystals to grow, the longer you wait the larger the crystals will get.
- When the crystals grow to a good size, they are ready to dry. Tie two straws into an X and balance it on top of a clean jar.
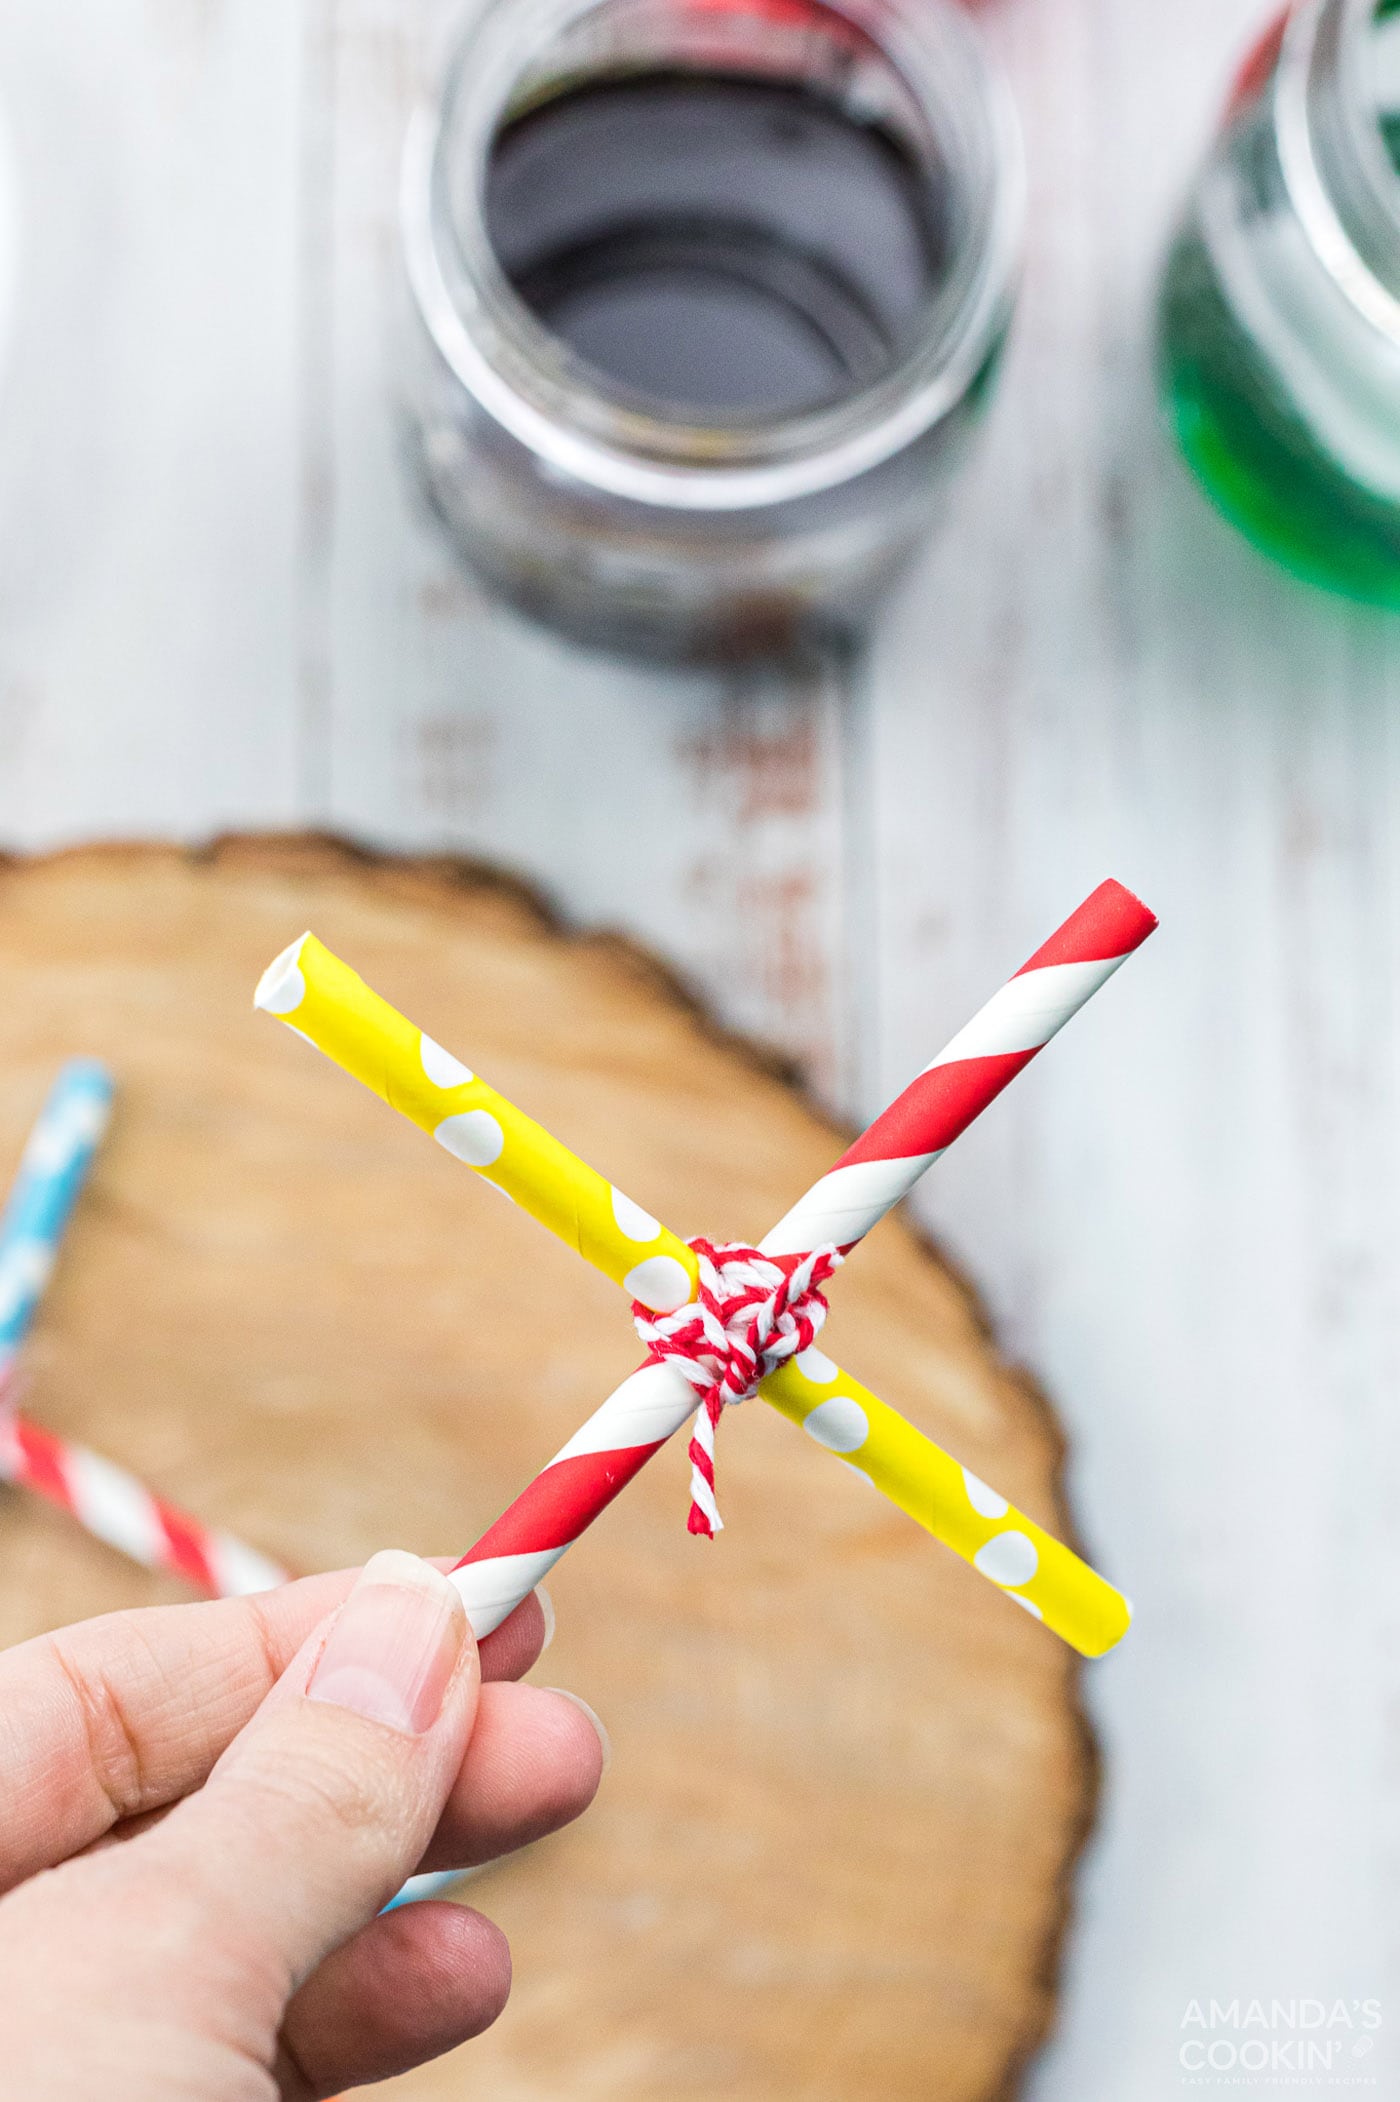
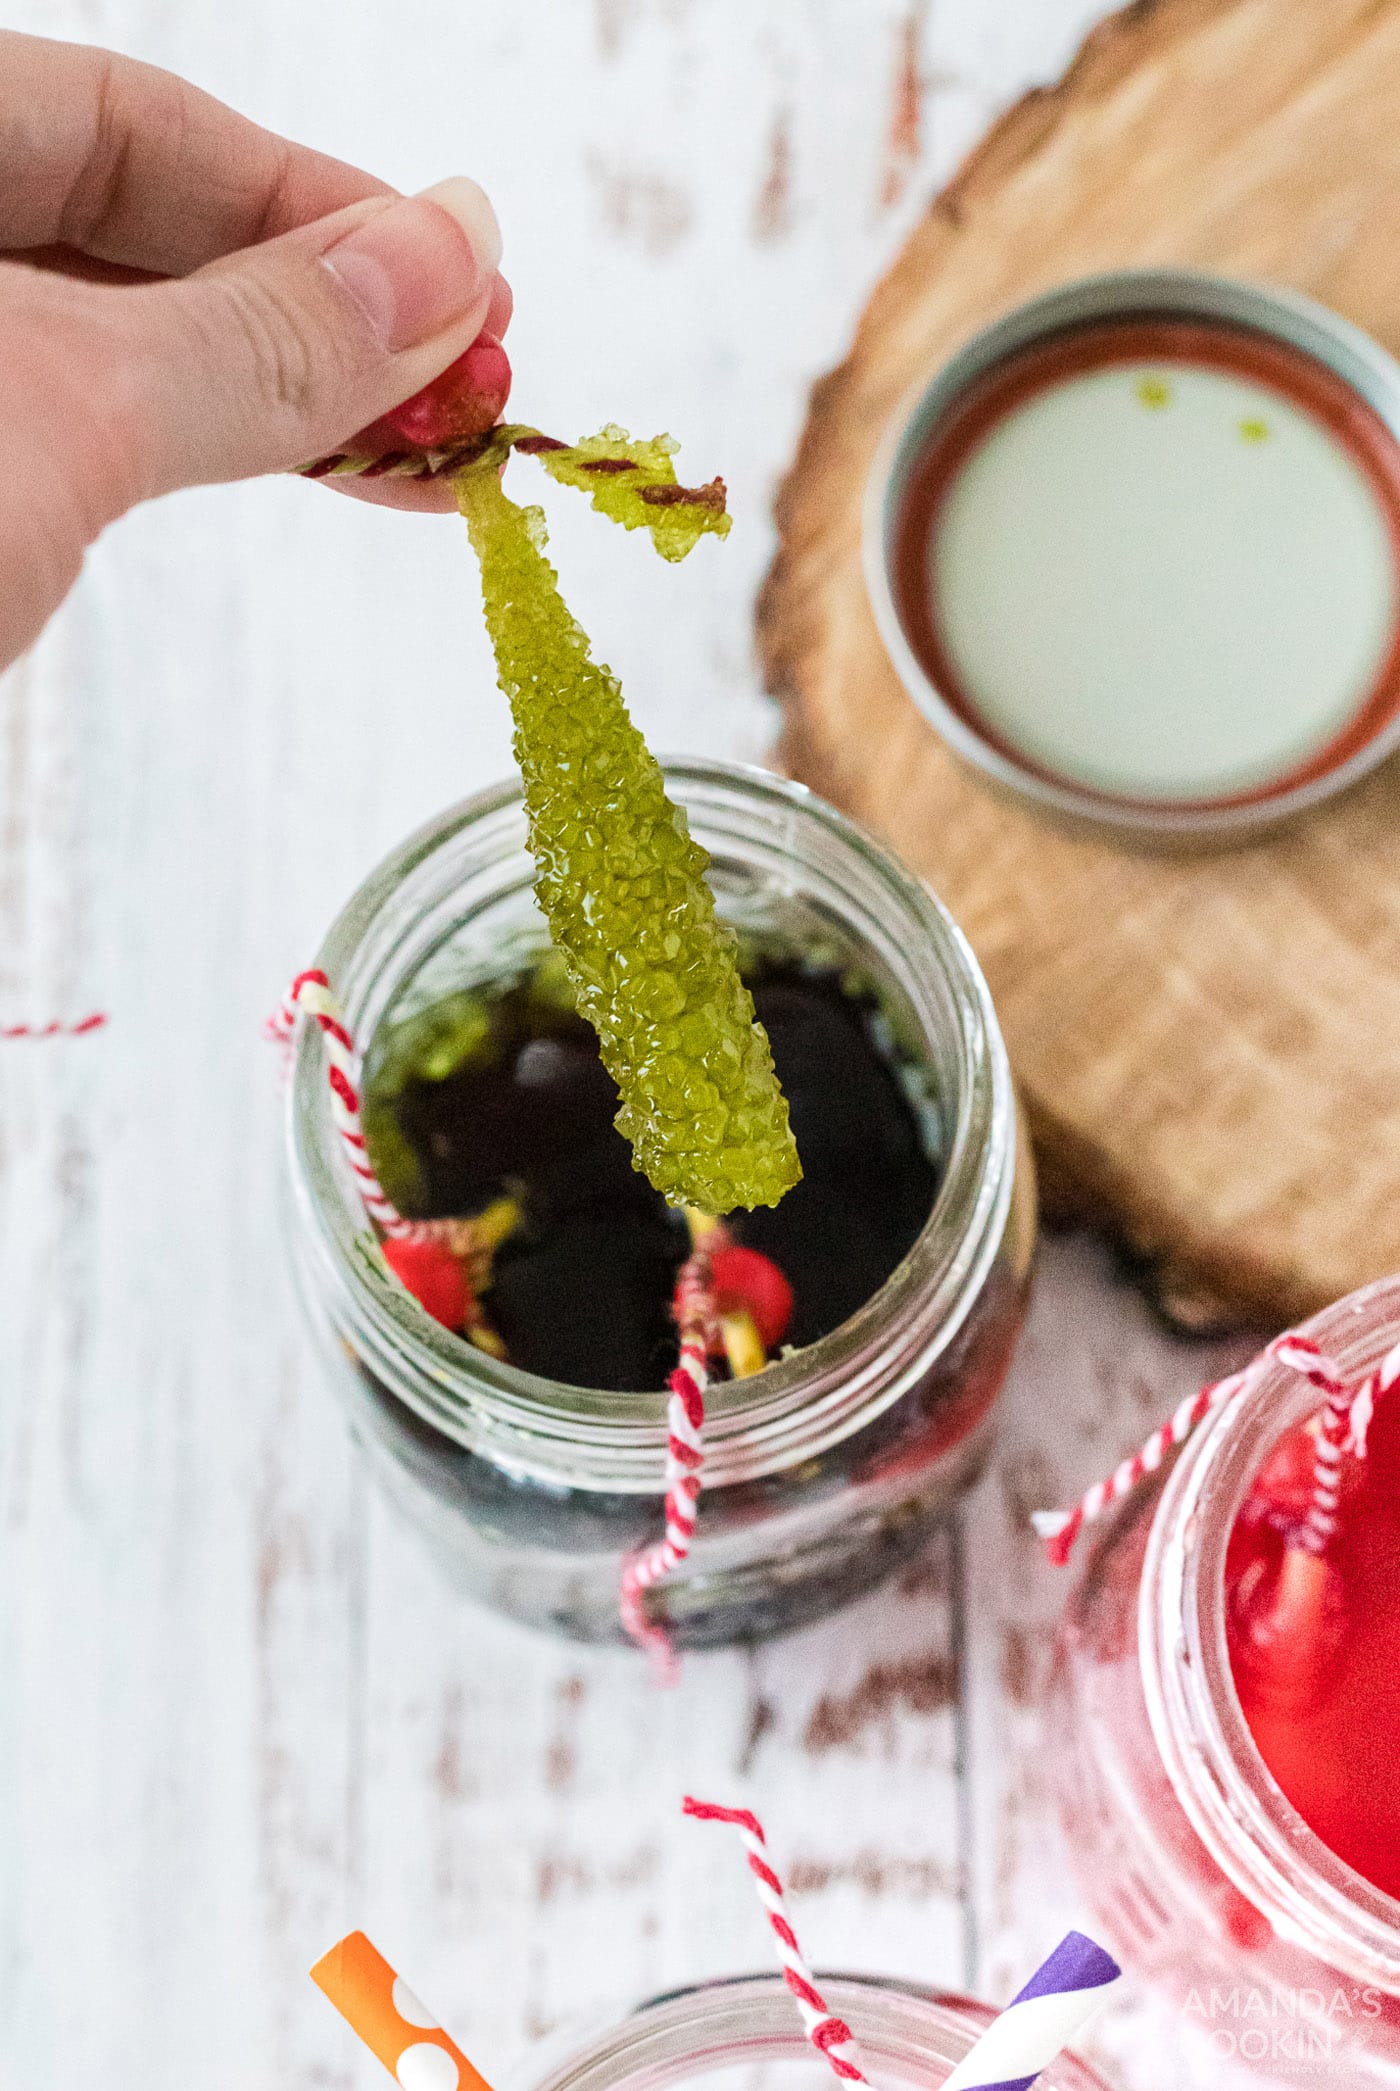
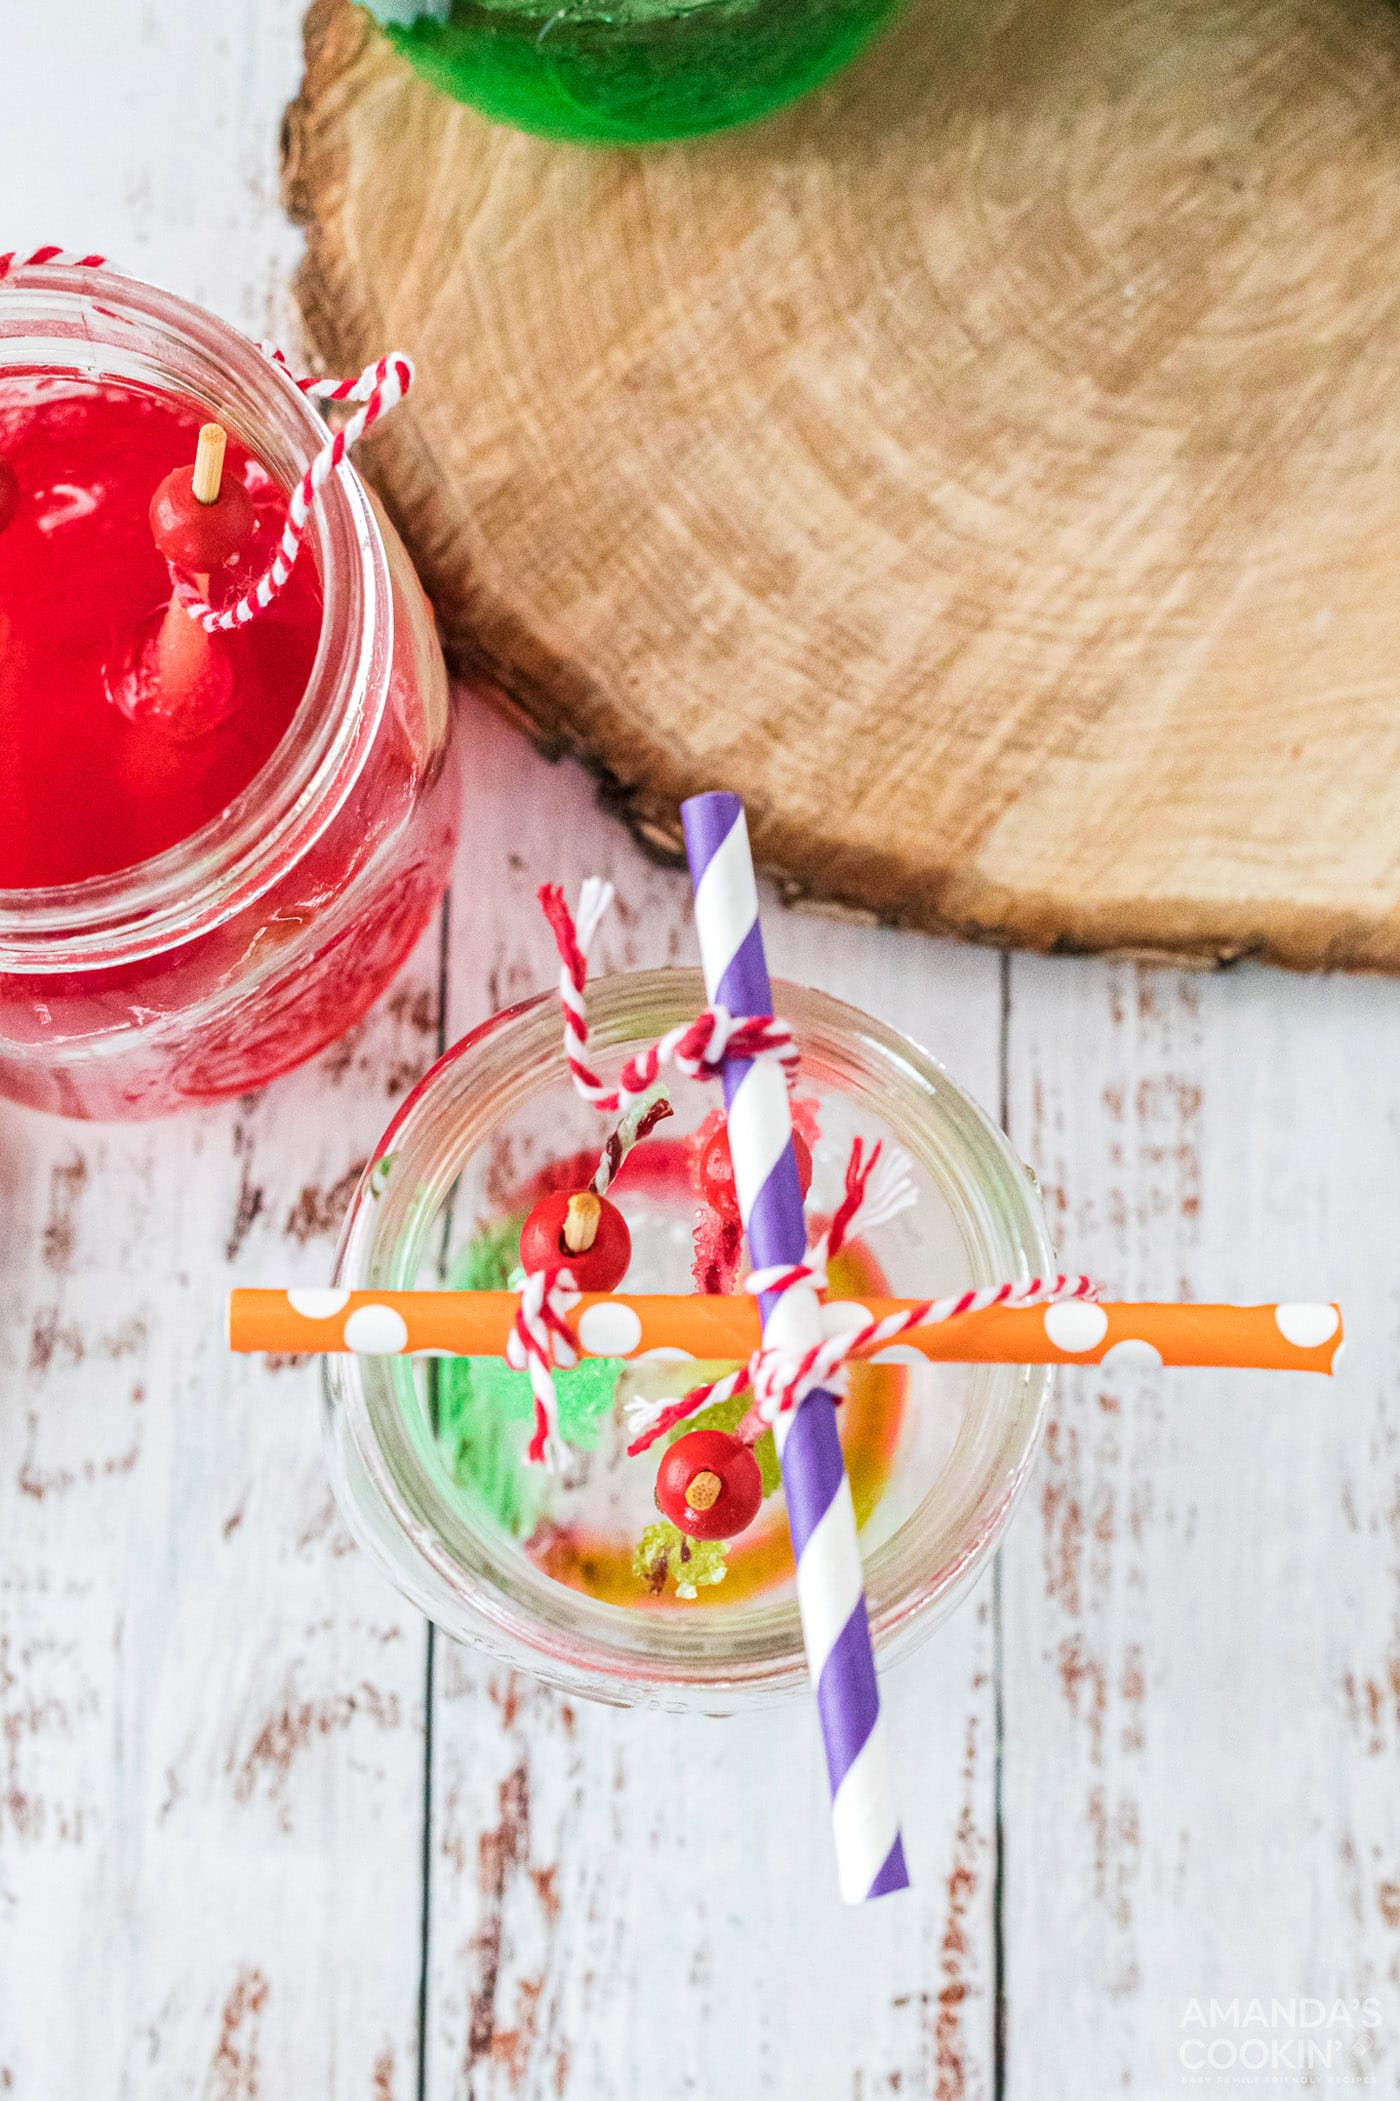
- Carefully remove the rock candy sticks from their jars and tie their strings onto the straw X’s. Don’t let them touch each other, let them hang in the jar from the X until they are dry.
Frequently Asked Questions
Baker’s twine can be used in place of the wooden skewers if desired. To do this, tie a life saver to the end of the string to act as a weight and place it into the sugar mixture instead of the skewers. Please note that although this method does work, we have found that wooden skewers work better.
Experiments have shown that regular granulated white sugar creates the largest crystals. Brown sugar or even organic sugar can be used instead if you prefer.
Store your rock candy in a cool, dry place for up to year! Keep it away from warm areas and direct sunlight.
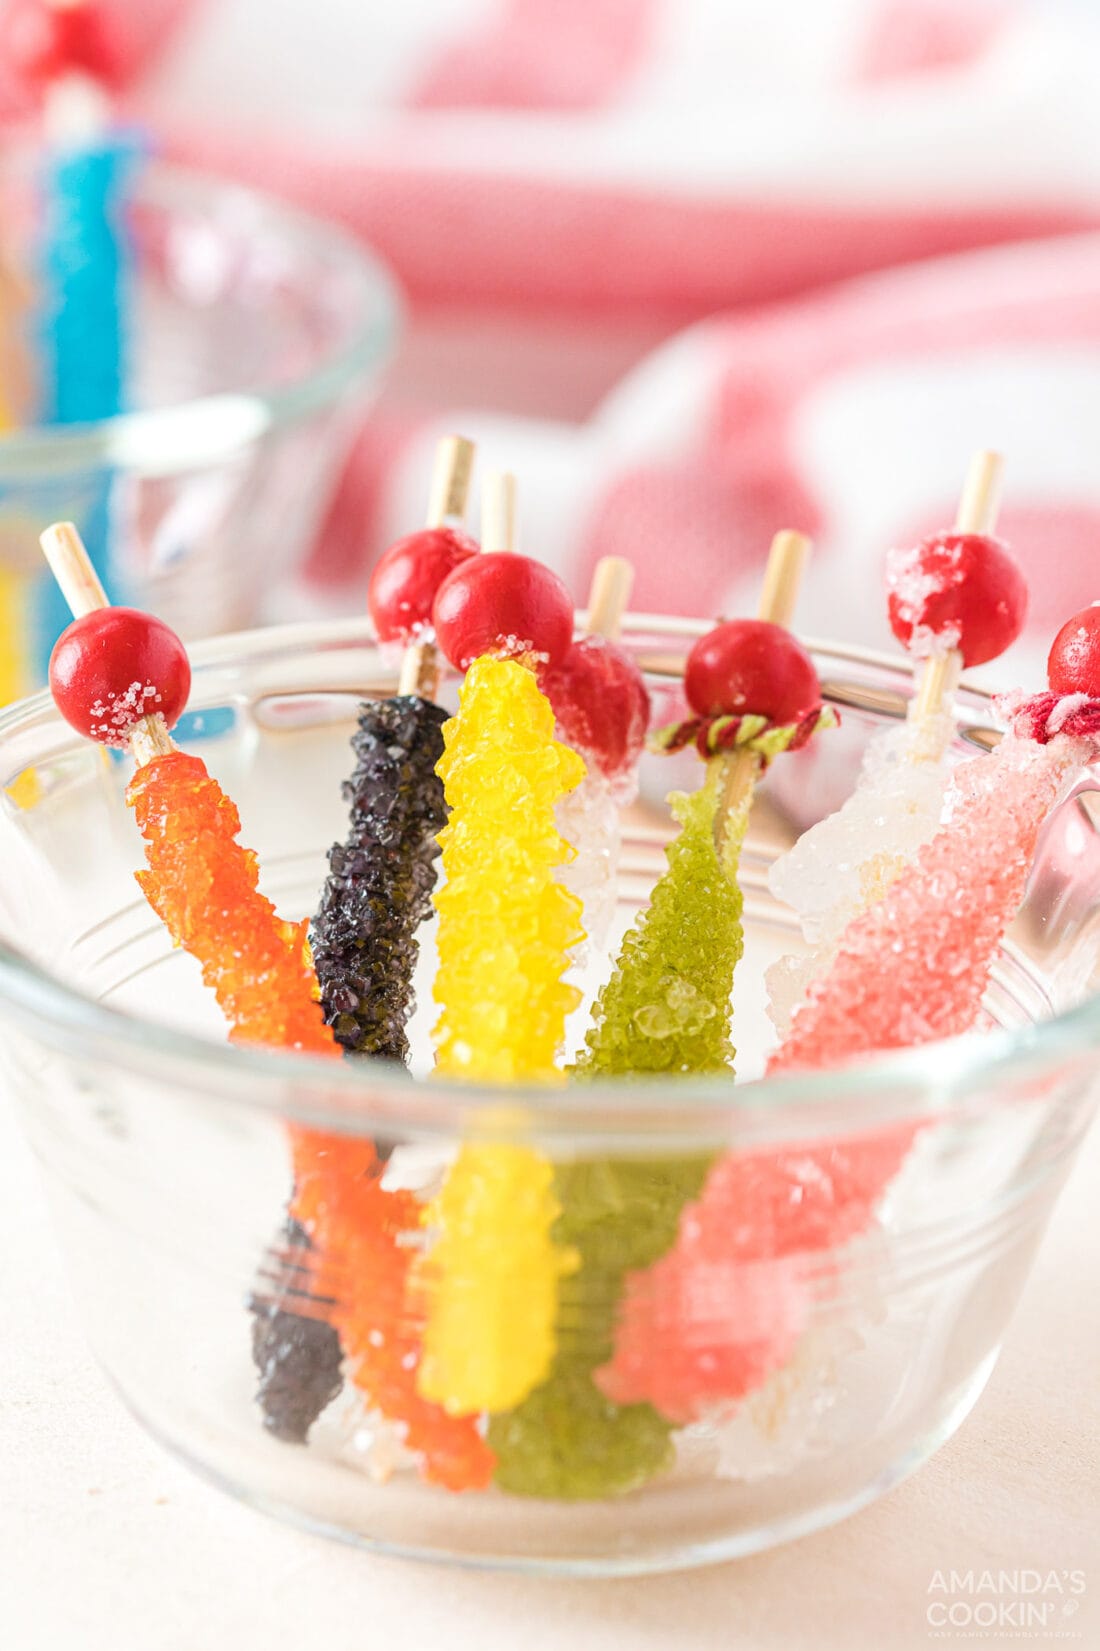
You and your kids will love this rock candy experiment! Keep your spoils, or save them for goody bags at birthday parties, include with a Valentine card, or attach to the top of a Christmas present.
More Candy Recipes
- Mocha Truffles
- Chocolate Turtles
- Orange Creamsicle Gummies
- Easy Homemade Candy Bars
- Crunchy Popcorn Chocolate Bark
- White Chocolate Candy Cane Pretzel Sticks
- Candied Citrus Peel
- Homemade Lollipops
I love to bake and cook and share my kitchen experience with all of you! Remembering to come back each day can be tough, that’s why I offer a convenient newsletter every time a new recipe posts. Simply subscribe and start receiving your free daily recipes!
Rock Candy
IMPORTANT – There are often Frequently Asked Questions within the blog post that you may find helpful. Simply scroll back up to read them!
Print It Pin It Rate ItIngredients
- 3 cups granulated sugar
- 1 cup water
- Food coloring optional
- ½ teaspoon flavoring oil or extract optional
Things You’ll Need
- Clean glass jars with a lid (canning jars work well for this)
- straws
Before You Begin
- Jars will have sugar crystals growing on their sides and maybe even across the top, you can break this to get your rock candy out. Just be careful not to knock the crystals off of your skewer sticks.
- To clean the jars, it’s easier to let them soak in hot water for a bit to loosen the crystals. Sugar naturally dissolves in water!
- Baker’s twine can be used in place of the wooden skewers if desired. To do this, tie a life saver to the end of the string to act as a weight and place it into the sugar mixture instead of the skewers. Please note that although this method does work, we have found that wooden skewers work better.
Instructions
- Add sugar and water to a pan and heat over high heat, stirring constantly until it reaches a rolling boil. Be careful not to boil it too long or the candy will start to harden. Keep stirring!
- Remove from heat and keep stirring until all of the sugar granules have dissolved. The mixture will suddenly get clearer when this happens.
- Hold the outside of each jar under hot tap water for a few seconds to warm them up. Carefully pour hot sugar mixture into your jars and put in the refrigerator to cool a bit. This usually takes 30 minutes to one hour depending on the size of your jars. We don't want the mixture to be cold, just about room temperature.
- While your mixture is cooling, prepare your wooden skewers by getting them damp and rolling them in sugar. Once they have a coating of dry sugar on them, put them aside to dry. This sugar coating will give our sugar mixture something to attach itself to and help us have bigger sugar crystals in our rock candy!
- When they cool to near room temperature, remove the jars from the refrigerator. If you are adding flavoring or food coloring do that step now.
- Tie baker’s twine to your picks and dangle them into the sugar mixture, try to keep them from touching the bottom or each other. Once you get the picks placed where you want them in the jar, hold their strings along the sides of the jar screw the top on to hold the strings in place.
- Set the jar aside somewhere where it won’t be disturbed and wait 3-10 days for the sugar crystals to grow, the longer you wait the larger the crystals will get.
- When the crystals grow to a good size, they are ready to dry. Tie two straws into an X and balance it on top of a clean jar. Carefully remove the rock candy sticks from their jars and tie their strings onto the straw X’s. Don’t let them touch each other, let them hang in the jar from the X until they are dry.
Amanda Davis
Latest posts by Amanda Davis (see all)
- Chocolate Covered Strawberries - January 20, 2025
- Cauliflower Pizza Crust - January 13, 2025
- Keto Peanut Butter Cookies - January 9, 2025


LAURA says
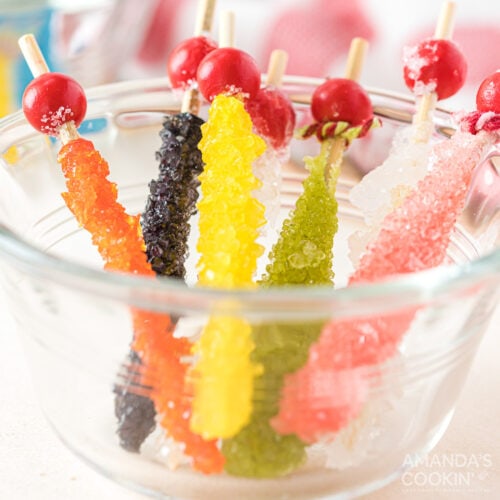
What are the red balls on the sticks? Wooden beads?
Amanda Formaro says
Yes
Brittany says
How many jars will this recipe make? I don’t see it listed anywhere in the blog or recipe bit, maybe I just missed it, idk. And just to verify, I can put more than one skewer in a jar at a time? My kids and husband are OBSESSED with rock candy so I want to have them do this fun craft this week.
Christina says
I want to do with my preschoolers how many dose the recipe make
Corey says
Can this recipe be doubled or tripled in one batch? I have longer sticks so I wanted to make longer rock candies.
Amanda Formaro says
As long as you have a vessel (like a vase) long enough to accommodate the longer sticks, yes.
April Driggers says
Where’s a good place to get extracts to flavor this? I’d love to make some flavored ones!
Amanda Formaro says
Most grocery stores have a variety of flavored extracts in the baking section!
Stacy says
Amazon has some
Pam Clark says
I am a preschool teacher and I did this with my kids . They liked to watch it form into rock candy and on friday get bto have it for snack . Looking forward for more to do with the kiddos . We all LOVED IT !!!
THANK YOU AMANDA !!!!!