
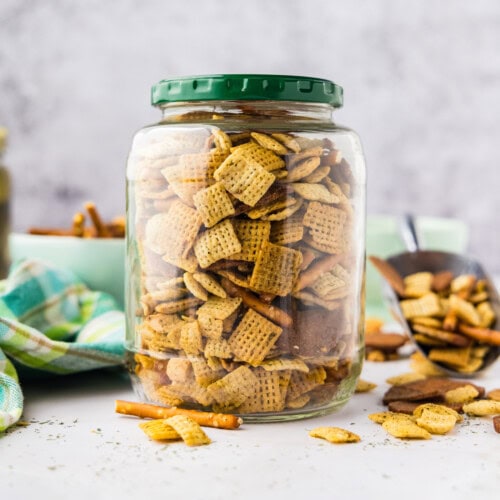
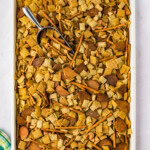
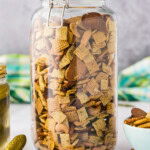
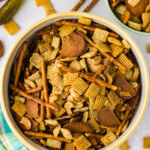
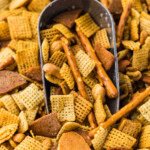
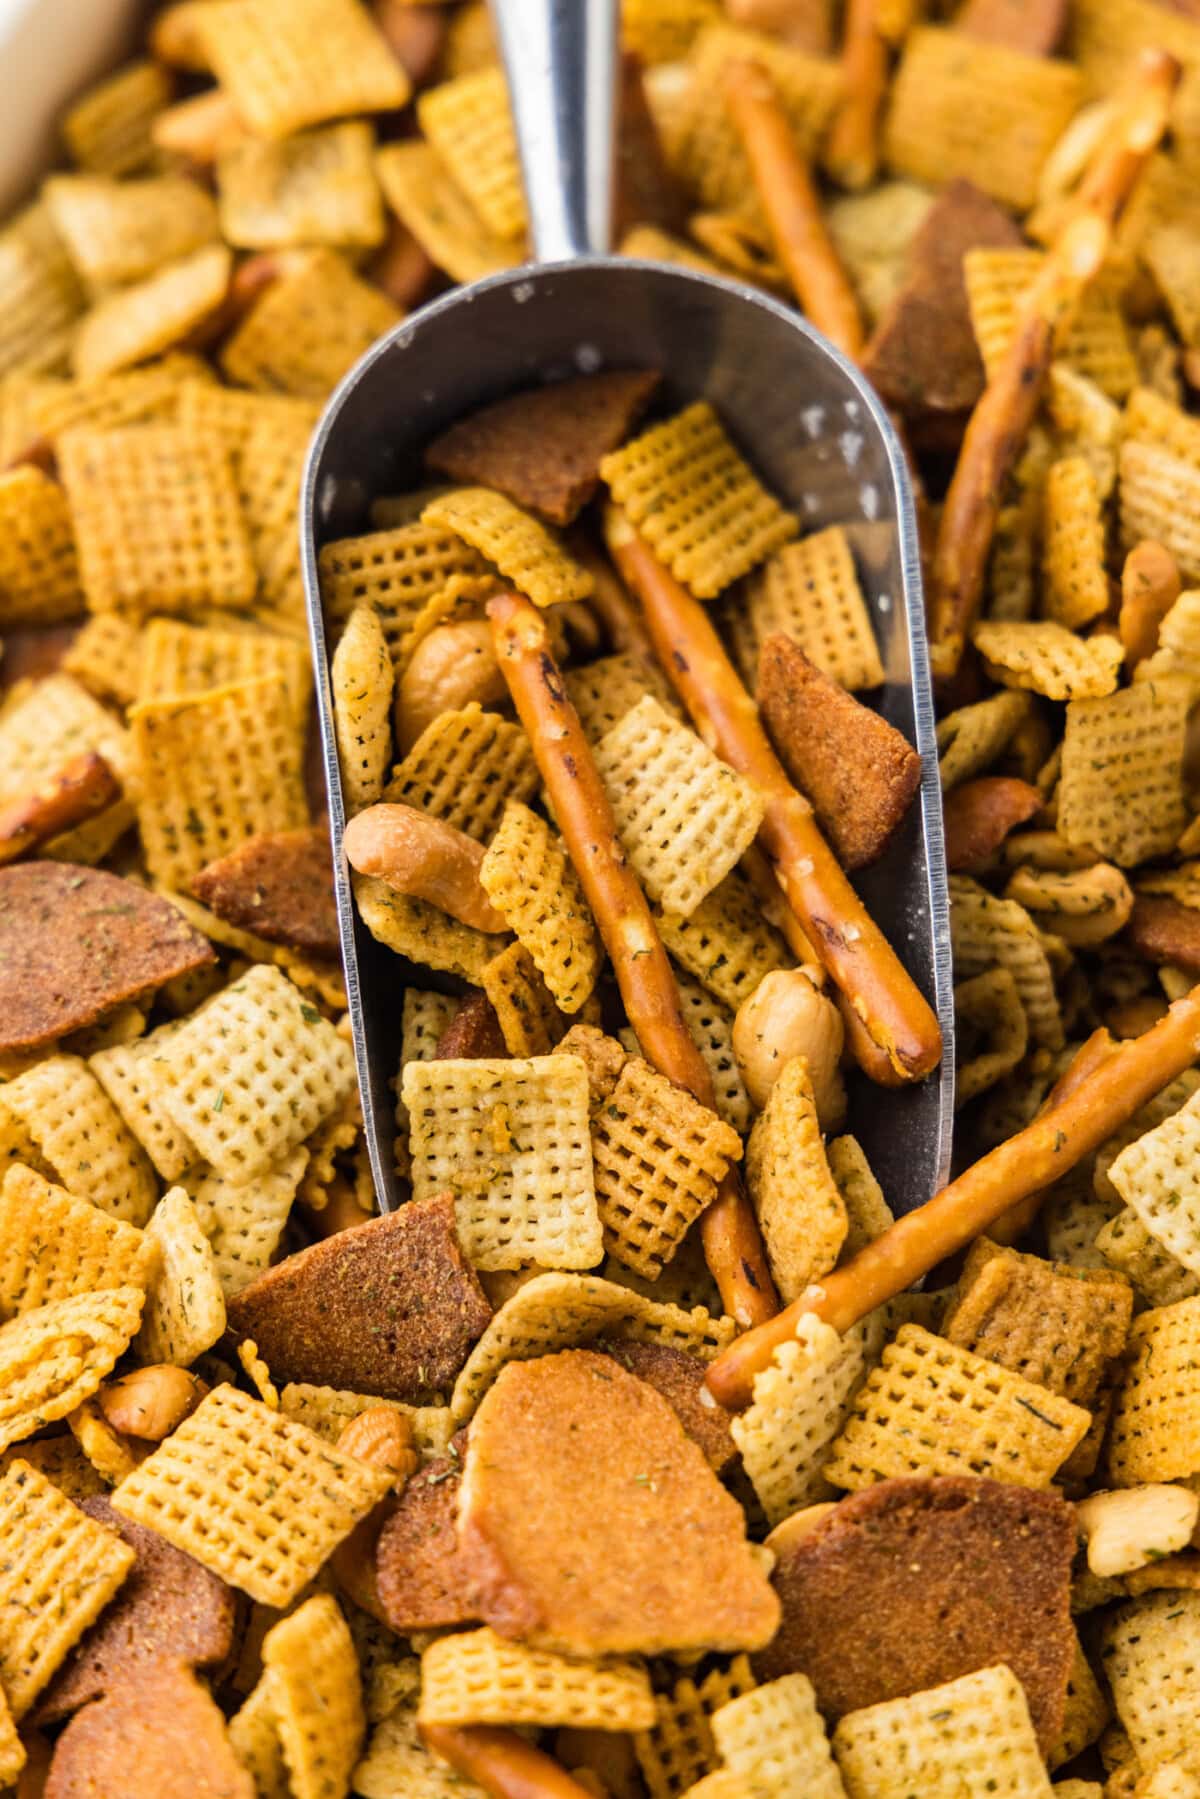
This dill pickle Chex mix is triple-tested for the boldest pickle flavor, built on a dedicated dill pickle seasoning mix and pickle juice, then baked until extra crunchy!
Why this recipe works
After testing this dill pickle Chex mix three times over, I finally landed on this one right here. I guess you could say it’s been tested and perfected! Most other recipes incorporate ranch seasoning, which of course tastes great, but honestly, nothing like actual pickles.
I personally love dill pickles, so much so that I make my own Claussen pickles regularly. Getting that flavor right felt pretty important to me. The secret? Dill pickle seasoning. Makes sense, right? It didn’t matter how much pickle juice or fresh dill I used, the actual seasoning was the only way I could taste that pronounced pickle flavor I was looking for. It’s crunchy, tangy, dill-forward, and has easily become one of my favorite snack mixes for parties already!
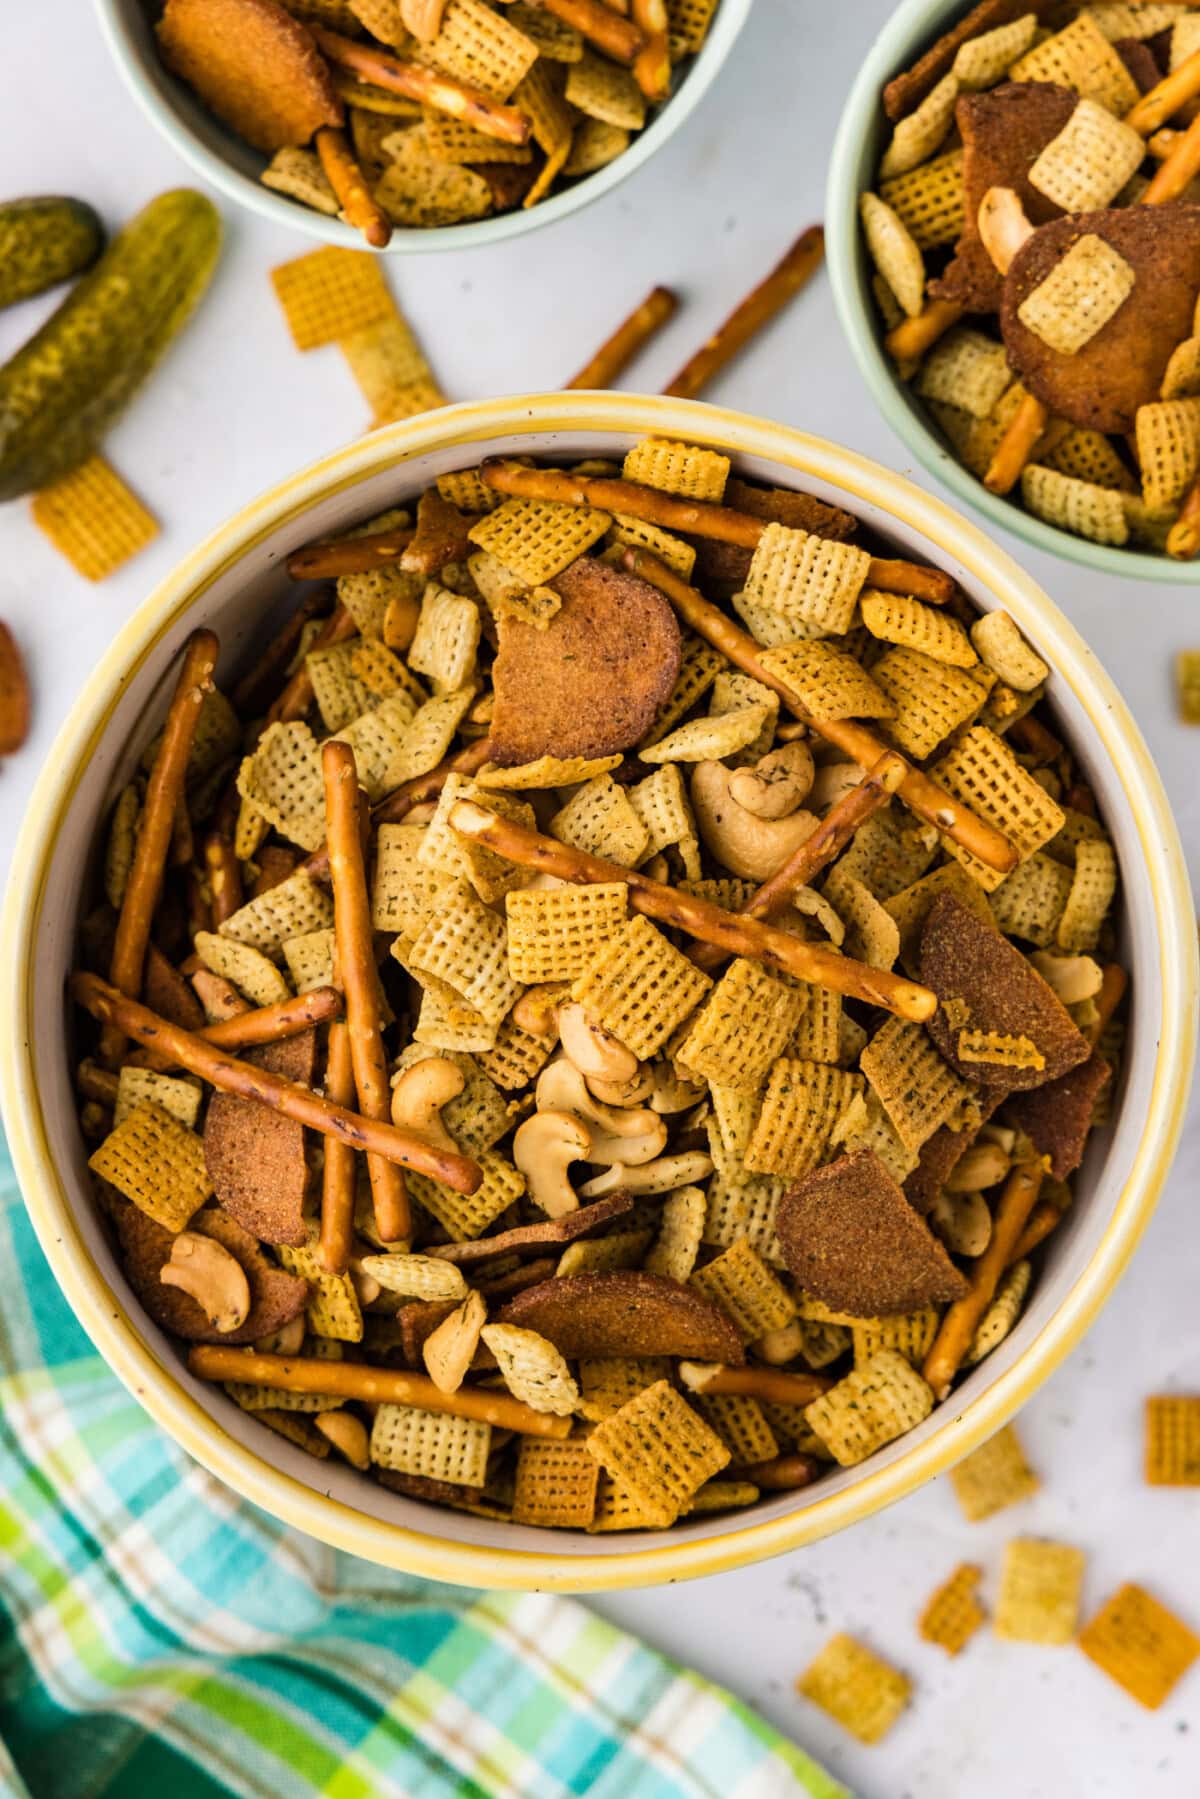
Ingredients you will need
Get all measurements, ingredients, and instructions in the printable version at the end of this post.
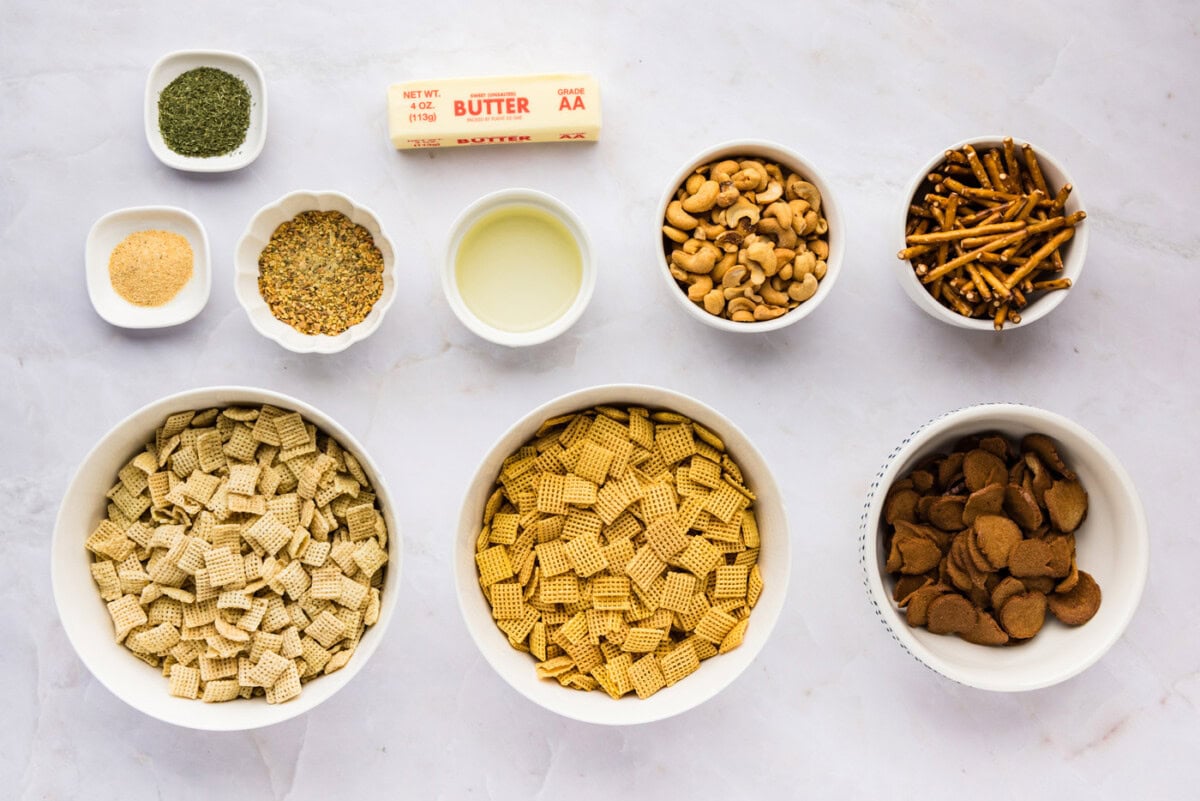
Ingredient Info and Substitution Suggestions
There are a variety of snack food options you can use. I recommend any substituting you do, keep the measurement the same. So if you don’t want pretzel sticks, but do want twists, substitute cup for cup.
PICKLE FLAVOR – You’re getting pickle flavor from three different ingredients here. First, the pickle juice. Use the brine straight from a jar of dill pickles, not sweet pickles. Dill pickle juice makes a tangy, briny base for the seasoning mix to amplify. When all of our pickles are gone, we reuse pickle juice in this snack mix and in other ways! Next is the pickle seasoning, which is what sets this recipe apart! We used Grill Mates dill pickle seasoning which we found on Amazon. In our area, we also found it on Walmart’s website. And lastly, the fresh dill gives it an extra bit of classic herby flavor.
CEREAL – Both rice and corn Chex are classic in Chex mix! You can absolutely substitute with wheat chex if preferred.
PRETZELS – Any pretzel shape will do here. I used pretzel sticks, but nuggets, twists, or mini pretzels are all great. Substitute at a 1:1 ratio if you would prefer to use a different shaped pretzel other than sticks.
RYE CHIPS – Rye chips are arguably the best part about Chex mix! If you aren’t a fan, feel free to swap them out for bagel chips, oyster crackers, Cheez-Its, or even pita chips.
NUTS – I absolutely love cashews, so I had to add them. Peanuts, almonds, or mixed nuts would all work just as well! Or, omit the nuts entirely for allergies and add extra pretzels or Chex cereal to the mix.
Want it even more pickle-y?
For the best pickle flavor, I highly recommend using dill pickle seasoning mix. After testing this recipe multiple times, the batch I used dill pickle seasoning on was the only one where you can actually taste the flavor! If you want to push it even further, add another tablespoon of the dill pickle seasoning mix and another tablespoon of pickle juice to the butter mixture.
Don’t add too much pickle juice. Adding too much liquid will make the mix soggy and soft as opposed to crisp and crunchy. If you decide to add extra, add it gradually and toss it well before incorporating more.
How to Make Dill Pickle Chex Mix
These step by step photos and instructions are here to help you visualize how to make this recipe. You can Jump to Recipe to get the printable version of this recipe, complete with measurements and instructions at the bottom.
- Preheat oven to 250F.
- Place both cereals, rye chips, pretzel sticks, and cashews into a large bowl.
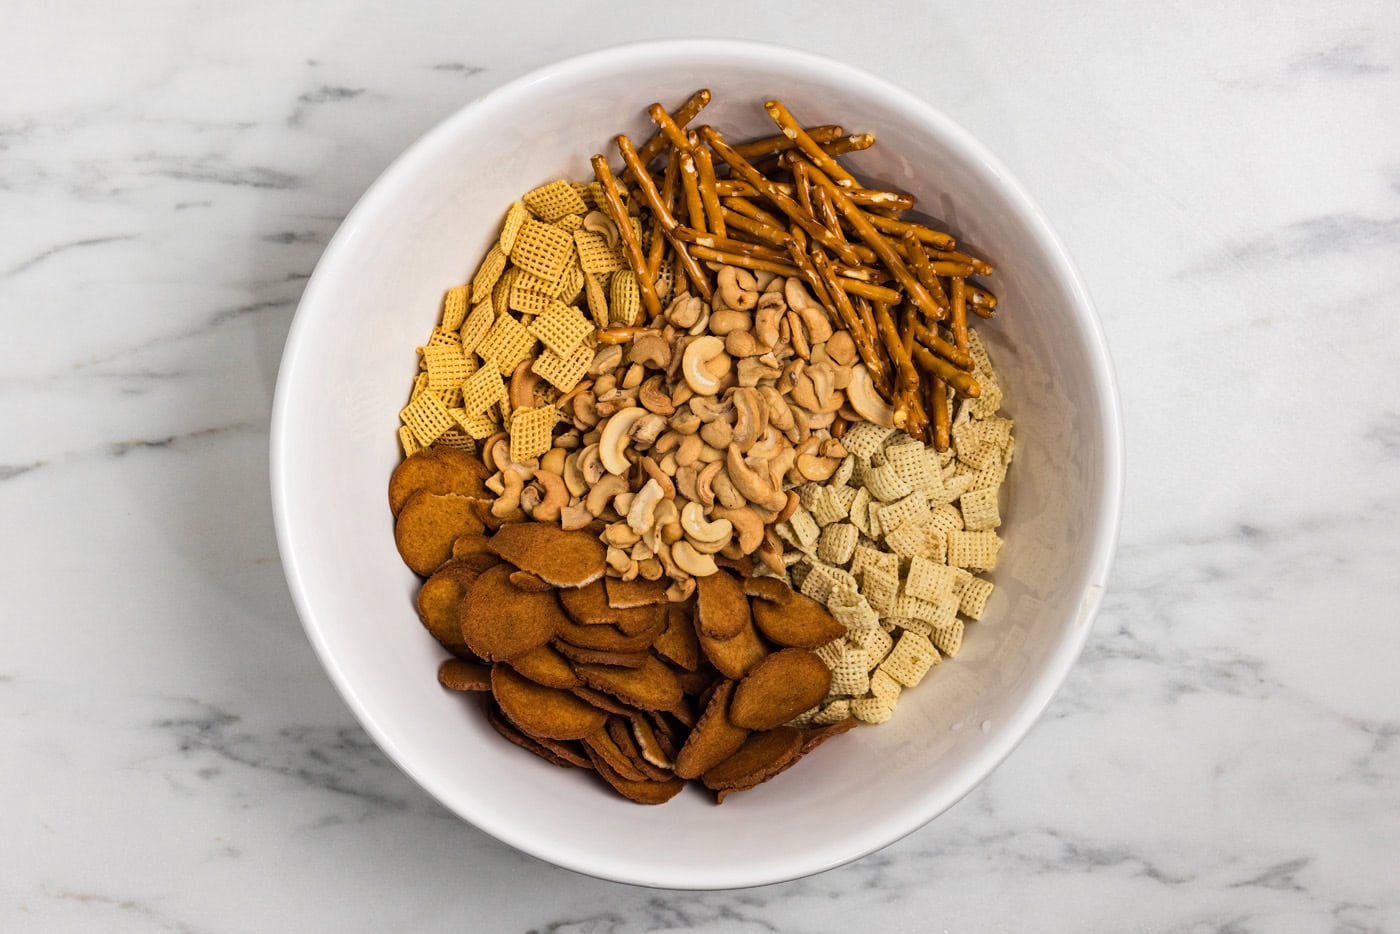
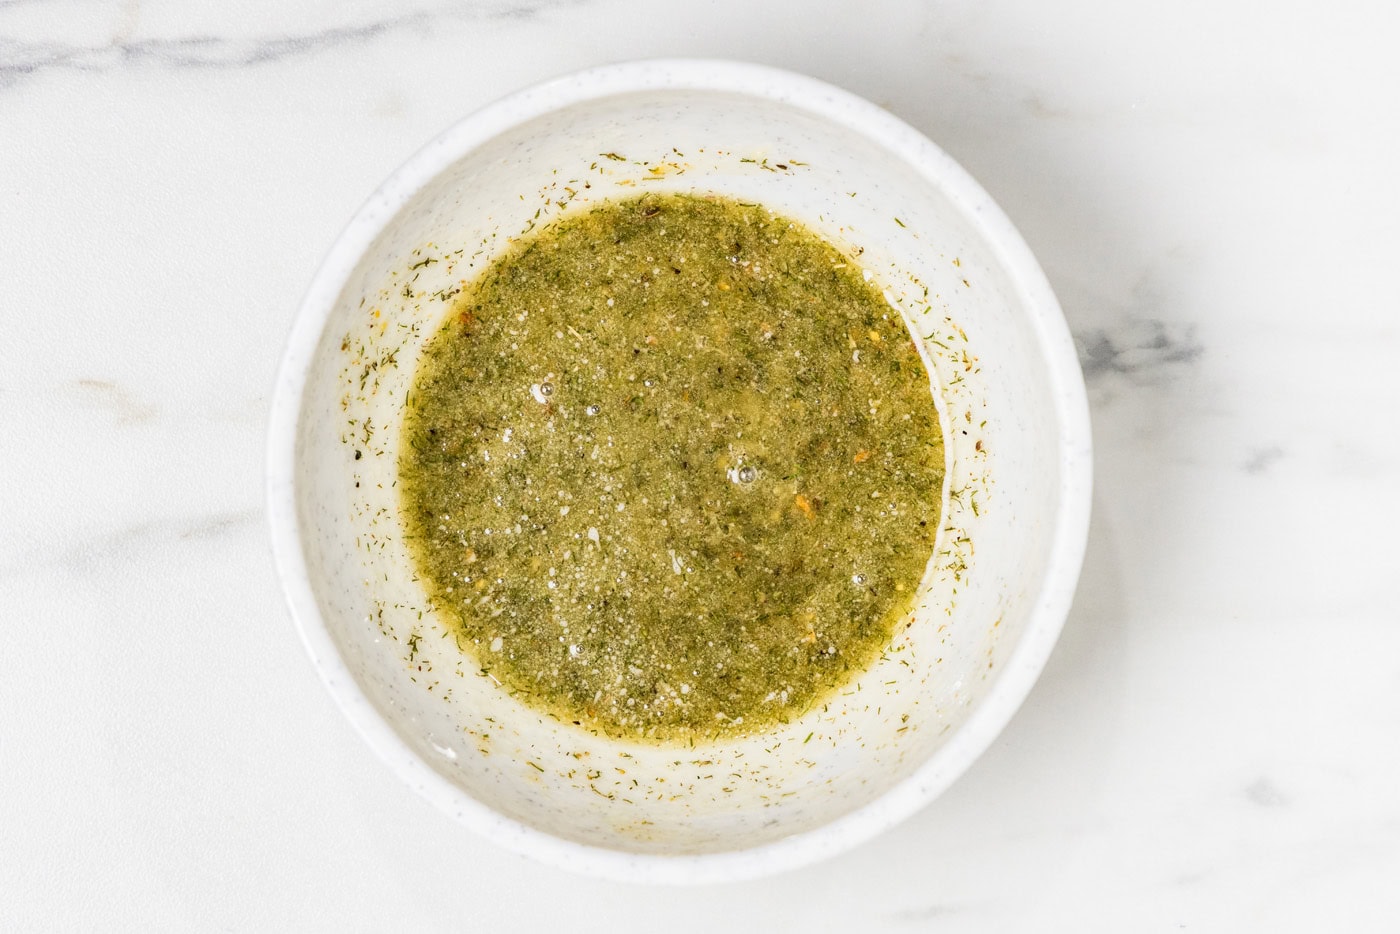
- In a small bowl, whisk together melted butter, dill pickle seasoning, dill pickle juice, dried dill, and garlic powder. Pour over the dry ingredients.
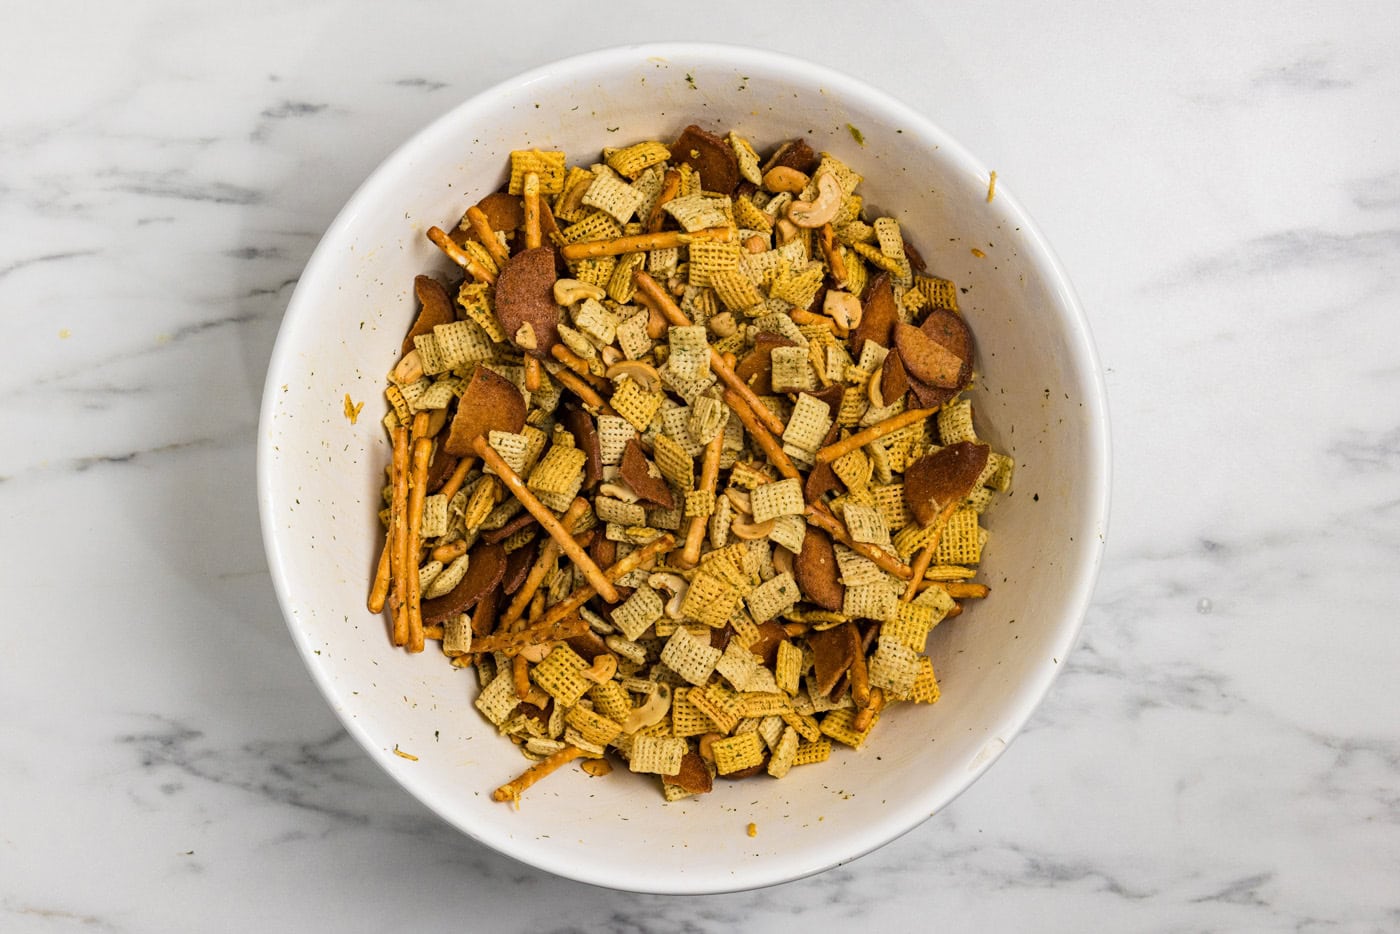
- Using gloved hands, mix together wet and dry ingredients until everything is completely coated.
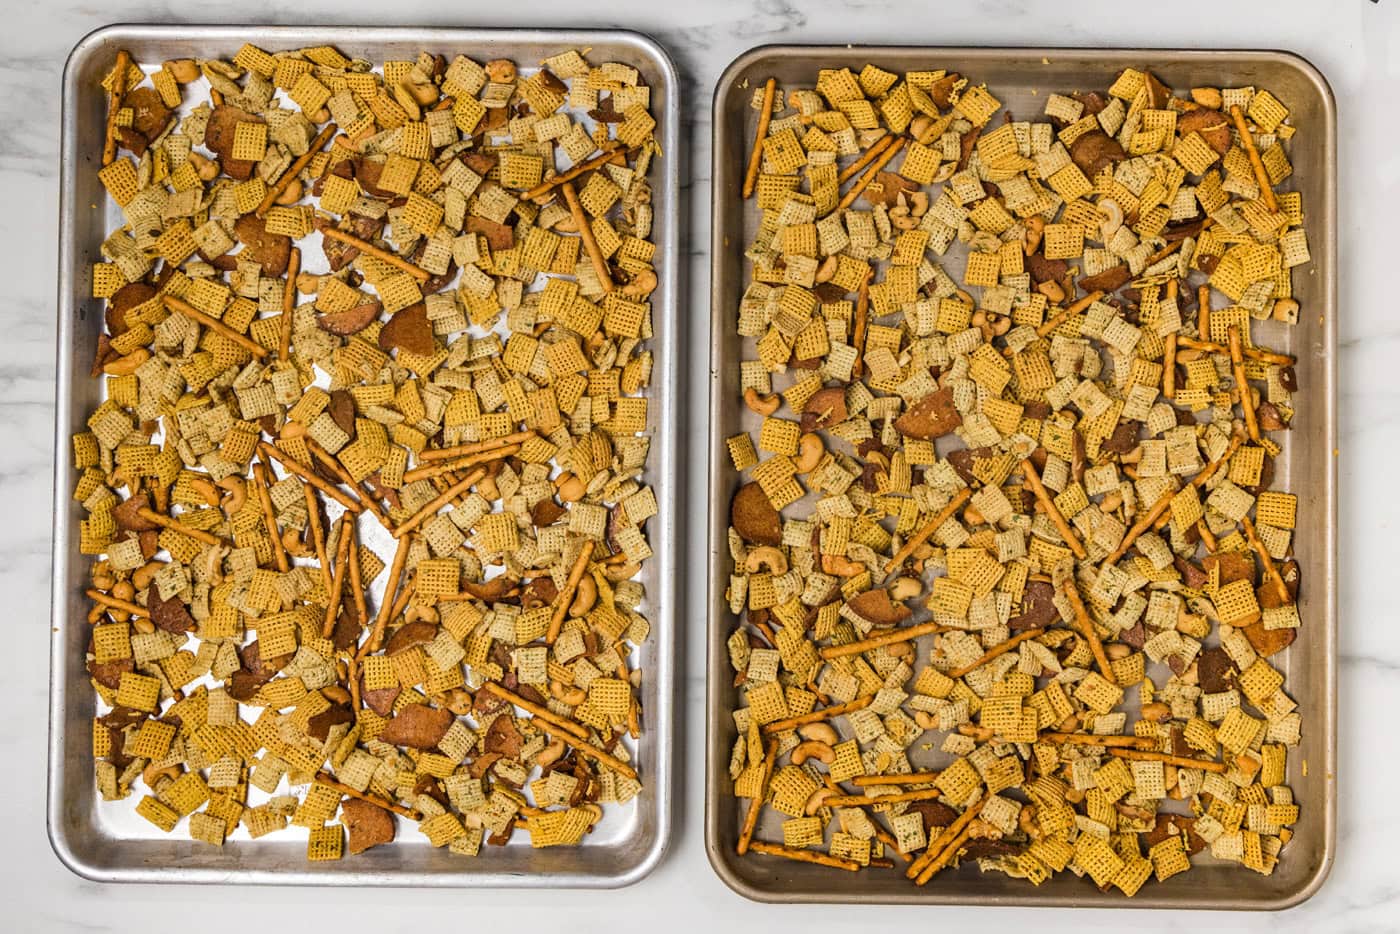
- Divide mixture evenly between the two jelly roll pans and spread each to an even layer.
- Bake for 1 hour, stirring the mixture every 15 minutes to allow for even baking.
TIP: If baking both pans at once, alternate the pans on the racks with each stir session.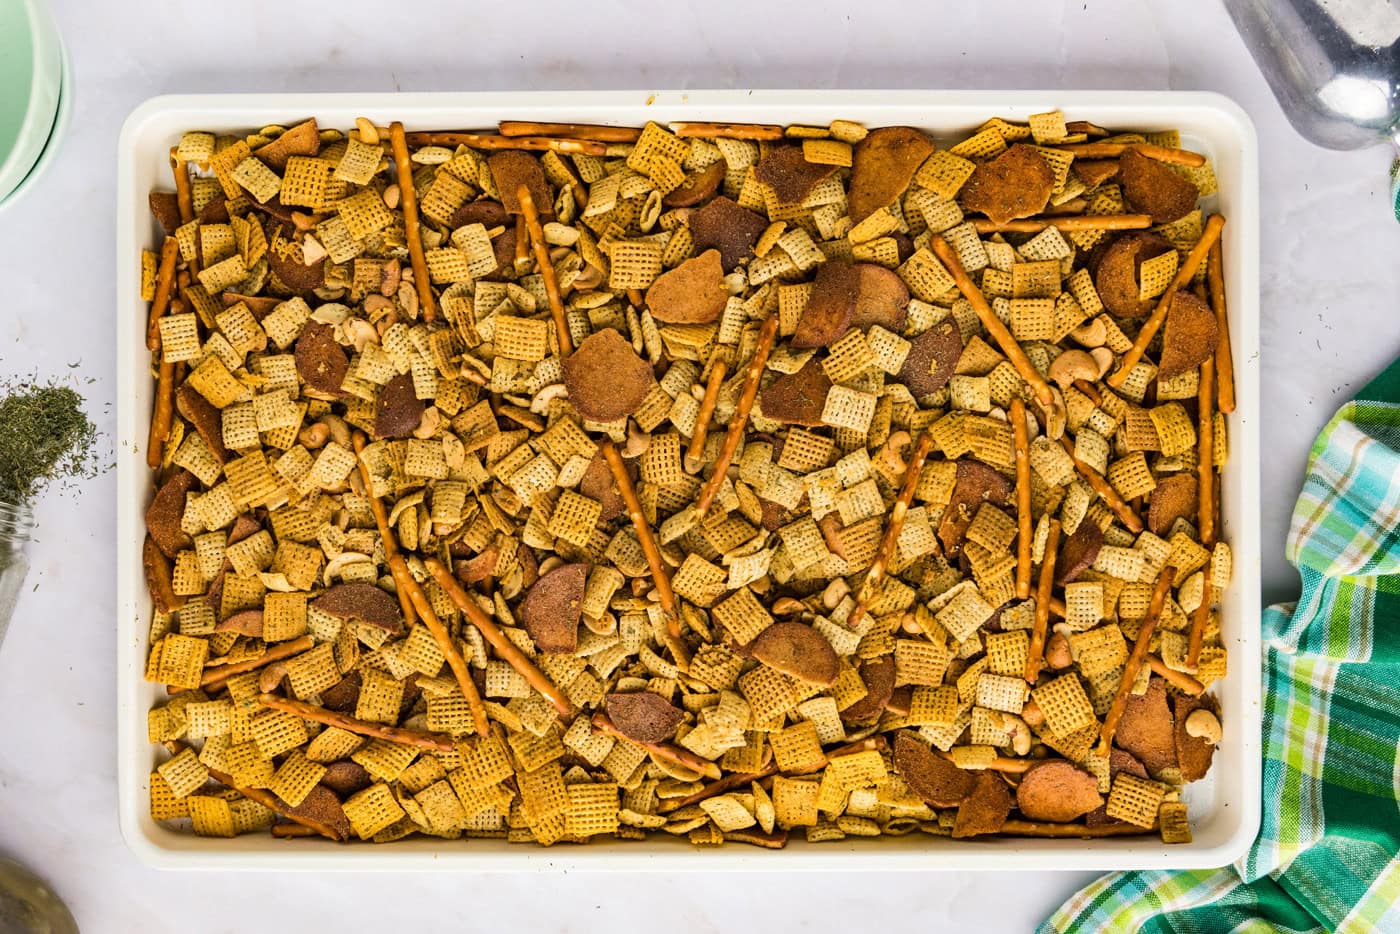
Frequently Asked Questions & Expert Tips
In my testing, the biggest game-changer was a bottled dill pickle seasoning mix, which delivers far more pickle punch than simply adding more pickle juice or using ranch seasoning. If you want even more, add an extra tablespoon of the dill pickle seasoning mix and an extra tablespoon of pickle juice. Be sure you are using brine from dill pickles, not sweet pickles for the best flavor!
No, not as it’s currently written, since rye chips and standard pretzels contain gluten. You can make it gluten-free by using gluten-free pretzels and swapping the rye chips for gluten-free chips or crackers. Corn and rice Chex are available in gluten-free versions, so check the box, and confirm your dill pickle seasoning mix is gluten-free as well.
This usually happens when you add too much moisture (such as pickle juice), do not bake it long enough, or overcrowd the pan. This recipe makes a lot of dill pickle Chex mix which is why it calls for two jelly roll baking pans. Overcrowding the pan will prevent air circulation. Circulating air is what helps dry it out and make it crunchy.
Storage and Freezing Information
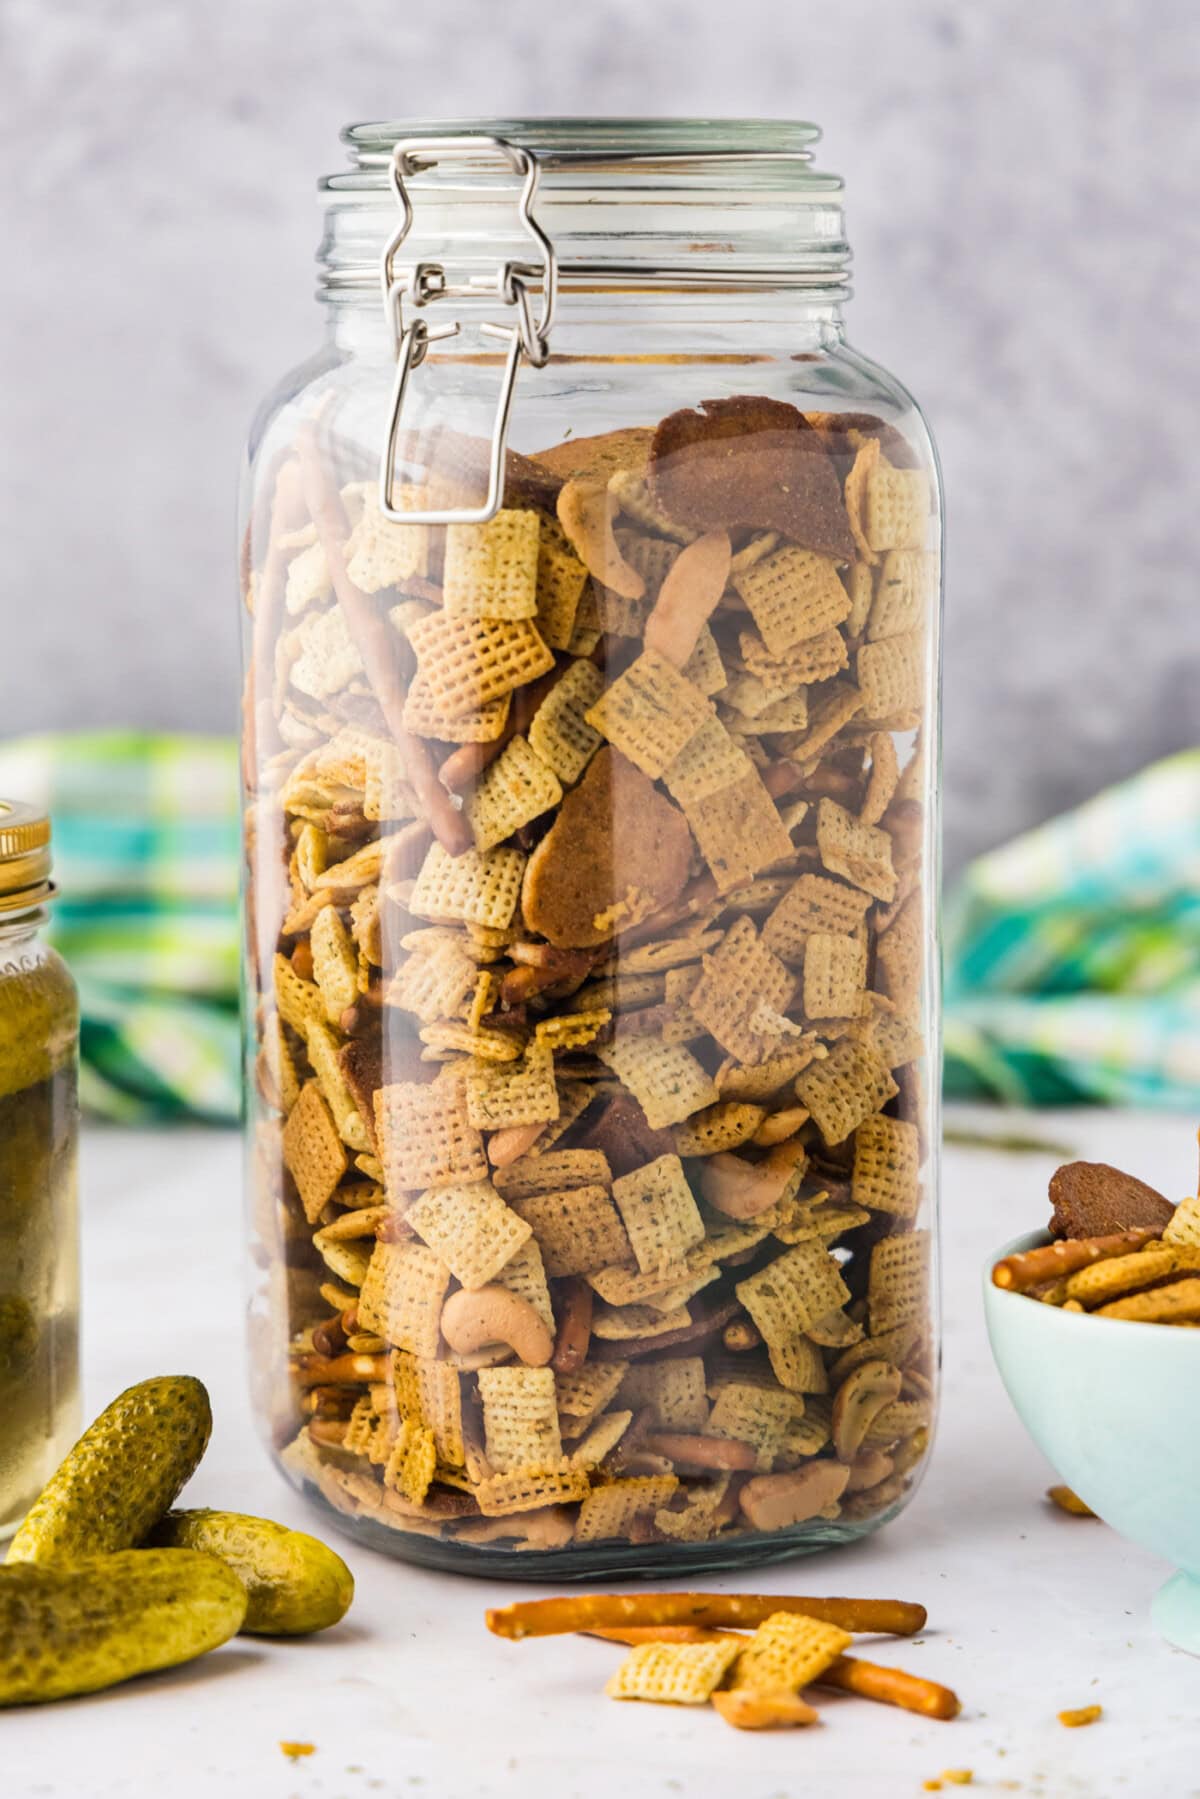
Store the fully cooled dill pickle Chex mix in an airtight container, sealed jar, or large Ziploc bag kept at room temperature in a cool, dark place such as your pantry. It will keep well for up to 2 weeks this way. It’s important to let the mix fully cool before storing it, this way, you don’t trap any moisture in the container, which is a sure-fire way to make it soft.
I wouldn’t recommend freezing this mix as thawing it will draw the moisture out of the crunchy elements.
Serving Suggestions
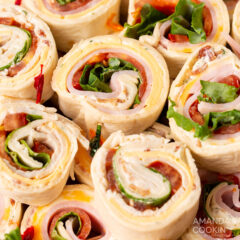
Dill pickle Chex mix can be made and served year-round and is great for packing into school lunches along with some dill pickle pinwheels, or for snacking on throughout the day. I think it’s perfect for football parties as well, alongside some sliders and other finger foods. It also makes a fun little edible gift or snack bag for bake sales!
More Snack Mix and Finger Food Recipes
I love to bake and cook and share my kitchen experience with all of you! Remembering to come back each day can be tough, that’s why I offer a convenient newsletter every time a new recipe posts. Simply subscribe and start receiving your free daily recipes!
Dill Pickle Chex Mix
IMPORTANT – There are often Frequently Asked Questions within the blog post that you may find helpful. Simply scroll back up to read them!
Print It Pin It Rate It Text ItIngredients
- 4 cups Corn Chex cereal
- 4 cups Rice Chex cereal
- 2 cups rye chips
- 1 cup pretzel sticks
- 1 cup cashews
- ½ cup unsalted butter melted
- 4 Tablespoons dill pickle seasoning
- 6 Tablespoons dill pickle juice NOT sweet pickles
- 2 teaspoons dried dill
- 1 teaspoon garlic powder
Things You’ll Need
Before You Begin
- This recipe makes a lot of snack mix. If you like, you can cut the ingredients in half to make one pan-full.
- After testing this three times, the biggest game-changer was a bottled dill pickle seasoning mix, which delivers the best pickle punch. If you want even more, add an extra tablespoon of the dill pickle seasoning mix and an extra tablespoon of pickle juice.
- Be sure you are using brine from dill pickles, not sweet pickles for the best flavor!
- There are a variety of snack food options you can use. I recommend any substituting you do, keep the measurement the same. So if you don’t want pretzel sticks, but do want twists, substitute cup for cup.
- Peanuts, almonds, or mixed nuts would all work just as well! Or, omit the nuts entirely for allergies and add extra pretzels or Chex cereal to the mix.
Instructions
- Preheat oven to 250F.
- Place both cereals, rye chips, pretzel sticks, and cashews into a large bowl.4 cups Corn Chex cereal, 4 cups Rice Chex cereal, 2 cups rye chips, 1 cup pretzel sticks, 1 cup cashews
- In a small bowl, whisk together melted butter, dill pickle seasoning, dill pickle juice, dried dill, and garlic powder. Pour over the dry ingredients.1/2 cup unsalted butter, 4 Tablespoons dill pickle seasoning, 6 Tablespoons dill pickle juice, 2 teaspoons dried dill, 1 teaspoon garlic powder
- Using gloved hands, mix together wet and dry ingredients until everything is completely coated.
- Divide mixture evenly between the two jelly roll pans and spread each to an even layer.
- Bake for 1 hour, stirring the mixture every 15 minutes to allow for even baking.TIP: If baking both pans at once, alternate the pans on the racks with each stir session.
Expert Tips & FAQs
- For the most accurate nutritional information, please refer to your individual ingredients’ nutrition labels, as different brands can vary quite a bit.
- Store the fully cooled dill pickle Chex mix in an airtight container, sealed jar, or large ziploc bag kept at room temperature in a cool, dark place such as your pantry. It will keep well for up to 2 weeks this way. It’s important to let the mix fully cool before storing it, this way, you don’t trap any moisture in the container, which is a sure fire way to make it soft.
Nutrition
The recipes on this blog are tested with a conventional gas oven and gas stovetop. It’s important to note that some ovens, especially as they age, can cook and bake inconsistently. Using an inexpensive oven thermometer can assure you that your oven is truly heating to the proper temperature. If you use a toaster oven or countertop oven, please keep in mind that they may not distribute heat the same as a conventional full sized oven and you may need to adjust your cooking/baking times. In the case of recipes made with a pressure cooker, air fryer, slow cooker, or other appliance, a link to the appliances we use is listed within each respective recipe. For baking recipes where measurements are given by weight, please note that results may not be the same if cups are used instead, and we can’t guarantee success with that method.

- Apple Cider Sangria - September 29, 2026
- Pumpkin Truffles - September 22, 2026
- Double Chocolate Zucchini Muffins - September 9, 2026





Leave a Reply