
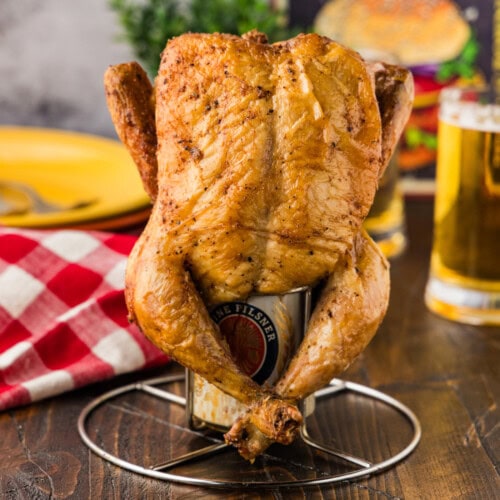
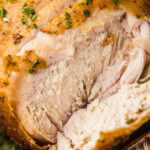
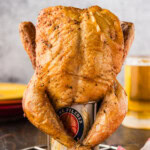
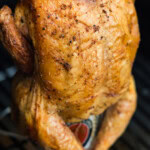
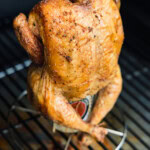
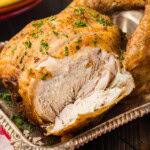
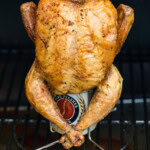
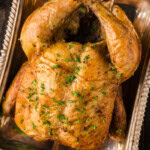
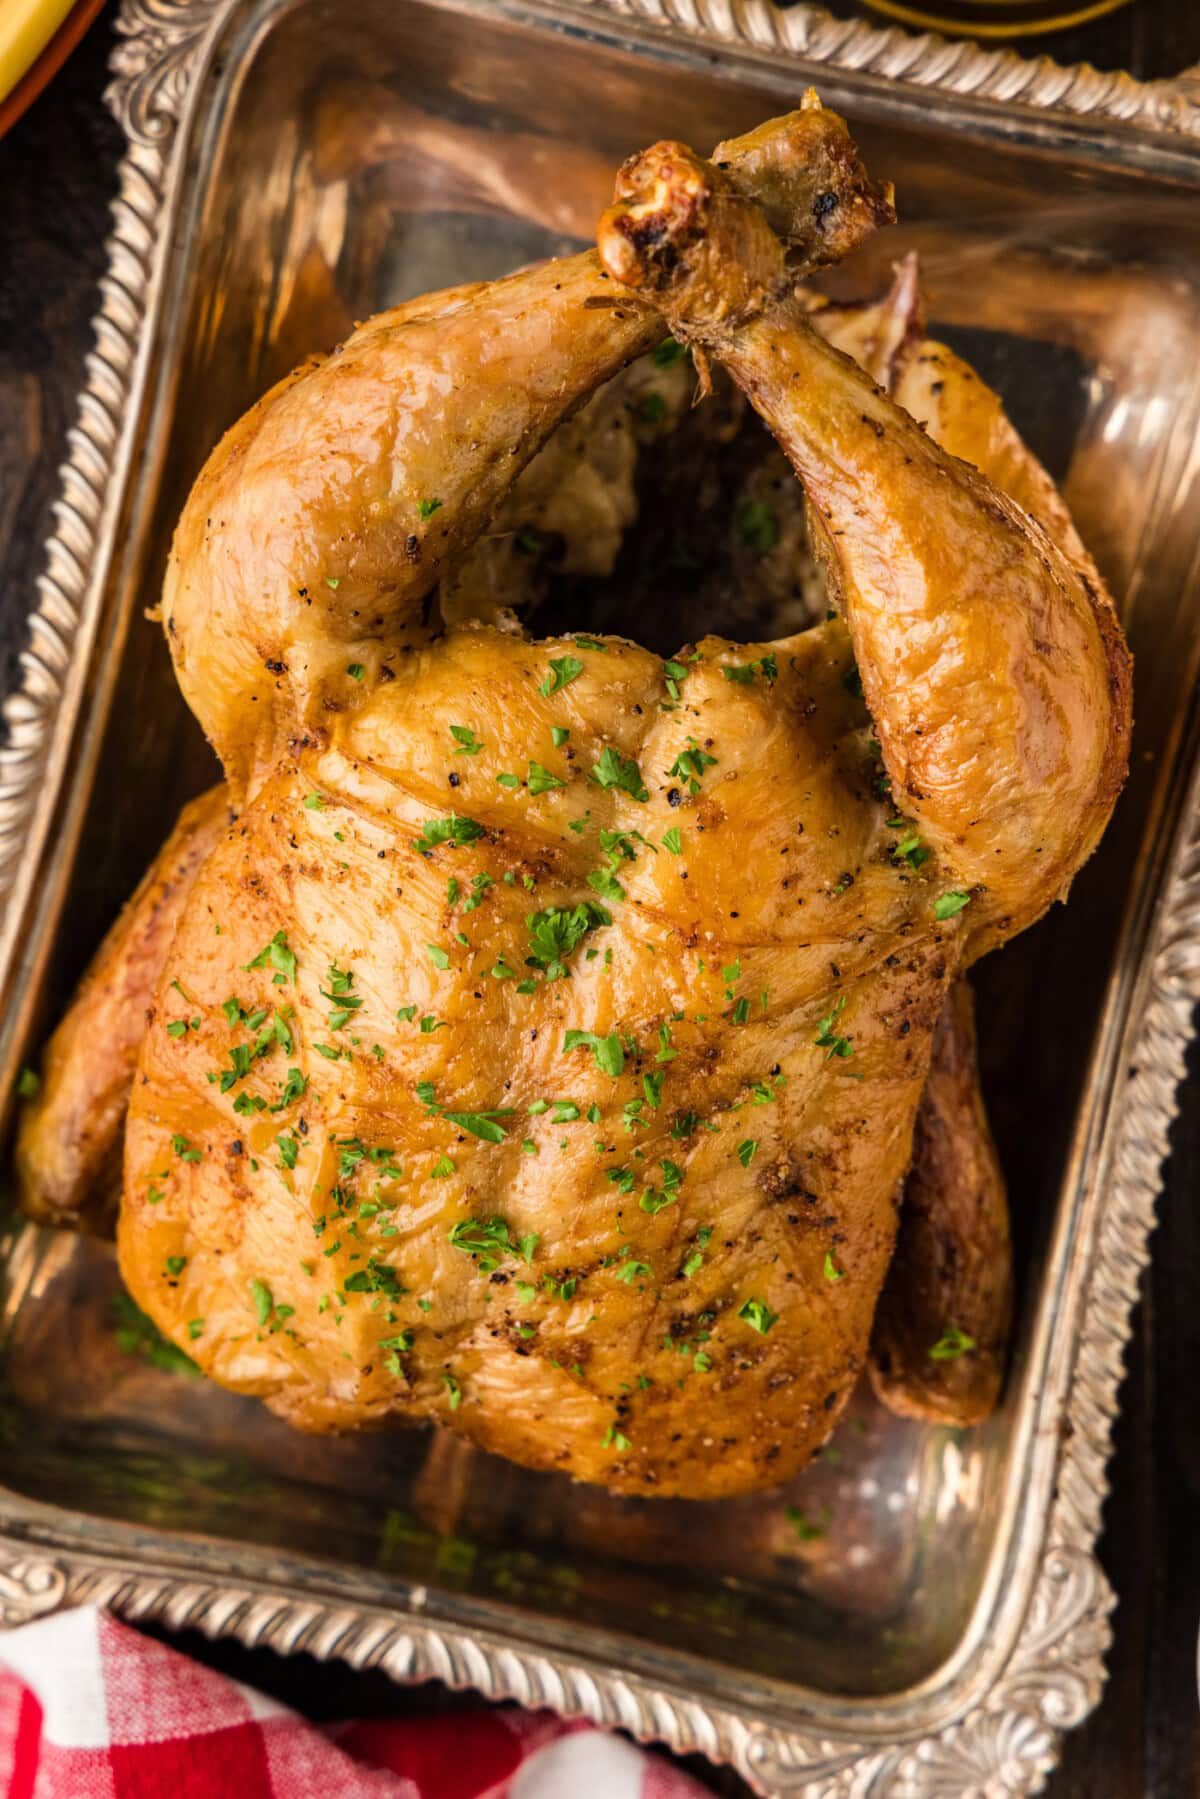
This smoked beer can chicken recipe has crisp golden skin and the juiciest interior loaded with rich, smoky flavor! Plus, it’s really easy to prep with a simple seasoning blend and your favorite beer.
Why this recipe works
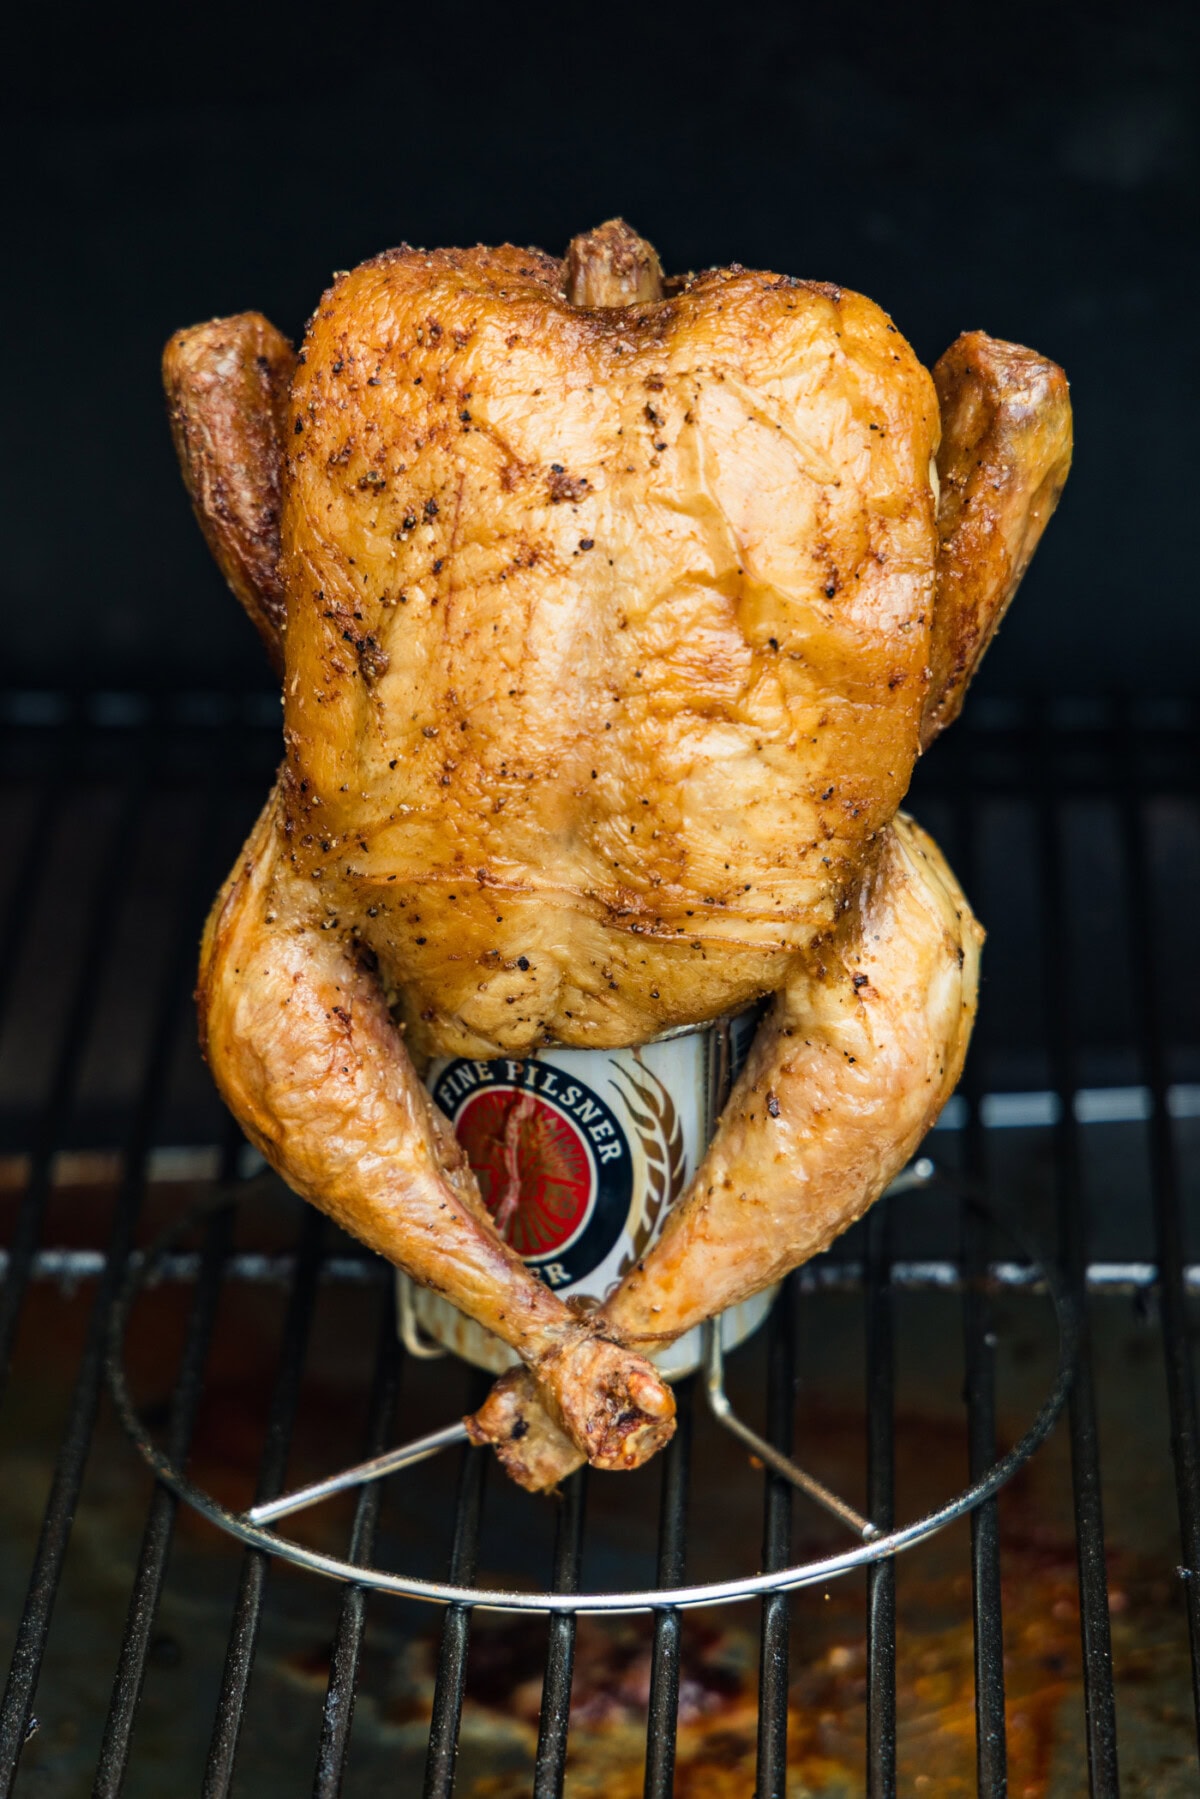
Smoked beer can chicken stays ridiculously juicy and succulent while the skin crisps to a golden brown. The steam from the beer keeps the bird moist from the inside while the smoke does its thing on the outside. A simple homemade dry rub, a can of beer, and your smoker is really all you need.
If asked what my favorite meat is, chicken would be my answer. I remember when I first heard about beer can chicken and thought it sounded crazy but looked so intriguing! After trying our oven version, I will say that I didn’t detect any beer flavor, in case you were worried about that, but it definitely helps keep the bird moist! This smoked version really takes it up a notch with a smack of smoky flavor.
Ingredients you will need
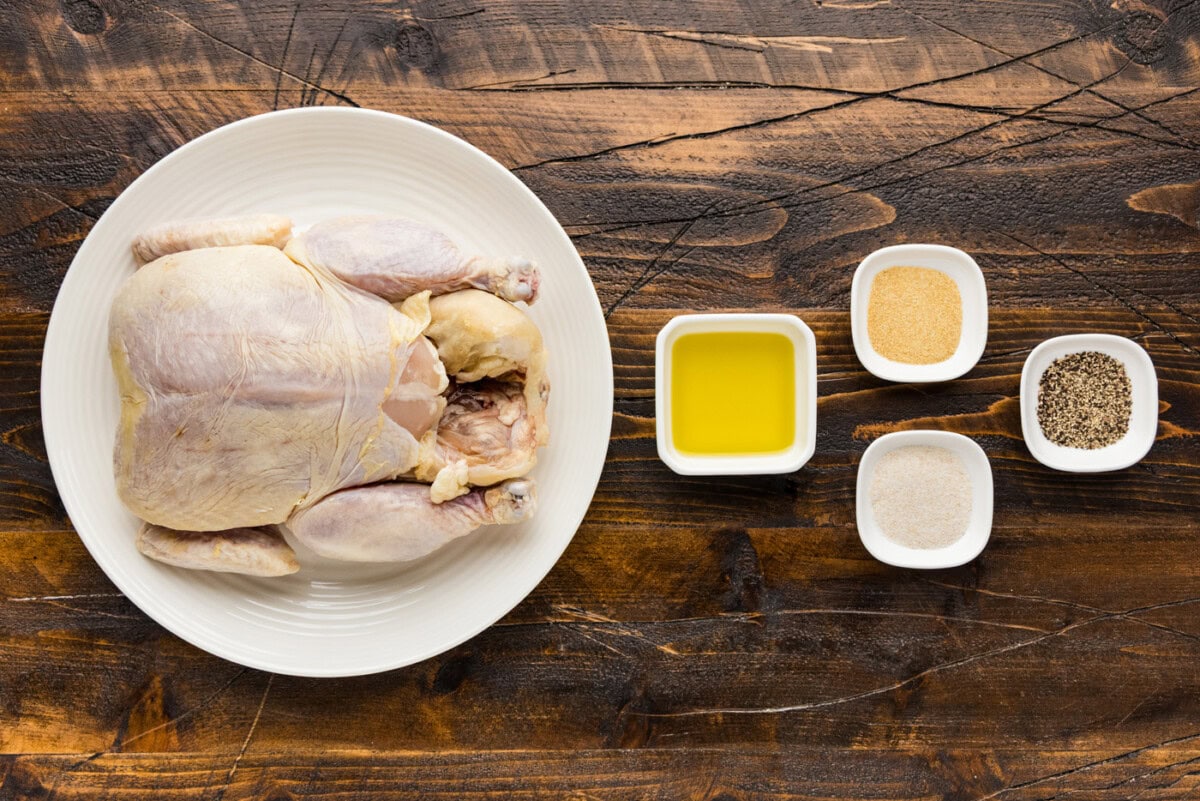
Get all measurements, ingredients, and instructions in the printable version at the end of this post.
Ingredient Info and Substitution Suggestions
BEER – The beer choice is up to you, though most prefer to use a light lager.
SEASONINGS – We used a basic combination of seasoning for this smoked recipe, as opposed to a brown sugar and garlic base when we made beer can chicken in the oven. You can certainly use the seasoning from that recipe or any of your favorite bottled seasonings. We also have several recipes for seasoning blends if you’d like to try one of those. Our Poultry Seasoning is a great option as is our Mexican Seasoning if you’re going for a southwest flair. Other options include our All Purpose Seasoning which is great on everything, and our Cajun Seasoning for that bayou flavor.
Smoked vs. Oven Baked Beer Can Chicken
Both are great in their own ways, and produce juicy succulent chicken. The main difference is flavor. Oven beer can chicken is slightly quicker, which is ideal for weeknights or when you aren’t looking to stand out in the rain or snow checking a smoker. Smoked beer can chicken, on the other hand, is infused with smoky flavor, and honestly, it only takes about 30 more minutes to make. It’s a toss of a coin and up to your individual preference!
How to Make Smoked Beer Can Chicken
These step by step photos and instructions are here to help you visualize how to make this recipe. You can Jump to Recipe to get the printable version of this recipe, complete with measurements and instructions at the bottom.
- Preheat smoker to 300 F.
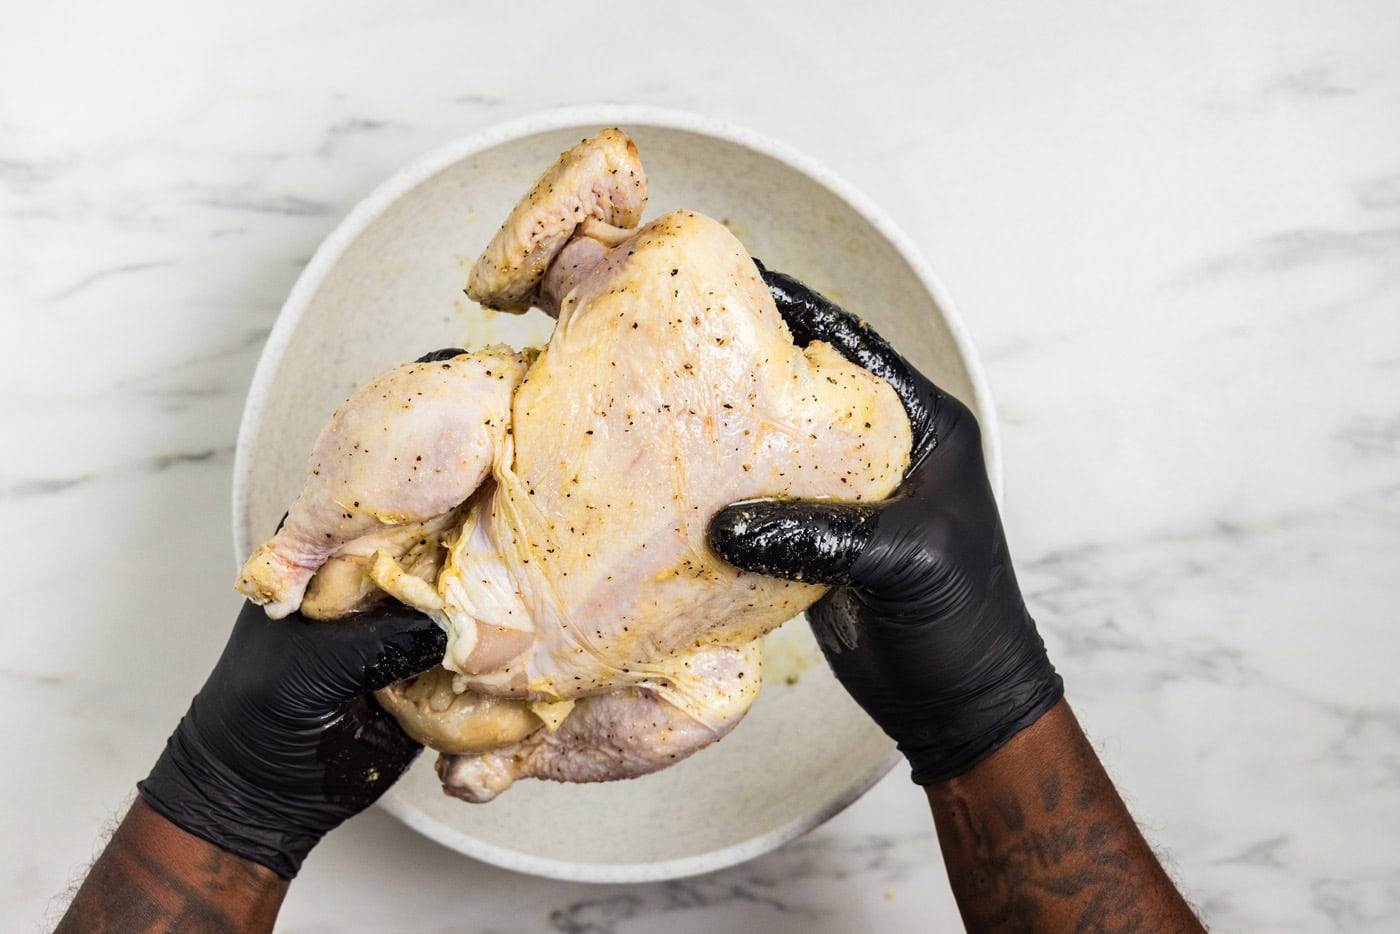
- In a bowl, whisk together oil, garlic salt, onion powder, and black pepper.
- Rub mixture all over the chicken.
- Pour out (or drink) half of the beer. If using a holder, place can into it.
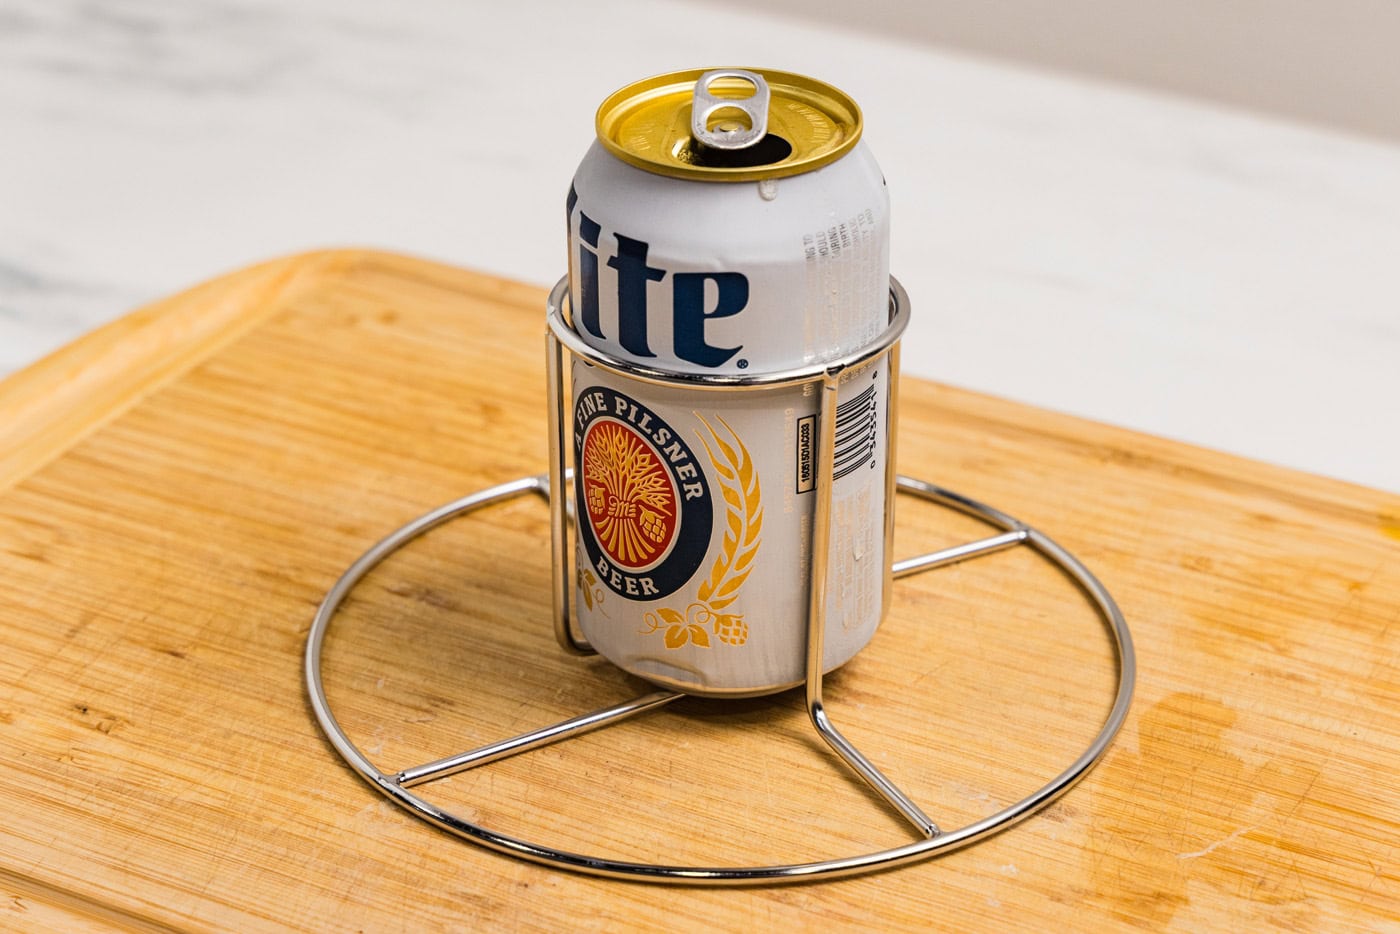
- Open the cavity between the legs and place it on top of the beer can. If not using the holder, place the beer can onto a baking sheet.
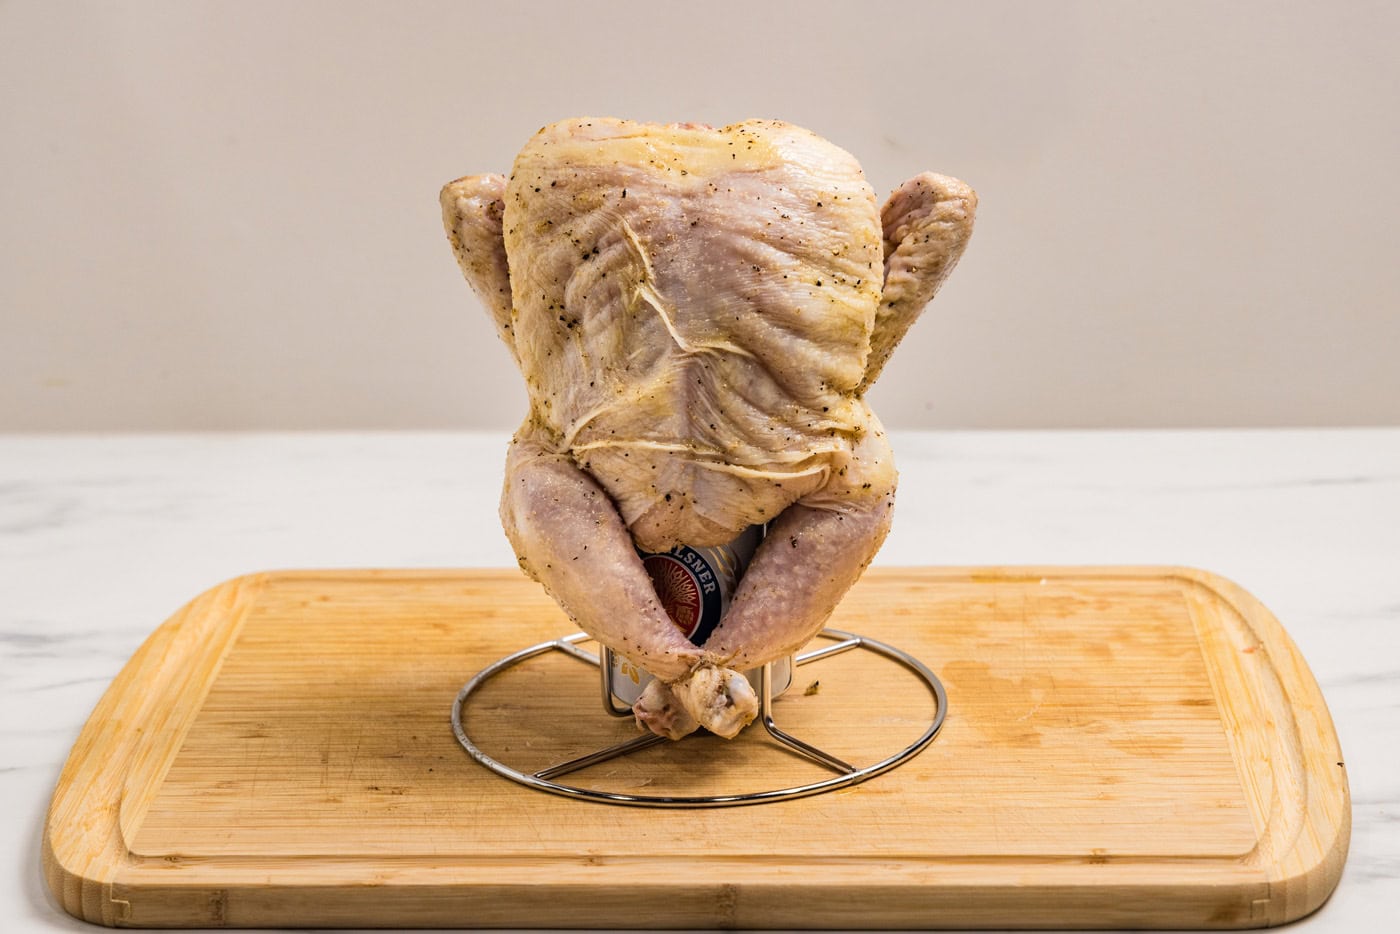
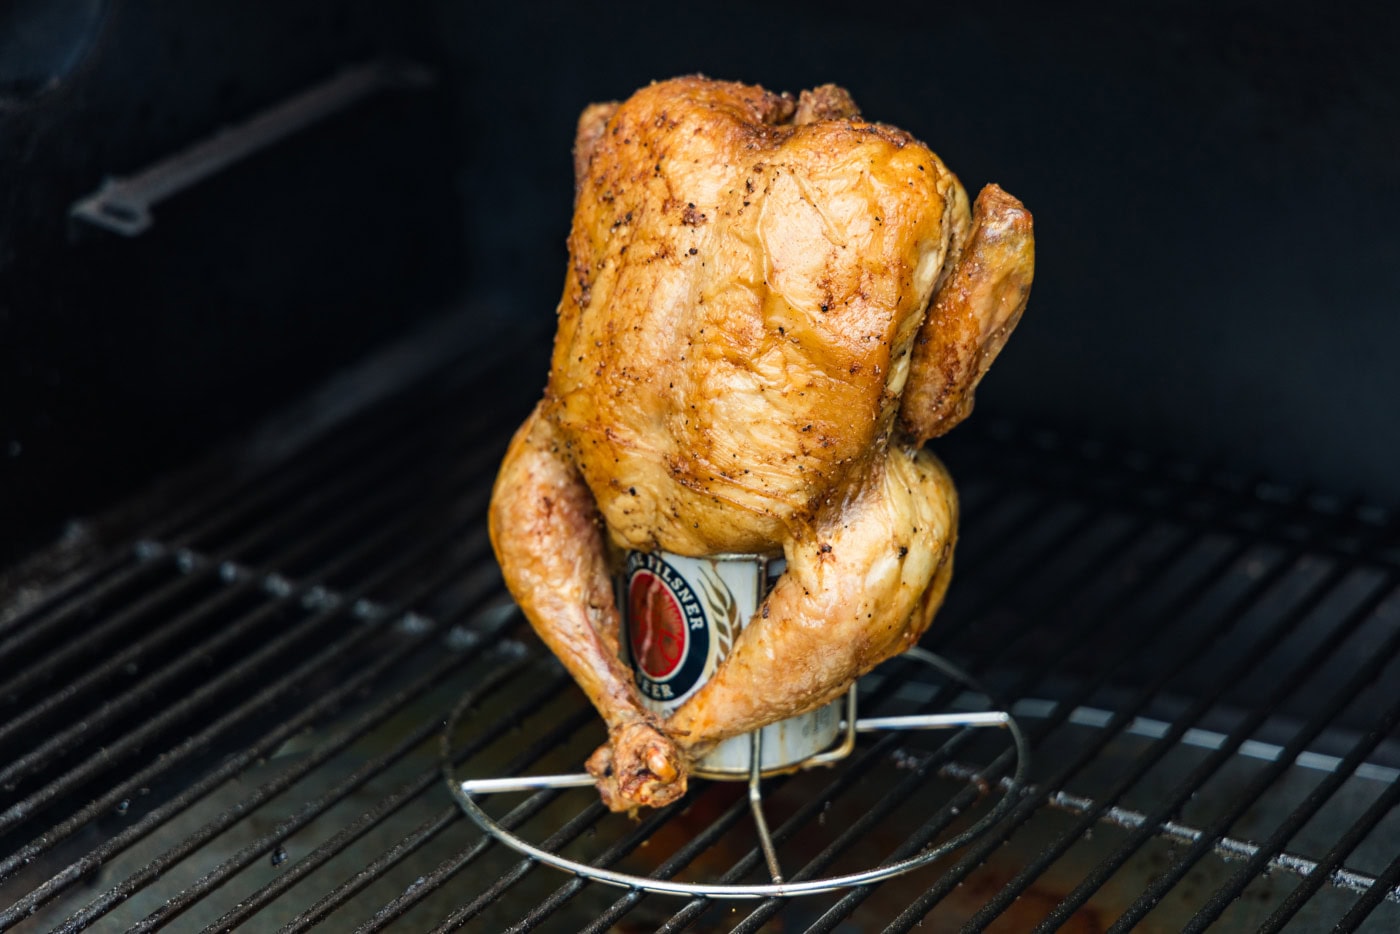
- Place holder and chicken into the smoker and close the lid. Smoke for 2 hours, or until an instant read thermometer inserted into the thickest part of the thigh (not touching bone) reads 165°F. Cooking time will vary depending on the size of your chicken and your smoker, so always cook to temperature rather than the clock.
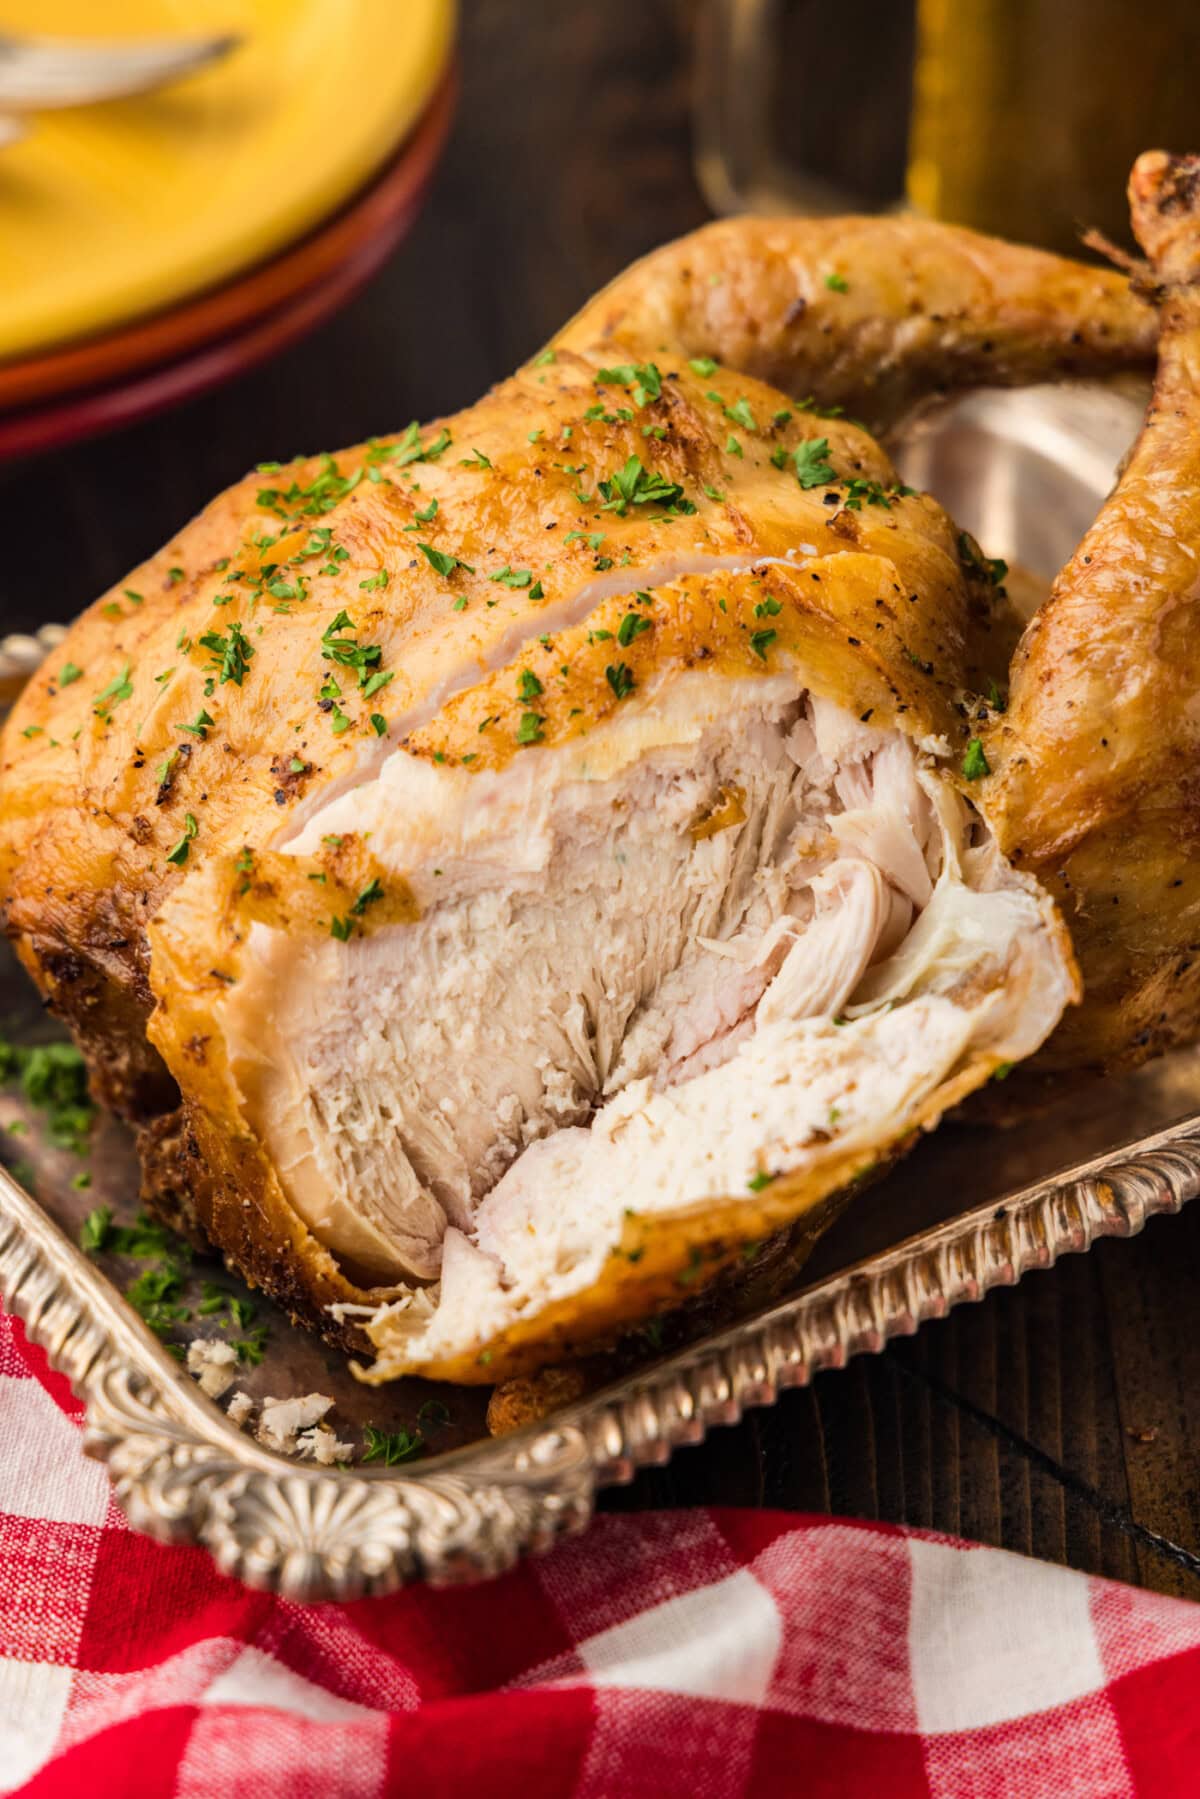
- Remove from smoker and holder, then place chicken on a cutting board. Tent with foil and let rest for 10-15 minutes before carving and serving.
Frequently Asked Questions & Expert Tips
Light lagers are the most common choice because they don’t overpower the chicken’s natural flavors. However, some may argue that you don’t get much flavor from the beer at all. I would suggest using your favorite affordable beer for this recipe.
Yes, this recipe works on all of them. It’s great on a pellet grill like a Traeger or Pit Boss, on an electric smoker, or on a traditional charcoal or wood smoker. Keep the temperature at 300°F and smoke until the thickest part of the thigh reaches 165°F, with no other changes needed. On a pellet grill, use your favorite blend such as hickory, apple, cherry, or pecan.
No, you can swap the beer out for non-alcoholic beer or opt for a cola such as coke, pepsi, or root beer instead.
For wood smokers, I would suggest using a mild wood for chicken such as apple, maple, cherry, or pecan.
A 4 pound chicken takes about 2 hours at 300°F. If you prefer to smoke lower and slower, plan on roughly 3 to 3 1/2 hours at 225°F or 2 1/2 to 3 hours at 250°F. Larger birds take longer, so always cook to an internal temperature of 165°F in the thigh rather than going strictly by time.
We smoke ours at 300°F, which gives you good smoky flavor while still rendering the fat for crispier skin. Smoking at 225°F to 250°F will give you a deeper smoke flavor but tends to leave the skin softer, so you may want to finish it under the broiler.
Yes. The chicken is safe to eat once it reaches an internal temperature of 165°F in the thickest part of the thigh. Use an instant read thermometer to check, and be careful when removing the bird since the can and its contents will be very hot.
How to Get Crispy Skin on Smoked Chicken
This is probably the toughest part about smoking chicken, though you can easily fix it!
- Be sure to dry the skin beforehand by patting with paper towels. You can also air dry the chicken if you have extra time. Place the uncooked chicken on a baking sheet and let it rest in the refrigerator (uncovered) for up to 24 hours, though a couple of hours will also work.
- If the skin still isn’t crisping the way you’d like it to, you can always pop it under the broiler for 1-3 minutes or toss it on the grill over high heat.
Storage and Freezing Information
Store any cooled leftovers in an airtight container kept in the refrigerator for up to 4 days. You can easily freeze the whole chicken or separate/shred it into chunks and place it into ziptop bags or containers. Freeze for up to 2 months and thaw in the refrigerator overnight.
Serving Suggestions
Smoked beer can chicken pairs really well with jalapeno popper mac and cheese, homemade baked beans, coleslaw, or cornbread to name a few.
More Smoker Recipes
- Smoked Chicken
- Smoked Beef Ribs
- Smoked Spatchcock Chicken
- Smoked Chicken Quarters
- Smoked Chicken Drumsticks
Something worth mentioning is if you don’t have time for the smoker, be sure to try Antoine’s grilled chicken thighs. You won’t be disappointed! Did you make this smoked beer can chicken? Please leave a star rating and a comment below to let us know how it turned out. We love hearing from you!
I love to bake and cook and share my kitchen experience with all of you! Remembering to come back each day can be tough, that’s why I offer a convenient newsletter every time a new recipe posts. Simply subscribe and start receiving your free daily recipes!
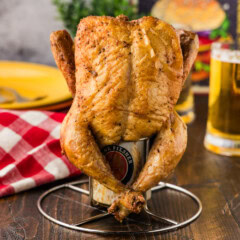
Smoked Beer Can Chicken
IMPORTANT – There are often Frequently Asked Questions within the blog post that you may find helpful. Simply scroll back up to read them!
Print It Pin It Rate ItIngredients
- 4 pound whole chicken
- 12 ounce can of beer
- 2 Tablespoons olive oil
- 1 teaspoon garlic salt
- 1 teaspoon onion powder
- ½ teaspoon black pepper
Things You’ll Need
- Smoker
- Beer Can Chicken Holder optional
Before You Begin
- You will need an instant read thermometer. Smoke until the thickest part of the thigh reaches 165°F rather than going by the clock, since cook time varies with the size of the bird and your smoker.
- Light lagers are the most common choice because they don’t overpower the chicken’s natural flavors. However, some may argue that you don’t get much flavor from the beer at all. I would suggest using your favorite affordable beer for this recipe.
- You can swap the beer out for non-alcoholic beer or opt for a cola such as coke, pepsi, or root beer instead.
- We used a basic combination of seasoning for this smoked recipe, as opposed to a brown sugar and garlic base when we made beer can chicken in the oven. You can certainly use the seasoning from that recipe or any of your favorite bottled seasonings.
- For wood smokers, I would suggest using a mild wood for chicken such as apple, maple, cherry, or pecan.
Instructions
- Preheat smoker to 300 F.
- In a bowl, whisk together oil, garlic salt, onion powder, and black pepper.2 Tablespoons olive oil, 1 teaspoon garlic salt, 1 teaspoon onion powder, 1/2 teaspoon black pepper
- Rub mixture all over the chicken.4 pound whole chicken
- Pour out (or drink) half of the beer. If using a holder, place can into it.12 ounce can of beer
- Open the cavity between the legs and place it on top of the beer can. If not using the holder, place the beer can onto a baking sheet.TIP – It’s best to be close to your smoker when you place the chicken onto the beer can. The less distance you have to travel the better.
- Place holder and chicken into the smoker and close the lid. Smoke for 2 hours, or until an instant read thermometer inserted into the thickest part of the thigh (not touching bone) reads 165°F. Cooking time will vary depending on the size of your chicken and your smoker, so always cook to temperature rather than the clock.
- Remove from smoker and holder, then place chicken on a cutting board. Tent with foil and let rest for 10-15 minutes before carving and serving.
Expert Tips & FAQs
- Store any cooled leftovers in an airtight container kept in the refrigerator for up to 4 days.
- Freeze the whole chicken, or shred it first, in ziptop bags or airtight containers for up to 2 months. Thaw overnight in the refrigerator.
- Reheat gently in a 300°F oven, covered, until warmed through. Skip the microwave if you want to keep the skin from turning rubbery.
- The chicken is done at 165°F in the thickest part of the thigh. Use an instant read thermometer and cook to temperature, not time.
- For the crispiest skin, pat it dry before seasoning, and if needed finish under the broiler for 1 to 3 minutes.
Nutrition
The recipes on this blog are tested with a conventional gas oven and gas stovetop. It’s important to note that some ovens, especially as they age, can cook and bake inconsistently. Using an inexpensive oven thermometer can assure you that your oven is truly heating to the proper temperature. If you use a toaster oven or countertop oven, please keep in mind that they may not distribute heat the same as a conventional full sized oven and you may need to adjust your cooking/baking times. In the case of recipes made with a pressure cooker, air fryer, slow cooker, or other appliance, a link to the appliances we use is listed within each respective recipe. For baking recipes where measurements are given by weight, please note that results may not be the same if cups are used instead, and we can’t guarantee success with that method.
- Crockpot French Dip Sandwiches - August 20, 2026
- Smoked Chicken Drumsticks - August 6, 2026
- Homemade Baja Citrus Marinade - July 29, 2026








Leave a Reply