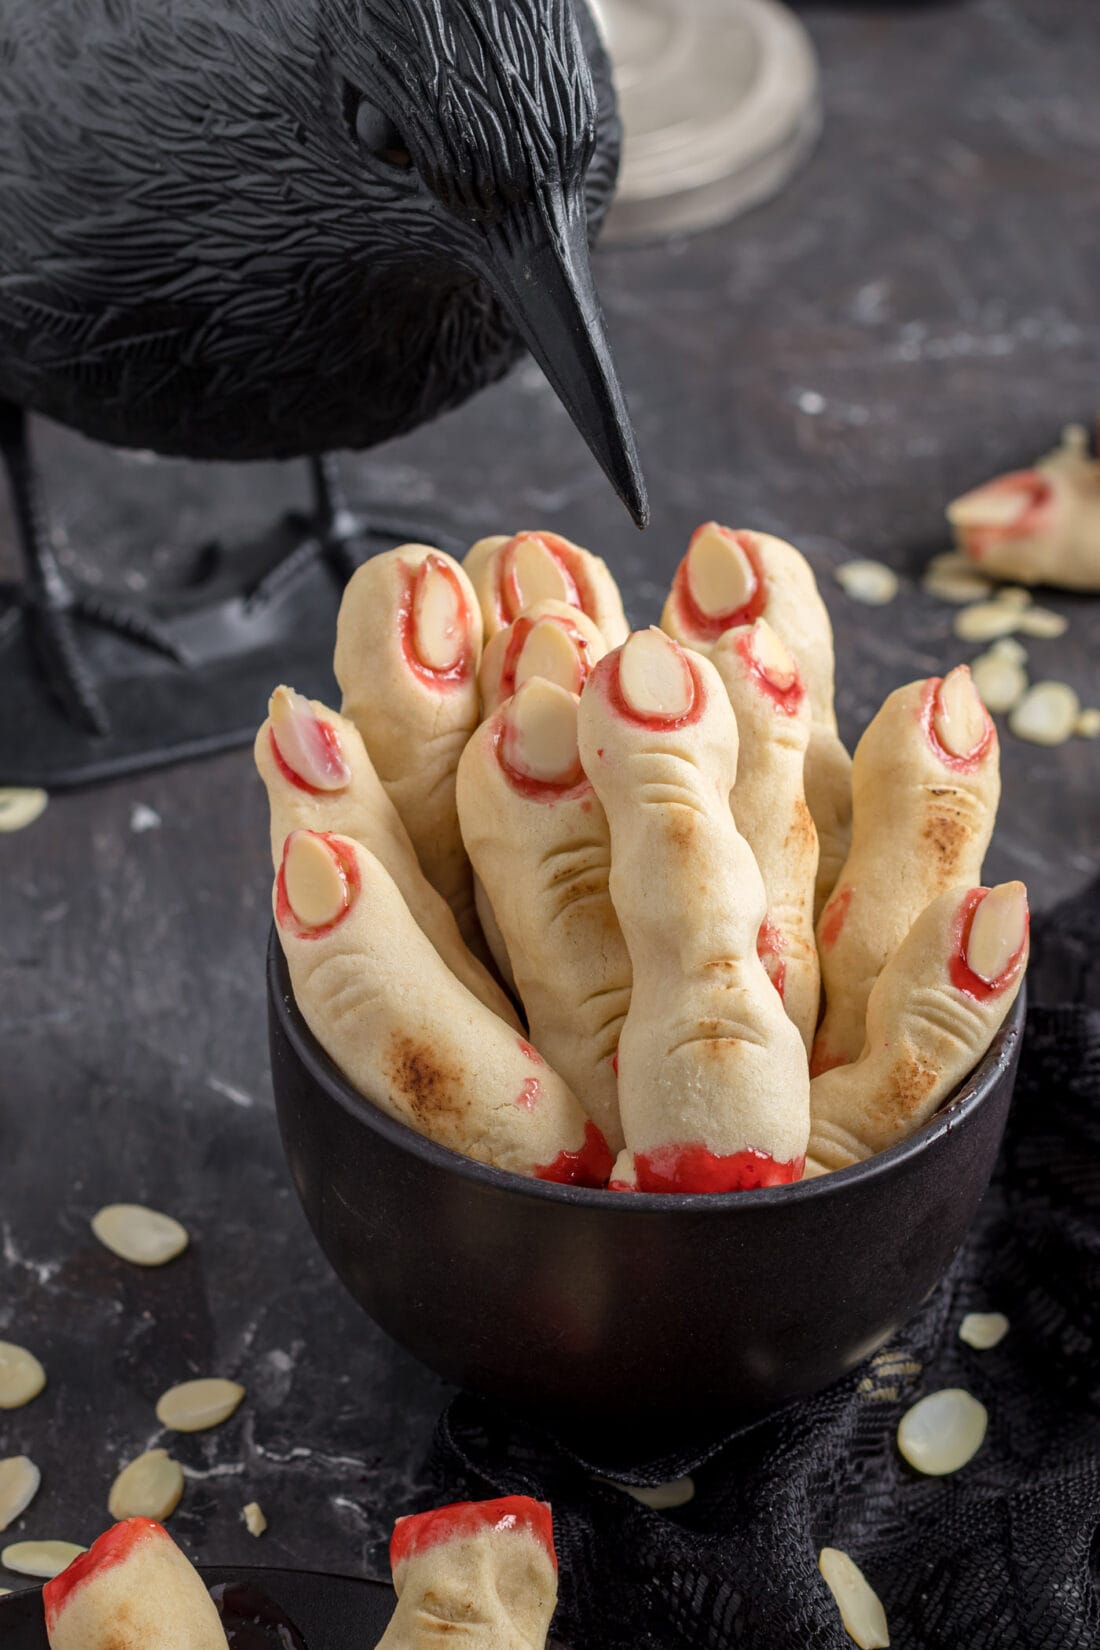
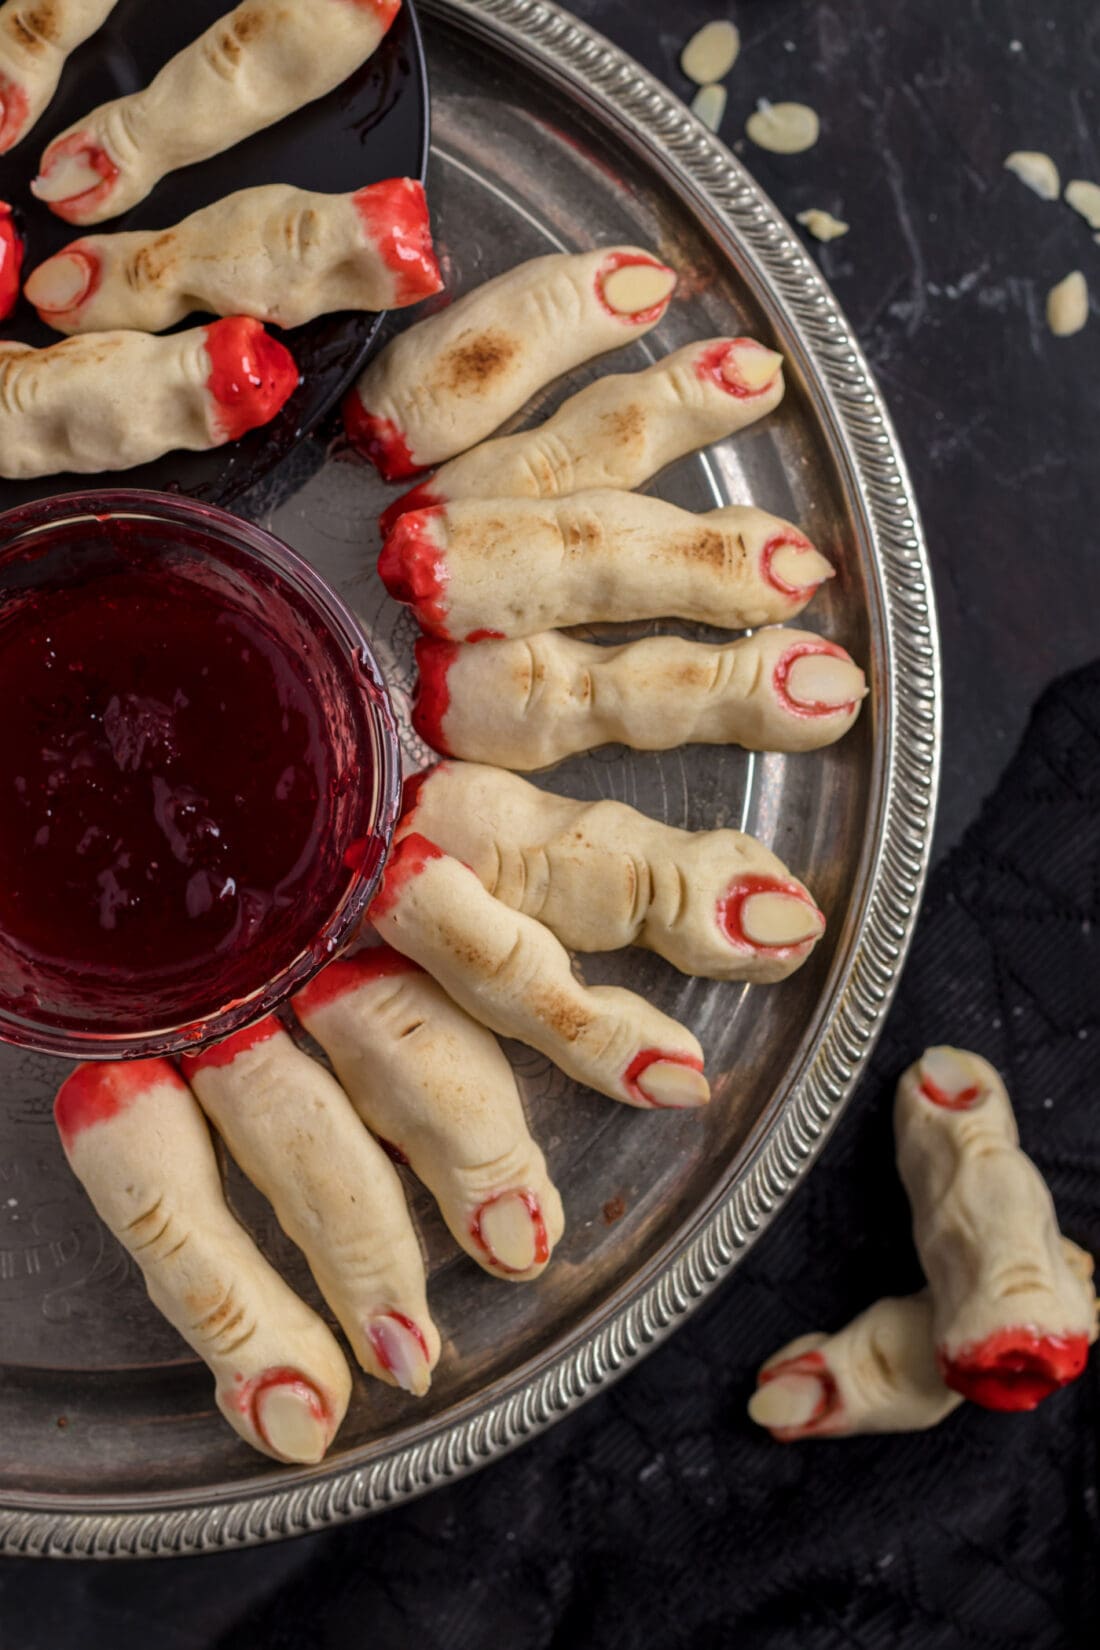
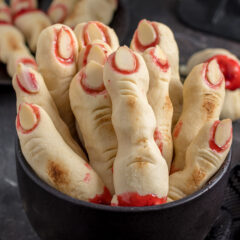
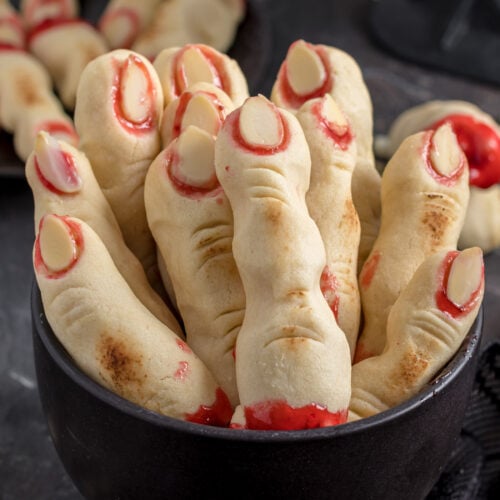
Although these witch finger cookies look completely grotesque, they are sinfully delicious. A shortbread cookie base adorned with a sliced almond fingernail that’s dripping with strawberry jam blood, these cookies will leave your party guests terrified!
Why this recipe works
Though these witch finger cookies look less than appetizing, they’re really quite delicious. A buttery delicate cookie base decorated with strawberry jam, they’re one heck of a tasty Halloween treat that are surprisingly easy to make!
Making these cookies with kids is always a fun way to get into the Halloween spirit. Serve it after mummy meatloaf for dinner! And of course, witch fingers are a staple on the Halloween party food platter every year.
Ingredients you will need
Get all measurements, ingredients, and instructions in the printable version at the end of this post.
Ingredient Info and Substitution Suggestions
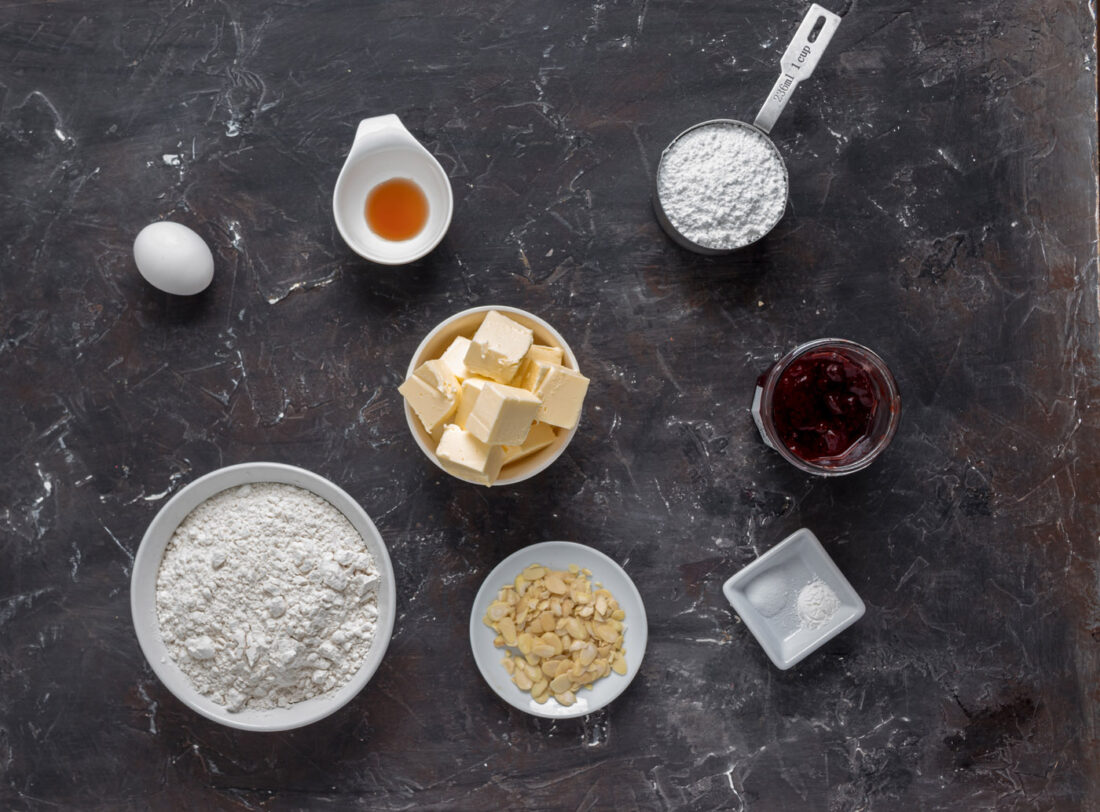
COOKIE – This is a simple homemade shortbread cookie dough made with butter, powdered sugar (confectioners sugar), egg, vanilla extract, all-purpose flour, salt, and baking powder. It’s always recommended to chill your shortbread cookie dough before baking and be careful not to overmix it.
JAM – Strawberry, cherry, or raspberry jam will work well for this recipe. You may also use red decorating gel in place of jam if you prefer.
How to Make Witch Finger Cookies
These step by step photos and instructions are here to help you visualize how to make this recipe. You can Jump to Recipe to get the printable version of this recipe, complete with measurements and instructions at the bottom.
- Preheat oven to 350 F. Prepare a cookie sheet lined with parchment paper and set aside.
- In a large bowl cream together the butter and powdered sugar until evenly mixed with an electric mixer on medium speed.
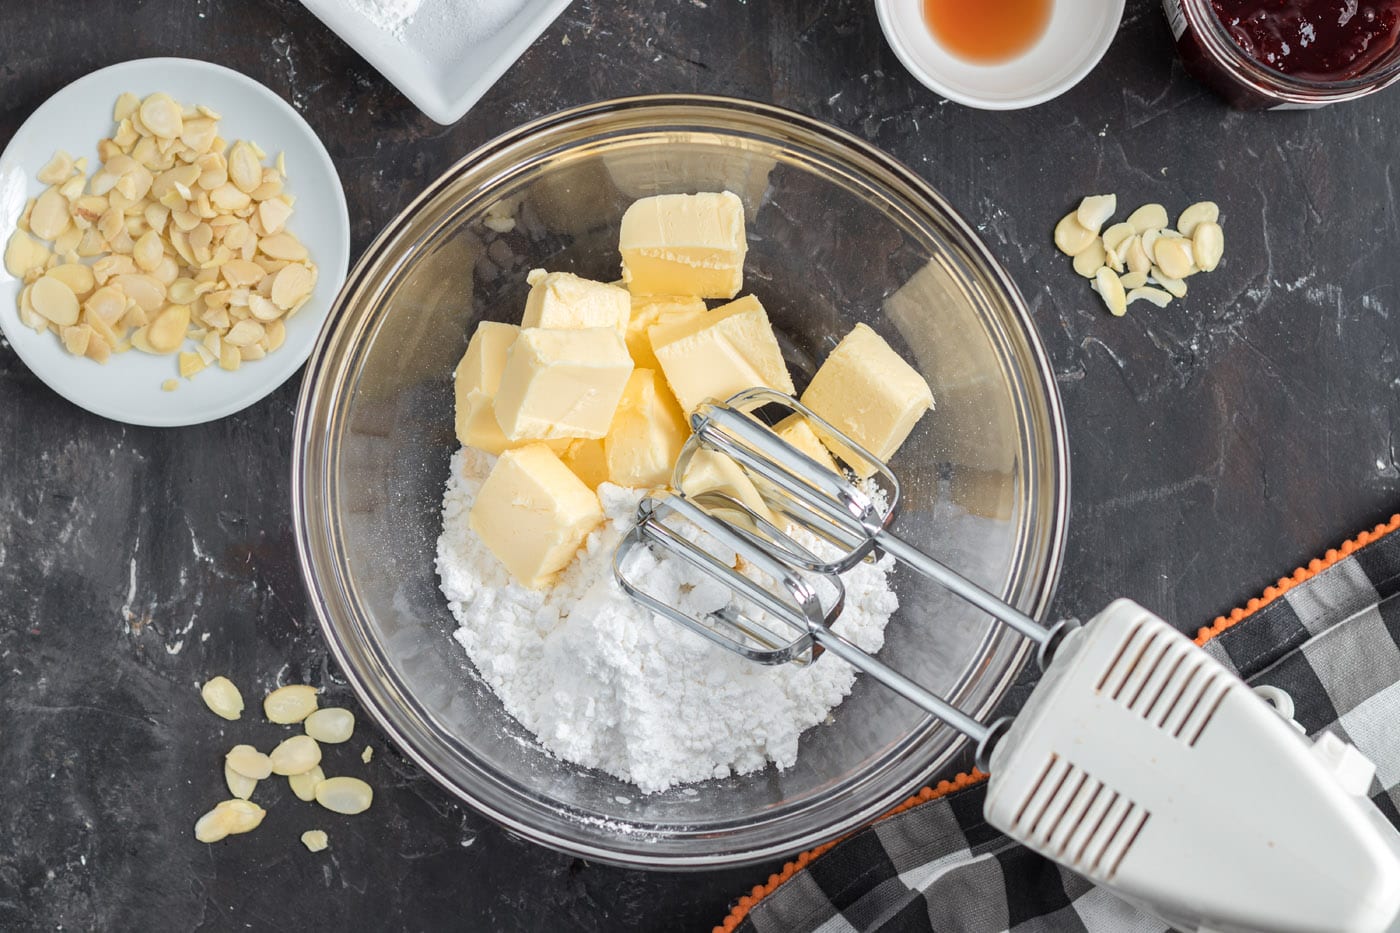
- Add the egg and vanilla and mix to combine on medium speed.
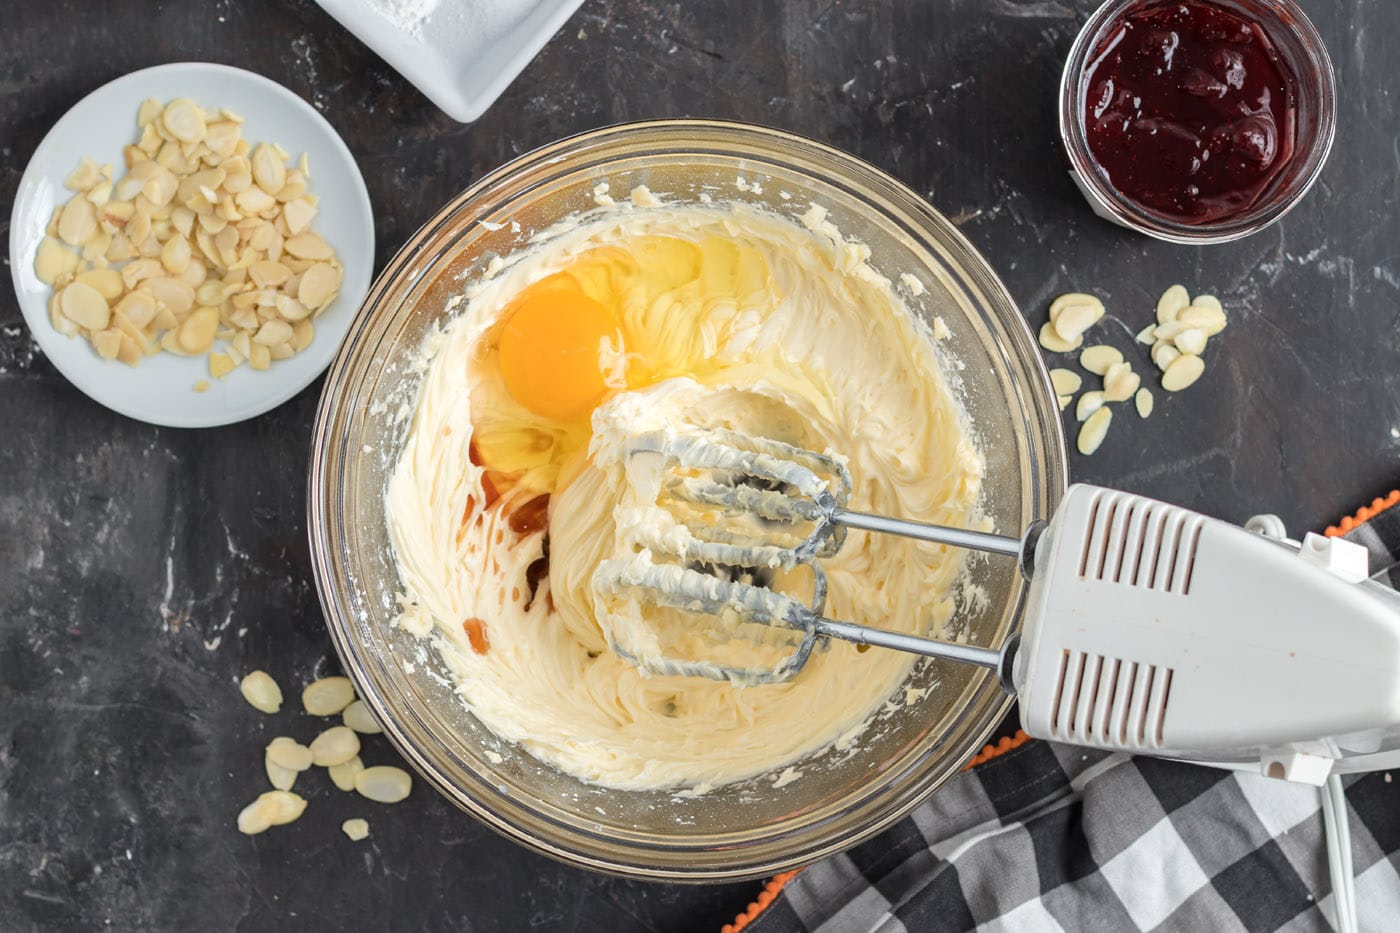
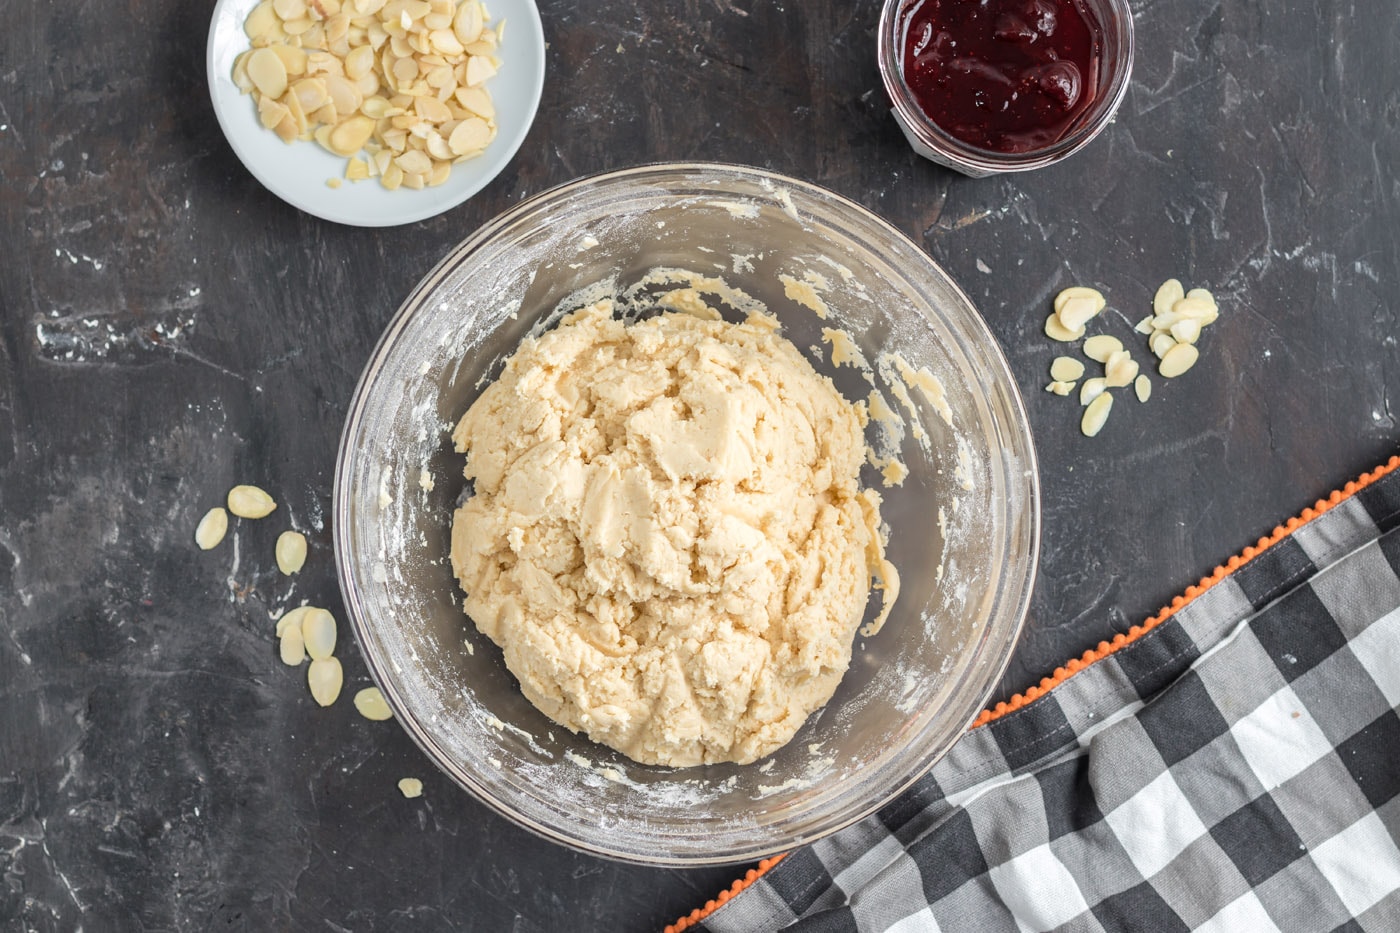
- Whisk together the flour, salt, and baking powder in a medium bowl and mix into the batter in 3 additions.
Shaping the Witch Finger Cookies
- When the cookie dough is combined use a small cookie scoop to scoop 1 tablespoon of cookie dough into a ball.
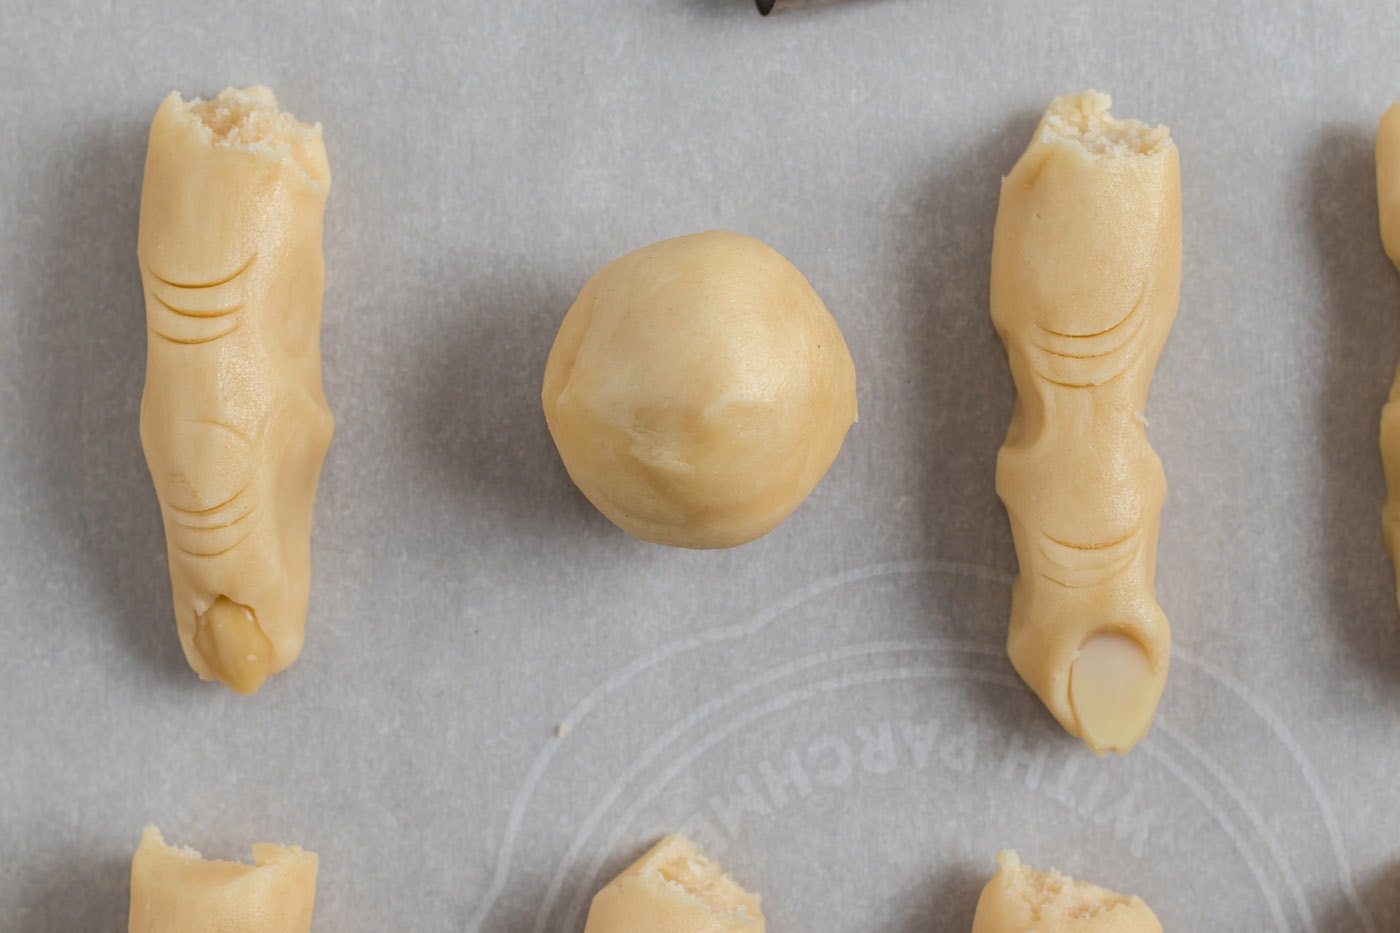
- Next, shape the ball into a 3-inch cylinder.
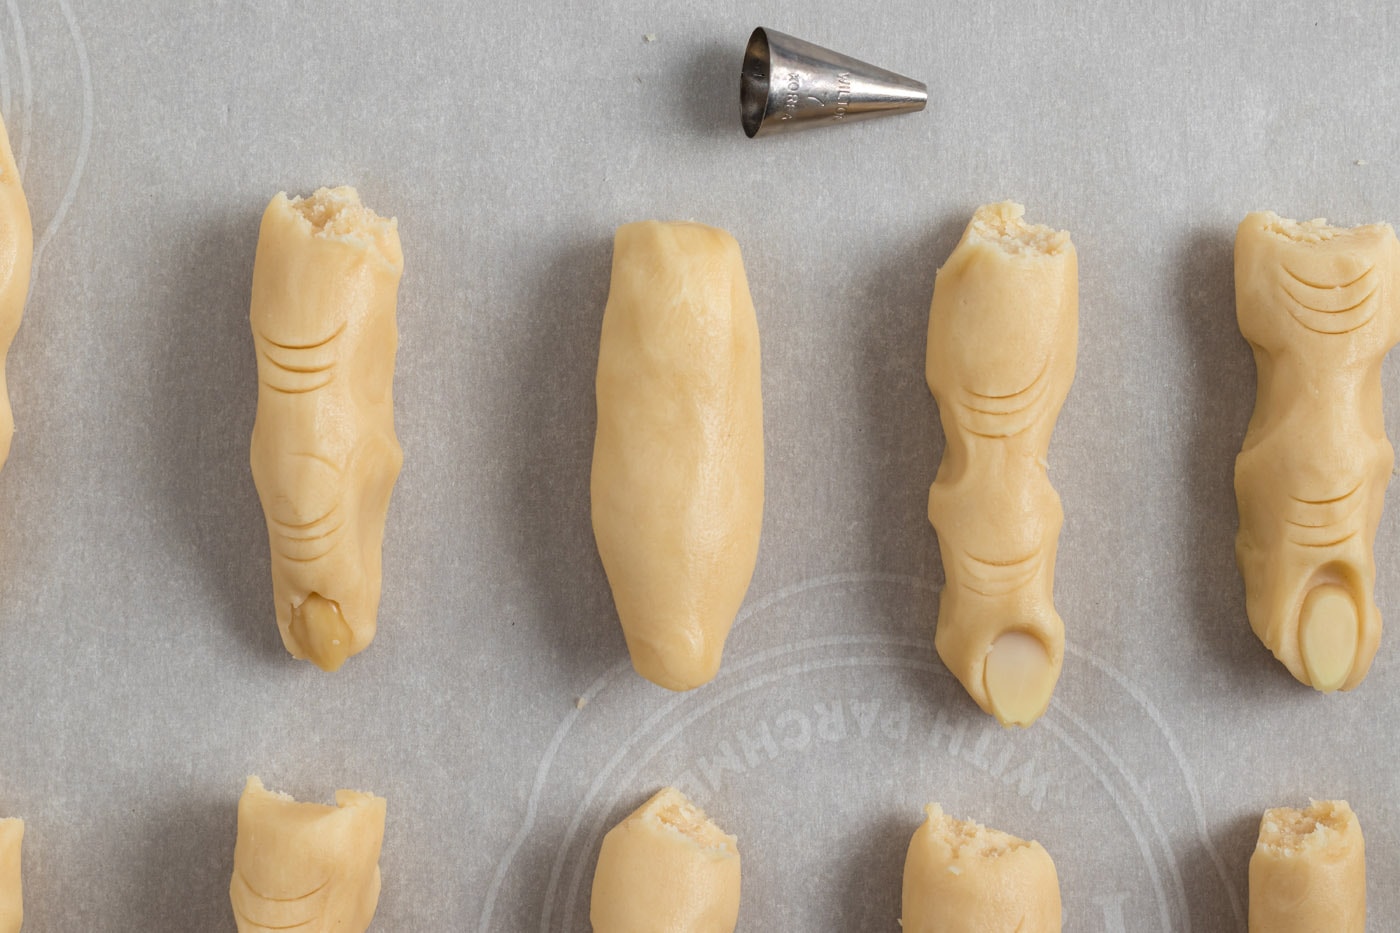
- Make a small pinch right beneath where the nail would be on the cookie. Then make another small pinch where the knuckle would be.
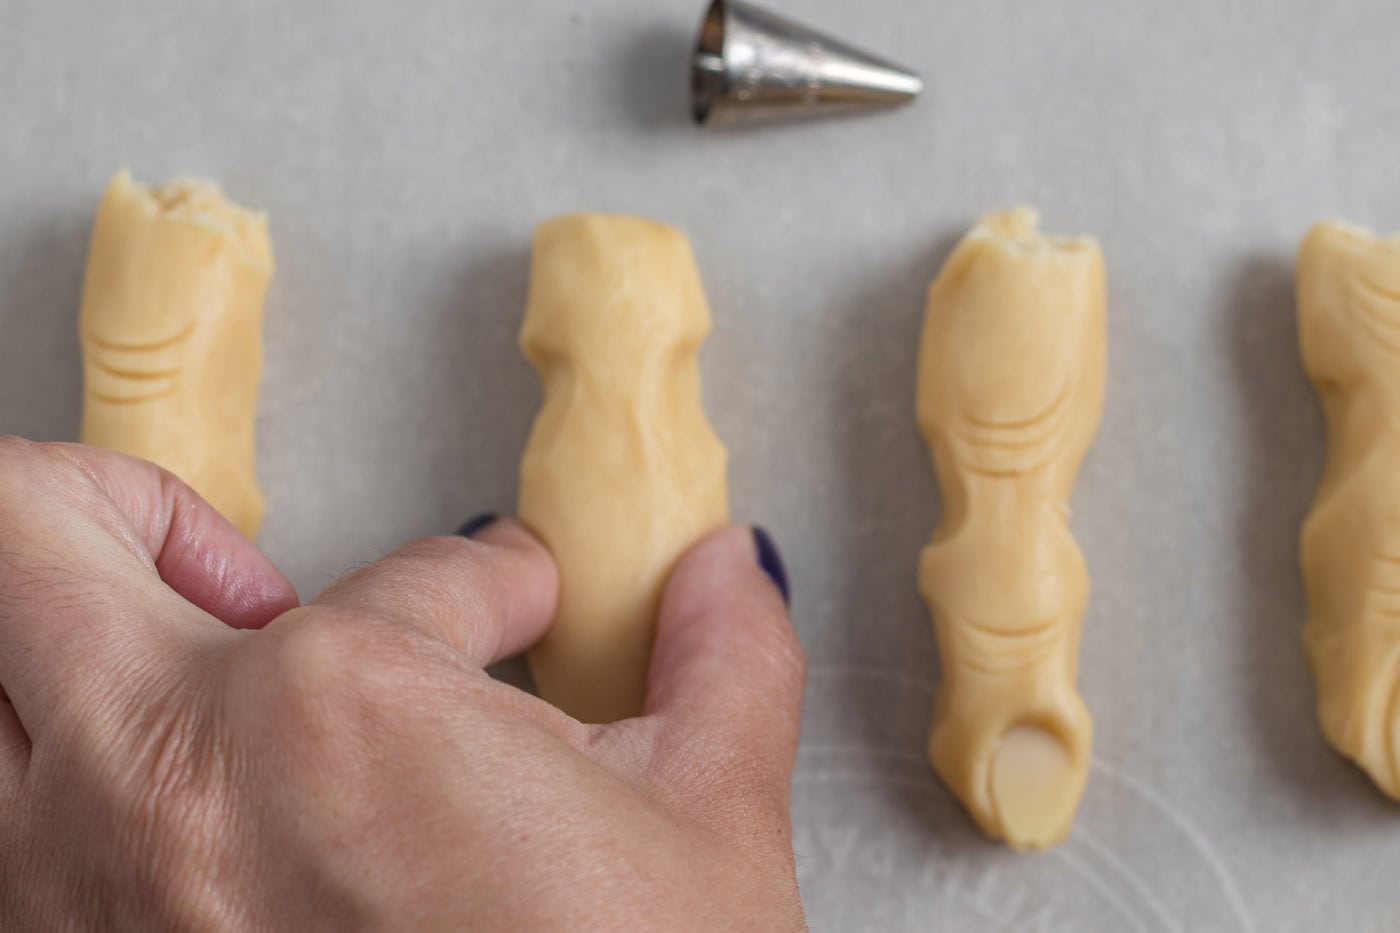
- Using your index finger make an indent for the nail bed. Place a sliced almond as a nail in the cookie.
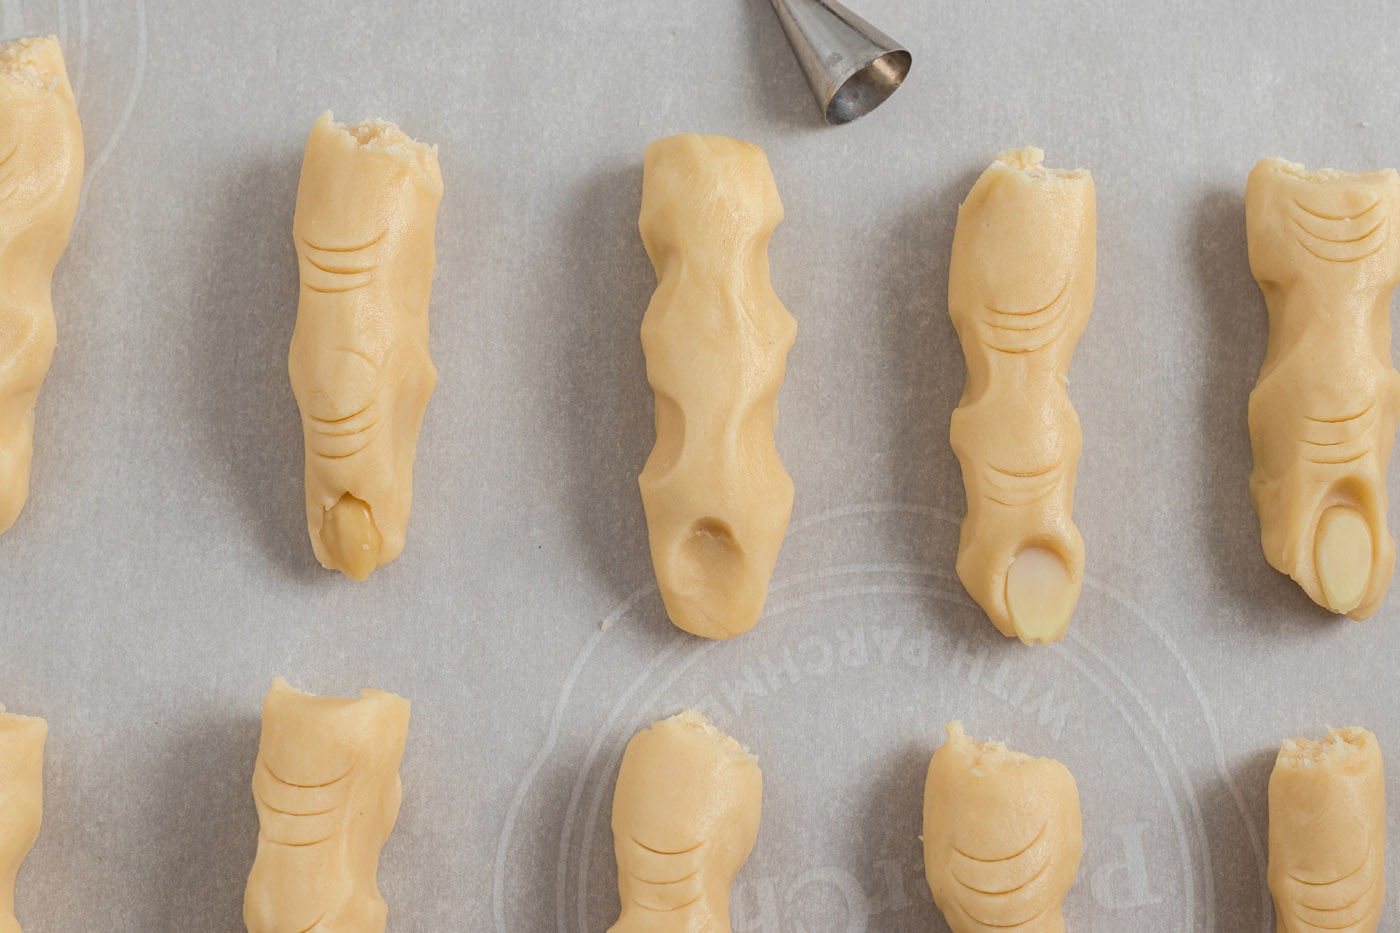
- Next using the bottom of a piping tip create indents under the nail bed and on the knuckle of the cookie.
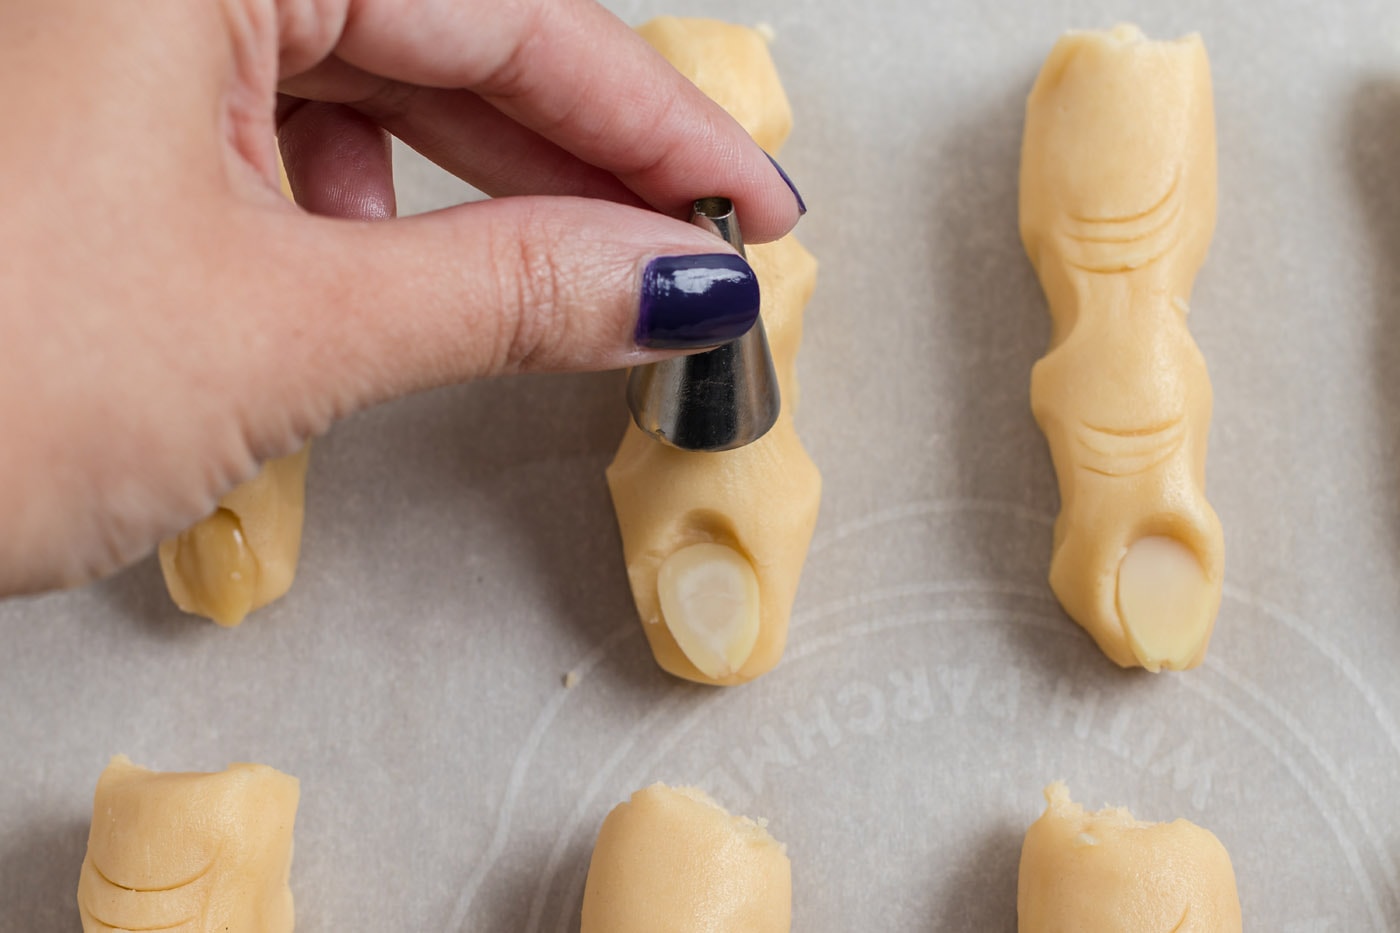
- Finally, break off a small portion of the bottom of the finger so that it appears severed.
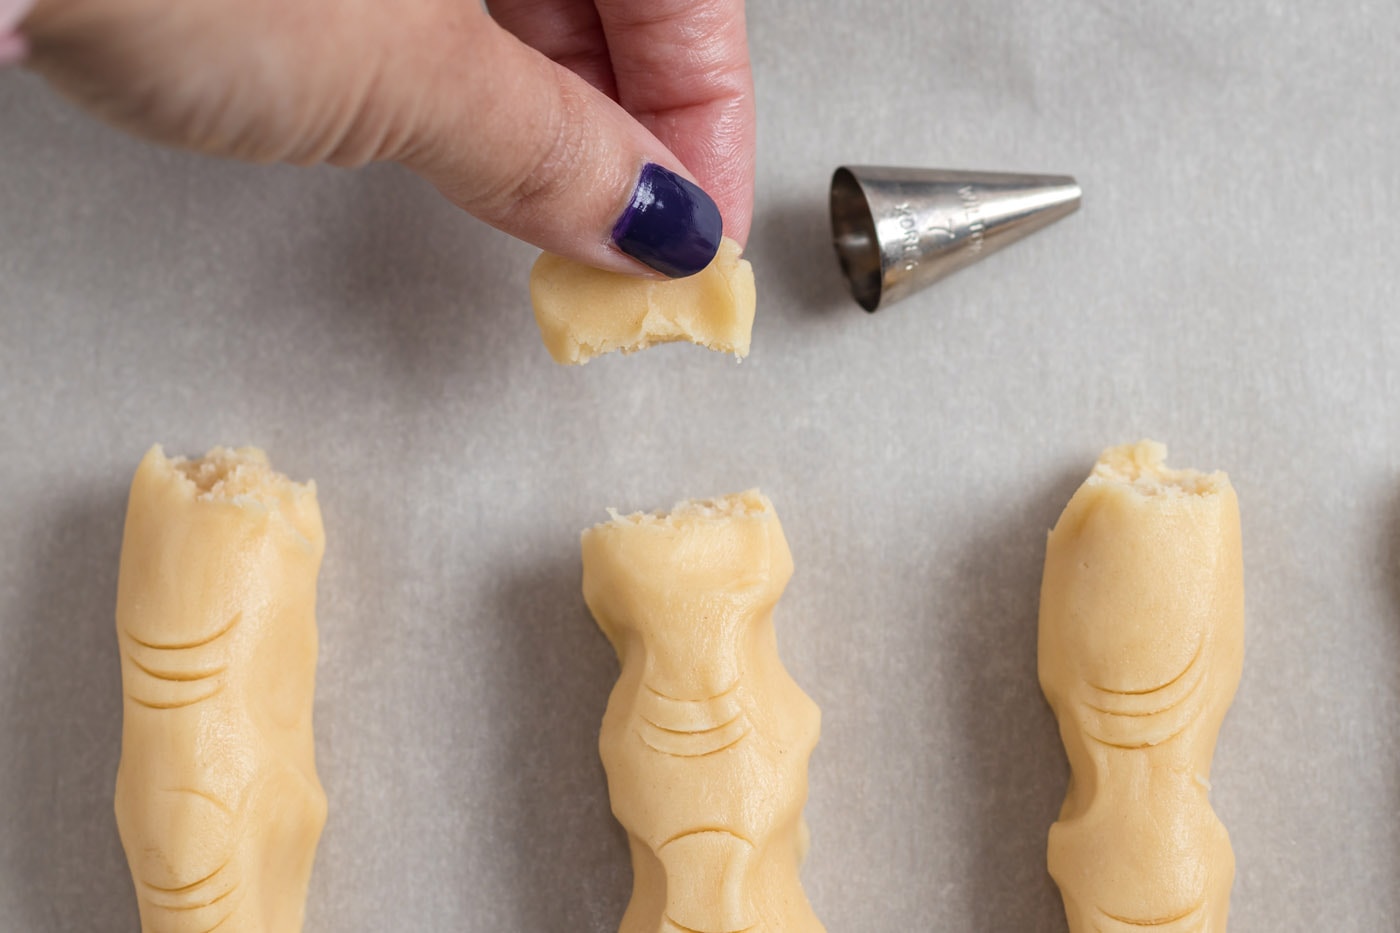
- Repeat steps 6-11 with the remaining cookie dough and place fingers on the prepared cookie sheet 1 inch apart.
- Chill cookies for 15-20 minutes to prevent spreading in the oven.
- Bake the cookies in the preheated oven for 12 minutes. If they are not yet slightly golden bake for 2 minutes more until the desired color is reached.
- Allow cookies to cool on baking sheet for 5 minutes before transferring to a wire rack to cool completely.
- If desired use a kitchen torch to create slight burn marks on the fingers around the knuckles.
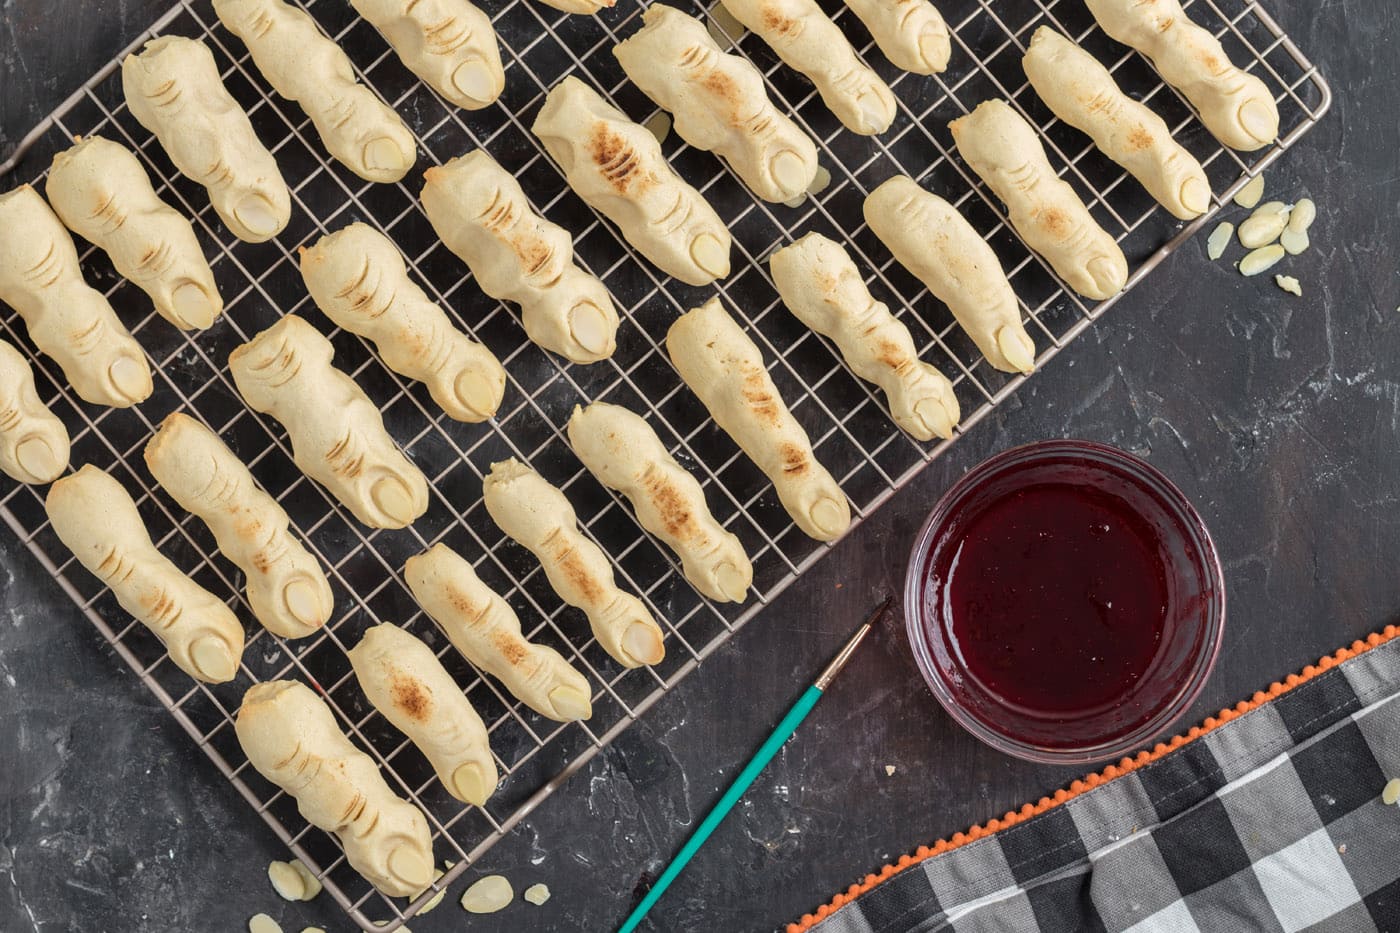
- In a small microwave safe bowl warm the strawberry jam for 20 seconds. Use a fine tip paint brush to paint strawberry jam around the nail bed. Dip the severed end of the finger in the strawberry jam and transfer to a serving plate. Continue with remaining cookies.
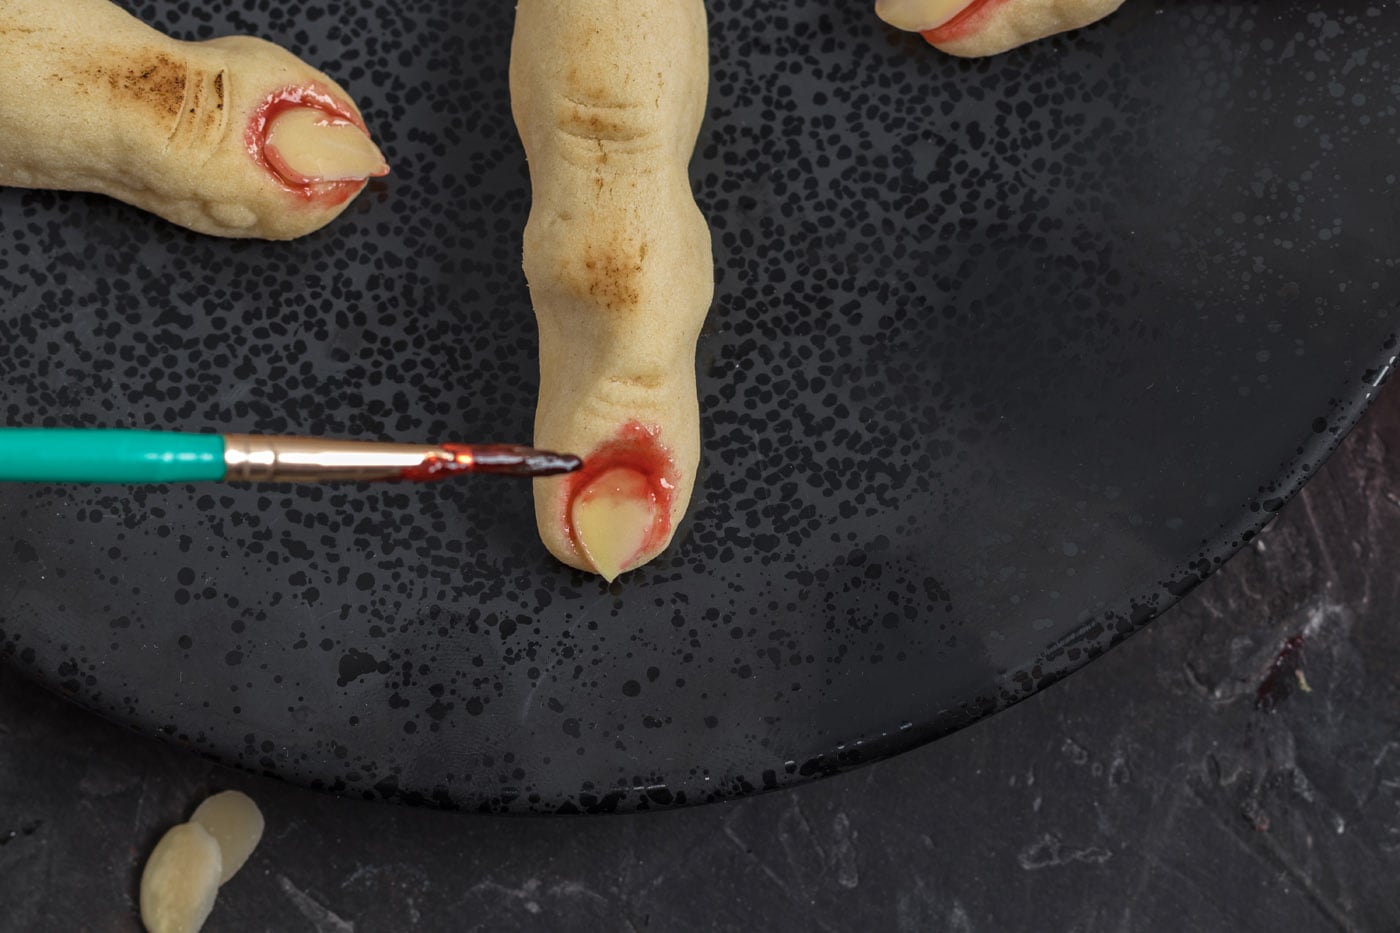
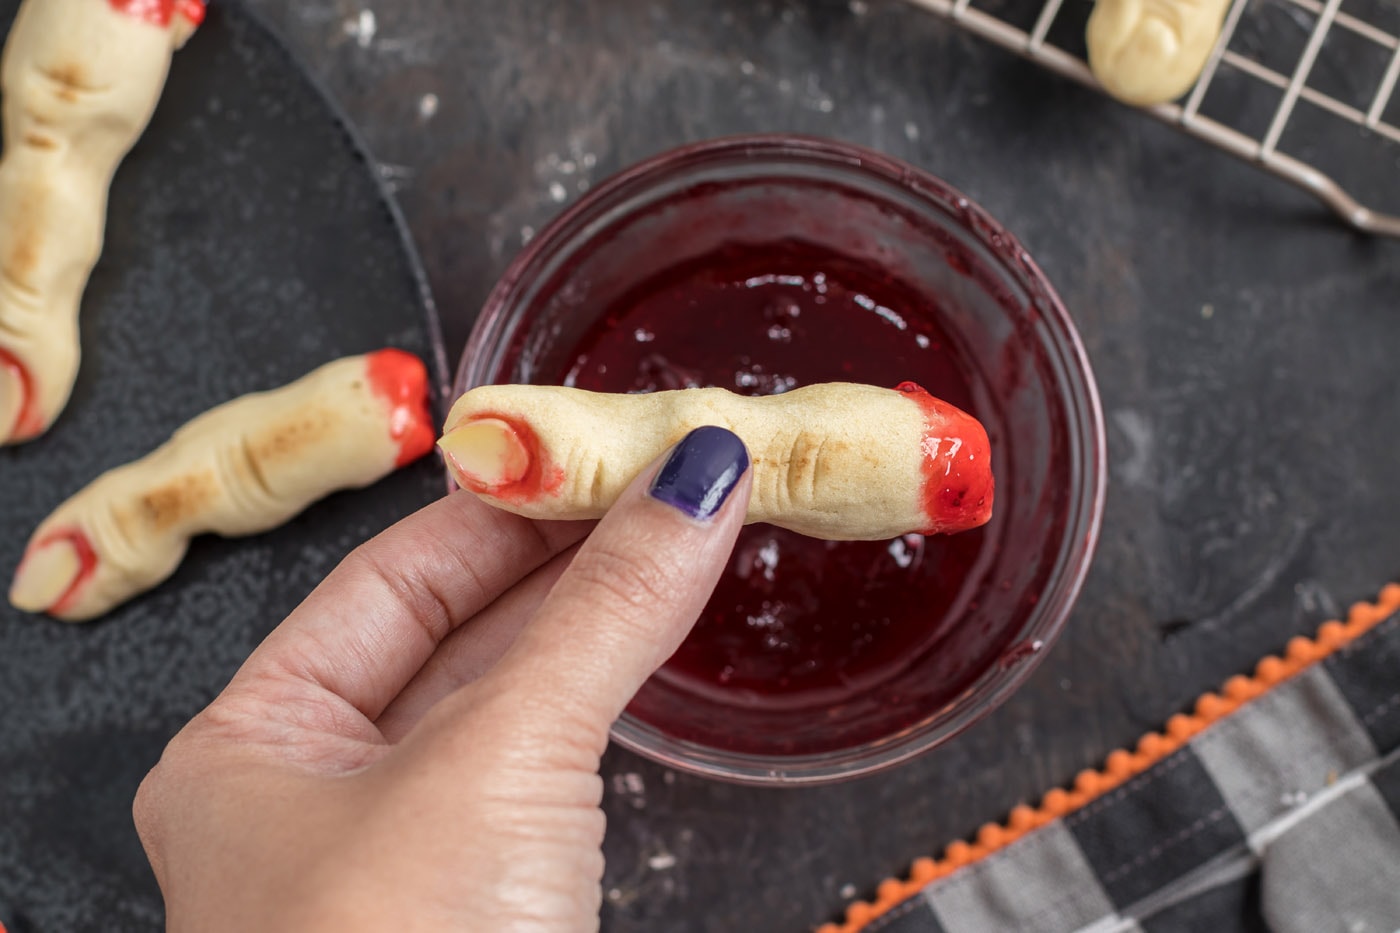
- Serve cookies with the remaining strawberry jam for dipping if desired.
Frequently Asked Questions & Expert Tips
These cookies can be prepared in advance and frozen for up to a month (without jam). Defrost and then decorate when ready to serve. Decorated cookies can be stored for 2-3 days in an airtight container in the refrigerator. Undecorated, they will keep in an airtight container on the kitchen counter for up to 1 week.
If you do not have a kitchen torch and would like some burn marks on your cookies, place them under the broiler for a few seconds keeping a very close eye on them. Alternately, when cool, they can be dusted around the knuckles and wrinkles with cocoa powder.
To make green witch fingers, simply add a small amount of green food coloring to the dough, incorporating well. I prefer gel food coloring for cookie dough. Start with a small portion of food coloring, adding more as you see fit until you reach the desired color intensity.
Serving Suggestions
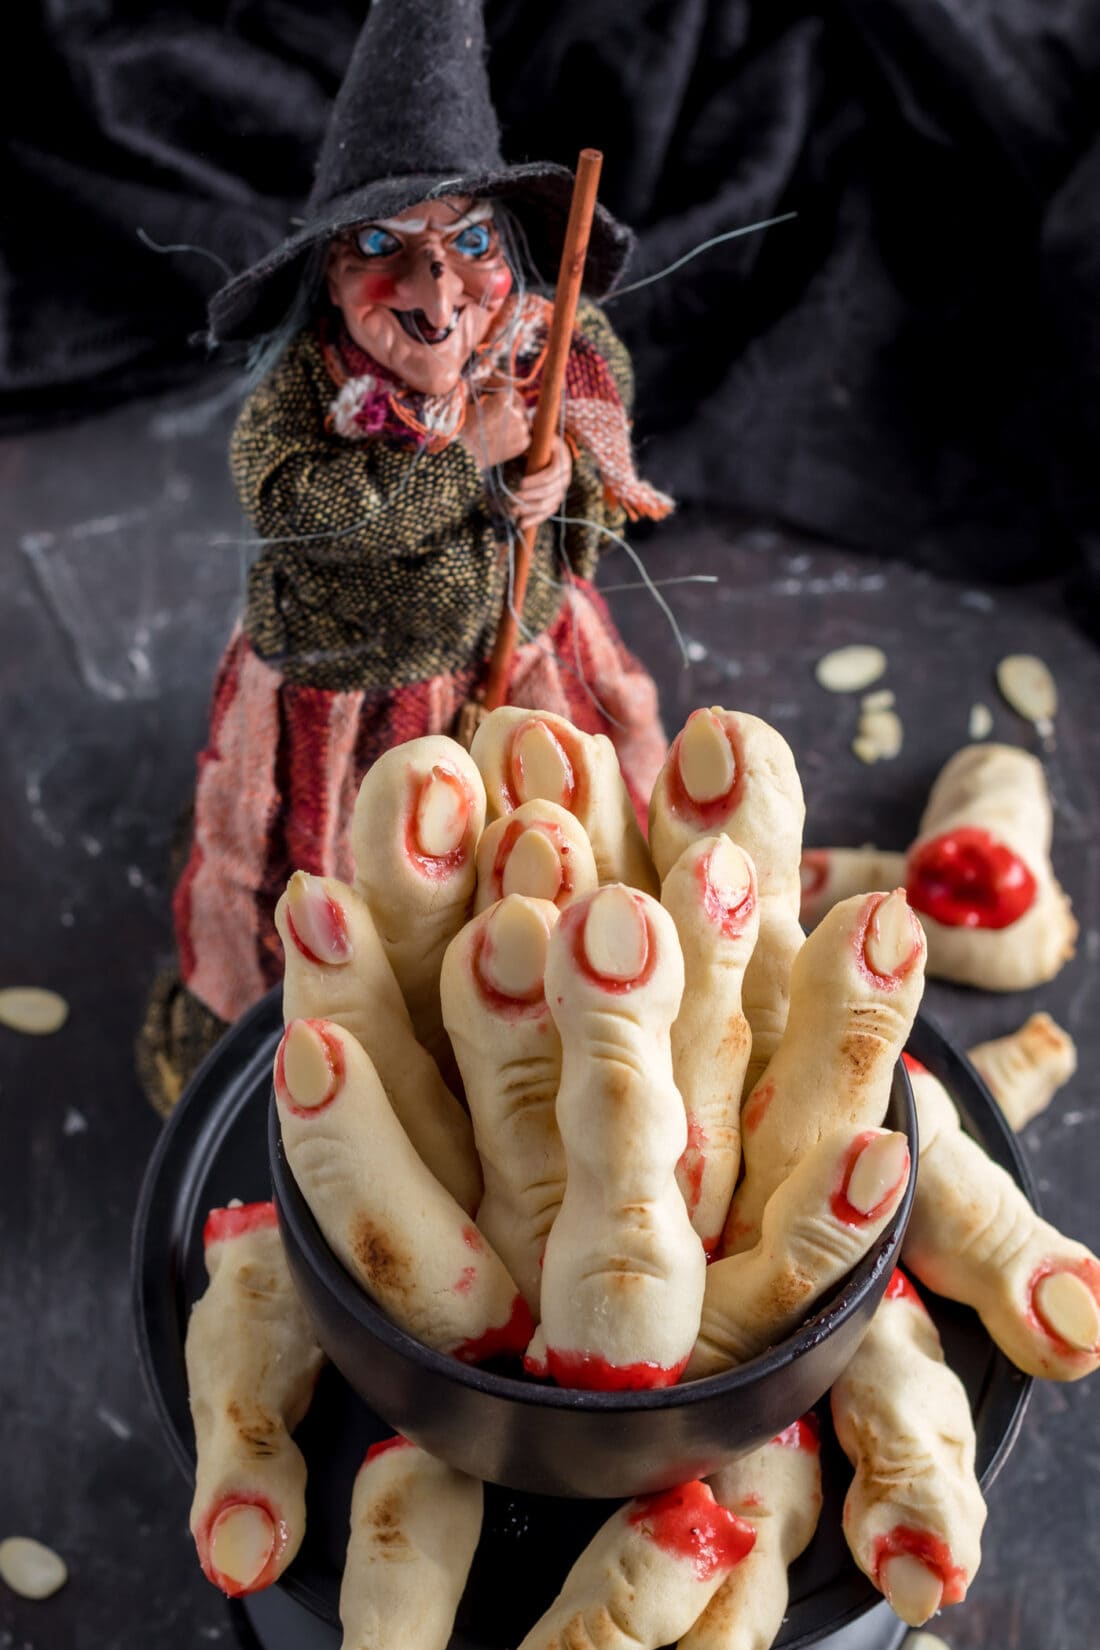
Serve your witch finger cookies at room temperature, placed on a platter with a side of blood… I mean jam, for dipping. Happy Halloween!
More Halloween Recipes
- Kitty Litter Cake
- Spiderweb Cocktail
- Boogers on a Stick
- Vampire Sandwich Cookies
- Marshmallow Frankensteins
- Frankenstein Rice Krispie Treats
I love to bake and cook and share my kitchen experience with all of you! Remembering to come back each day can be tough, that’s why I offer a convenient newsletter every time a new recipe posts. Simply subscribe and start receiving your free daily recipes!
Witch Finger Cookies
IMPORTANT – There are often Frequently Asked Questions within the blog post that you may find helpful. Simply scroll back up to read them!
Print It Rate ItIngredients
- 1 cup butter
- 1 cup powdered sugar aka confectioners sugar
- 1 large egg
- 1 teaspoons vanilla extract
- 2 ¾ cup all purpose flour
- ½ teaspoons salt
- ½ teaspoons baking powder
- 36 sliced almonds
- ¼ cup strawberry jam
Things You’ll Need
- Piping tip or pairing knife
Before You Begin
- If you do not have a kitchen torch and would like some burn marks on your cookies, place them under the broiler for a few seconds keeping a very close eye on them. Alternately, when cool they can be dusted around the knuckles and wrinkles with cocoa powder.
- If you don’t have a piping tip to create the intents on the fingers simply use a pairing knife.
- These cookies can be prepared in advance and frozen for up to a month (without jam) defrosted, and then decorated when ready to serve.
Instructions
- Preheat oven to 350 F. Prepare a cookie sheet lined with parchment paper and set aside.
- In a large bowl cream together the butter and powdered sugar until evenly mixed with an electric mixer on medium speed.
- Add the egg and vanilla and mix to combine on medium speed.
- Whisk together the flour, salt, and baking powder in a medium bowl and mix into the batter in 3 additions.
- When the cookie dough is combined use a small cookie scoop to scoop 1 tablespoon of cookie dough into a ball.
- Next, shape the ball into a 3-inch cylinder.
- Make a small pinch right beneath where the nail would be on the cookie. Then make another small pinch where the knuckle would be.
- Using your index finger make an indent for the nail bed. Place a sliced almond as a nail in the cookie.
- Next, using the bottom of a piping tip create indents under the nail bed and on the knuckle of the cookie.
- Finally, break off a small portion of the bottom of the finger so that it appears severed. Repeat steps 6-11 with the remaining cookie dough and place fingers on the prepared cookie sheet 1 inch apart.
- Chill cookies for 15-20 minutes to prevent spreading in the oven.
- Bake the cookies in the preheated oven for 12 minutes. If they are not yet slightly golden bake for 2 minutes more until the desired color is reached.
- Allow cookies to cool on the baking sheet for 5 minutes before transferring to a wire rack to cool completely.
- If desired, use a kitchen torch to create slight burn marks on the fingers around the knuckles.
- In a small microwave safe bowl warm the strawberry jam for 20 seconds. Use a fine tip paint brush to paint strawberry jam around the nail bed. dip the severed end of the finger in the strawberry jam and transfer to a serving plate. Continue with remaining cookies.
Expert Tips & FAQs
- Decorated cookies and be stored for 2-3 days in an airtight container in the refrigerator. Undecorated they will keep in an airtight container on the kitchen counter for 1 week.
Nutrition
This post was originally published here on September 20, 2021.
Amanda Davis
Latest posts by Amanda Davis (see all)
- Chocolate Covered Strawberries - January 20, 2025
- Cauliflower Pizza Crust - January 13, 2025
- Keto Peanut Butter Cookies - January 9, 2025



BB says
These look amazing!
Tracie Bulic says
I made these for my adult halloween party and they were a HUGE success! So easy and just delicious. I will definitely be making them again.
Masha says
So good in figuring out how to make them into Christmas trees, by popular demand. I added chopped pistachios and made a cherry blood sauce. The knuckle lines make a big impact. Some of my almond fingernails broke before going on, making them even creepier.
Norma says
These are by far the best-looking witch finger cookies. Now, I hope that I can get mine to look this good.
Moo says
Amazing flavour! But my cookies keep spreading even when I tried 30mins-1 hour cooling in a fridge 😩 any advice is welcome!