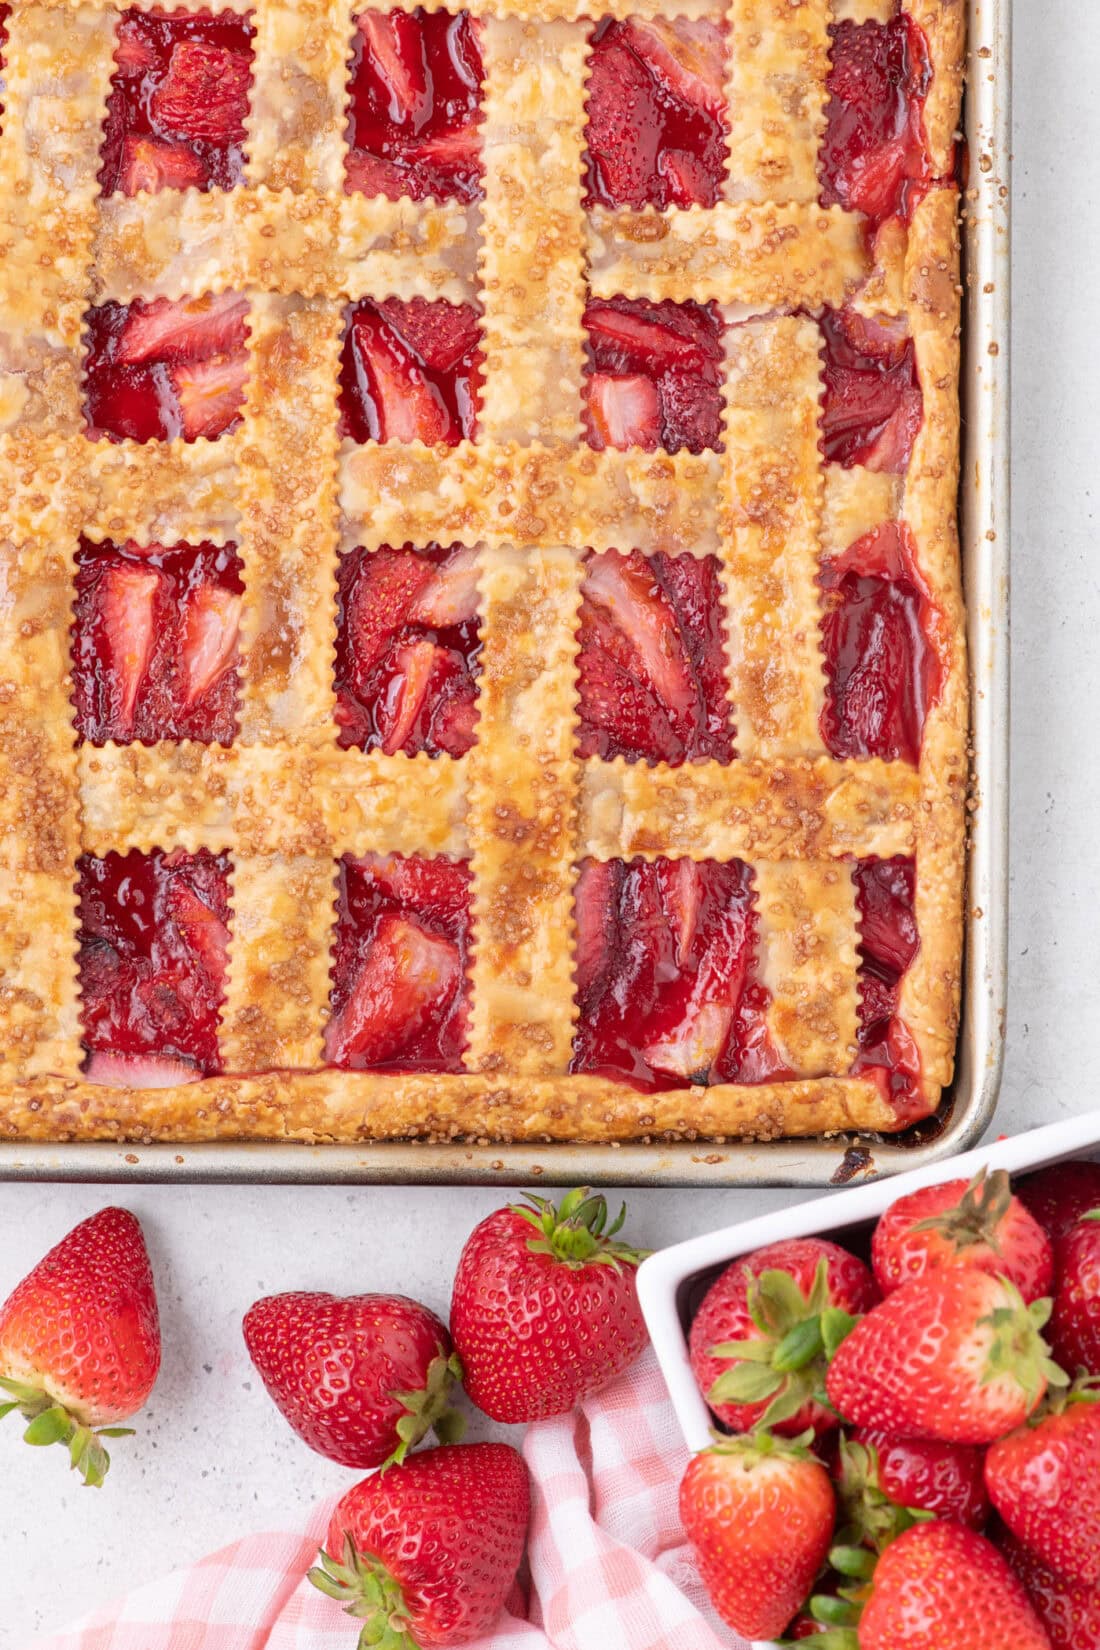
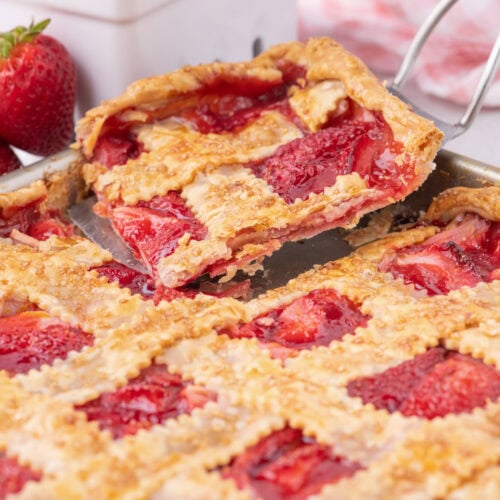
Fresh strawberry filling peeks through a buttery flakey lattice top in this stunner of a strawberry slab pie recipe. Made easy with premade pie crusts, this is the best summer dessert for feeding a crowd!
Why this recipe works
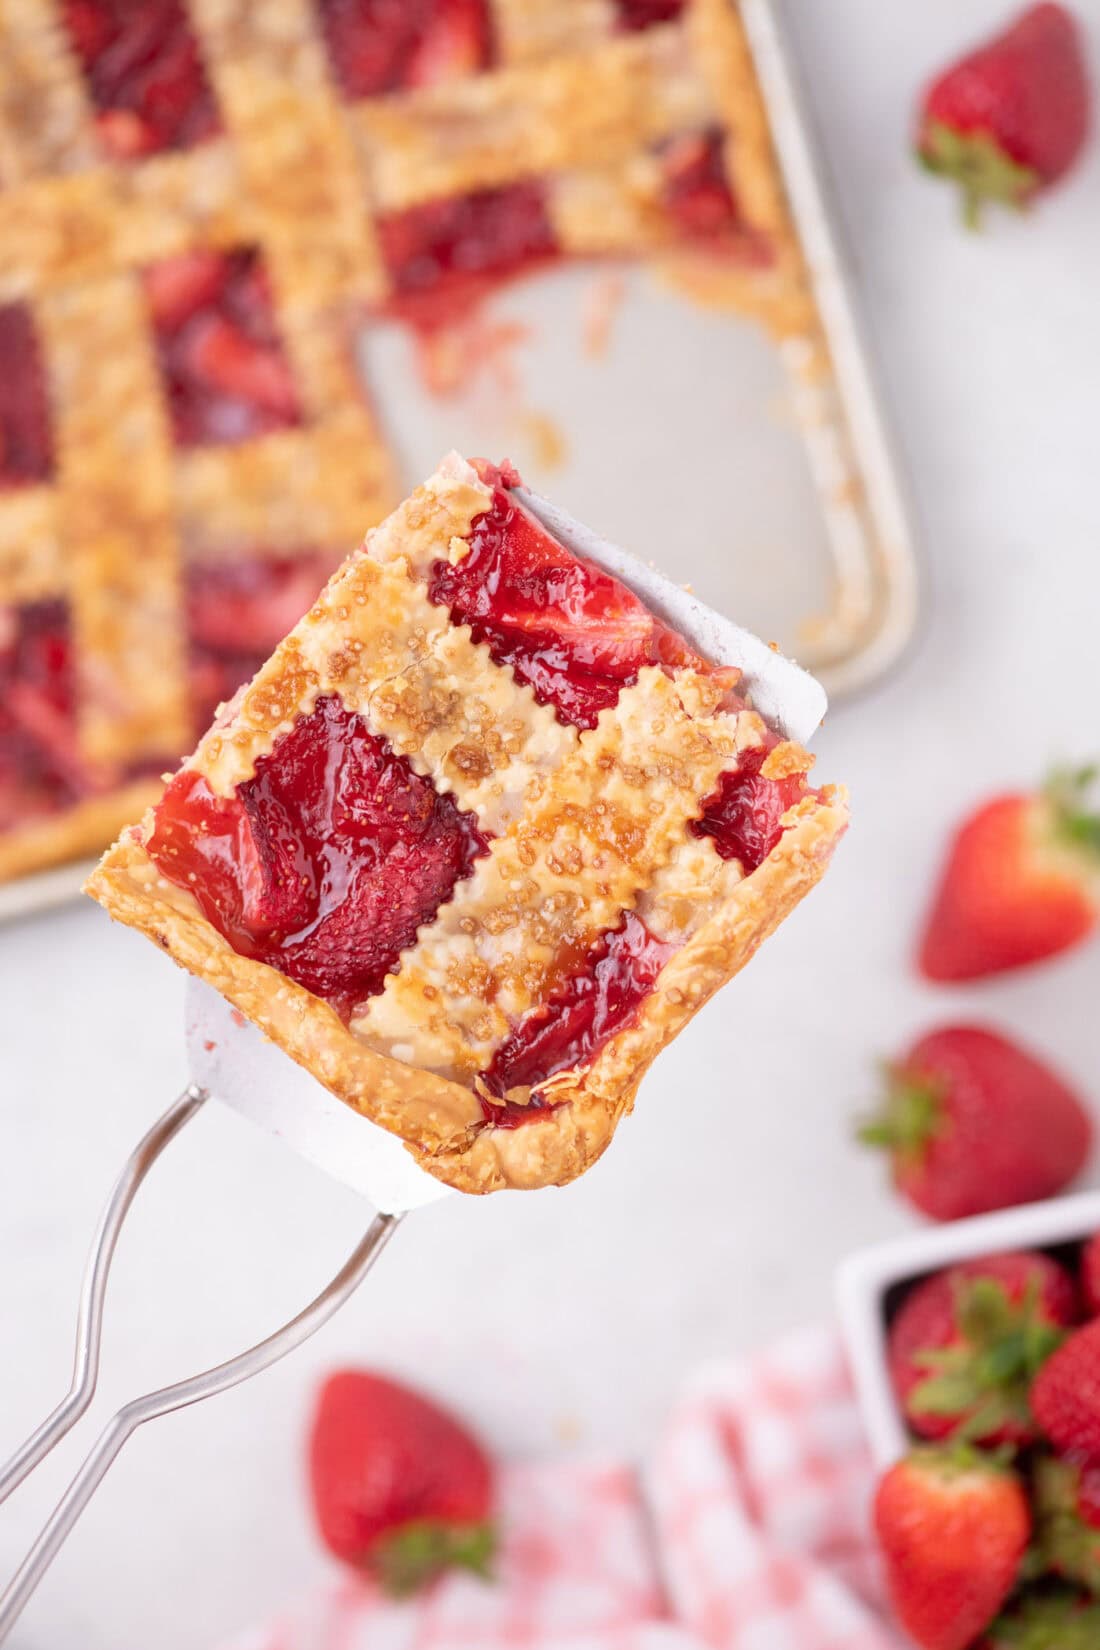
A taste of summer in every bite, this strawberry slab pie is a welcome addition to any backyard barbeque. You will love the flaky texture of the crust against the fresh juicy strawberries! It’s fresh and light, with just the right amount of strawberry-to-crust ratio.
Slab pies are really easy to make, and great for feeding a crowd. Both our strawberry and cherry slab pie are the go-to desserts for summer get-togethers around here. Simple ingredients like pre-made pie crusts make the process a lot more convenient. They’re thinner than your typical pie but much larger, which means you can slice them into squares and serve quite a few people without spending ages in the kitchen preparing multiple homemade strawberry pies.
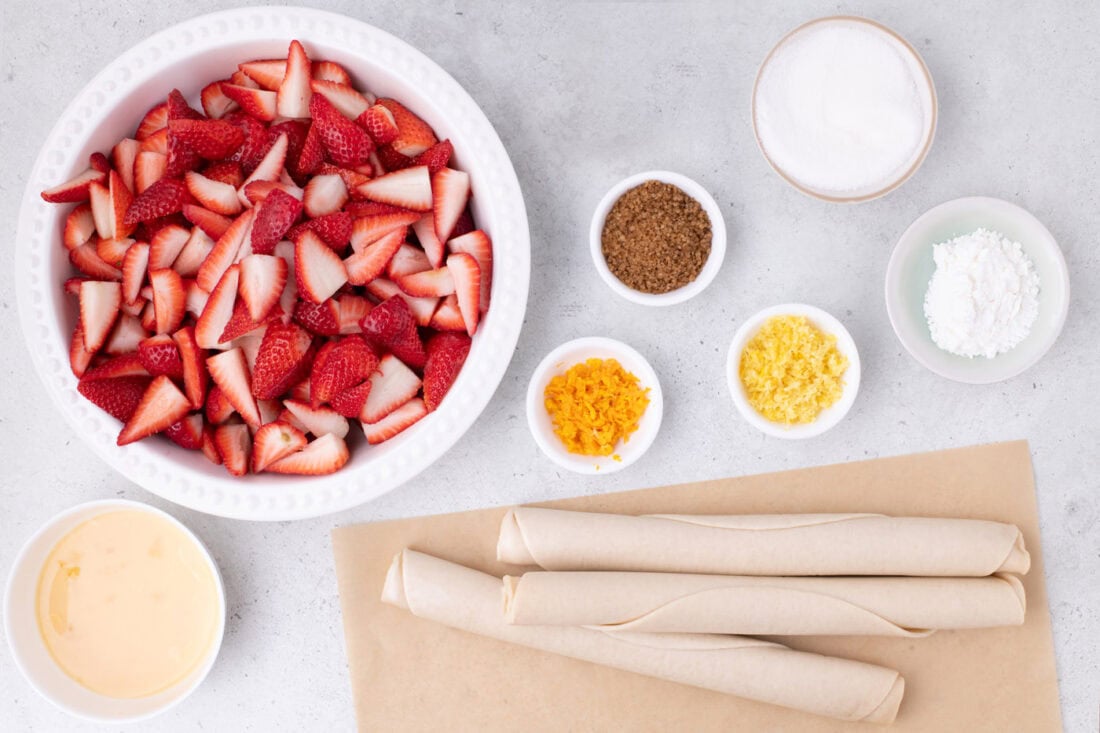
Ingredients you will need
Get all measurements, ingredients, and instructions in the printable version at the end of this post.
Ingredient Info and Substitution Suggestions
STRAWBERRIES – Fresh strawberries make this slab pie even more special. Smaller, freshly picked strawberries release less juice than store-bought strawberries. If you are using hand-picked strawberries, reduce the amount of cornstarch to 3 tablespoons.
CRUST – To make this recipe convenient we opted for premade pie crusts. You can make your own pie crust if desired.
LATTICE – If you feel intimidated by creating the lattice top, you can cover the pie with a regular pie crust. Make sure you cut slits into the top of the crust to allow the steam to vent during baking.
How to Make Strawberry Slab Pie
These step by step photos and instructions are here to help you visualize how to make this recipe. You can Jump to Recipe to get the printable version of this recipe, complete with measurements and instructions at the bottom.
- Preheat the oven to 375°F.
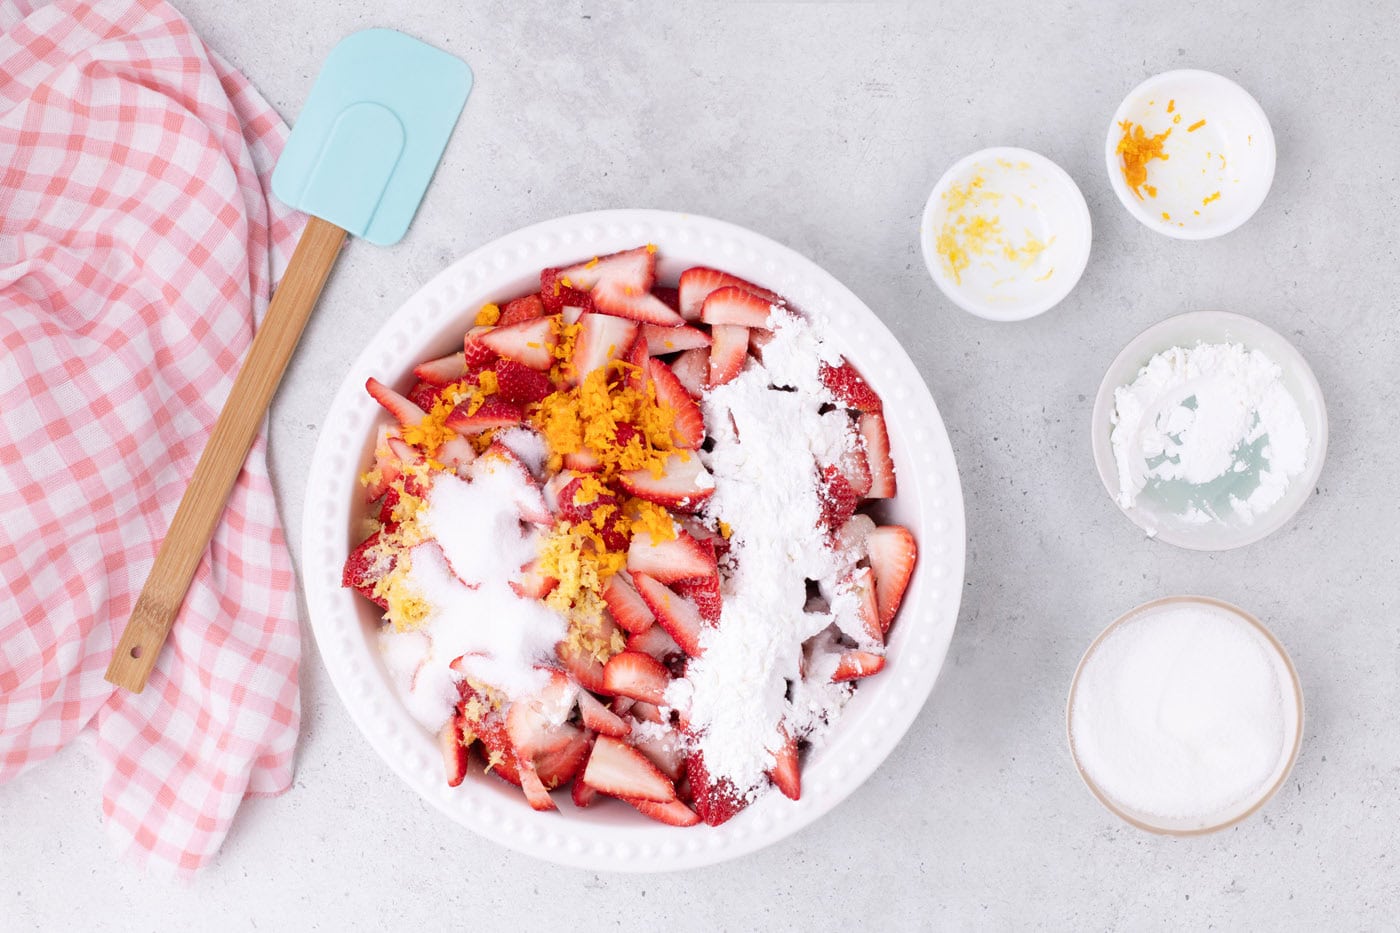
- In a medium-sized bowl add the sugar, cornstarch, and zest to the strawberries and gently stir with a soft silicone spatula until well combined. Allow the strawberries to sit while you prepare the crust.
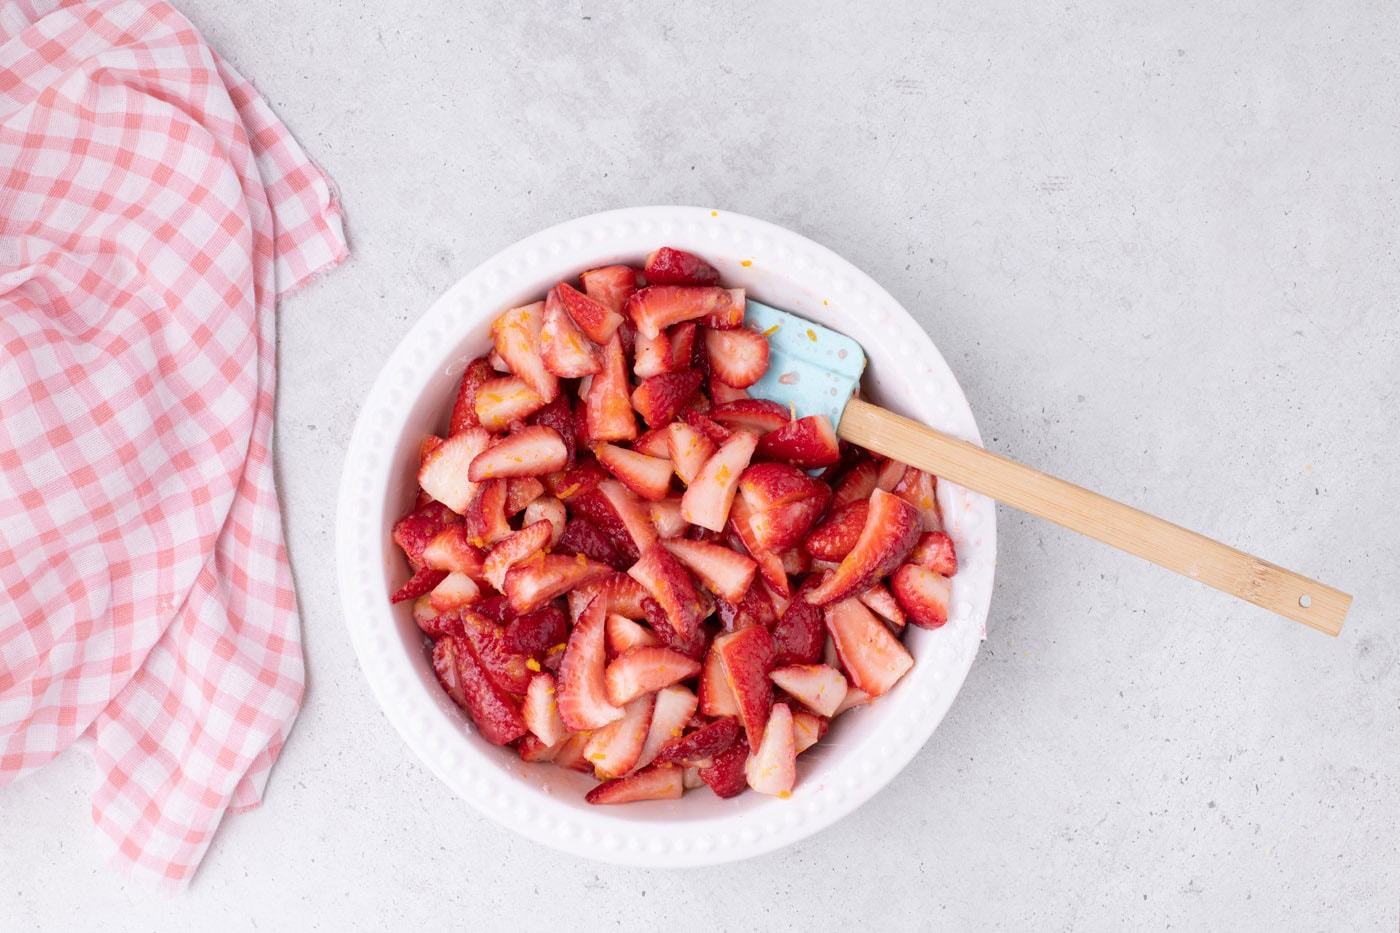
- Unroll 2 sheets of pie crust and lay them side by side on a parchment-lined surface. Trim 1 1/2 inches from the side of each pie crust and set the scraps aside.
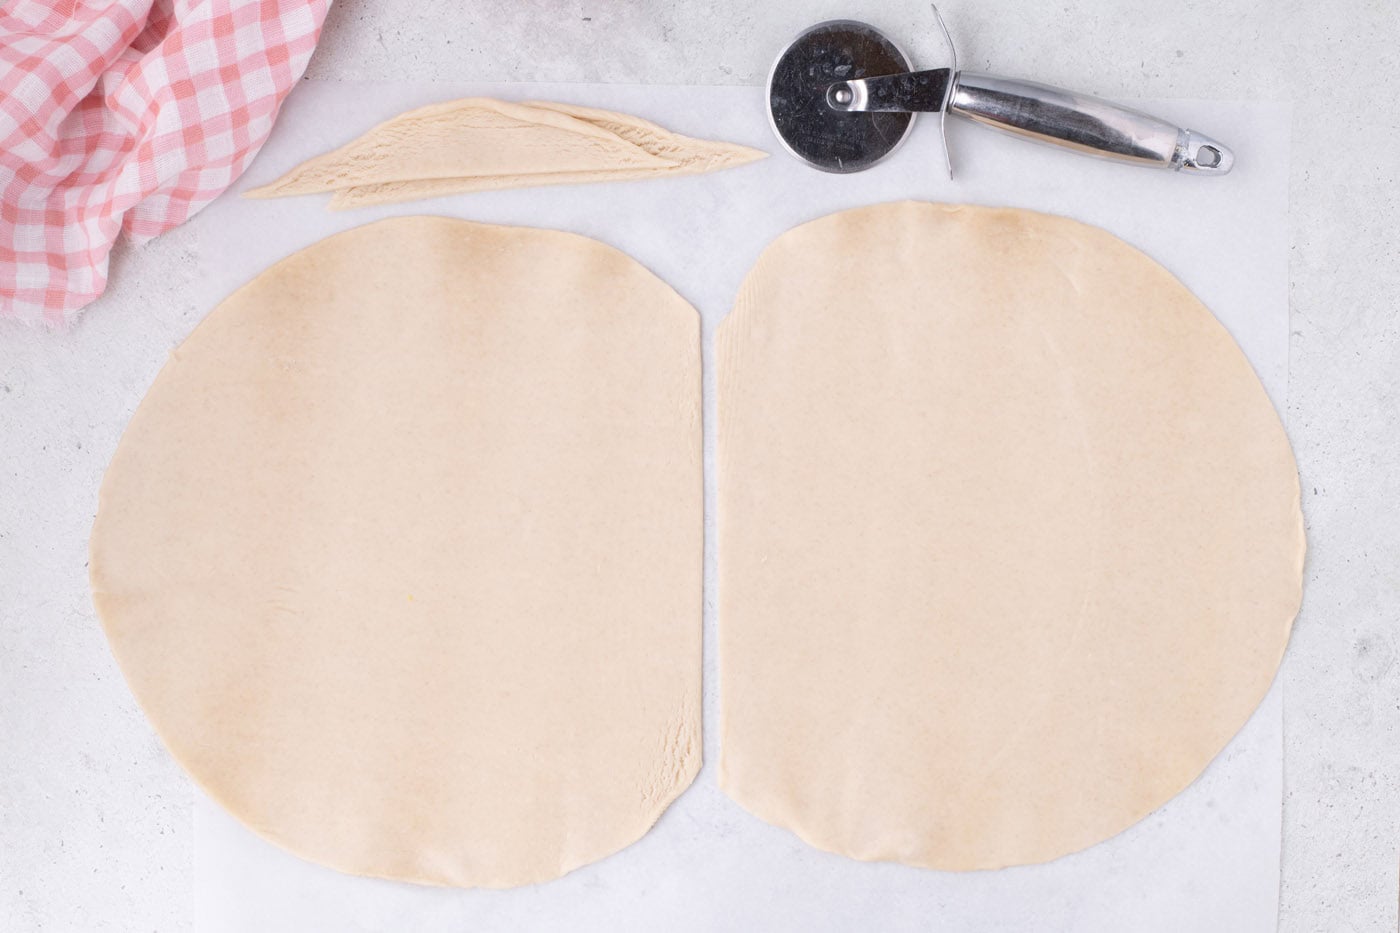
- Slightly overlap the cut edges of the pie crusts and fill in the gaps along the top and bottom by placing the scraps where the two circles join to create a rectangular shape. Roll the dough out until it is 1 ½ to 2 inches larger on all sides than the jelly roll pan.
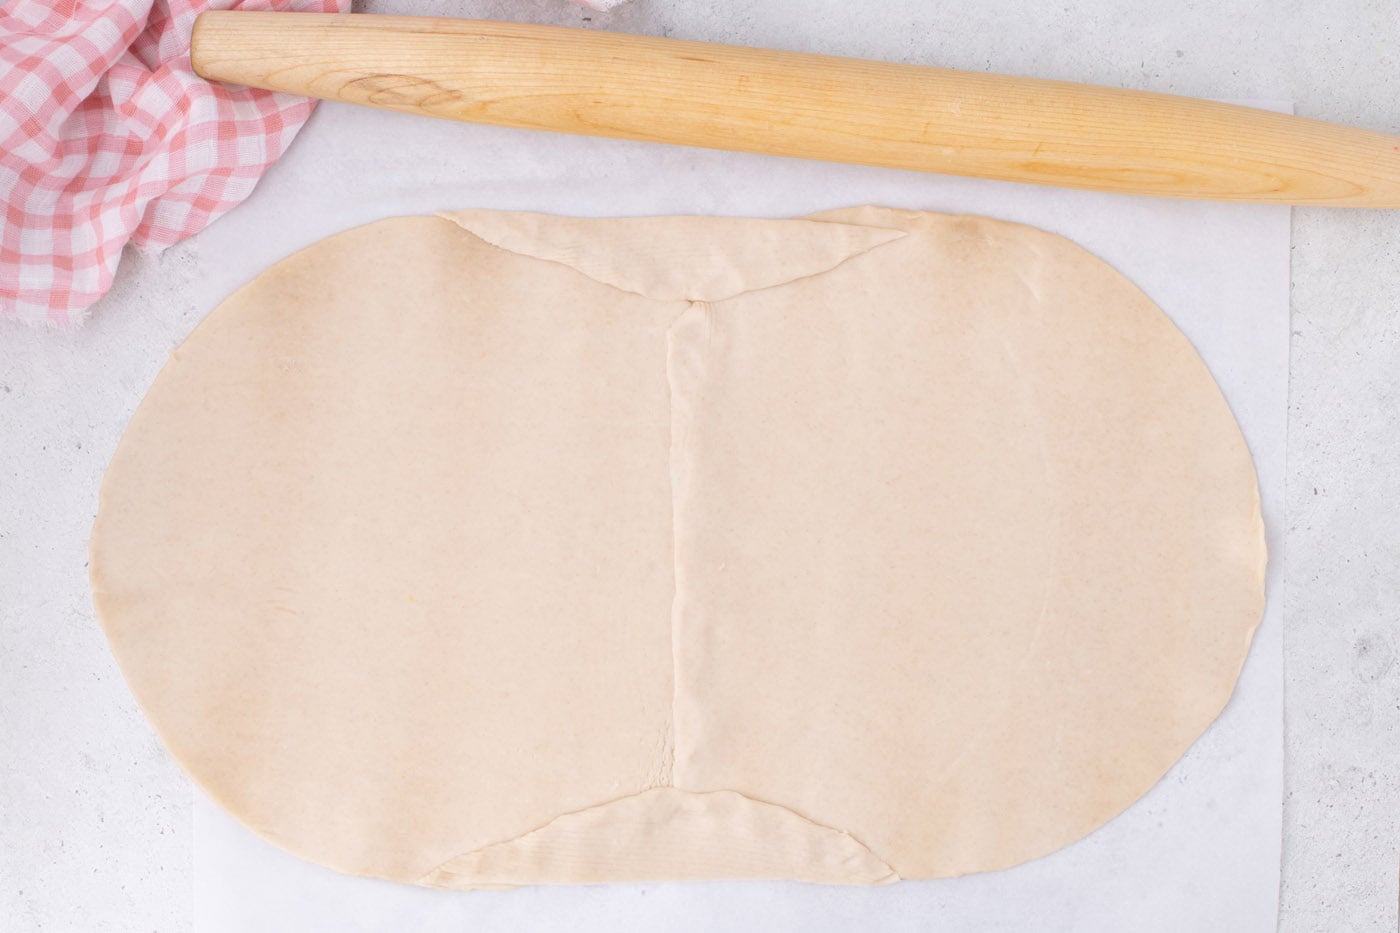
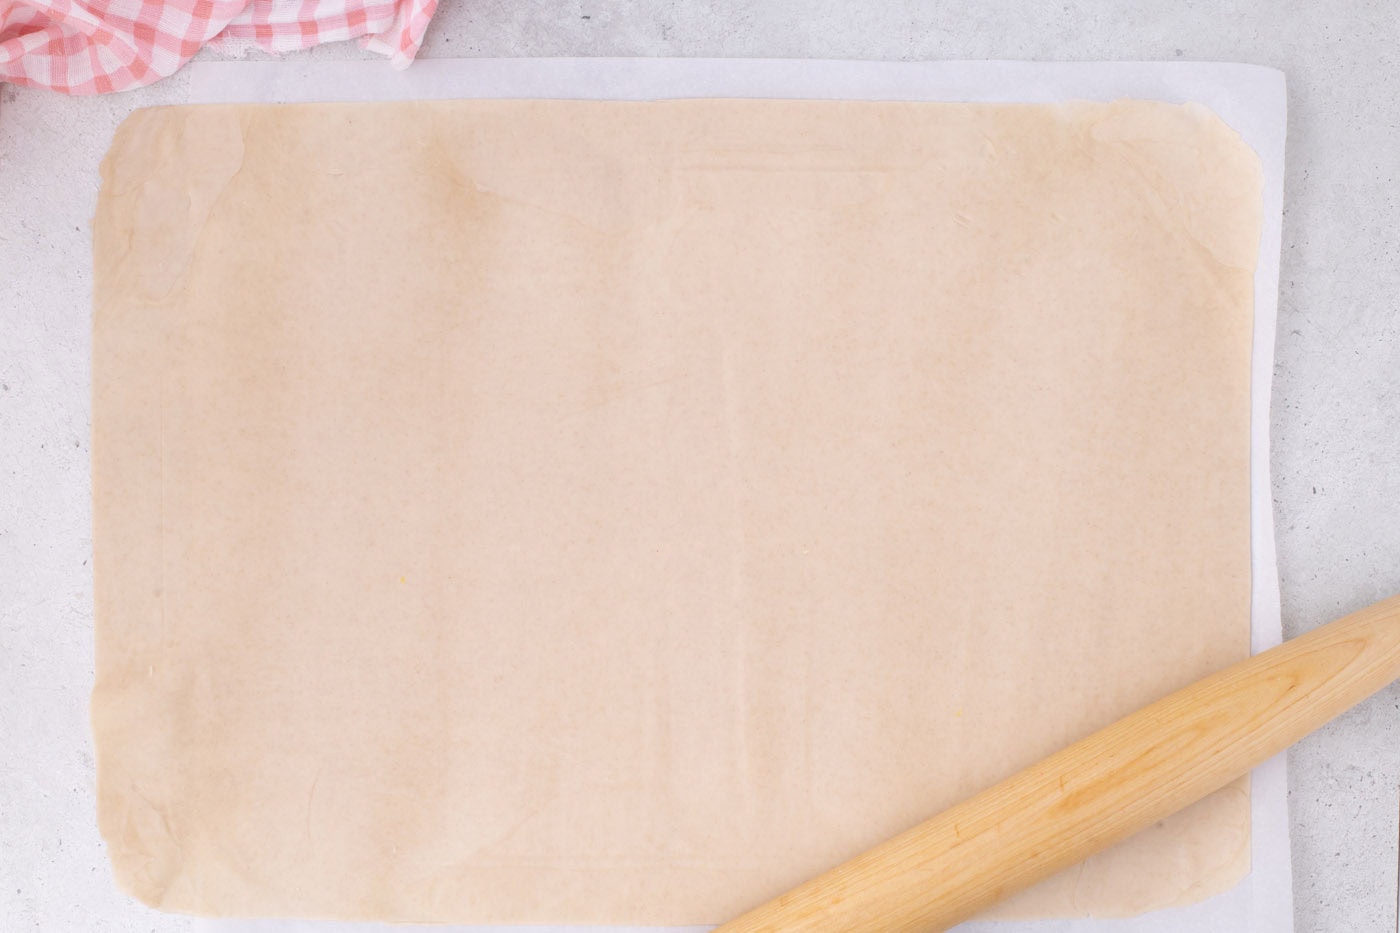
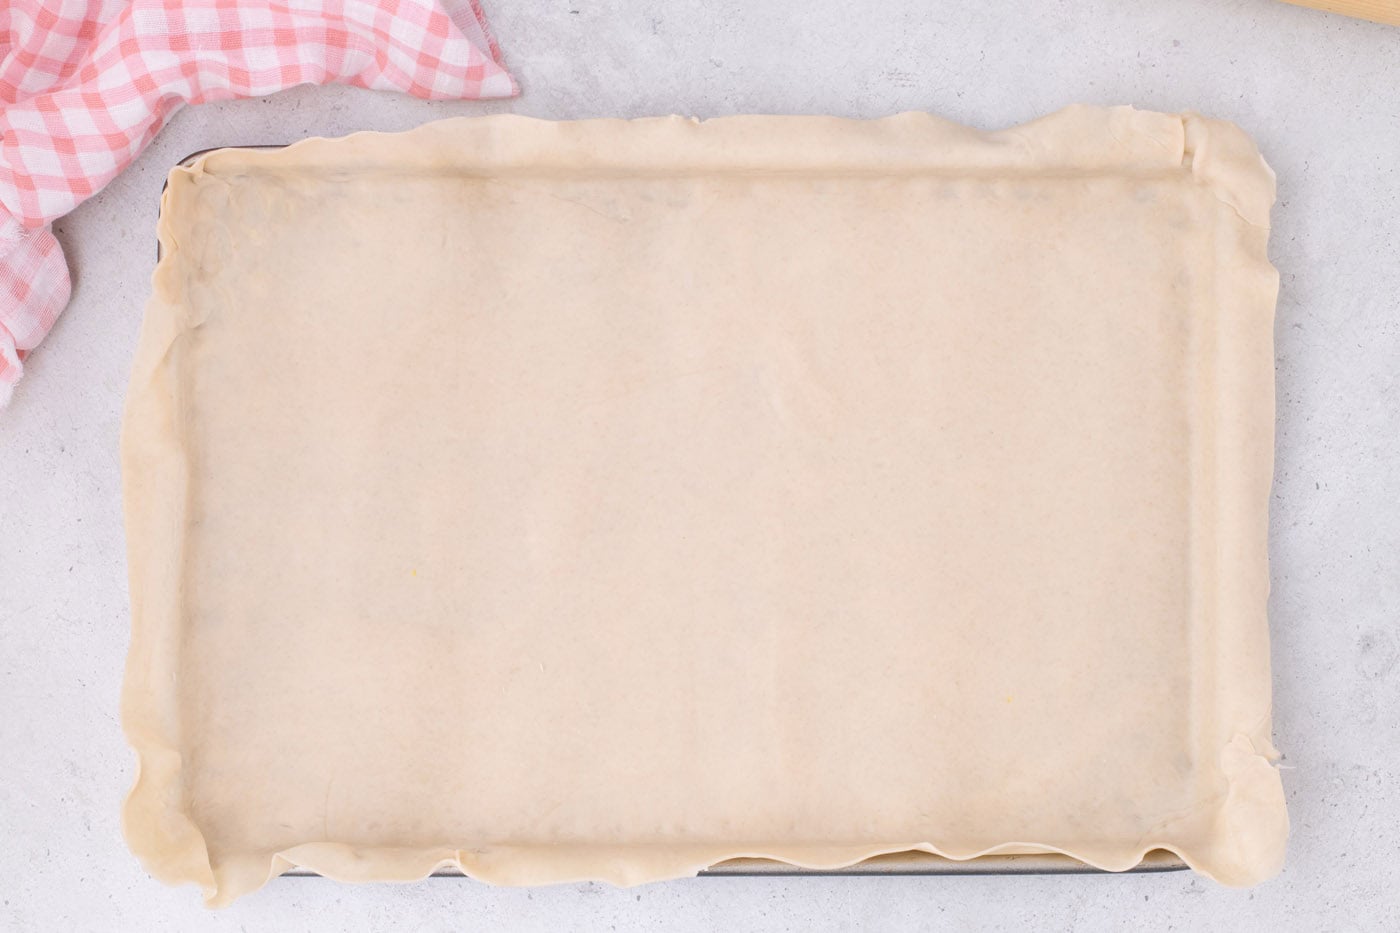
- Drape the pie crust over the rolling pin and gently place it into an ungreased 10×15-inch jelly roll pan. Carefully press the crust into the corners to ensure there are no gaps.
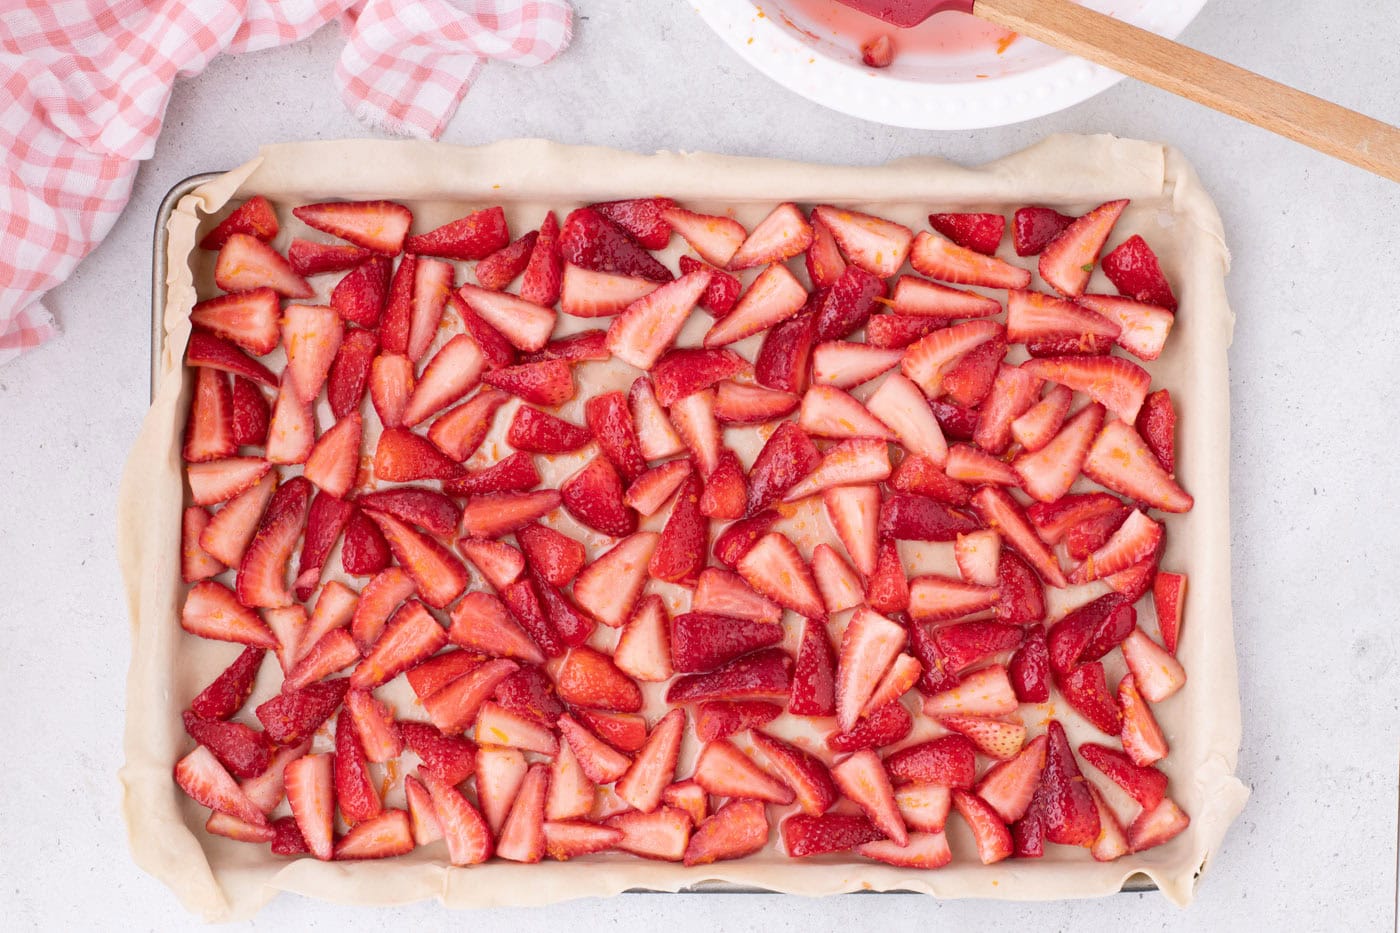
- Give the strawberries a final stir and add them (and any accumulated juices) to the pie crust.
- Place the pan in the refrigerator while you prepare the lattice strips.
Making the Lattice Weave
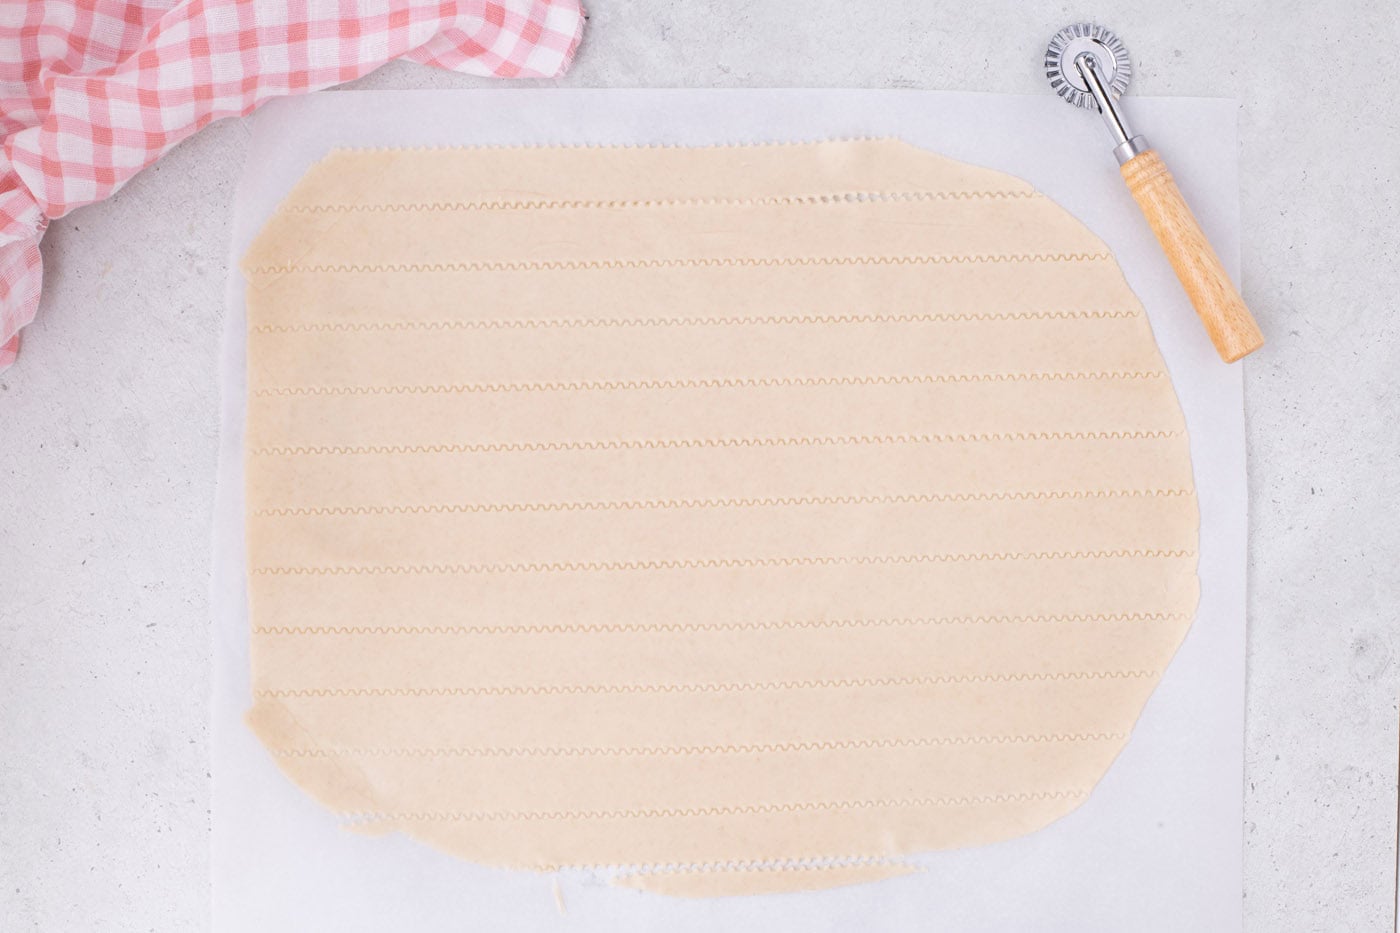
- Unroll a third sheet of pie crust and place it on a parchment-lined surface. Roll it into a rectangular shape measuring 17 x 12 inches. Using a pizza cutter (or pastry cutter) and a metal ruler, cut 12 evenly sized 17-inch horizontal strips (1 inch wide). Trim 7 of the strips to measure 12 inches.
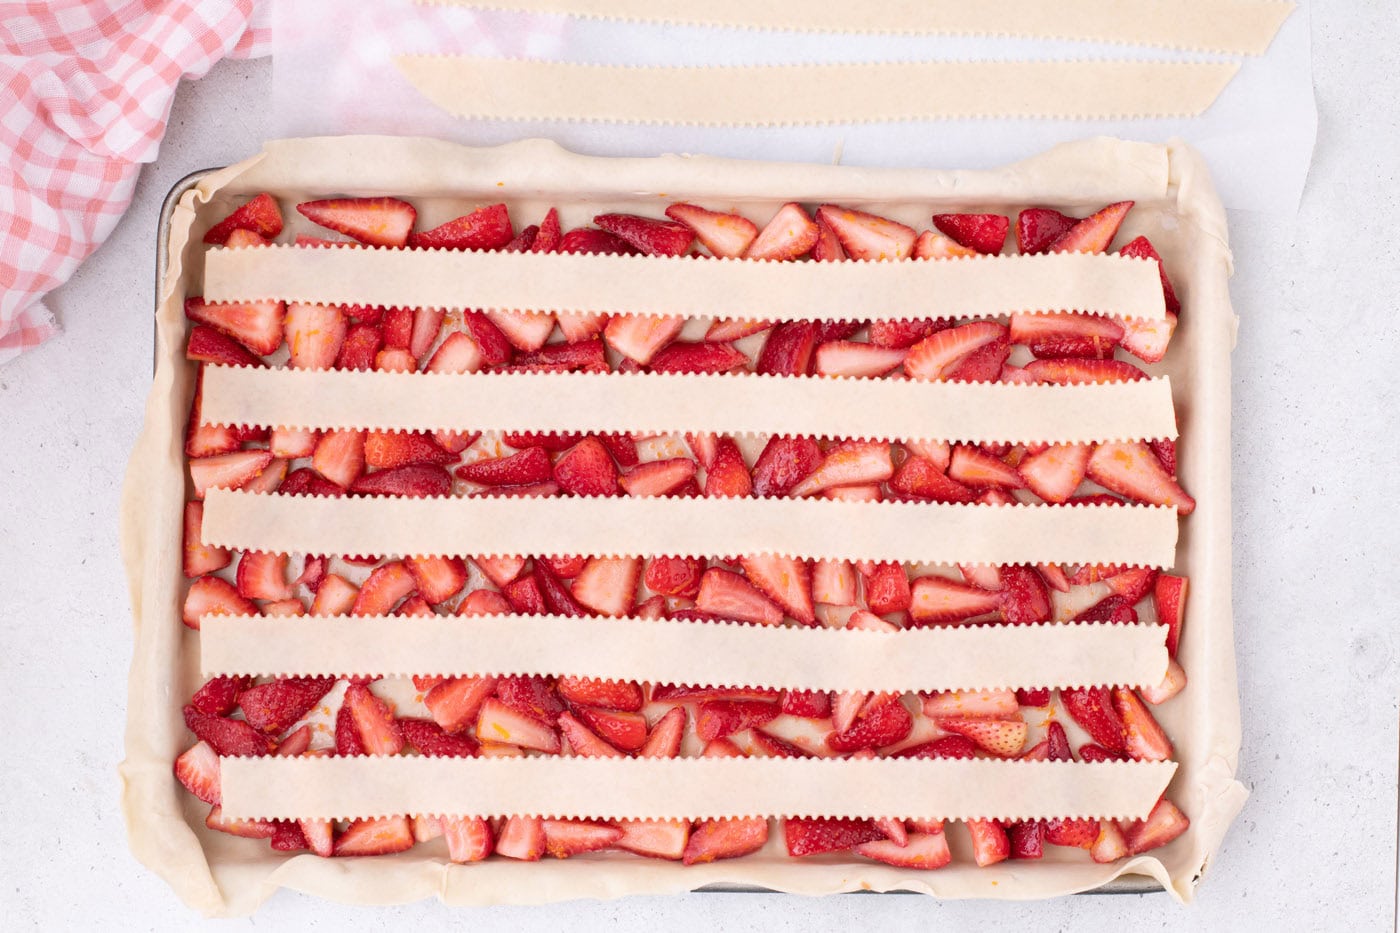
- Taking 5 of the long strips (those measuring 17 inches), place them horizontally across the strawberries, spacing them 1 inch apart.
- To make the lattice weave: starting from the top, fold every other strip (strips 1, 3, and 5) halfway back towards the left-hand side of the pan.
- Place one of the shorter strips 1 inch off-center so that it’s perpendicular to the horizontal strips.
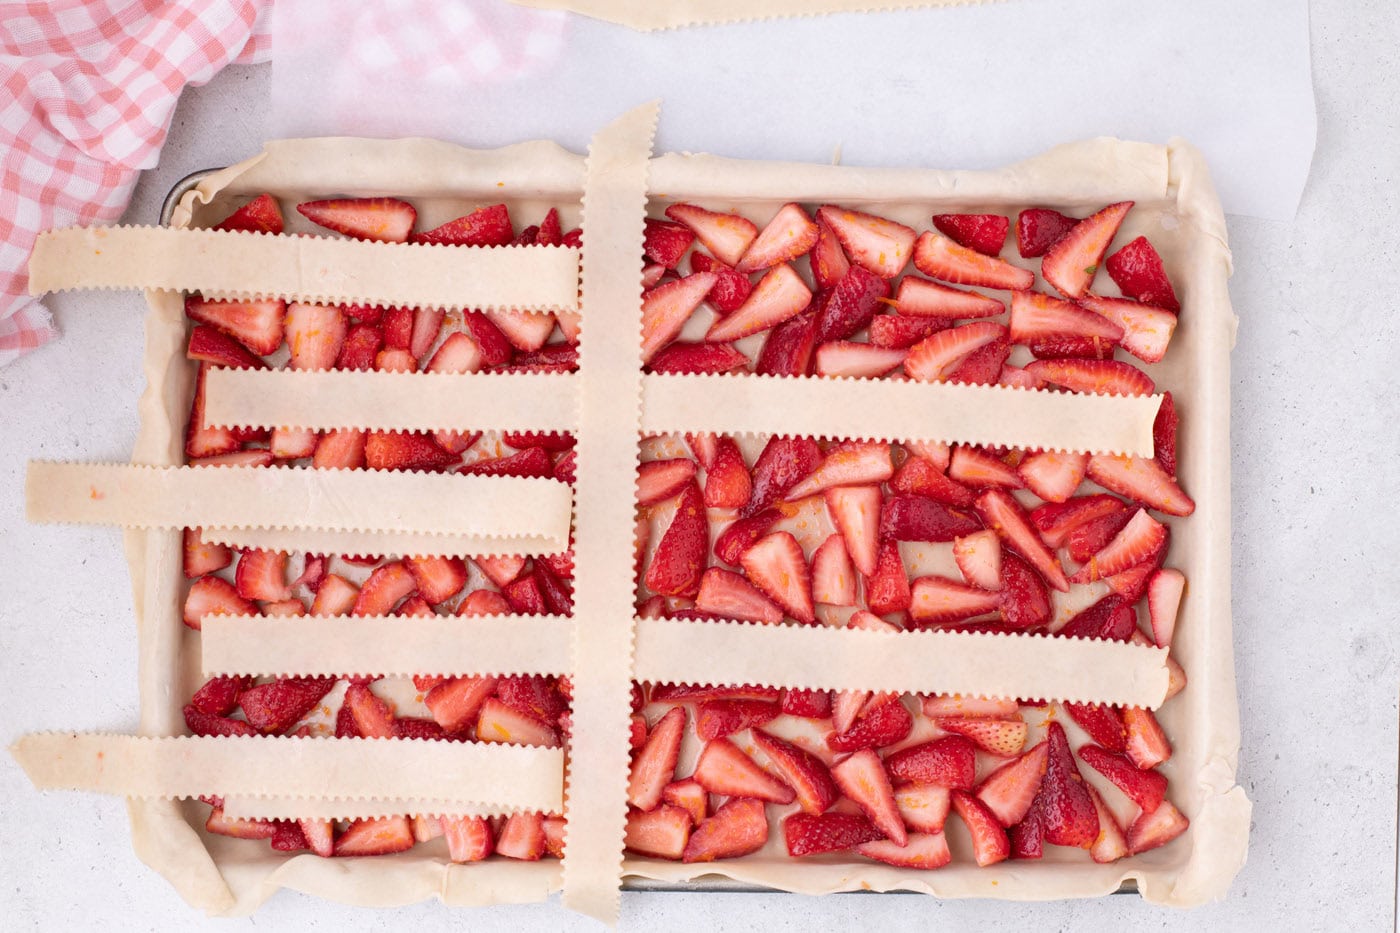
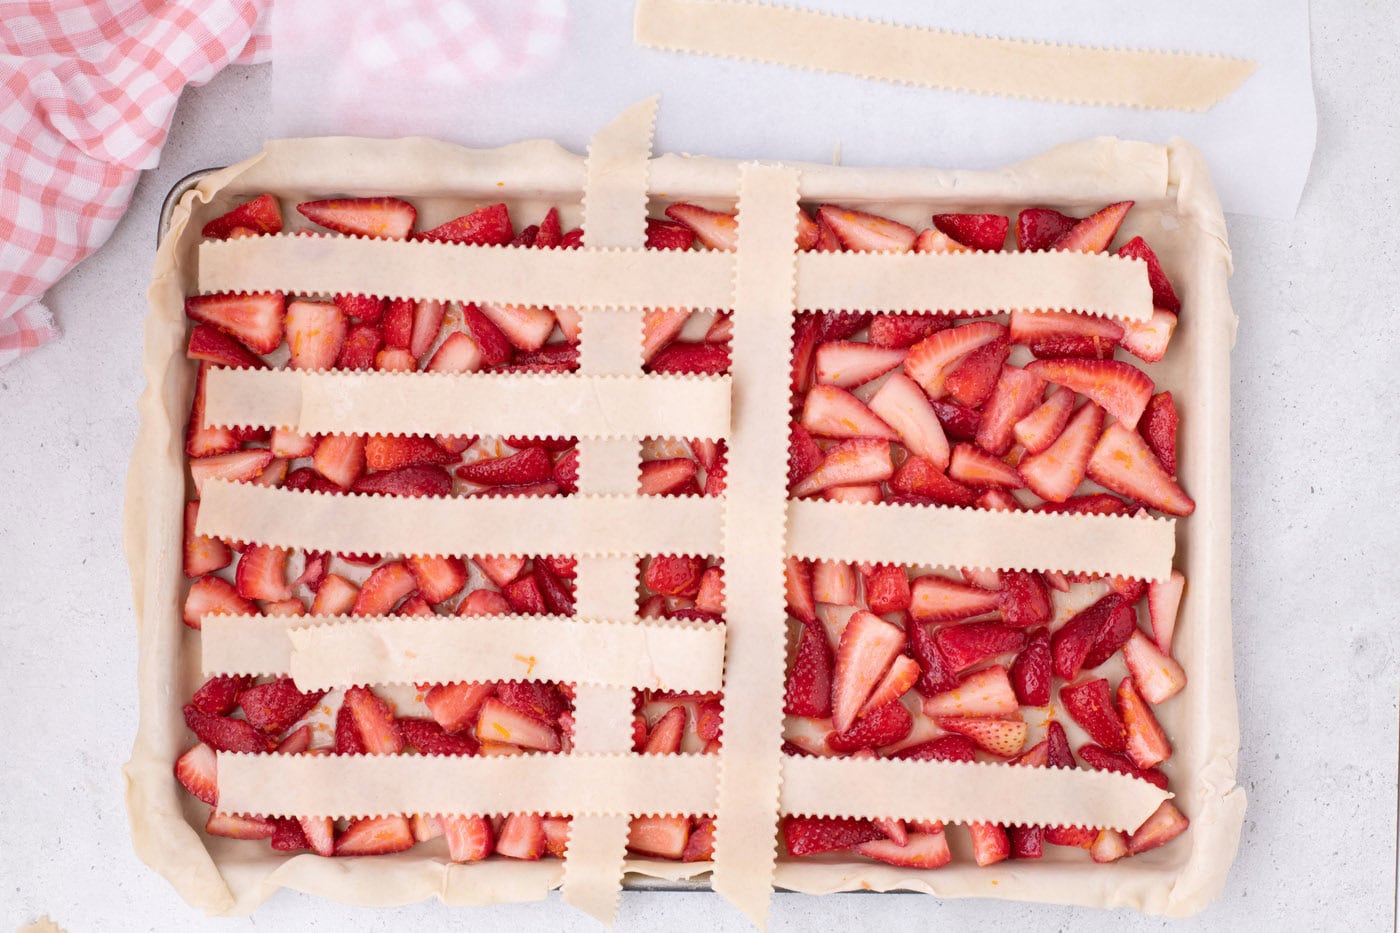
- Unfold strips 1, 3, and 5 over the short strip you just laid down. Continue the process by folding back the alternating strips (strips 2 and 4) and laying down a second strip 1 inch away from the first one. Unfold strips 2 and 4 over the second strip you laid down. Repeat this process until all your strips have been woven together.
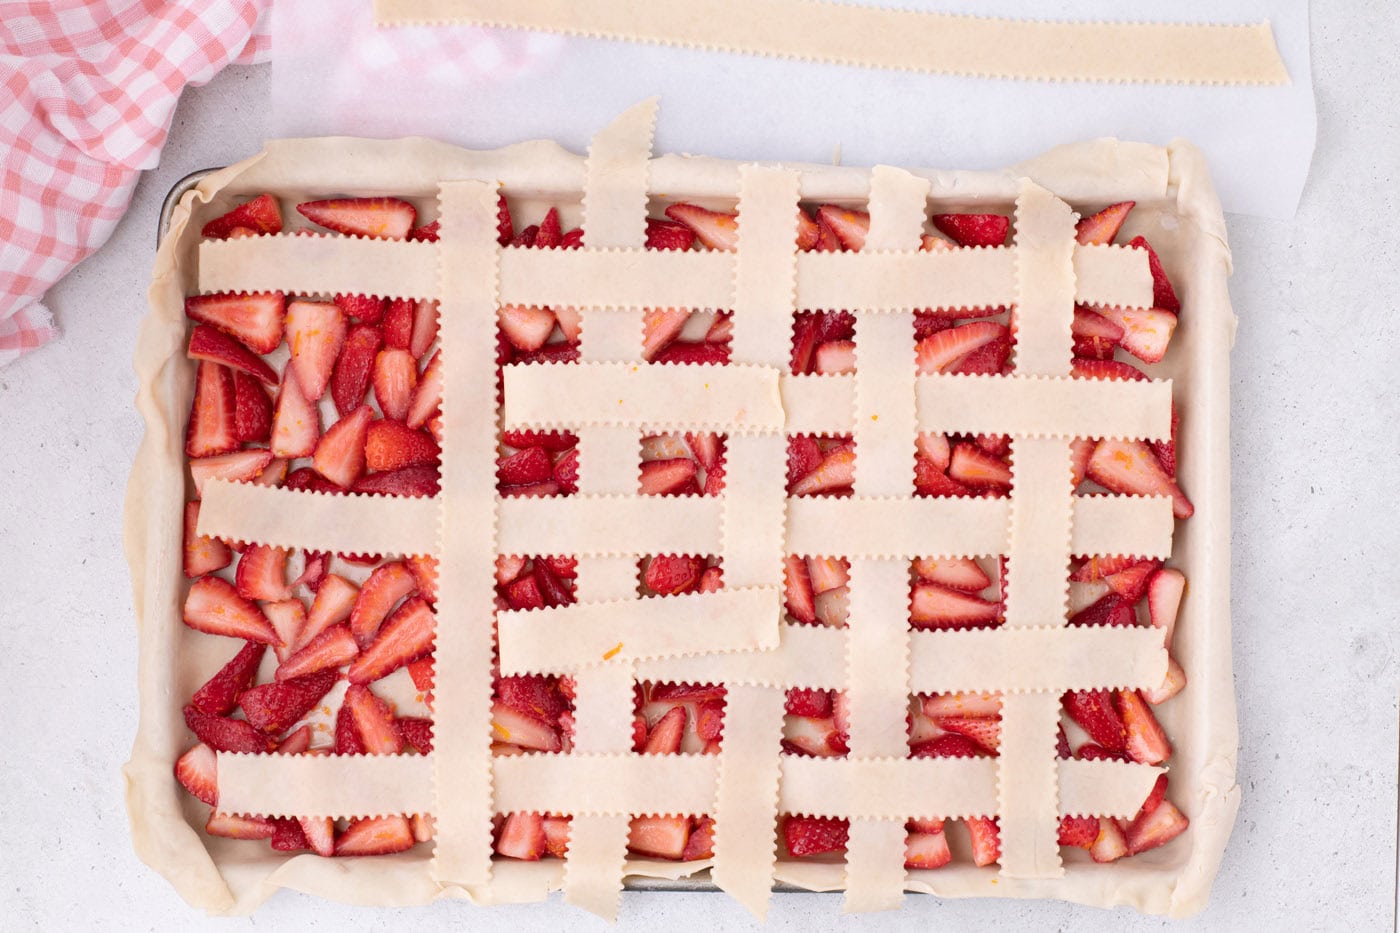
- Fold the bottom crust over the lattice strips and pinch them together to form a seal.
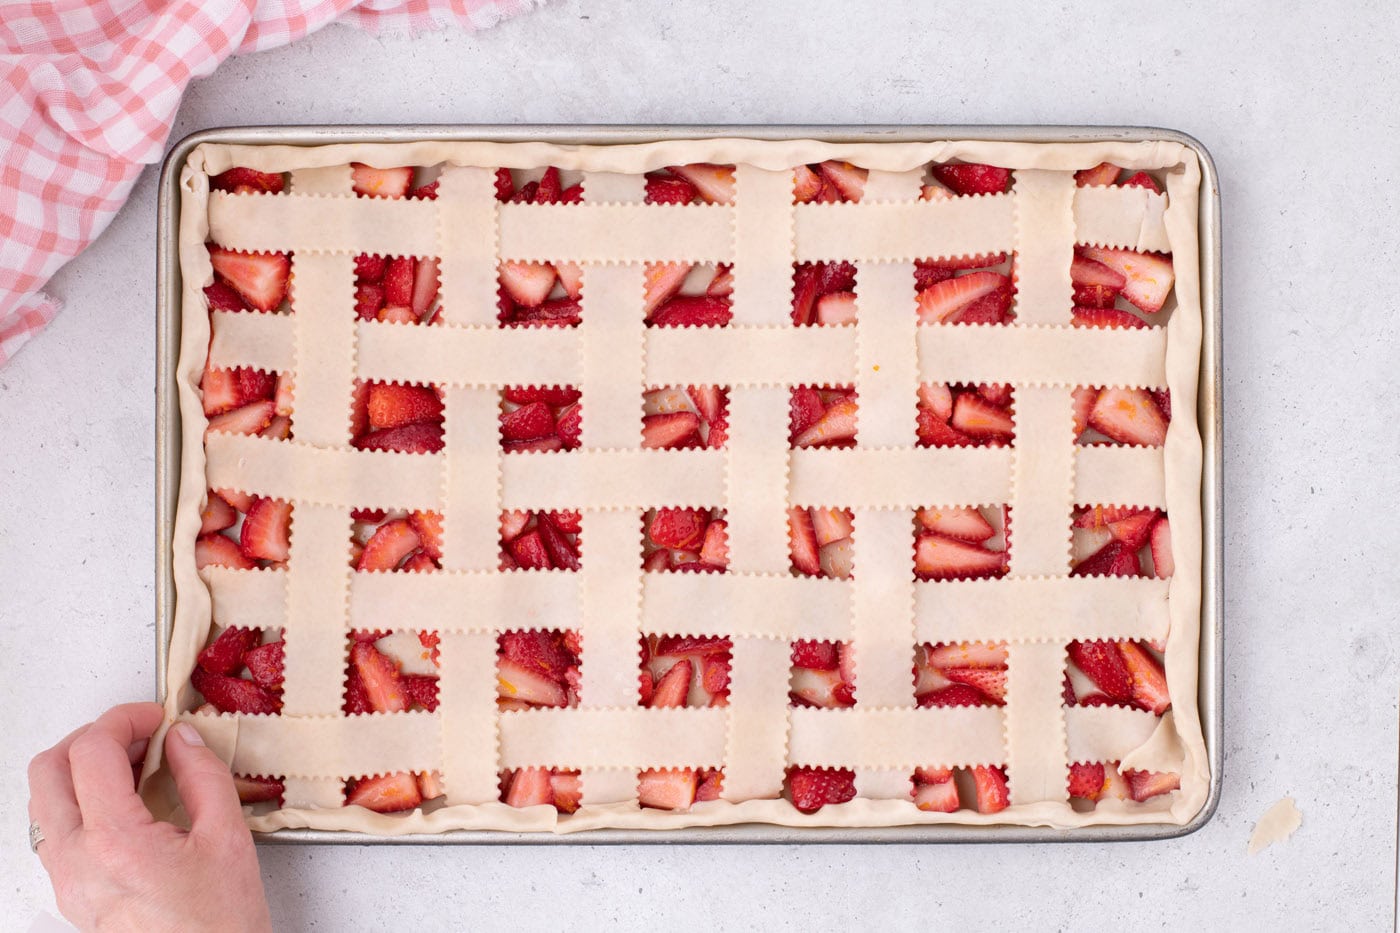
- Brush the egg wash over the lattice and edges of the pie crust and generously sprinkle with the turbinado sugar.
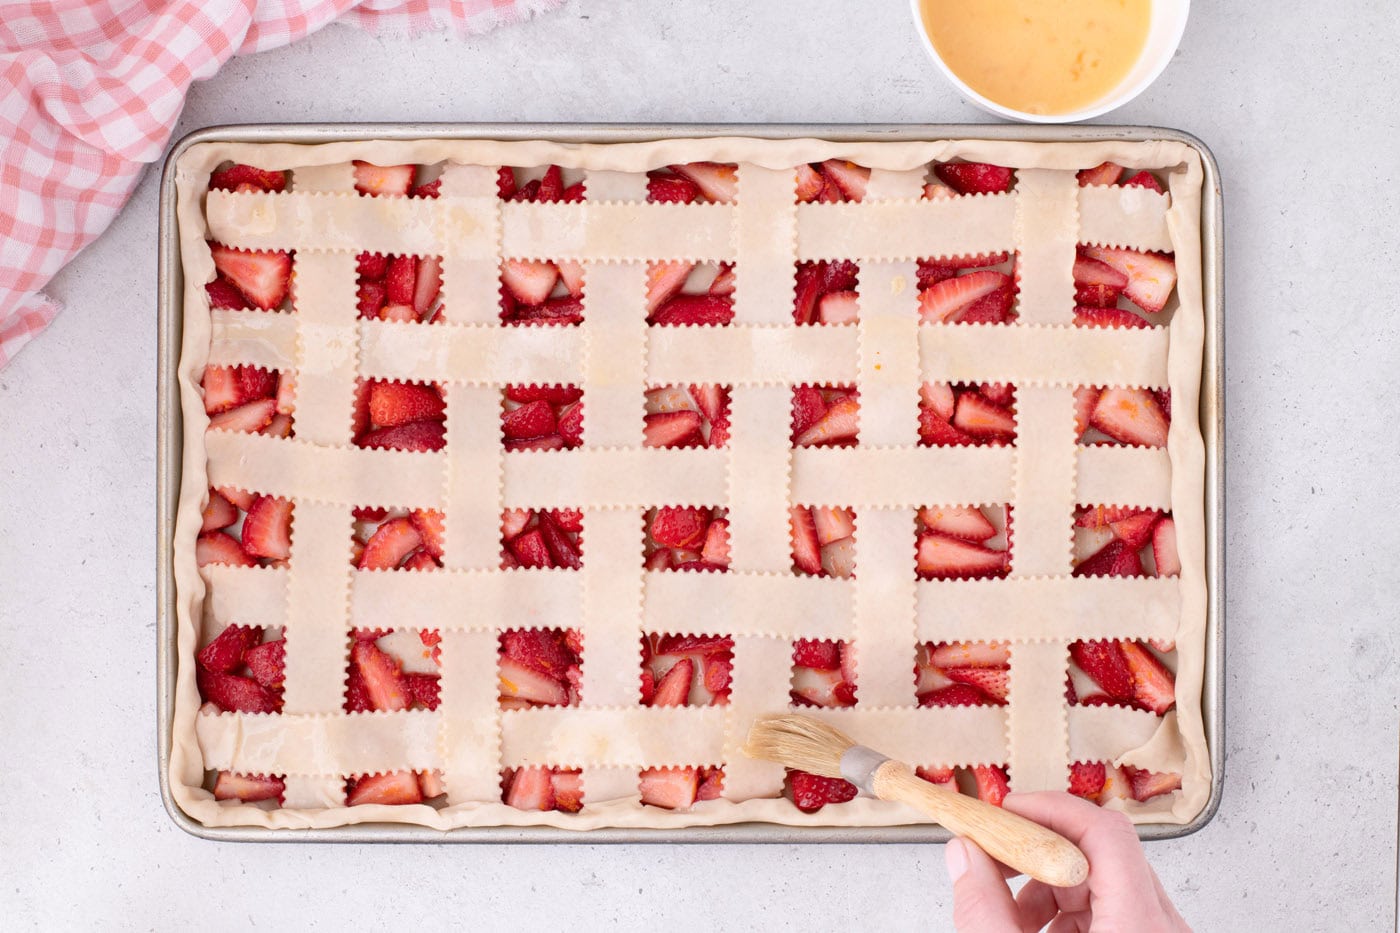
- Bake for 40-45 minutes, until the crust is golden brown, and the fruit is bubbling.
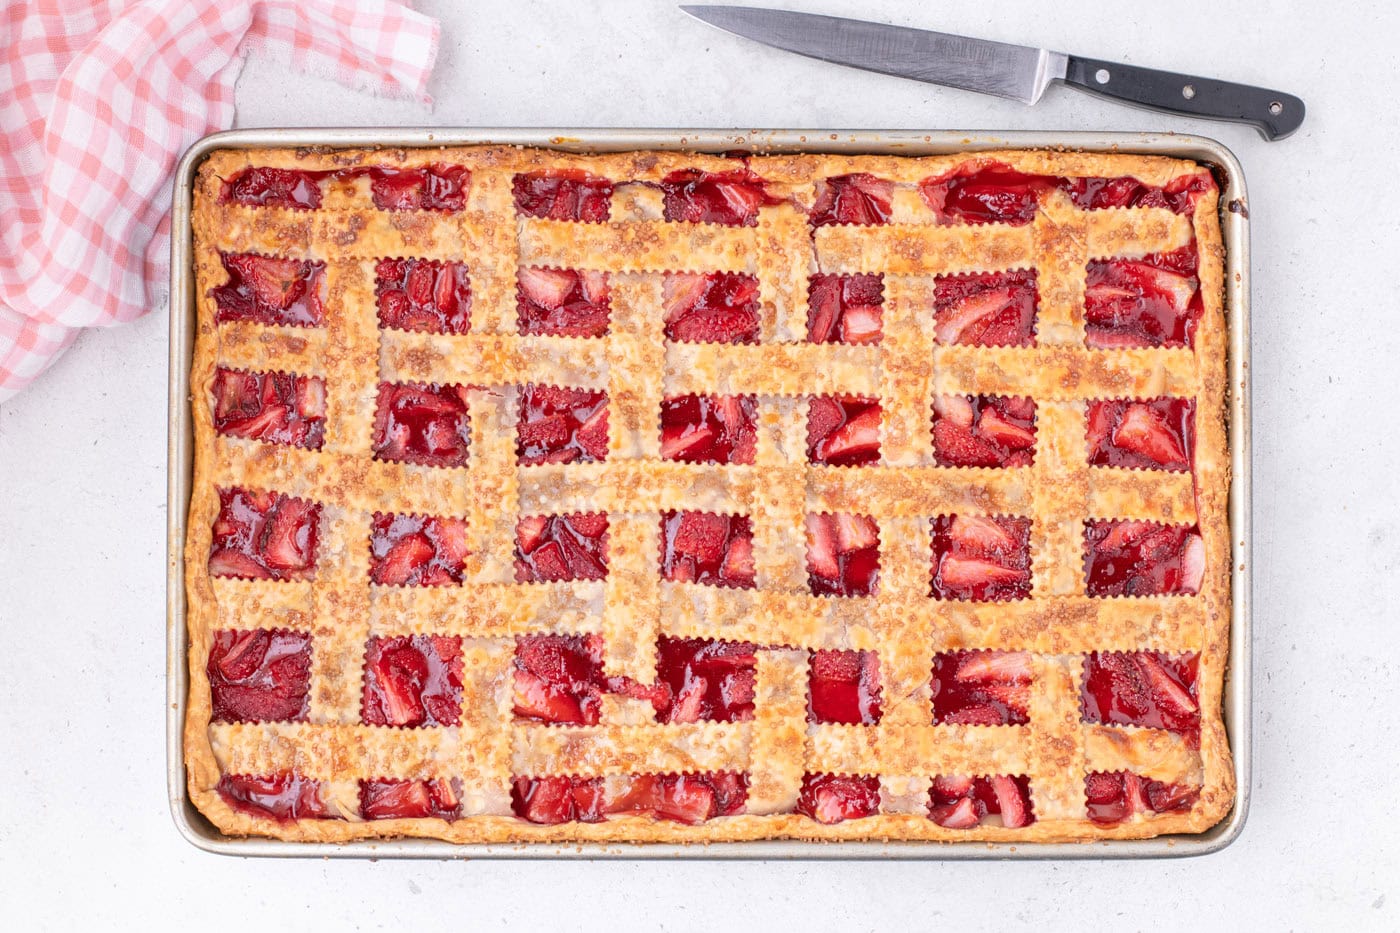
- Remove the pan from the oven and let the pie cool for 1-2 hours before serving.
Frequently Asked Questions & Expert Tips
It is best to use fresh berries in this recipe as frozen berries hold too much liquid, which will make the whole pie soggy.
Yes, absolutely. I would suggest substituting with 2 cans of strawberry pie filling, or about 40 ounces. Because you are substituting with premade filling, you may need to reduce the bake time to closer to 30-35 minutes. Keep an eye on it in the oven, the filling should be bubbling and the crust should be golden brown. You can still top the pie filling with grated lemon and orange zest before adding the lattice top if desired.
The strawberry mixture can be made a day ahead, but the assembly of the slab pie should be done and baked the same day as the crust as it will become soggy if not baked right away.
Leftovers can be kept in an air-tight container for up to 3 days in the refrigerator or in the freezer for up to 3 months.
Serving Suggestions
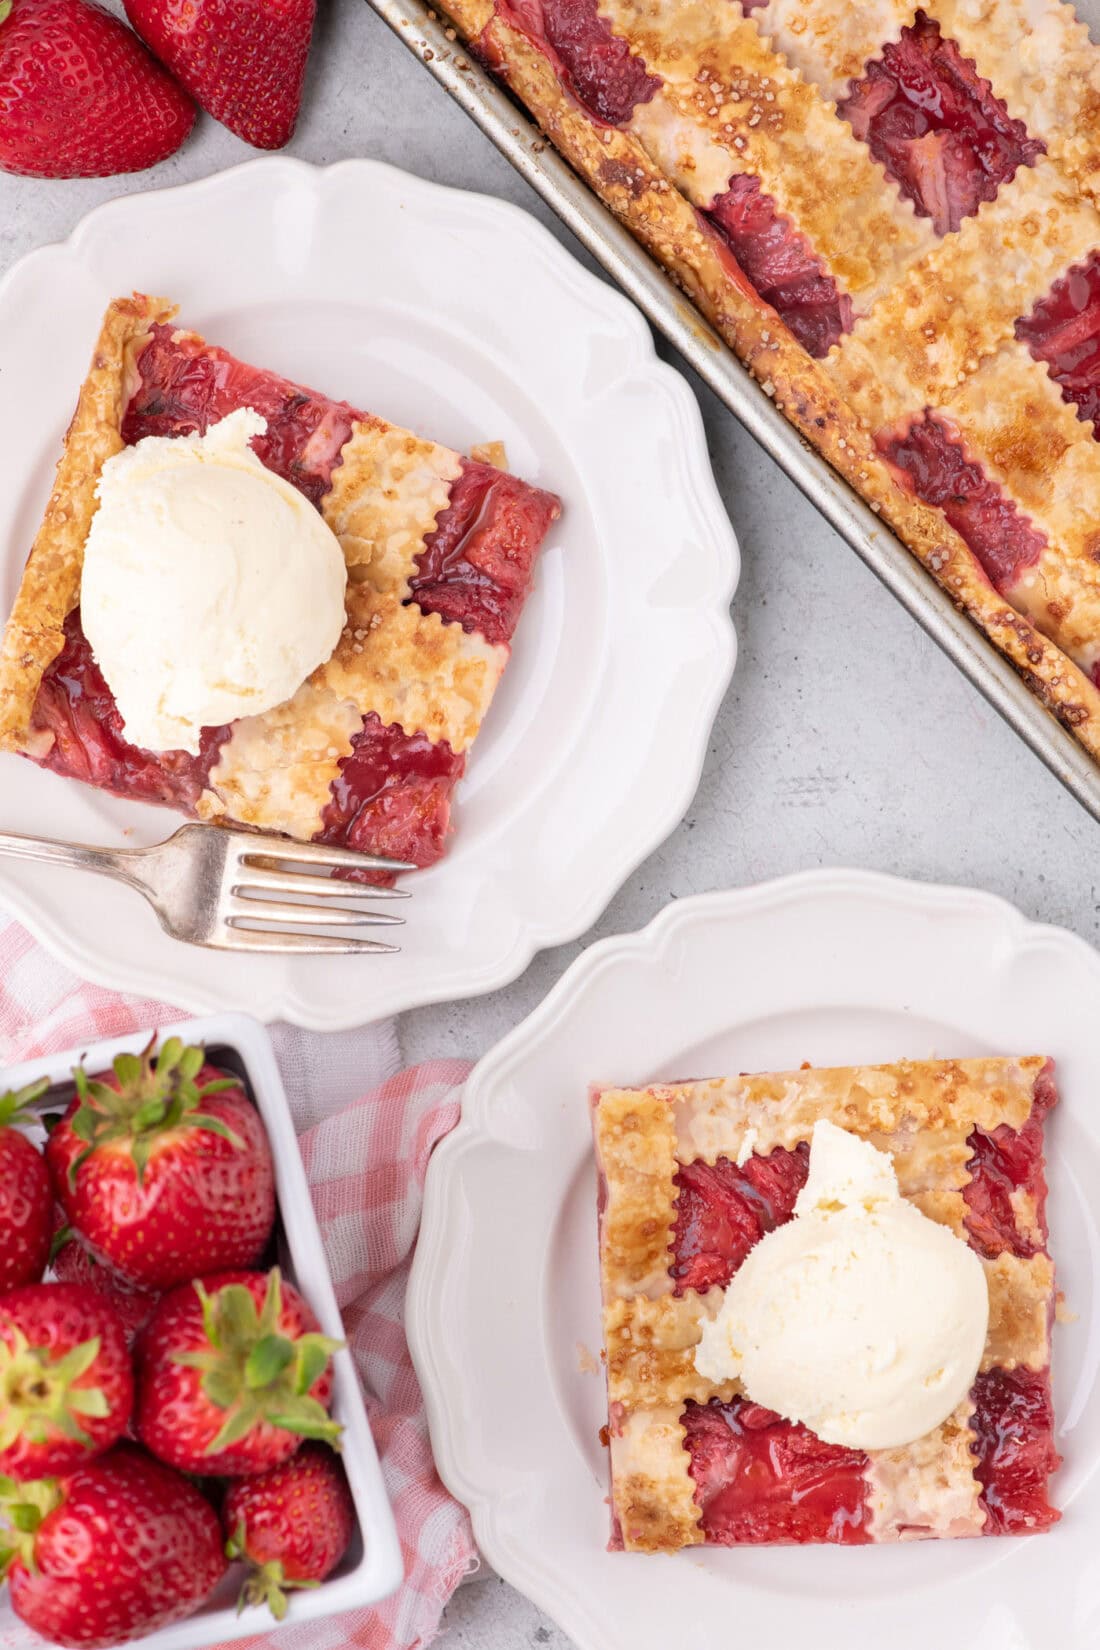
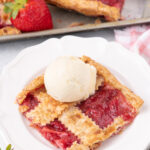
Serve strawberry slab pie at summer potlucks, barbecues, and cookouts. Pair with a scoop of vanilla ice cream or a dollop of whipped cream. It’s great served warmed, chilled, or at room temperature. Enjoy!
More Related Recipes
- Cherry Slab Pie
- Strawberry Icebox Cake
- Strawberry Dream Dessert
- Strawberry Shortcake Trifle
- Apple Slab Pie
I love to bake and cook and share my kitchen experience with all of you! Remembering to come back each day can be tough, that’s why I offer a convenient newsletter every time a new recipe posts. Simply subscribe and start receiving your free daily recipes!
Strawberry Slab Pie
IMPORTANT – There are often Frequently Asked Questions within the blog post that you may find helpful. Simply scroll back up to read them!
Print It Rate ItIngredients
- 28.2 ounces premade pie crusts two 14.1 ounce boxes of Pillsbury pie crusts
- 2 pounds strawberries hulled and quartered, about 6 cups
- ¾ cup granulated sugar
- 4 Tablespoons cornstarch
- 1 teaspoon finely grated orange zest
- 1 teaspoon finely grated lemon zest
- 1 large egg
- 1 Tablespoon water
- 3 Tablespoons turbinado sugar
Things You’ll Need
- Pizza Cutter or pastry cutter
Before You Begin
- Smaller, freshly picked strawberries release less juice than store-bought strawberries. If you are using hand-picked strawberries, reduce the amount of cornstarch to 3 tablespoons.
- If you feel intimidated by creating the lattice top, you can cover the pie with a regular pie crust. Make sure you cut slits into the top of the crust to allow the steam to vent during baking.
- It is best to use fresh berries in this recipe as frozen berries hold too much liquid, which will make the whole pie soggy.
- Canned strawberry pie filling will work instead. I would suggest substituting with 2 cans of strawberry pie filling, or about 40 ounces. Because you are substituting with premade filling, you may need to reduce the bake time to closer to 30-35 minutes. Keep an eye on it in the oven, the filling should be bubbling and the crust should be golden brown. You can still top the pie filling with grated lemon and orange zest before adding the lattice top if desired.
Instructions
- Preheat the oven to 375°F.
- In a medium-sized bowl add the sugar, cornstarch, and zest to the strawberries and gently stir with a soft silicone spatula until well combined. Allow the strawberries to sit while you prepare the crust.
- Unroll 2 sheets of pie crust and lay them side by side on a parchment-lined surface. Trim 1 1/2 inches from the side of each pie crust and set the scraps aside.
- Slightly overlap the cut edges of the pie crusts and fill in the gaps along the top and bottom by placing the scraps where the two circles join to create a rectangular shape. Roll the dough out until it is 1 ½ to 2 inches larger on all sides than the jelly roll pan.
- Drape the pie crust over the rolling pin and gently place it into an ungreased 10×15-inch jelly roll pan. Carefully press the crust into the corners to ensure there are no gaps.
- Give the strawberries a final stir and add them (and any accumulated juices) to the pie crust.
- Place the pan in the refrigerator while you prepare the lattice strips.
Making The Lattice Weave
- Unroll a third sheet of pie crust and place it on a parchment-lined surface. Roll it into a rectangular shape measuring 17 x 12 inches. Using a pizza cutter (or pastry cutter) and a metal ruler, cut 12 evenly sized 17-inch horizontal strips (1 inch wide). Trim 7 of the strips to measure 12 inches.
- Taking 5 of the long strips (those measuring 17 inches), place them horizontally across the strawberries, spacing them 1 inch apart.
- To make the lattice weave: starting from the top, fold every other strip (strips 1, 3, and 5) halfway back towards the left-hand side of the pan.
- Place one of the shorter strips 1 inch off-center so that it’s perpendicular to the horizontal strips.
- Unfold strips 1, 3, and 5 over the short strip you just laid down. Continue the process by folding back the alternating strips (strips 2 and 4) and laying down a second strip 1 inch away from the first one. Unfold strips 2 and 4 over the second strip you laid down. Repeat this process until all your strips have been woven together.
- Fold the bottom crust over the lattice strips and pinch them together to form a seal.
- Brush the egg wash over the lattice and edges of the pie crust and generously sprinkle with the turbinado sugar.
- Bake for 40-45 minutes, until the crust is golden brown, and the fruit is bubbling.
- Remove the pan from the oven and let the pie cool for 1-2 hours before serving.
Expert Tips & FAQs
- Leftovers can be kept in an air-tight container for up to 3 days in the refrigerator or in the freezer for up to 3 months.
Nutrition
Kristen Rittmer
Latest posts by Kristen Rittmer (see all)
- Chicken Pot Pie Pasta - January 15, 2025
- Butterscotch Brownies - January 8, 2025
- Instant Pot Split Pea Soup - December 25, 2024



Leave a Reply