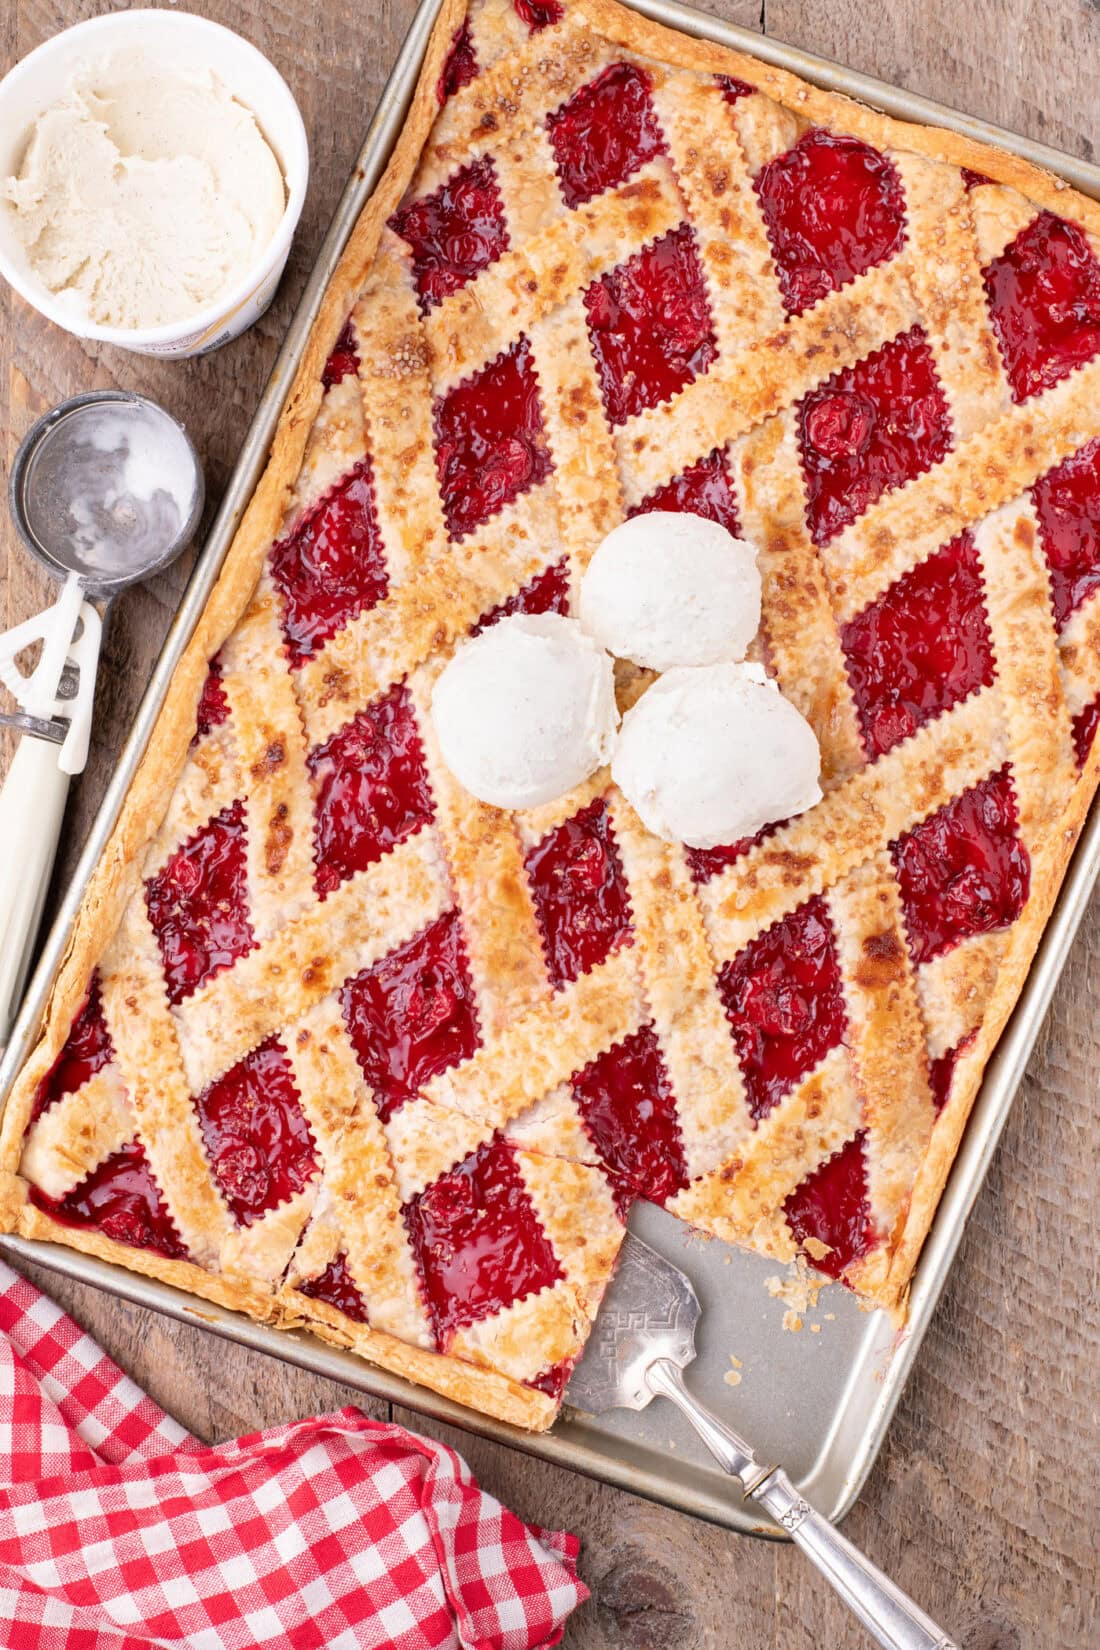
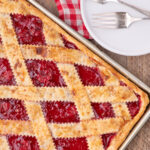
Juicy cherry pie filling bubbles through the golden lattice top in this 5-ingredient easy cherry slab pie recipe. Serve warm with a scoop of vanilla ice cream!
Why this recipe works
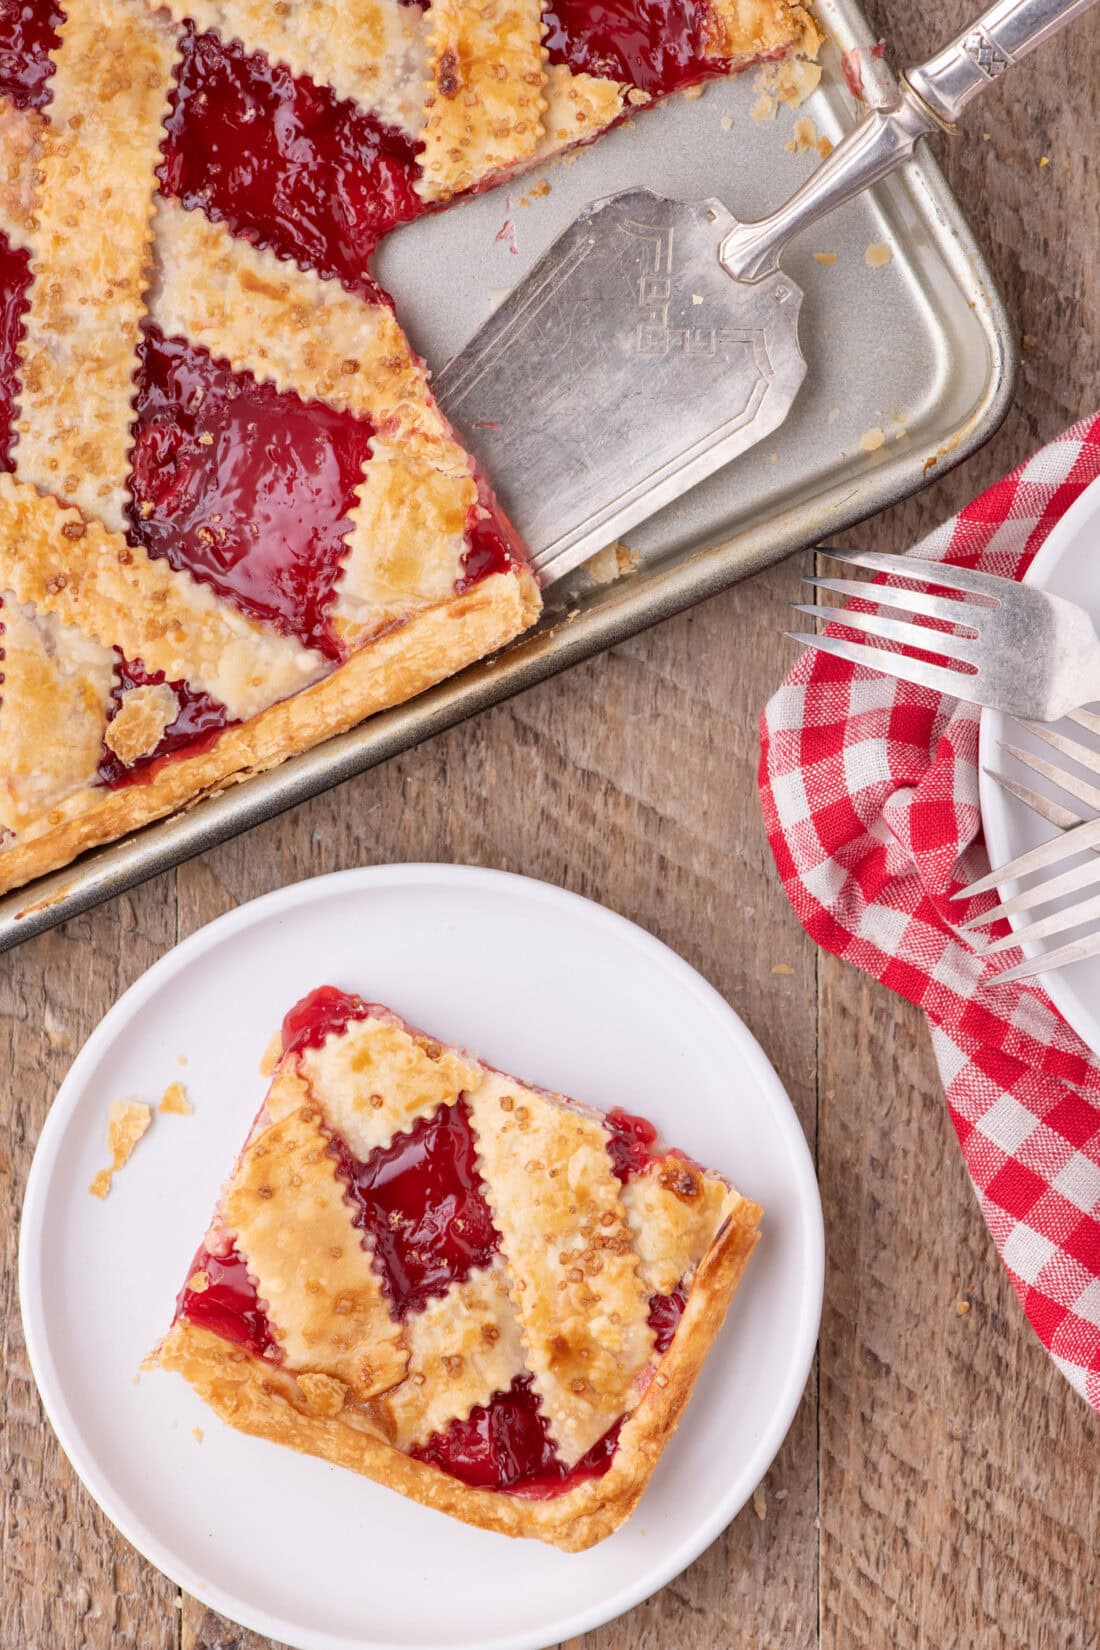
This show-stopper cherry slab pie is perfect for crowds and summer parties, plus, it’s easier to make than a time intensive homemade cherry pie. Store-bought pie crust and cherry pie filling make this recipe quick and convenient, but as always, you can swap them out for homemade versions if you enjoy the labor of love!
Slab pies are ideal for larger crowds as they are made in sheet pans or jelly roll pans. They typically have more crust compared to a thicker round pie because they’re baked in longer pans. What’s even better about this recipe is that you can swap out the filling with other flavors to make a blackberry, blueberry, peach, or strawberry slab pie. Swoon.
Ingredients you will need
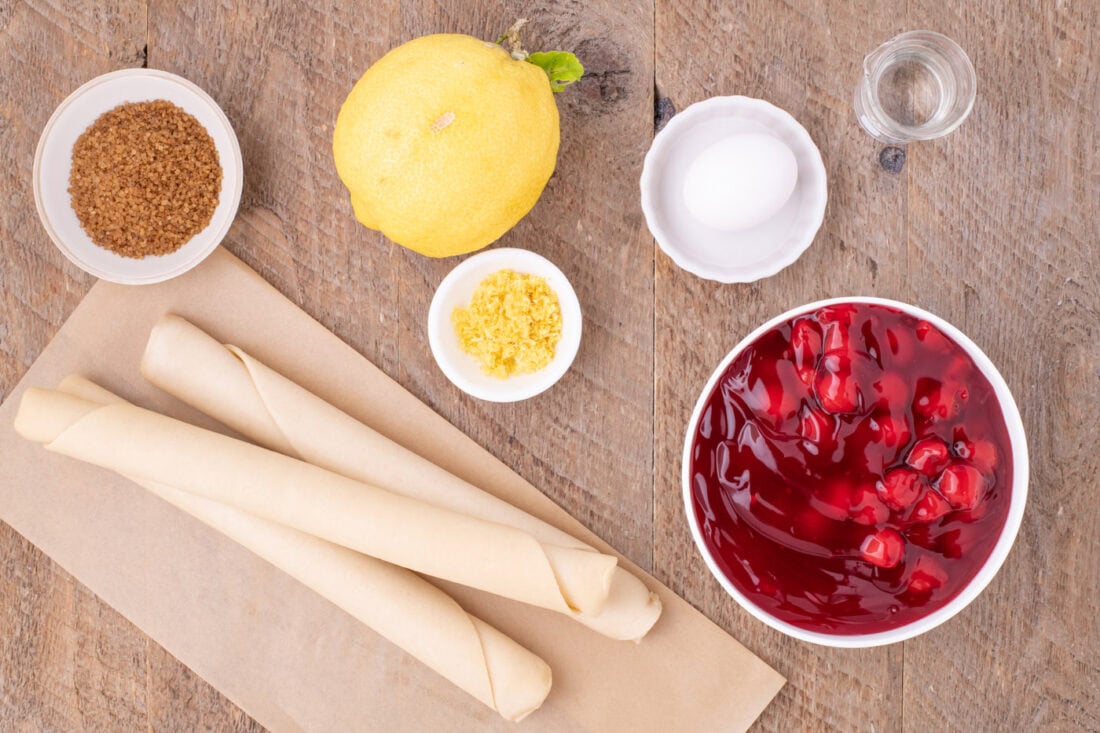
Get all measurements, ingredients, and instructions in the printable version at the end of this post.
Ingredient Info and Substitution Suggestions
FILLING – Cherry pie filling is quick and convenient, but you can use homemade cherry pie filling if you prefer!
CRUST – Again, what makes this cherry slab pie so easy to prepare is using premade pie crust. Just as you can substitute the filling with a homemade version, you can also make your own pie crust.
LATTICE TOP – If you feel intimidated by creating the lattice top weave, you can cover the pie with a regular pie crust. Make sure you cut slits into the top of the crust to allow the steam to vent during baking.
TURBINADO SUGAR – Turbinado sugar has a wonderful crunchy texture. It is less processed than granulated sugar. The golden-brown color comes from the natural molasses that has not yet been removed, resulting in a richer, deeper flavor. If needed, you can swap the turbinado sugar at a 1:1 ratio with granulate sugar.
How to Make Cherry Slab Pie
These step by step photos and instructions are here to help you visualize how to make this recipe. You can Jump to Recipe to get the printable version of this recipe, complete with measurements and instructions at the bottom.
- Preheat the oven to 375° F.
- Remove 2 pie crusts from their packaging and unroll them. Lay the crusts side by side on a parchment-lined (or floured) surface, and trim 2 inches from the side of each. Set the scraps aside for later use.
TIP – You will only be using 3 of the 4 pie crusts for this recipe.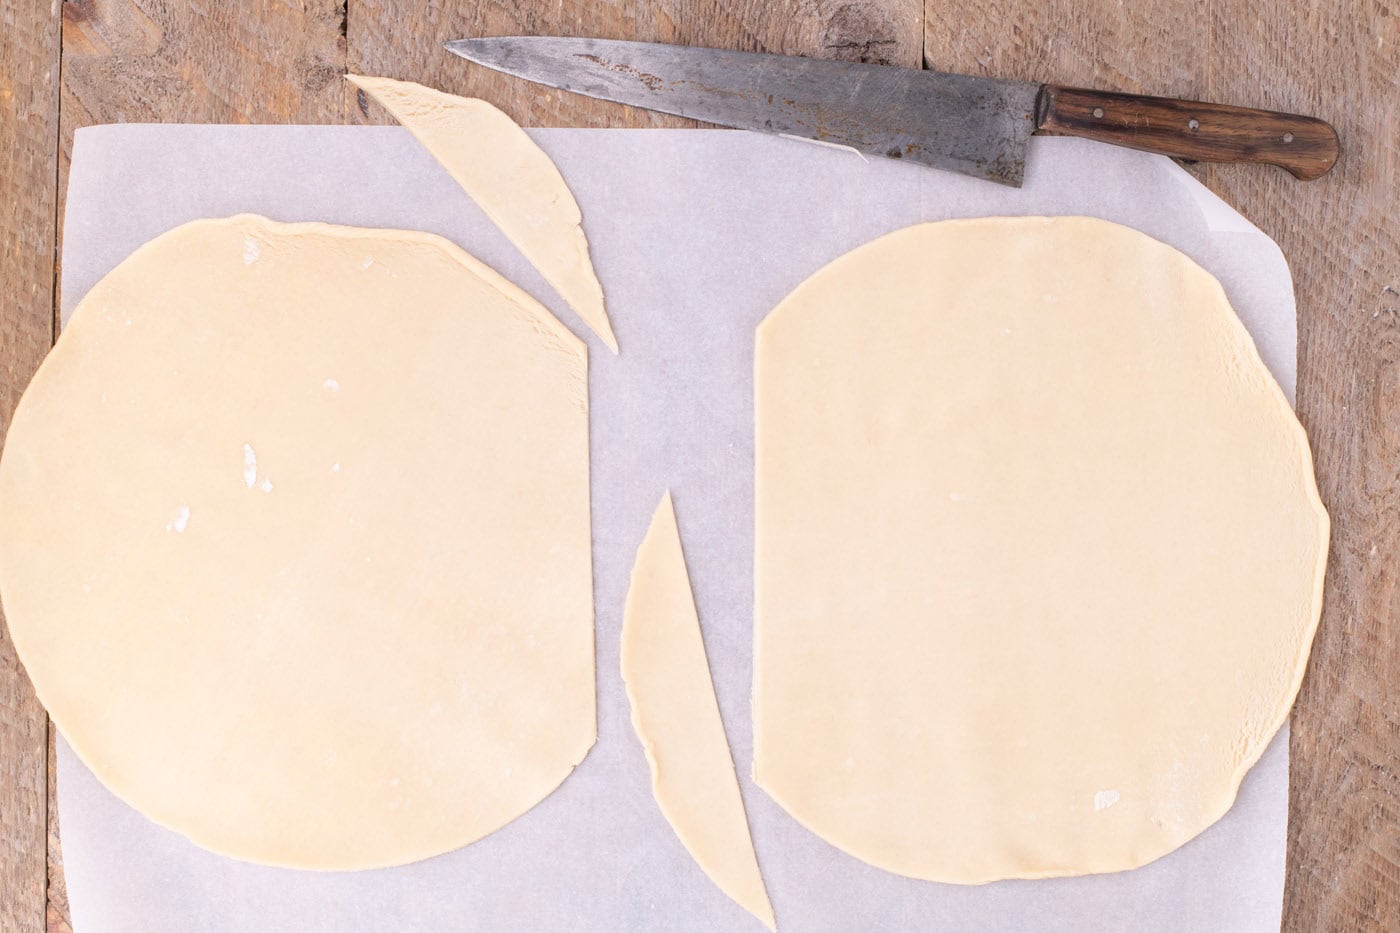
- Overlap the cut edges slightly and roll out the pie crusts, to form one large rectangular-type shape that is 3 inches larger on all sides than your jelly roll pan.
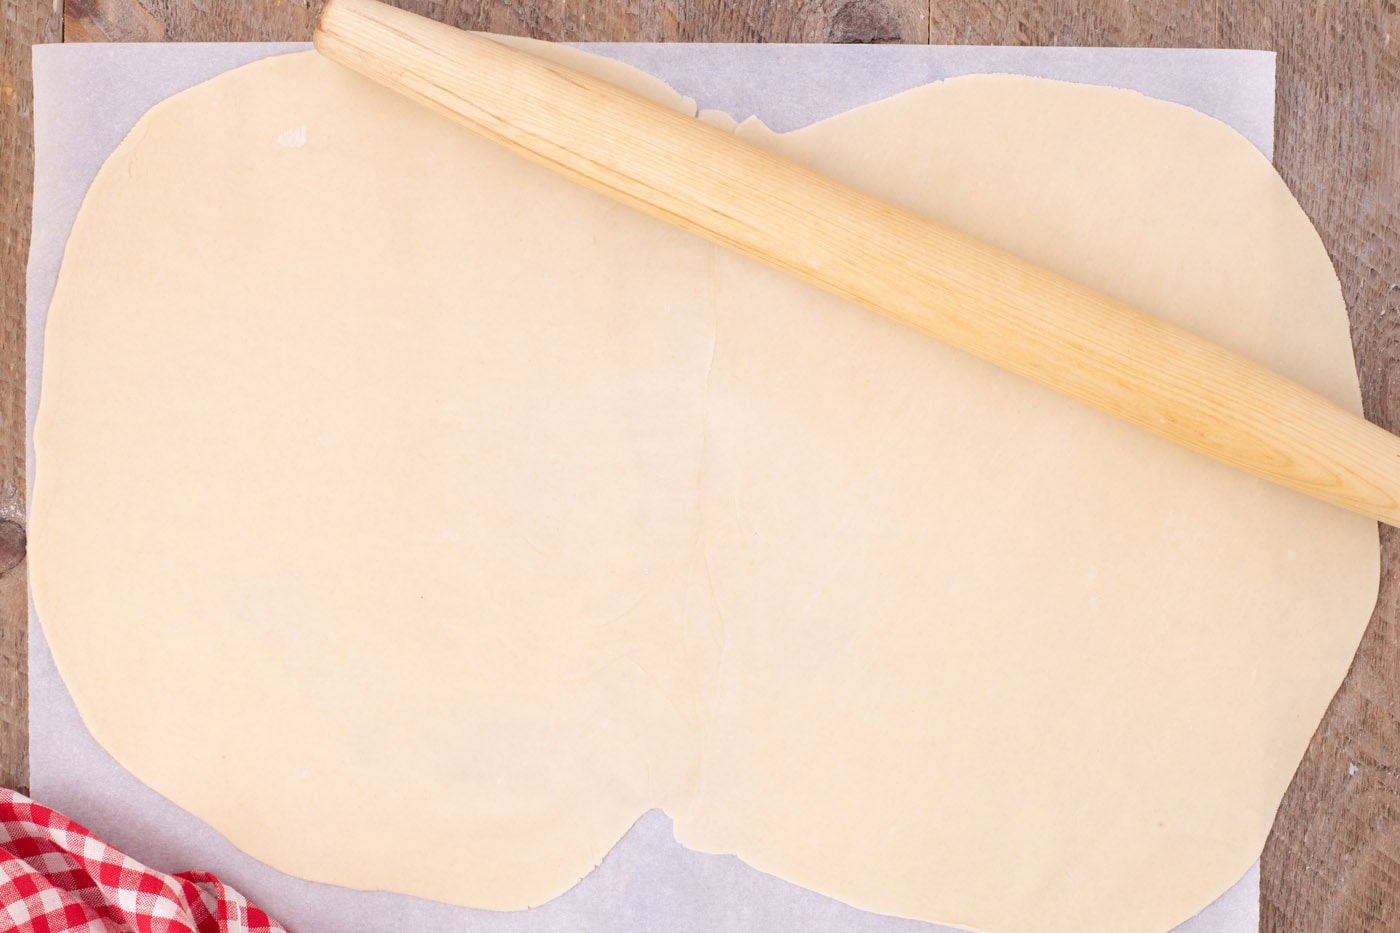
- Trim about an inch from the sides of the crust to create a neat rectangle. It should measure 1 1/2 to 2 inches larger than the size of your jelly roll pan.
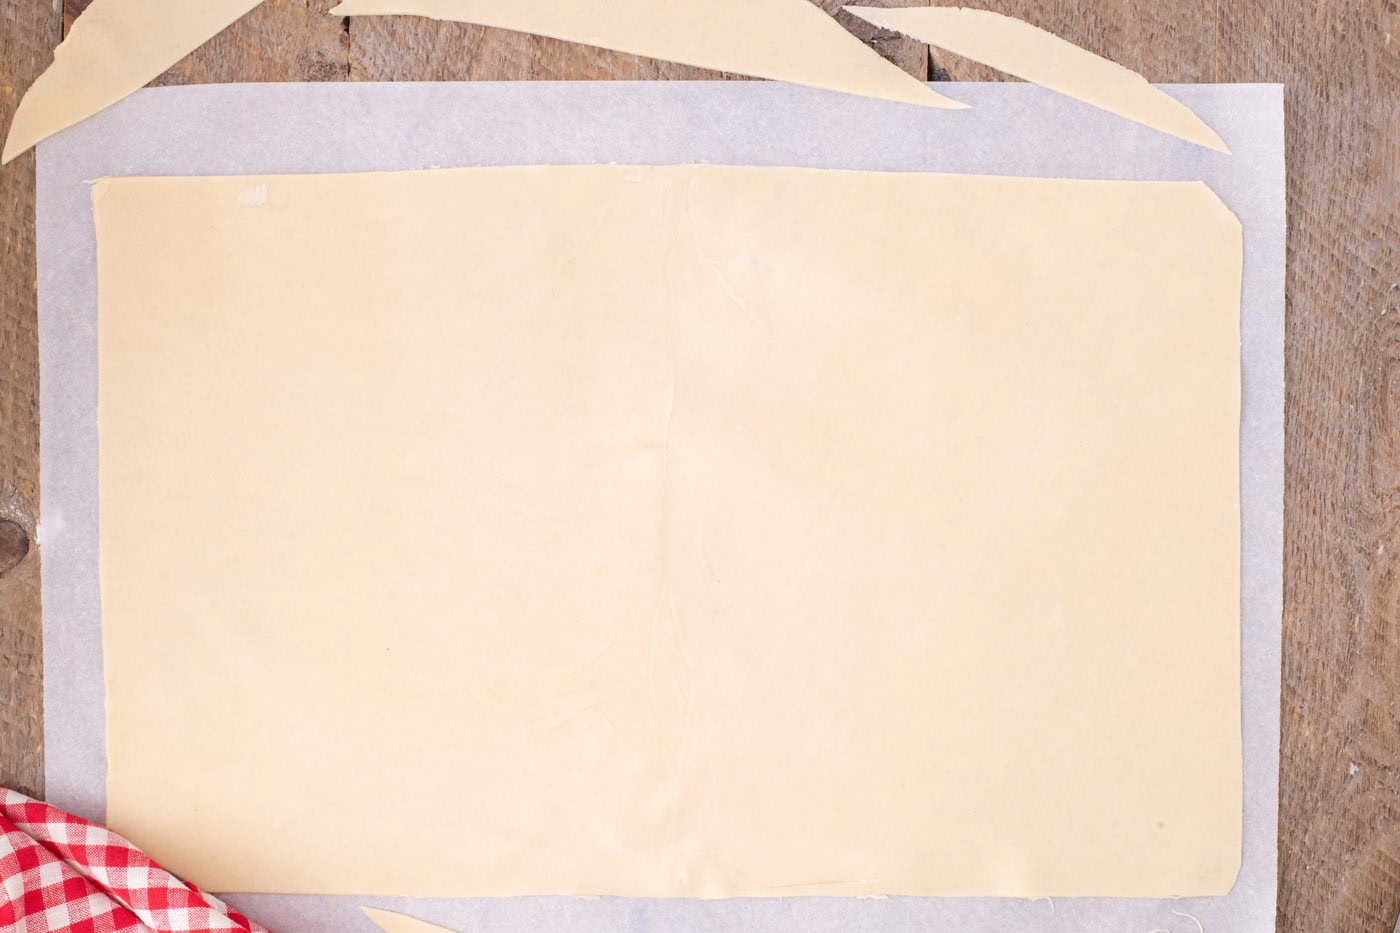
- Drape the pie crust over the rolling pin and gently place it into an ungreased 10×15-inch jelly pan, press it down along the sides and the bottom to make sure there are no gaps.
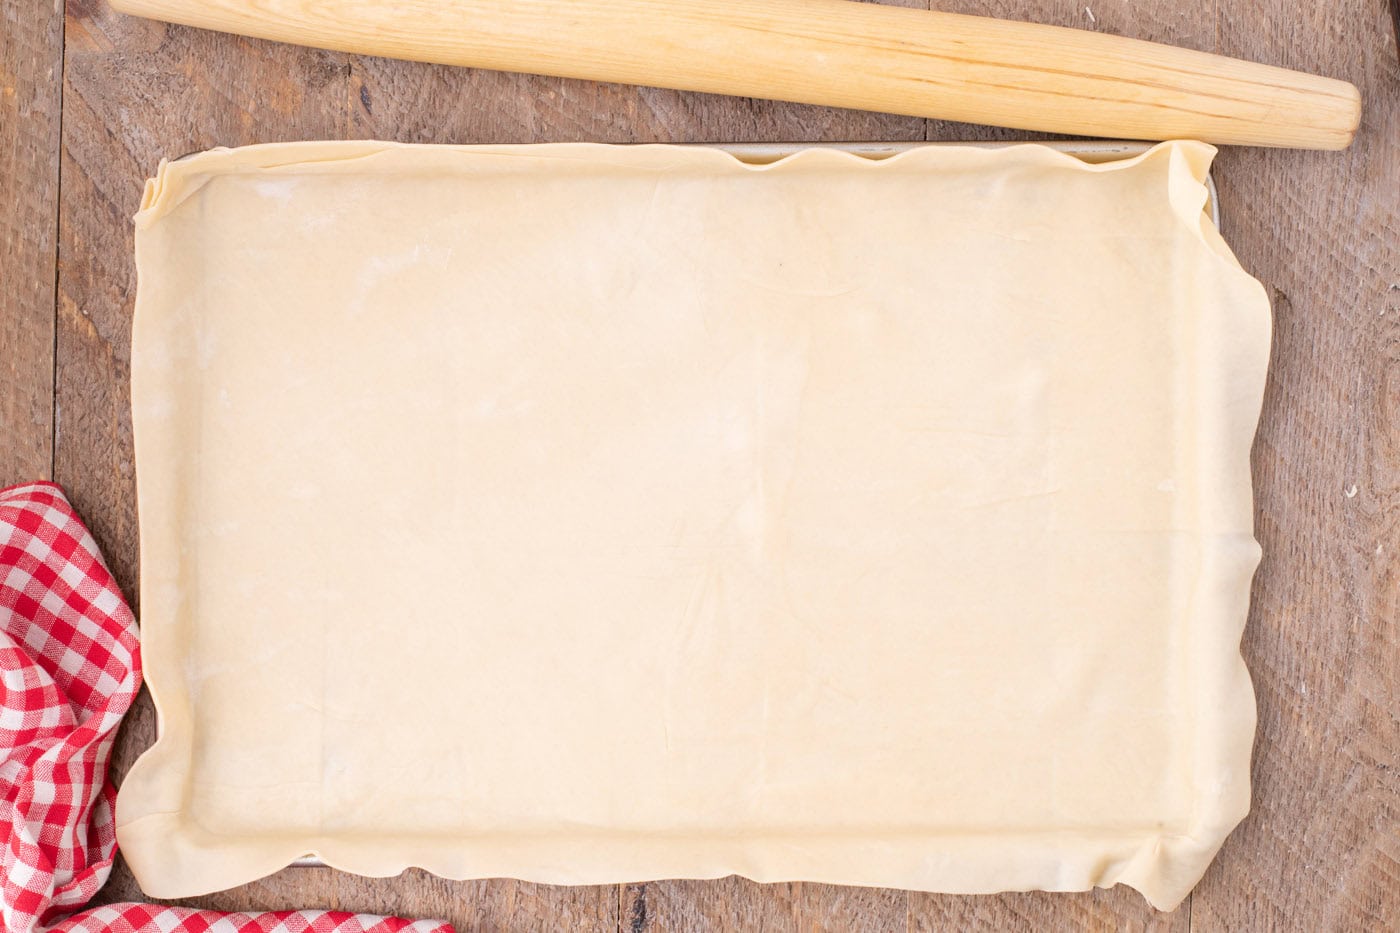
- Add the cherry pie filling and evenly distribute it into all corners.
- Sprinkle the lemon zest over the cherry pie filling and place the jelly roll pan in the refrigerator while you prepare the lattice strips
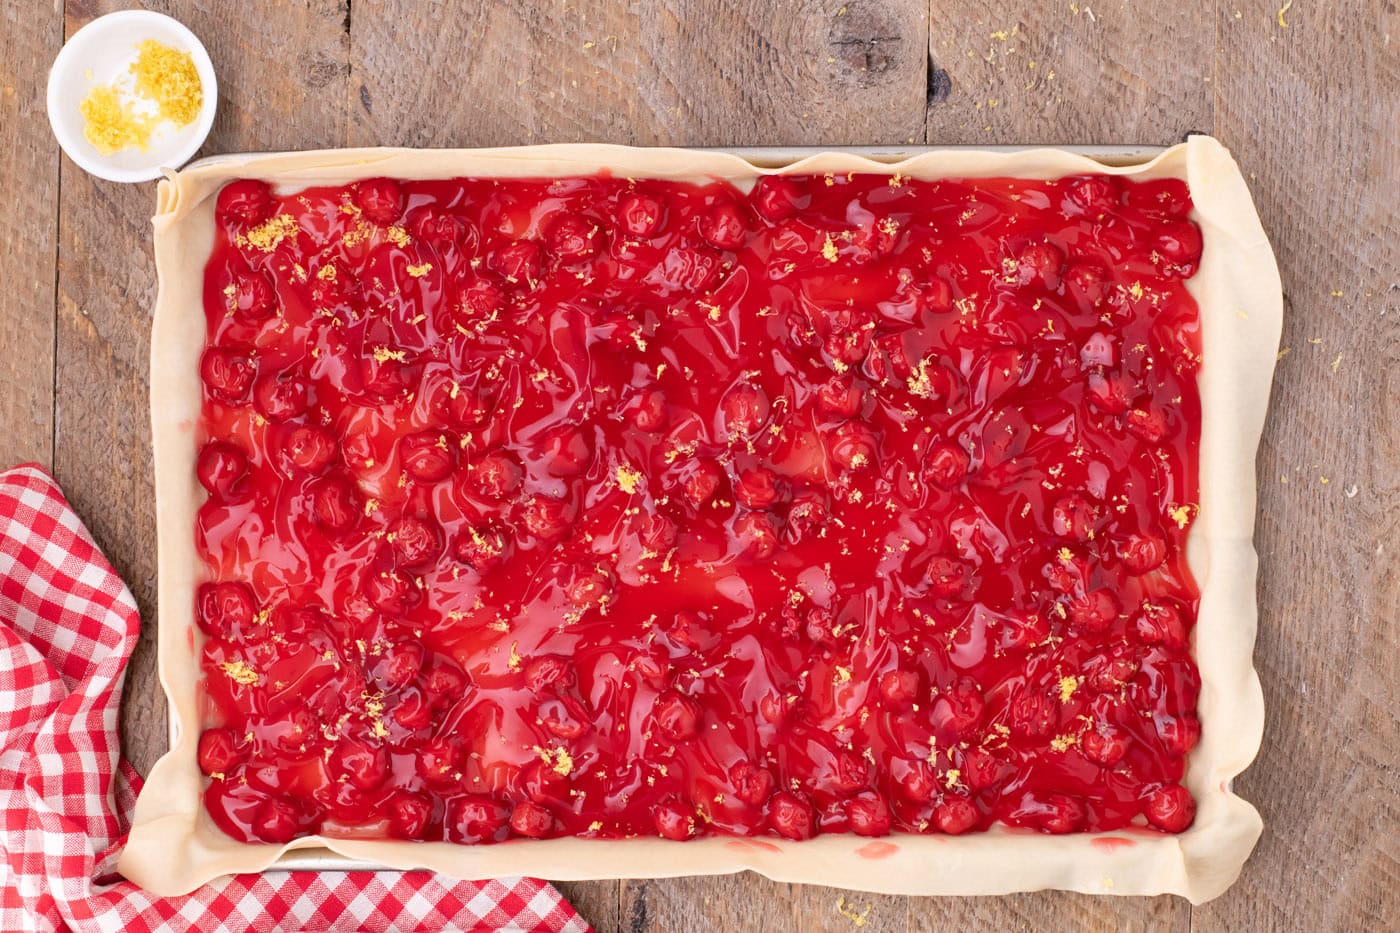
To Make the Lattice Weave
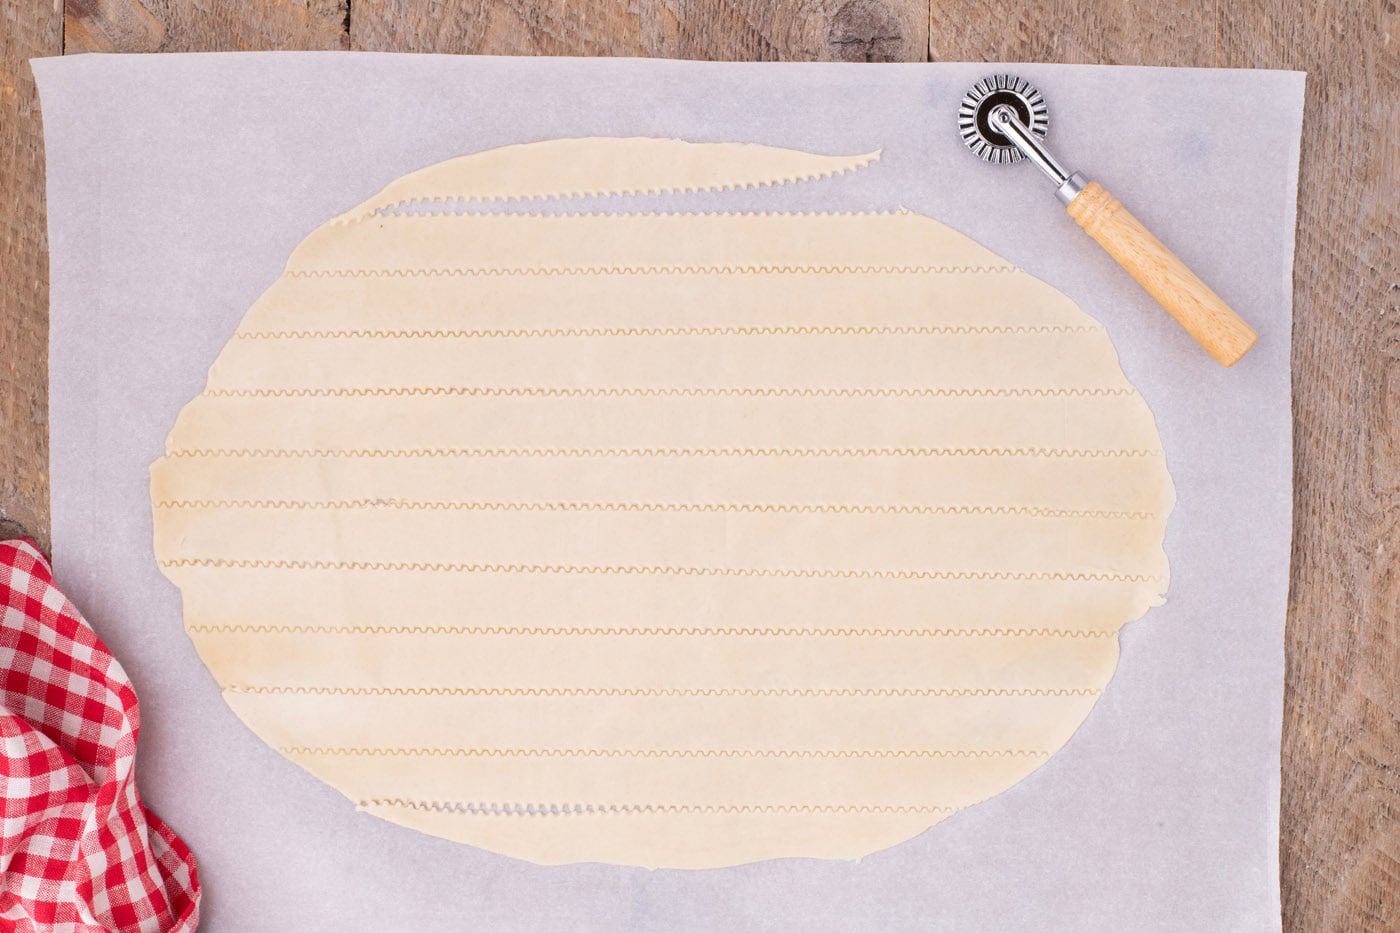
- Unroll the third piece of pie crust, place it on a parchment-lined (or floured) surface, and roll it in an oblong shape. Using a pizza cutter or pastry cutter and metal ruler, cut 12 evenly sized horizontal strips (1 inch wide).
- Of the two longest strips, place one diagonally across the widest part of the jelly roll pan and proceed to lay out the remaining shorter strips next to each other, spacing them 1 1/2 to 2 inches apart.
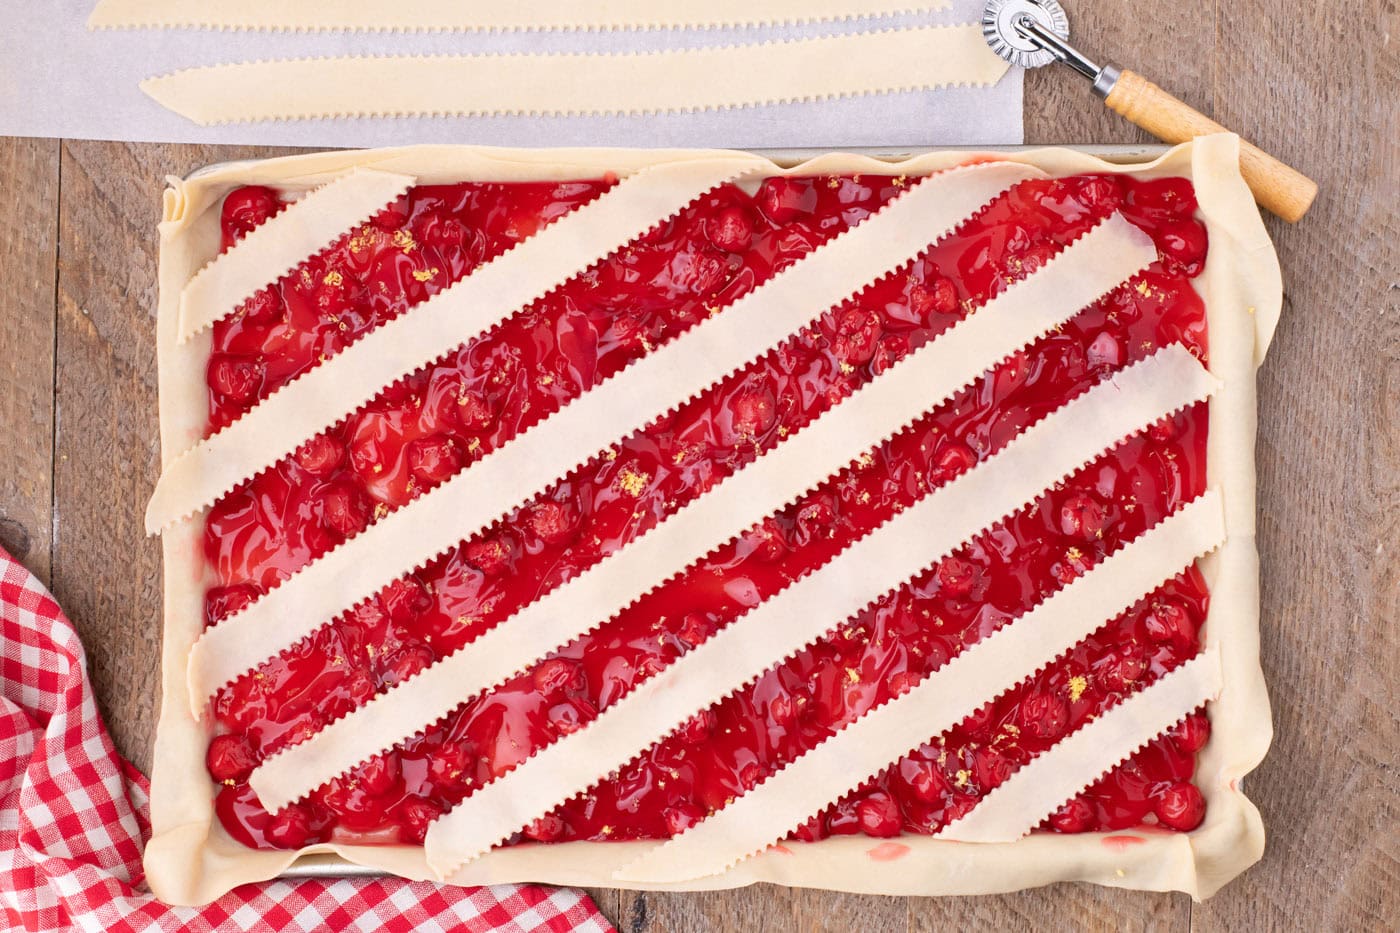
- Starting from the top, fold every other strip (strips 1, 3, 5, and 7) halfway back towards the left-hand side/bottom of the pan.
- Place the second of the 2 longest strips across the widest part of the jelly pan perpendicular to the strips already there. (it should resemble a large ‘X’ shape).
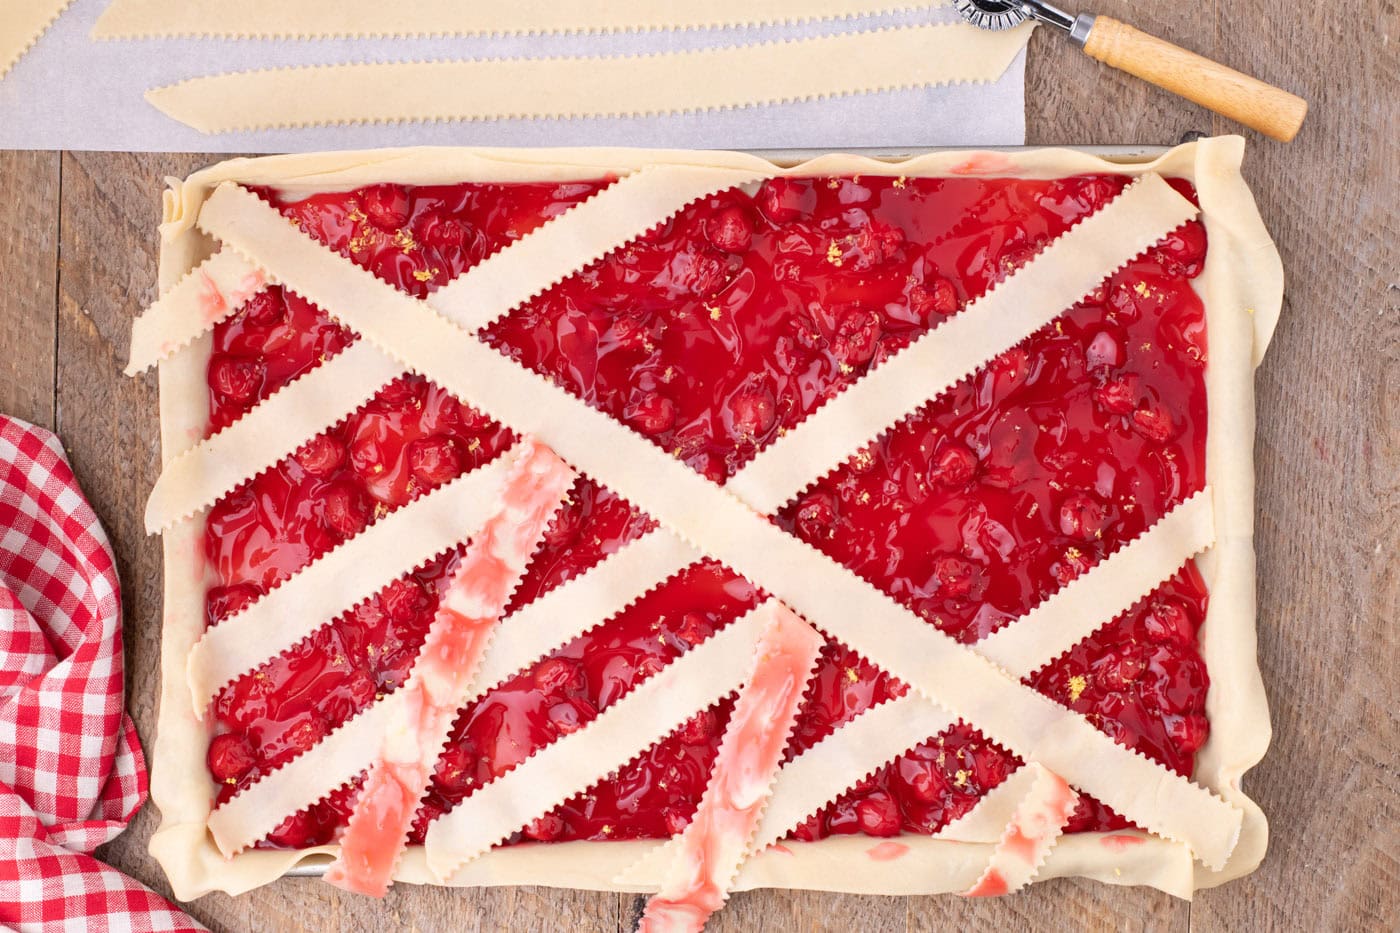
- Unfold the strips over the long strip you just laid down and then continue to fold back the alternating strips (strips 2, 4, 6, and 8). Repeat this process until all your strips have been woven.
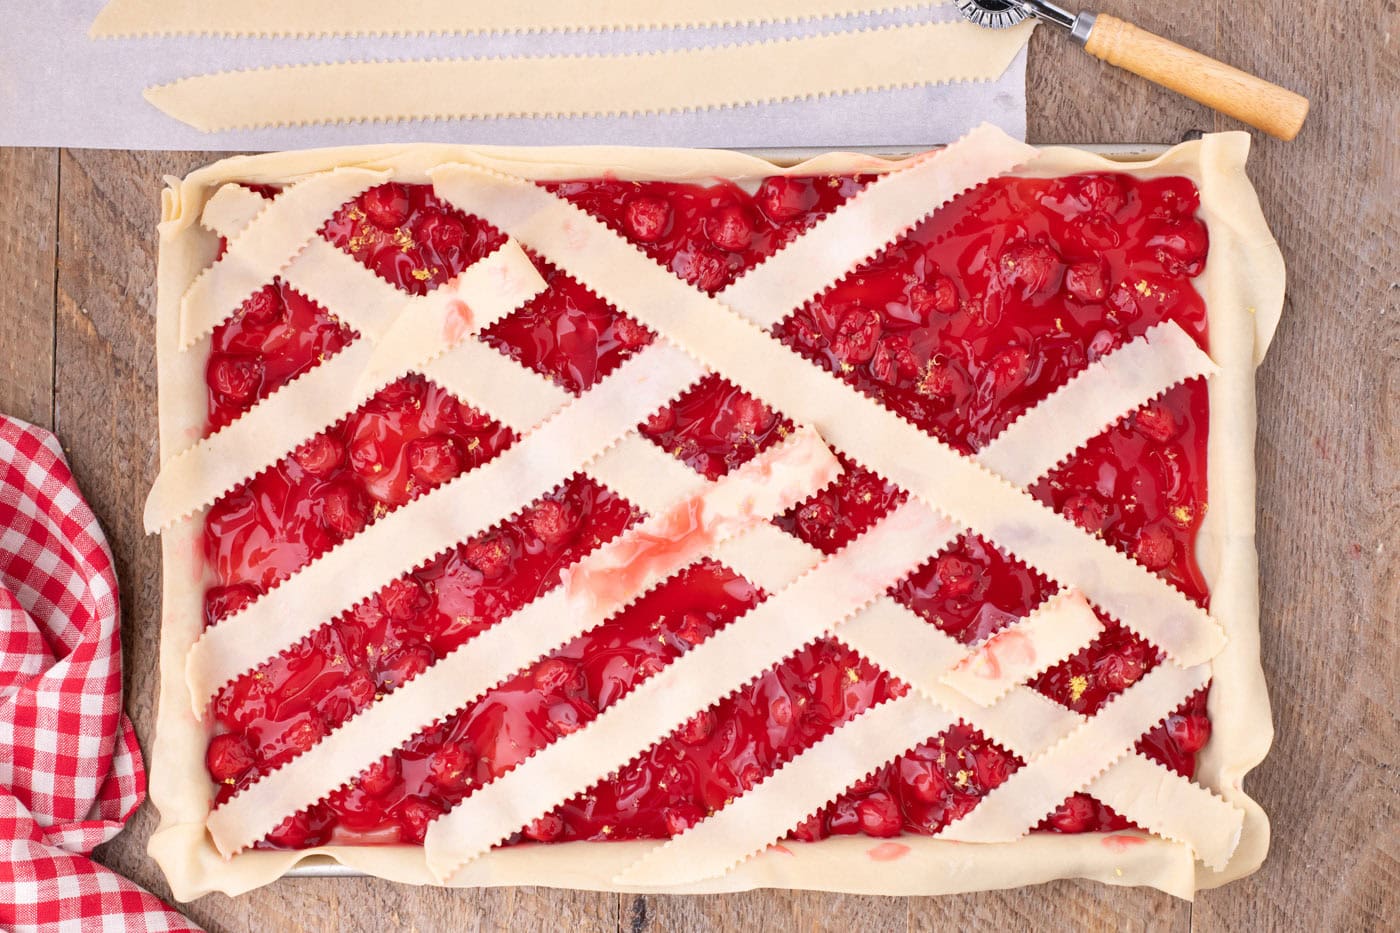
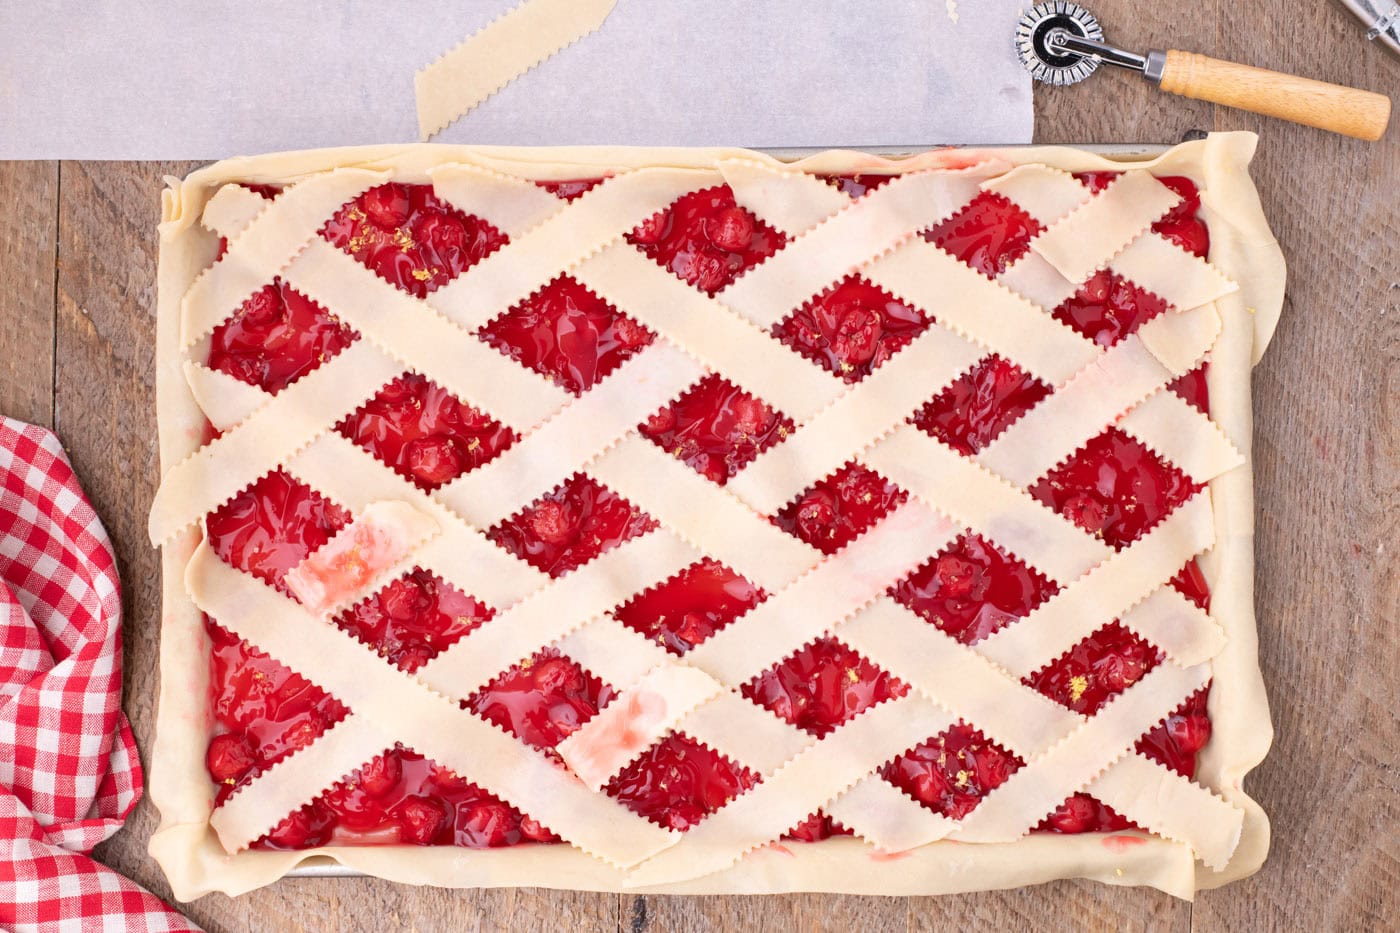
- Fold the excess bottom crust over the lattice strips and pinch them together to form a seal.
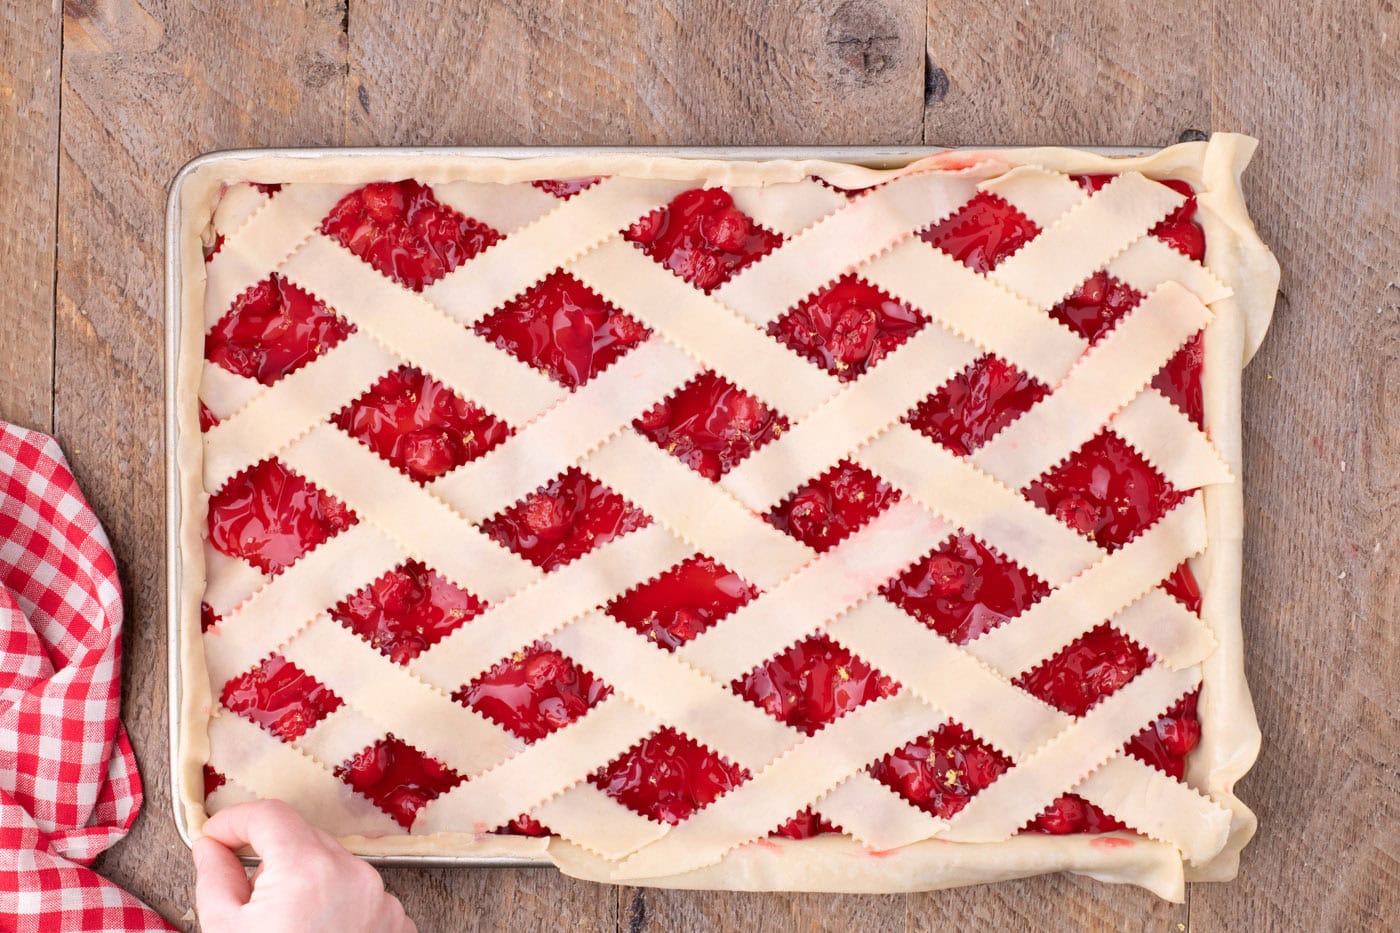
- Add the water to a gently beaten egg and brush the egg wash over the lattice strips using a pastry brush.
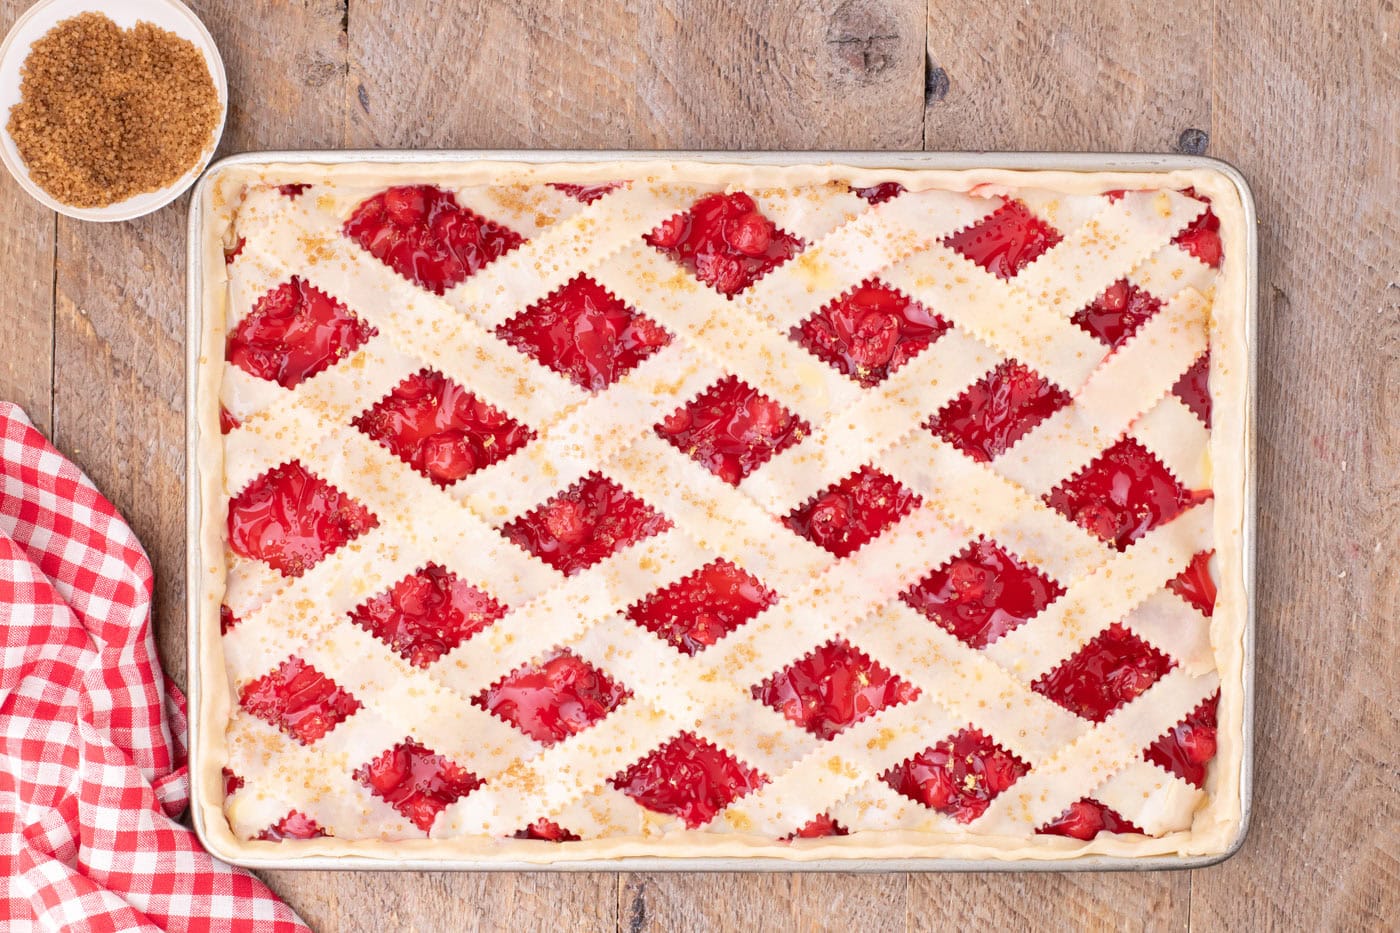
- Sprinkle the turbinado sugar over the pie and place it in the oven to bake for 30 -35 minutes or until the fruit is bubbling, and the crust is golden brown.
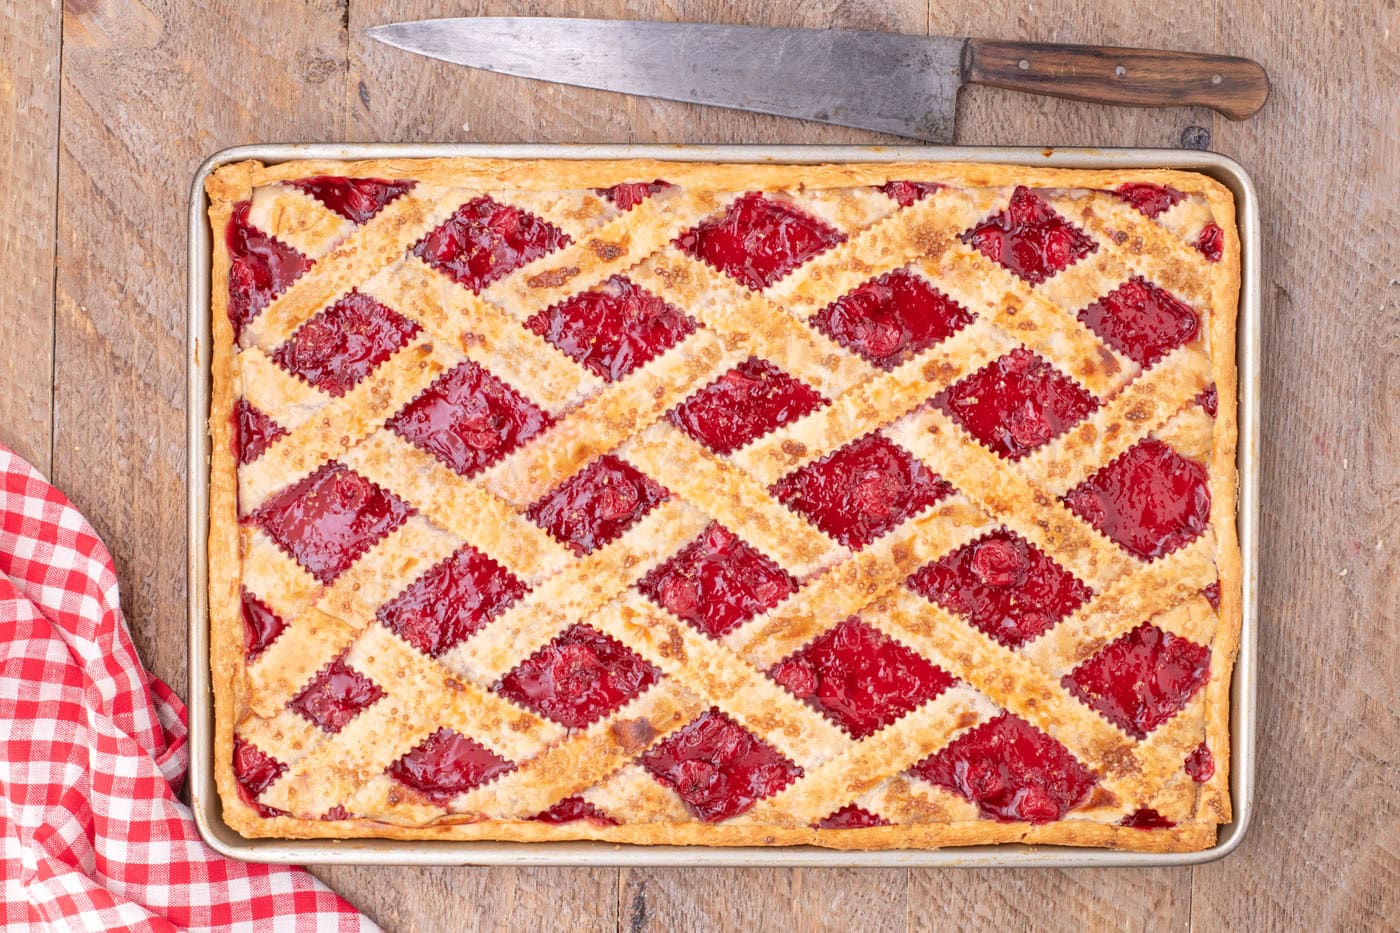
- Remove the pan from the oven and let cool before slicing.
Frequently Asked Questions & Expert Tips
Leftovers should be kept in the fridge, either in the jelly roll pan covered with plastic wrap or stored in an air-tight container. For optimal taste and texture, I recommended eating the Cherry Slab Pie within 1 or 2 days otherwise the crust will start to get soggy.
Serving Suggestions
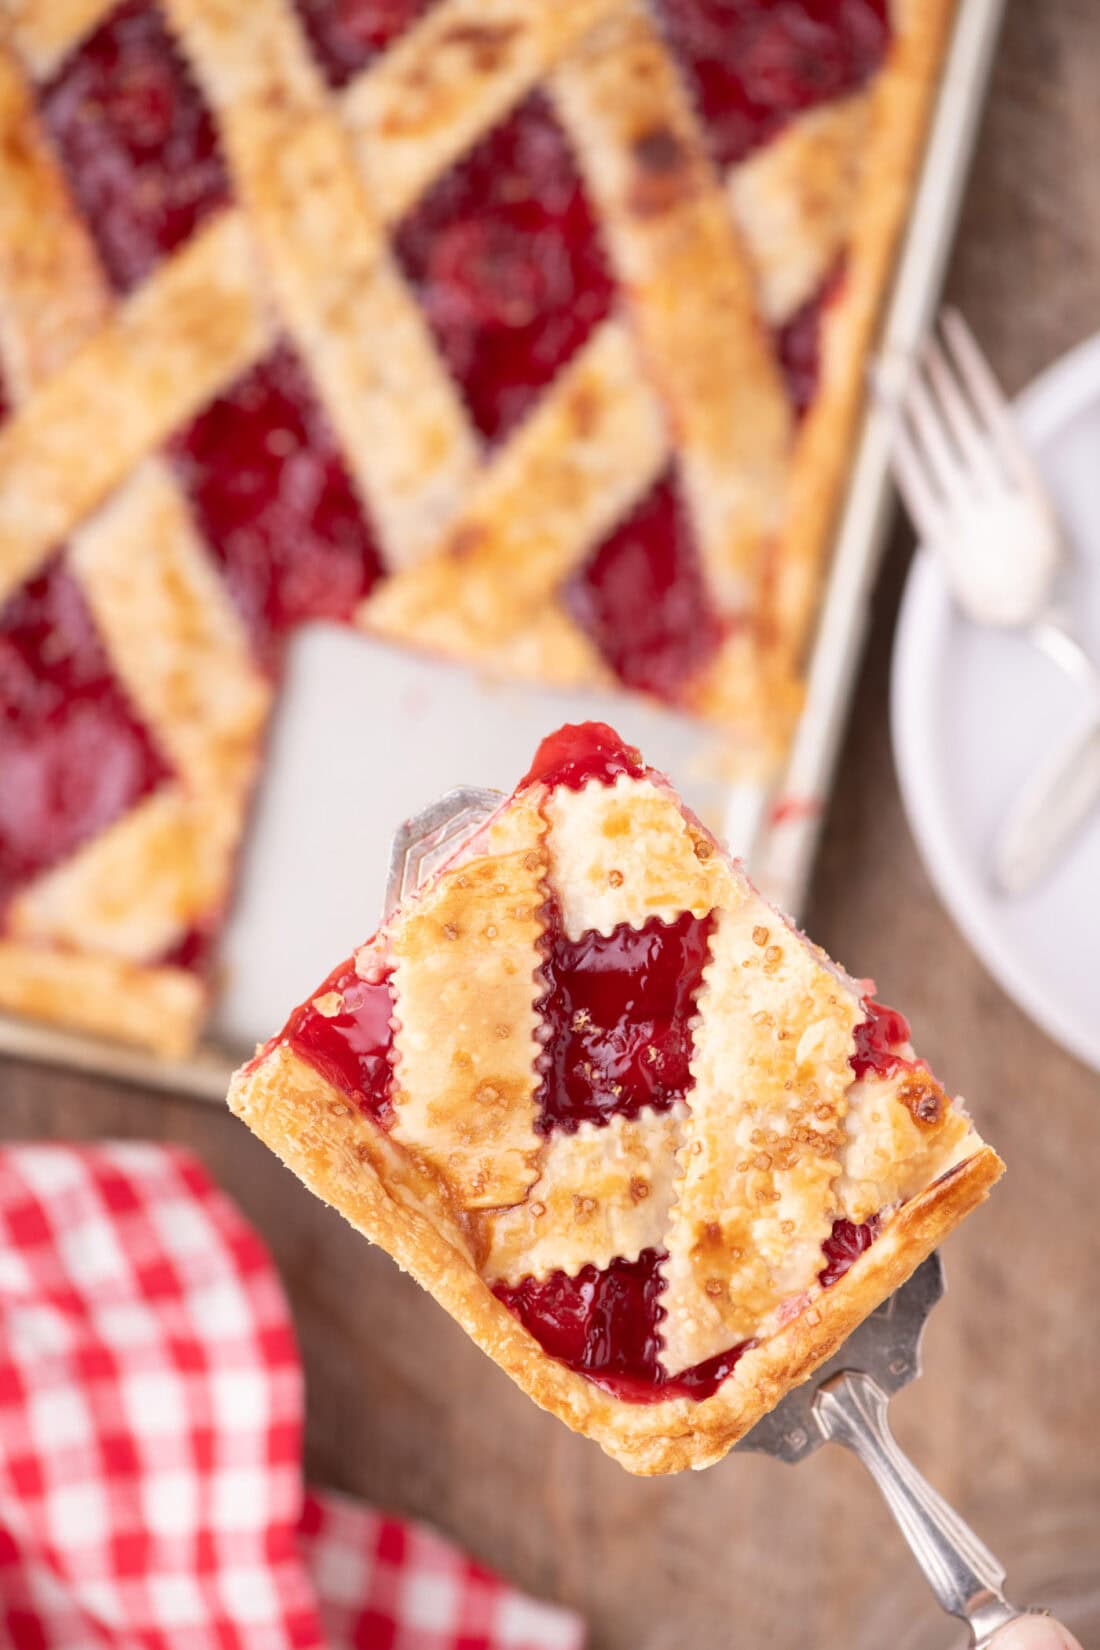
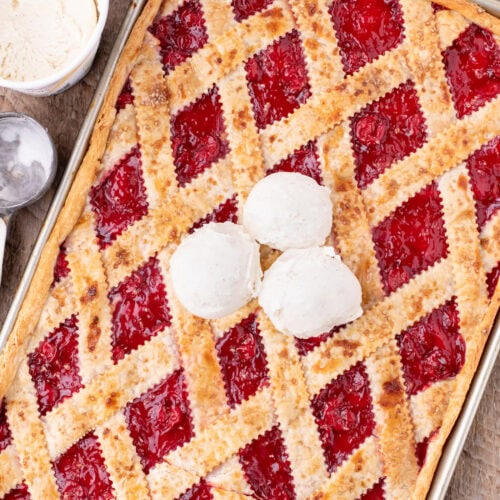
Serve your cherry slab pie sliced into squares with a scoop of vanilla ice cream. Or, enjoy it as is either chilled, warm, or at room temperature.
More Related Recipes
I love to bake and cook and share my kitchen experience with all of you! Remembering to come back each day can be tough, that’s why I offer a convenient newsletter every time a new recipe posts. Simply subscribe and start receiving your free daily recipes!
Cherry Slab Pie
IMPORTANT – There are often Frequently Asked Questions within the blog post that you may find helpful. Simply scroll back up to read them!
Print It Rate ItIngredients
- 40 ounces cherry pie filling two 20 ounce cans
- 28.2 ounces premade pie crusts two 14.1 ounce boxes of Pillsbury pie crusts
- 2 teaspoons grated lemon zest
- 1 egg
- 1 Tablespoon water
- 3 Tablespoons turbinado sugar
Things You’ll Need
Before You Begin
- You will only use 3 of the 4 pie crusts (you can save the 4th one for another use).
- If you have any holes or uneven edges after trimming your pie crust into a rectangular shape, you can use the extra scraps to fill them in. Additionally, any scraps you have set aside can be used if you need extra dough for lattice strips.
- If you find the dough is starting to dry out a bit when pinching the top and bottom crusts together, a little bit of water added to the edges of the crust will help make it easier to pinch and seal.
- If you feel intimidated by creating the lattice top weave, you can cover the pie with a regular pie crust. Make sure you cut slits into the top of the crust to allow the steam to vent during baking.
Instructions
- Preheat the oven to 375° F.
- Remove 2 pie crusts from their packaging and unroll them. Lay the crusts side by side on a parchment-lined (or floured) surface, and trim 2 inches from the side of each. Set the scraps aside for later use.
- Overlap the cut edges slightly and roll out the pie crusts, to form one large rectangular-type shape that is 3 inches larger on all sides than your jelly roll pan.
- Trim about an inch from the sides of the crust to create a neat rectangle. It should measure 1 1/2 to 2 inches larger than the size of your jelly roll pan.
- Drape the pie crust over the rolling pin and gently place it into an ungreased 10×15-inch jelly pan, press it down along the sides and the bottom to make sure there are no gaps.
- Add the cherry pie filling and evenly distribute it into all corners.
- Sprinkle the lemon zest over the cherry pie filling and place the jelly roll pan in the refrigerator while you prepare the lattice strips.
To Make the Lattice Top
- Unroll the third piece of pie crust, place it on a parchment-lined (or floured) surface, and roll it in an oblong shape. Using a pizza cutter or pastry cutter and metal ruler, cut 12 evenly sized horizontal strips (1 inch wide).
- Of the two longest strips, place one diagonally across the widest part of the jelly roll pan and proceed to lay out the remaining shorter strips next to each other, spacing them 1 1/2 to 2 inches apart.
- Starting from the top, fold every other strip (strips 1, 3, 5, and 7) halfway back towards the left-hand side/bottom of the pan.
- Place the second of the 2 longest strips across the widest part of the jelly pan perpendicular to the strips already there. (it should resemble a large ‘X’ shape).
- Unfold the strips over the long strip you just laid down and then continue to fold back the alternating strips (strips 2, 4, 6, and 8). Repeat this process until all your strips have been woven.
- Fold the excess bottom crust over the lattice strips and pinch them together to form a seal.
- Add the water to a gently beaten egg and brush the egg wash over the lattice strips using a pastry brush.
- Sprinkle the turbinado sugar over the pie and place it in the oven to bake for 30 -35 minutes or until the fruit is bubbling, and the crust is golden brown.
- Remove the pan from the oven and let cool before slicing.
Expert Tips & FAQs
- Leftovers should be kept in the fridge, either in the jelly roll pan covered with plastic wrap or stored in an air-tight container. For optimal taste and texture, I recommended eating the cherry slab pie within 1 or 2 days otherwise the crust will start to get soggy.
Nutrition
Kristen Rittmer
Latest posts by Kristen Rittmer (see all)
- Ice Cream Bread - July 24, 2024
- Chicken Taco Casserole - July 17, 2024
- Apple Slab Pie - July 16, 2024


Leave a Reply