
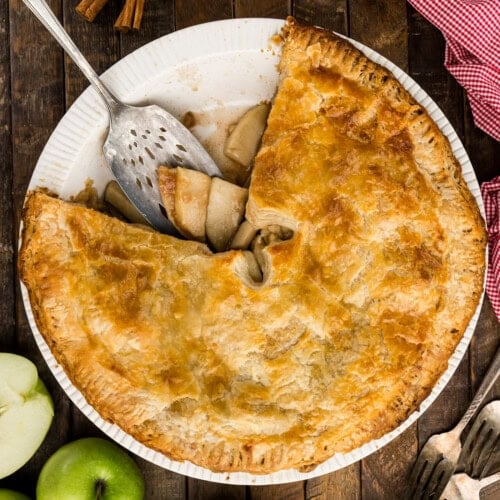
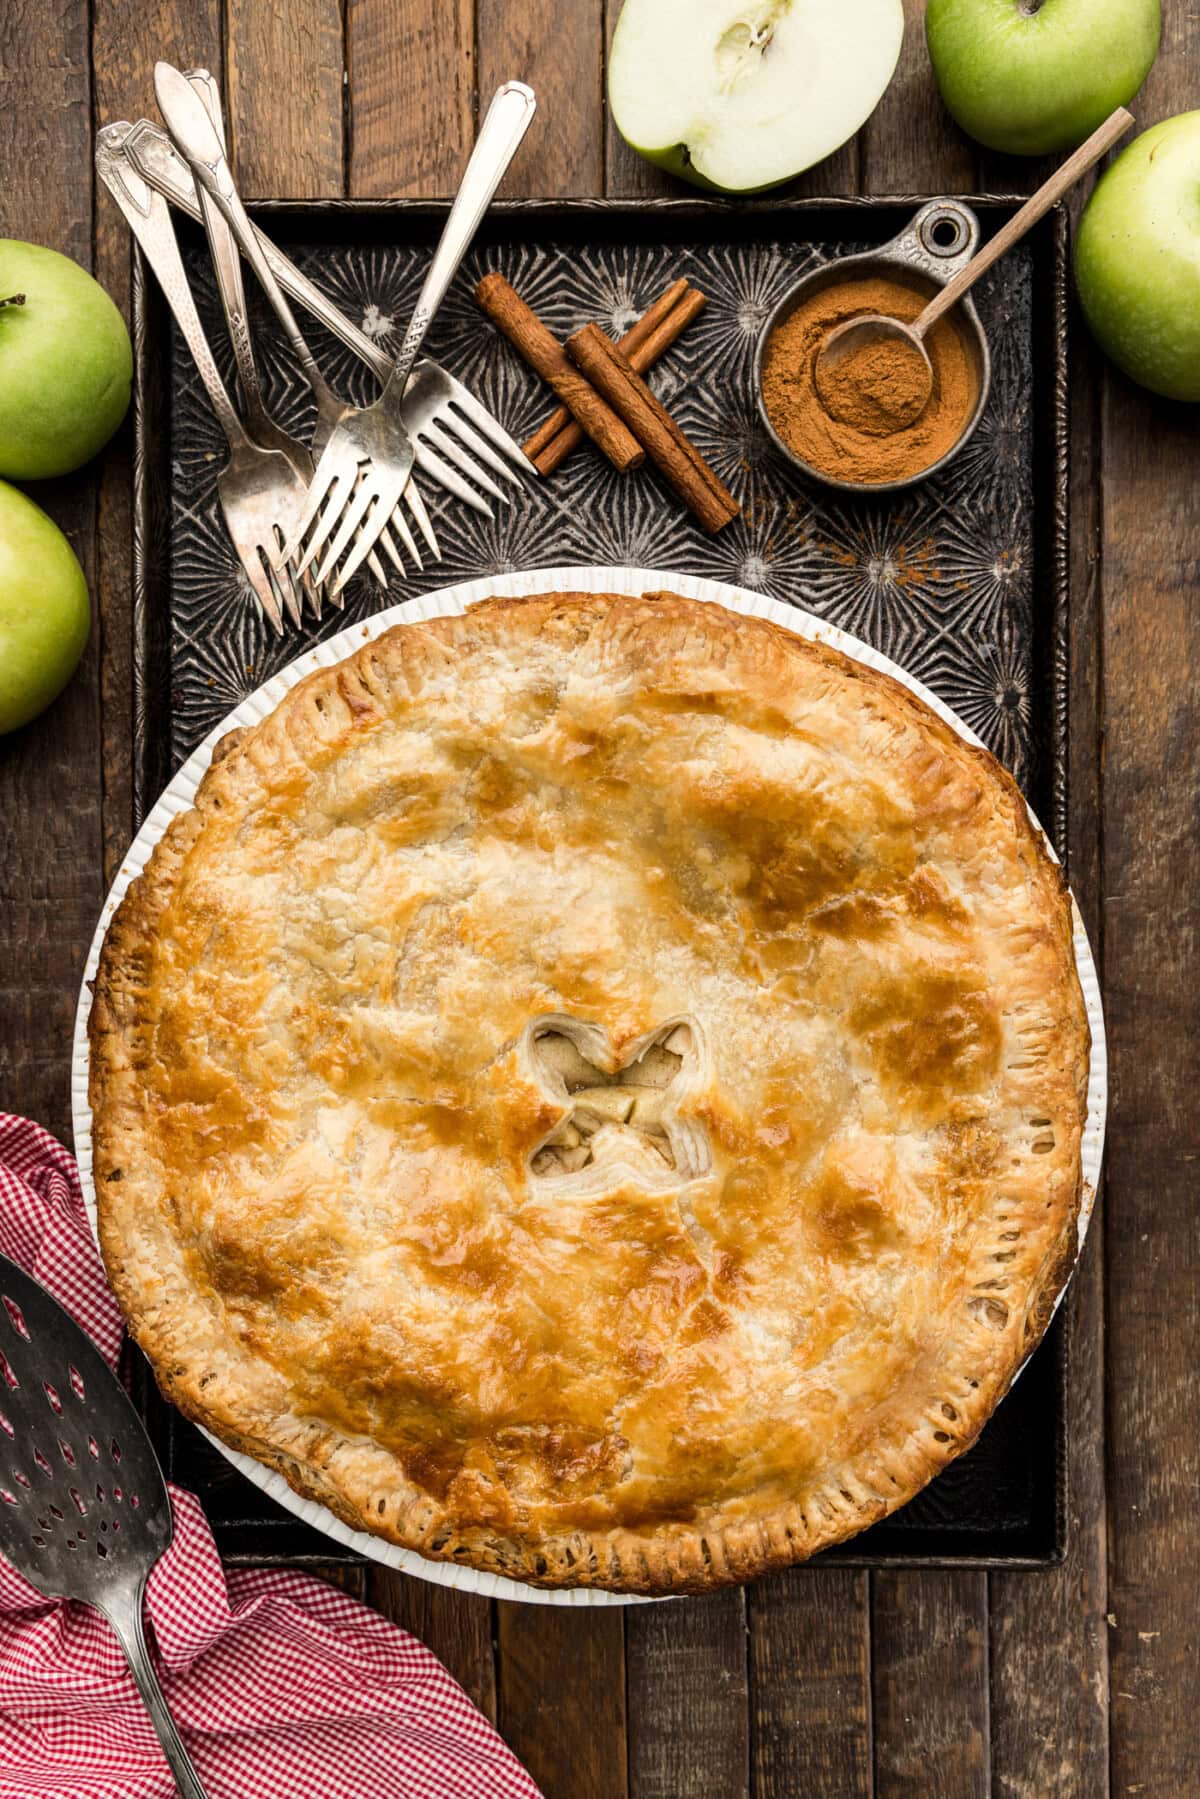
The best homemade apple pie recipe that’s blind-baked, which means the homemade crust is crisp and never soggy! Plus, I have tons of tips for what kind of apples and exactly how long to bake it.
Why this recipe works
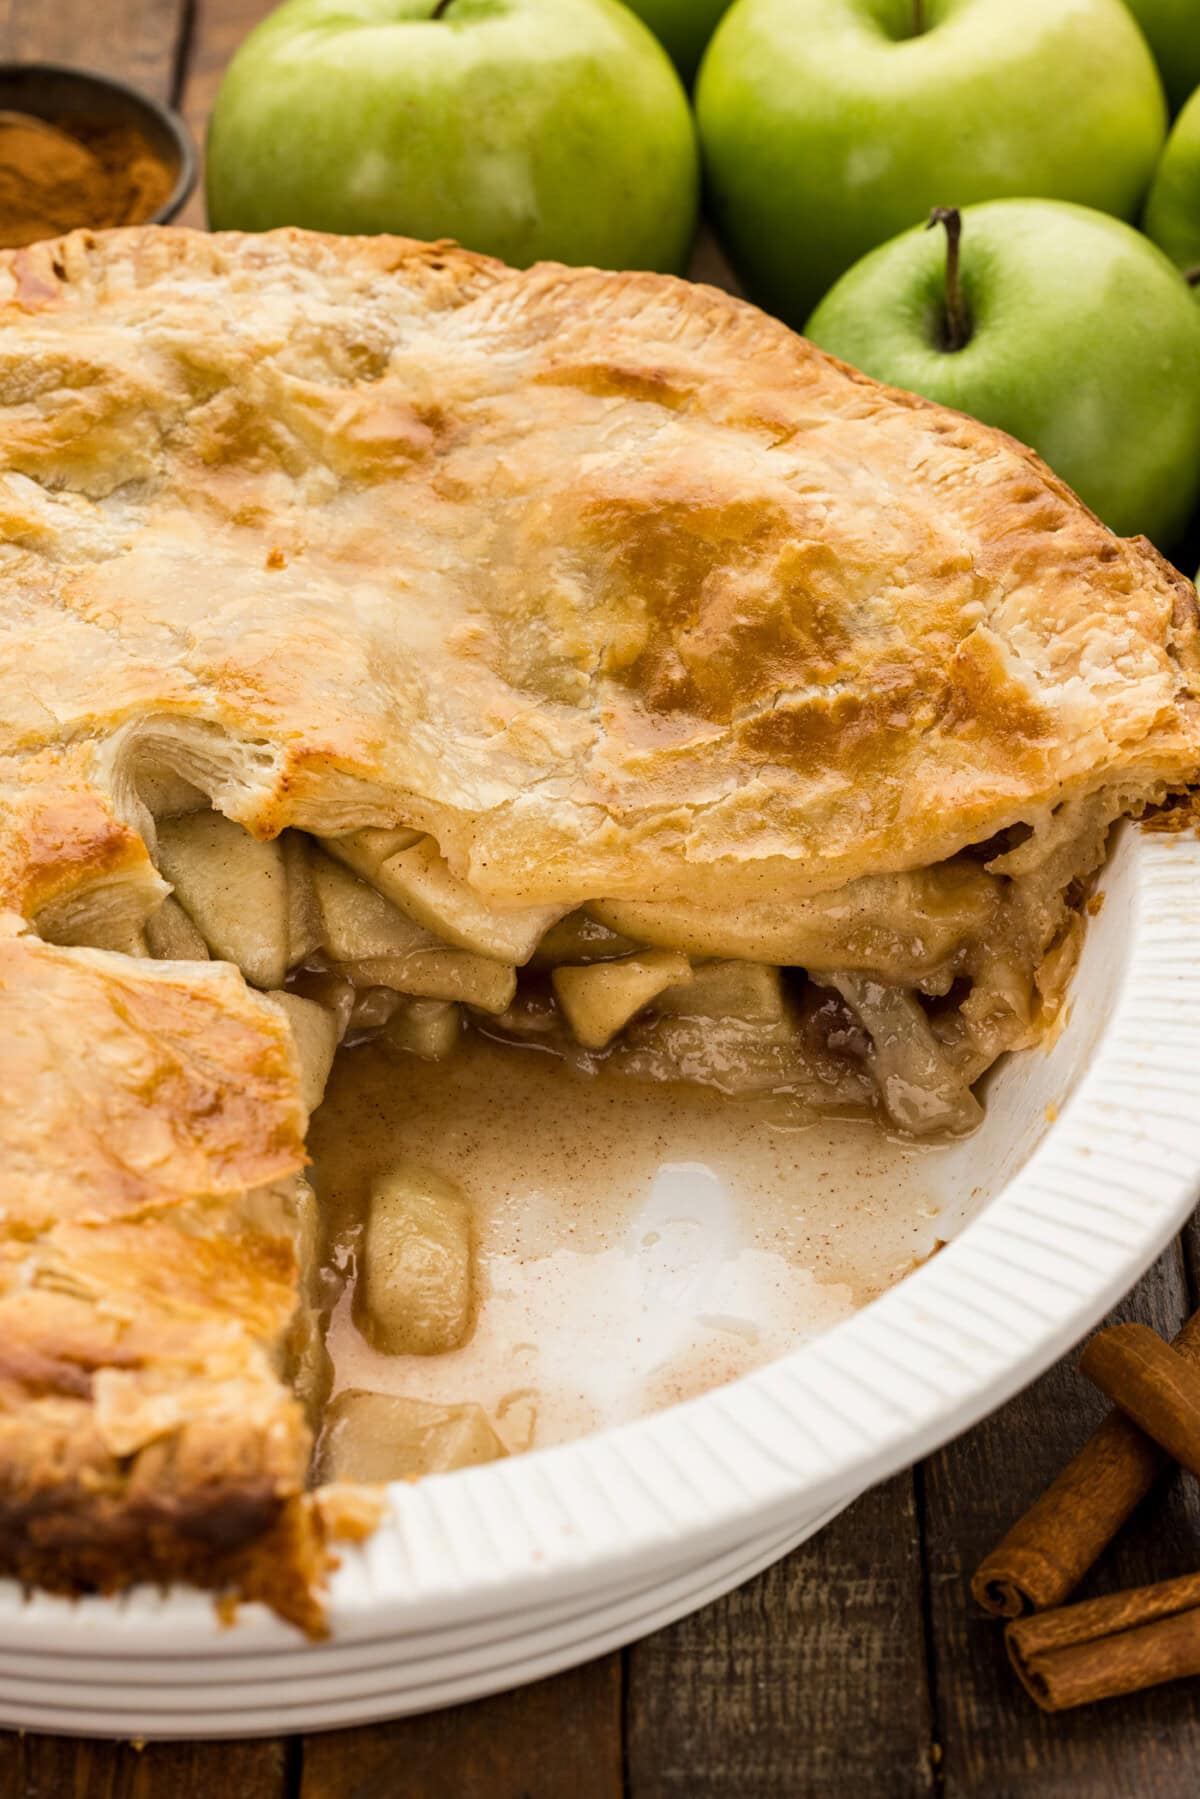
Nothing screams fall quite like a homemade apple pie cooling on the counter, and nothing ruins one faster than cutting into it and finding a pale, soggy bottom crust. Apples release tons of liquid as they bake, and that liquid has to go somewhere. In a standard pie it goes down into the bottom crust, which is why so many otherwise beautiful pies end up pale and damp underneath. Blind baking the bottom crust helps it set and crisp before the filling ever touches it. That’s the secret, y’all.
The second thing that makes a difference is your butter temperature. Keeping the butter cold and working it in until you still have visible chunks is what creates the flaky layers, and chilling the dough between every handling step keeps those chunks from melting into the flour before the pie goes into the oven. A little patience is all it takes.
If you are feeding a bigger crowd than one pie can handle, our apple slab pie slices into more portions for larger parties!
Ingredients you will need
Get all measurements, ingredients, and instructions in the printable version at the end of this post.
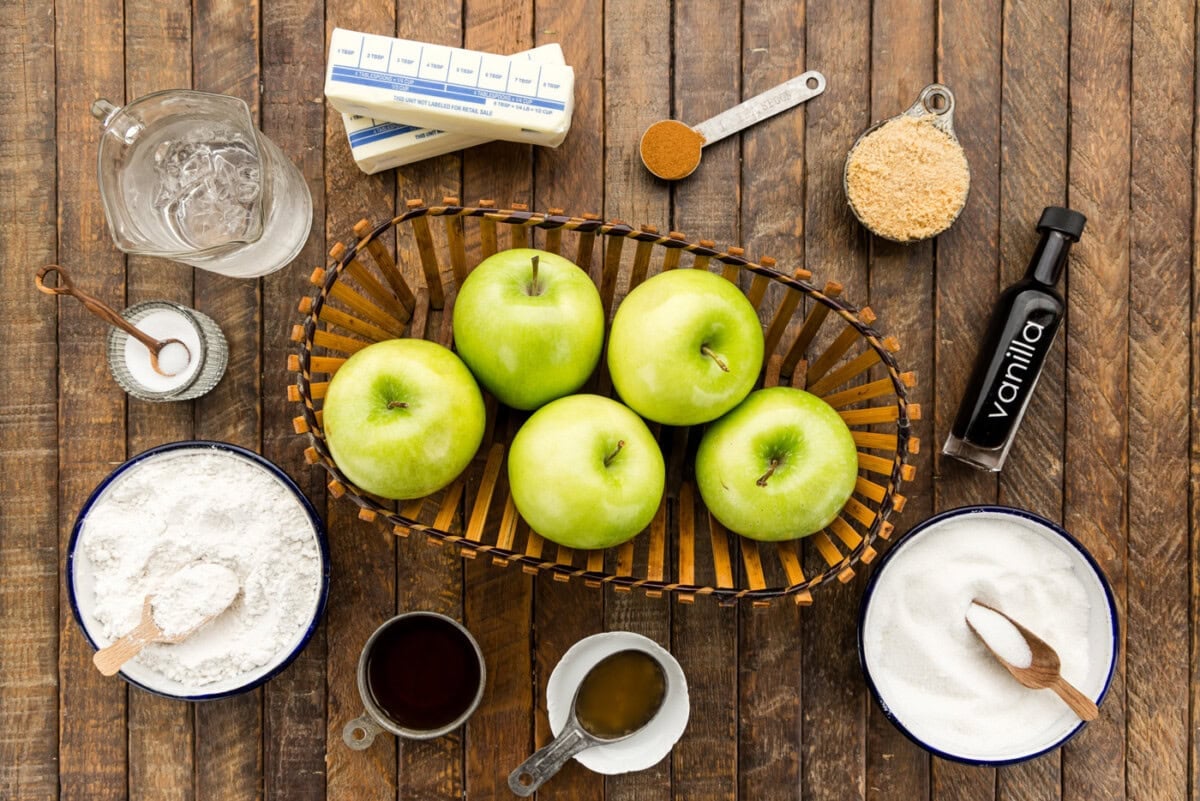
Ingredient Info and Substitution Suggestions
APPLES – I use Granny Smith because they are tart enough to balance the sugar and firm enough that they hold their shape instead of collapsing. If you want a little more sweetness, swap half of them for Honeycrisp, Braeburn, or Pink Lady and keep the other half Granny Smith for structure. You will need about 3 pounds, which works out to roughly 8 to 9 medium apples. A good vegetable peeler and an apple slicer will save you a lot of time here.
BUTTER – Cold butter is not a suggestion in pie crust, it’s part of the magic! I cube mine and put it back in the freezer while I measure everything else. Those cold chunks turn to steam in the oven and push the dough apart into layers, which is where flakiness comes from. If you need a dairy free crust, an equal amount of solid coconut oil works, though the texture is slightly more crumbly than flaky.
FLOUR – I use unbleached all purpose flour for both the crust and the filling. In the filling, it thickens the apple juices as the pie bakes so the slices hold together when you cut them. Have extra on hand for rolling.
APPLE CIDER VINEGAR – A small amount of acid in pie dough relaxes the gluten just enough to keep the crust tender, it does not leave any flavor behind. Fresh squeezed lemon juice works the same way if that is what you have.
CINNAMON – A full teaspoon is enough to taste clearly without overwhelming the apples themselves.
HONEY – This is what sets this filling apart from a straight sugar filling. It helps the juices thicken into something closer to a sauce.
SUGAR – I use a combination of white granulated and brown sugar. The white sweetens, the brown brings a slight caramel note. You can swap the white sugar for coconut sugar if you prefer.
How to Make Homemade Apple Pie
These step by step photos and instructions are here to help you visualize how to make this recipe. You can Jump to Recipe to get the printable version of this recipe, complete with measurements and instructions at the bottom.
Apple Pie Filling
- In a large bowl, combine all apple pie filling ingredients, cover and set aside to marinate. Or, refrigerate if preparing the day before.
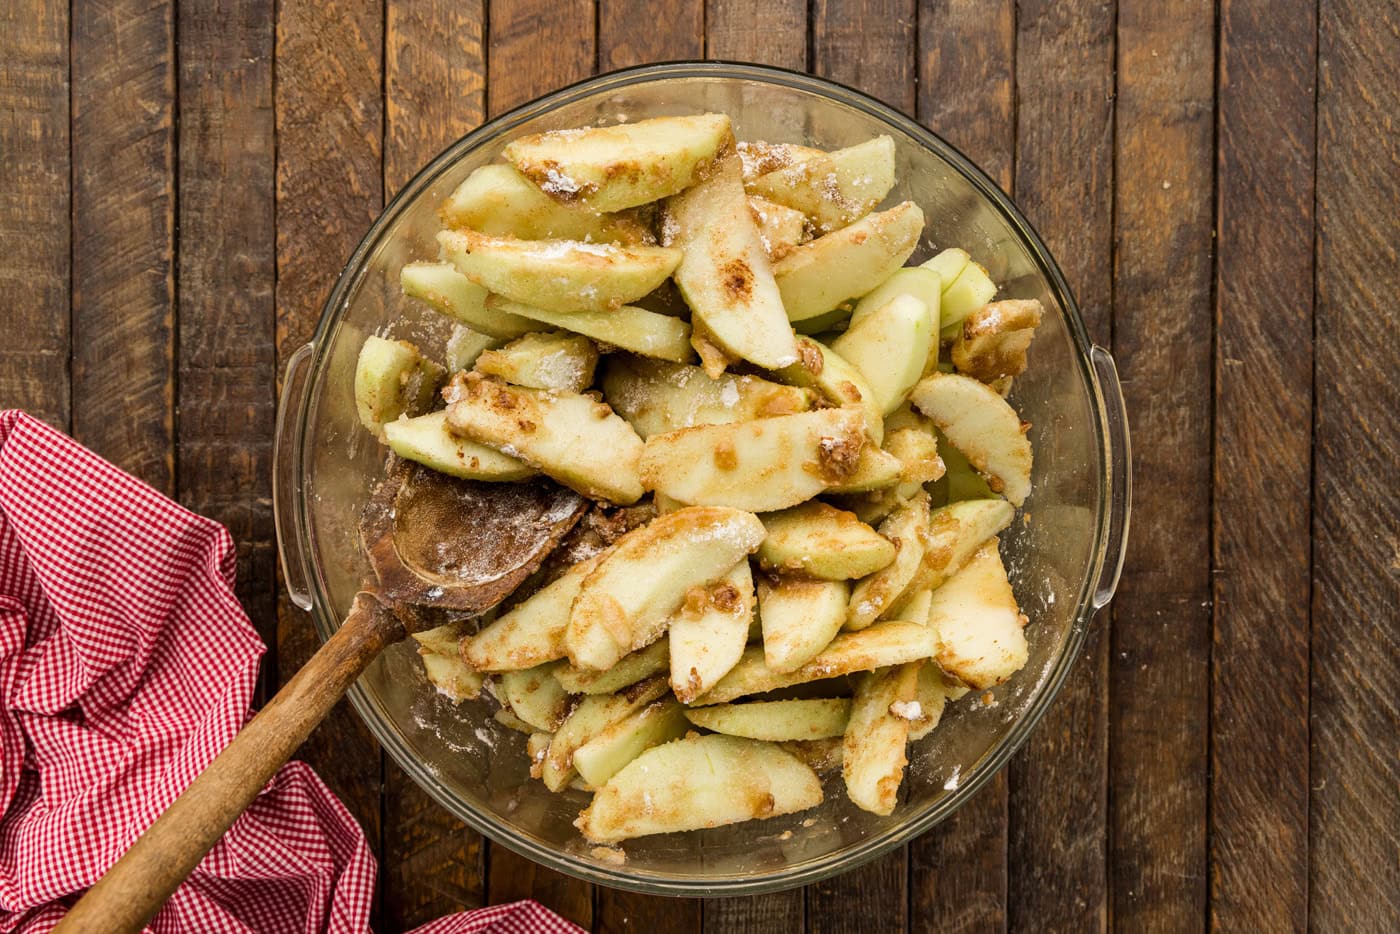
- When mixing ingredients, I recommend sprinkling the ingredients over the sliced apples, coating evenly and then mixing thoroughly.
Double Crust
- Before starting, make sure all ingredients are cold, especially the butter, to ensure the crust comes out flaky. Grease a 9 inch pie dish and set aside. It’s easy to use the butter wrappers to grease the dish.
- In a large mixing bowl, mix the flour, sugar, apple cider vinegar, salt, and chilled butter slices. Using a pastry blender, work the mixture until you get a crumbly texture with about 1/2-inch inch butter chunks.
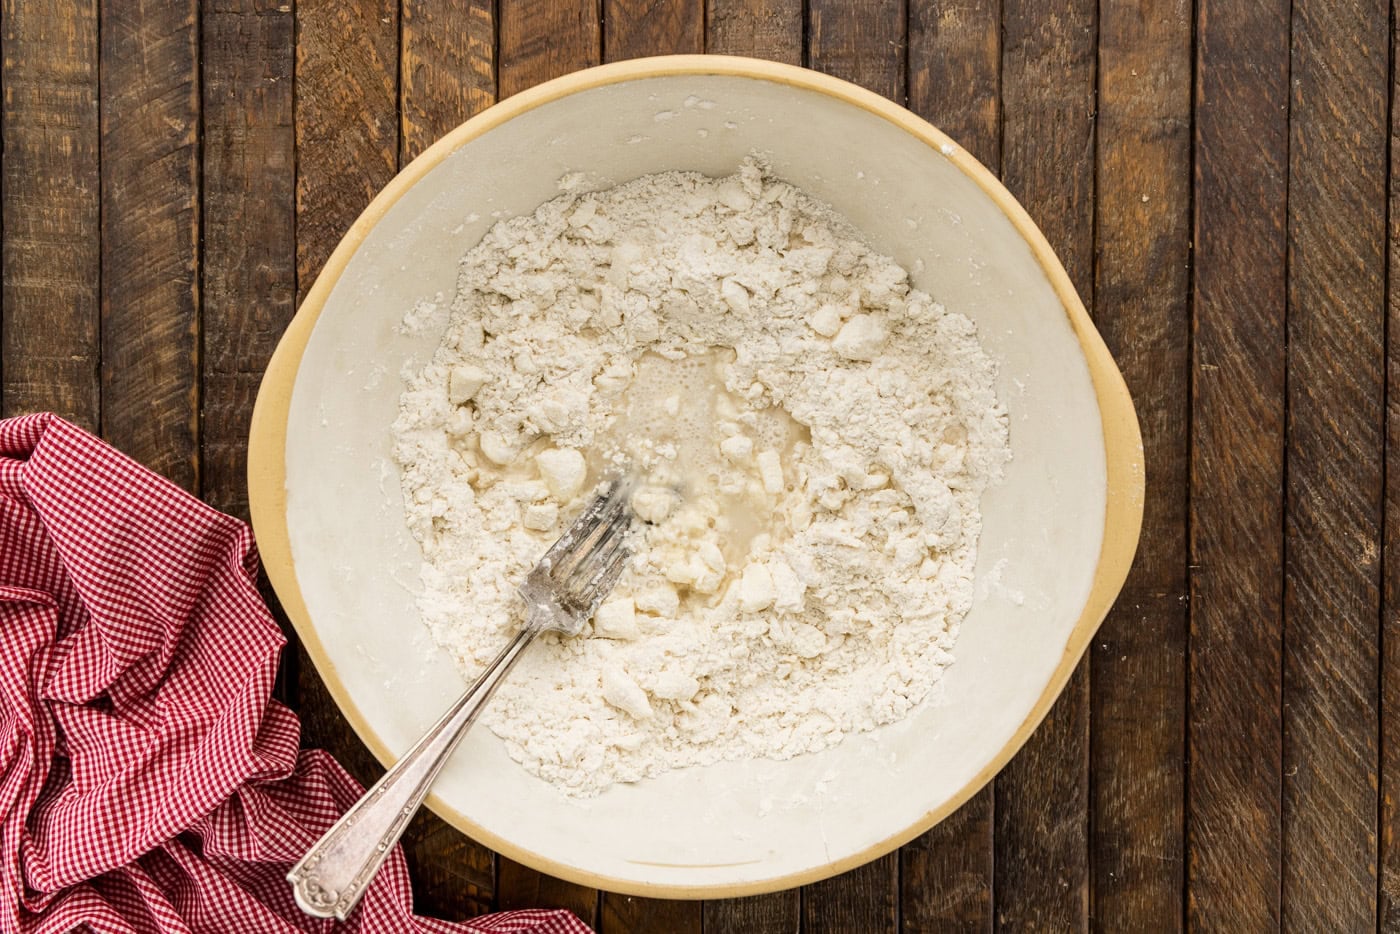
- Starting with 1/4 cup ice water, gradually add the ice water into the mixture. Using a large fork and then your fingertips, work the dough until it just comes together into a ball. If it needs more ice water to form a ball, then you can add more. Keep the ice water on hand in case you need more later if the dough dries out.
- Wrap the dough in plastic wrap to prevent drying and refrigerate for 30 minutes before rolling out.
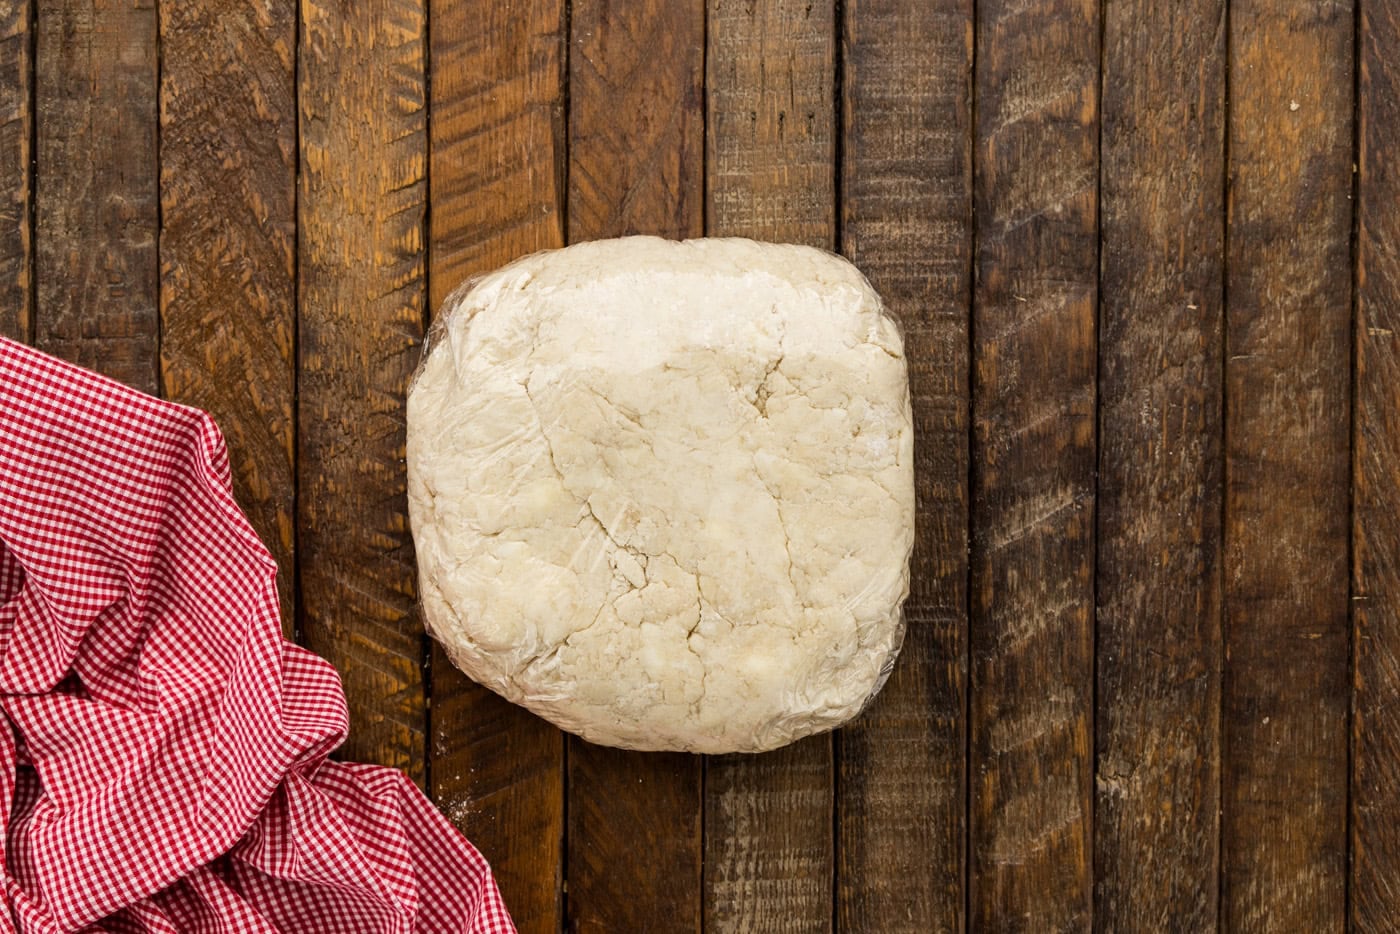
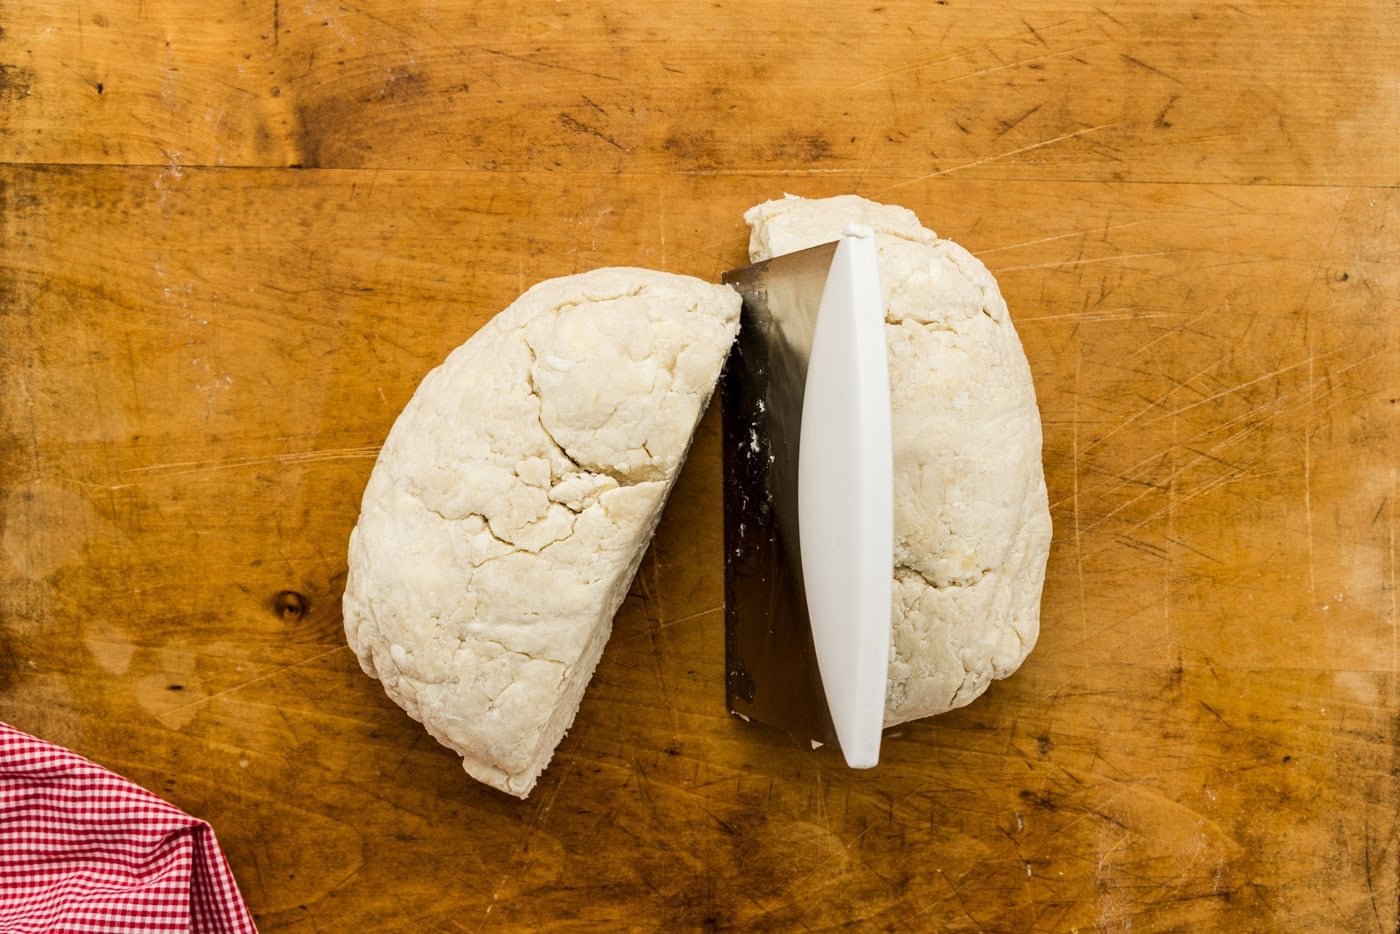
- After chilling for 30 minutes, divide the dough ball evenly in half with a dough scraper. Wrap 1 half in plastic wrap and return to the refrigerator to chill while you work on what will be the bottom crust.
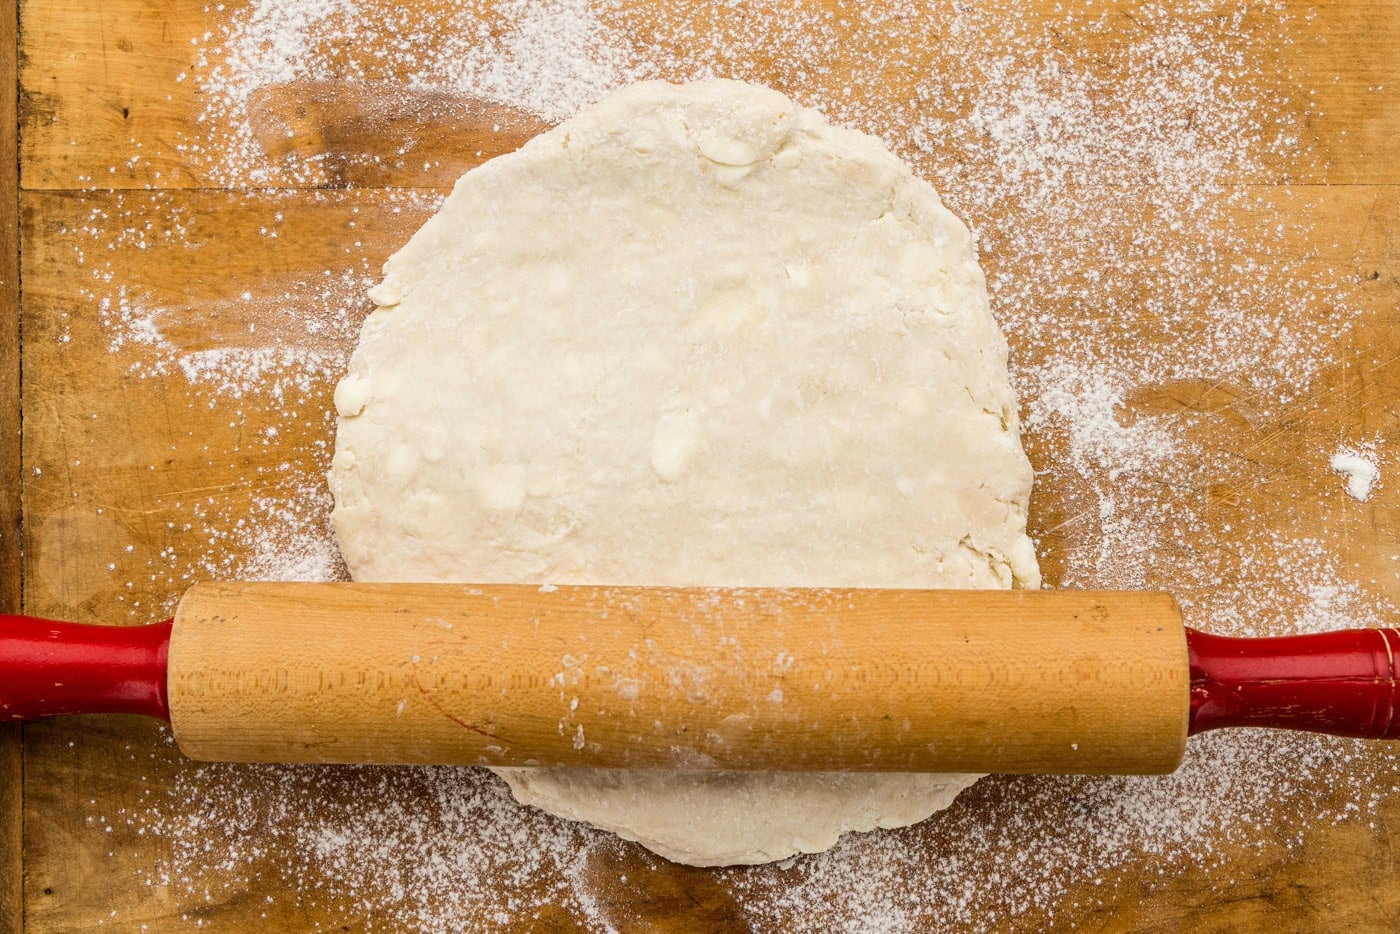
- Lightly flour your board or work surface. Roll out the other dough half into 1/4-inch thick circle to fit into the greased pie dish, leaving a slight overhang to account for any shrinkage when baking (1/2-inch overhang). Cover with a square of parchment paper and fill in with pie weights. Return to the refrigerator for 30 minutes.
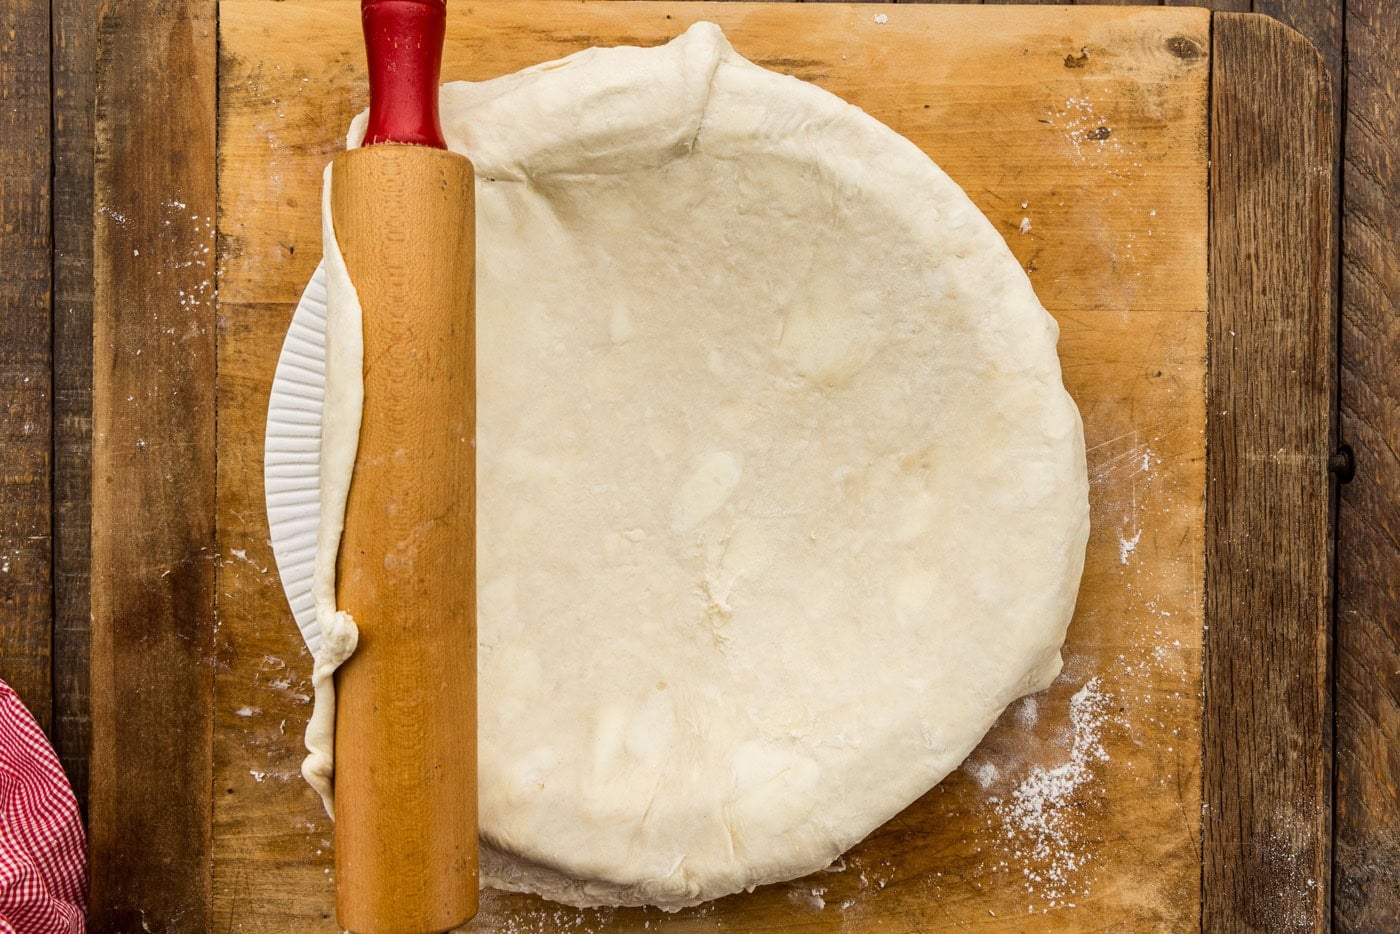
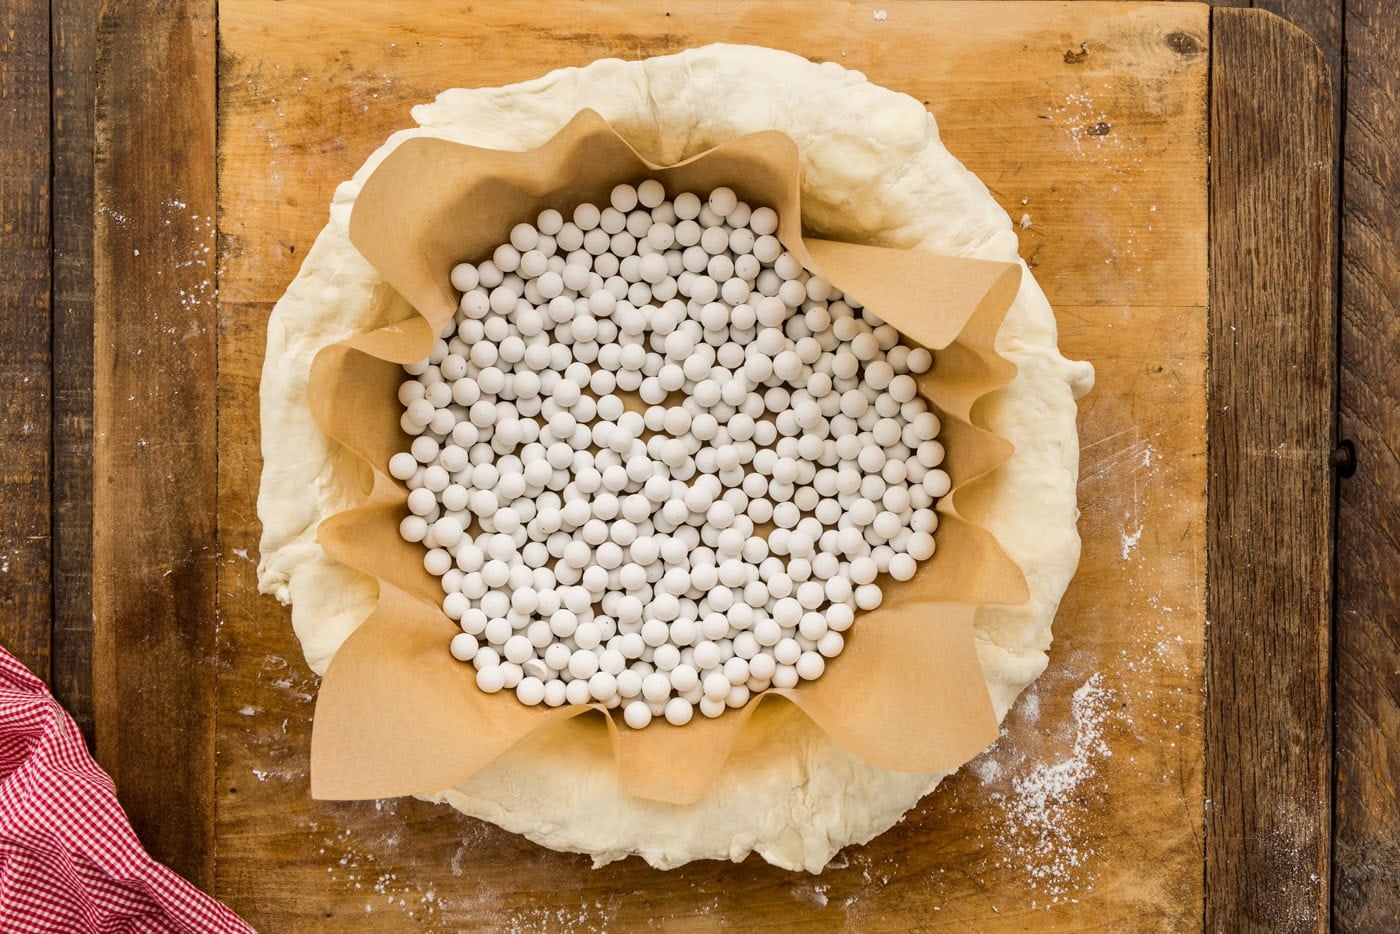
- While you wait for the bottom crust to chill, take out the half that will be the top crust. Cover a large cutting board with parchment paper and lightly flour the surface. Roll out a 1/4-inch thick circle for the top over a lightly floured surface. If any dough is sticky, just use some flour to ease handling at any step of the way. Cover the dough circle completely with the plastic wrap to prevent it from drying out. Chill for half an hour.
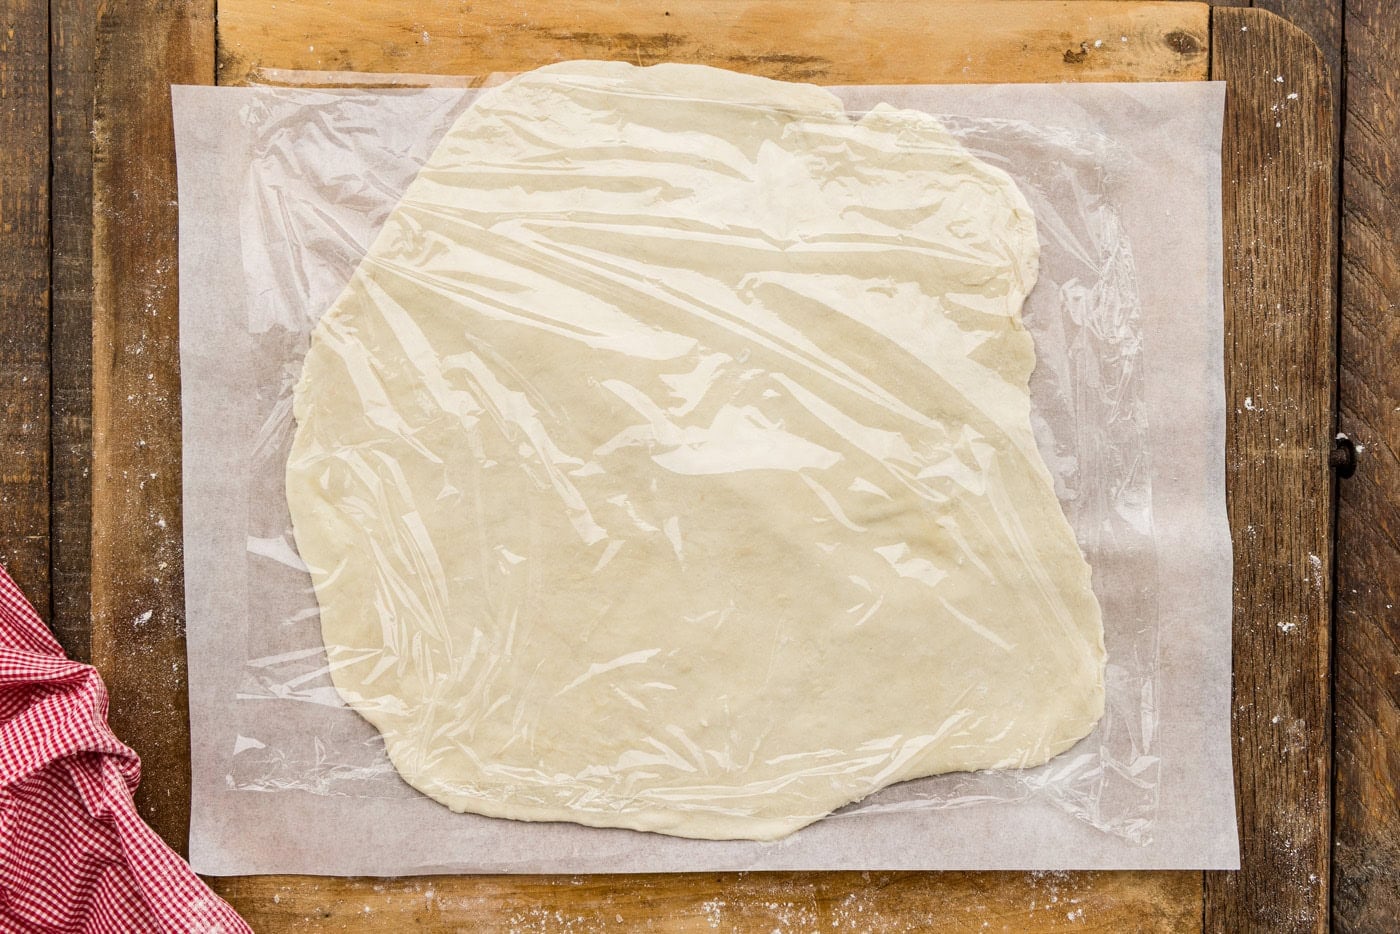
Blind Baking the Bottom Crust
- When all pie filling ingredients have been prepared and the top dough is chilling for the last time, preheat the oven to 425 degrees F.
- Pricking the bottom crust is not necessary if you have pie weights, if you don’t have pie weights, then you must prick the bottom crust. Make sure the bottom crust is covered with parchment paper (aluminum foil can also be used), pour the pie weights over the parchment paper and bake for 12-15 minutes until the bottom crust is light golden brown.
Baking the Pie
- After the bottom crust has been blind baked, spoon in the apple pie filling with a slotted spoon. Drizzle about 2 tablespoons of the filling juices leftover in the bowl over the apples. I wouldn’t recommend using all of the juices as it will be too watery. Gently press down on the apple slices to remove air pockets.
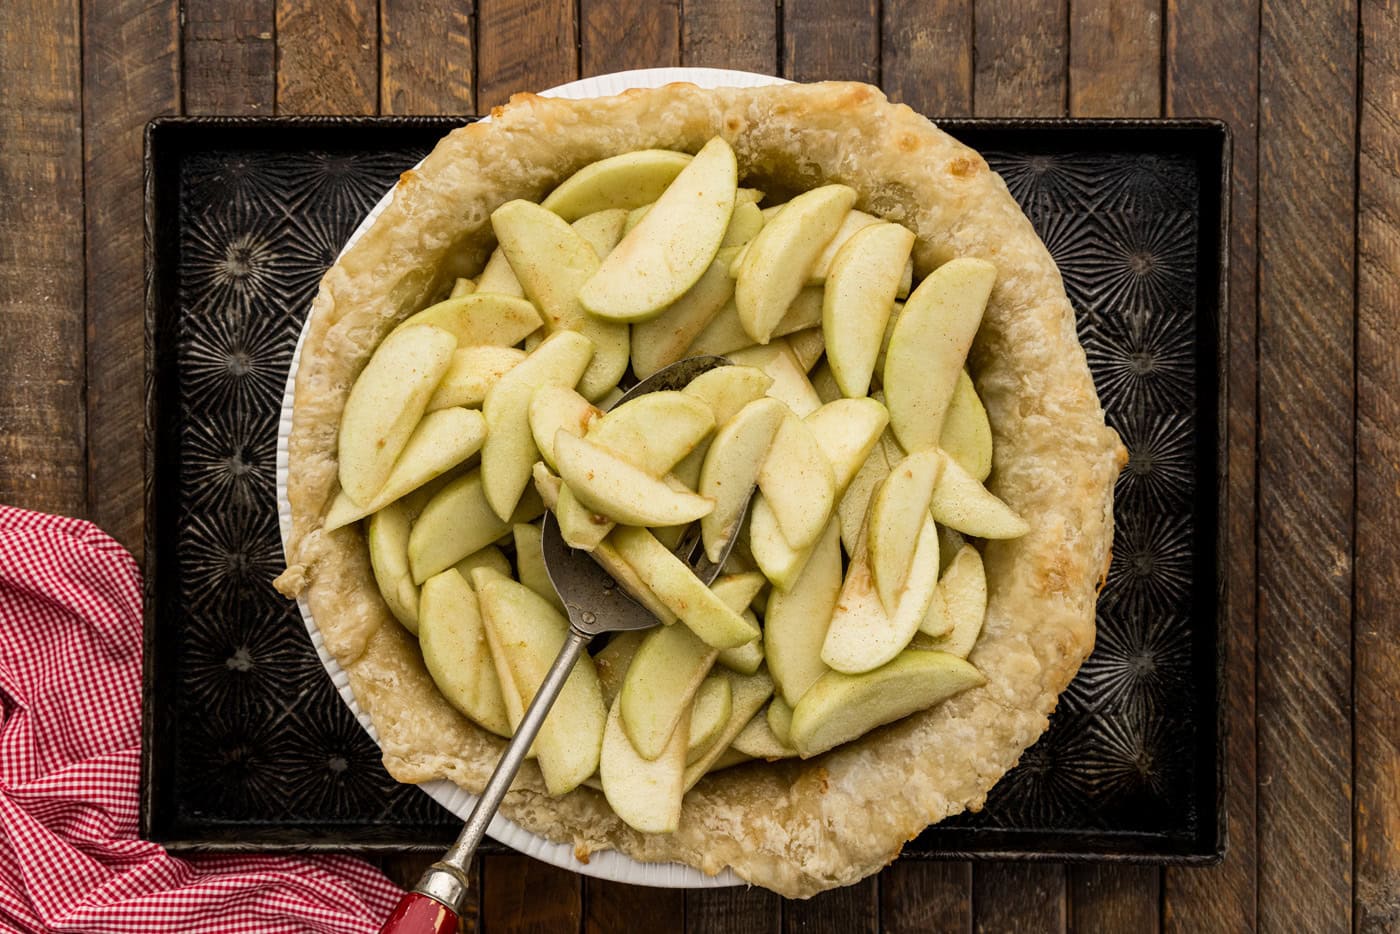
- For insurance, you can easily add about 2 tablespoons of cornstarch to the filling if it seems overly watery.
- After the top crust pie dough has chilled for 30 minutes, remove from the refrigerator and carefully place over the apple pie filling. Crimp and trim the edges. Create 2-3 slits in the top dough for venting.
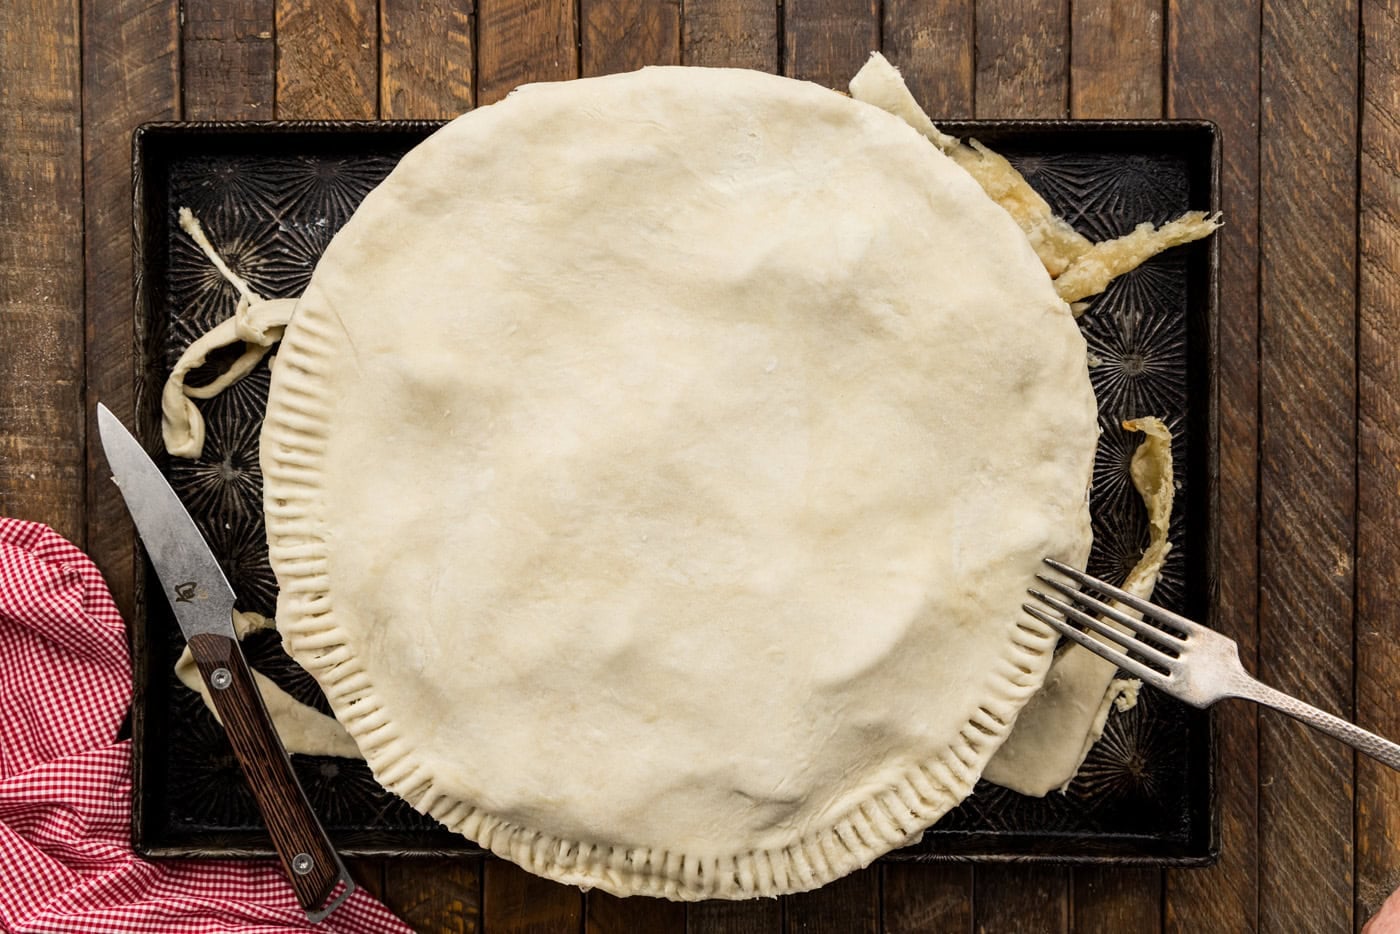
- Egg wash is optional, but this is when you would add it to the top dough circle. Be aware that an egg wash can make the pie look more browned as it bakes, so keep an eye on it in the oven.
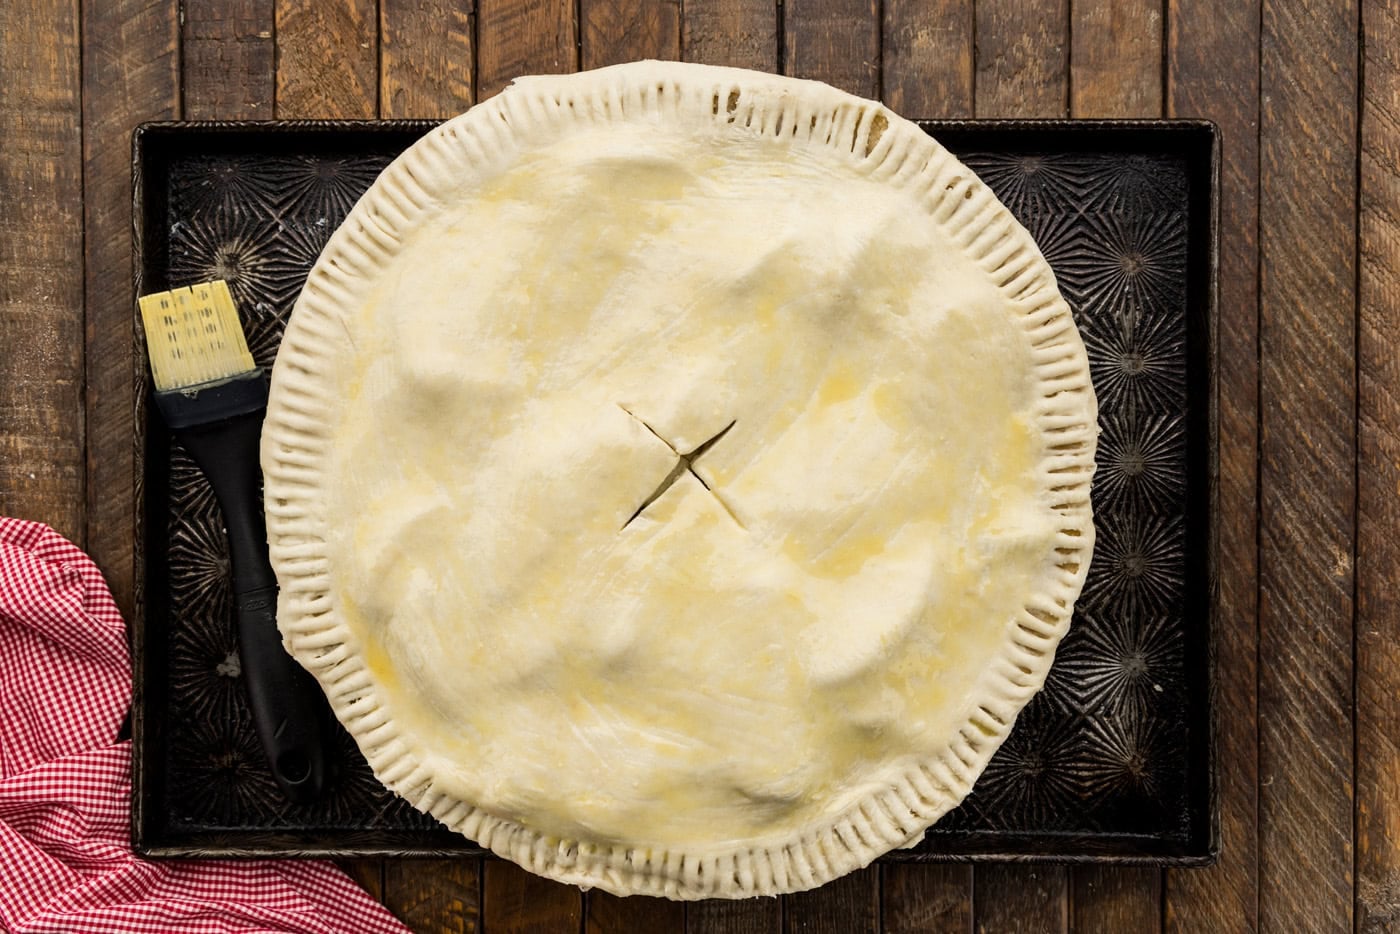
- Bake for 1 hour. Check on it 30-45 minutes in to make sure the top isn’t getting overly browned. Place an aluminum foil tent with a circle cutout for a vent to reduce browning, if need be. Bake the remaining time.
- Allow the pie to cool completely, this ensures it sets up before you cut into it.
Frequently Asked Questions & Expert Tips
For a standard 9 inch pie you need about 3 pounds of apples, which is roughly 8 to 9 medium ones. It always looks like too many when they are sliced and piled in the bowl. They cook down considerably, so mound them higher in the crust than seems reasonable, and you will end up with a full pie.
After the bottom crust is blind baked, the assembled pie bakes for about 1 hour. Check it at the 30 to 45 minute mark. If the top is browning faster than the filling is bubbling, tent it loosely with foil with a small vent cut in the center. I usually end up doing this around 45 minutes in. The pie is done when the crust is deep golden and you can see juices bubbling through the vents, not just simmering at the edges.
Firm, tart varieties hold up best. Granny Smith is my go-to. Honeycrisp, Braeburn, Pink Lady, and Golden Delicious all bake well too! Avoid soft eating apples like Red Delicious or McIntosh on their own, since they break down into mush. Mixing two varieties, one tart and firm and one sweeter is also great for flavor!
Basically, because raw dough sat under wet filling for an hour. This is why we blind bake the bottom crust before filling it. If you also want insurance, a small amount of cornstarch added to the filling will bind the extra juices. Baking the pie on a preheated baking sheet helps too, since it puts direct heat under the base.
You can skip it and you will still get a good pie, but you’ll most likely get a pale, damp base. Blind baking takes about 12 to 15 minutes, which isn’t long at all, and is completely worth the extra time!
Yes. A refrigerated double crust will save you well over an hour. The filling is the star here so do whatever you prefer for the crust! I use store bought crust myself in plenty of recipes, including our apple hand pies and mini apple pies. That said, if you are going to make one crust from scratch all year, this one is definitely my favorite.
Yes, I usually always prep my apple pie ahead of time at Thanksgiving. You can make the filling and the dough up to a day ahead and refrigerate them separately, then assemble and bake the day of. See the storage section below for baked pie timing.
Storage and Freezing Information
Store leftover apple pie loosely covered at room temperature for up to 2 days, or covered in the refrigerator for up to 4 days. Bring refrigerated slices back to room temperature or warm them in a 350°F oven for about 10 minutes before serving, which re-crisps the crust.
To freeze a baked pie, cool it completely, wrap it tightly in plastic wrap and then foil, and freeze for up to 3 months. Thaw overnight in the refrigerator and warm in a 350°F oven for 15 to 20 minutes.
You can also freeze the pie unbaked. Assemble it fully, wrap and freeze, then bake from frozen and add about 20 minutes to the bake time. Do not blind bake the bottom crust if you are freezing unbaked.
Serving Suggestions
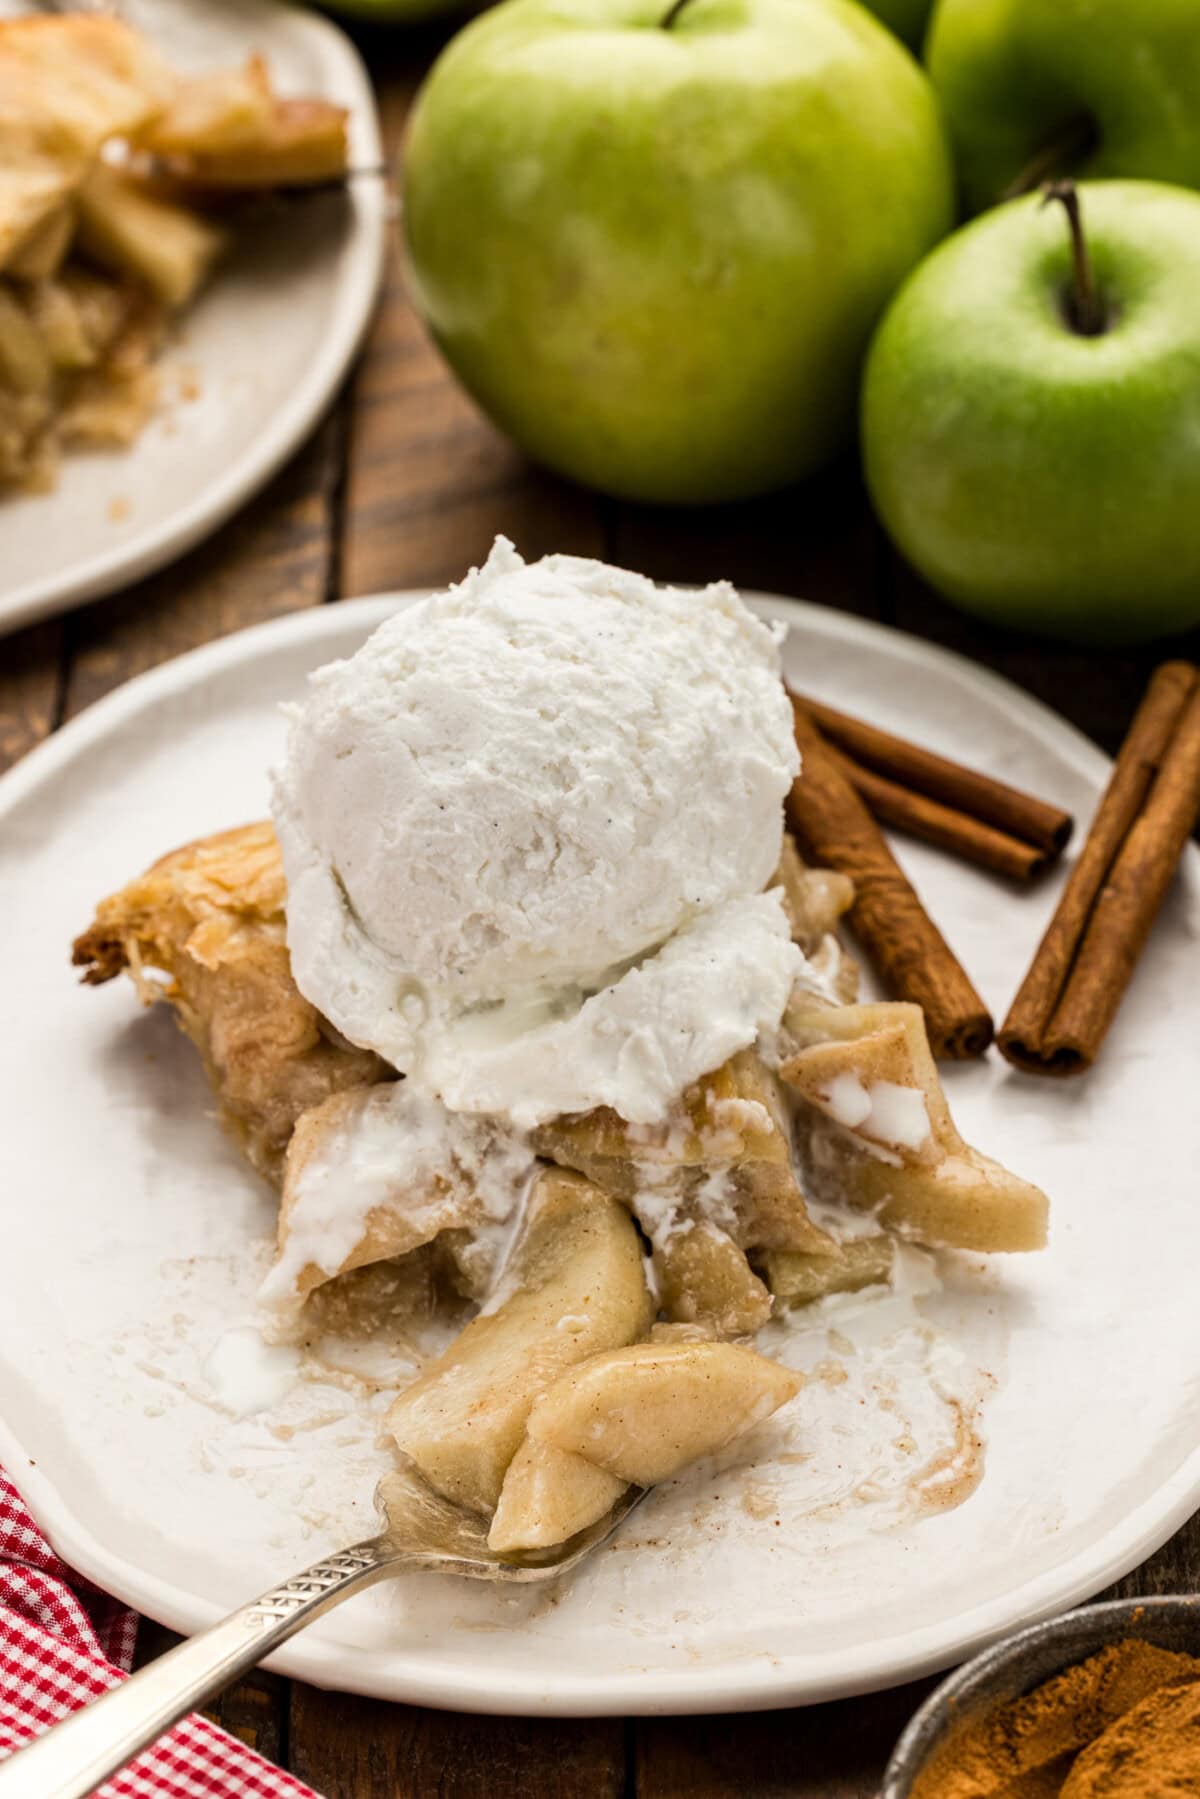
Serve your homemade apple pie with a scoop of vanilla ice cream, of course! A hefty dollop of whipped cream with a drizzle of caramel sauce is also incredible. Apple pie is amazing both served at room temp and warmed in the oven, it’s completely up to you. I hope you love it as much as we do!
More Apple Recipes
I love to bake and cook and share my kitchen experience with all of you! Remembering to come back each day can be tough, that’s why I offer a convenient newsletter every time a new recipe posts. Simply subscribe and start receiving your free daily recipes!
Homemade Apple Pie
IMPORTANT – There are often Frequently Asked Questions within the blog post that you may find helpful. Simply scroll back up to read them!
Print It Pin It Rate It Text ItIngredients
FILLING:
- 3 pounds Granny Smith apples peeled and sliced into ¼ inch thickness
- 3.8 ounces granulated sugar 1/2 cup
- 2 ounces brown sugar 1/4 cup
- ¼ cup honey
- 2-3 tablespoons flour
- 1 tablespoon apple cider vinegar can substitute fresh squeezed lemon juice
- 1 teaspoon cinnamon
- 1 teaspoon vanilla extract
- ¼ teaspoon sea salt or kosher salt
DOUBLE CRUST:
- 8.3 ounces all-purpose unbleached flour 2 1/3 cup. plus extra for rolling out dough
- 1 Tablespoon granulated sugar
- 1 Tablespoon apple cider vinegar
- ¼ teaspoon sea salt or kosher salt
- 1 cup butter sliced and chilled
- ¾ cup ice water plus more, if needed
- 1 large egg optional for eggwash
- 1 Tablespoon water optional for eggwash
Things You’ll Need
- Dough scraper or knife
Before You Begin
- For a standard 9 inch pie you need about 3 pounds of apples, which is roughly 8 to 9 medium ones. It always looks like far too many when they are sliced and piled in the bowl. They cook down considerably.
- Granny Smith is my go-to. Honeycrisp, Braeburn, Pink Lady, and Golden Delicious all bake well too! Avoid soft eating apples like Red Delicious or McIntosh on their own, since they break down into mush. Mixing two varieties, one tart and firm and one sweeter, gives you the most interesting flavor profile.
- Cold butter is not a suggestion in pie crust, it’s part of the magic! I cube mine and put it back in the freezer while I measure everything else. Those cold chunks turn to steam in the oven and push the dough apart into layers, which is where flakiness comes from.
Instructions
APPLE PIE FILLING
- In a large bowl, combine all apple pie filling ingredients, cover and set aside to marinate. Or, refrigerate if preparing the day before.3 pounds Granny Smith apples, 3.8 ounces granulated sugar, 2 ounces brown sugar, ¼ cup honey, 2-3 tablespoons flour, 1 tablespoon apple cider vinegar, 1 teaspoon cinnamon, 1 teaspoon vanilla extract, ¼ teaspoon sea salt or kosher salt
- When mixing ingredients, I recommend sprinkling the ingredients over the sliced apples, coating evenly and then mixing thoroughly.
DOUBLE PIE CRUST
- Before starting, make sure all ingredients are cold, especially the butter, to ensure the crust comes out flaky. Grease a pie dish and set aside. It's easy to use the butter wrappers to grease the dish.
- In a large mixing bowl, mix the flour, sugar, apple cider vinegar, salt, and chilled butter slices. Using a pastry blender, work the mixture until you get a crumbly texture with about 1/2-inch inch butter chunks.8.3 ounces all-purpose unbleached flour, 1 Tablespoon granulated sugar, 1 Tablespoon apple cider vinegar, ¼ teaspoon sea salt, 1 cup butter
- Starting with 1/4 cup ice water, gradually add the ice water into the mixture. Using a large fork and then your fingertips, work the dough until it just comes together into a ball. If it needs more ice water to form a ball, then you can add more. Keep the ice water on hand in case you need more later if the dough dries out.3/4 cup ice water
- Wrap the dough in plastic wrap to prevent drying and refrigerate for 30 minutes before rolling out.
- After chilling for 30 minutes, divide the dough ball evenly in half with a dough scraper. Wrap 1 half in plastic wrap and return to the refrigerator to chill while you work on what will be the bottom crust.
- Lightly flour your work surface, then roll out the other dough half into 1/4-inch thick circle to fit into the greased pie dish, leaving a slight overhang to account for any shrinkage when baking (1/2-inch overhang). Cover with a square of parchment paper and fill in with pie weights. Return to the refrigerator for 30 minutes.
- While you wait for the bottom crust to chill, take out the half that will be the top crust. Cover a large cutting board with parchment paper and lightly flour the surface. Roll out a 1/4-inch thick circle for the top over a lightly floured surface. If any dough is sticky, just use some flour to ease handling at any step of the way. Cover the dough circle completely with the plastic wrap to prevent it from drying out. Chill for half an hour.
BLIND BAKING THE BOTTOM CRUST
- When all pie filling ingredients have been prepared and the top dough is chilling for the last time, preheat the oven to 425 degrees F.
- Pricking the bottom crust is not necessary if you have pie weights, if you don't have pie weights, then you must prick the bottom crust. Make sure the bottom crust is covered with parchment paper (aluminum foil can also be used), pour the pie weights over the parchment paper and bake for 12-15 minutes until the bottom crust is light golden brown.
BAKE THE PIE
- After the bottom crust has been blind baked, spoon in the apple pie filling with a slotted spoon. Drizzle about 2 tablespoons of the filling juices leftover in the bowl over the apples. I wouldn't recommend using all of the juices as it will be too watery. Gently press down on the apple slices to remove air pockets.
- For insurance, you can easily add about 2 tablespoons of cornstarch to the filling if it seems really watery.
- After the top crust pie dough has chilled for 30 minutes, remove from the refrigerator and carefully place over the apple pie filling. Crimp and trim the edges. Create 2-3 slits in the top dough for venting.
- Egg wash is optional, but this is when you would add it to the top dough circle. Be aware that an egg wash can make the pie look more browned as it bakes, so keep an eye on it in the oven.1 large egg, 1 Tablespoon water
- Bake for 1 hour. Check on it 30-45 minutes in to make sure the top isn't getting overly browned. Place an aluminum foil tent with a circle cutout for a vent to reduce browning, if need be. Bake the remaining time.
- Allow the pie to cool completely, this ensures it sets up before you cut into it.
Expert Tips & FAQs
- Store leftover apple pie loosely covered at room temperature for up to 2 days, or covered in the refrigerator for up to 4 days. Bring refrigerated slices back to room temperature or warm them in a 350°F oven for about 10 minutes before serving, which re-crisps the crust.
- To freeze a baked pie, cool it completely, wrap it tightly in plastic wrap and then foil, and freeze for up to 3 months. Thaw overnight in the refrigerator and warm in a 350°F oven for 15 to 20 minutes.
- You can also freeze the pie unbaked. Assemble it fully, wrap and freeze, then bake from frozen and add about 20 minutes to the bake time. Do not blind bake the bottom crust if you are freezing unbaked.
Nutrition
The recipes on this blog are tested with a conventional gas oven and gas stovetop. It’s important to note that some ovens, especially as they age, can cook and bake inconsistently. Using an inexpensive oven thermometer can assure you that your oven is truly heating to the proper temperature. If you use a toaster oven or countertop oven, please keep in mind that they may not distribute heat the same as a conventional full sized oven and you may need to adjust your cooking/baking times. In the case of recipes made with a pressure cooker, air fryer, slow cooker, or other appliance, a link to the appliances we use is listed within each respective recipe. For baking recipes where measurements are given by weight, please note that results may not be the same if cups are used instead, and we can’t guarantee success with that method.
- Apple Cider Sangria - September 29, 2026
- Pumpkin Truffles - September 22, 2026
- Double Chocolate Zucchini Muffins - September 9, 2026




Shirley Armstrong says
Amanda Thank you..Your recipes are so easy to make.
I ♥️ to bake and other dishes. Keep sharing your recipes.
Shirley – Los Angeles 🥰💜