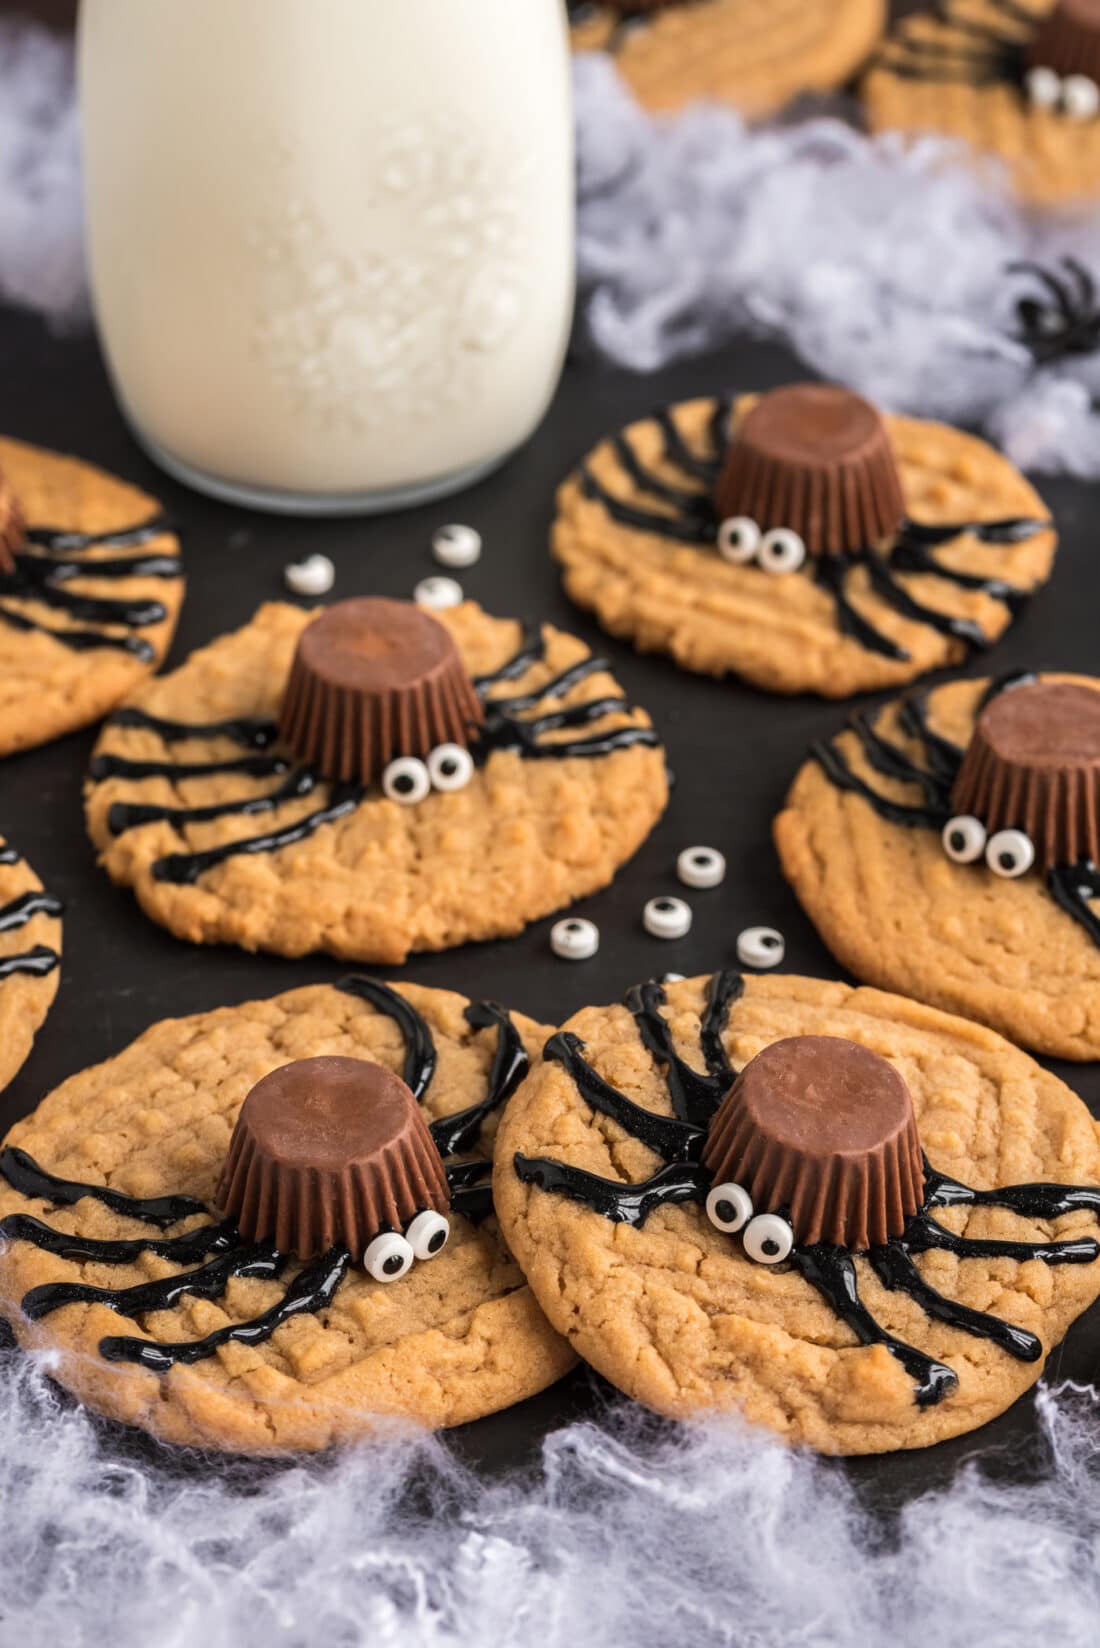
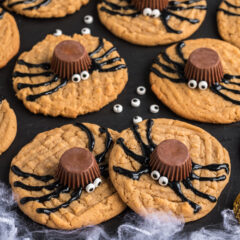
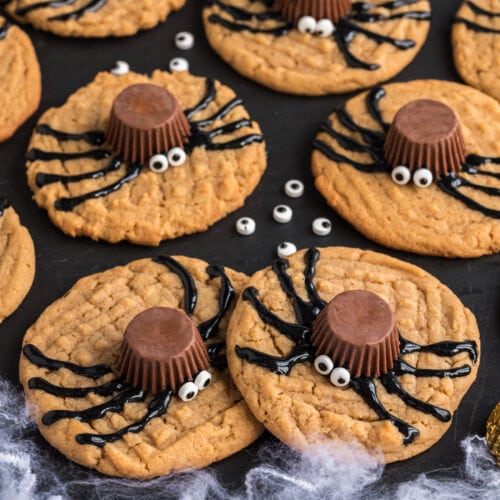
Sweet but spooky, these spider cookies will crawl right off your dessert table in minutes! Homemade peanut butter cookies topped with mini Reese’s cups and candy eyeballs create the cutest Halloween party dessert.
Why this recipe works
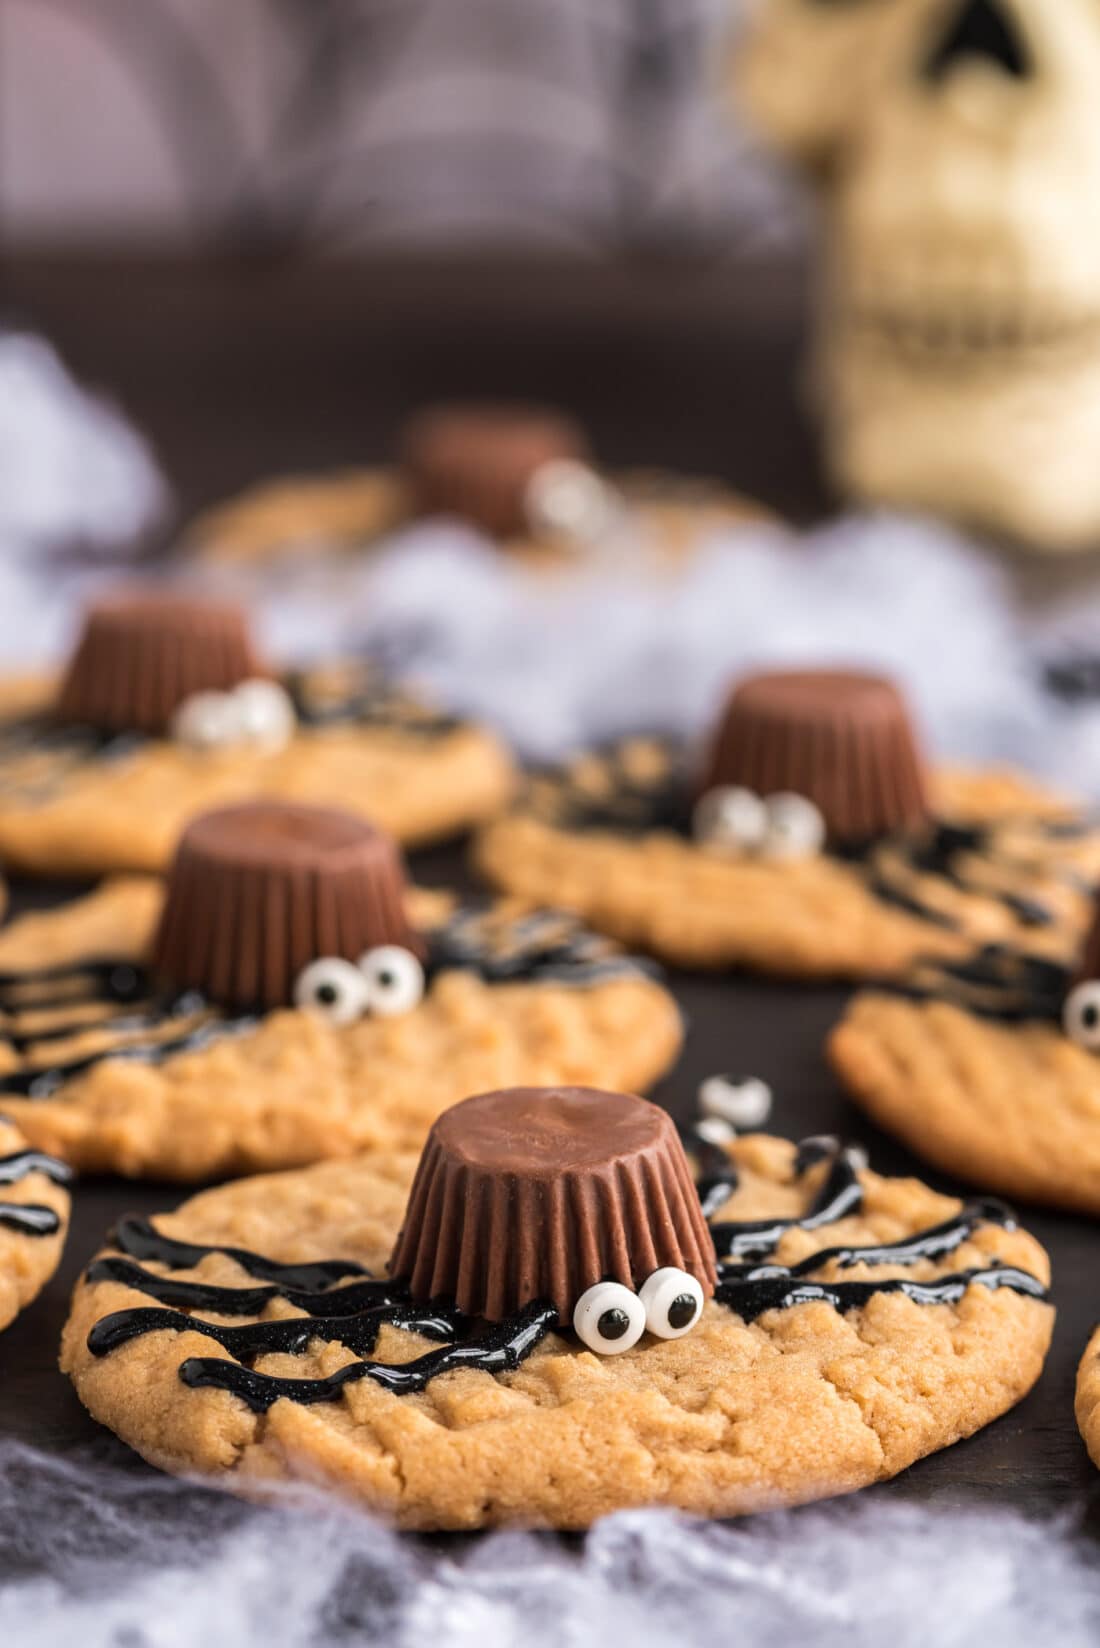
These spider cookies are the only acceptable time to have creepy crawlies on top of your food. A perfected peanut butter cookie base is decked out with a Reese’s cup, candy eyeballs, and decorator gel to make one of the most adorable Halloween desserts you’ll come across. We made them a couple of years ago for our pumpkin painting party and they were some of the first things to disappear from the table.
We love this recipe because it’s easy. It doesn’t take much more effort than whipping together some homemade cookies because piping on the legs, body, and eyes is done in a snap. Prep, roll, bake then decorate. I’m sure the kids will want in on this recipe as well!
Ingredients you will need
Get all measurements, ingredients, and instructions in the printable version at the end of this post.
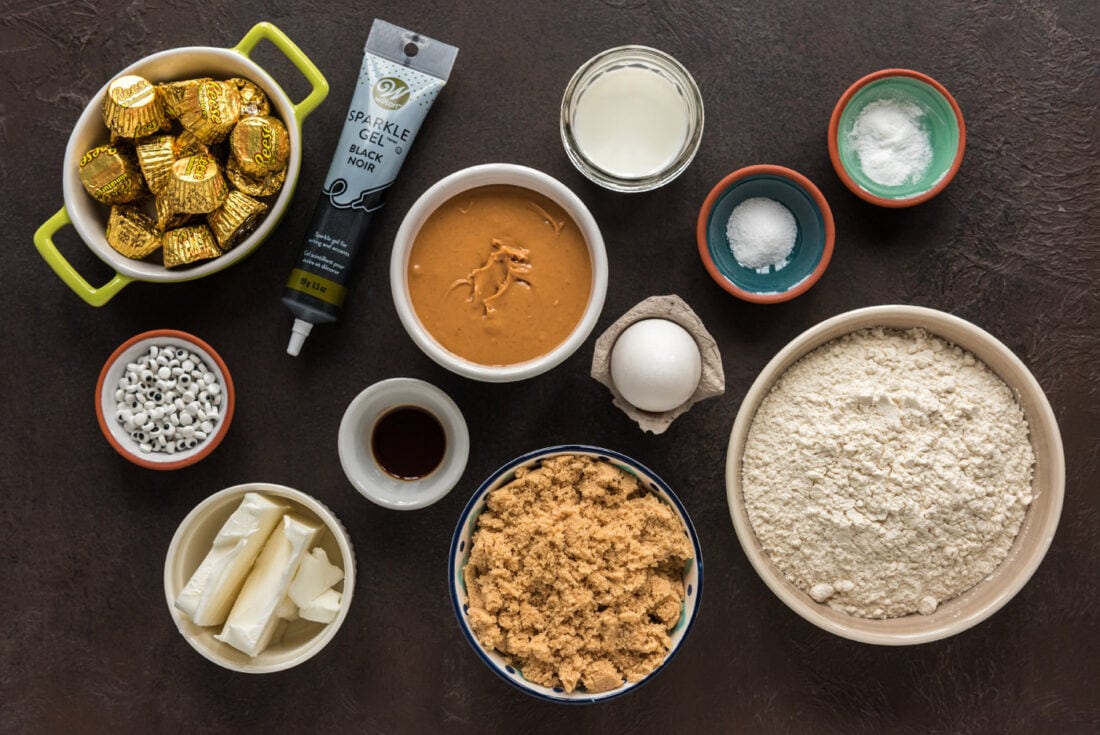
Ingredient Info and Substitution Suggestions
COOKIES – We used our peanut butter cookies recipe as the base of these spider cookies. If preferred, you can skip the step of creating fork marks. Underbake the cookies by a minute or so for a chewy cookie. You can also substitute with cake mix peanut butter cookies! Sugar cookies, chocolate chip cookies, and pumpkin cookies would be great substitutes as well.
DECORATOR GEL – Black decorator gel is what we use to pipe on the spider legs and also adhere the body of the spider and the candy eyeballs. Decorator gel can take a while to set so try not to move the cookies around too much at first or you’ll risk the Reese’s cup or candy eyes sliding off! In place of the decorator gel, you can easily use cookie icing or melt semi-sweet chocolate chips, baking chocolate, almond bark, or candy melts and get the same results.
REESE’S – Grab individually wrapped mini Reese’s cups to use as the body of the spider. Do not stick the Reese’s cup onto hot cookies, it will cause them to melt.
How to Make Spider Cookies
These step by step photos and instructions are here to help you visualize how to make this recipe. You can Jump to Recipe to get the printable version of this recipe, complete with measurements and instructions at the bottom.
- Preheat oven to 375 degrees F.
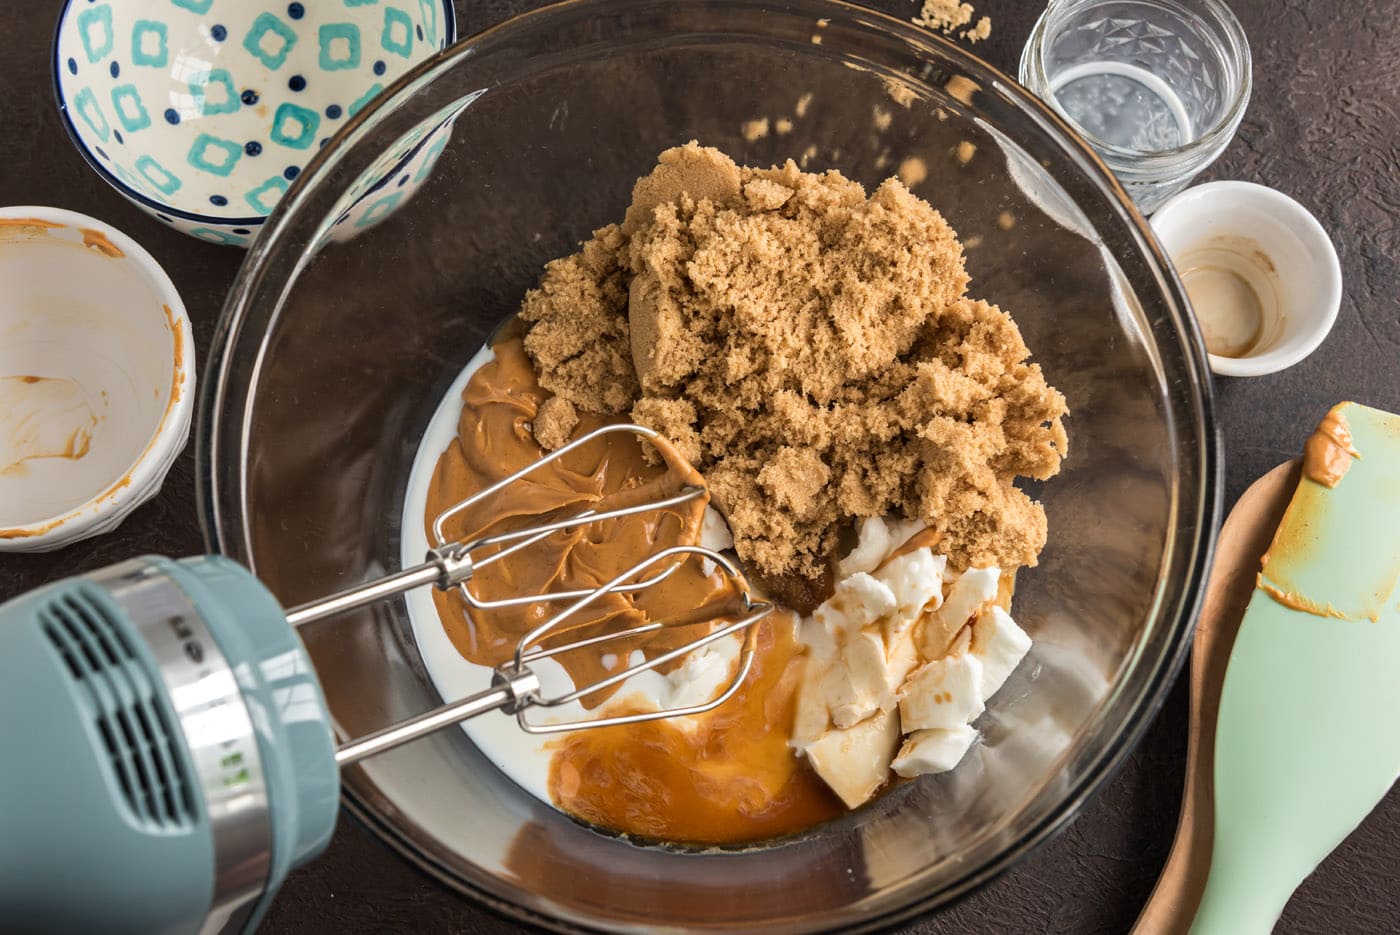
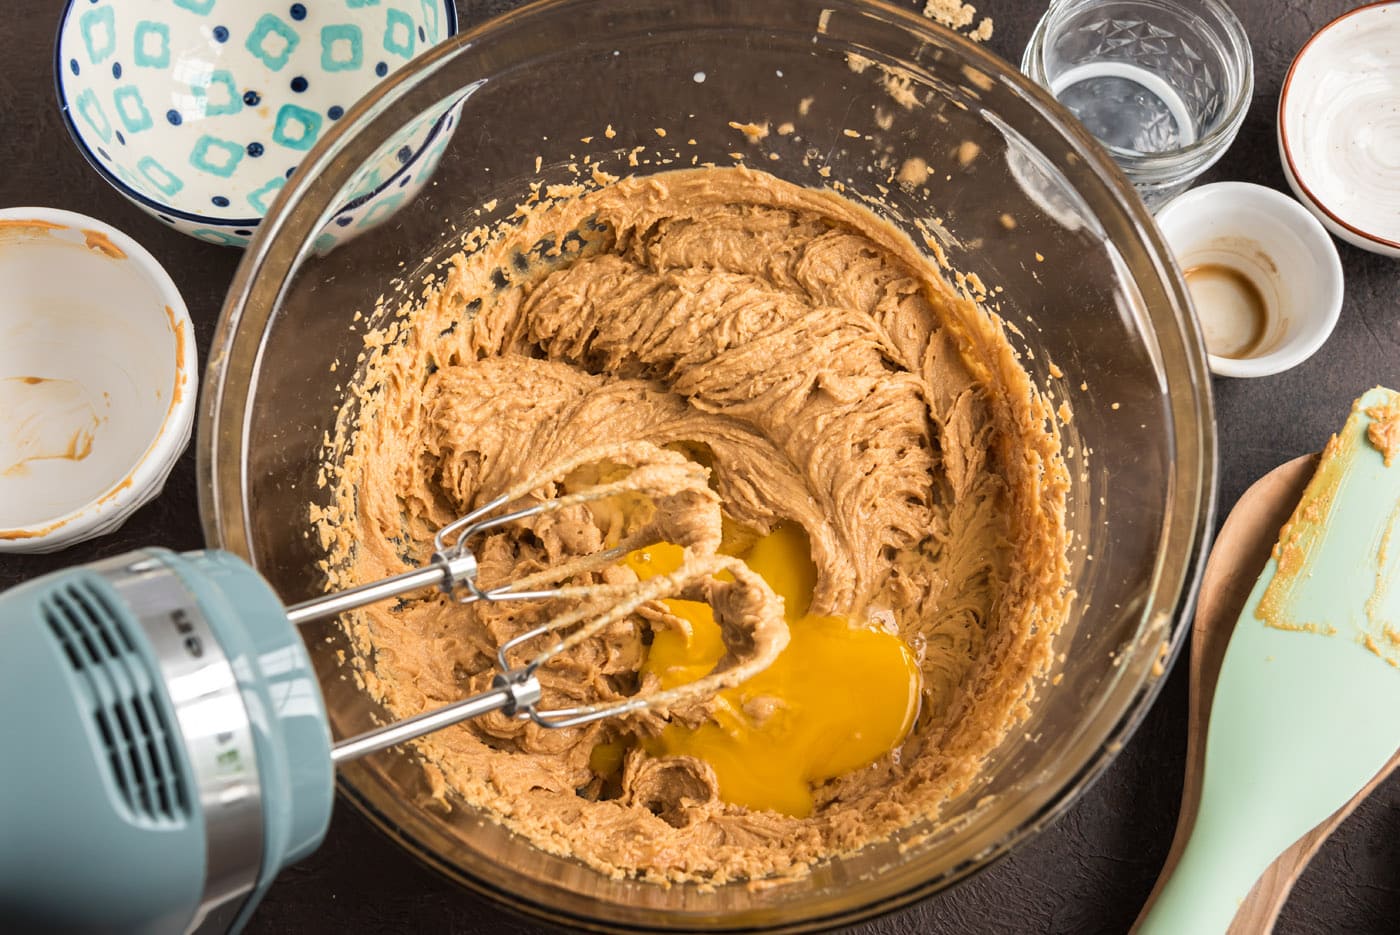
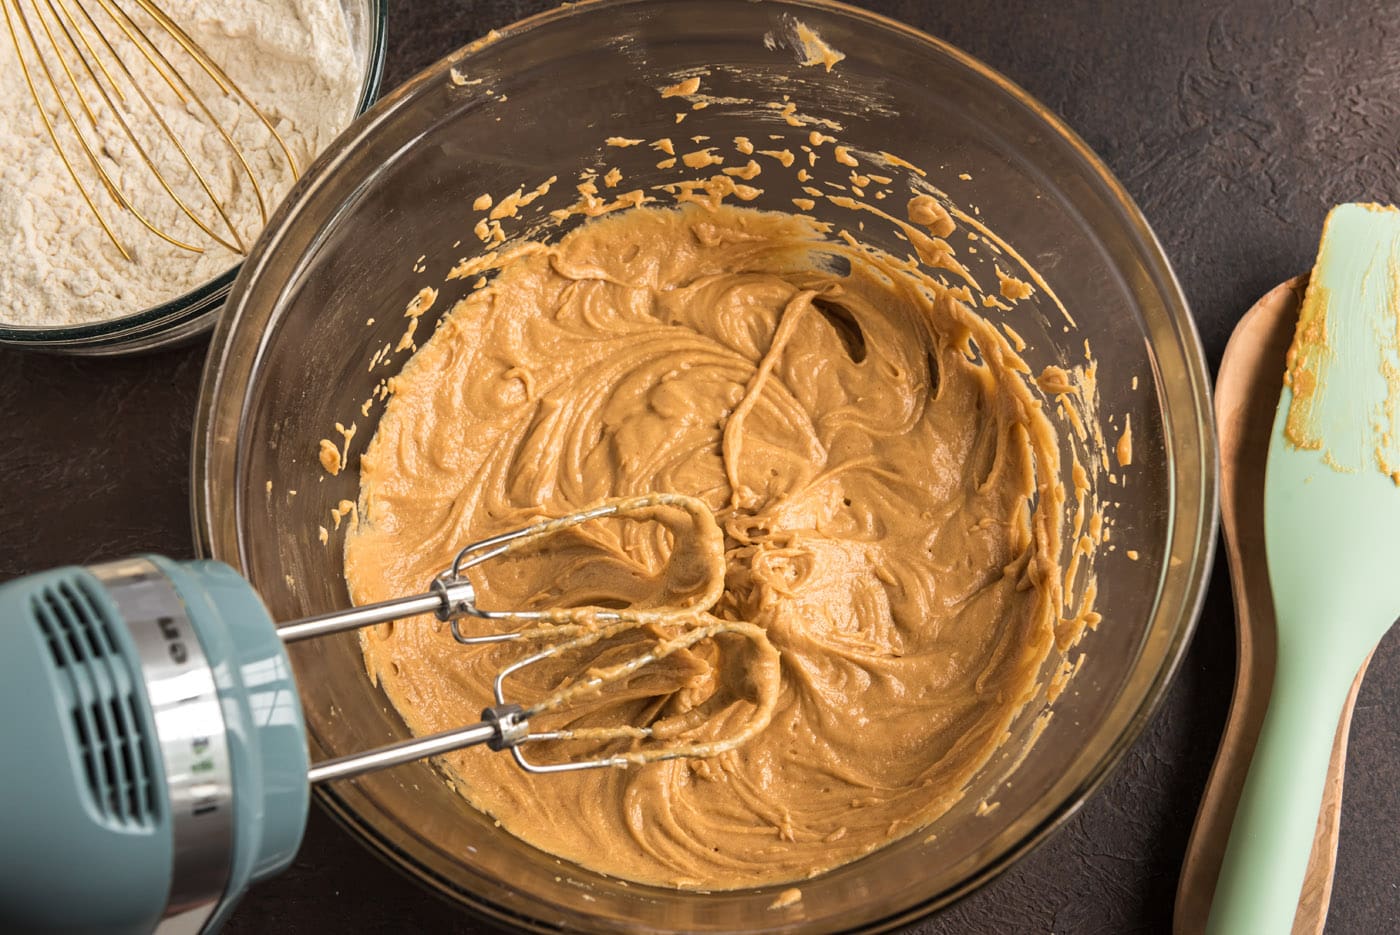
- Combine shortening, peanut butter, brown sugar, milk, and vanilla in a large bowl. Beat with an electric mixer at medium speed until well blended. Add egg. Beat just until blended.
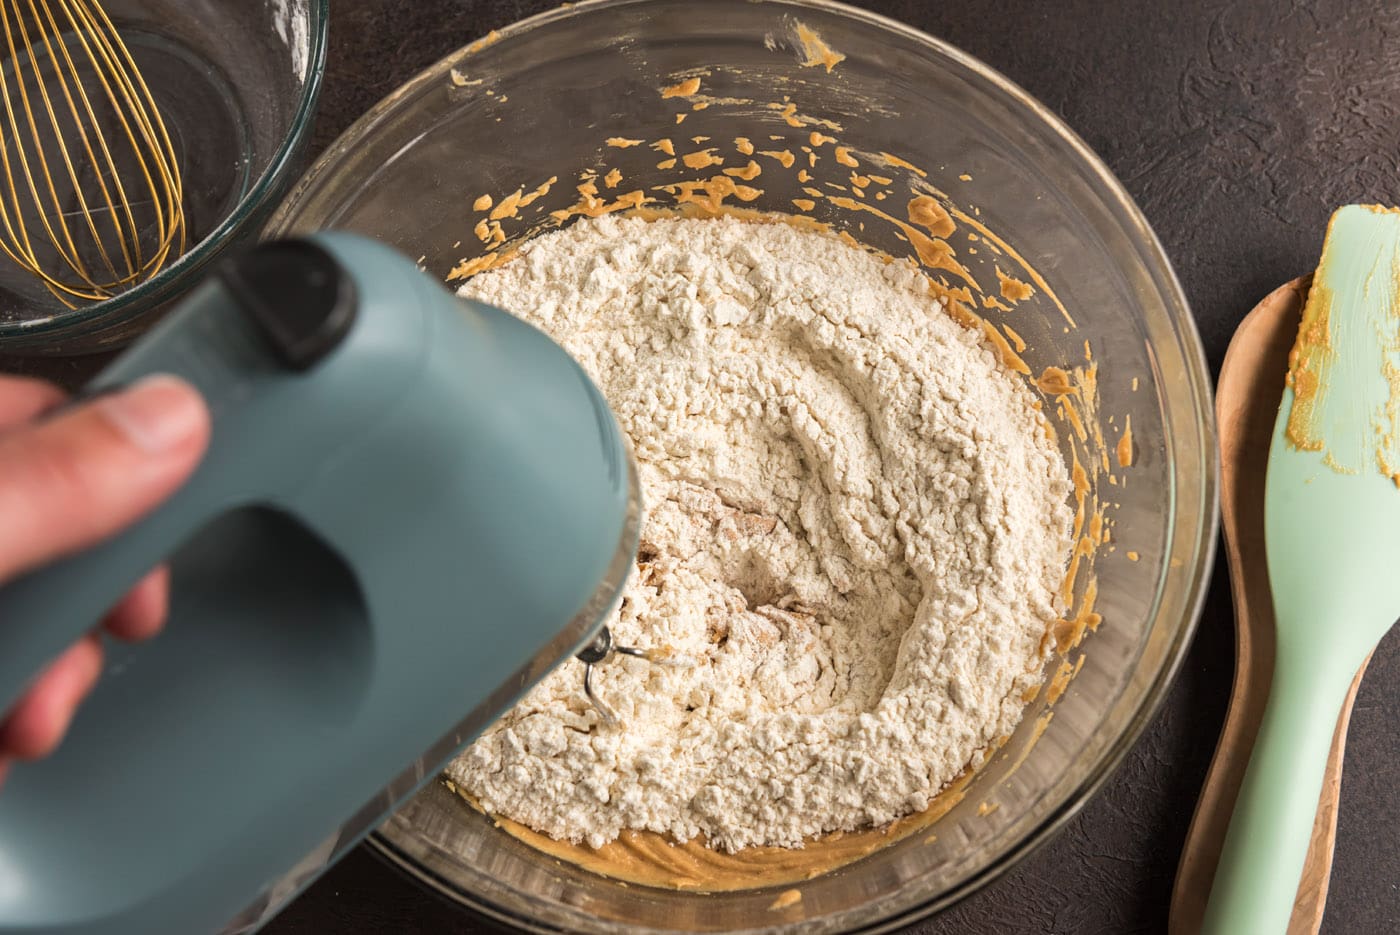
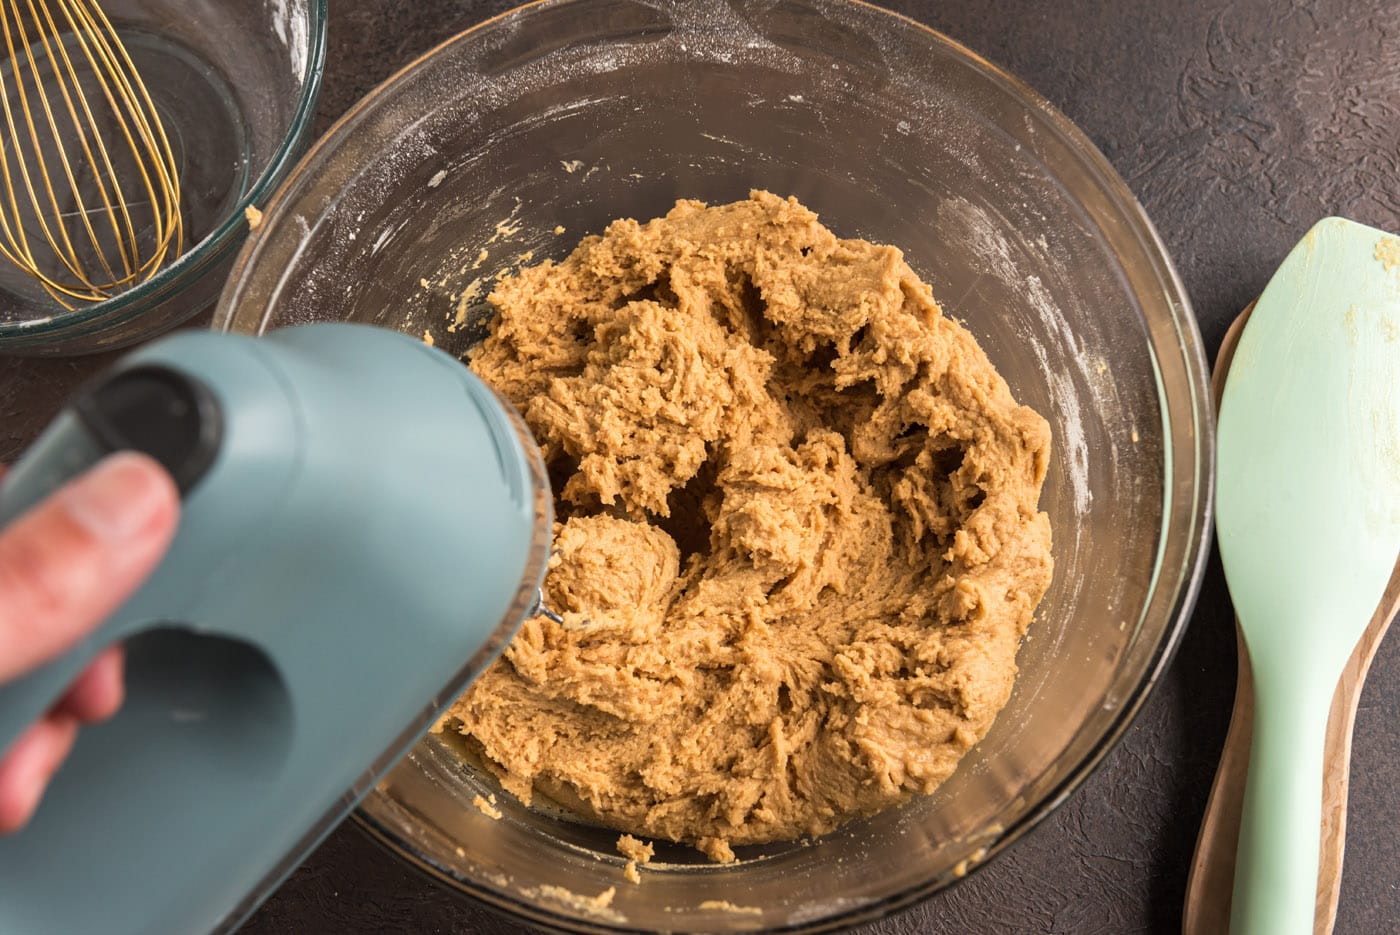
- Combine flour, salt and baking soda. Add to creamed mixture at low speed. Mix just until blended.
- Drop by heaping tablespoonfuls (using a cookie scoop works great) 2 inches apart onto an ungreased baking sheet. Flatten slightly in a crisscross pattern with the tines of the fork. You can optionally skip the fork marks in the cookie if desired.
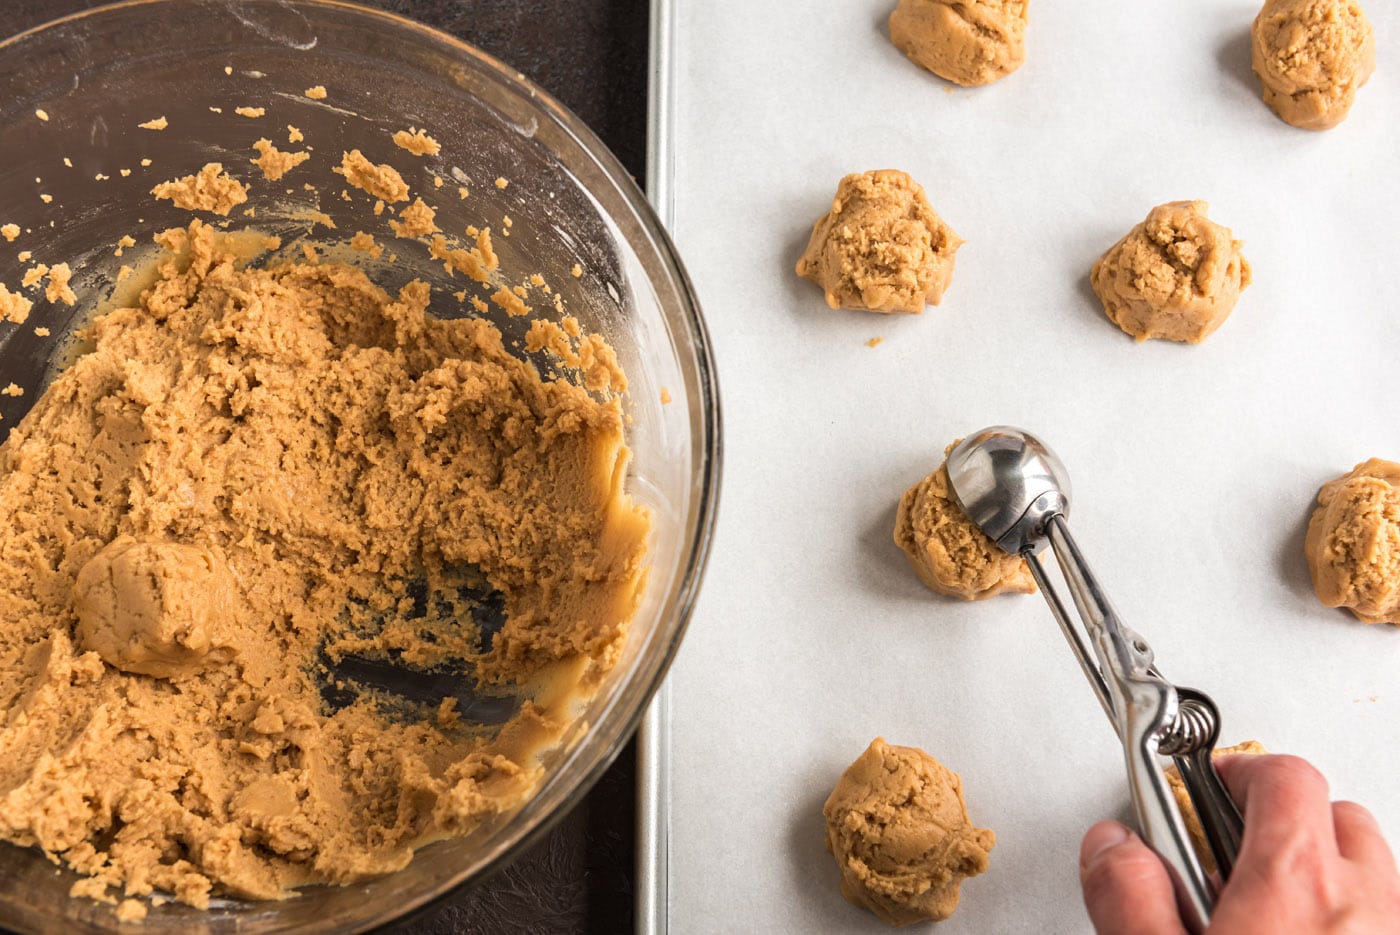
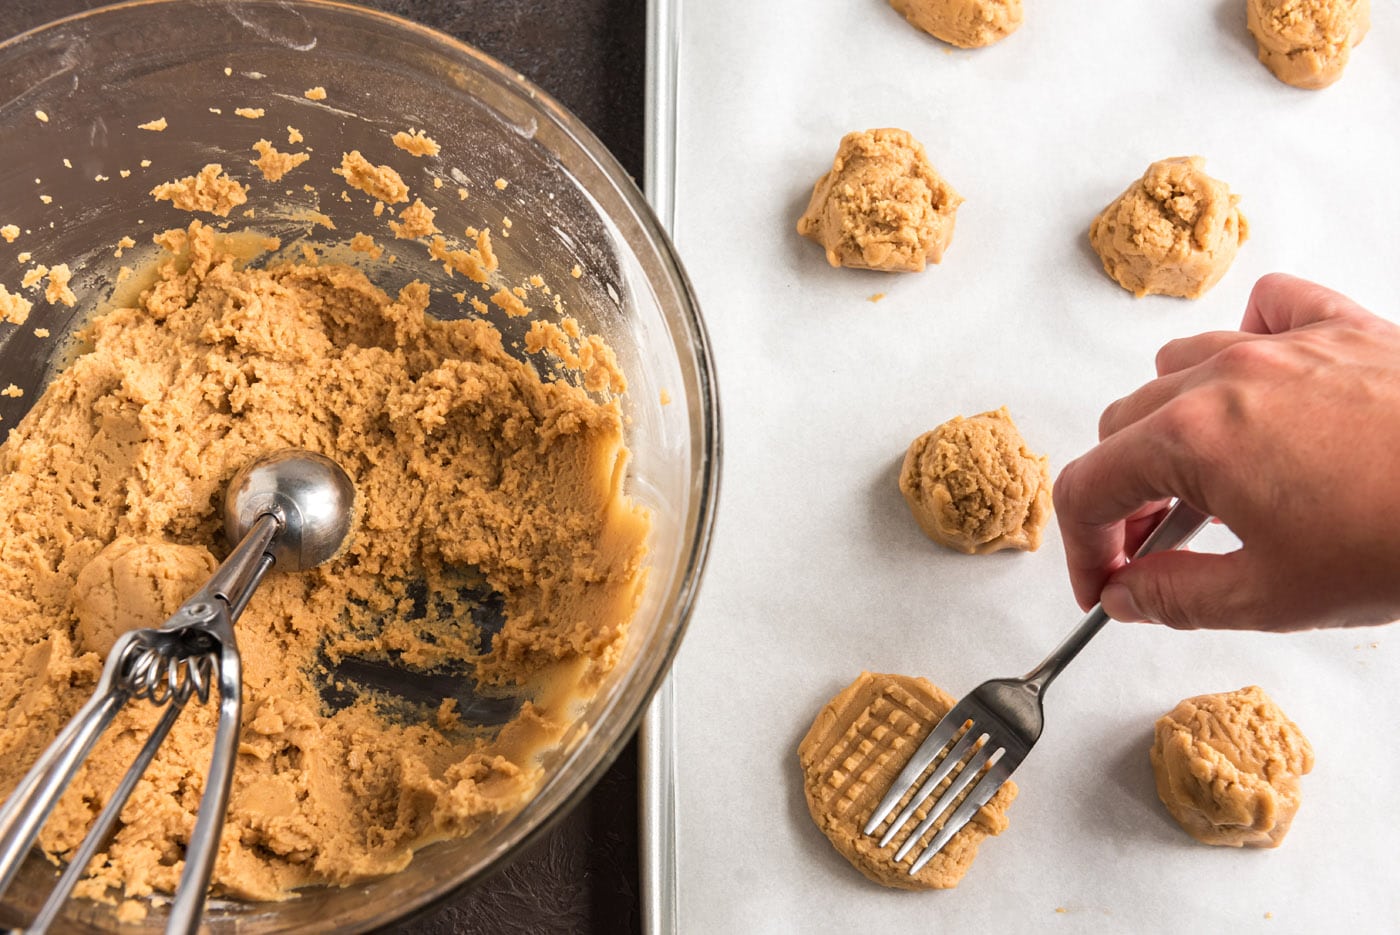
- Bake for 7 to 8 minutes, or until set and just beginning to brown. DO NOT OVERBAKE. Cool for 2 minutes on a baking sheet. Remove cookies to racks to cool completely.
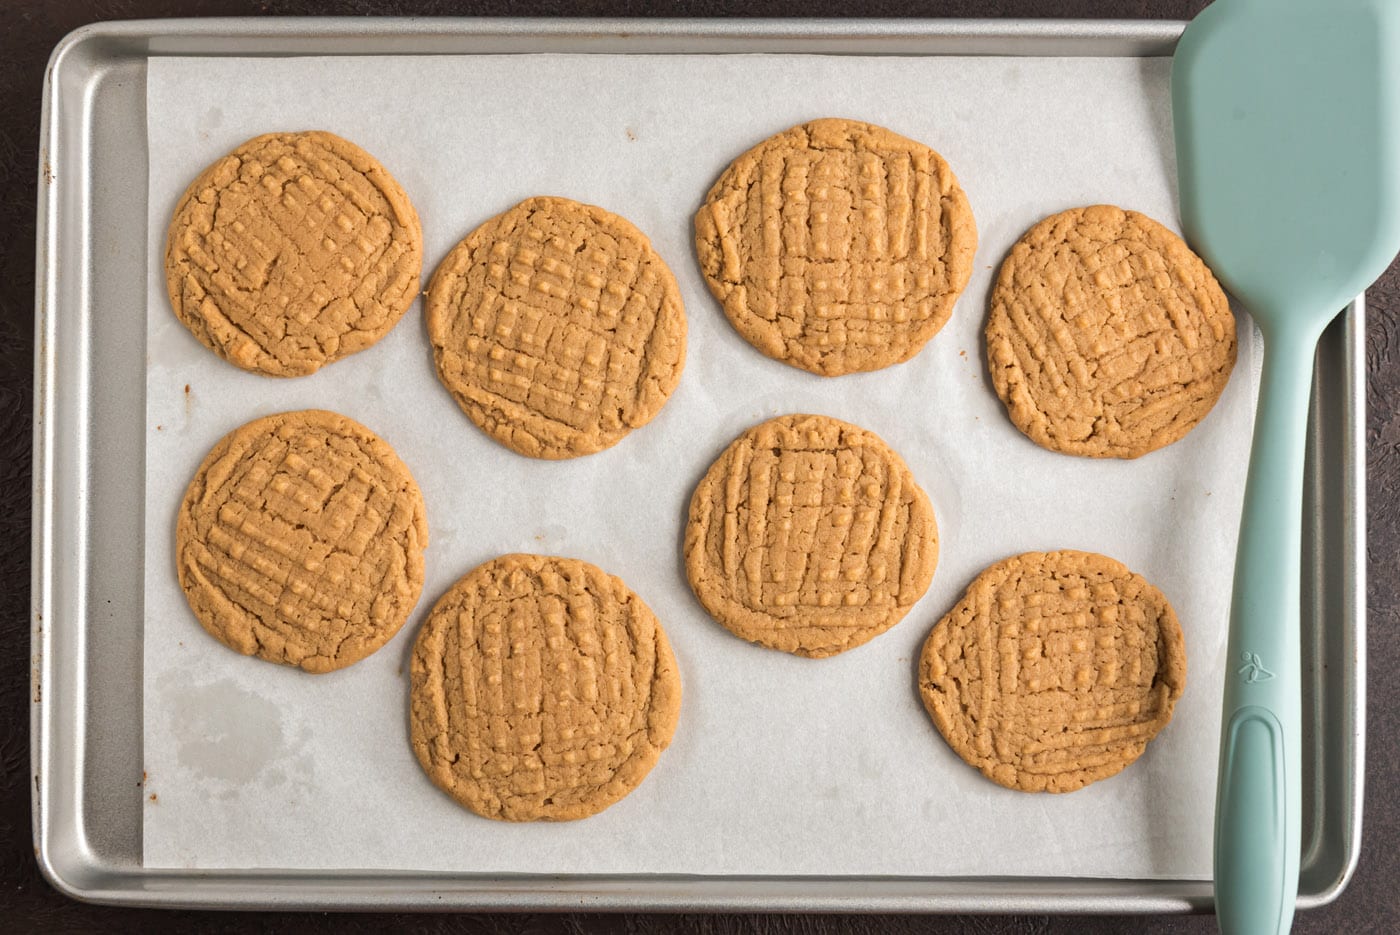
- After the cookies are fully cooled, you can begin decorating.
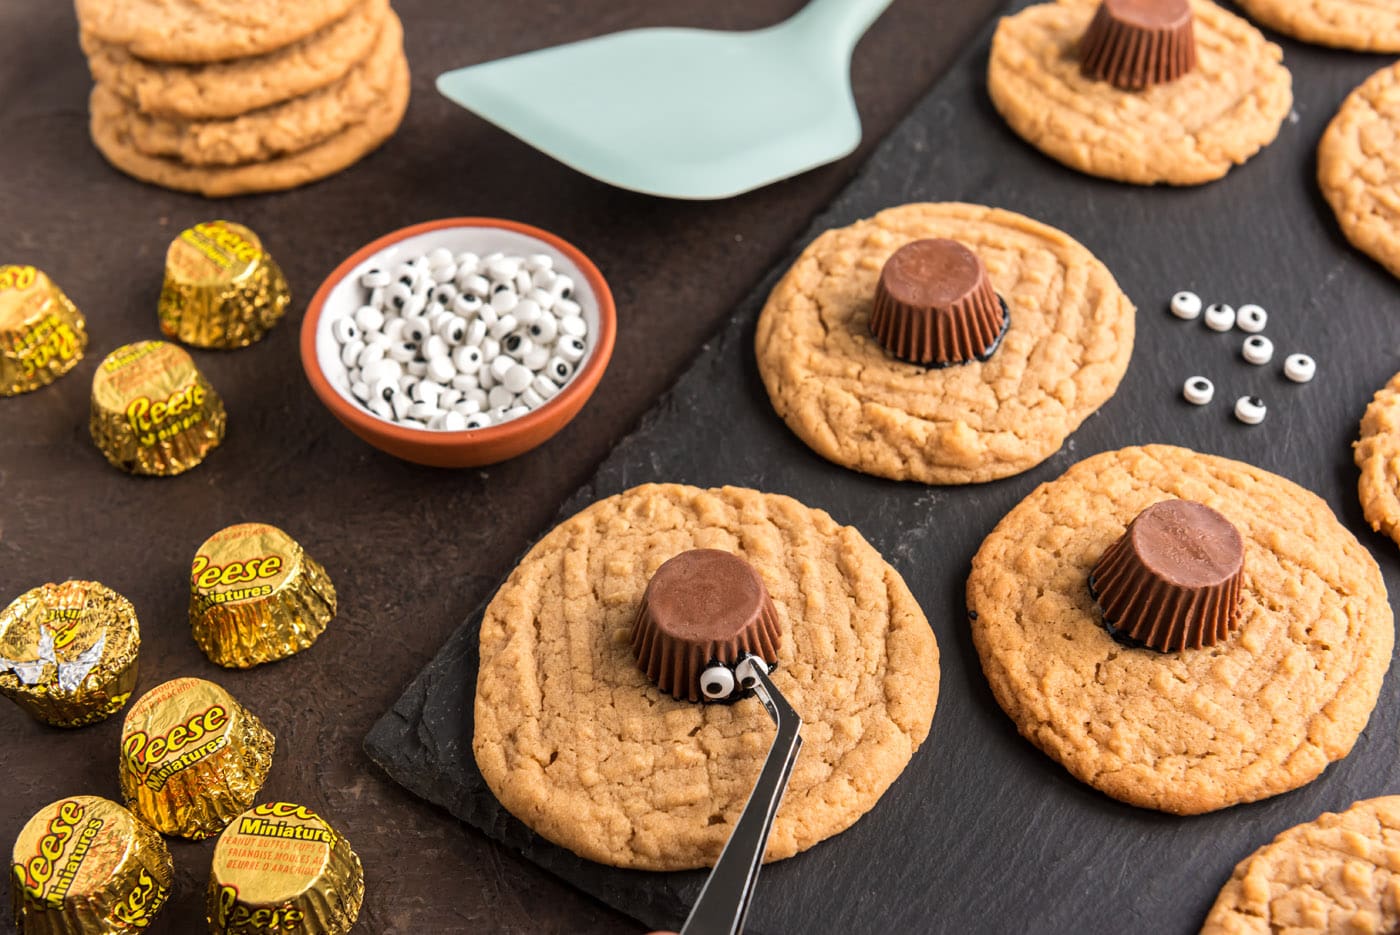
- “Glue” the mini Reese’s cup to the top of the cookies with a small amount of decorator gel. Don’t add too much or it may overflow when you press it onto the cookie.
TIP – Alternatively, you can add the Reese’s cup to warm cookies. We don’t typically recommend this because the peanut butter cup will melt. But it will do the trick for sticking the body of the spider to the cookie. If you do this, let the cookies cool until warm.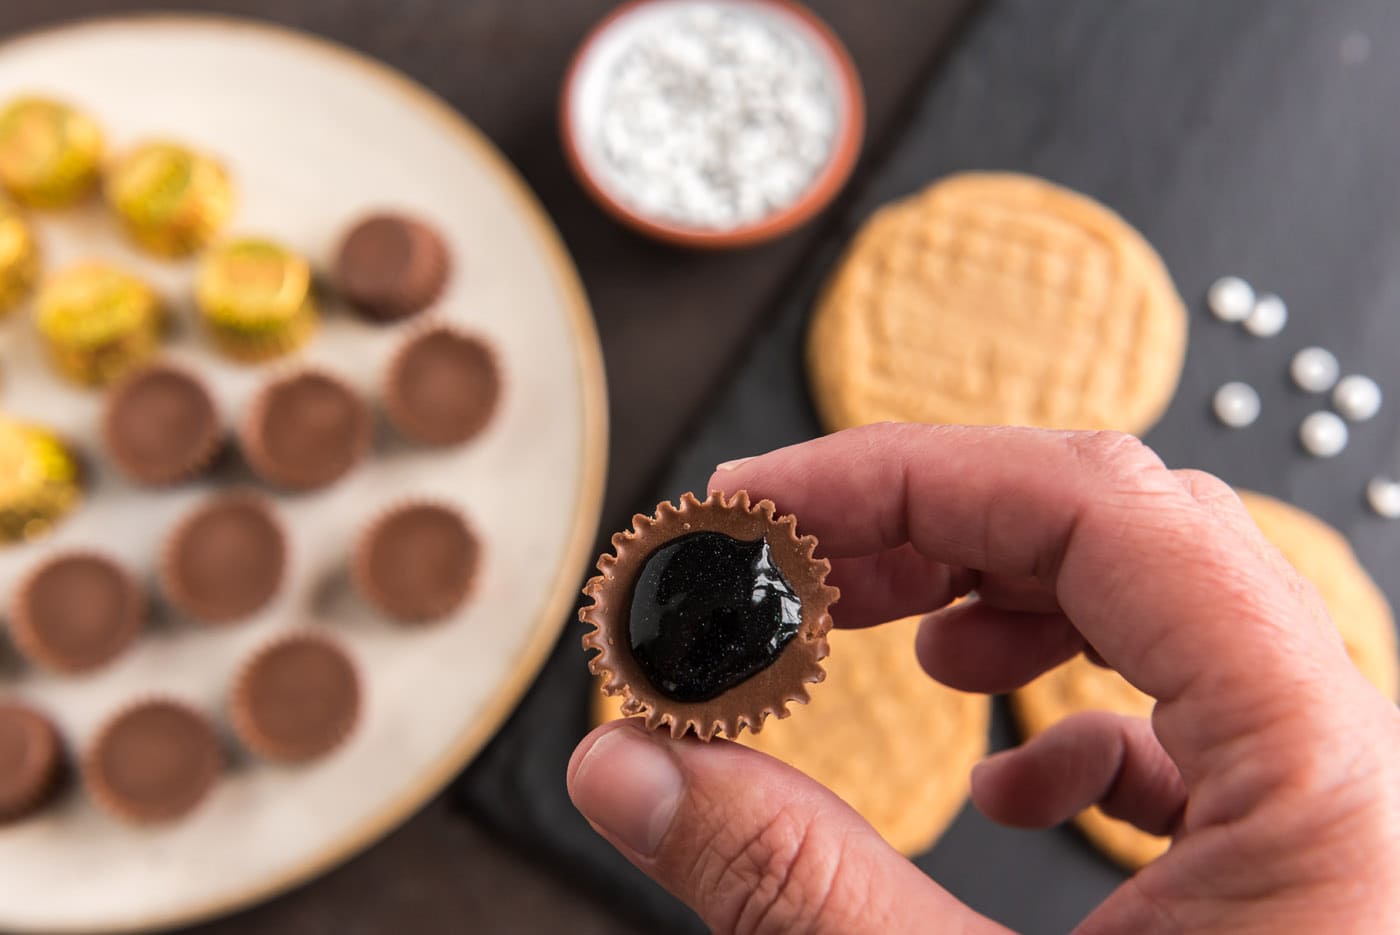
- Dot the back side of the candy eyeballs with black decorator gel and stick onto the bottom of the Reese’s cup.
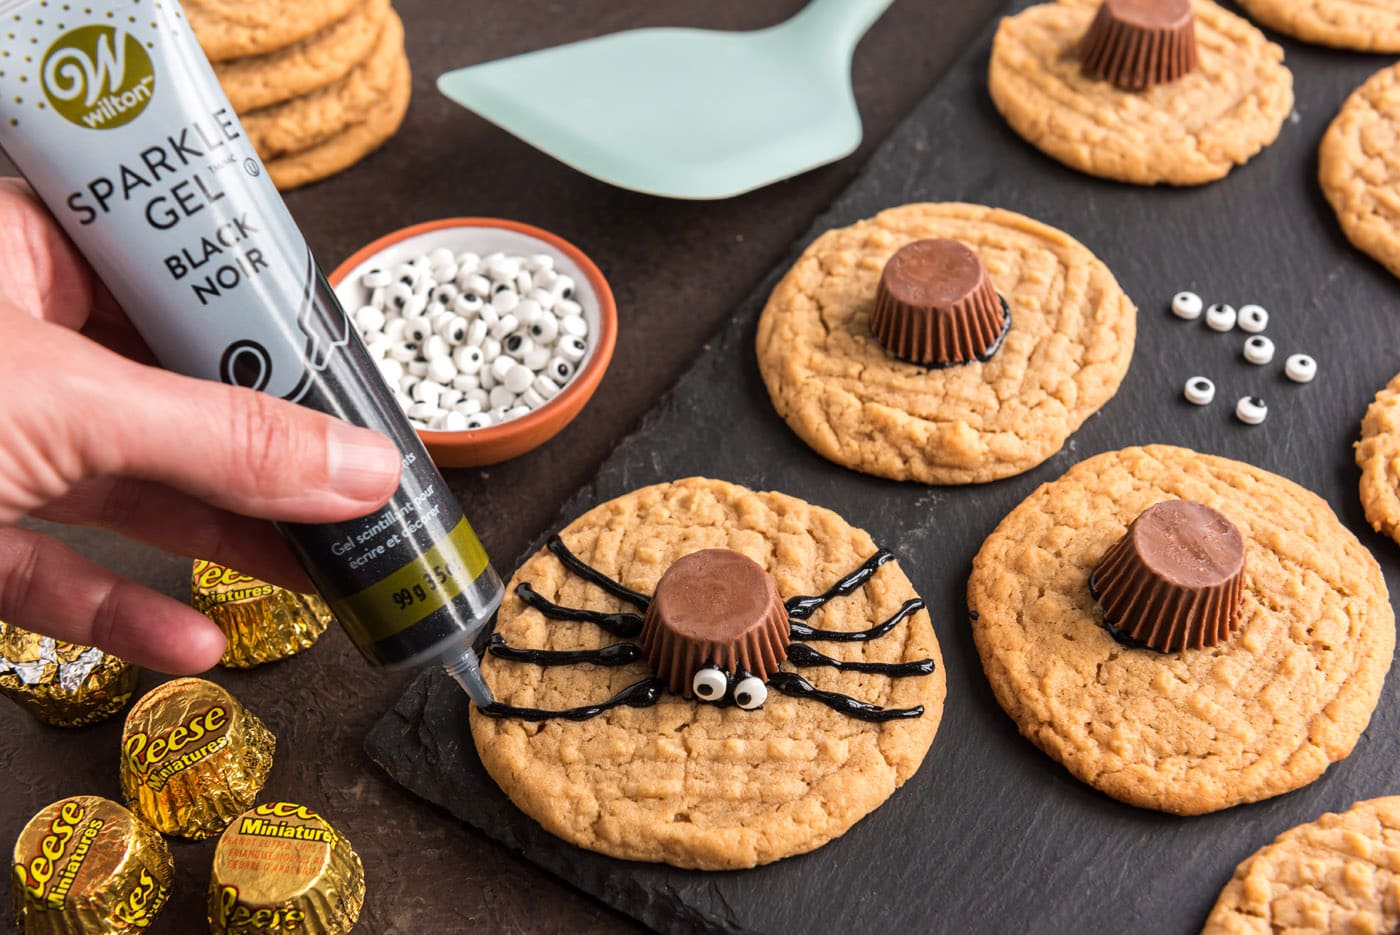
- Gently squeeze the black decorator gel starting at the base of the Reese’s cup to create the legs. Pipe 4 legs on both sides of the Reese’s cup.
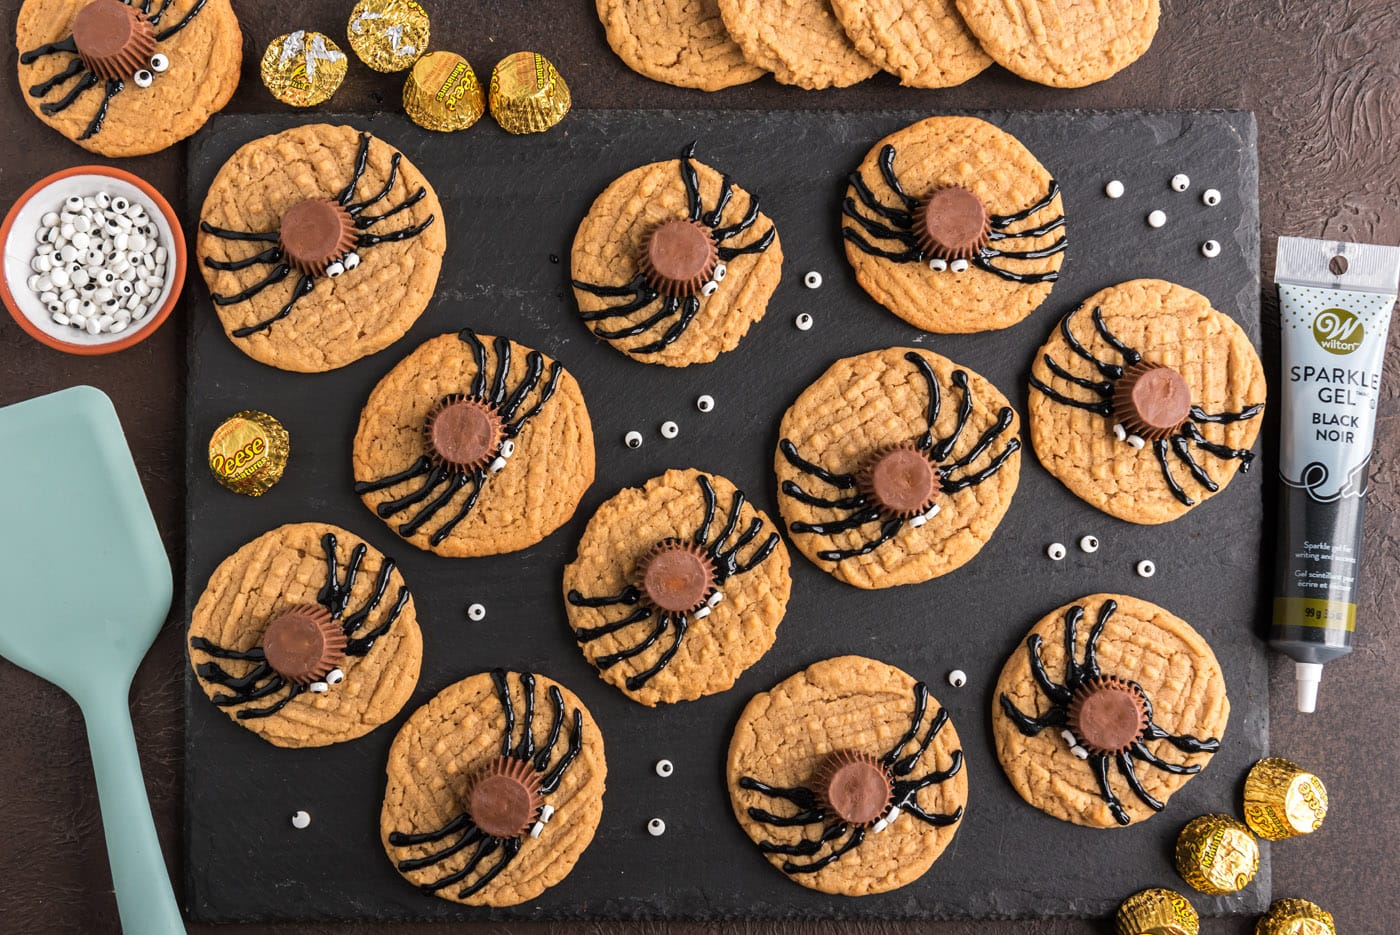
- Allow the decorated cookies to set for an hour or two. Black decorator gel can take a while to set so be careful when handling.
Frequently Asked Questions & Expert Tips
Yes, in fact, I would suggest making them either the morning of or the night before at least. That way the cookies have time to set before transporting them. Store them in an air-tight container in a single layer to not mess up the decorations on top.
Store the spider cookies in an air-tight container or large ziptop bag in a single layer kept at room temperature for up to 5 days.
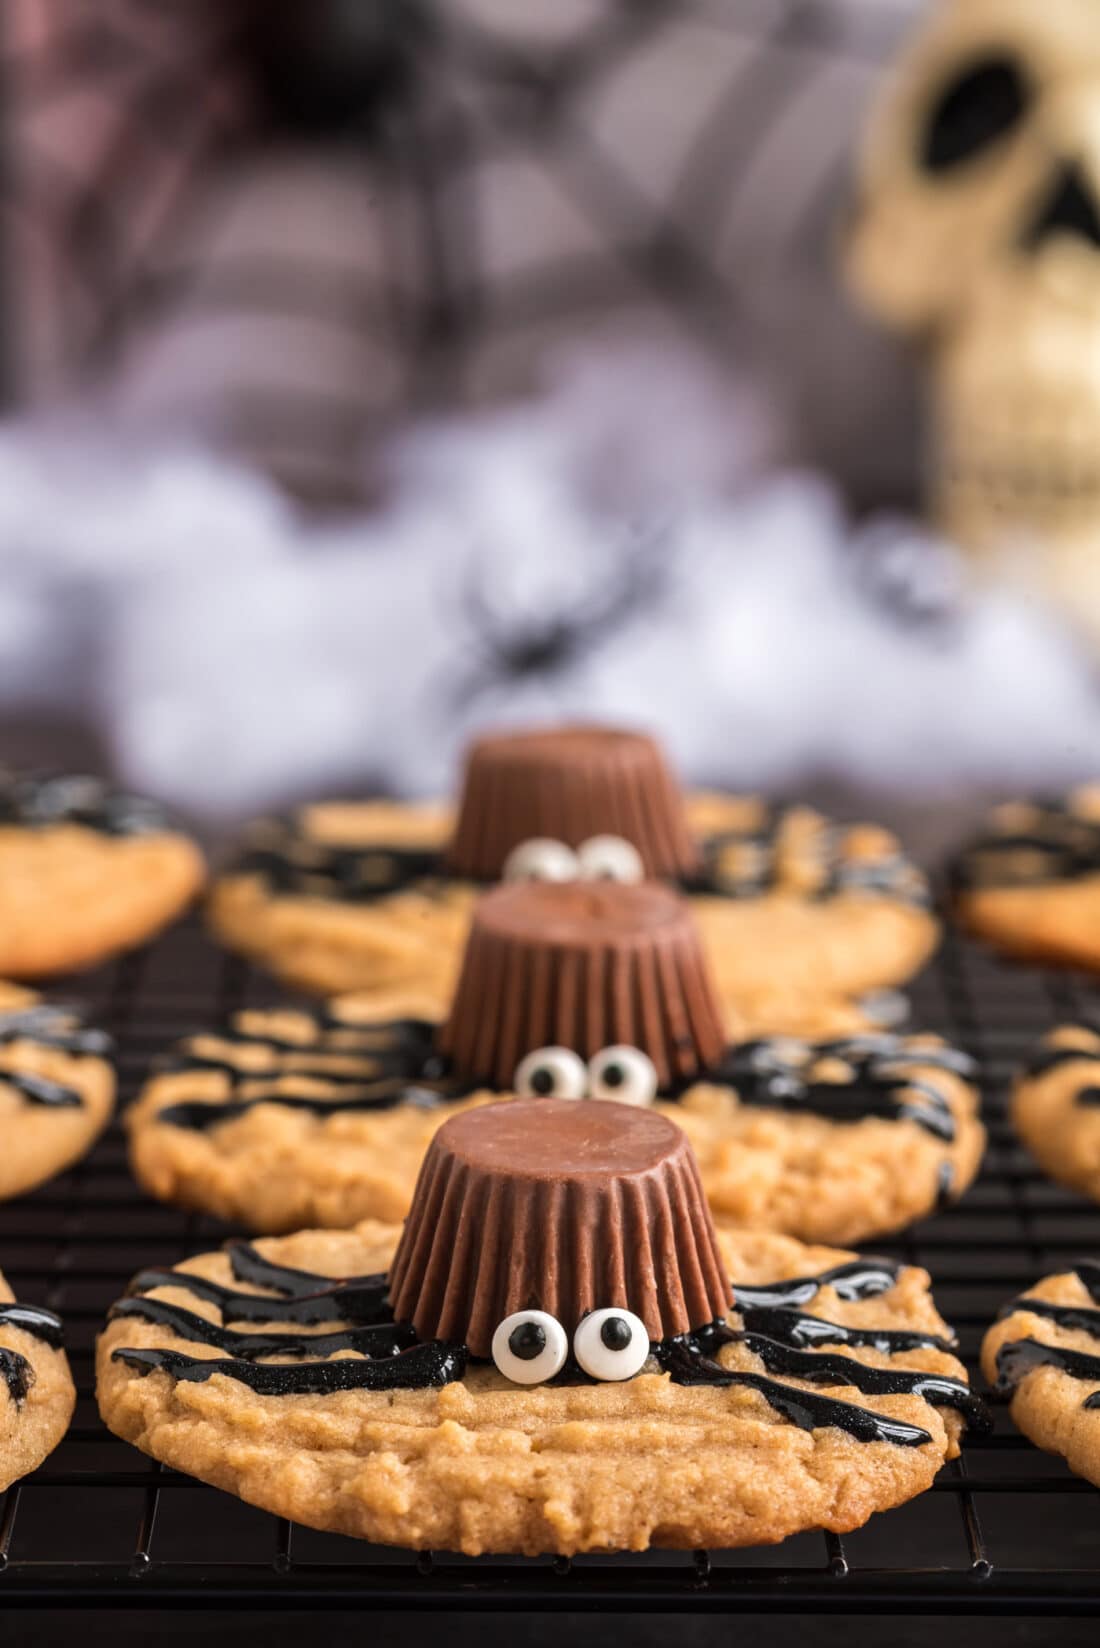
Serving Suggestions
Serve spider cookies on a large platter or tiered dessert tray for Halloween parties. As mentioned above, you can substitute the black decorator gel with melted chocolate chips, candy melts, almond bark, or baking chocolate if preferred.
More Halloween Dessert Recipes
I love to bake and cook and share my kitchen experience with all of you! Remembering to come back each day can be tough, that’s why I offer a convenient newsletter every time a new recipe posts. Simply subscribe and start receiving your free daily recipes!
Spider Cookies
IMPORTANT – There are often Frequently Asked Questions within the blog post that you may find helpful. Simply scroll back up to read them!
Print It Rate ItIngredients
Peanut Butter Cookies
- ½ cup shortening or butter flavored shortening
- ¾ cup creamy peanut butter
- 1 ¼ cups light brown sugar firmly packed
- 3 Tablespoons milk
- 1 teaspoon vanilla
- 1 large egg
- 1 ¾ cups all purpose flour
- ¾ teaspoon salt
- ¾ teaspoon baking soda
Decorations
- black decorator gel or cookie icing. see notes below
- 36 mini Reese's peanut butter cups unwrapped
- 72 candy eyeballs
Things You’ll Need
Before You Begin
- When you bake the cookies, start with a small batch and check them after 7 minutes. Mine are always perfect at 8 minutes. They will look a little underdone and puffy. Once you remove them from the oven and let them cool a bit, they will relax and settle.
- If preferred, you can skip the step of creating fork marks. Underbake the cookies by a minute or so for a chewy cookie. You can also substitute with cake mix peanut butter cookies! Sugar cookies, chocolate chip cookies, and pumpkin cookies would be great substitutes as well.
- Decorator gel can take a while to set so try not to move the cookies around too much at first or you’ll risk the Reese’s cup or candy eyes sliding off! In place of the decorator gel, you can easily use cookie icing or melt semi-sweet chocolate chips, baking chocolate, almond bark, or candy melts and get the same results.
- Do not stick the Reese’s cup onto hot cookies, it will cause them to melt.
- Store the spider cookies in an air-tight container or large ziptop bag in a single layer kept at room temperature for up to 5 days.
Instructions
To Make the Cookies
- Preheat oven to 375 degrees F.
- Combine shortening, peanut butter, brown sugar, milk, and vanilla in a large bowl. Beat with an electric mixer at medium speed until well blended. Add egg. Beat just until blended.
- Combine flour, salt and baking soda. Add to creamed mixture at low speed. Mix just until blended.
- Drop by heaping tablespoonfuls (using a cookie scoop works great) 2 inches apart onto an ungreased baking sheet. Flatten slightly in a crisscross pattern with the tines of the fork. You can optionally skip the fork marks in the cookie if desired.
- Bake for 7 to 8 minutes, or until set and just beginning to brown. DO NOT OVERBAKE. Cool for 2 minutes on a baking sheet. Remove cookies to racks to cool completely.
- After the cookies are fully cooled, you can begin decorating.
To Decorate
- "Glue" the mini Reese's cup to the top of the cookies with a small amount of decorator gel. Don't add too much or it may overflow when you press it onto the cookie.
- Dot the back side of the candy eyeballs with black decorator gel and stick onto the bottom of the Reese's cup.
- Gently squeeze the black decorator gel starting at the base of the Reese's cup to create the legs. Pipe 4 legs on both sides of the Reese's cup for a total of 8 legs.
- Allow the decorated cookies to set for an hour or two. Black decorator gel can take a while to set so be careful when handling!
Nutrition
Kristen Rittmer
Latest posts by Kristen Rittmer (see all)
- Ice Cream Bread - July 24, 2024
- Chicken Taco Casserole - July 17, 2024
- Apple Slab Pie - July 16, 2024


Leave a Reply