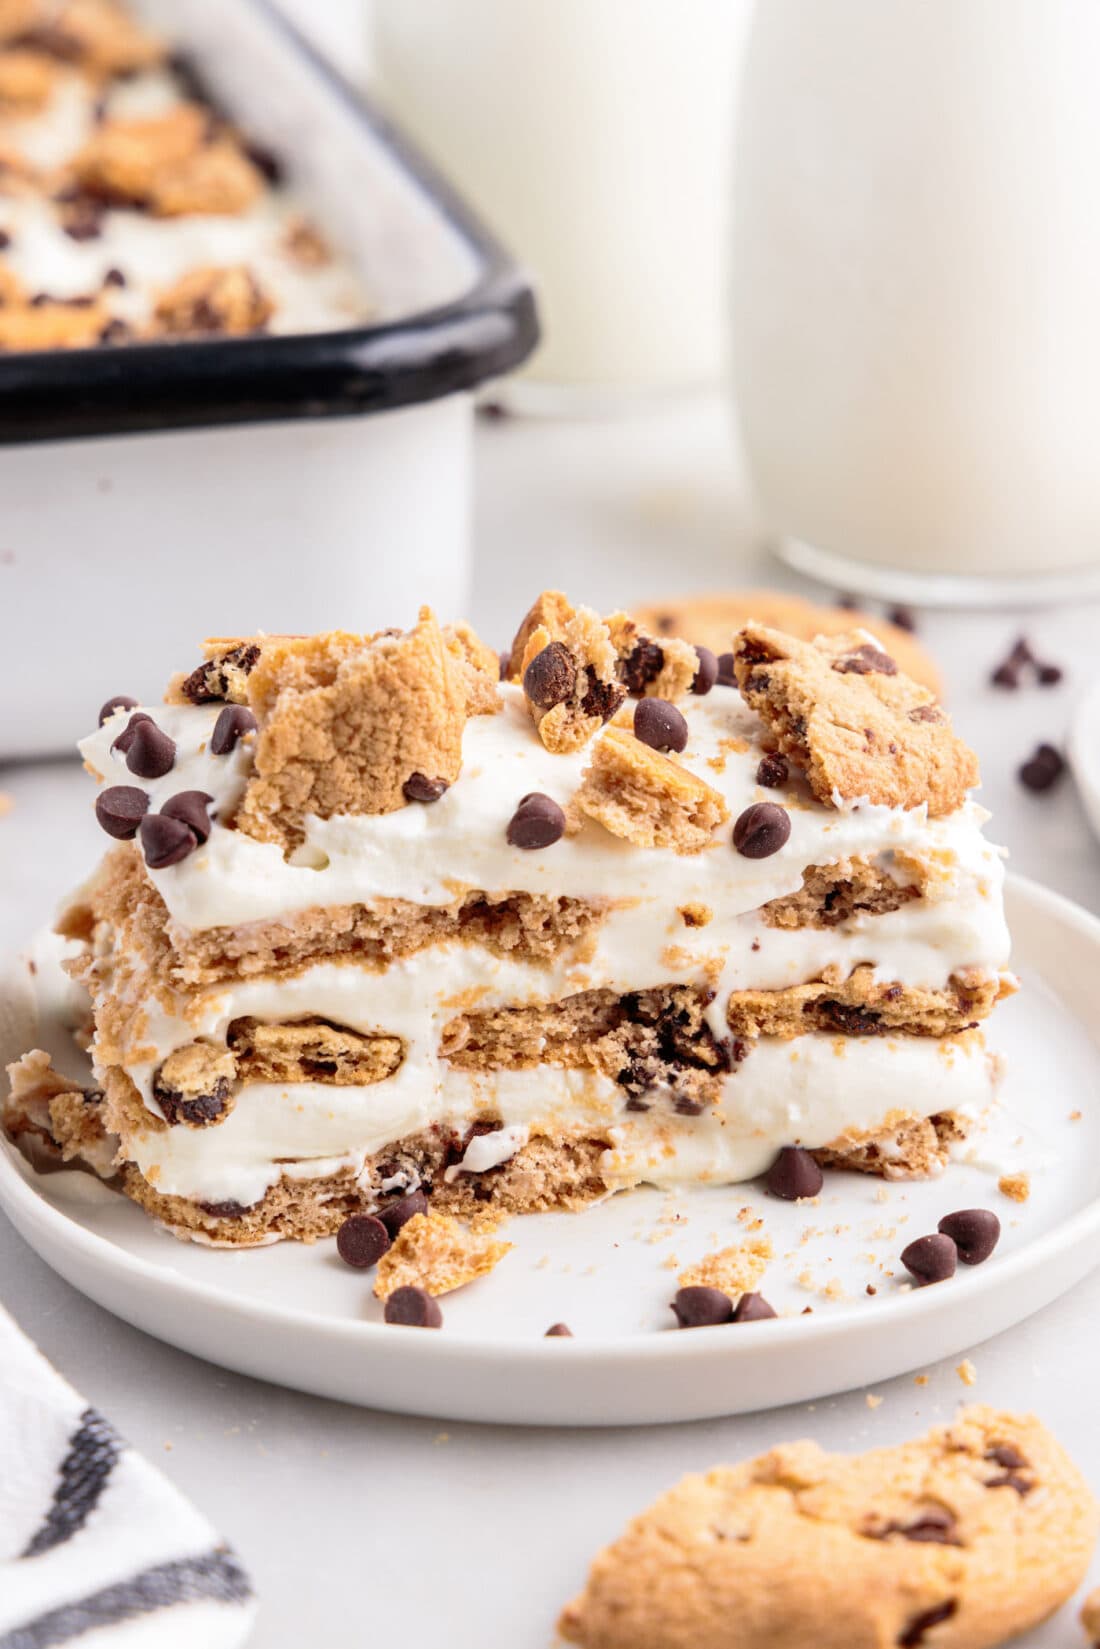
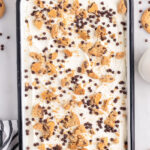
This no-bake chocolate chip cookie icebox cake is floating with six layers of dreamy milk and cookies goodness and couldn’t be easier to make!
Why this recipe works
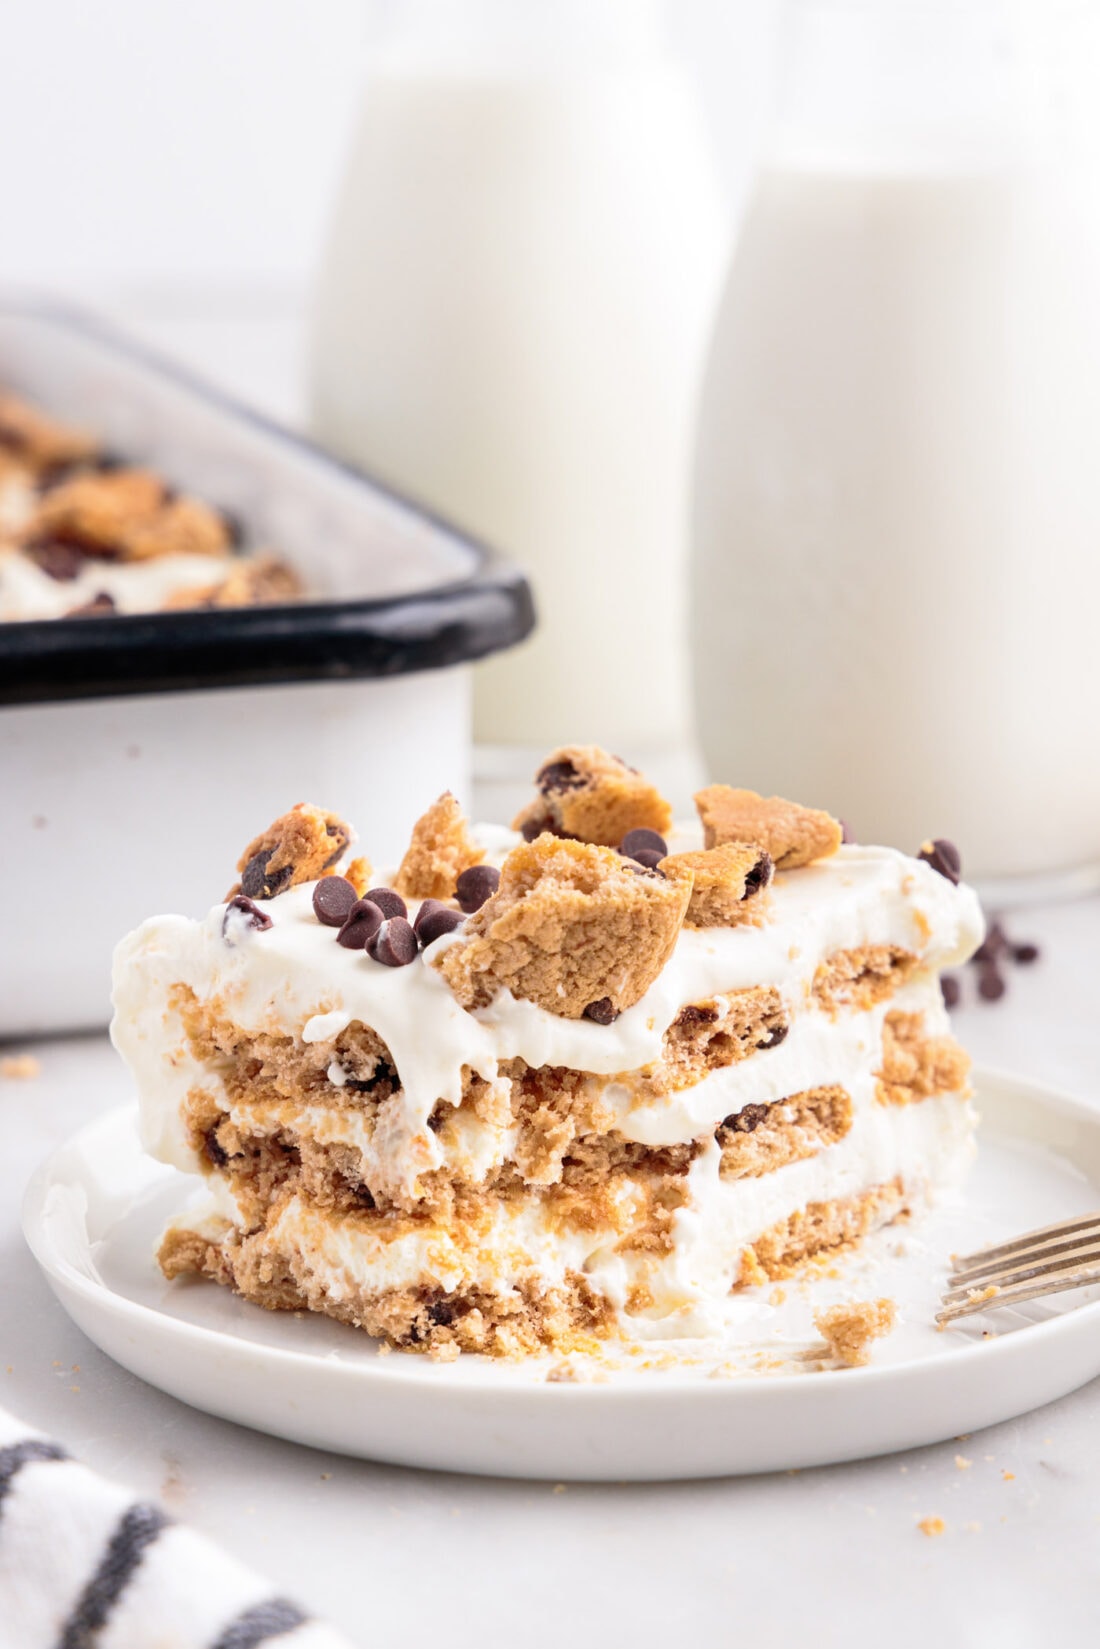
The combination of milk and cookies is superior to all snacks out there, in my opinion. Sweet, soft, and soaked in cold milk, the thought of it gets my taste buds watering. That’s the idea behind this chocolate chip cookie icebox cake. As the crisp chocolate chip cookies mingle between layers of sweetened whipped cream cheese, they soften into a spongey cake-like texture just as they would when dipped into milk.
We’ve done Oreo icebox cake with success in the past, so it’s about time we give Chips Ahoy the turn they so greatly deserve in the icebox world!
Ingredients you will need
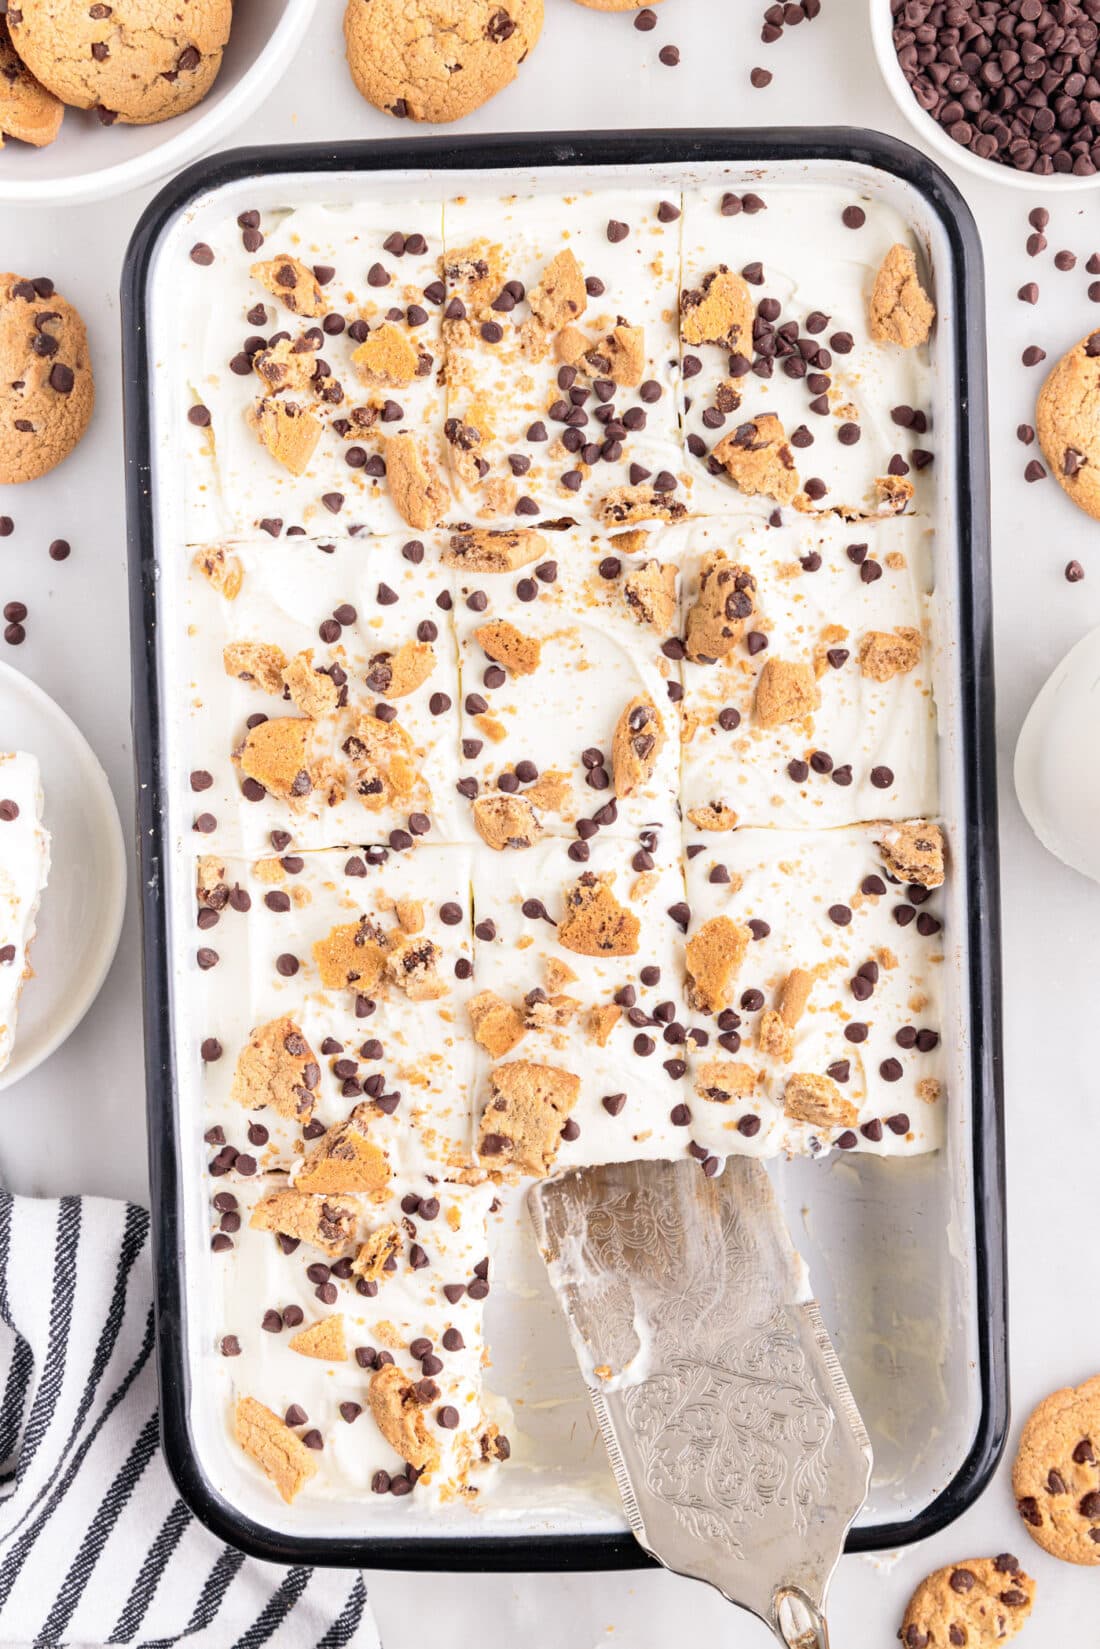
Get all measurements, ingredients, and instructions in the printable version at the end of this post.
Ingredient Info and Substitution Suggestions
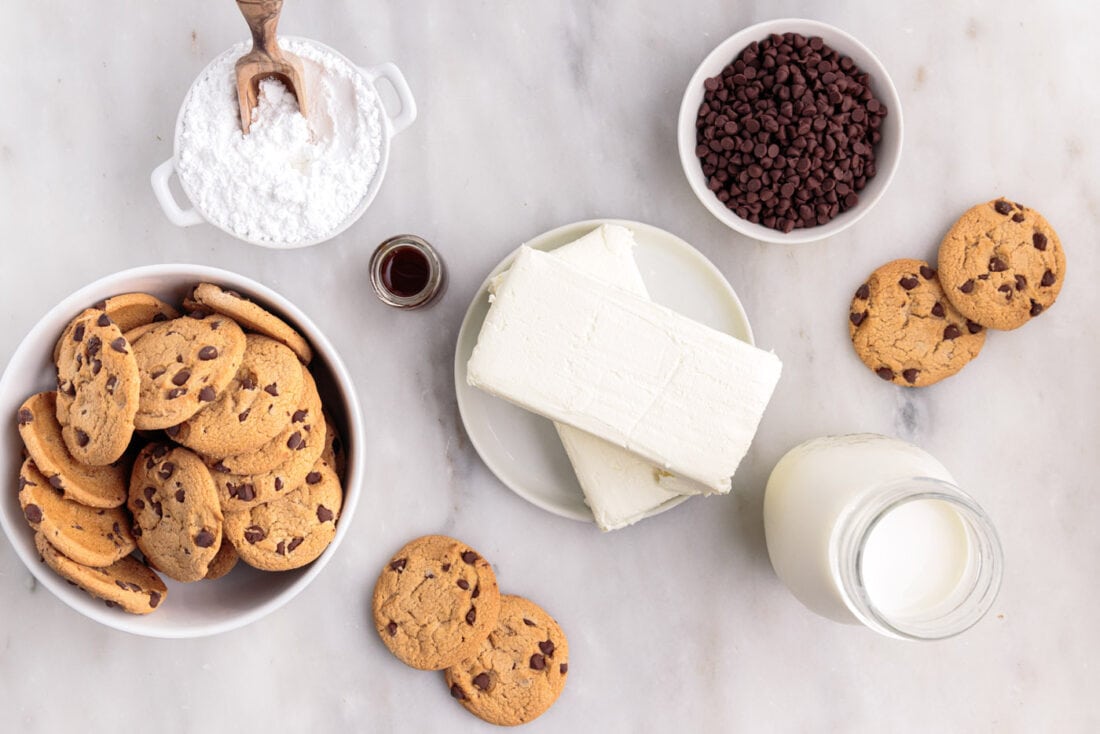
COOKIE – You can use store-bought thin cookies (Chips Ahoy or bakery section cookies work well). Basically, you should look for a crisp cookie instead of a soft cookie. Crisp cookies will soak up the surrounding layers leaving them soft. You can also bake your favorite chocolate chip cookie recipe, but let them brown for a few extra minutes in the oven leaving them ever so slightly crunchy.
How to Make Chocolate Chip Cookie Icebox Cake
These step by step photos and instructions are here to help you visualize how to make this recipe. You can Jump to Recipe to get the printable version of this recipe, complete with measurements and instructions at the bottom.
- Beat cream cheese with a hand mixer in a large mixing bowl until light and fluffy.
- Add in vanilla extract and powdered sugar and beat until smooth.
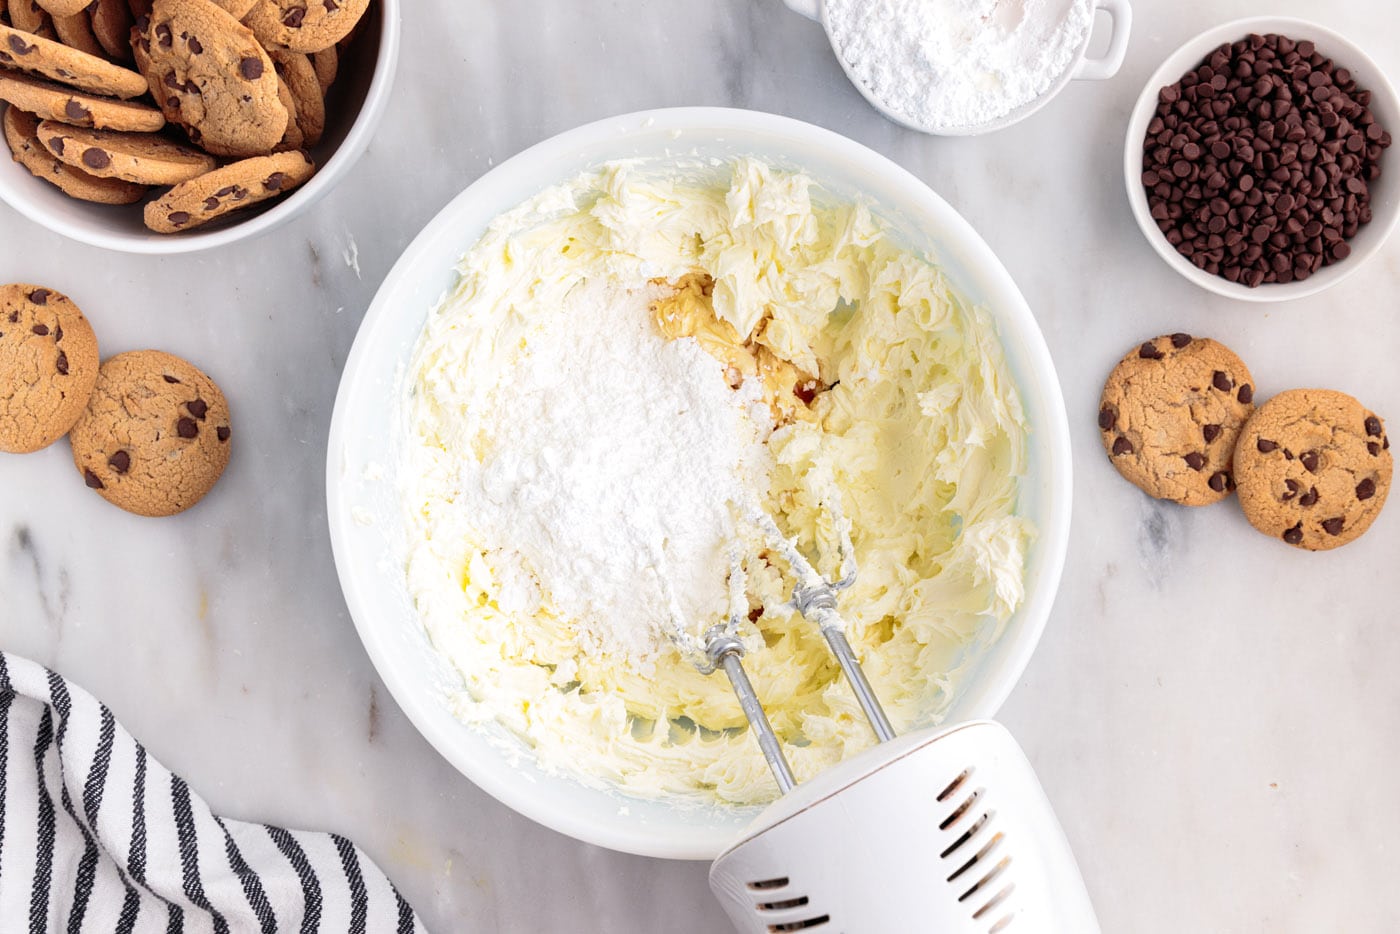
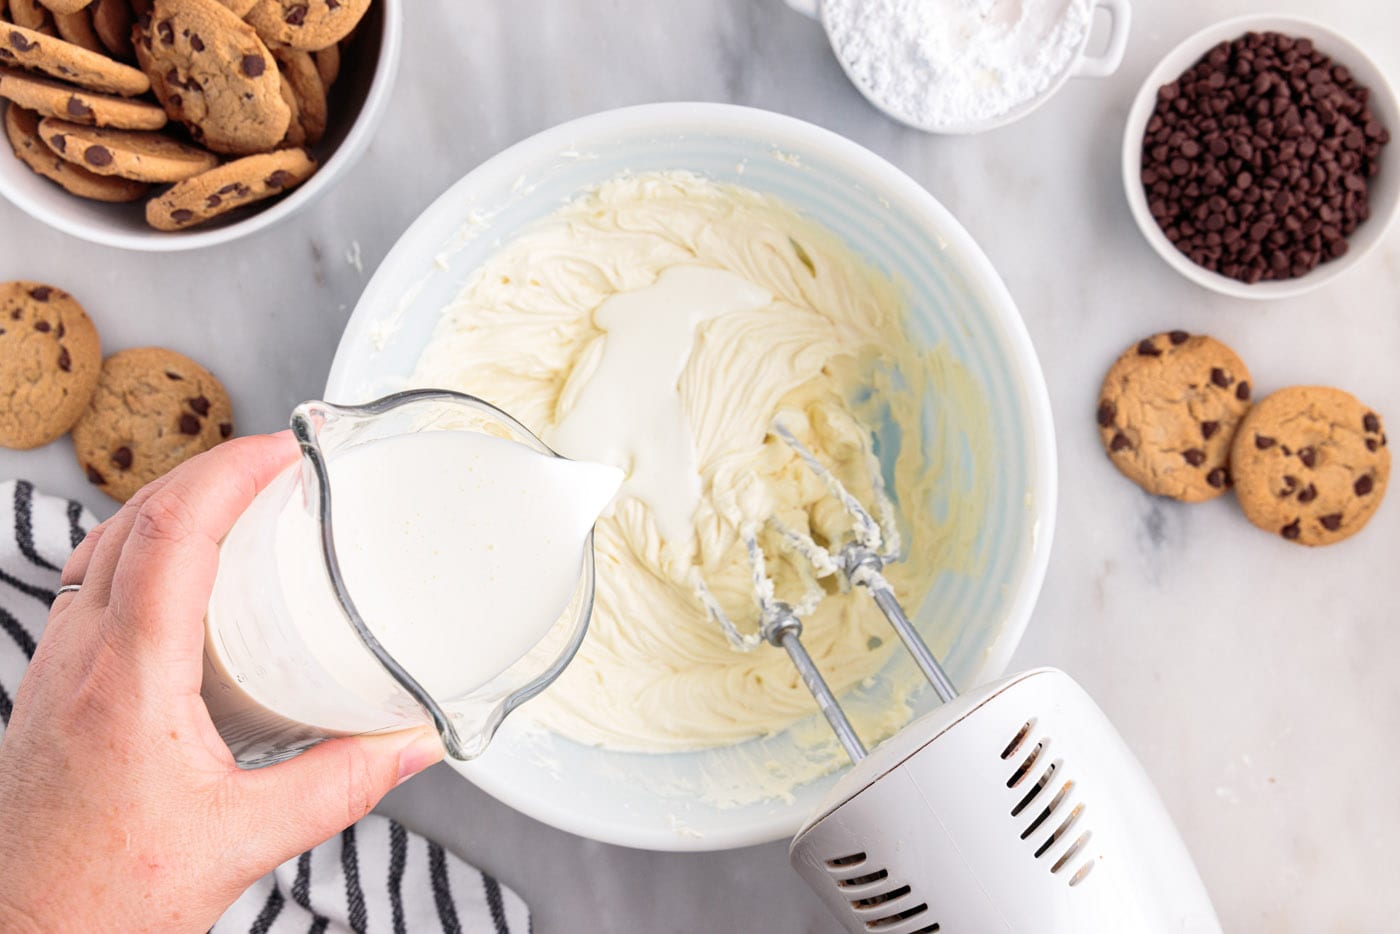
- Adding just a little at a time, slowly pour in the heavy cream, beating constantly until combined with the cream cheese mixture. Continue adding the cream and beating it until fluffy until all has been incorporated and you have a large bowl of fluffy cream filling.
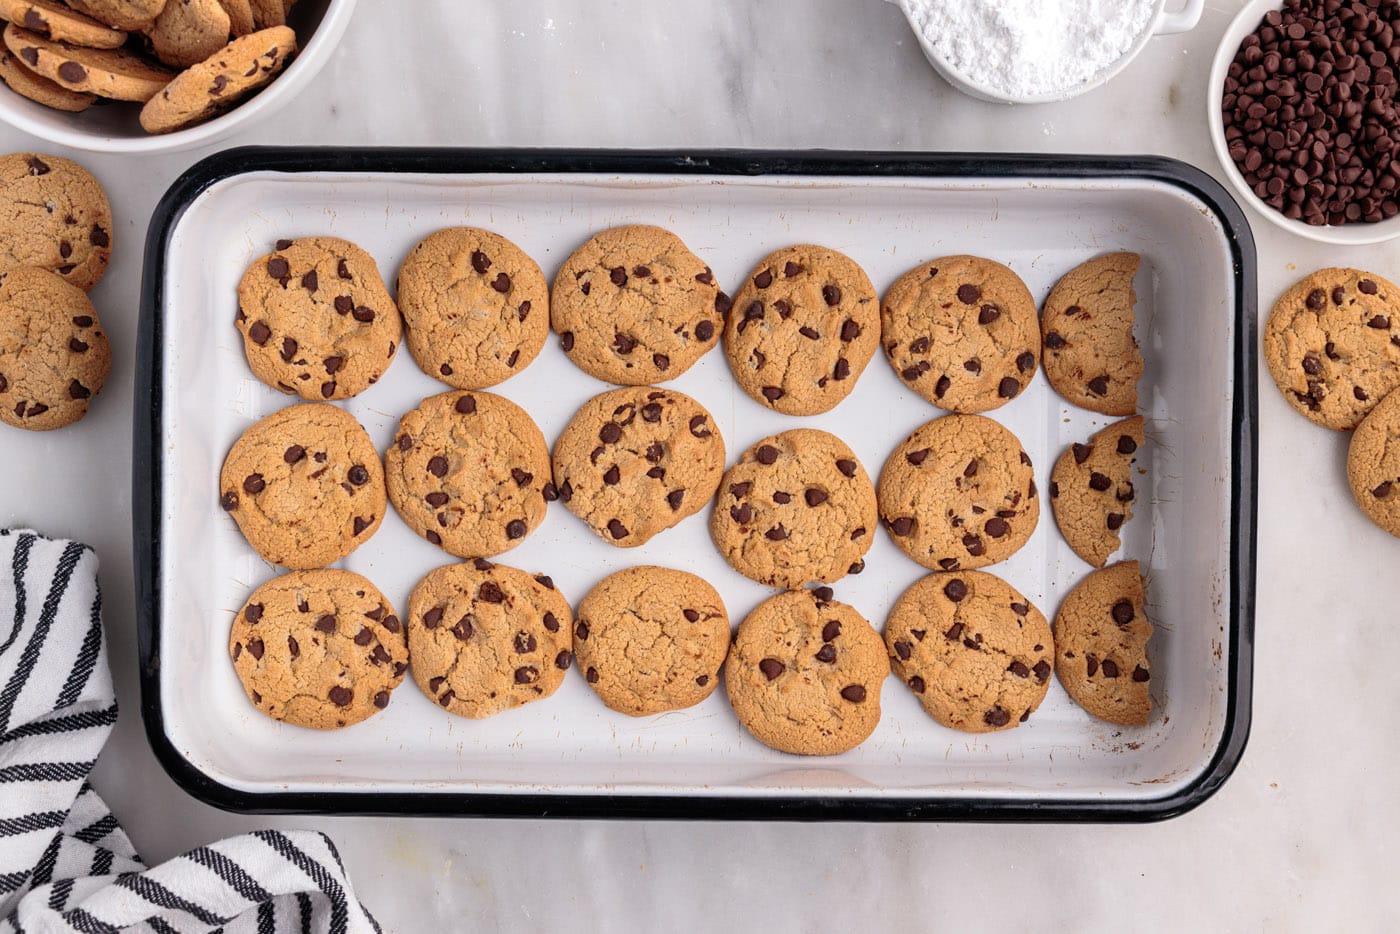
- Place a single layer of chocolate chip cookies to cover the bottom of a 9×13 glass casserole dish; break some of the cookies in half, if needed, to fill the bottom.
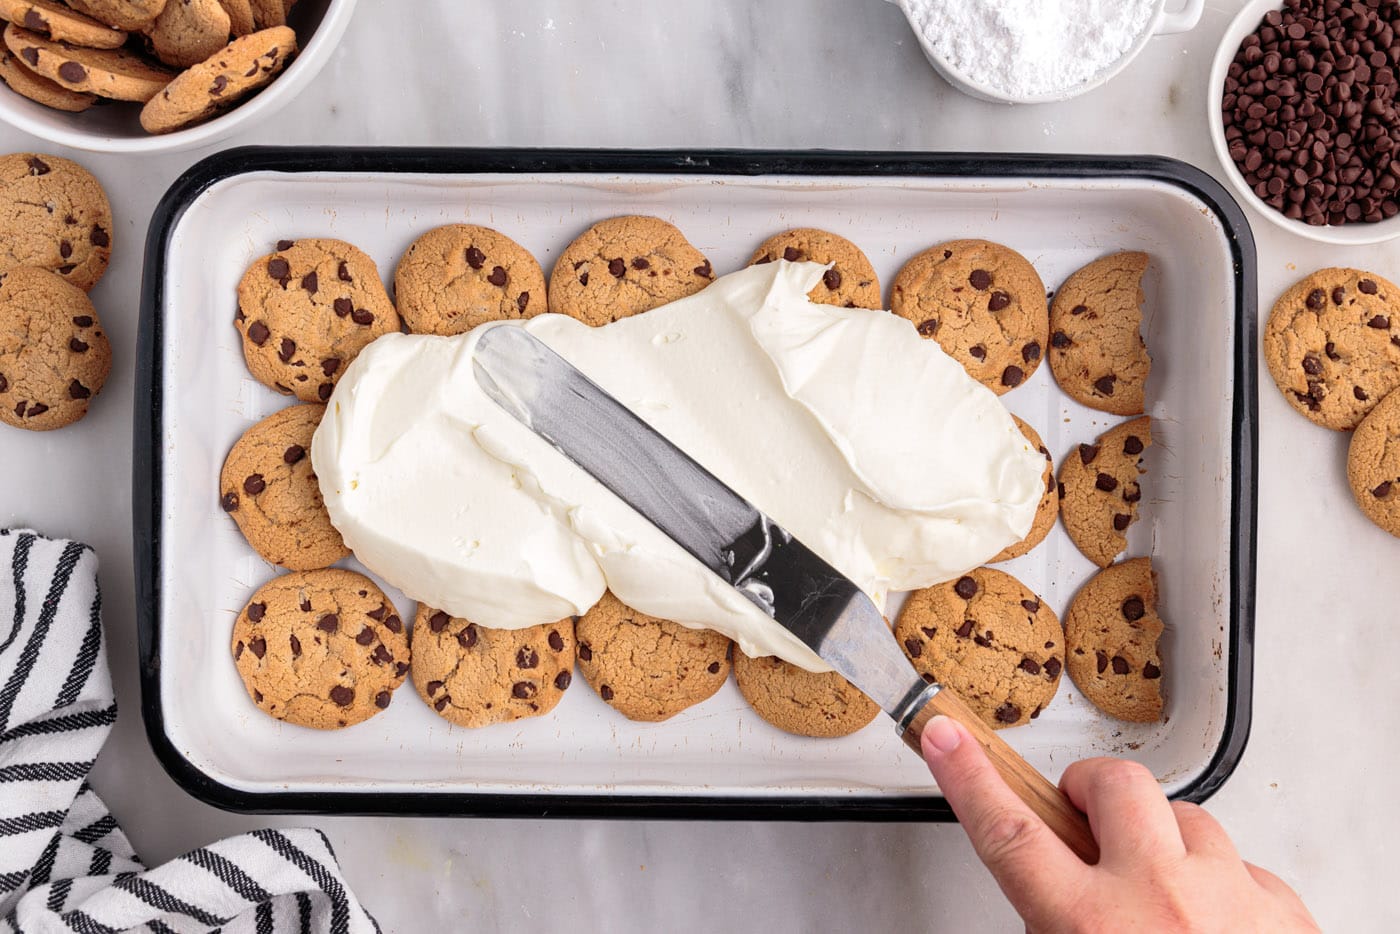
- Spread 1/3 of the cream mixture over the cookies.
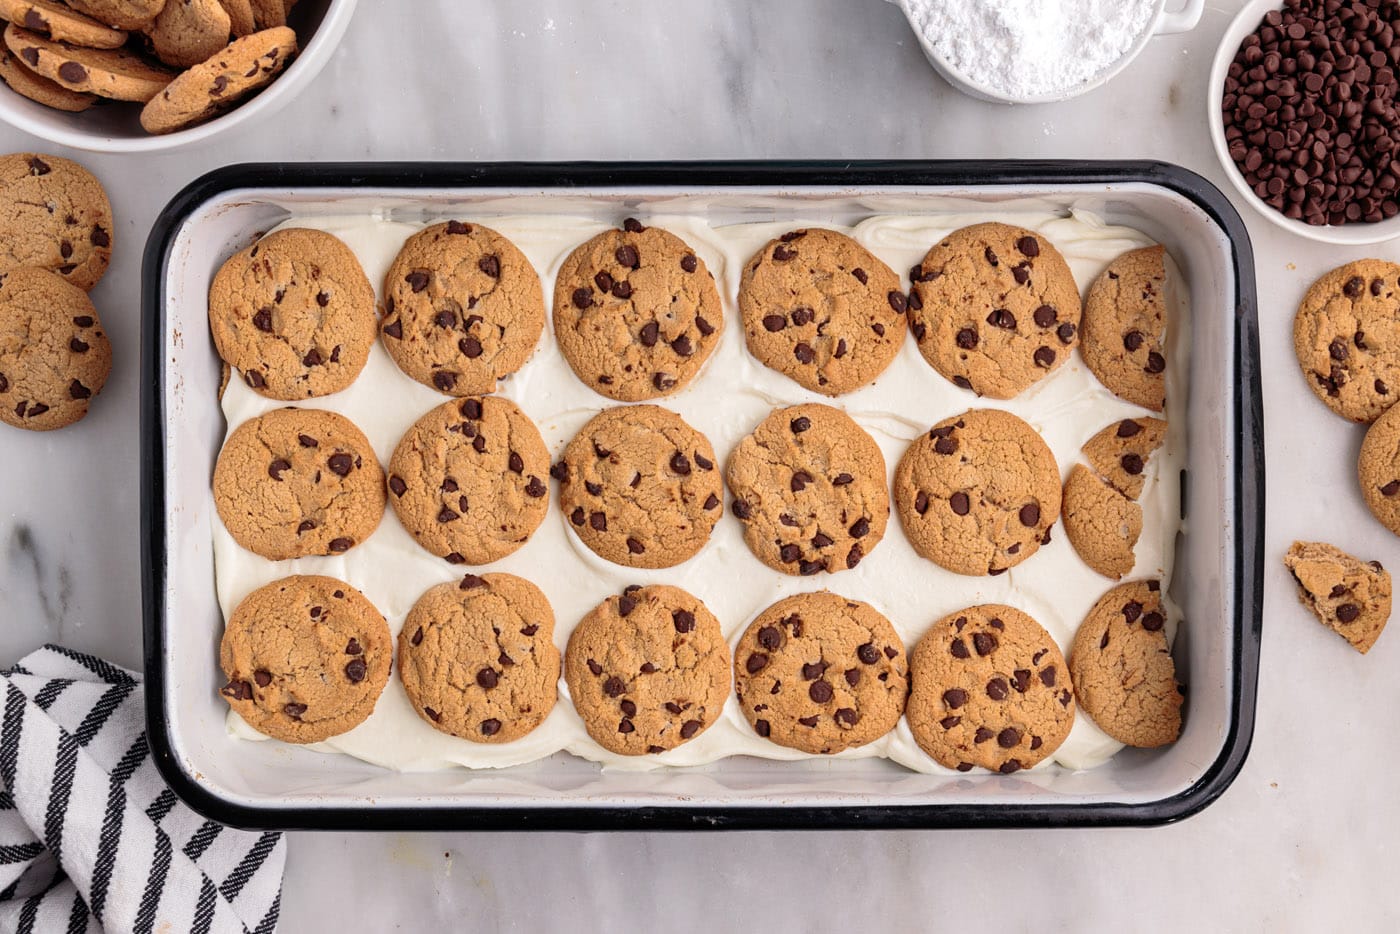
- Continue layering cookies and cream mixture until you have three layers of each, finishing with the whipped cream layer.
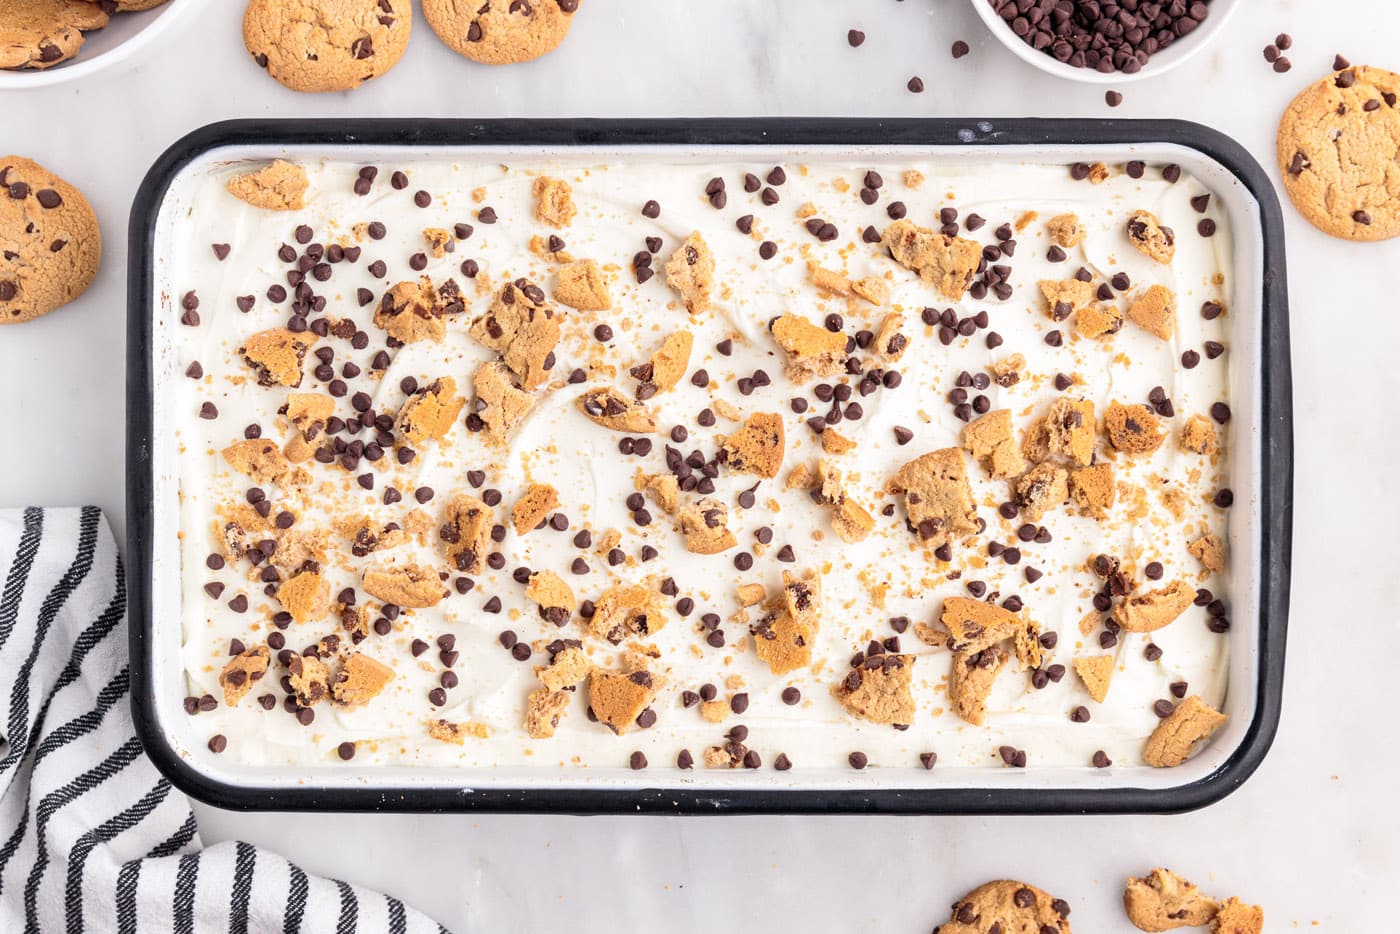
- Sprinkle with additional cookie crumbs and mini chocolate chip cookies to decorate.
- Place in the refrigerator or freezer for at least 4 hours to set up.
- Remove from the freezer 15-20 minutes before serving.
Frequently Asked Questions & Expert Tips
Yes, absolutely. Use this recipe as a base for all sorts of different types of cookies. It’s easiest to stick with thinner cookies like gingersnaps, shortbread, biscotti, sugar cookies, nilla wafers, or turn it into an Oreo icebox cake!
Store this icebox cake tightly covered with plastic wrap or with an air-tight lid in the refrigerator for 3 days.
Yes, it’s actually best that you allow this cake to rest in the fridge for at least 4 hours to set up. You can make chocolate chip cookie icebox cake a day in advance and store it with an air-tight lid or tightly covered with plastic wrap in the refrigerator until you are ready to serve. This cake tastes even better the longer it has to sit as the cookie layers soak up the sweetened cream cheese mixture surrounding it.
Yes to store, cover with an air-tight lid or tightly wrapped with plastic wrap followed by a layer of aluminum foil in the freezer for 2-3 weeks.
Serving Suggestions
Serve chilled cut into slices. This icebox cake will not set up as thick as a traditional pudding-based icebox cake. But it will slice nicely, with the cookies softened, and the pieces holding their shape after chilling for several hours.
Optionally garnish with mini chocolate chips, crumbled cookie pieces, or a drizzle of chocolate sauce.
More Icebox Cake Recipes
- Lemon Icebox Cake
- Orange Icebox Cake
- Strawberry Icebox Cake
- Mixed Berry Icebox Cake
- Banana Cream Pie Icebox Cake
- Lemon Blueberry Icebox Cake
- Nutter Butter Icebox Cake
I love to bake and cook and share my kitchen experience with all of you! Remembering to come back each day can be tough, that’s why I offer a convenient newsletter every time a new recipe posts. Simply subscribe and start receiving your free daily recipes!
Chocolate Chip Cookie Icebox Cake
IMPORTANT – There are often Frequently Asked Questions within the blog post that you may find helpful. Simply scroll back up to read them!
Print It Rate ItIngredients
- 16 ounces cream cheese two 8 ounce packages, softened*
- 1 Tablespoon vanilla extract
- 1 cup powdered sugar
- 3 cups heavy whipping cream cold
- 26 ounces Chips Ahoy cookies 2 – 13 oz packages
- ½ cup mini chocolate chips for garnish
Things You’ll Need
Before You Begin
- Store tightly wrapped with plastic wrap or with an air-tight lid in the refrigerator for up to 3 days or 2-3 weeks in the freezer.
- The quantities in this recipe make fairly even thickness of layers between the cookies and the cream mixture. You could beat in an additional 1 cup of heavy cream to make the cream layers a bit thicker between the cookie layers, though I liked the balance of having the layers about the same thickness.
- You can use the Chips Ahoy thin cookies also. They will soften a bit quicker and will form a thinner layer.
- This icebox cake will not set up as thick as a traditional pudding-based icebox cake. But it will slice nicely, with the cookies softened, and the pieces holding their shape after chilling for several hours.
Instructions
- Beat cream cheese with a hand mixer in a large mixing bowl until light and fluffy.
- Add in vanilla extract and powdered sugar and beat until smooth.
- Adding just a little at a time, slowly pour in the heavy cream, beating constantly until combined with the cream cheese mixture. Continue adding the cream and beating it until fluffy until all has been incorporated and you have a large bowl of fluffy cream filling.
- Place a single layer of chocolate chip cookies to cover the bottom of a 9×13 glass casserole dish; break some of the cookies in half, if needed, to fill the bottom.
- Spread 1/3 of the cream mixture over the cookies.
- Continue layering cookies and cream mixture until you have three layers of each, finishing with the whipped cream layer.
- Sprinkle with additional cookie crumbs and mini chocolate chip cookies to decorate.
- Place in the refrigerator or freezer for at least 4 hours to set up.
- Remove from the freezer 15-20 minutes before serving.
Nutrition
Amanda Davis
Latest posts by Amanda Davis (see all)
- Halloween Candy Apples - October 15, 2024
- Witch Finger Cookies - October 8, 2024
- Homemade Croutons - October 4, 2024


Judy Crisci says
Thank you very much for your great recipes