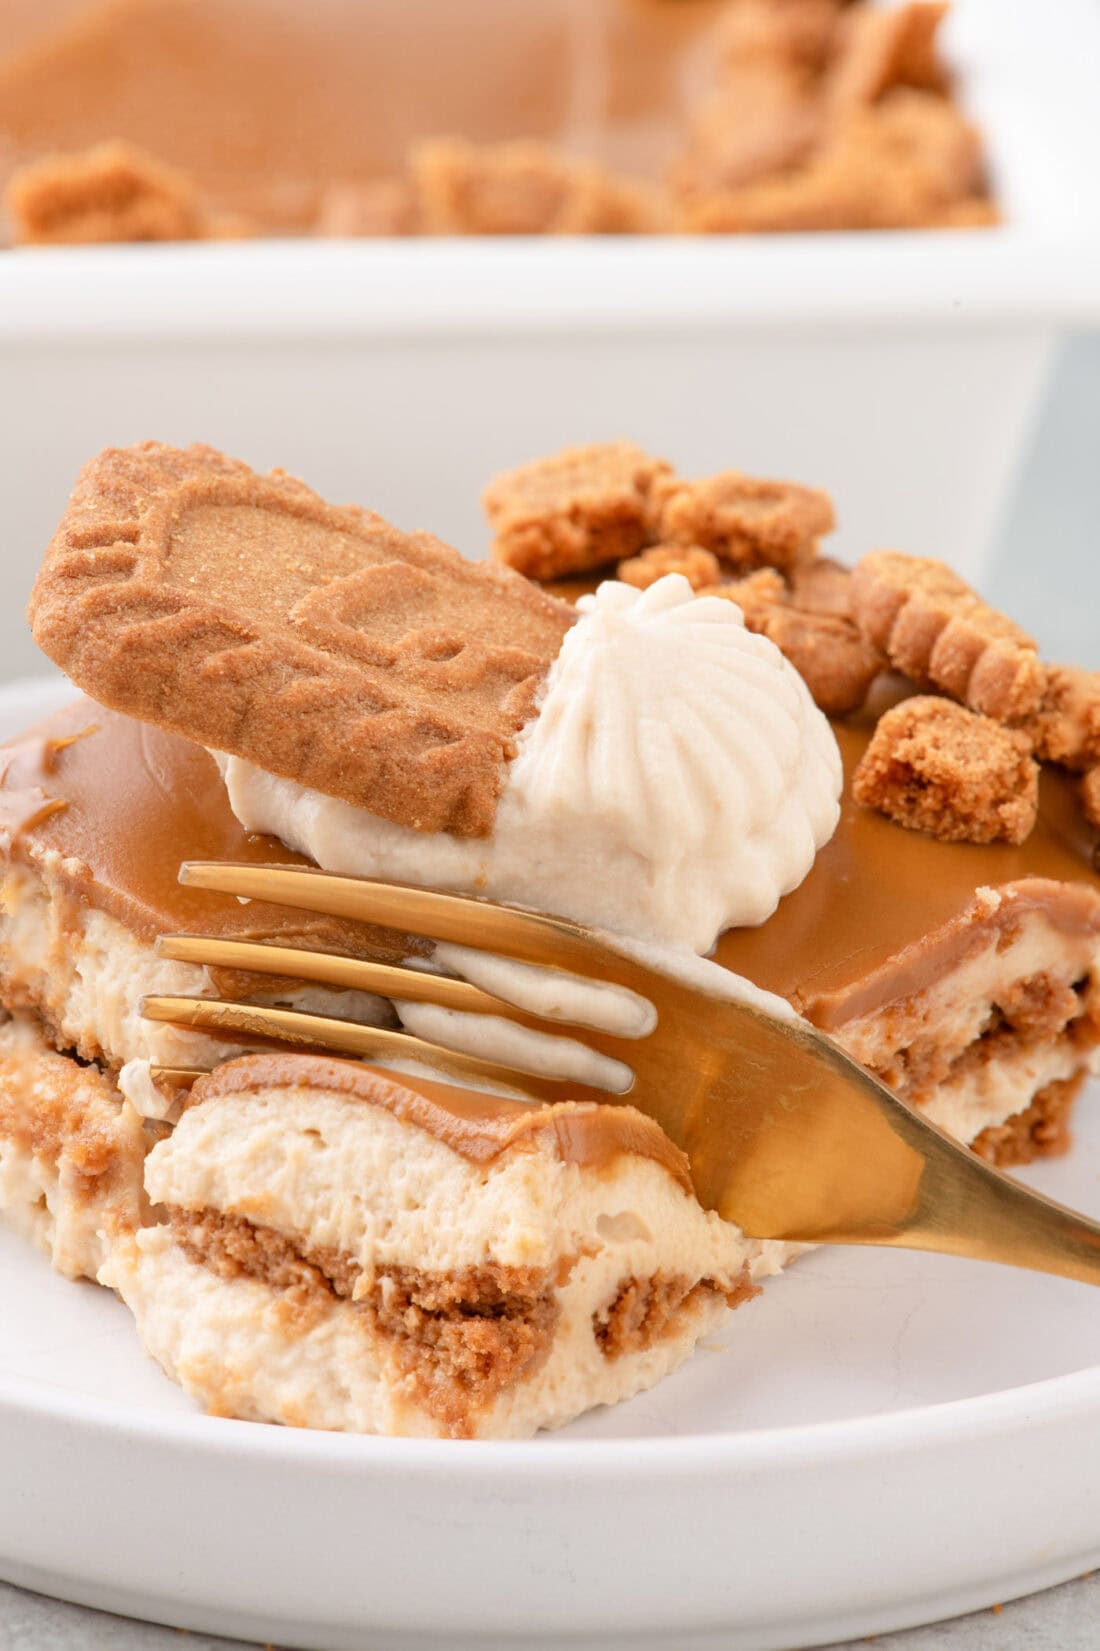
Dreamy no bake Biscoff icebox cake stacked with layers of whipped cream, Lotus cookies, and a rich cookie butter ganache comes together easily with only 5 ingredients!
Why this recipe works
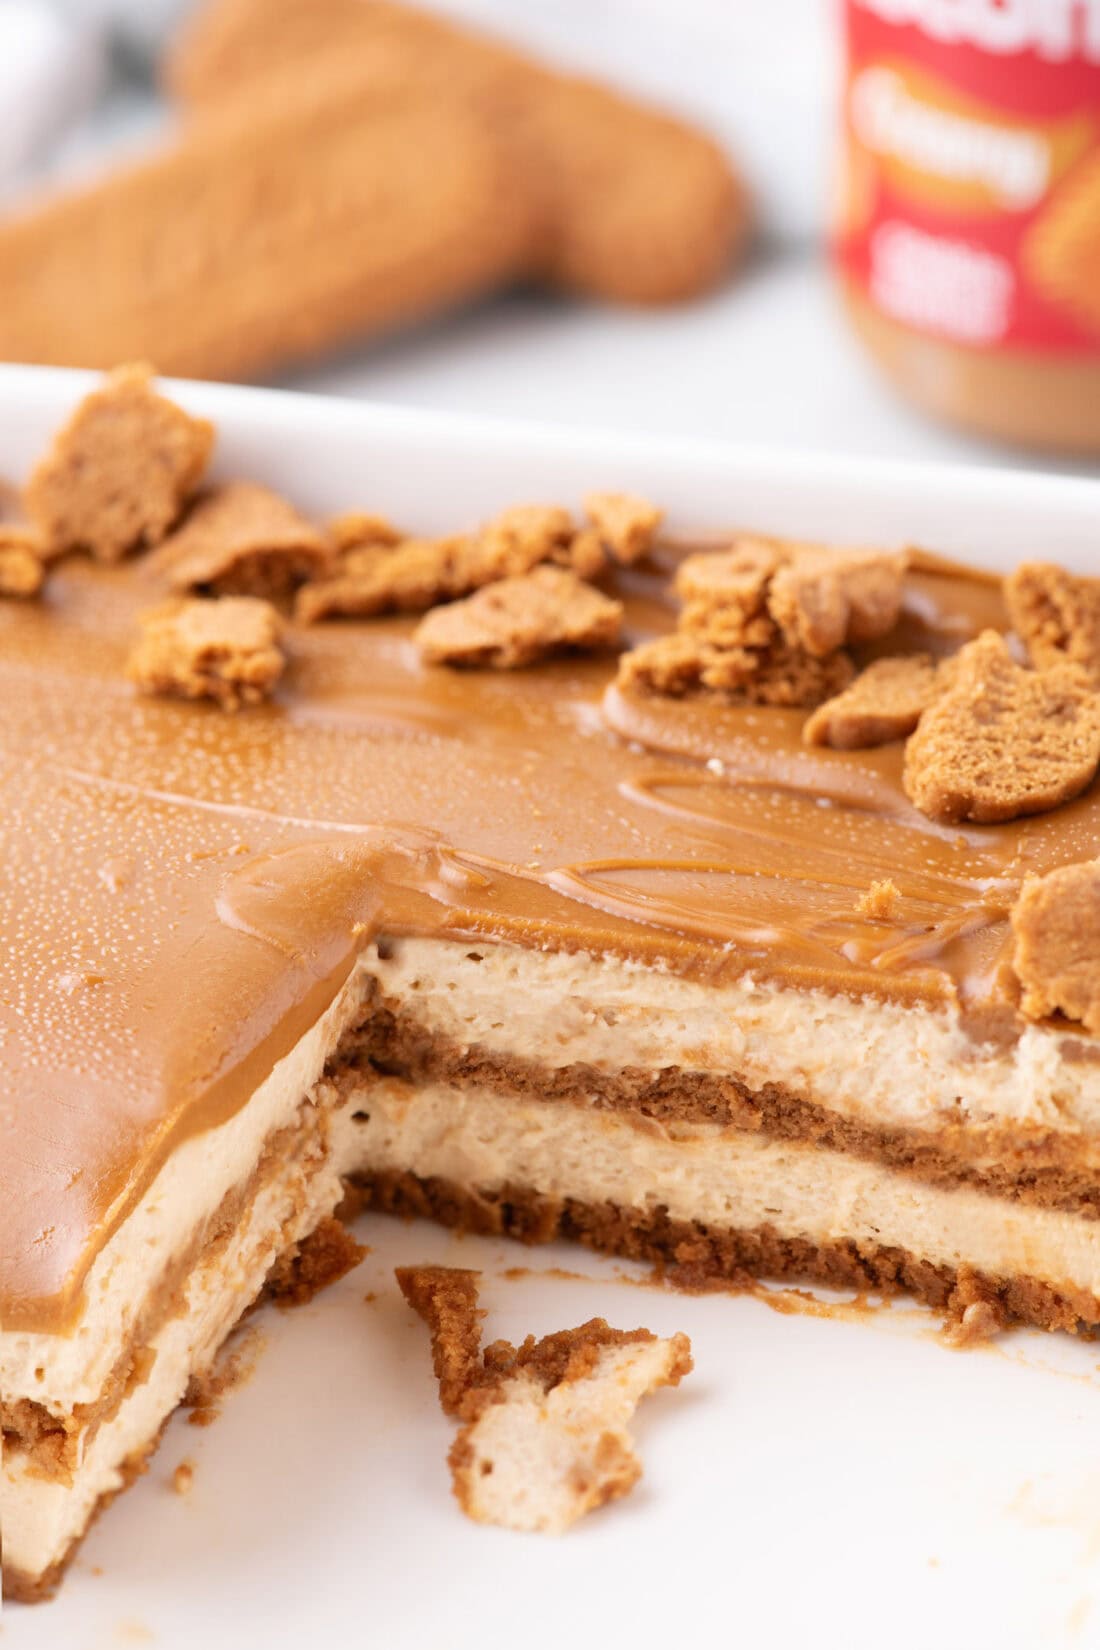
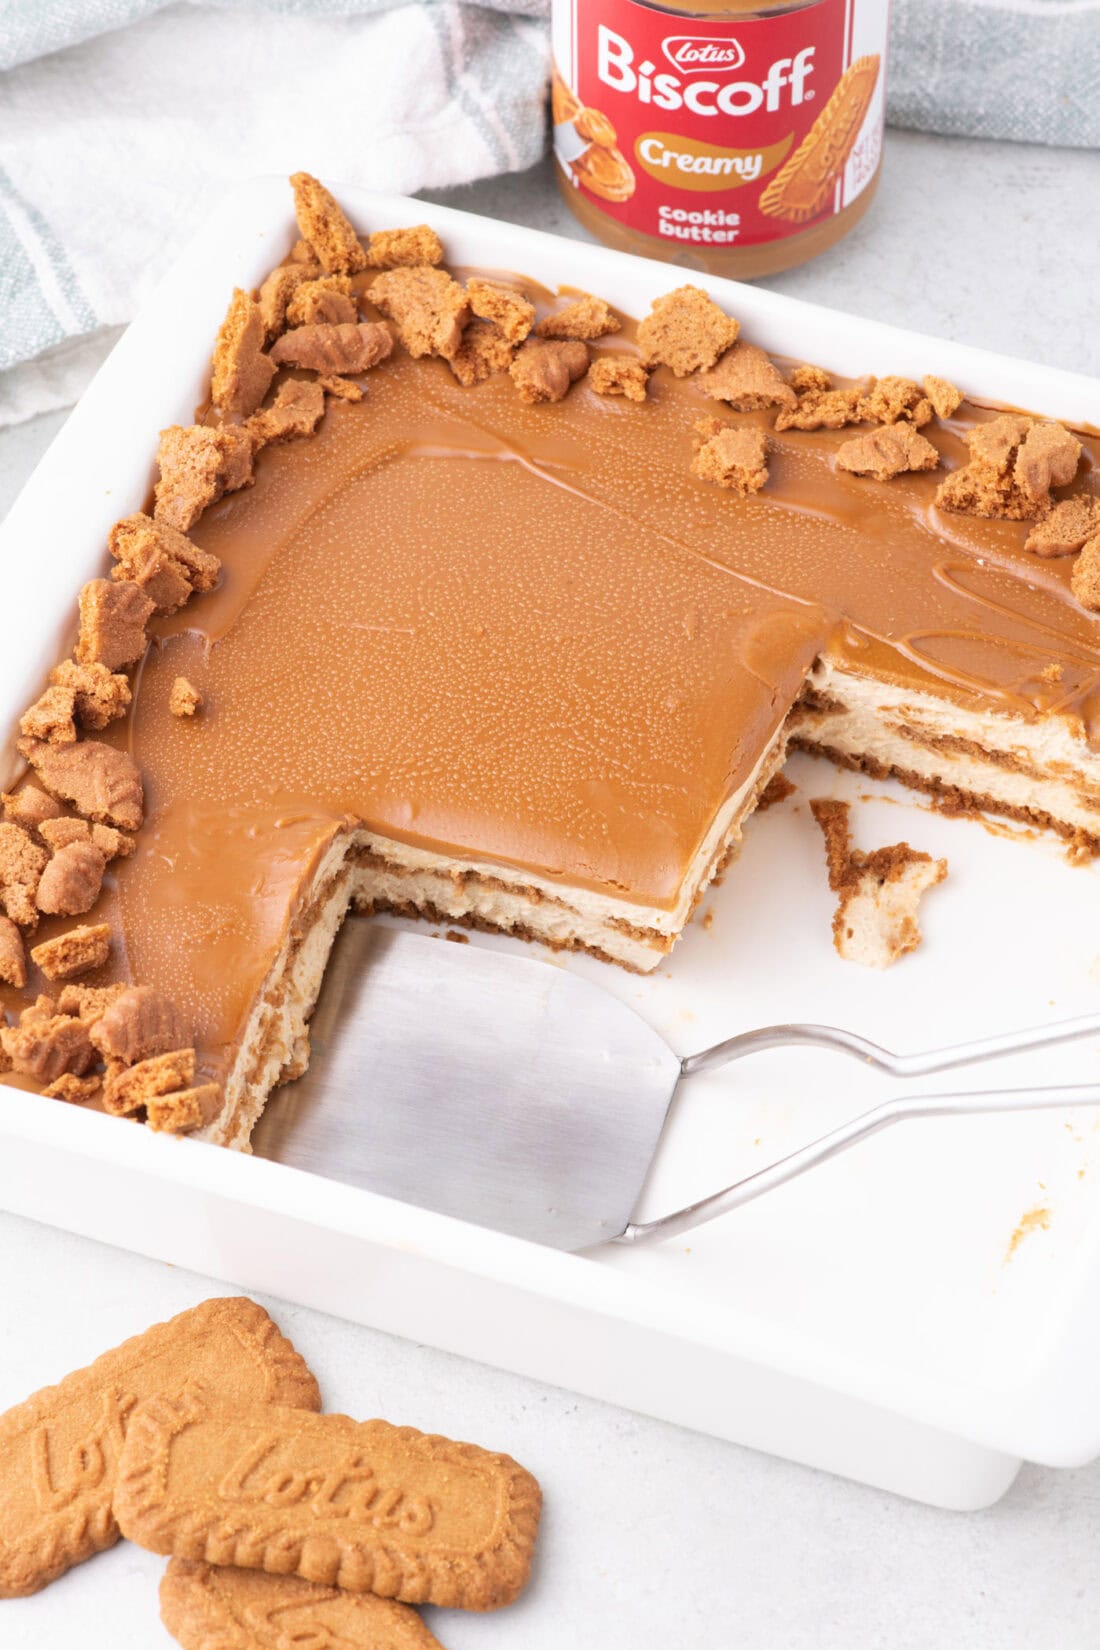
Biscoff icebox cake assembles in a snap, the hardest part is allowing it the time it needs to firm up in the refrigerator. Rich layers of Biscoff cookies and a whipped cream mixture meet a decadent cookie butter ganache in this no-bake dessert. Those magical little crisp cookies soak up the surrounding whipped cream layer leaving them soft and supple as if you’re biting into a cloud. It’s a dreamy combination!
The simplicity of icebox cake is what has us coming back for more and more. Typically, they require only a handful of ingredients that are layered together in a dish. Those layers can either be a mixture of whipped cream and cream cheese like we use in our Oreo icebox cake or a combination of whipped cream, cream cheese, and pudding mix for a blast of flavor you’ll see in our lemon icebox cake. Add either a biscuit, cookie, or graham cracker to embellish and you have yourself an insanely easy dessert to feed a crowd.
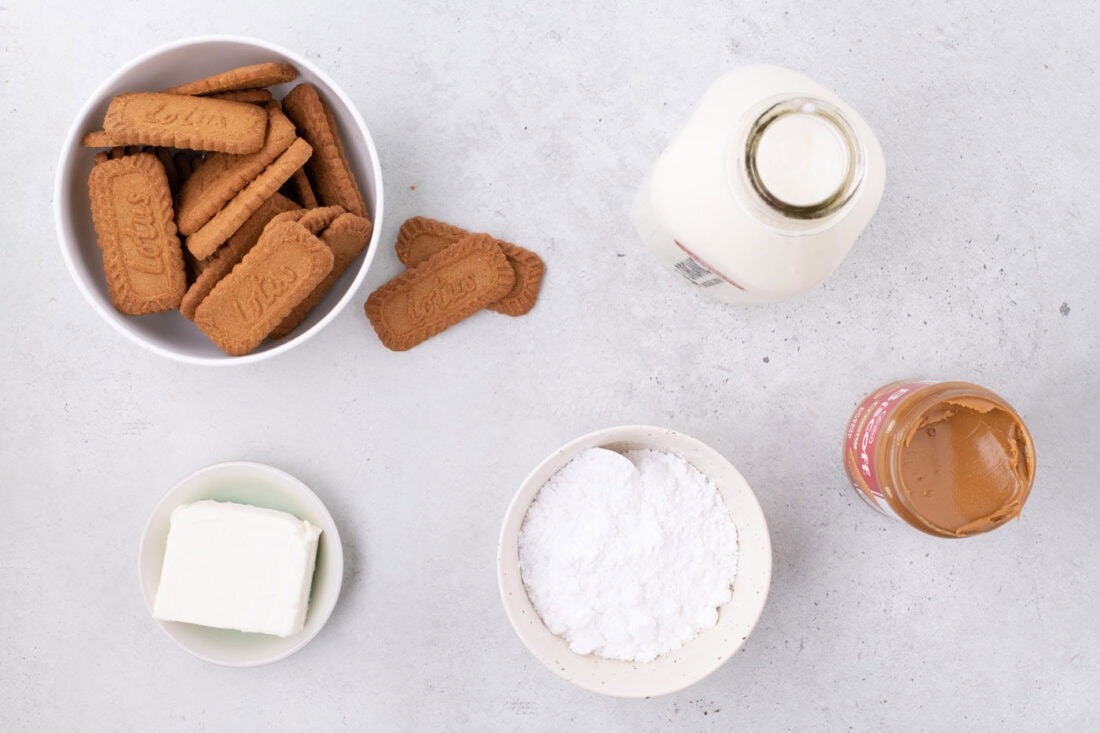
Ingredients you will need
Get all measurements, ingredients, and instructions in the printable version at the end of this post.
Ingredient Info and Substitution Suggestions
BISCOFF COOKIES – Make sure to buy the Biscoff cookies and not the ones with the sandwich cream center.
CREAM CHEESE – Only use brick-style cream cheese; you won’t get the same texture if you use anything else. Leave the cream cheese on the counter to soften. Do not try microwaving it to speed up the process – this may alter the outcome of the whipped cream mixture. The cream cheese block should be slightly firm to the touch yet create a little indent when touched.
HEAVY CREAM – Be sure that your heavy cream is chilled and only take it out of the refrigerator when you are ready to use it.
GANACHE – All you will need for the top layer is a jar of Biscoff cookie butter from the grocery store. Any brand of cookie butter will work if you aren’t able to find the Biscoff brand.
How to Make Biscoff Icebox Cake
These step by step photos and instructions are here to help you visualize how to make this recipe. You can Jump to Recipe to get the printable version of this recipe, complete with measurements and instructions at the bottom.
- Grease an 8×8-inch square baking pan.
- In the bowl of a stand mixer fitted with the whisk attachment, combine the softened cream cheese and ¾ cup Biscoff cookie butter. Mix on medium speed until smooth.
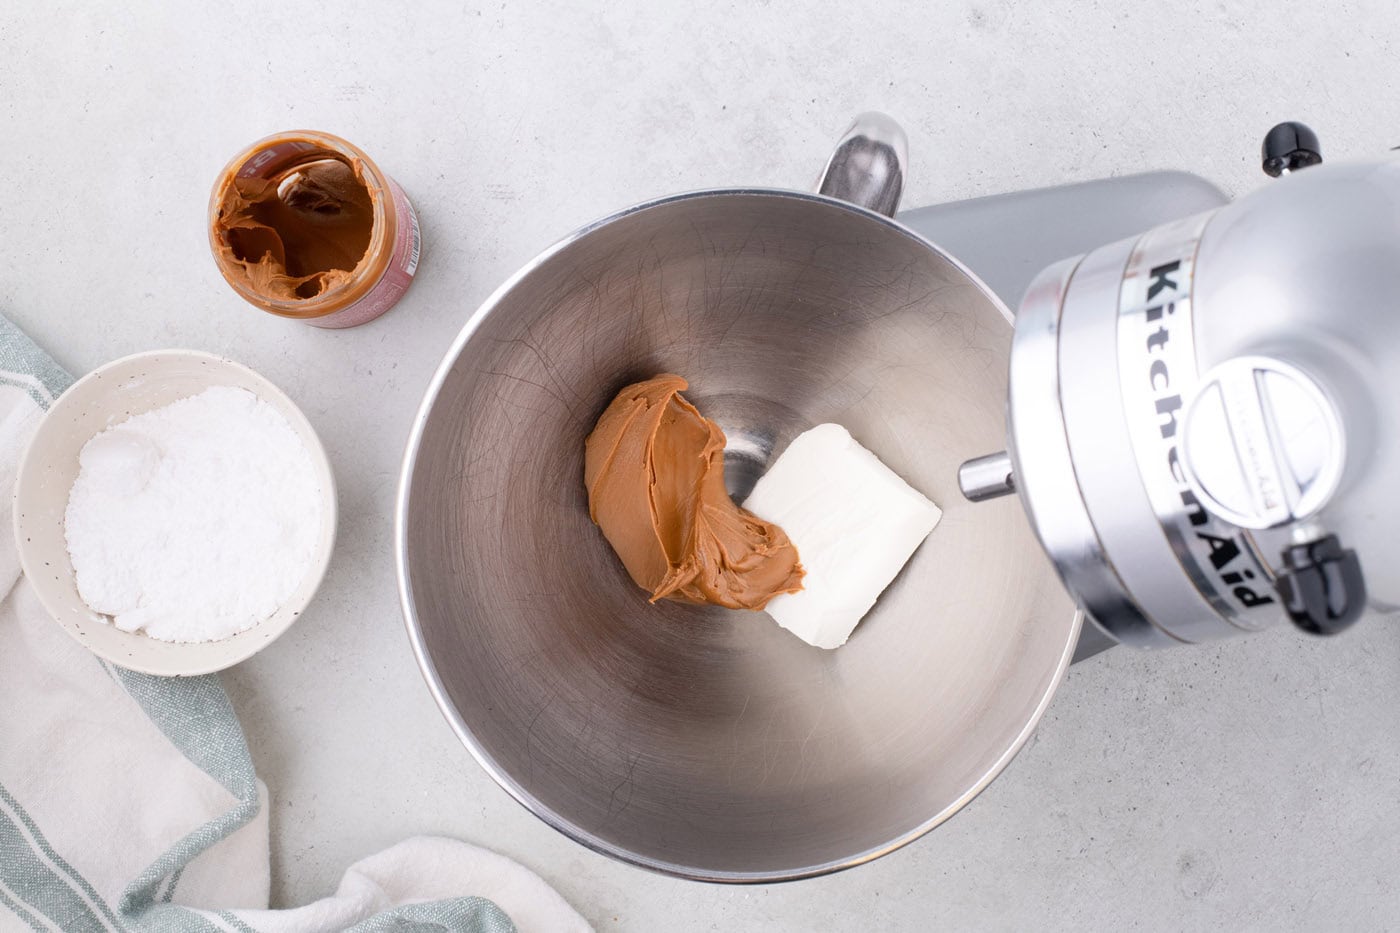
- Add the powdered sugar a little at a time and mix on low speed until thoroughly combined.
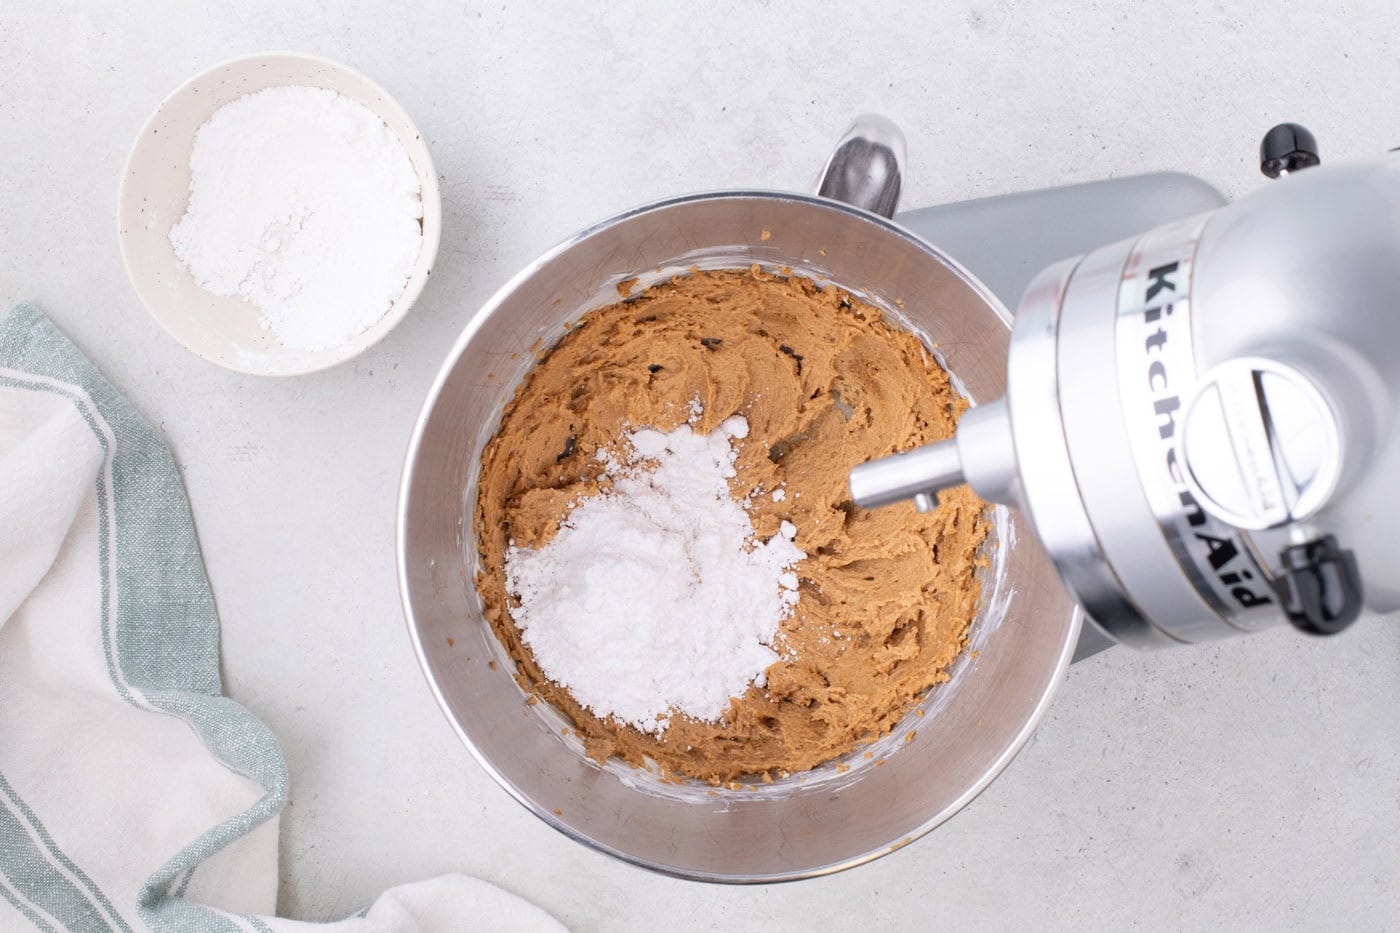
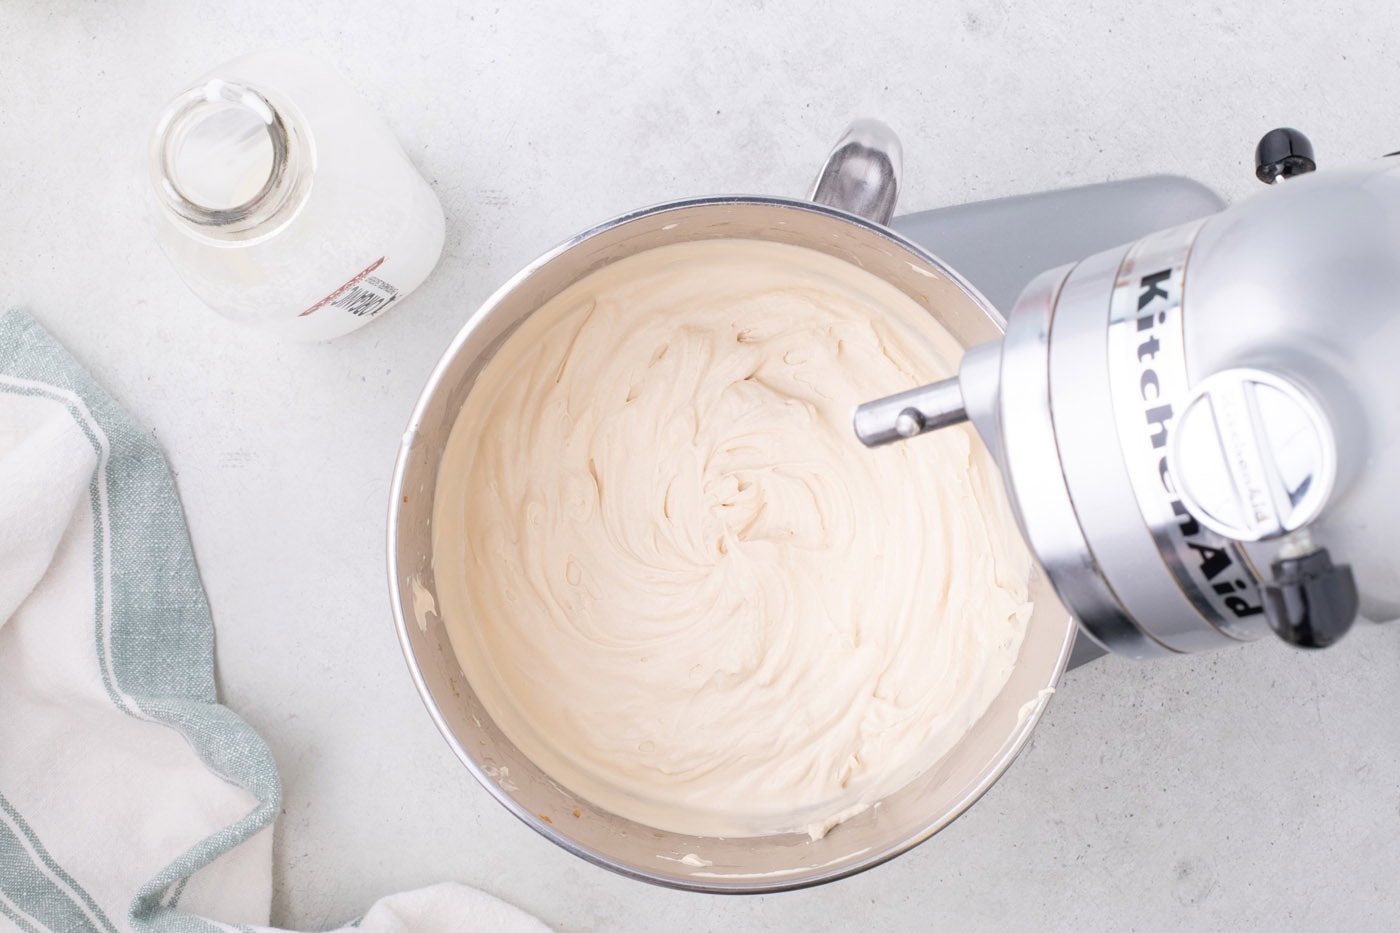
- Add ½ cup of the heavy whipping cream to the Biscoff/cream cheese mixture and mix on low speed until combined. Add another 1/2 cup of the heavy cream and continue mixing until smooth. Continue to add the remaining heavy cream in 1 cup increments mixing on low speed until smooth. Increase the speed to high and beat until the mixture thickens and soft peaks form. Set aside.
EXPERT TIP – Don’t overmix! The key is to build volume slowly by mixing the ingredients on low speed until smooth. Only then beat on high speed and stop beating until you see the mixture starting to form soft peaks.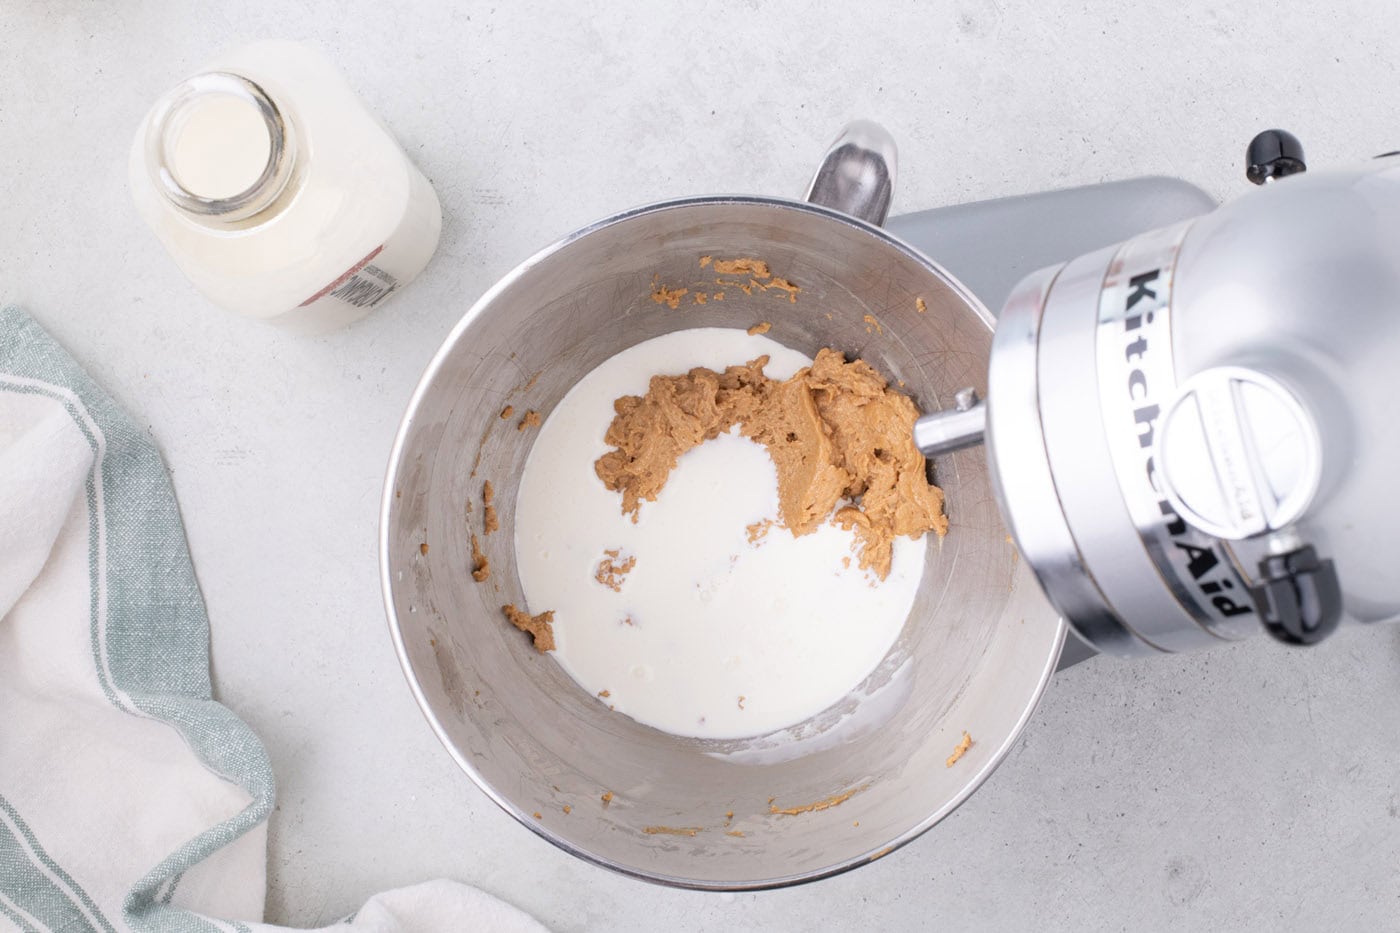
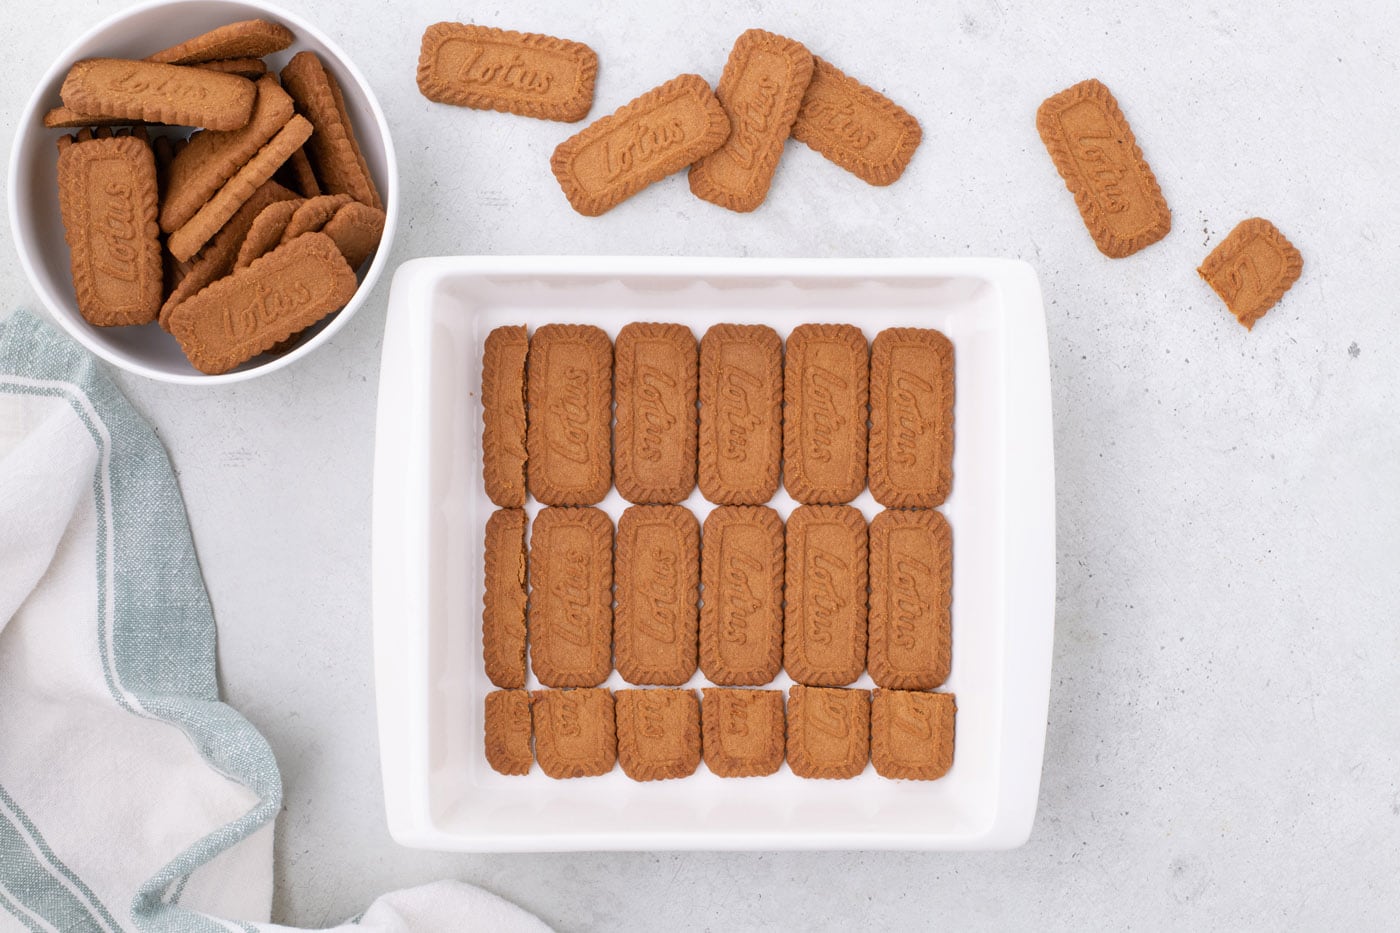
- Place a layer of Biscoff cookies onto the bottom of the prepared baking pan. If they don’t fit evenly or you have large gaps, you may need to cut some of the cookies in half to make them fit snugly into the base of the pan.
- Spoon 2 ½ cups of the whipped cream mixture on top of the layer of cookies, (be careful not to move the cookies around too much). Smooth the top using an offset spatula.
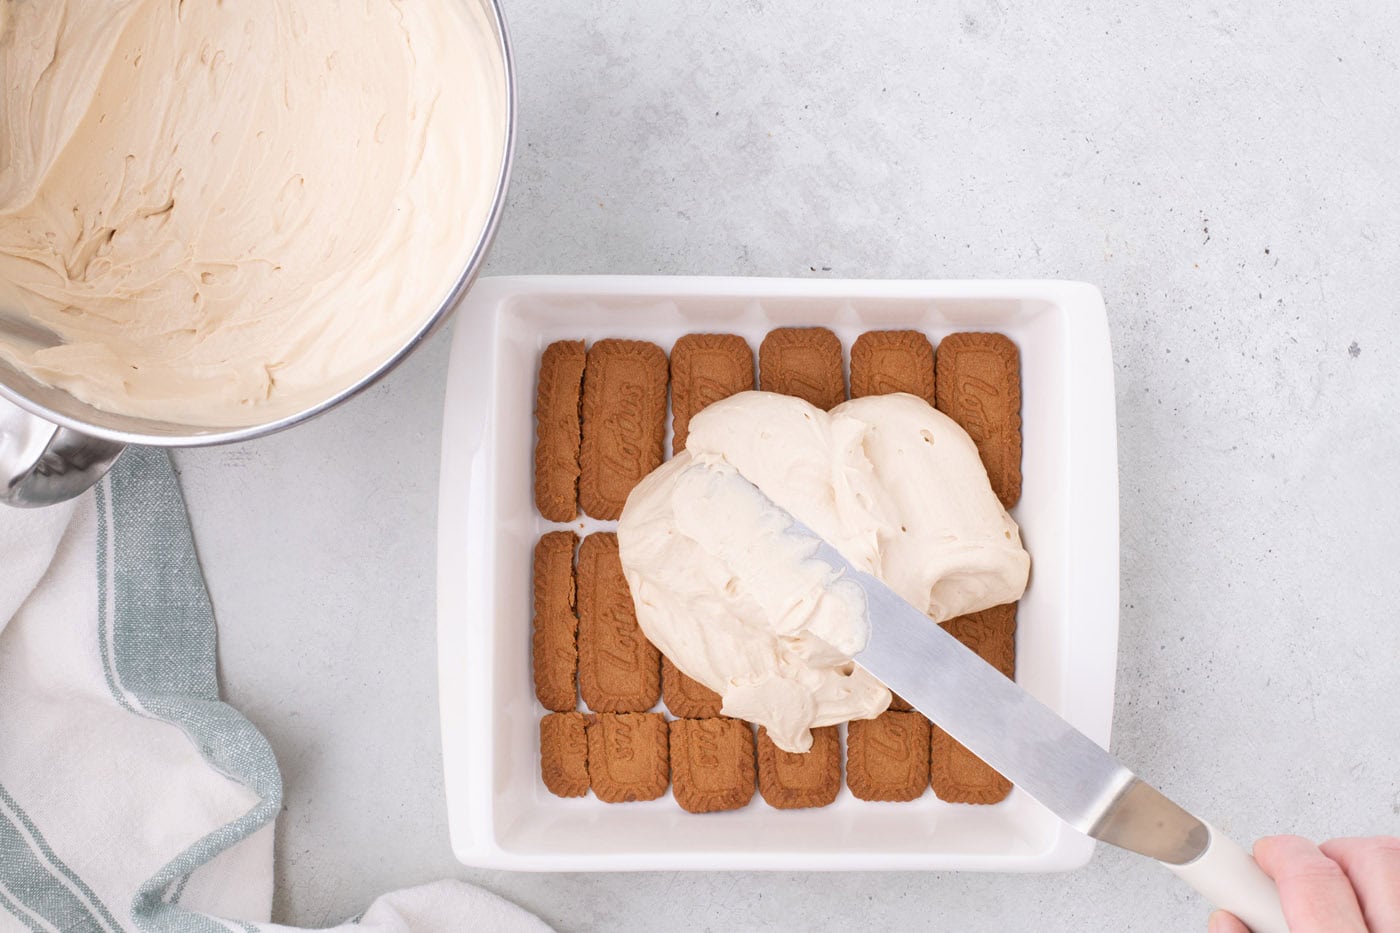
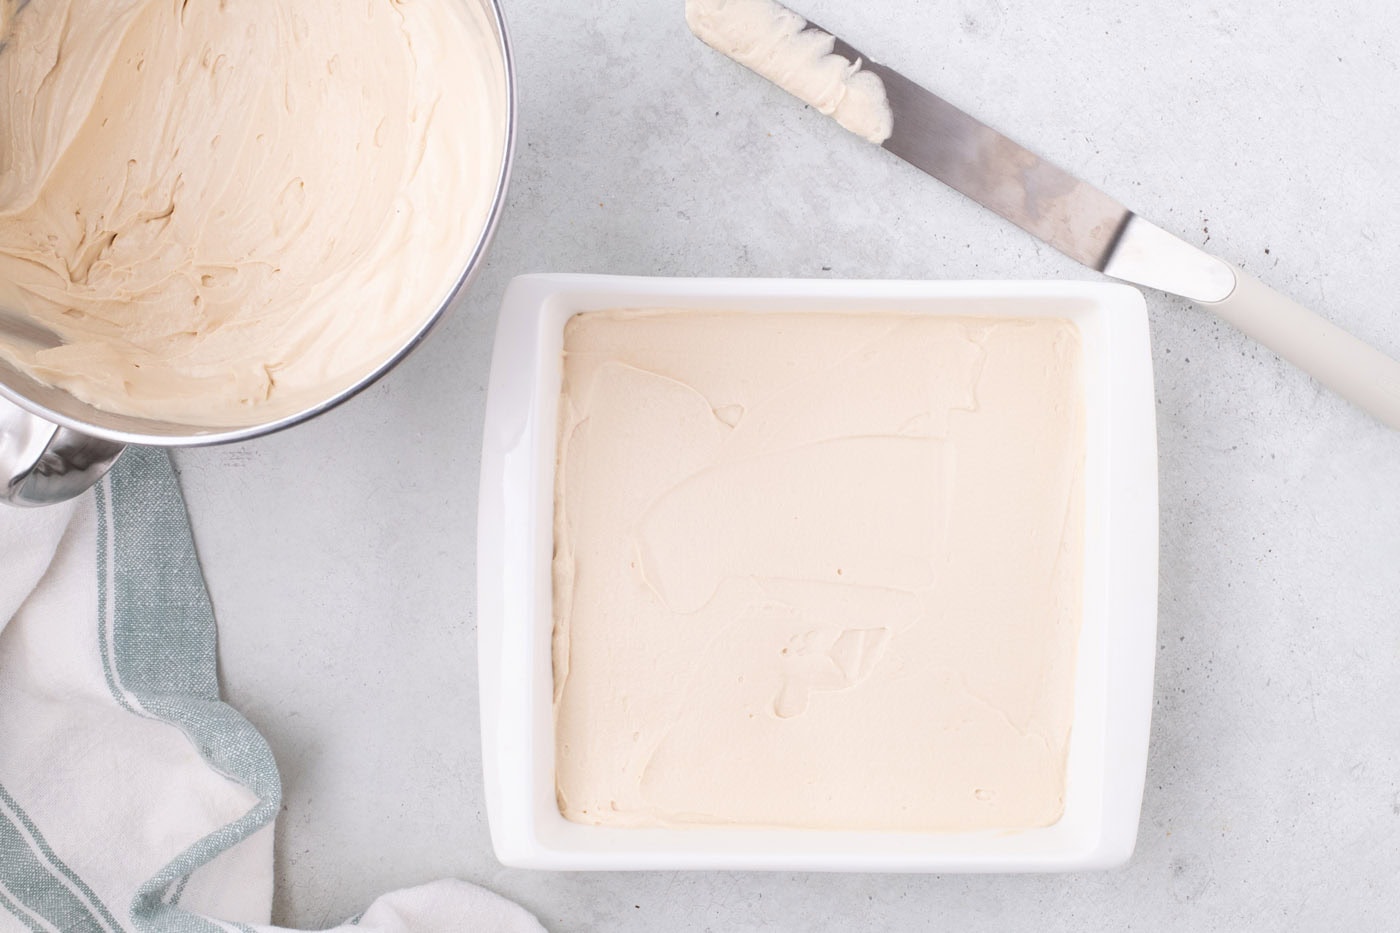
- Place a second layer of Biscoff cookies on top of the whipped cream layer, making sure they fit snugly next to each other. Cut cookies in half to fill any gaps.
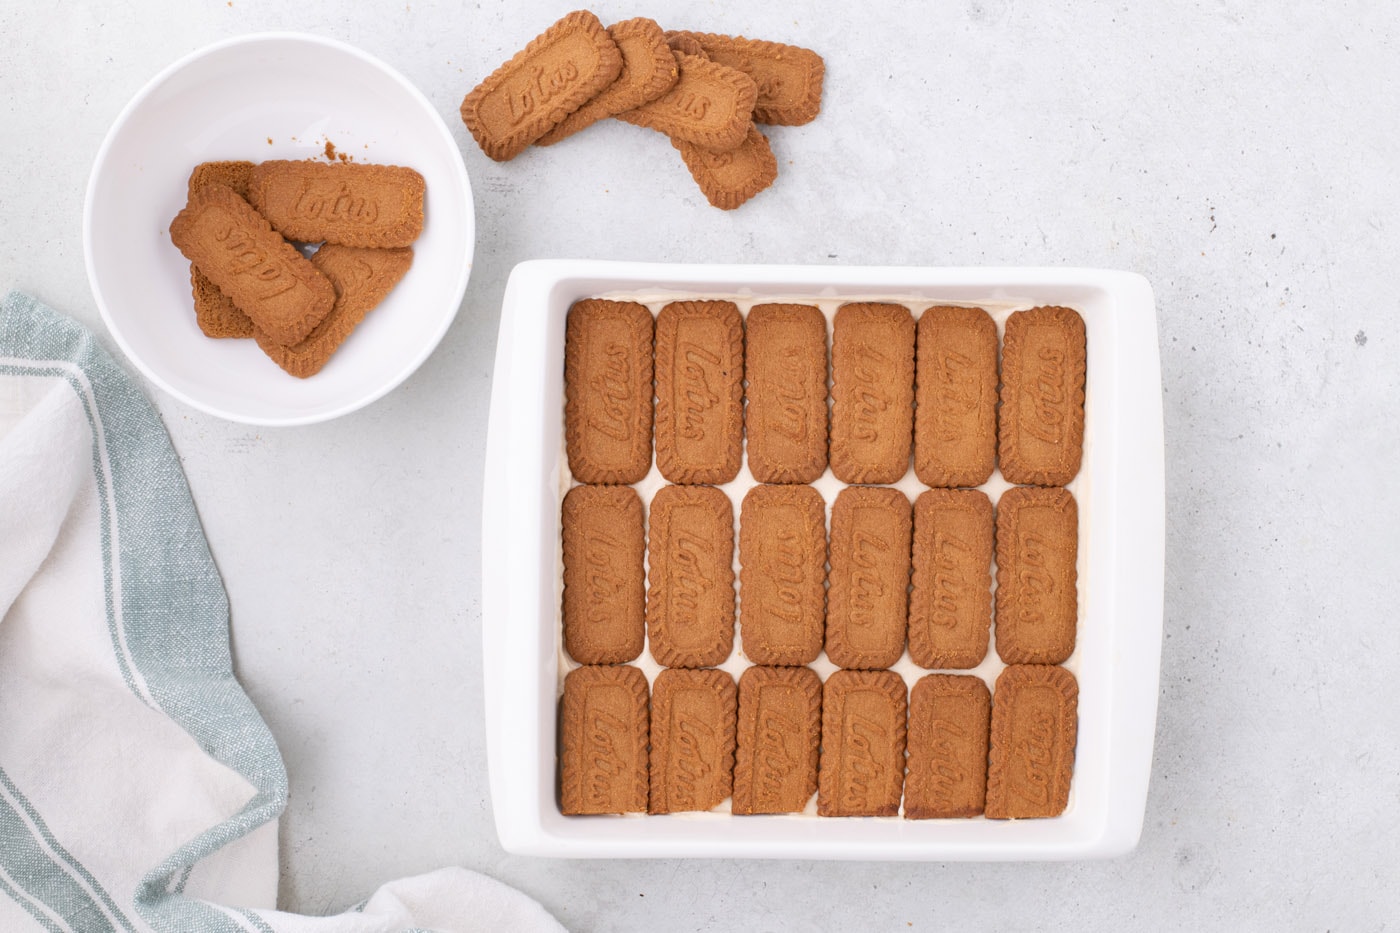
- Add the remaining 2 ½ cups of whipped cream to the layer of Biscoff cookies, smoothing out the whipped cream mixture and getting into all the corners. Chill for 1 hour.
Assembling the Biscoff Icebox Cake
- Break 10 Biscoff cookies into smaller pieces and set aside.
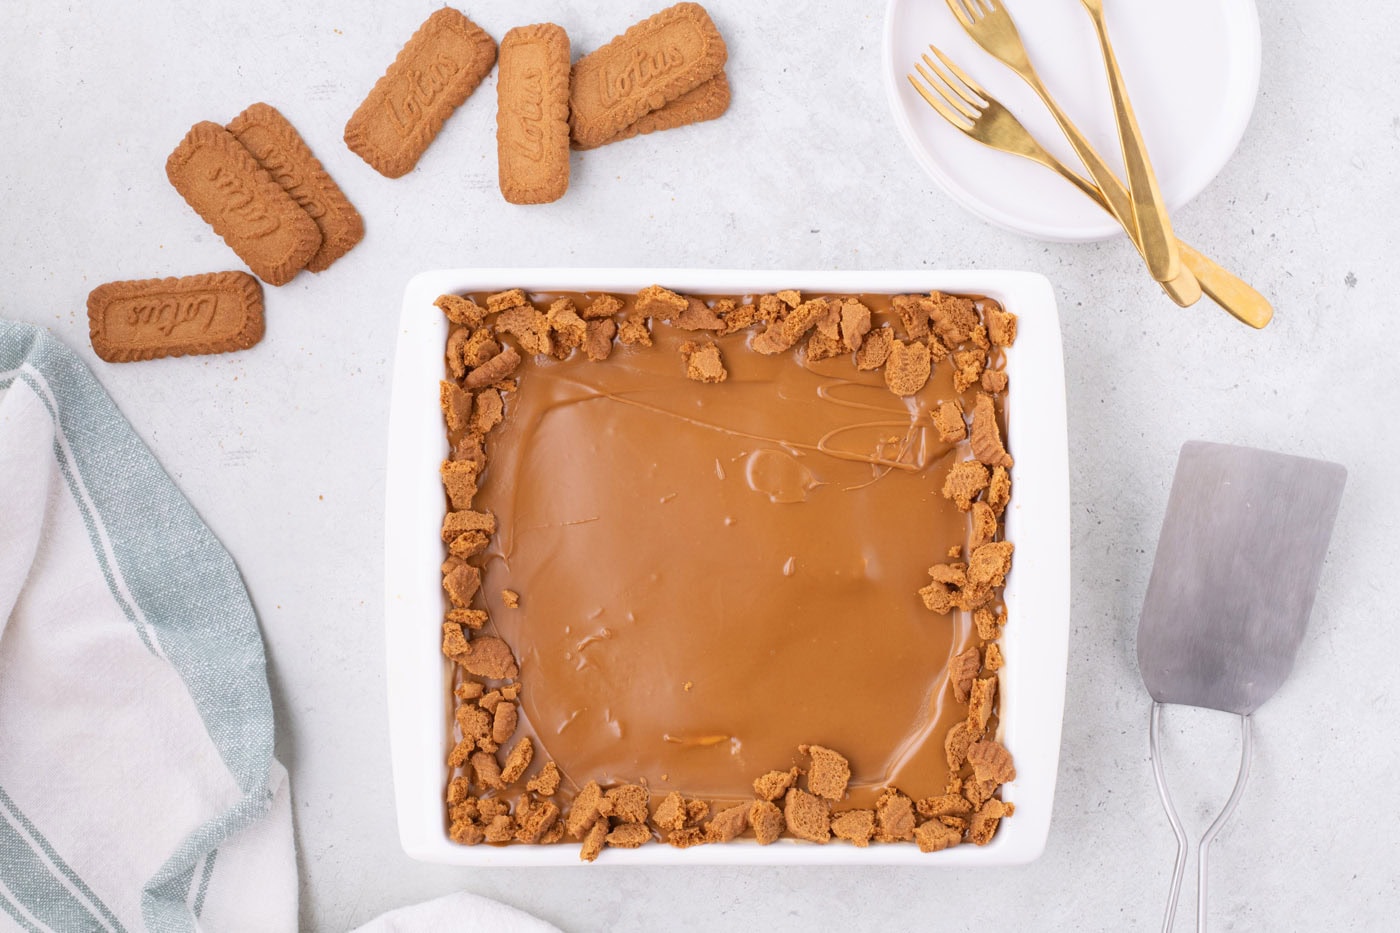
- To make the Biscoff ganache, place 1 cup of the cookie butter in a microwave-safe container and heat for 30 seconds. Pour the melted cookie butter over the chilled whipped cream layer, smoothing it out with an offset spatula.
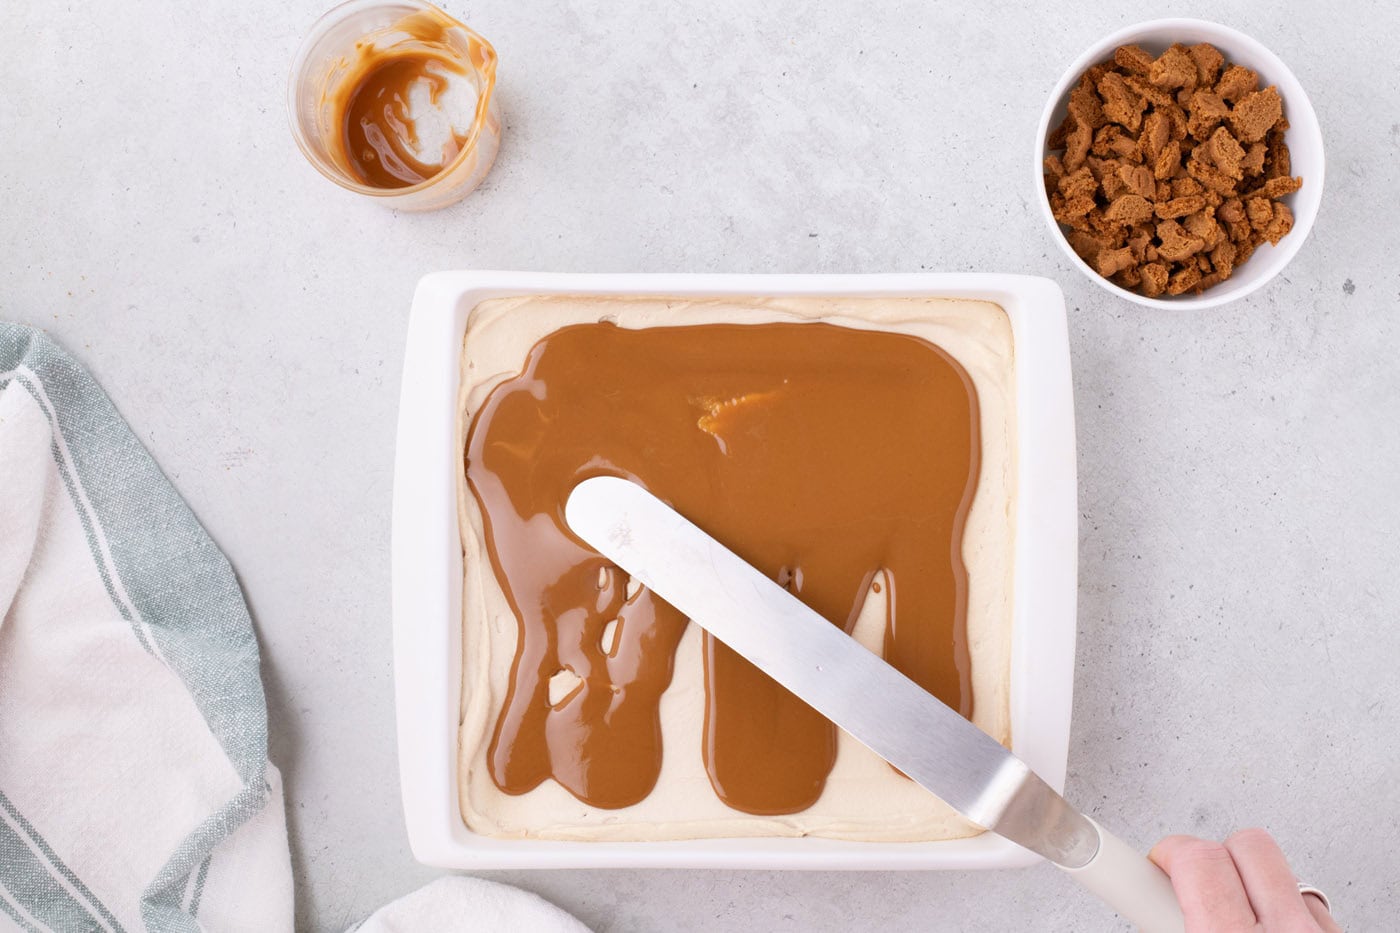
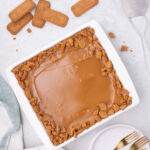
- Sprinkle the broken cookies along the sides of the ganache layer, creating a square border. Refrigerate for a minimum of 4 hours.
Frequently Asked Questions & Expert Tips
Store the icebox cake tightly wrapped with plastic wrapped or covered with an air-tight lid in the refrigerator for up to 5 days.
Yes, absolutely. It’s recommended to make this icebox cake at minimum 4-5 hours ahead of time for the best texture. However, you can easily prepare it the day before and store it in the refrigerator until you are ready to serve. Allowing it plenty of time to rest in the refrigerator will leave you with soft, sliceable layers to sink your teeth into.
I would not recommend freezing this cake as it will change the consistency of the whipped cream layer when thawed. For storage, I recommend placing leftovers in the refrigerator.
It is best to keep the cake cold, which will make it easier to slice. Dip a sharp knife into hot water, pat dry, and slice to get clean cuts. Do this before every cut you make.
Serving Suggestions
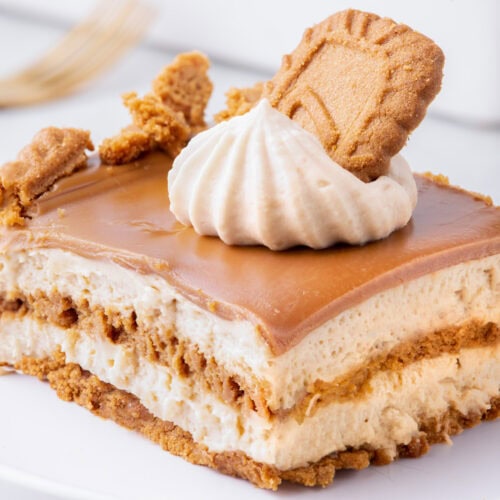
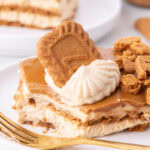
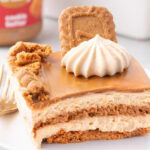
Serve your Biscoff icebox cake slices with an optional dollop of whipped cream and half of a Lotus cookie on top, or simply crush extra cookies and sprinkle them over the whipped cream. Always keep your cake chilled for the best consistency. Enjoy!
More Icebox Cake Recipes
- Strawberry Icebox Cake
- Nutter Butter Icebox Cake
- Banana Cream Pie Icebox Cake
- Chocolate Chip Cookie Icebox Cake
I love to bake and cook and share my kitchen experience with all of you! Remembering to come back each day can be tough, that’s why I offer a convenient newsletter every time a new recipe posts. Simply subscribe and start receiving your free daily recipes!
Biscoff Icebox Cake
IMPORTANT – There are often Frequently Asked Questions within the blog post that you may find helpful. Simply scroll back up to read them!
Print It Rate ItIngredients
- 4 ounces cream cheese brick style cream cheese, at room temperature*
- 14.1 ounces Biscoff cookie butter divided
- ½ cup powdered sugar
- 3 cups heavy whipping cream chilled
- 12 ounces Biscoff cookies divided. 1 1/2 packages
Things You’ll Need
Before You Begin
- Make sure to buy the regular Biscoff cookies and not the ones with the sandwich cream center.
- Only use brick-style cream cheese; you won’t get the same texture if you use anything else.
- Leave the cream cheese on the counter to soften. Do not try microwaving it to speed up the process – this may alter the outcome of the whipped cream mixture. The cream cheese block should be slightly firm to the touch yet create a little indent when touched.
- I like to keep the bowl of my stand mixer and whisk attachment in the freezer (for about 10 minutes) until ready to use. This ensures the heavy cream is cold enough when making my whipped cream mixture.
- Be sure that your heavy cream is chilled and only take it out of the refrigerator when you are ready to use it.
Instructions
- Grease an 8×8-inch square baking pan.
- In the bowl of a stand mixer fitted with the whisk attachment, combine the softened cream cheese and ¾ cup Biscoff cookie butter. Mix on medium speed until smooth.
- Add the powdered sugar a little at a time and mix on low speed until thoroughly combined.
- Add ½ cup of the heavy whipping cream to the Biscoff/cream cheese mixture and mix on low speed until combined. Add another 1/2 cup of the heavy cream and continue mixing until smooth. Continue to add the remaining heavy cream in 1 cup increments mixing on low speed until smooth. Increase the speed to high and beat until the mixture thickens and soft peaks form. Set aside.TIP – It’s important not to overmix the whipped cream. The mixture can easily separate and turn to ‘butter’ if mixed too long. When this happens it can no longer be salvaged. The key is to build volume slowly by mixing the ingredients on low speed until smooth. Only then beat on high speed and stop beating until you see the mixture starting to form soft peaks.
- Place a layer of Biscoff cookies onto the bottom of the prepared baking pan. If they don’t fit evenly or you have large gaps, you may need to cut some of the cookies in half to make them fit snugly into the base of the pan.
- Spoon 2 ½ cups of the whipped cream mixture on top of the layer of cookies, (be careful not to move the cookies around too much). Smooth the top using an offset spatula.
- Place a second layer of Biscoff cookies on top of the whipped cream layer, making sure they fit snugly next to each other. Cut cookies in half to fill any gaps.
- Add the remaining 2 ½ cups of whipped cream to the layer of Biscoff cookies, smoothing out the whipped cream mixture and getting into all the corners. Chill for 1 hour.
- Break 10 Biscoff cookies into smaller pieces and set aside.
- To make the Biscoff ganache, place 1 cup of the cookie butter in a microwave-safe container and heat for 30 seconds. Pour the melted cookie butter over the chilled whipped cream layer, smoothing it out with an offset spatula.
- Sprinkle the broken Biscoff cookies along the sides of the ganache layer, creating a square border. Refrigerate for a minimum of 4 hours.
Expert Tips & FAQs
- It is best to keep the cake cold, this will make it easier to slice. Dip a sharp knife into hot water, pat dry, and slice to get clean cuts. Do this before every cut you make.
- Store the icebox cake tightly wrapped with plastic wrapped or covered with an air-tight lid in the refrigerator for up to 5 days.
- Make Ahead – It’s recommended to make this icebox cake at minimum 4-5 hours ahead of time for the best texture. However, you can easily prepare it the day before and store it in the refrigerator until you are ready to serve. Allowing it plenty of time to rest in the refrigerator will leave you with soft, sliceable layers to sink your teeth into.
- I would not recommend freezing this cake as it will change the consistency of the whipped cream layer when thawed. For storage, I recommend placing leftovers in the refrigerator.
Nutrition
Kristen Rittmer
Latest posts by Kristen Rittmer (see all)
- Chicken Pot Pie Pasta - January 15, 2025
- Butterscotch Brownies - January 8, 2025
- Instant Pot Split Pea Soup - December 25, 2024


Joyce says
I made this for some friends last week. AMAZING! I’m planning on adding it to our Thanksgiving dessert table for all of the Biscoff fans in our family. Seriously, SO GOOD!
Bonnie Byerly says
I am so disappointed with this recipe, my mixture separated and turned to butter way before the 3 minute timer went off. What a waste of money ! I read all the directions ahead of time and followed it line by line. The mixture didn’t even begin to form a peak before it began to separate. I have made many types of icebox desserts using whipped cream and this seemed simple enough but somehow it was a complete failure for me.
Amanda Davis says
I’m so sorry that you had a negative experience with our recipe. It sounds like you overbeat it (due to not keeping it on medium speed) or the heavy cream was not properly chilled. am so careful with giving instructions regarding making whipped cream b/c of how easy it starts to separate if not done correctly:
1. Overbeating will lead to separation (even if you follow directions for the required time but beat it on too high a setting.
2. Was the heavy cream properly chilled or did it start off being beaten at room temp? This will play a role in it whipping up nicely or just becoming a separated watery mess. (my suspicion is this, as you stated that it didn’t even form a peak before it began to separate)
3. The softened cream cheese: Was it softened, or did you put it in the microwave to soften it, which resulted in it being warmer than it should have? Again, this is a cause of peaks not being able to form.
We retested the recipe after receiving your feedback. This time with our hand mixer, (as not everyone has a stand mixer) and noticed the low setting on the mixer = the medium speed on the stand mixer (so that is a huge variance). This might have been the reason for the your whipped cream separating – your mixer setting was too high. We did find that with the hand mixer the soft peaks formed at 2 minutes while on the stand up mixer it took 3 minutes (at the 3-minute mark the whipped cream started to curdle with the hand mixer).
Again we apologize that you had a bad experience and hope that you will try more of our recipes in the future.
P.S. We saw your other comment (not published here). Your comment was in moderation and only you could see it. You stated you had not given the recipe 4 stars yet it was showing that. When I came to moderate your comment it had 5 stars on it. Sometimes people click the stars and don’t realize they did it. I have removed the stars completely since it’s clear you did not mean to give it 5 stars. I can assure you that we did not rate the recipe on your behalf. Thank you again for your feedback.
Bonnie Byerly says
Thank you for addressing my review and giving me some good pointers. I do plan on trying again to make this delicious looking dessert, especially since fall is in the air!
Amanda Davis says
You’re welcome! Crossing fingers for a better outcome next time :)
Margie R Heitman says
Sounds good- but how an alternative to the cookie butter? I have never seen it and not sure I can find it.
Amanda Davis says
You can use any brand of cookie butter. I would suggest doing a web search for “cookie butter near me” to see what stores carry it. Target will likely have it as well.
Marion says
This is too funny. I made an ice box cake last weekend. Had NO graham crackers but PLENTY of biscotti crackers & subbed them. It came out GREAT & NOW I can’t wait to try yours! I wasn’t sure how it’d turn out due to being a little thicker than grahams, but they are WAY better> BTW…I LOVE your recipes, I make more than I comment on though. Just KNOW, YOUR site is my FIRST “go to” for recipes.
Amanda Davis says
Thank you so much for saying that, I really appreciate it!