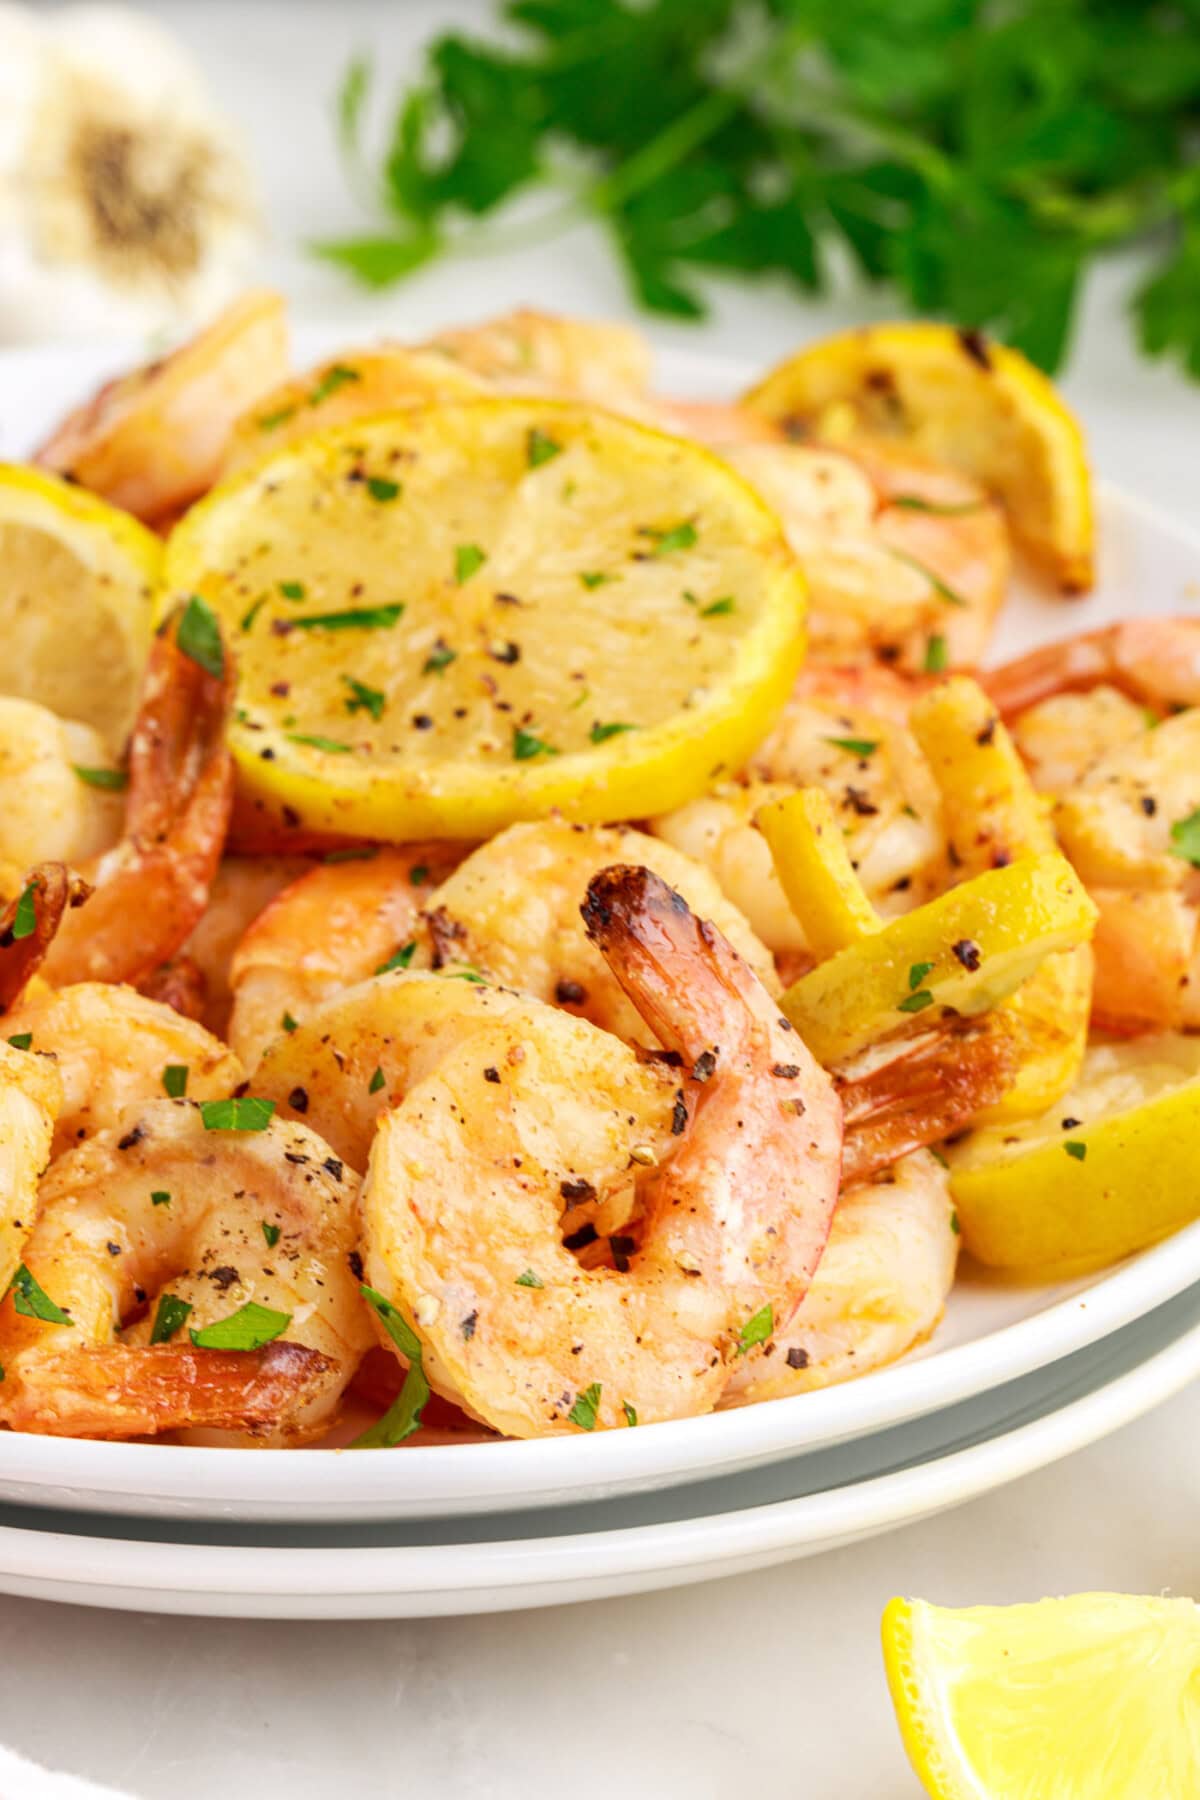
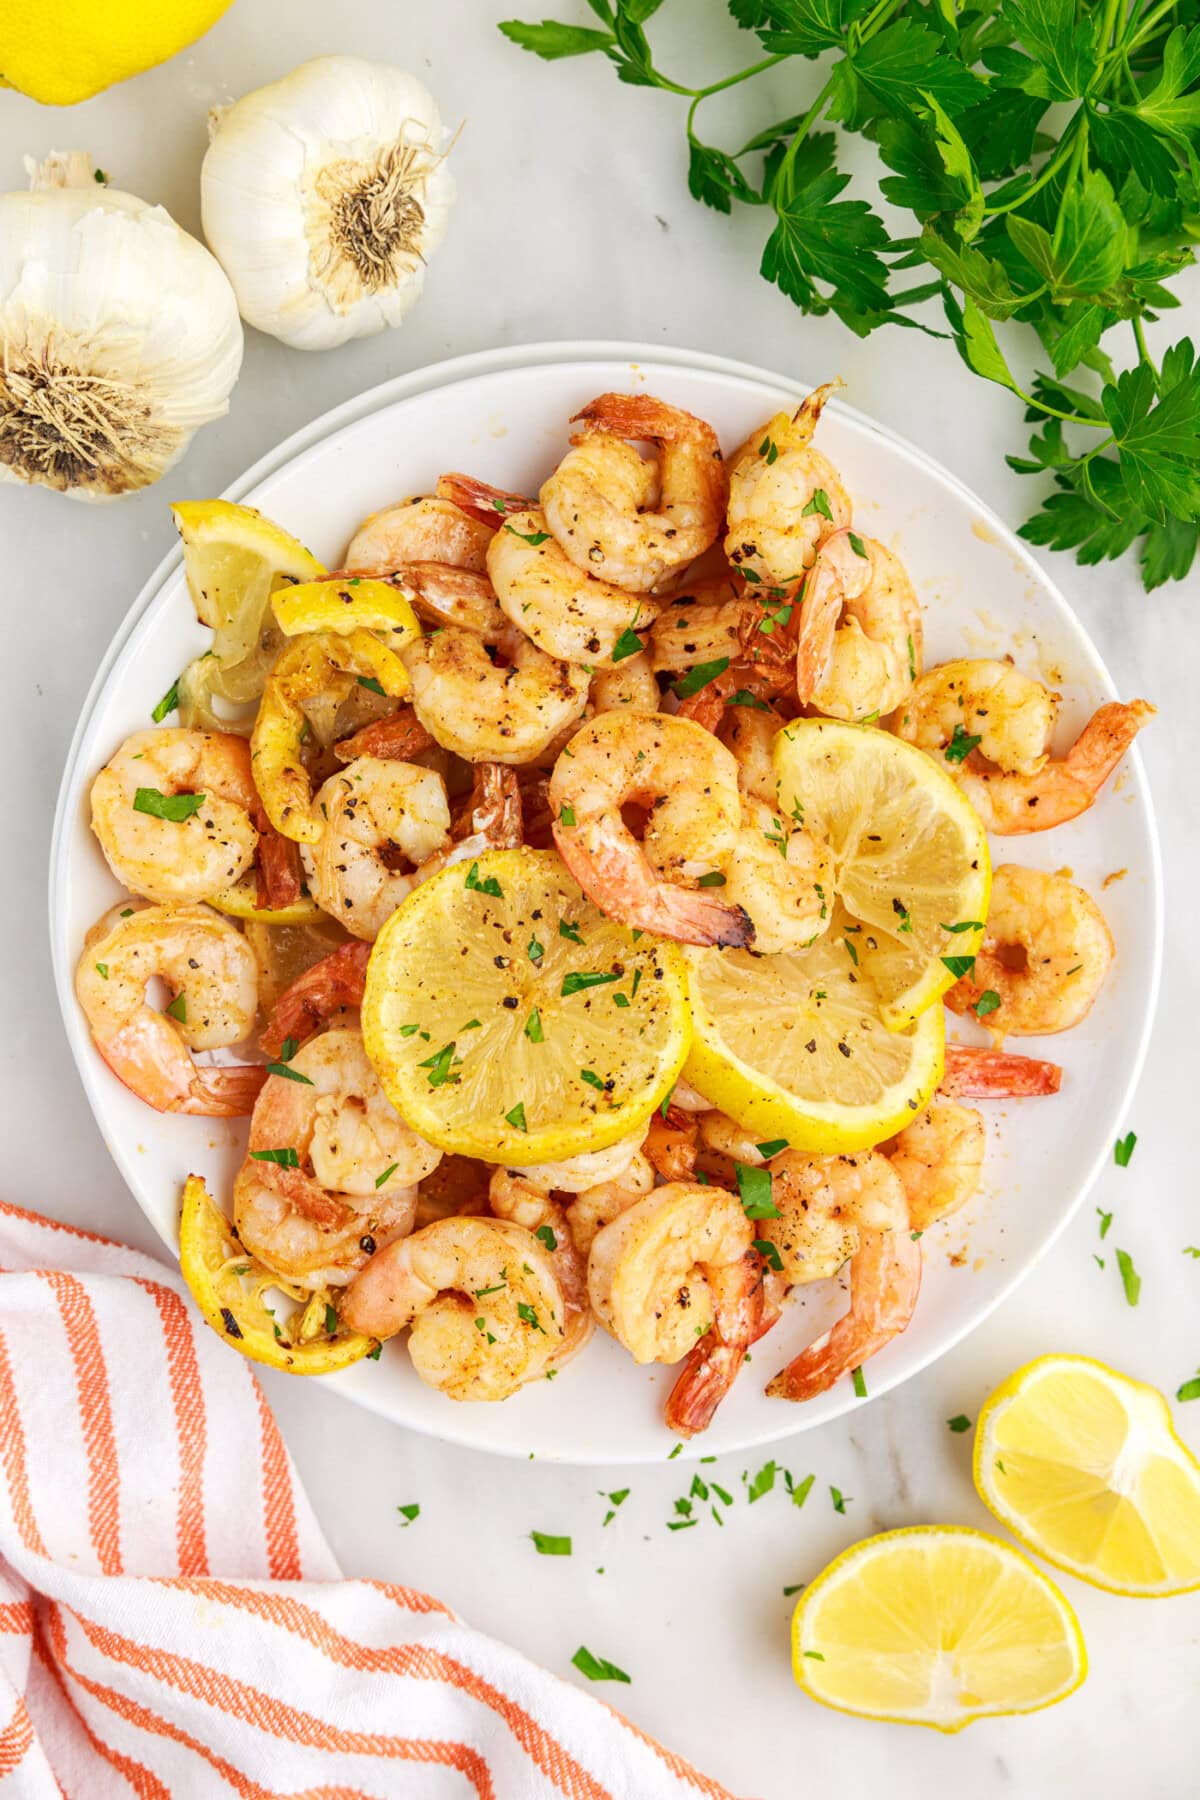
Tender and juicy air fryer shrimp are buttered and seasoned to perfection and ready to eat in 10 minutes, start to finish!
Why this recipe works
If you’re looking for a quick and easy recipe on how to make air fryer shrimp, we’ve got you covered. The sweet spot for perfectly tender and ultra juicy shrimp is at about 4 minutes in the air fryer. There will be no chewy or tough shrimp around here!
This is a good base recipe to follow for cooking up beautifully golden jumbo shrimp. Mix in or substitute whatever seasonings you’d like to match your taste. Enjoy them on their own, mixed into pasta (like our shrimp pasta), or over a bed of rice.

Ingredients you will need
Get all measurements, ingredients, and instructions in the printable version at the end of this post.
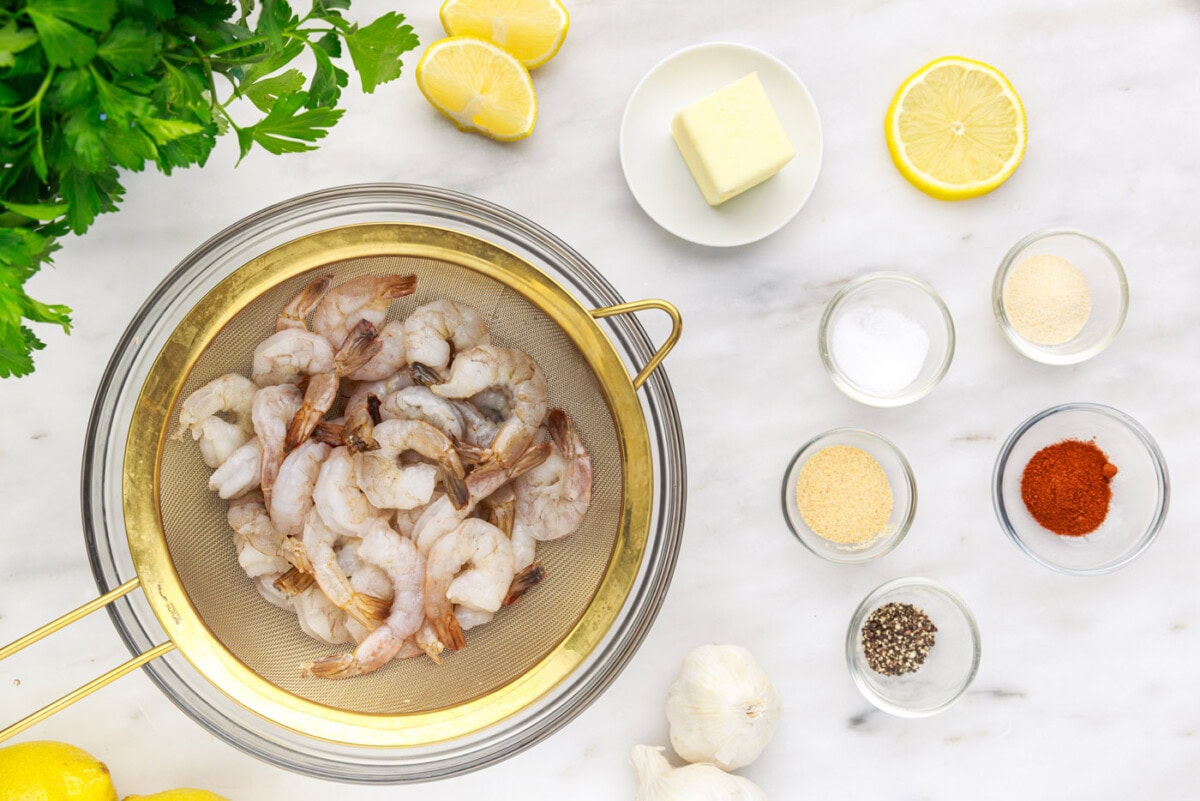
Ingredient Info and Substitution Suggestions
SHRIMP – You will need 1 lb of raw jumbo shrimp that are peeled and deveined. You can use frozen shrimp, however, be sure it is completely thawed before beginning. Technically, yes, you can air fry shrimp while it is still frozen but frozen shrimp will not hold on to seasonings, and all those flavorful seasonings will slide right off as soon as it warms up.
How to Make Air Fryer Shrimp
These step by step photos and instructions are here to help you visualize how to make this recipe. You can Jump to Recipe to get the printable version of this recipe, complete with measurements and instructions at the bottom.
- Preheat air fryer to 400°F.
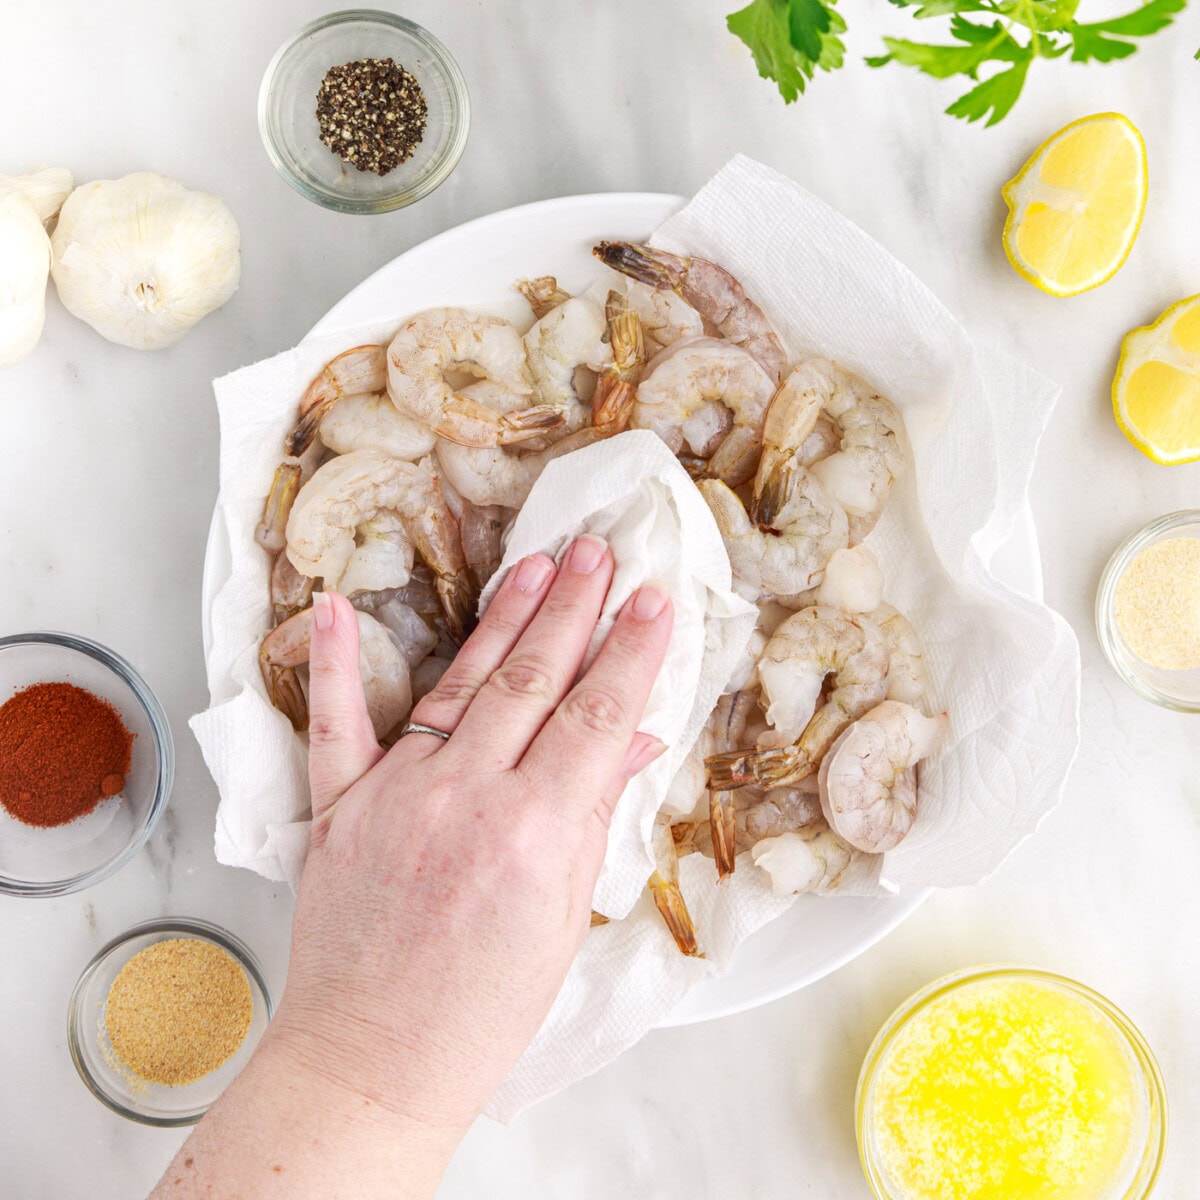
- Be sure shrimp are thawed completely, peeled, and deveined. Place rinsed shrimp on several layers of paper towels and pat dry to remove as much moisture as possible.
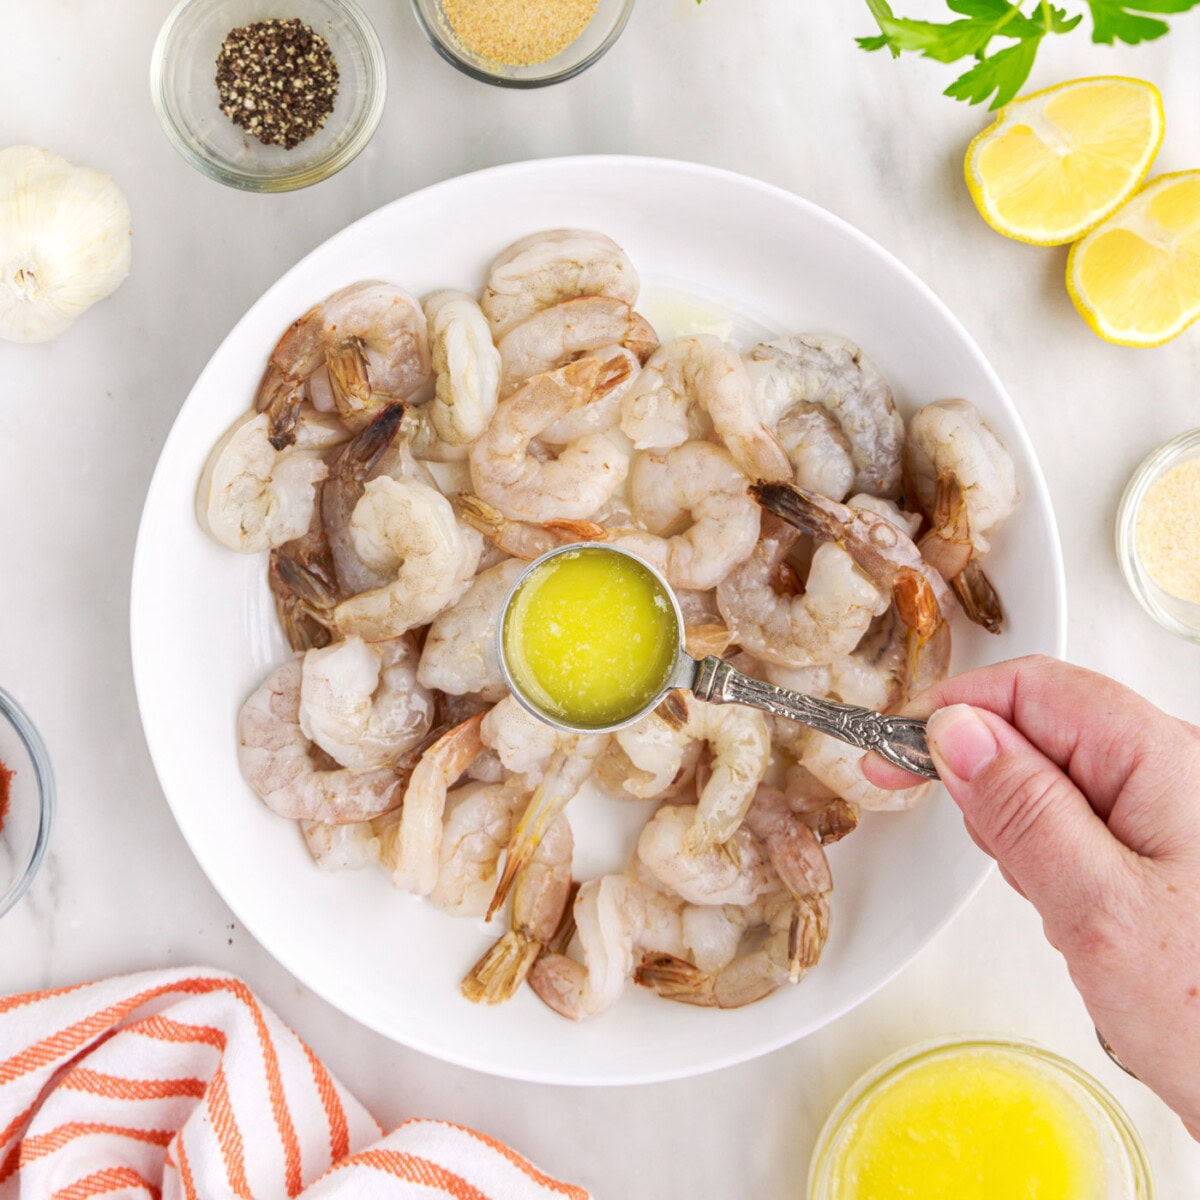
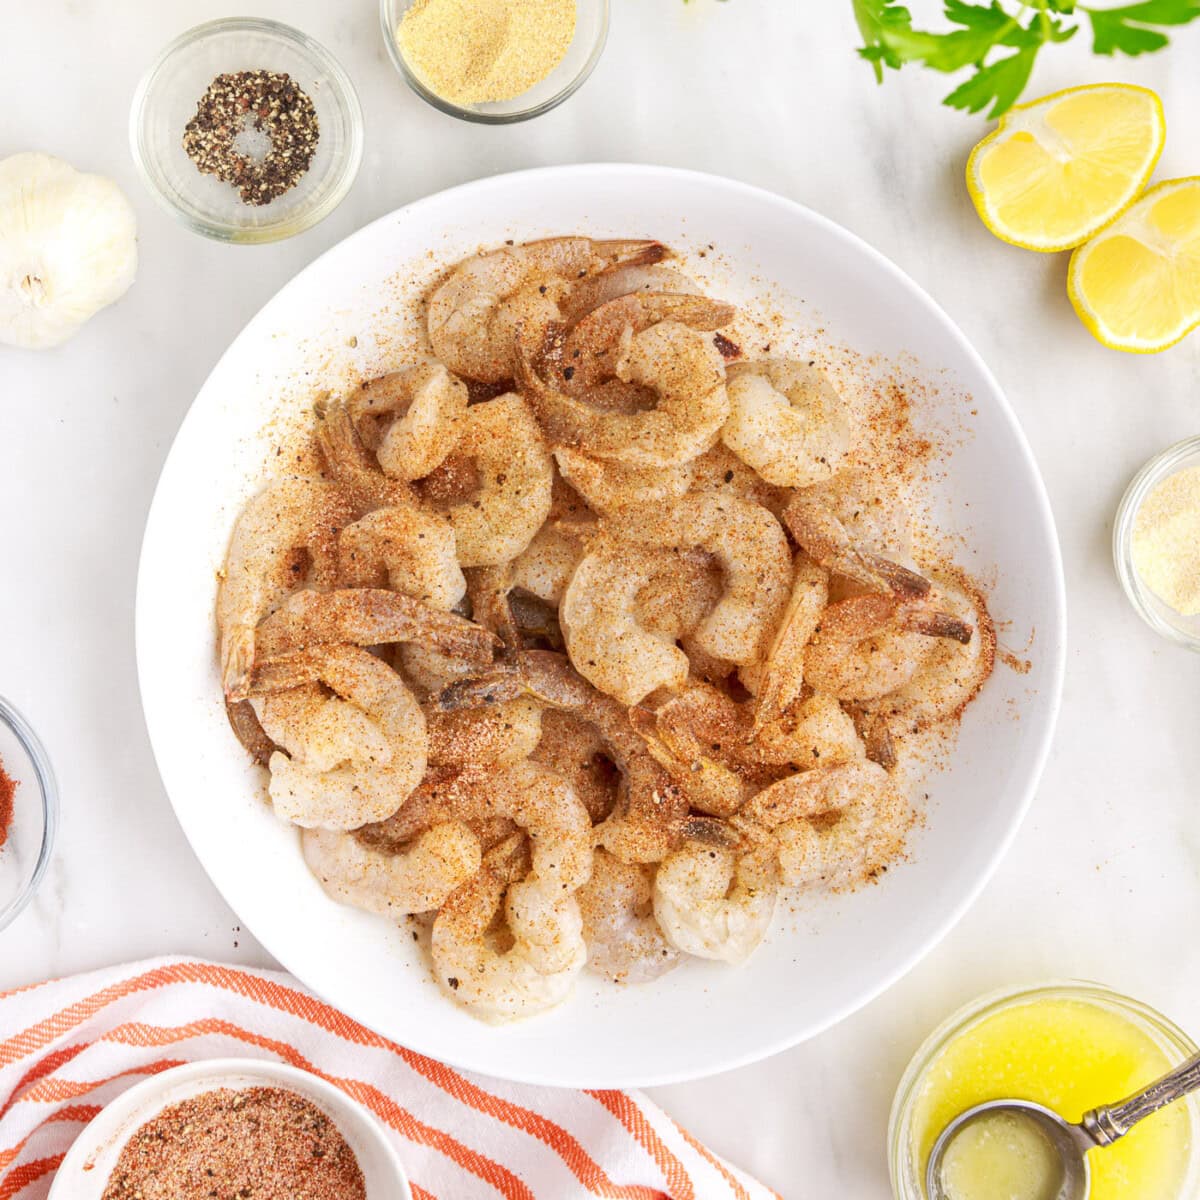
- Transfer shrimp to a mixing bowl. Toss with 2 tablespoons of the melted butter.
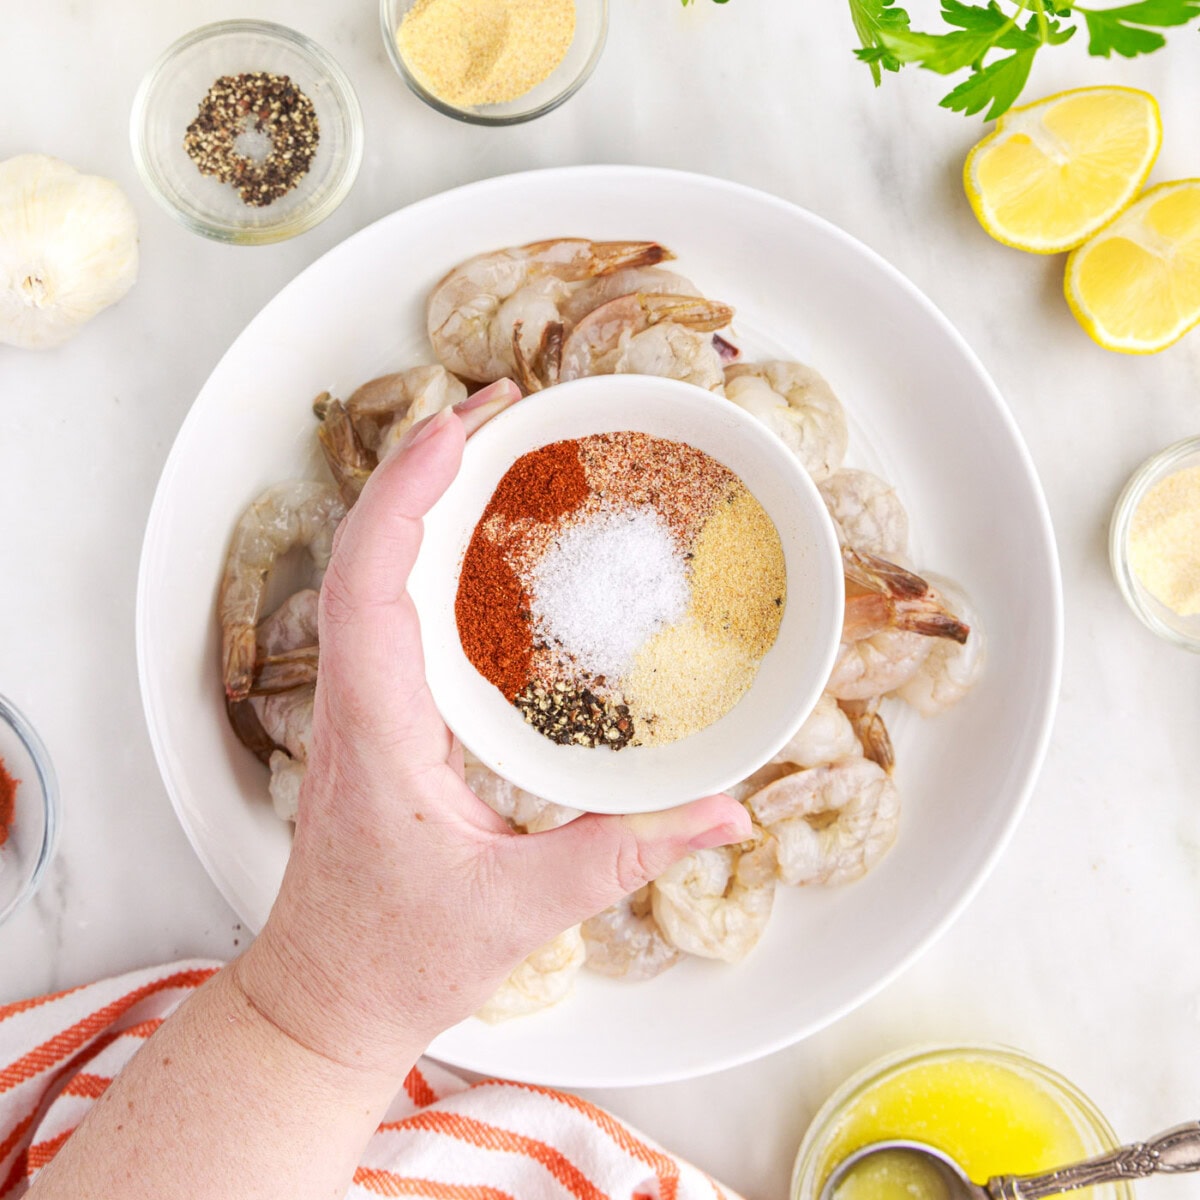
- Combine salt, pepper, onion powder, garlic powder, and chile powder in a small bowl.
- Sprinkle spice mixture over the shrimp (you may not use all of it) – sprinkle the seasoning to desired level of taste.
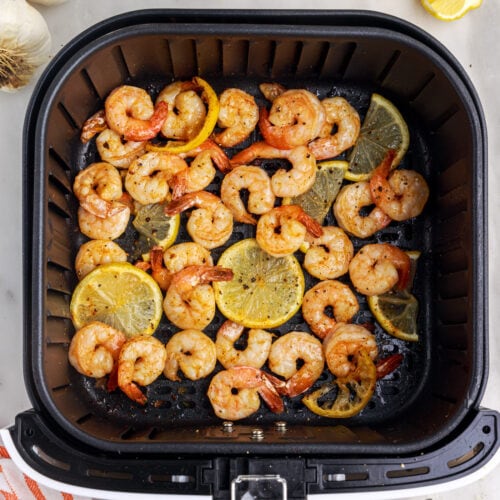
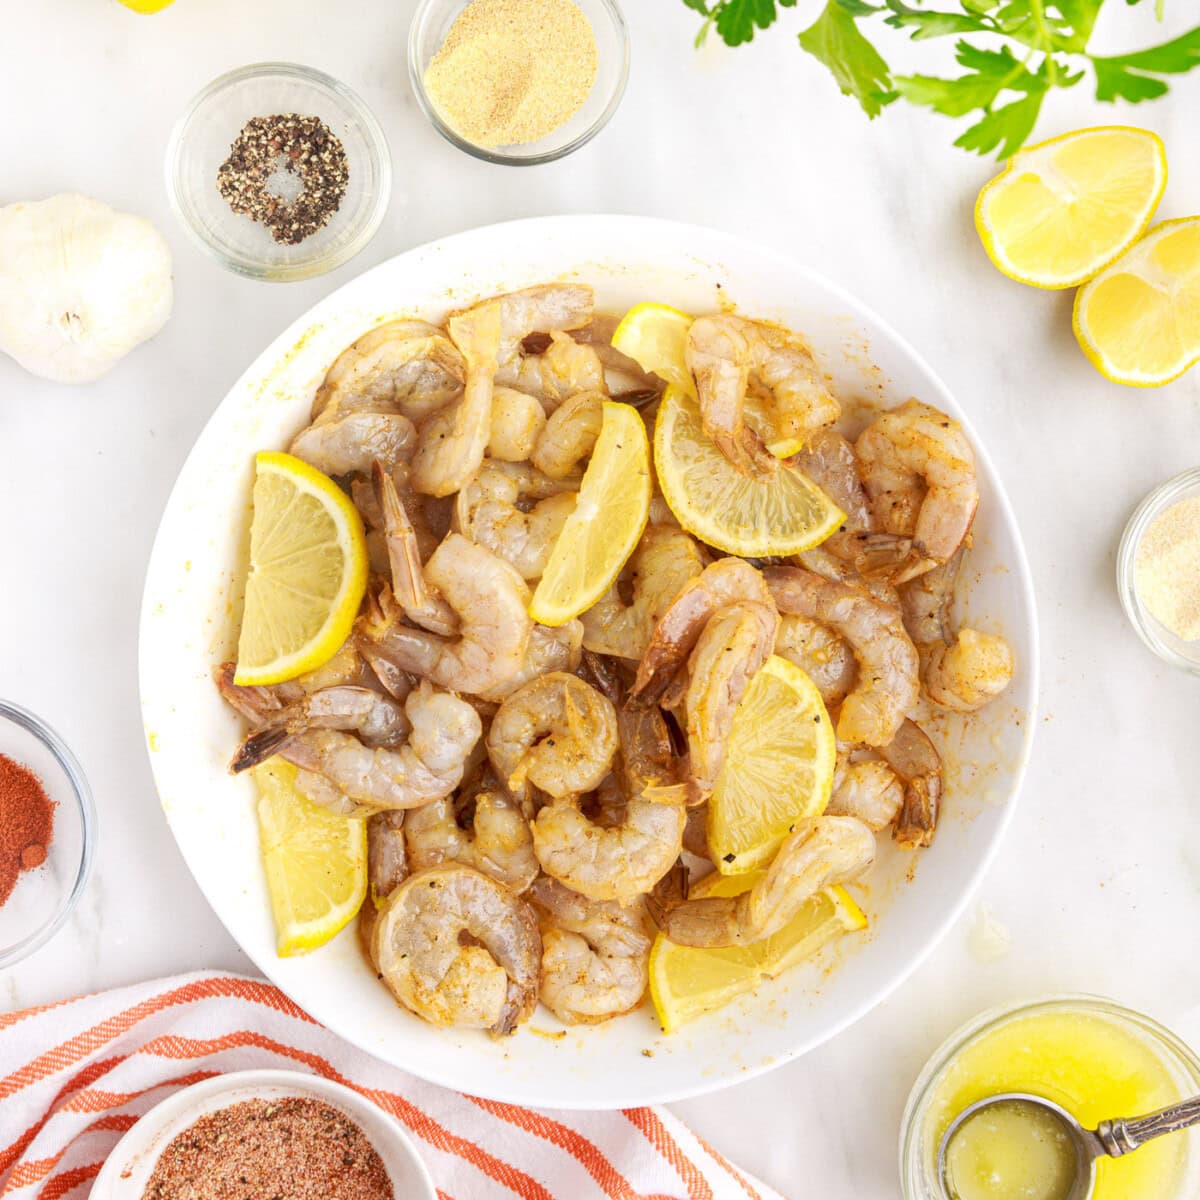
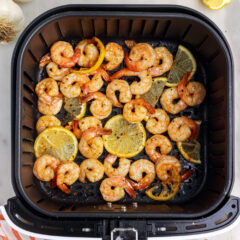
- Place shrimp in a single layer in the air fryer. Divide into batches if needed to allow enough room around each shrimp. Add lemon slices. You can mix the lemon slices in with the drizzle of butter and seasonings or simply place them into the air fryer when you place the seasoned shrimp in it.
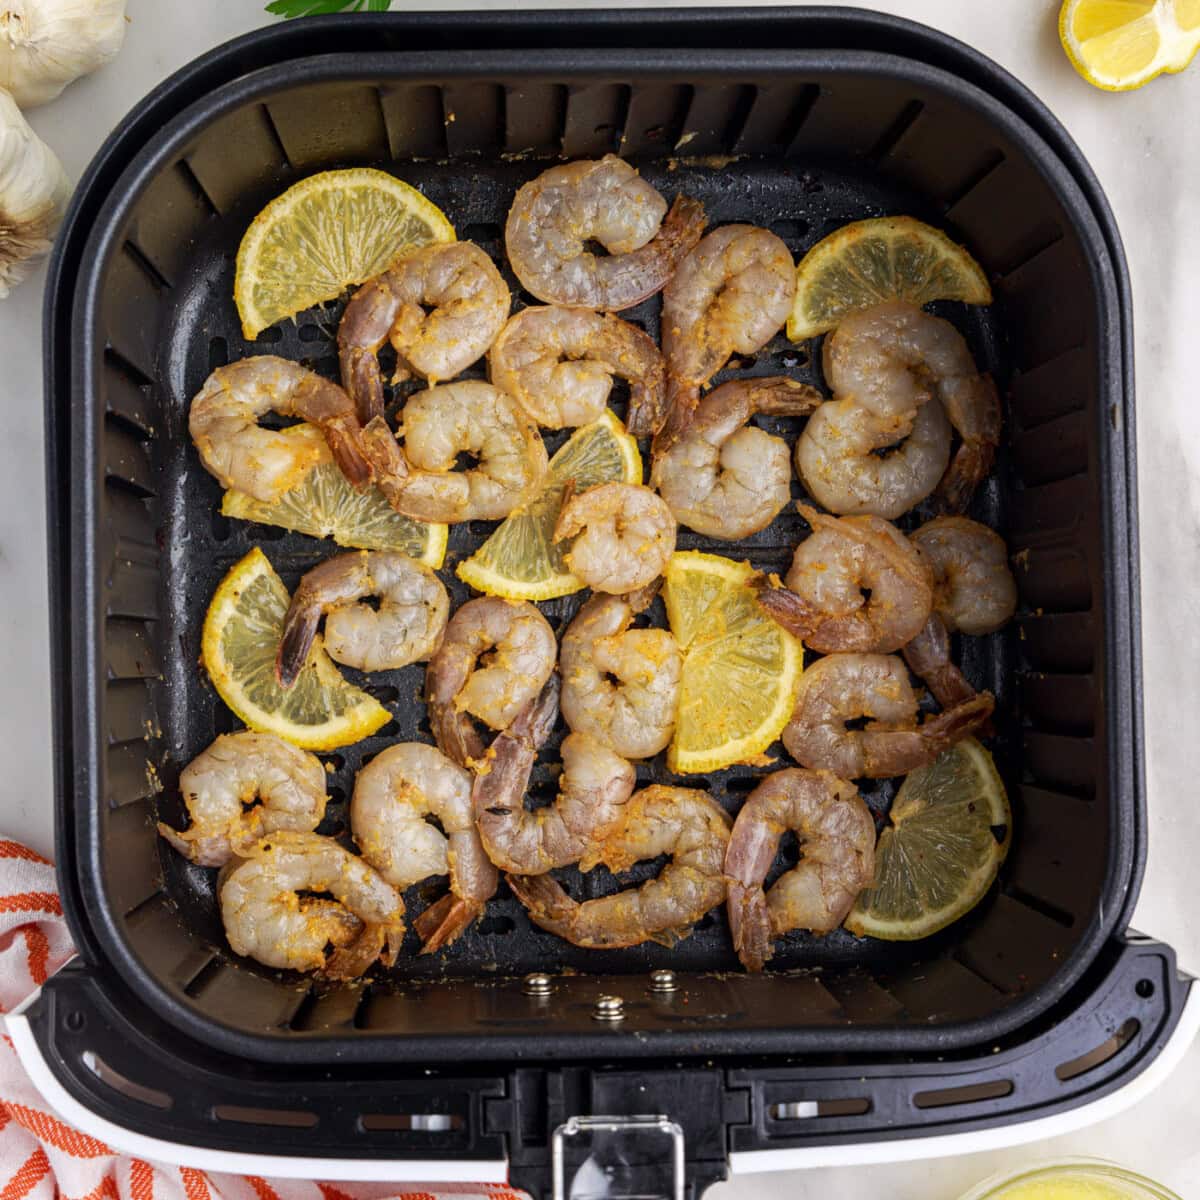
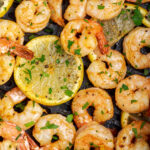
- Cook for about 4 minutes, until shrimp have curled slightly and are pink throughout.
- Brush with additional melted butter, if desired.
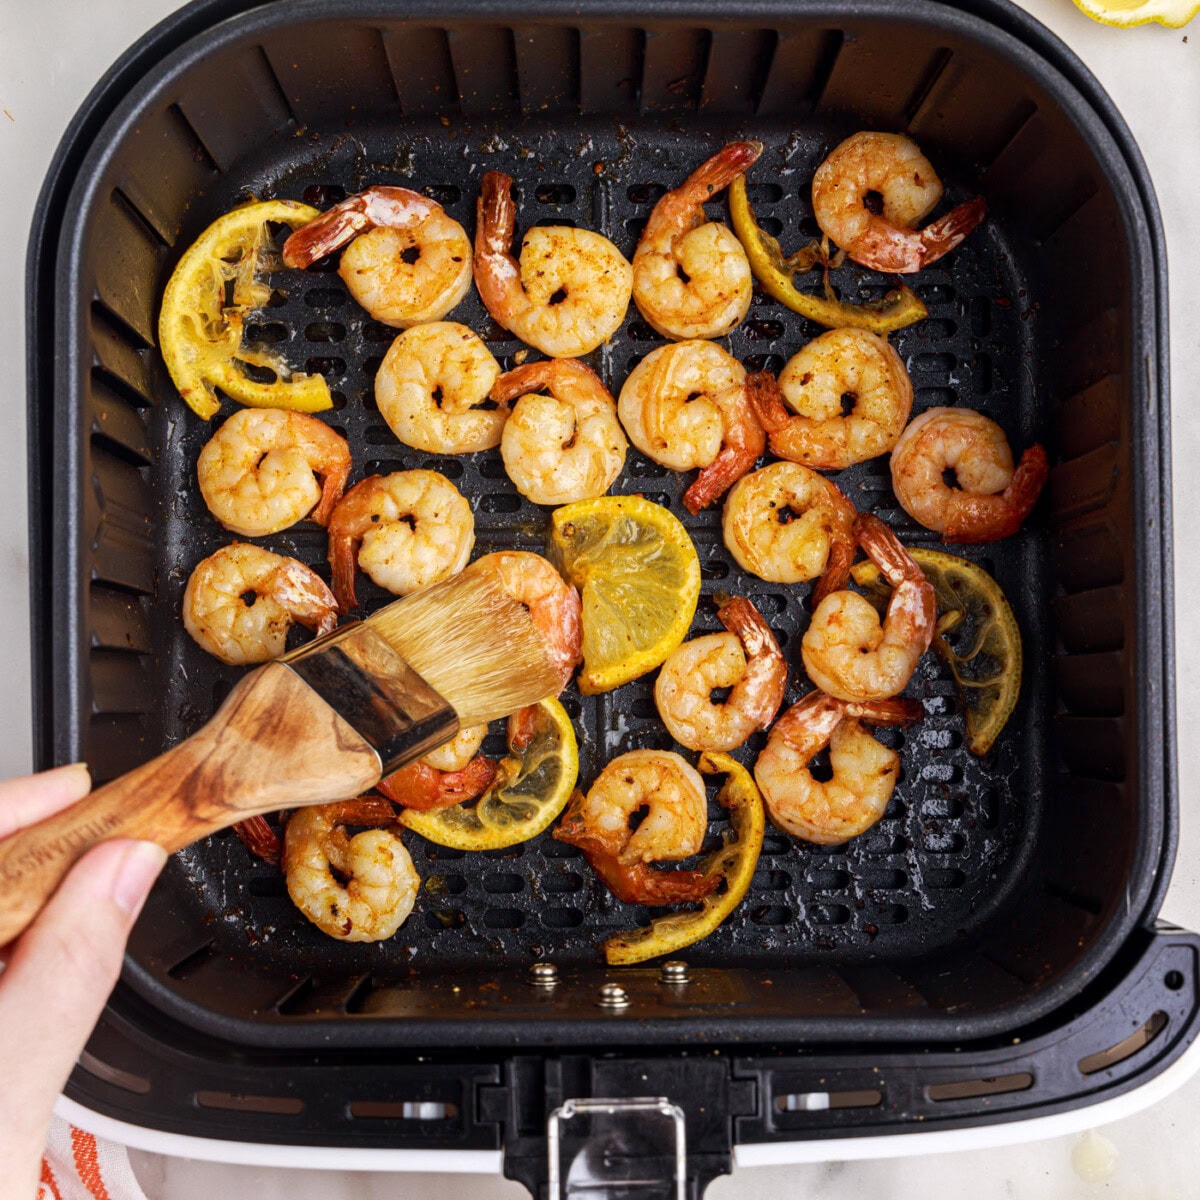
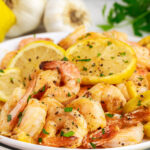
- Sprinkle with finely chopped fresh parsley and serve immediately.
Frequently Asked Questions & Expert Tips
Store leftover shrimp in an air-tight container kept in the refrigerator for 2-3 days. Reheat in the air fryer.
This recipe has been tested three ways – using just dry rub – olive oil and seasonings – and coated in butter. Of the three tests, using no oil results in a longer cook time – 4-5 minutes rather than 3-4. The dry rub and/or olive oil with spice rub both tasted great – these are nice options if you would like to avoid butter. The best flavor profile overall was drizzled with butter, sprinkled with seasoning, cooked, and then brushed with additional butter. Depending on your personal taste or dietary needs, any of these options will work great.
Serving Suggestions
Serve air fryer shrimp hot and fresh with an extra squeeze of lemon, tossed into soup, added to a crisp salad, over a bed of rice or pasta, or stuffed into shrimp tacos. There are so many ways to enjoy these little tender morsels.
More Air Fryer Recipes
- Air Fryer Crab Cakes
- Air Fryer Chicken Kabobs
- Air Fryer Baked Potatoes
- Air Fryer Chicken Tenders
- Air Fryer Coconut Shrimp
- Air Fryer Fish
- Air Fryer Scallops
I love to bake and cook and share my kitchen experience with all of you! Remembering to come back each day can be tough, that’s why I offer a convenient newsletter every time a new recipe posts. Simply subscribe and start receiving your free daily recipes!
Air Fryer Shrimp
IMPORTANT – There are often Frequently Asked Questions within the blog post that you may find helpful. Simply scroll back up to read them!
Print It Pin It Rate ItIngredients
- 1 lb jumbo shrimp raw – or dethawed if frozen. peeled and deveined
- 4 Tbsp salted butter melted
- ½ tsp sea salt
- ¼ tsp black pepper
- ¼ tsp onion powder
- ¼ tsp garlic powder
- ¼ tsp chili powder
- 1 lemon cut into slices, optional
- fresh chopped parsley for garnish
Things You’ll Need
Before You Begin
- I tried dry rubbing the shrimp, rubbing with olive oil and the seasoning, and cooking with the shrimp coated in butter that had the spices mixed into the butter. I found that no oil results in a longer cook time – 4-5 minutes rather than 3-4. The dry rub and/or olive oil with spice rub both tasted great – these are nice options if you would like to avoid butter. The best flavor profile overall was drizzled with butter, sprinkled with seasoning, cooked, and then brushed on additional butter. Depending on your personal taste or dietary needs, any of these options will work great.
- Do not overcrowd the air fryer basket and only cook in a single layer. You’ll likely need to do them in batches depending on the size of your air fryer. The shrimp will be done when they are pink in color and have curled.
Instructions
- Preheat air fryer to 400°F.
- Be sure shrimp are thawed completely, peeled, and deveined. Place rinsed shrimp on several layers of paper towels and pat dry to remove as much moisture as possible.
- Transfer shrimp to a mixing bowl. Toss with 2 tablespoons of the melted butter.
- Combine salt, pepper, onion powder, garlic powder, and chile powder in a small bowl.
- Sprinkle spice mixture over the shrimp (you may not use all of it) – sprinkle the seasoning to desired level of taste.
- Place shrimp in a single layer in the air fryer. Divide into batches if needed to allow enough room around each shrimp. Add lemon slices. You can mix the lemon slices in with the drizzle of butter and seasonings or simply place them into the air fryer when you place the seasoned shrimp in it.
- Cook for about 4 minutes, until shrimp have curled slightly and are pink throughout.
- Brush with additional melted butter, if desired.
- Sprinkle with finely chopped fresh parsley and serve immediately.
Nutrition
The recipes on this blog are tested with a conventional gas oven and gas stovetop. It’s important to note that some ovens, especially as they age, can cook and bake inconsistently. Using an inexpensive oven thermometer can assure you that your oven is truly heating to the proper temperature. If you use a toaster oven or countertop oven, please keep in mind that they may not distribute heat the same as a conventional full sized oven and you may need to adjust your cooking/baking times. In the case of recipes made with a pressure cooker, air fryer, slow cooker, or other appliance, a link to the appliances we use is listed within each respective recipe. For baking recipes where measurements are given by weight, please note that results may not be the same if cups are used instead, and we can’t guarantee success with that method.

- Pineapple Salsa - July 16, 2026
- 26 Best Ground Beef Casseroles for Easy Family Dinners - July 8, 2026
- Strawberry Shortcake Kabobs - July 2, 2026


Leave a Reply