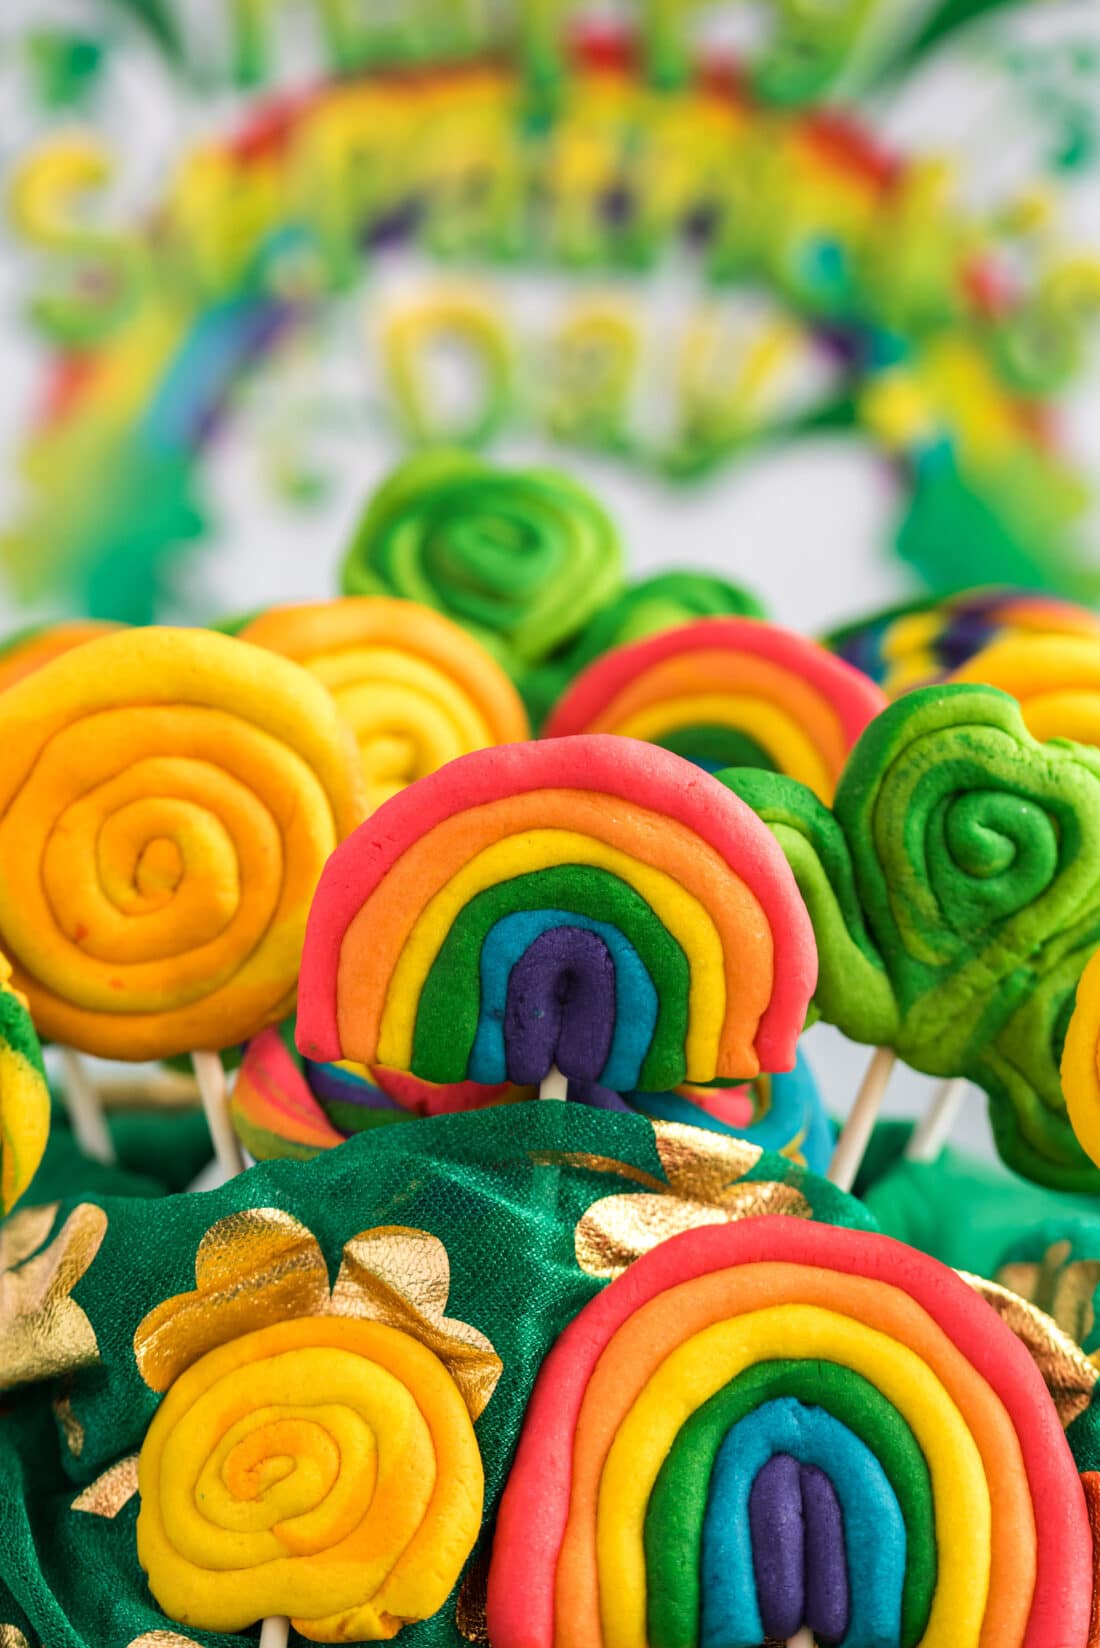
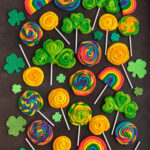
A rainbow of fun festive shapes creates these St. Patrick’s Day cookies. A simple sugar cookie base, a bit of food coloring, and your creativity are all you’ll need to get started.
Why this recipe works
These St. Patrick’s Day cookies are uber colorful, super duper easy, and oh-so-fun to make! Whether it’s simple gold coins, green clovers, rainbow shapes, or spiral rounds using all the colors of the rainbow, you are going to love creating these vibrant sugar cookies.
St. Patrick’s Day sugar cookies are super fun to make and easy enough for someone who doesn’t have much experience to tackle. Set aside some time for your dough to chill in the fridge and you’ll be golden. Mix and match your shapes and colors or make all of the same kind! It’s all up to you here.
Ingredients you will need
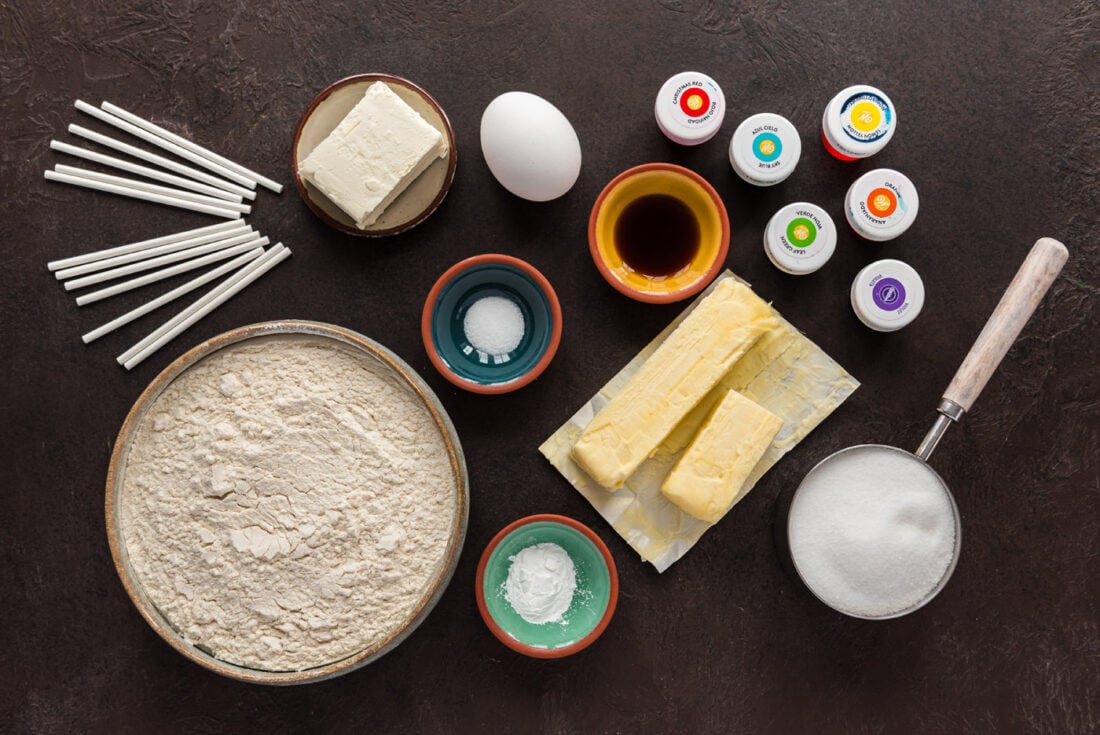
Get all measurements, ingredients, and instructions in the printable version at the end of this post.
Ingredient Info and Substitution Suggestions
COOKIES – You can split the dough into sections as we did to make multiple different kinds of cookies or use it all to create your favorite shape – shamrocks, rainbows, gold coins, or twisted coil cookies. We nickname the dough “play dough” because when the dough is still raw and chilling in the fridge it looks like blobs of colorful play dough. I assure you though, these are 100% edible sugar cookies that everyone will love. We’ve also made them into adorable Valentine’s Play Dough Cookies!
FOOD COLOR – It’s best to use paste gel food coloring for the most vibrant cookies. Plus, you won’t need to use as much as you would with liquid food coloring. A little goes a long way, so start small and build your way up.
How to Make St. Patrick’s Day Cookies
These step by step photos and instructions are here to help you visualize how to make this recipe. You can Jump to Recipe to get the printable version of this recipe, complete with measurements and instructions at the bottom.
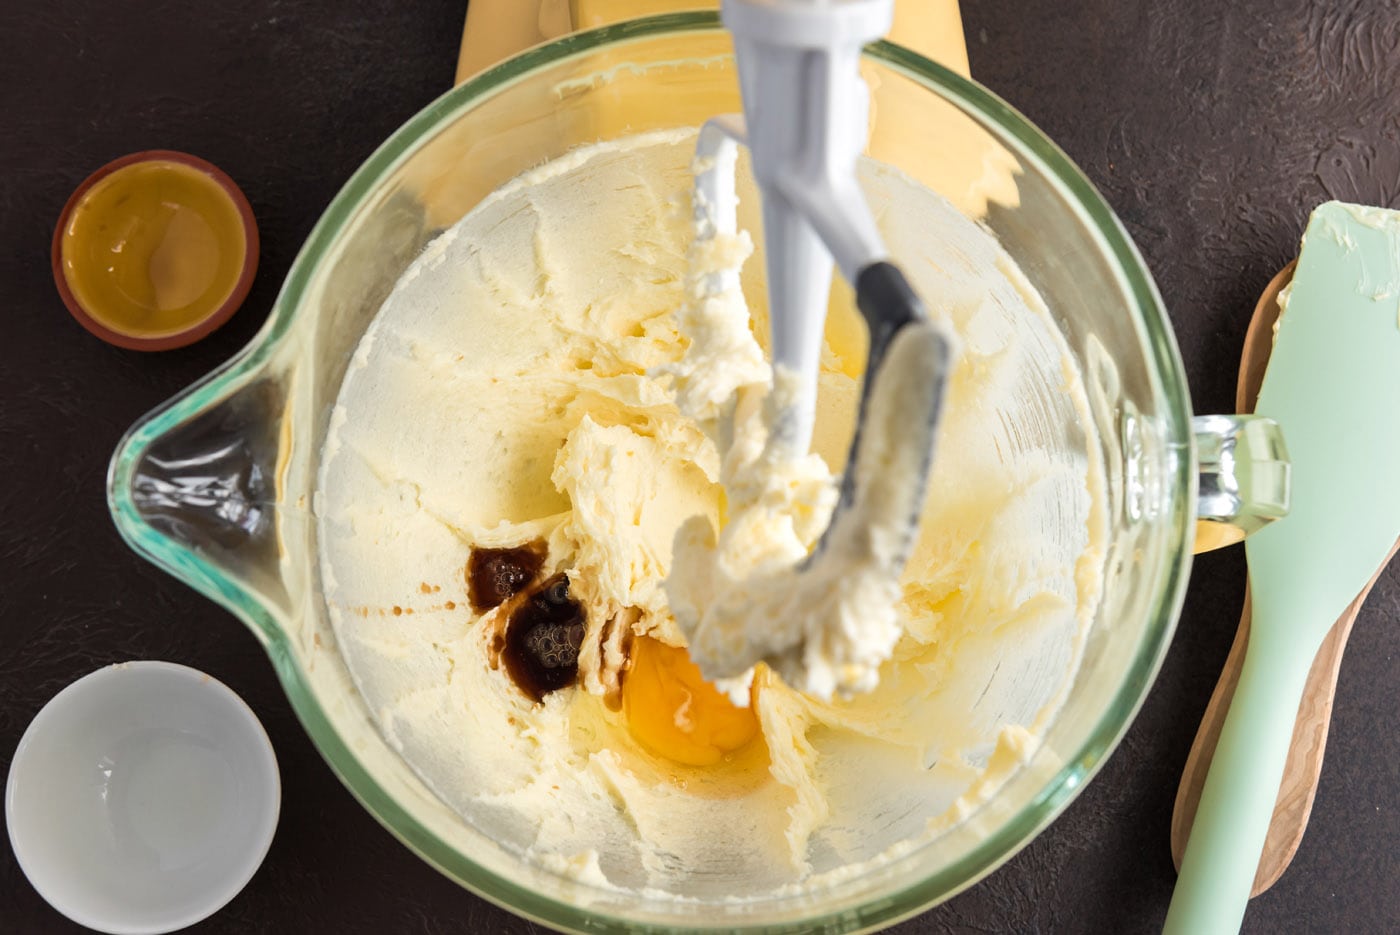
- In a bowl cream butter, cream cheese, and sugar until fluffy. Add egg and vanilla; beat until smooth.
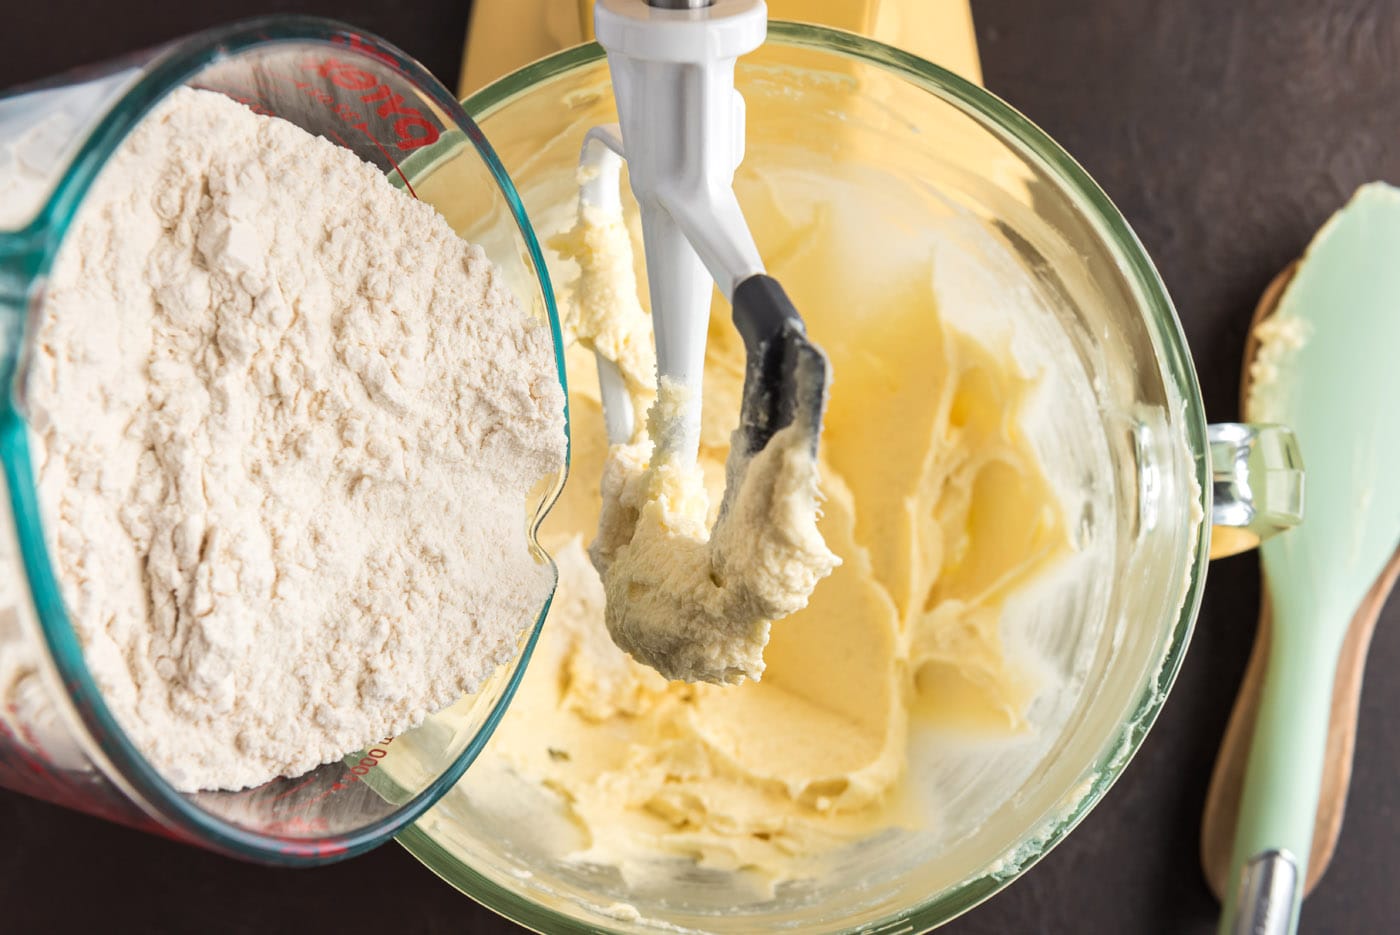
- In a medium bowl combine flour, baking powder and salt. Add dry ingredients to the creamed mixture. Stir until a soft dough forms.
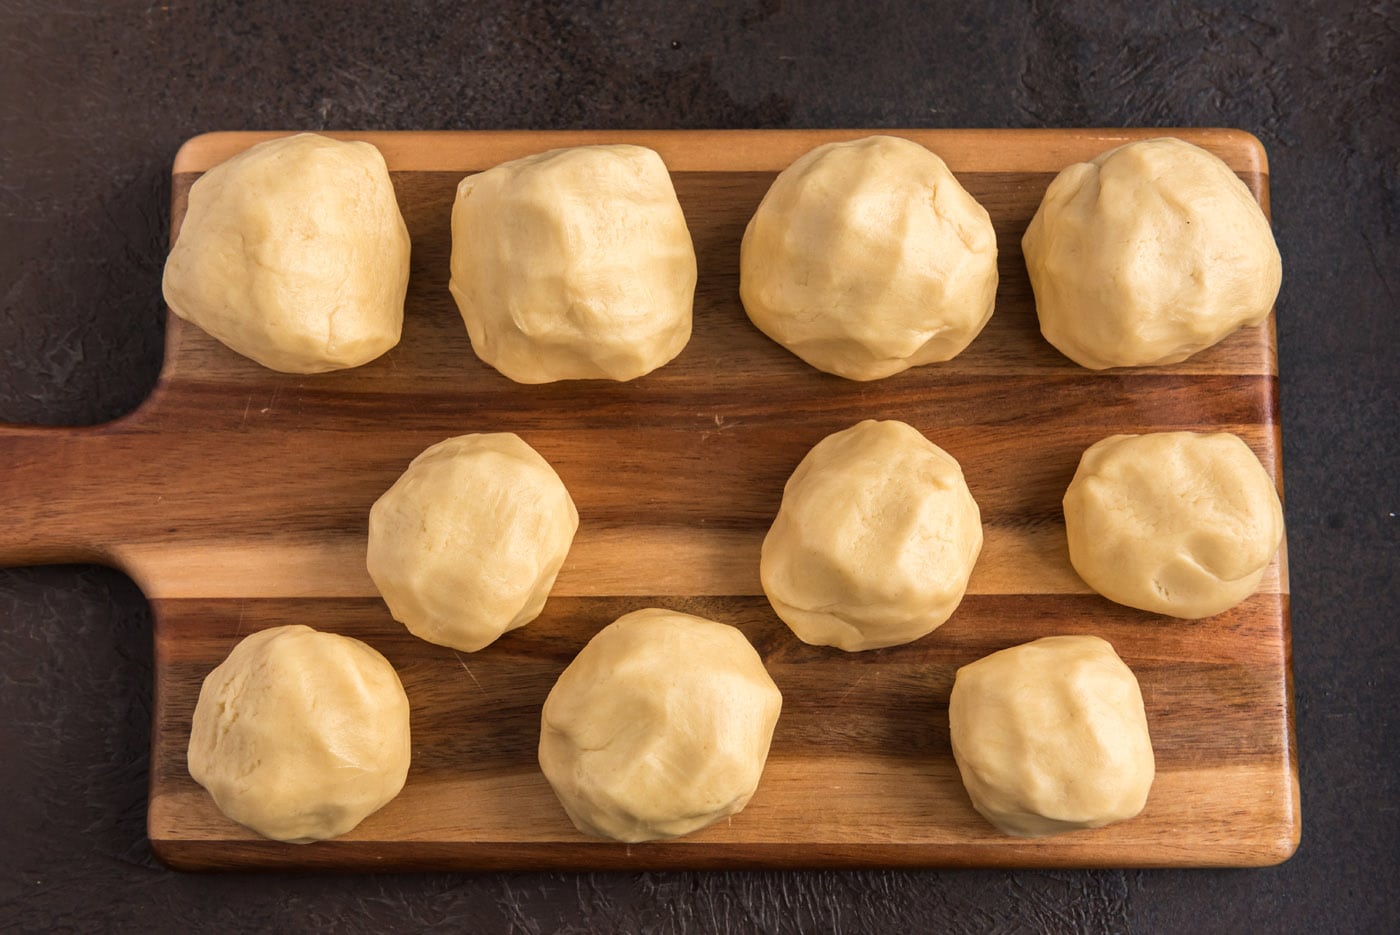
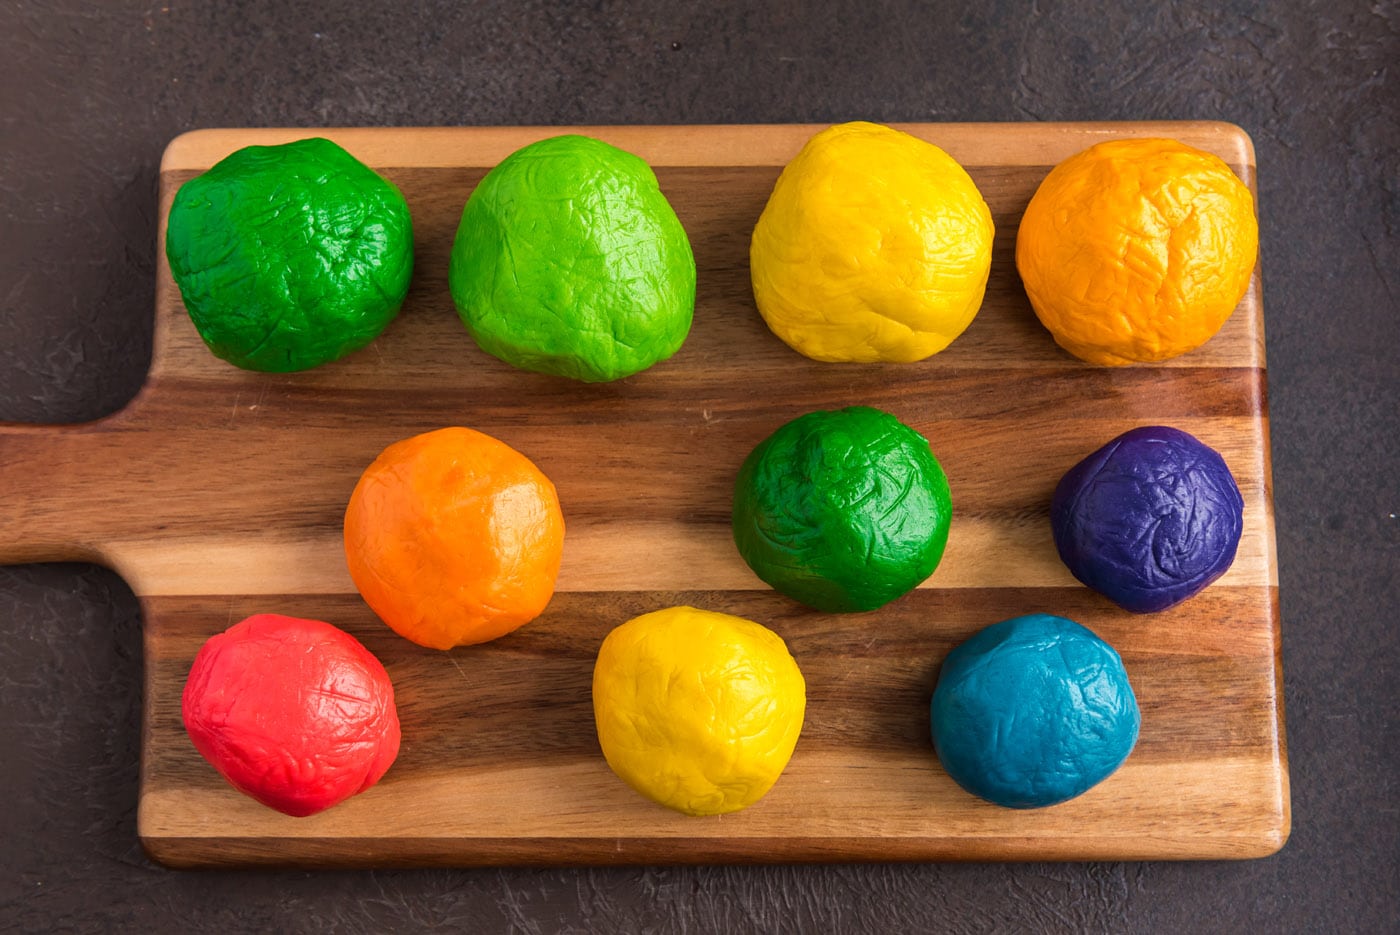
- Separate the dough into two batches. One batch I separated into 4 pieces and the other batch into 6 pieces. For the batch of 6 I used gel food coloring to tint each section a color of the rainbow. In case you don’t remember, those colors are red, orange, yellow, green, blue, and indigo (purple).
- For the other 4 pieces I tinted two of them green, one darker than the other, and the other two yellow, again, one darker than the other. In hindsight, the yellows didn’t end up looking any different, so if you want there to be some contrast, add a bit of orange to one of the yellow batches. The green dough is for the shamrocks and the yellow is for the gold coins. After you tint the dough it needs to chill in the fridge for a couple hours.
- Preheat oven to 350 degrees F.
Gold Coins
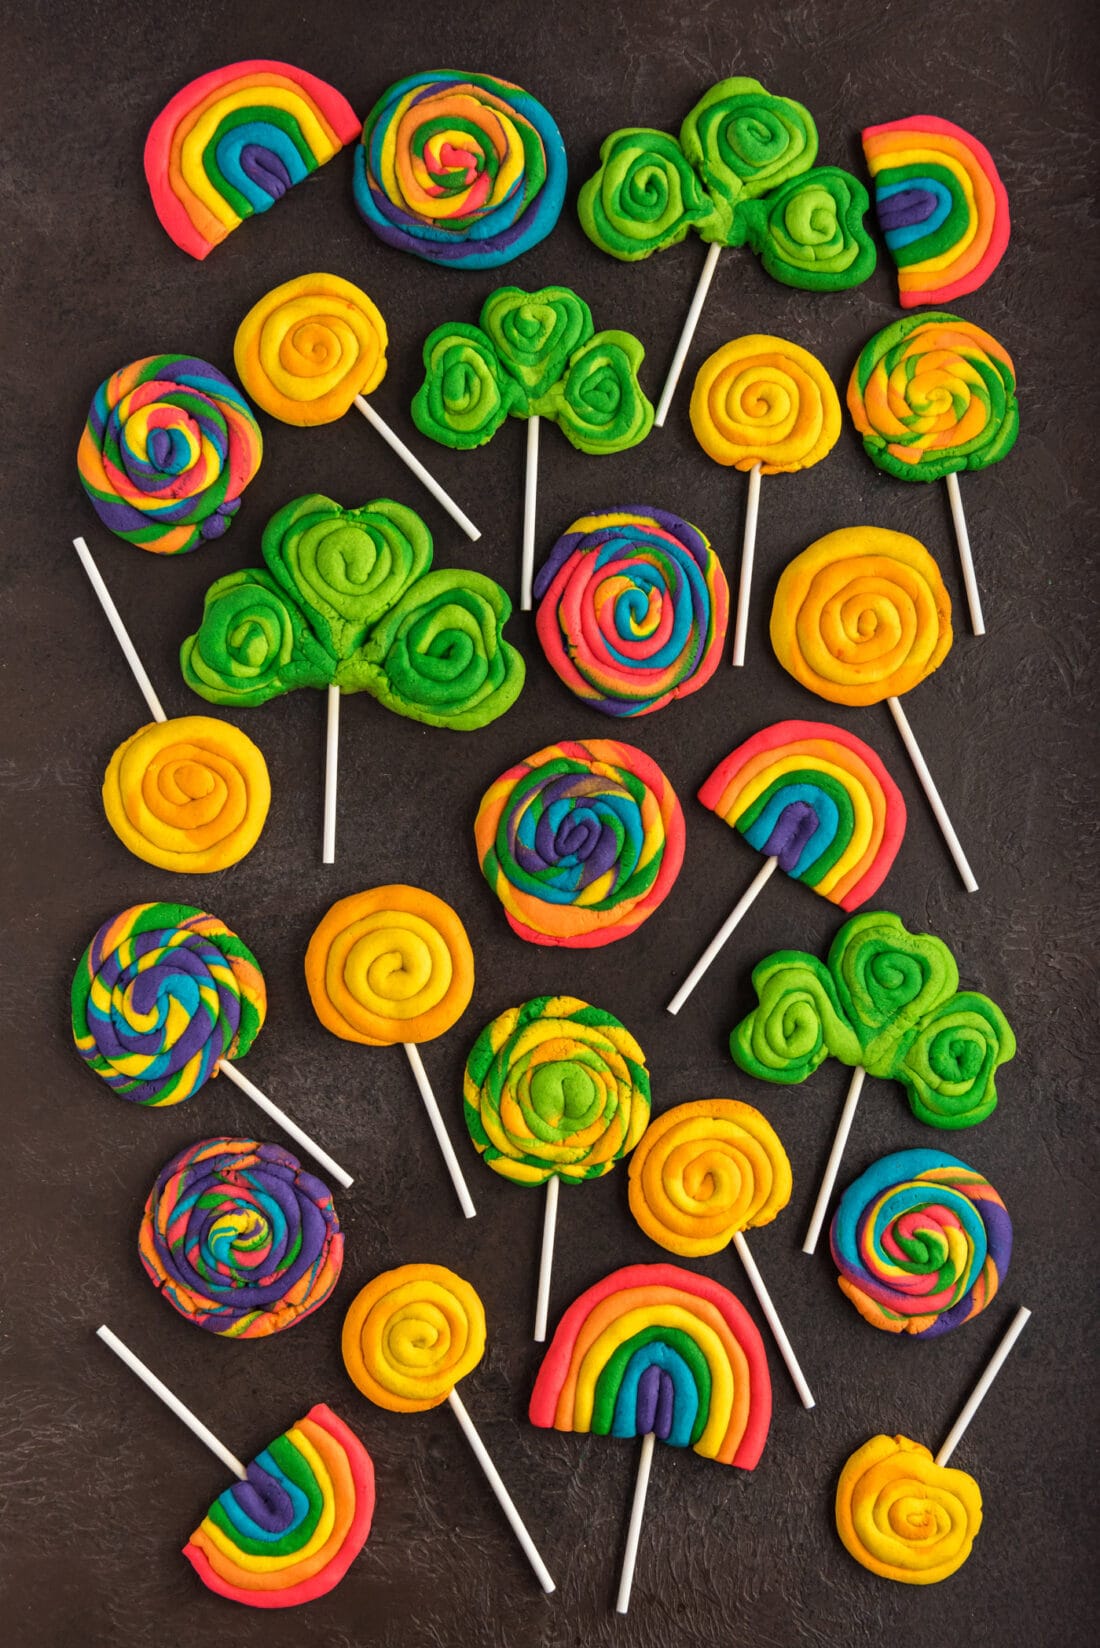
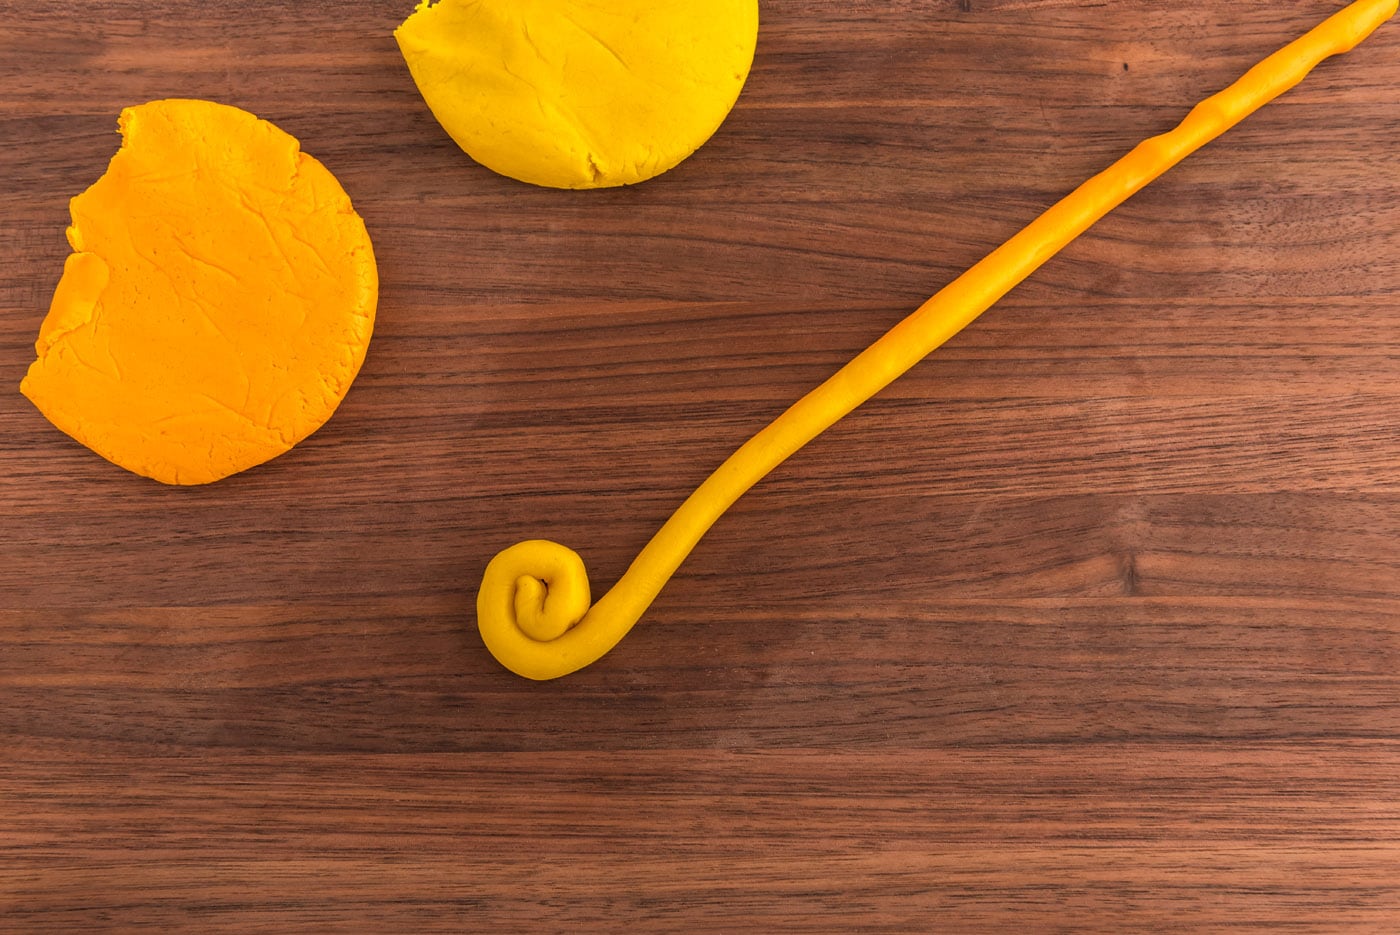
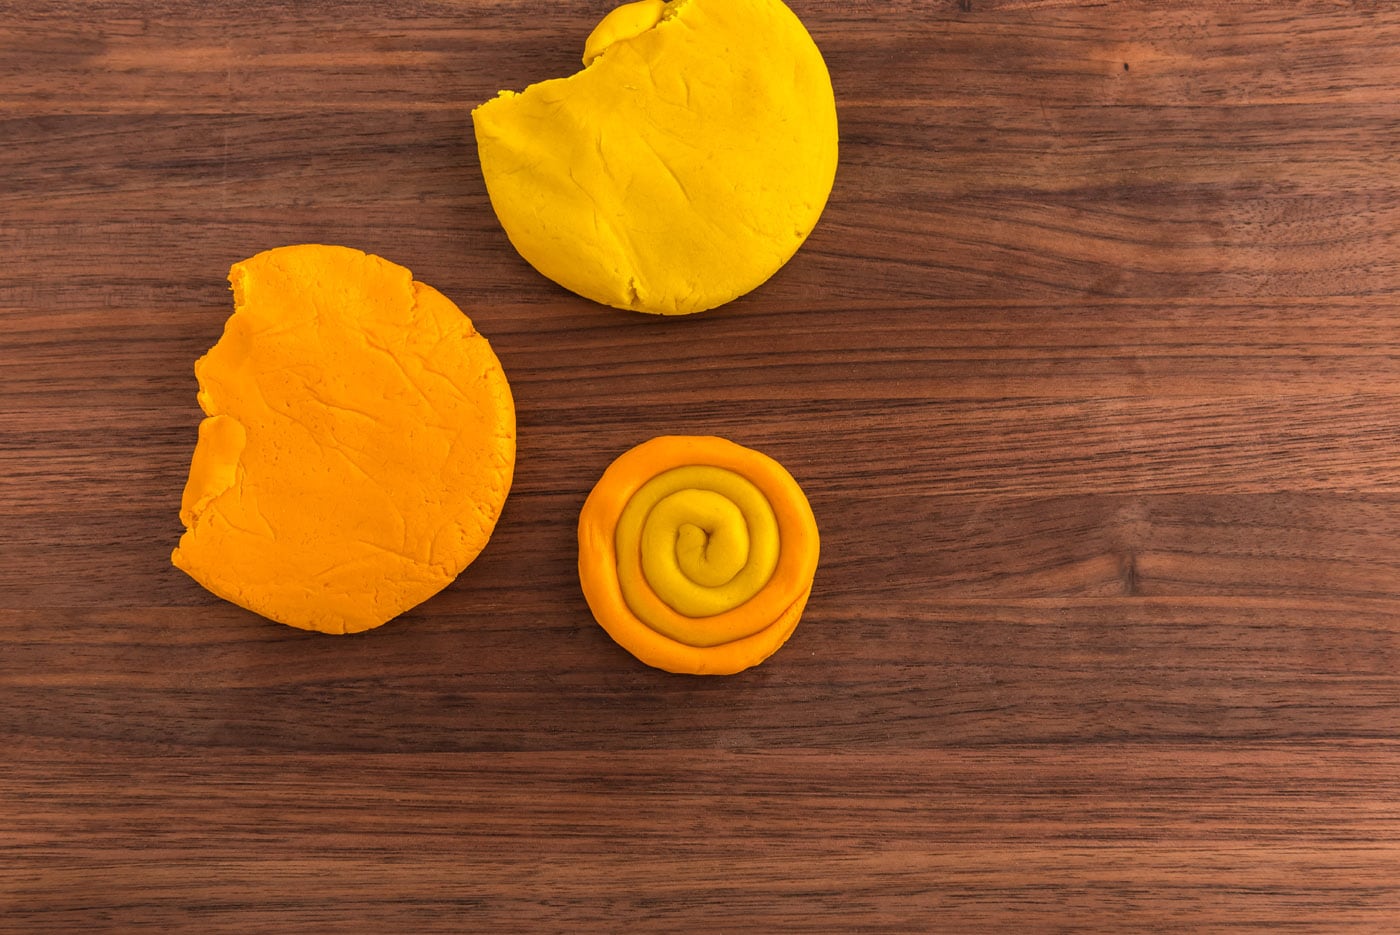
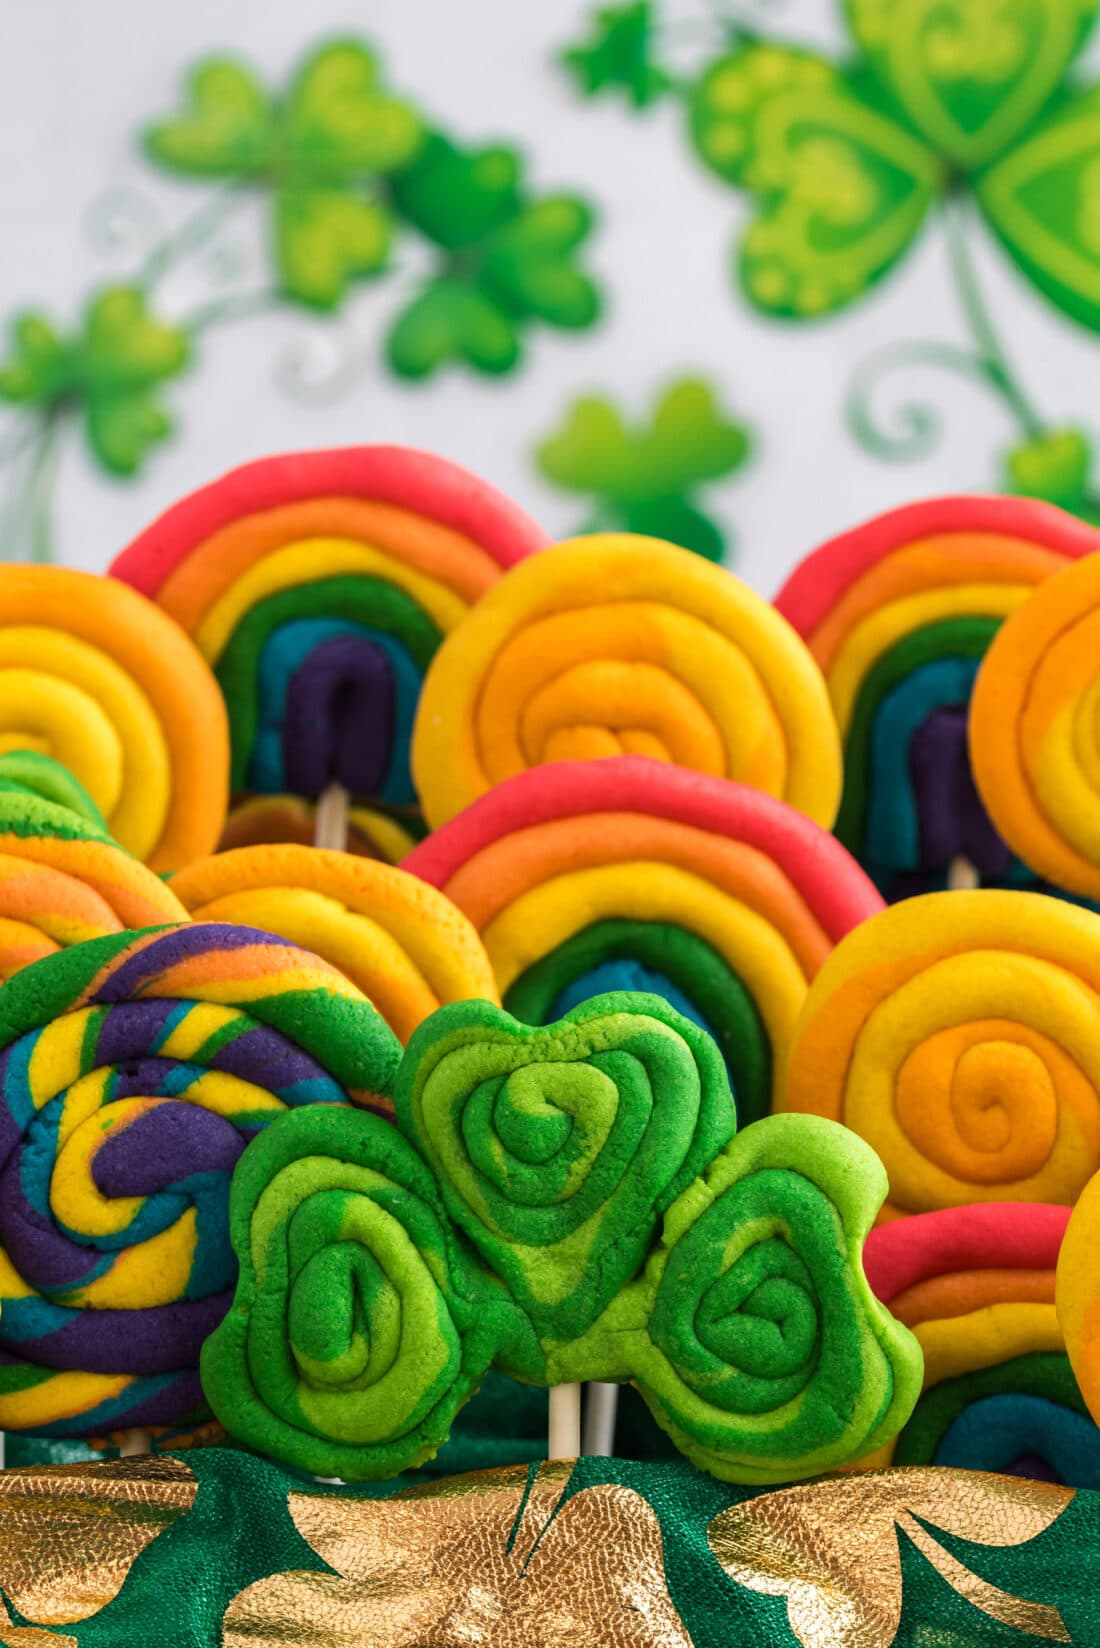
- The gold coins are the easiest. Take your two different yellows, roll a 3/4″ ball of each one, then gently roll the two balls together. Don’t go crazy, just roll them enough to combine the two. Using the palms of both hands, roll into a snake, about 10-12″ long. Start at one end and roll the snake into a spiral cookie.
Shamrocks
- To make the shamrock cookies you’ll need three green discs.
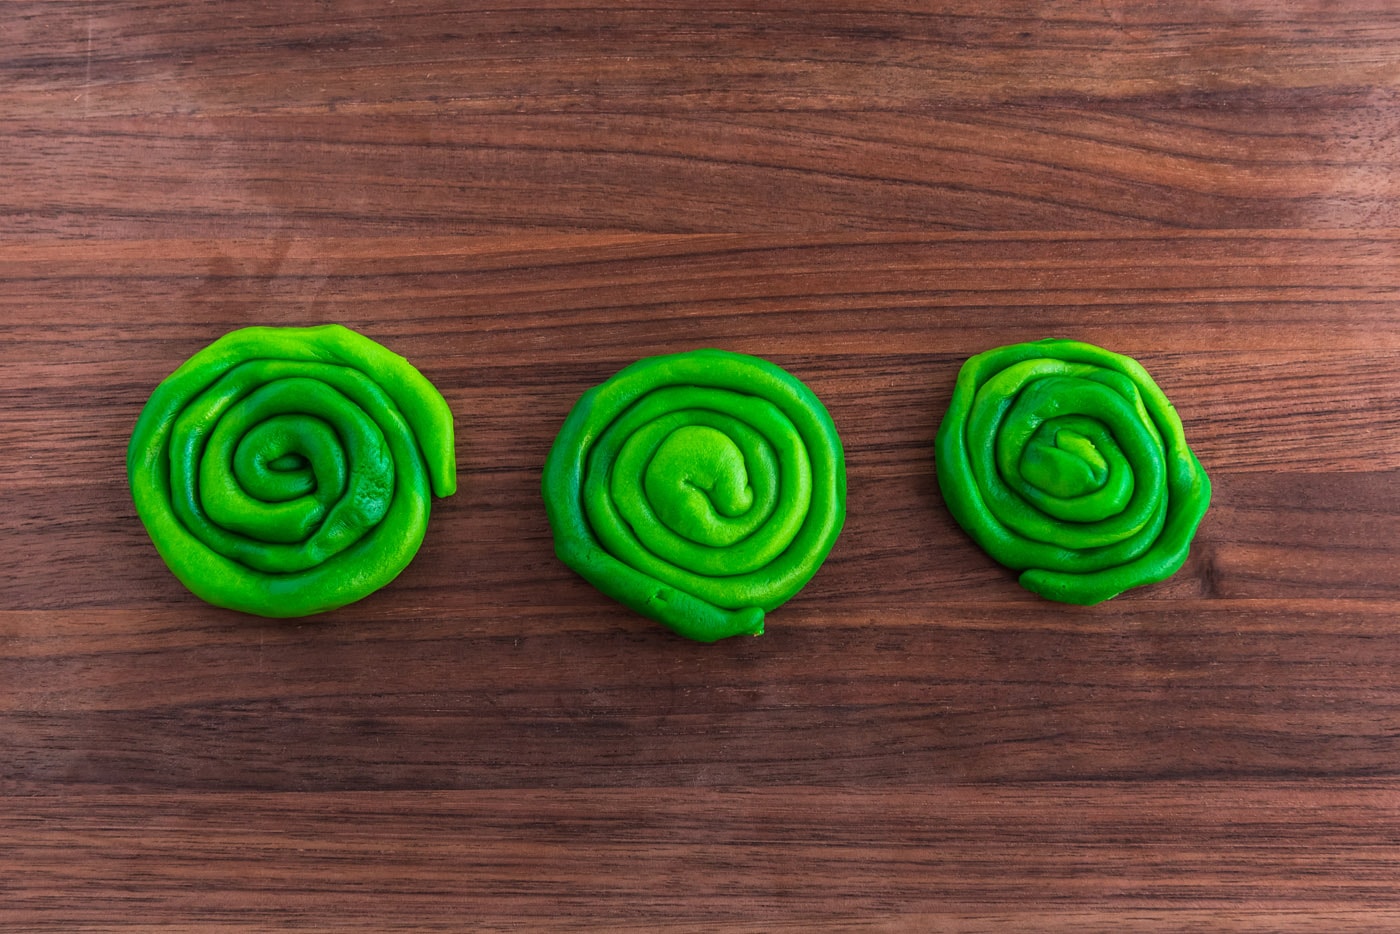
- Take your two different shades of green and roll a 3/4″ ball of each one, then gently roll the two balls together. Again, don’t go crazy, just roll them enough to combine the two. Using the palms of both hands, roll into a snake, about 10-12″ long.
- Next, where the coil ends, pinch the disc into a point.
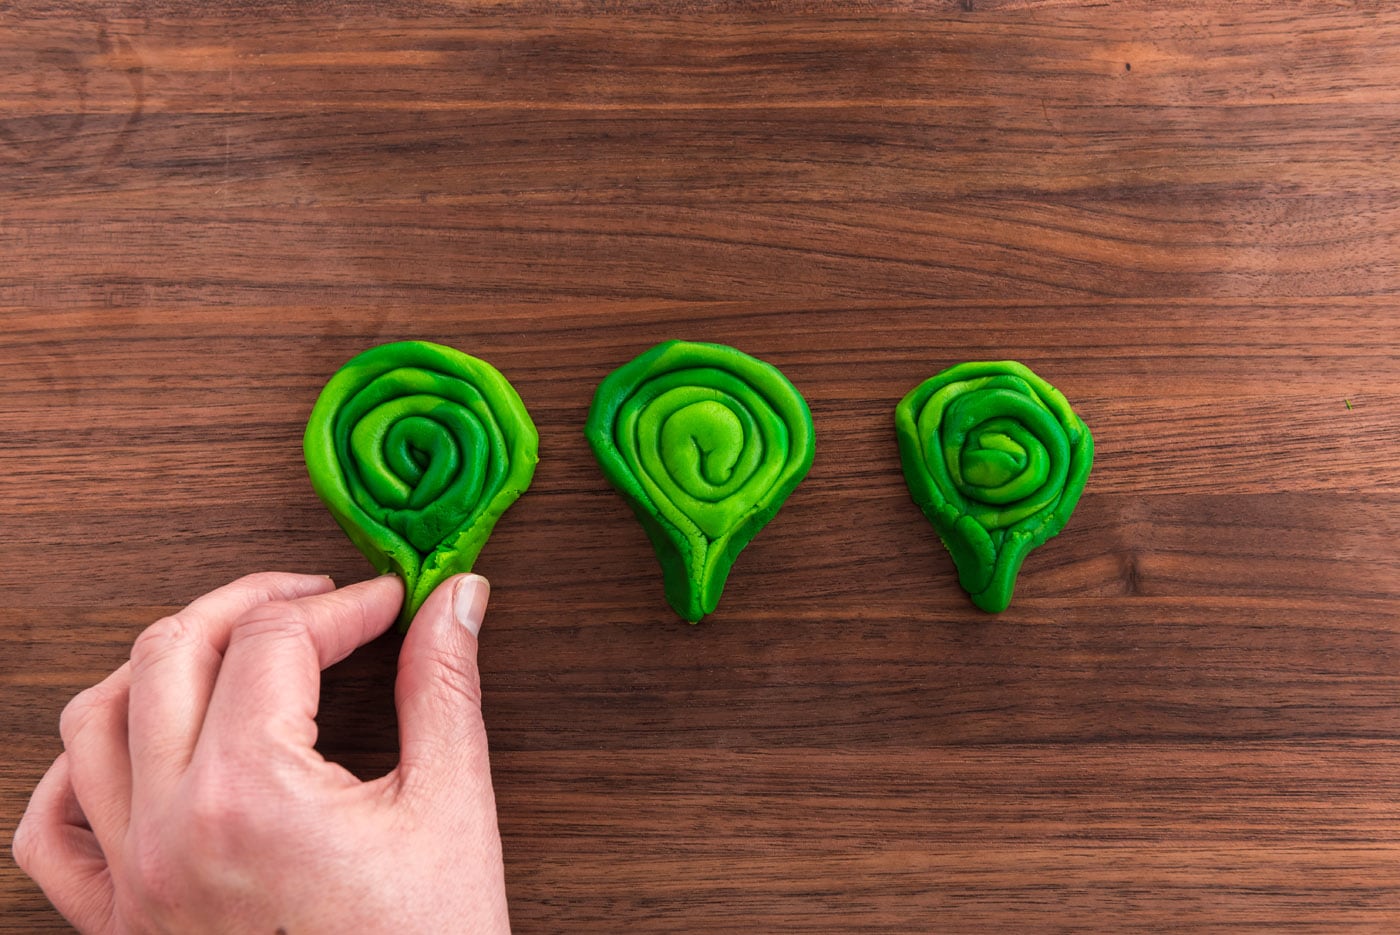
- Use a butter knife or a lollipop stick to create a dent at the opposite end, forming a heart shape.
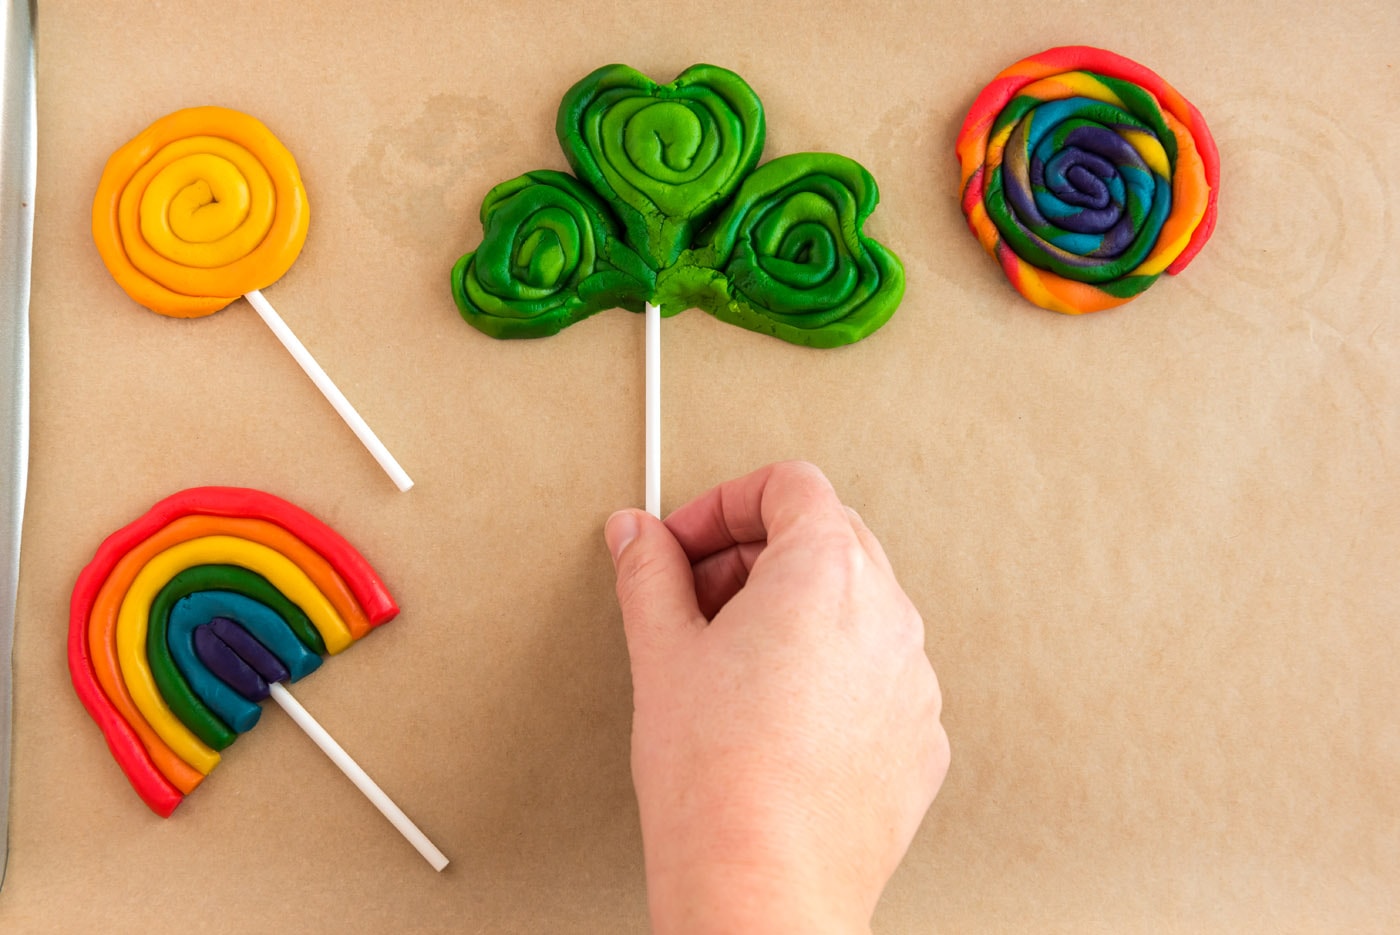
- Place the 3 green hearts together and insert a lollipop stick.
Rainbow Cookies
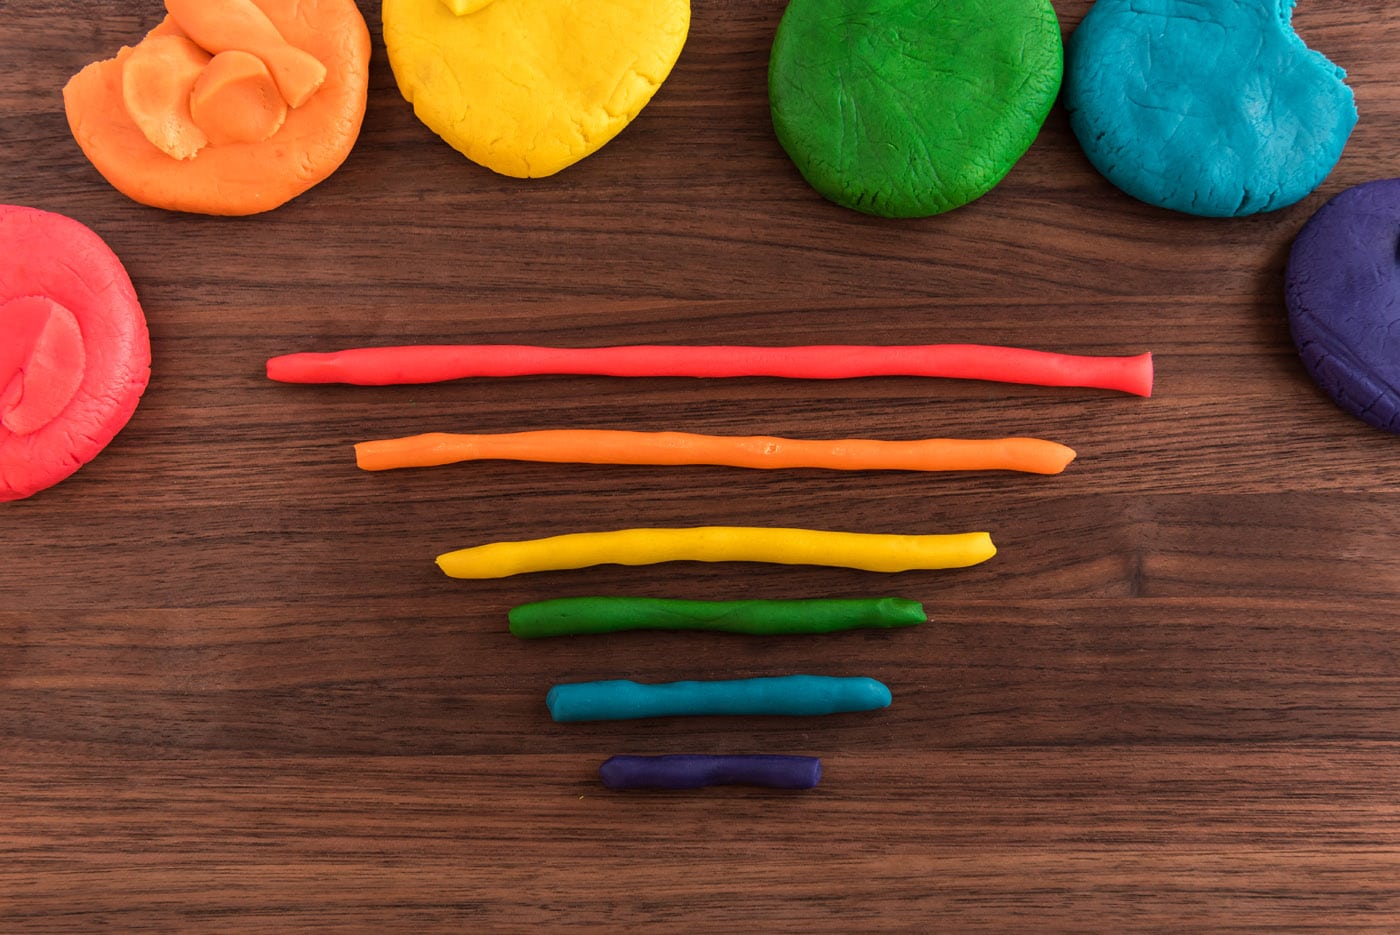
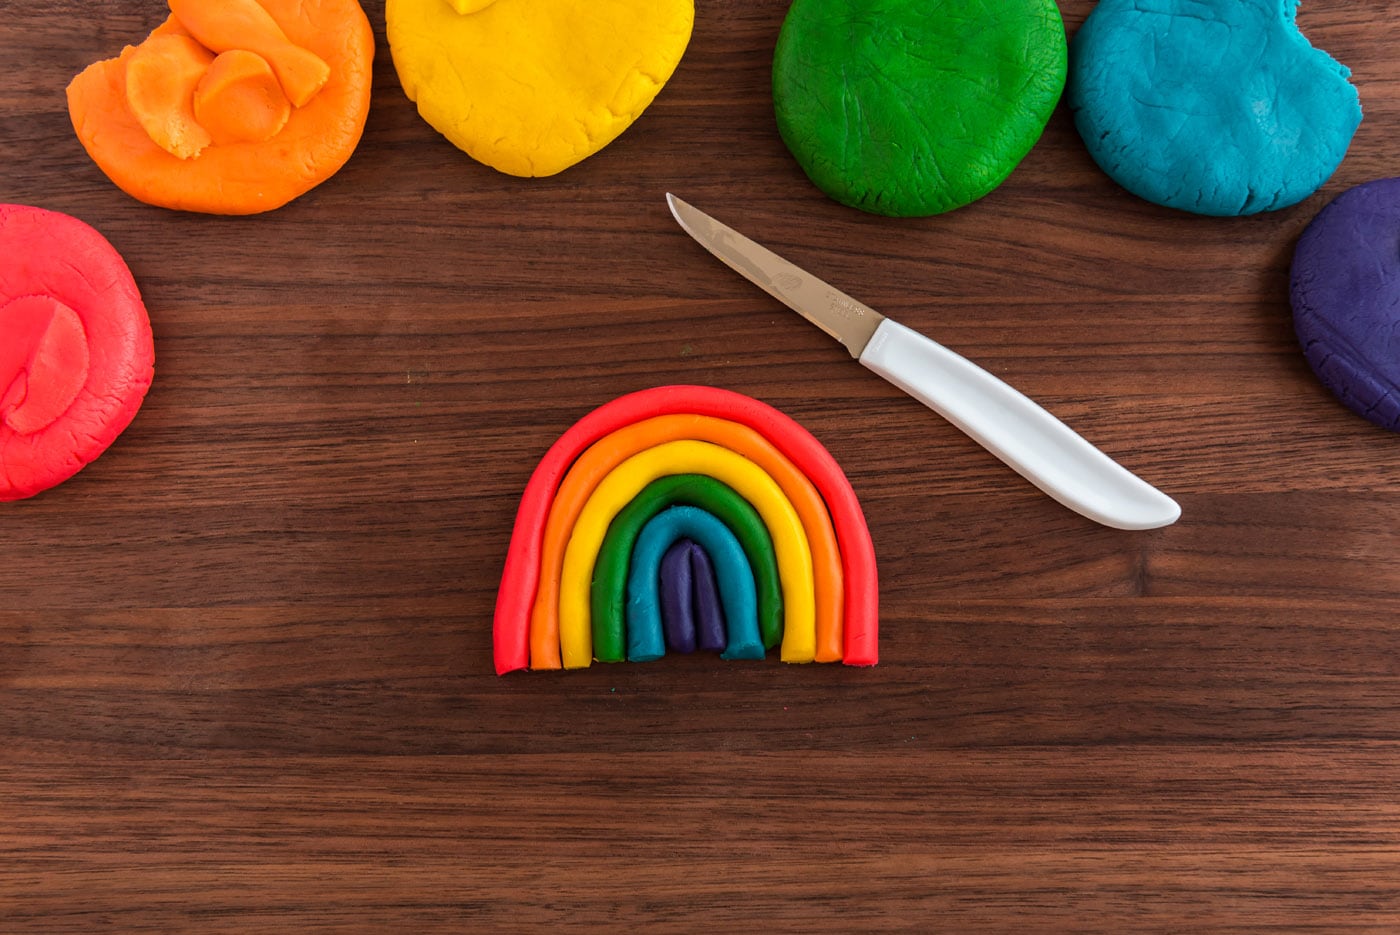
- For the rainbows, simply roll colored dough into snakes. The smallest being purple and the largest red, just curve them around each other and insert a stick.
Rainbow Twisted Coil Cookies
- To make the rainbow twisted coil cookies, you will need a 1/2″ ball of each rainbow colored dough.
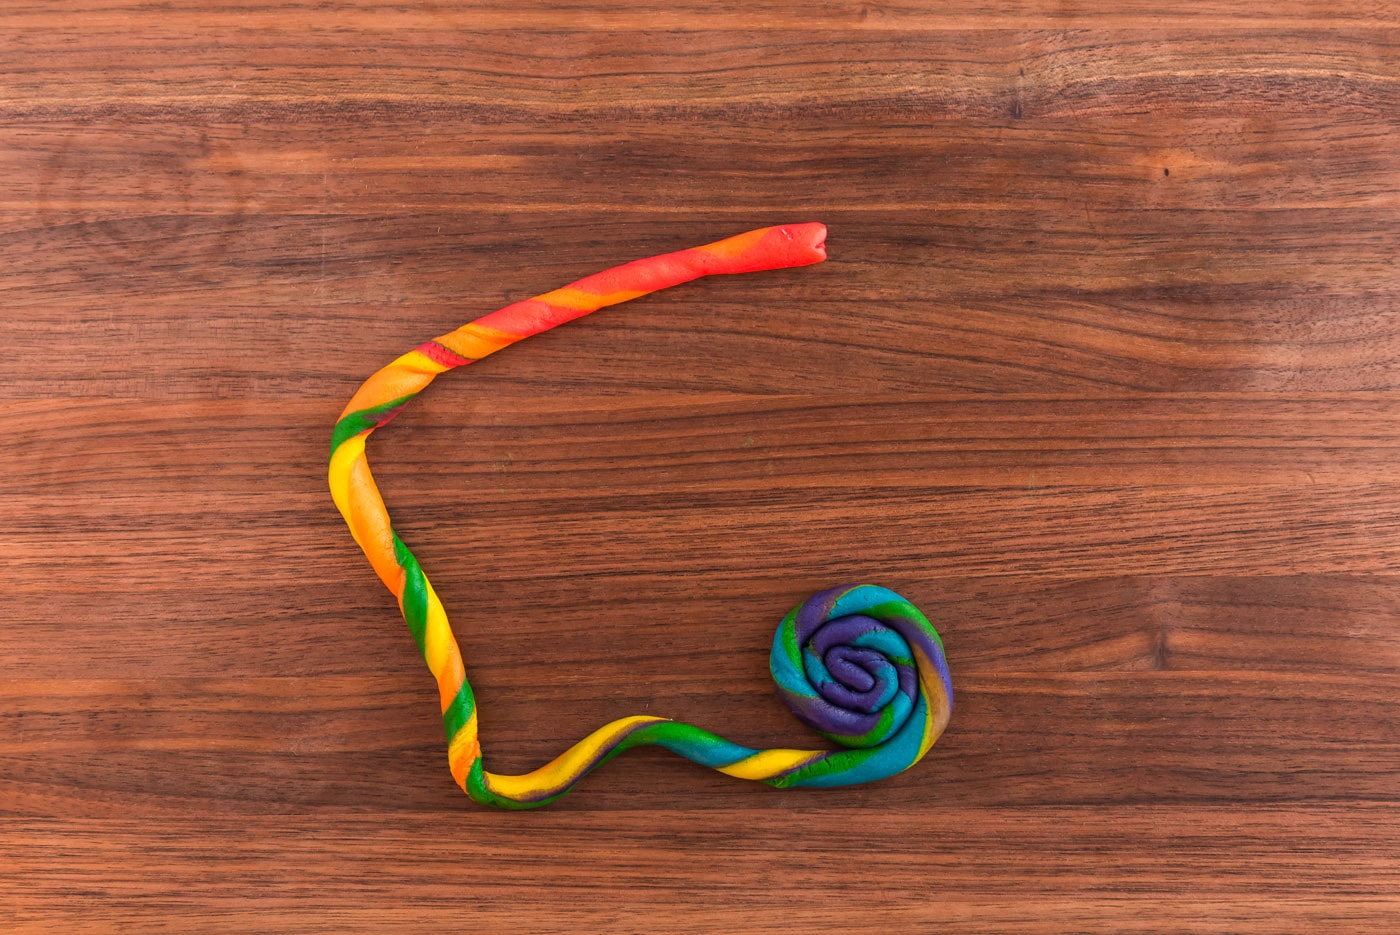
- Gently combine them into one ball. From here, you can simply roll into a snake then a coil and be done.
TIP – If the dough snake breaks a couple of times, don’t worry! Just pinch it back together it will bake up just fine.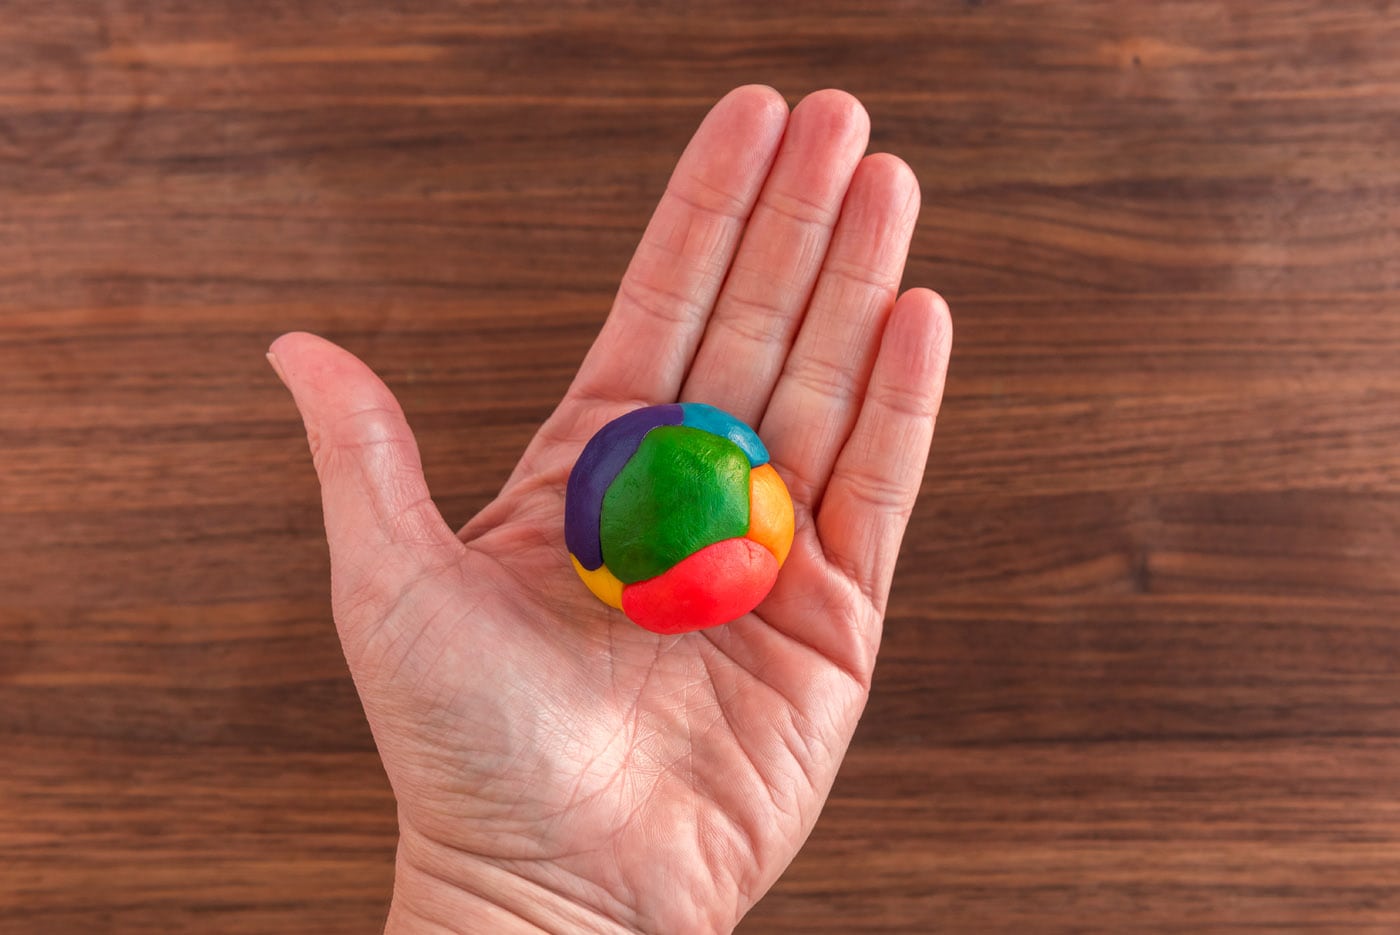
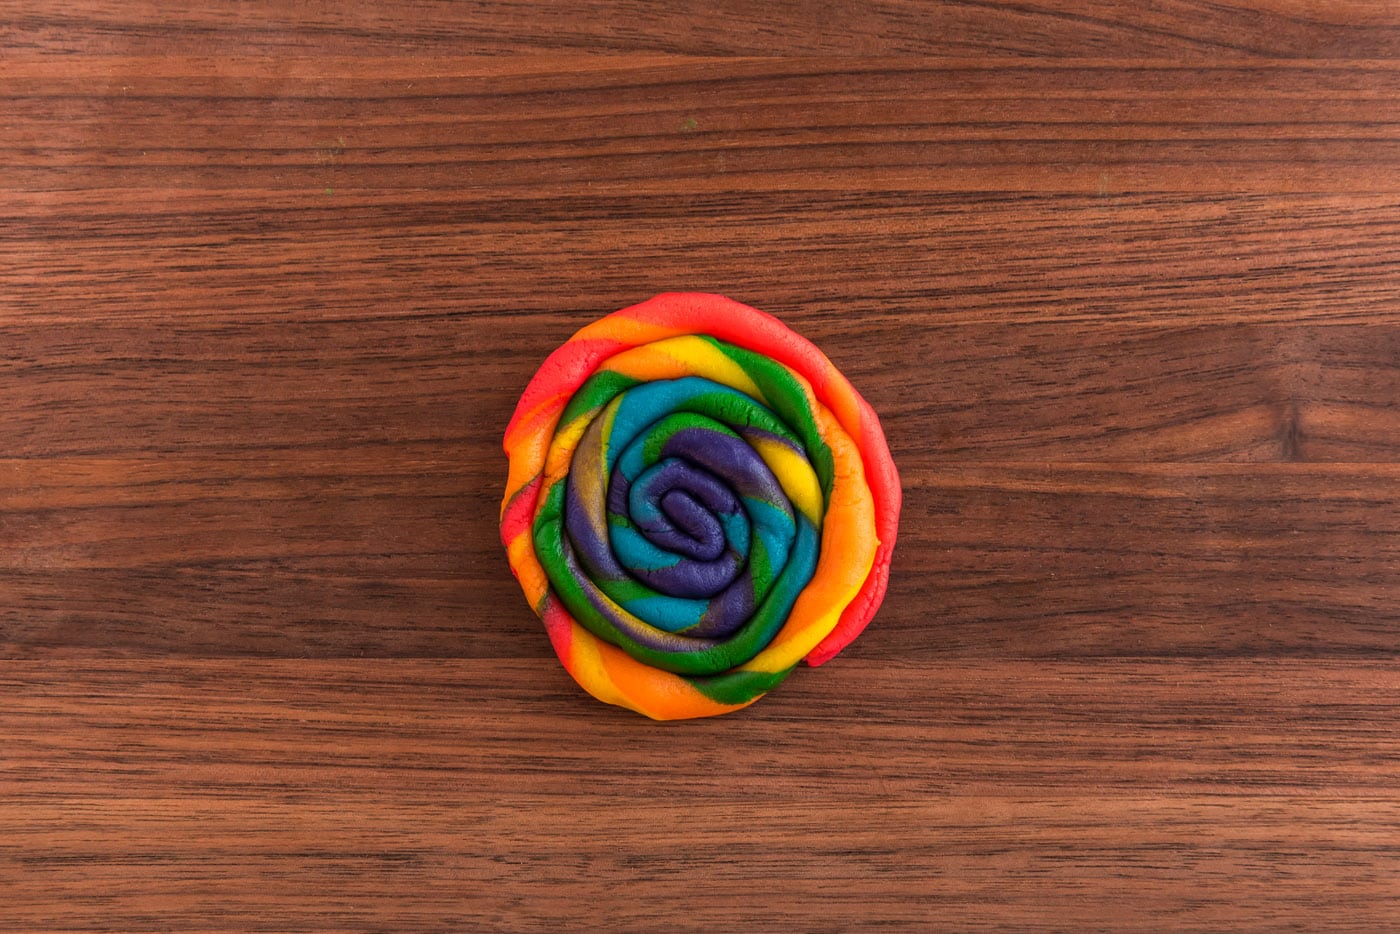
- Bake cookies for 8 minutes or until lightly browned. Cool and store in an airtight container.
Frequently Asked Questions & Expert Tips
Store the cookies in an air-tight container kept at room temperature for 4-5 days.
Yes, this cookie dough freezes well. After chilling the dough in the refrigerator, wrap each dough ball in plastic wrap and place inside a large freezer bag. Freeze for up to 3 months.
Yes, absolutely. Simply add the lollipop sticks (make sure they’re oven-proof) on the back side of the dough before baking. Make sure they are adhered to the dough well so they don’t fall off when picked up.
Serving Suggestions
Serve the cookies with a tall glass of milk, or wrap them up in cellophane baggies tied with a bow for gift giving. This recipe is the perfect opportunity to get crafty in the kitchen with your kids! They’ll love creating the shapes and watching them bake into vibrant cookies.
More St. Patrick’s Day Recipes
- Rainbow Pancakes
- Shamrock Shaped Brownies
- Naturally Green Shamrock Shakes
- Bailey’s Irish Cream Chocolate Fudge
I love to bake and cook and share my kitchen experience with all of you! Remembering to come back each day can be tough, that’s why I offer a convenient newsletter every time a new recipe posts. Simply subscribe and start receiving your free daily recipes!
St. Patrick’s Day Cookies
IMPORTANT – There are often Frequently Asked Questions within the blog post that you may find helpful. Simply scroll back up to read them!
Print It Rate ItIngredients
- ¾ cup unsalted butter softened
- 3 ounces cream cheese
- 1 cup granulated sugar
- 1 large egg
- 1 teaspoon vanilla extract
- 2 ¾ cup all purpose flour
- 1 teaspoon baking powder
- ¼ teaspoon salt
- gel food coloring in red, orange, yellow, green, blue and indigo (purple).
Things You’ll Need
- Lollipop sticks optional. Make sure they are oven-proof
Before You Begin
- This recipe can make anywhere from 20-30 cookies, depending on what shapes you decide to make. The nutrition facts listed are estimates, as each cookie will vary in size.
- It’s best to use paste gel food coloring for the most vibrant cookies. Plus, you won’t need to use as much as you would with liquid food coloring. A little goes a long way, so start small and build your way up.
- You can split the dough into sections as we did to make multiple different kinds of cookies or use it all to create your favorite shape – shamrocks, rainbows, gold coins, or twisted coil cookies.
Instructions
- In a bowl cream butter, cream cheese and sugar until fluffy. Add egg and vanilla; beat until smooth.
- In a medium bowl combine flour, baking powder and salt. Add dry ingredients to the creamed mixture. Stir until a soft dough forms.
- Separate the dough into two batches. One batch I separated into 4 pieces and the other batch into 6 pieces. The batch of 6 I used paste gel food coloring to tint each section a color of the rainbow. In case you don't remember, those colors are: red, orange, yellow, green, blue and indigo (purple).
- For the other 4 pieces I tinted two of them green, one darker than the other, and the other two yellow, again, one darker than the other. In hindsight, the yellows didn't end up looking any different, so if you want there to be some contrast, add a bit of orange to one of the yellow batches. The green dough is for the shamrocks and the yellow is for the gold coins.
- Chill the dough wrapped in plastic wrap in the refrigerator for two hours.
- Preheat oven to 350 degrees F when you start shaping the cookies.
Gold Coin Cookies
- The gold coins are the easiest. Take your two different yellows, roll a 3/4" ball of each one, then gently roll the two balls together. Don't go crazy, just roll them enough to combine the two. Using the palms of both hands, roll into a snake, about 10-12" long. Start at one end and roll the snake into a spiral cookie.
Shamrock Cookies
- To make the shamrock cookies you'll need three green discs.
- Take your two different shades of green and roll a 3/4" ball of each one, then gently roll the two balls together. Again, don't go crazy, just roll them enough to combine the two. Using the palms of both hands, roll into a snake, about 10-12" long.
- Next, where the coil ends, pinch the disc into a point.
- Use a butter knife or a lollipop stick to create a dent at the opposite end, forming a heart shape.
- Place the 3 green hearts together and insert a lollipop stick.
Rainbow Cookies
- For the rainbows, simply roll colored dough into snakes. The smallest being purple and the largest red, just curve them around each other and insert a stick.
Rainbow Coil Cookies
- To make the rainbow twisted coiled cookies, you will need a 1/2" ball of each rainbow colored dough.
- Gently combine them into one ball. From here, you can simply roll into a snake then a coil and be done.TIP – If the dough snake breaks a couple times, don't worry! Just pinch it back together it will bake up just fine.
- Bake cookies for 8 minutes or until lightly browned. Cool and store in an airtight container.
Expert Tips & FAQs
- Store the cookies in an air-tight container kept at room temperature for 4-5 days.
- Freezing – After chilling the dough in the refrigerator, wrap each dough ball in plastic wrap and place inside a large freezer bag. Freeze for up to 3 months.
Nutrition
This post originally appeared here on Feb 21, 2014 and has since been updated with new photos and expert tips.
Amanda Davis
Latest posts by Amanda Davis (see all)
- Watergate Salad - November 21, 2024
- Sweet Potato Pie - November 18, 2024
- Roasted Turkey - November 14, 2024



Lindsay @Artsy-Fartsy Mama says
These are so cute!! They would be fun at a kids party. I also wanted you to know that I featured this today at http://www.artsyfartsymama.com/2013/02/pinteresting-features-n-shtuff-70.html
Carrie says
I’m planning the St. Patrick’s Day party for my daughter’s class. I can’t wait to make these..they will be a hit with the kids! I found some cello candy bags from Box and Wrap that have shamrocks on the bags….so cute. It’s the extra special touches that make the party great. Thanks so much for the recipe.
Amanda says
The kids will love them, sounds so fun! :)
Jamie says
Wow, this such an awesome tutorial you have shared! I love these cookies.. they are so cute. Almost too cute to eat!I hope it’s okay, I’ve featured your colorful cookies on a St.Patrick’s Day creative and colorful foods hub. You can see it here:
http://jamiebrock.hubpages.com/hub/Colorful-and-Creative-Food-Ideas-for-St-Patricks-Day
Thank you so much for sharing!
Amanda says
Thanks so much for the shout out jamie!
anickh says
when i press the “read more and get the recipe” icon, the link doesnt work, and therfore it wont give me the recipe):
Amanda Formaro says
Thanks so much for telling me! I have corrected it and you should be able to access the full post now :)
Miss cuisine says
A great idea. I put forward on my French blog with a link to this article.
Jenni Price says
Amanda these are super impressive! I love how the colors twist up and I can hardly believe they are cookies!
Blessings!
Jenni
KM @ This Plate is Full says
Brilliant!!!
Anonymous says
:>
Valerie says
I especially love the heart shamrocks. :)
R and N says
Great idea! I want to add this to my list of fun activities to do with my girl.
Miz Helen says
Congratulations Amanda!
You are featured on Full Plate Thursday today 3-17-11. Please pick up your Red Plate and enjoy!