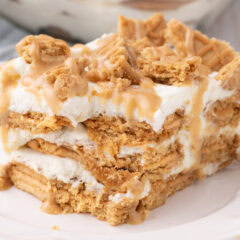
This easy no bake Nutter Butter icebox cake is layered with whipped cream cheese and soft peanut butter sandwich cookies to make a creamy, dreamy summer dessert that only gets better the longer it sits!
Why this recipe works
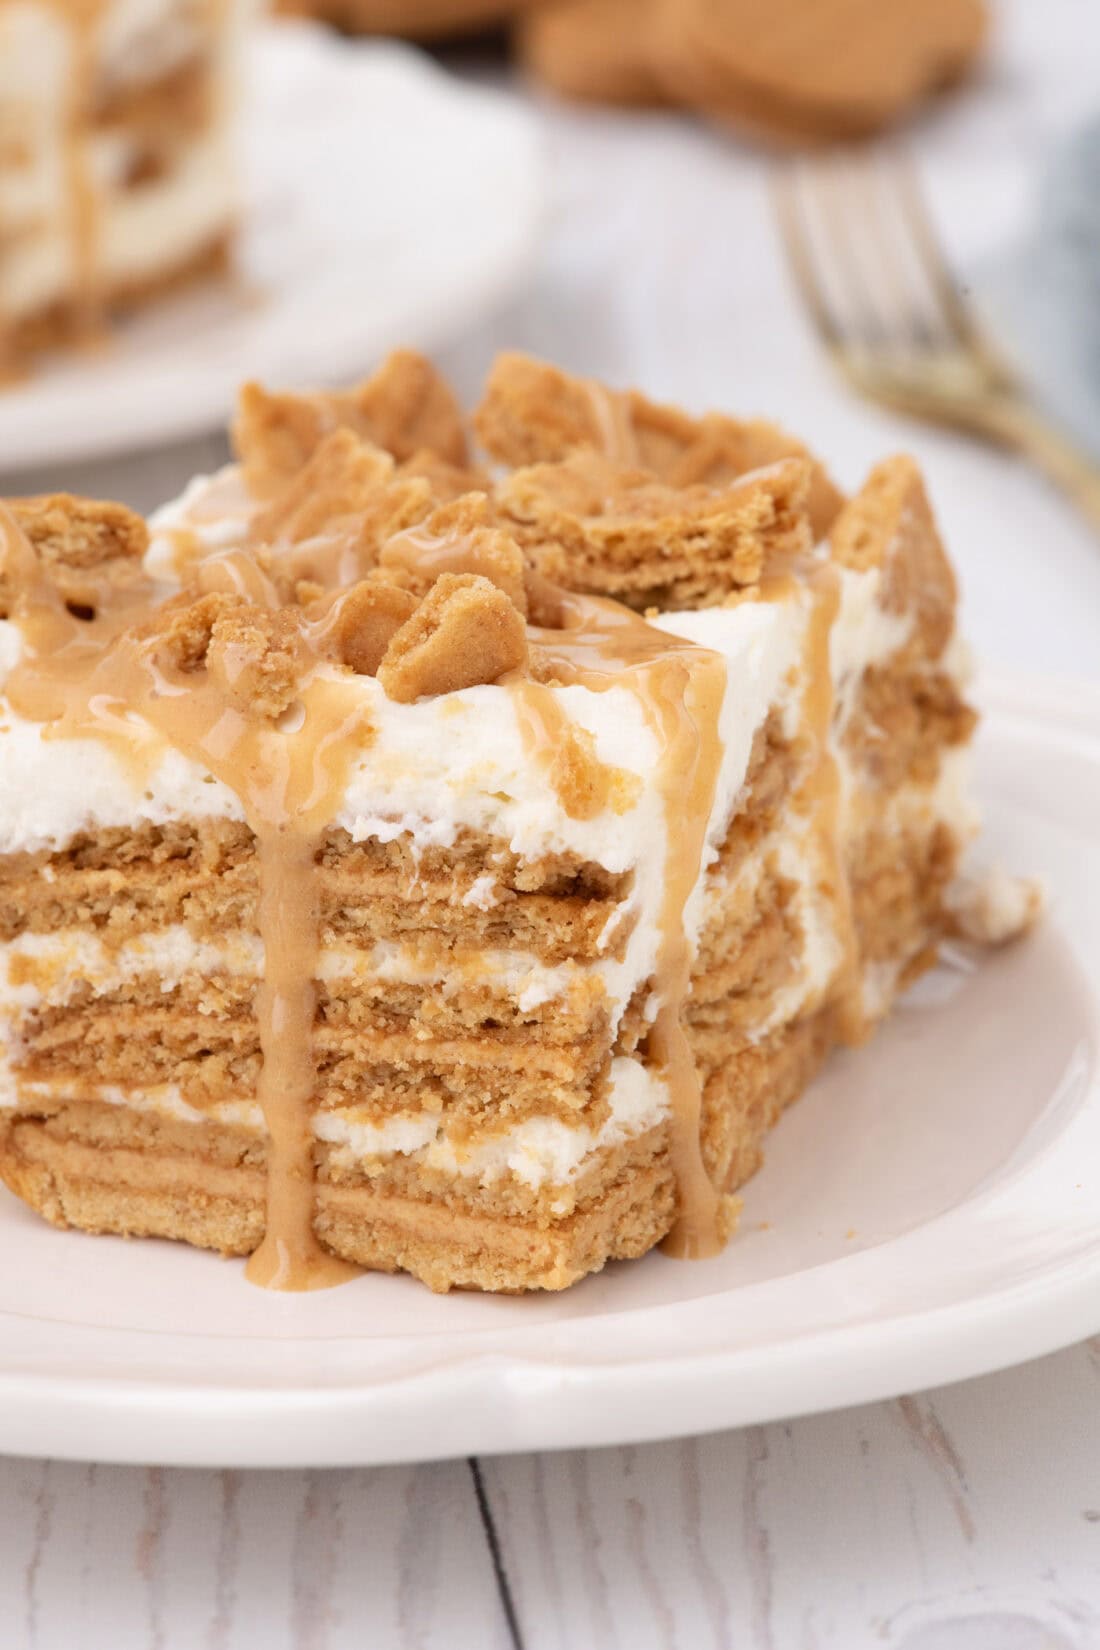
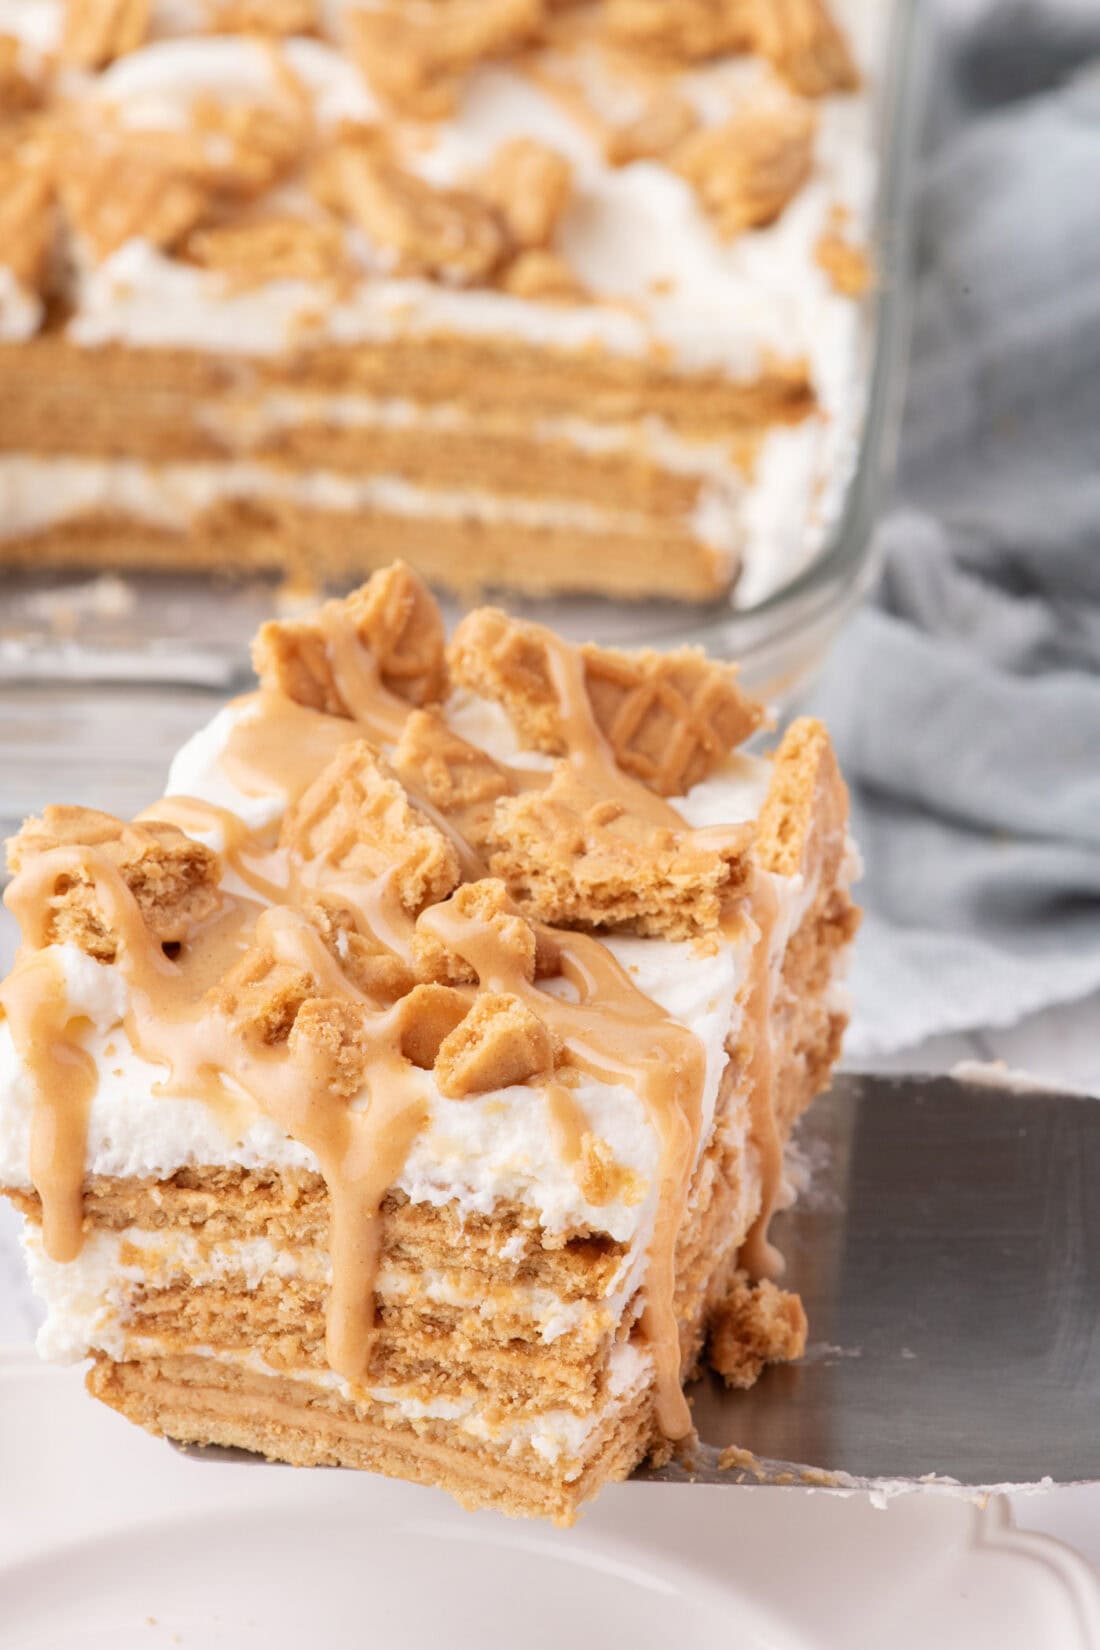
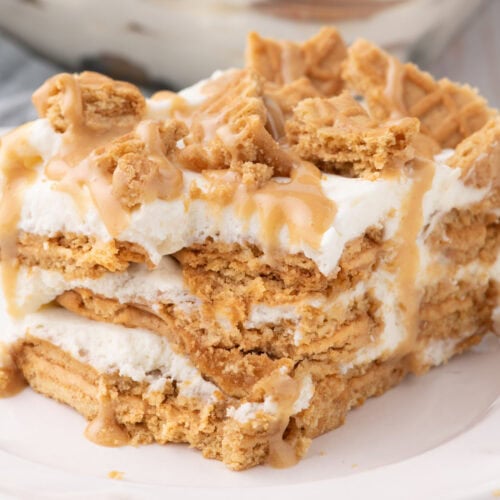
Nutter Butter icebox cake follows suit with our Oreo icebox cake and chocolate chip cookie icebox cake with its simple layering of crisp cookies and whipped cream. As the cookies mingle with the other ingredients stacked on top of them, they soak in all the moisture leaving them sweet and super soft as if you’re digging into a fluffy cloud of peanut butter cake.
This icebox cake is light, rich, and perfectly creamy with a texture similar to tiramisu or mousse cake after resting in the refrigerator. Also, it truly couldn’t be easier to assemble. Just look at those layers… yes, please.
Ingredients you will need
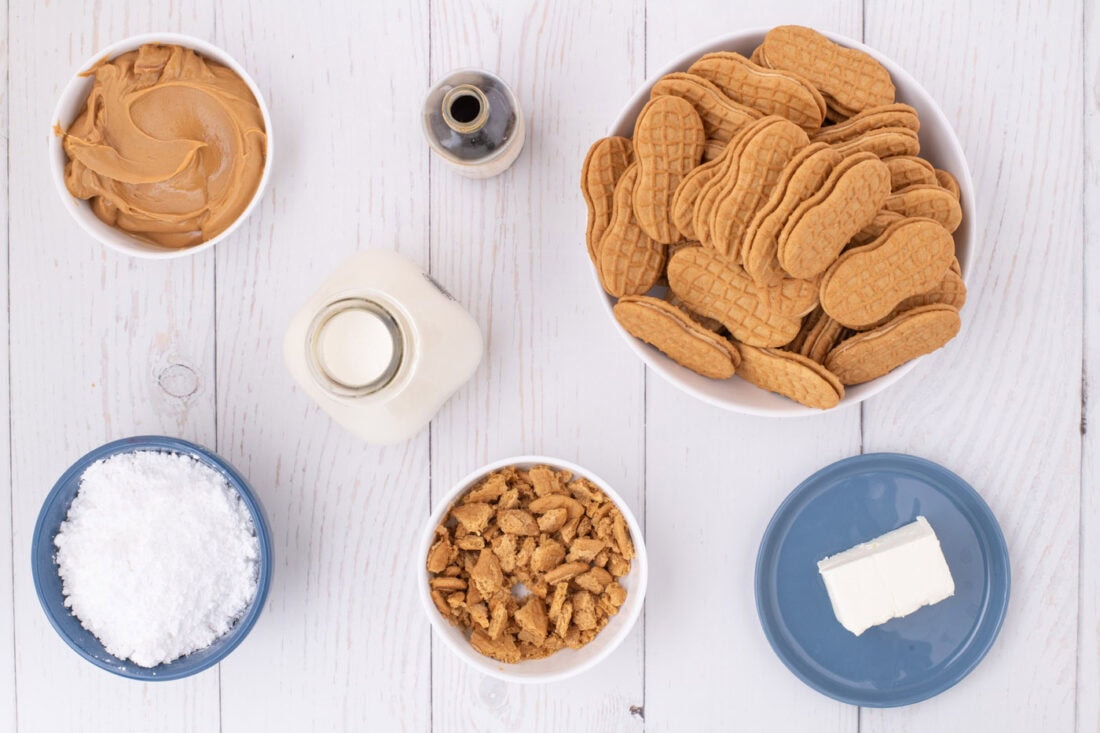
Get all measurements, ingredients, and instructions in the printable version at the end of this post.
Ingredient Info and Substitution Suggestions
PEANUT BUTTER – I wouldn’t recommend using natural nut butters in this recipe as they tend to be too runny and can separate as it sits. Regular creamy peanut butter is your best bet here, such as Skippy or Jif.
COOKIES – This icebox cake requires three 16-ounce packages of Nutter Butter cookies to make as the bulk of it is centered around them. The cookies absorb the surrounding ingredients leaving them soft and supple after sitting in the refrigerator for at least 4 hours.
How to Make Nutter Butter Icebox Cake
These step by step photos and instructions are here to help you visualize how to make this recipe. You can Jump to Recipe to get the printable version of this recipe, complete with measurements and instructions at the bottom.
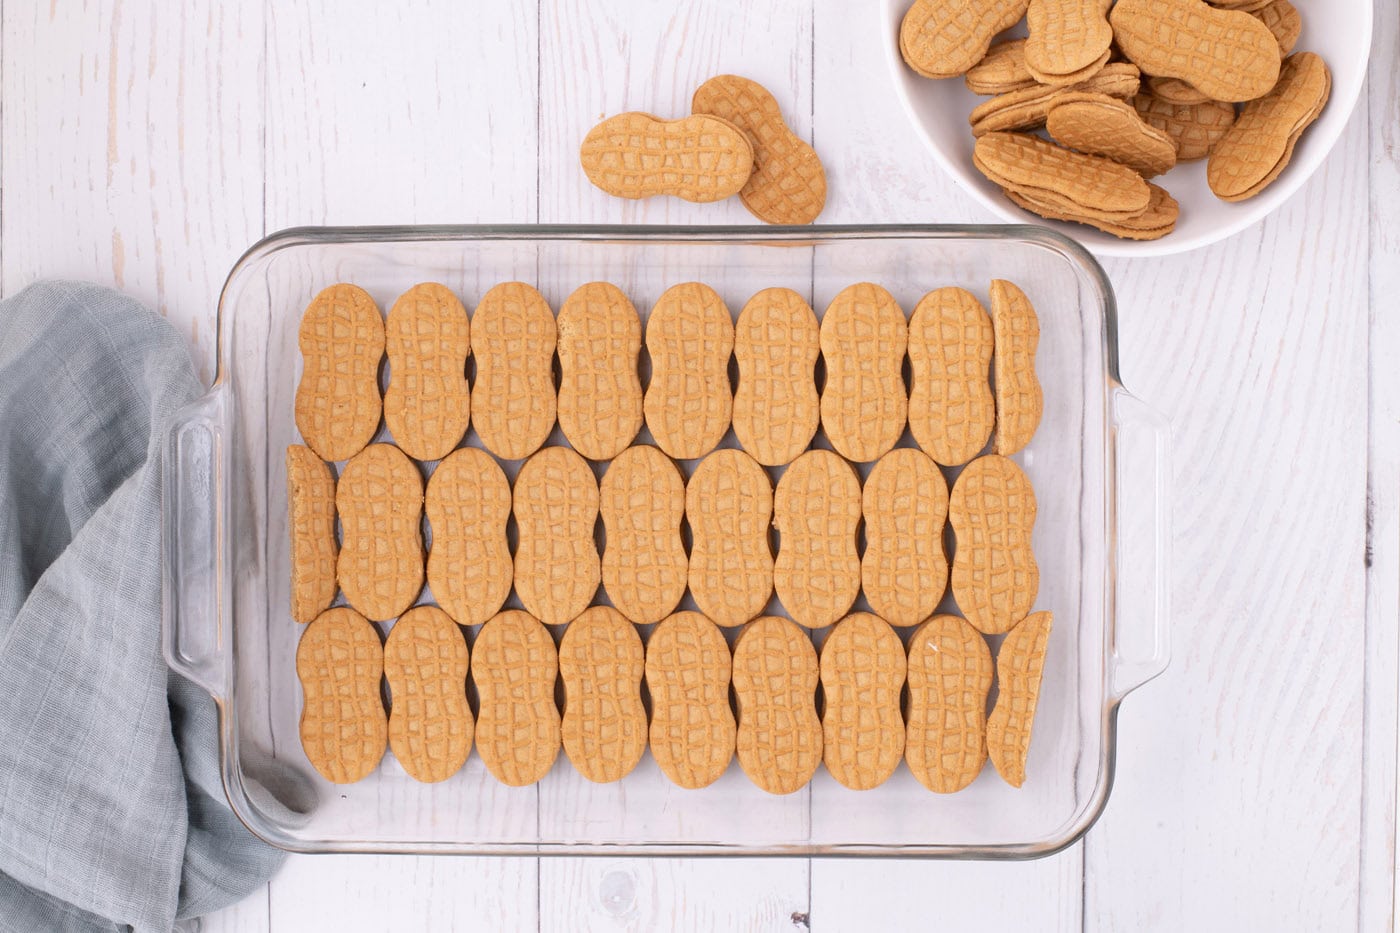
- Line an ungreased 9×13-inch baking dish with approximately 24 Nutter Butter cookies (3 rows of 8 cookies). You may need to cut two Nutter Butter cookies in half and place three half-pieces at the end of each row to fill any gaps in the baking dish. Set the dish aside.
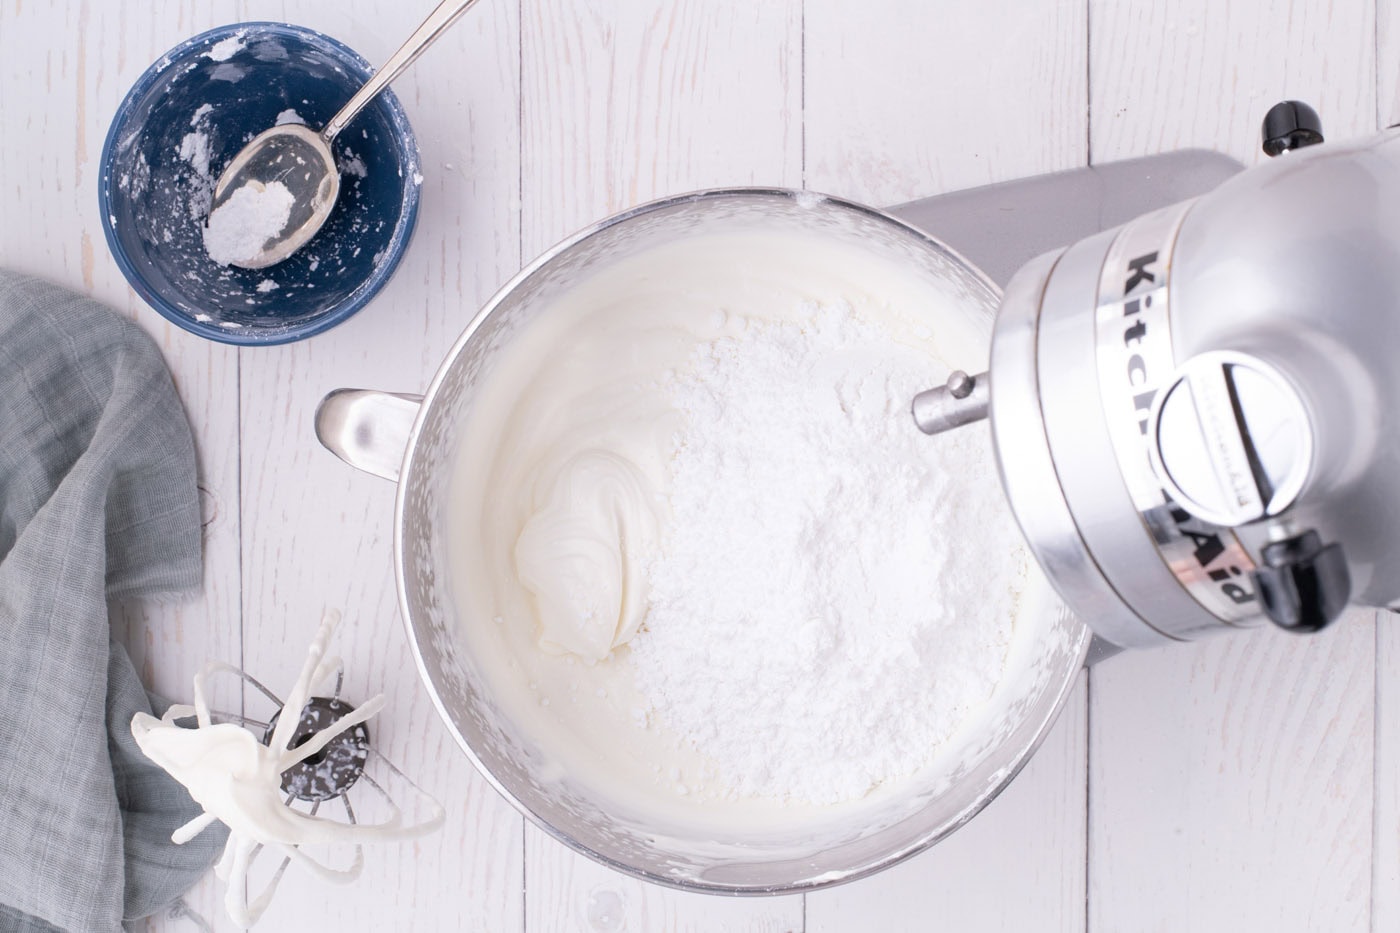
- In the bowl of a stand mixer fitted with the whisk attachment, add 1/4 cup heavy cream and the softened cream cheese. Mix on low speed until smooth.
- Add the remaining heavy cream and 2 teaspoons of vanilla extract. Beat on medium-high speed until soft peaks form.
- Add 3/4 cup of the powdered sugar and continue beating until medium-stiff peaks are formed. Divide the whipped cream into three equal portions.
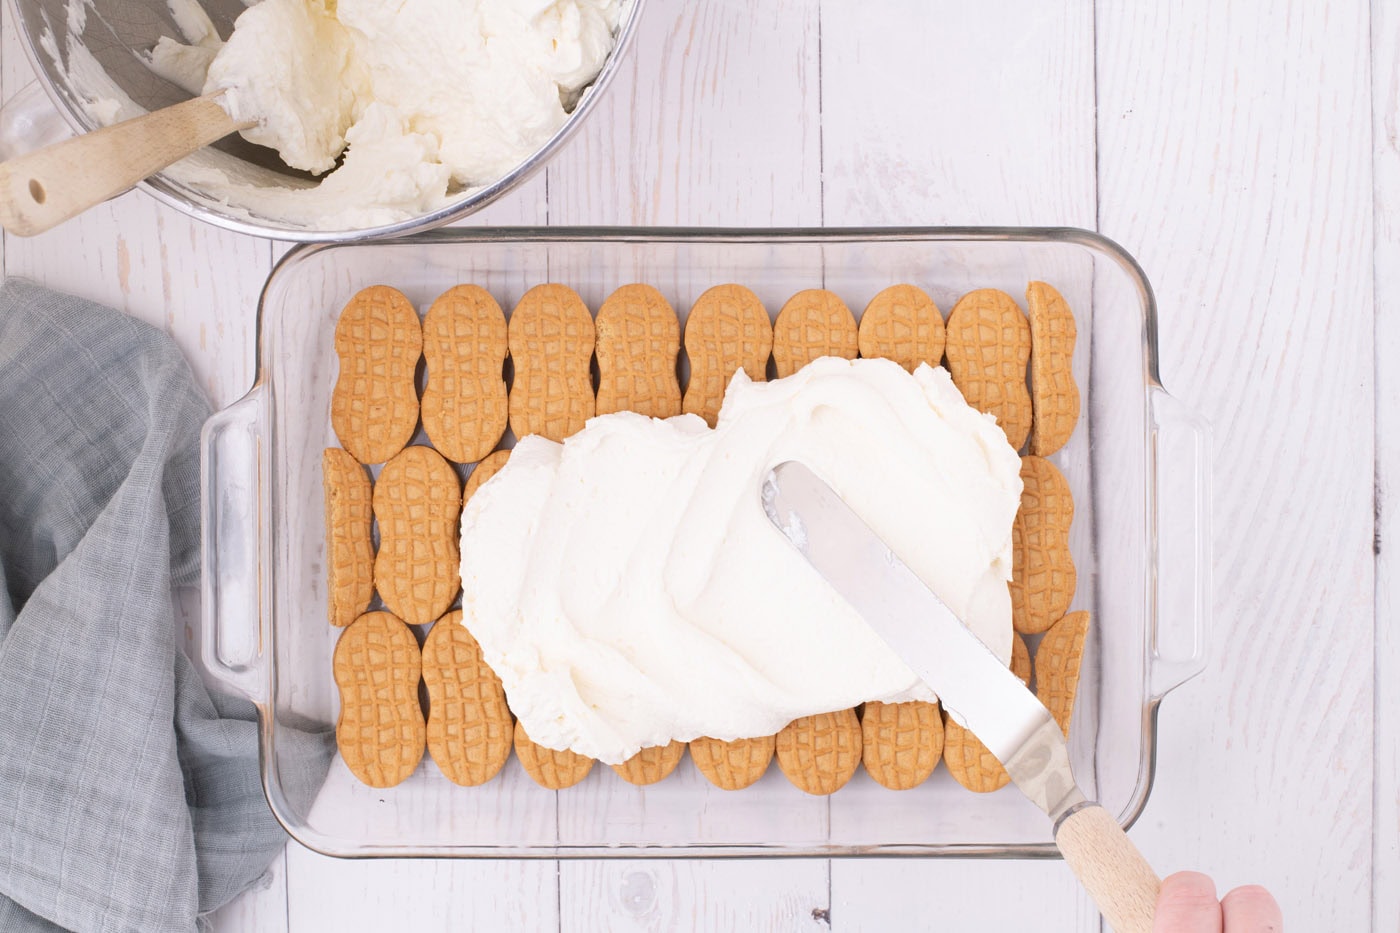
- Spoon one-third of the whipped cream over the cookie layer and gently smooth it out with an offset spatula, (being careful not to shift the cookies in the bottom layer). Make sure to get the whipped cream into all the corners, filling any gaps.
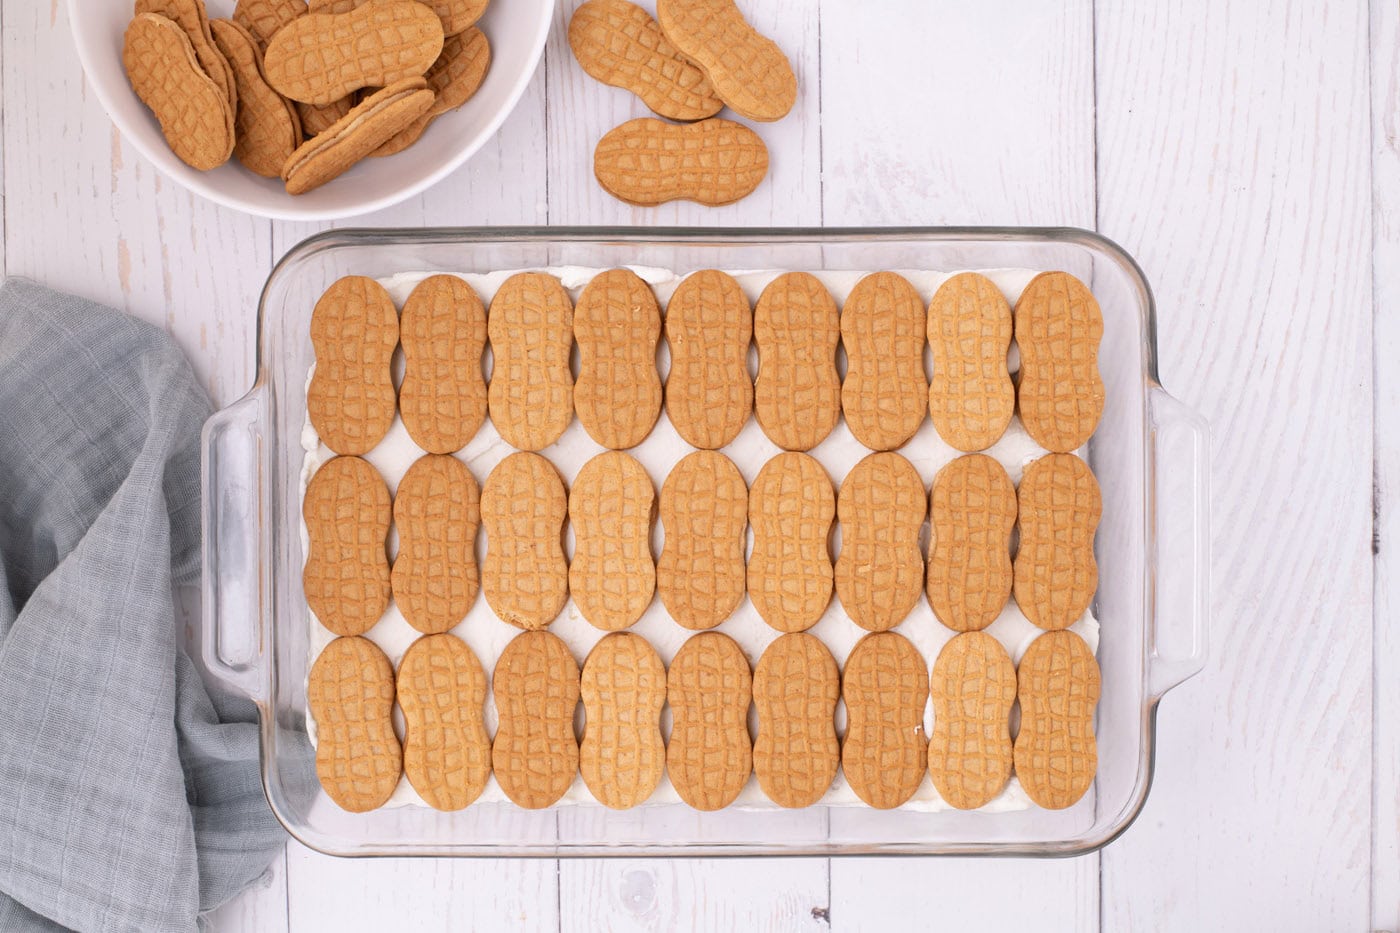
- Place the second layer of cookies on top of the whipped cream layer, (the sides of the baking dish usually angle outwards making for a wider surface area) so you will most likely need to lay down a few more cookies.
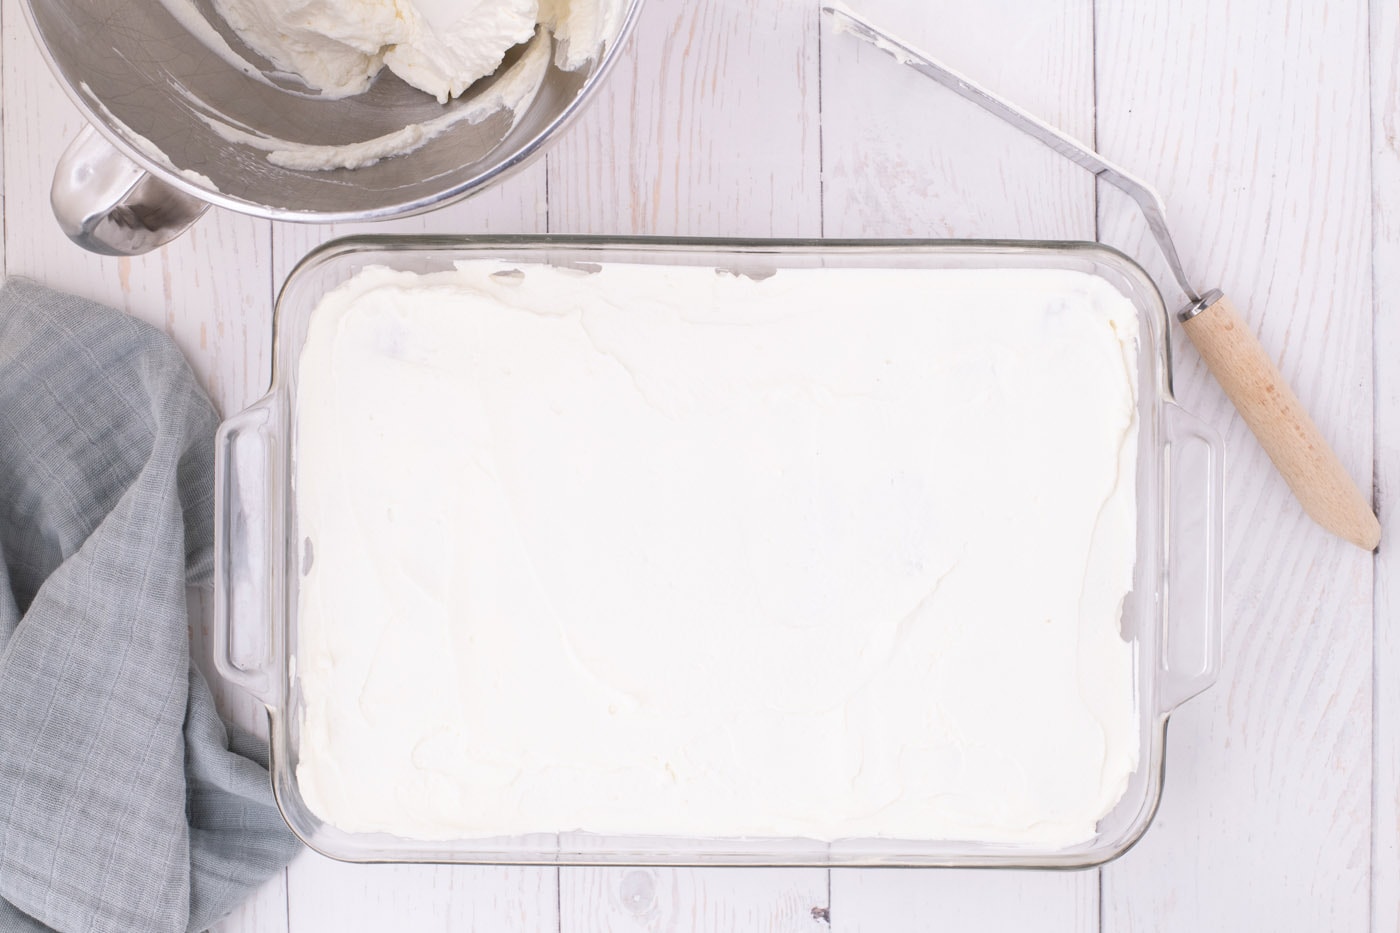
- Add the second portion of whipped cream on top of the Nutter Butter layer, smoothing it out with the offset spatula.
- Place the final layer of cookies on top of the whipped cream. You’ll be laying out about 27 Nutter Butter cookies, (3 rows of 9 cookies).
- Add the final portion of whipped cream, smooth the top, and place the cake in the refrigerator to chill while you make the peanut butter drizzle.
To Make the Topping
- Crush the remaining Nutter Butter cookies and set aside.
- In a medium-sized bowl combine the peanut butter, remaining powdered sugar and vanilla extract, and 4 tablespoons of water. Blend with a hand mixer until smooth. Add more water (1 tablespoon at a time) if the glaze is too thick.
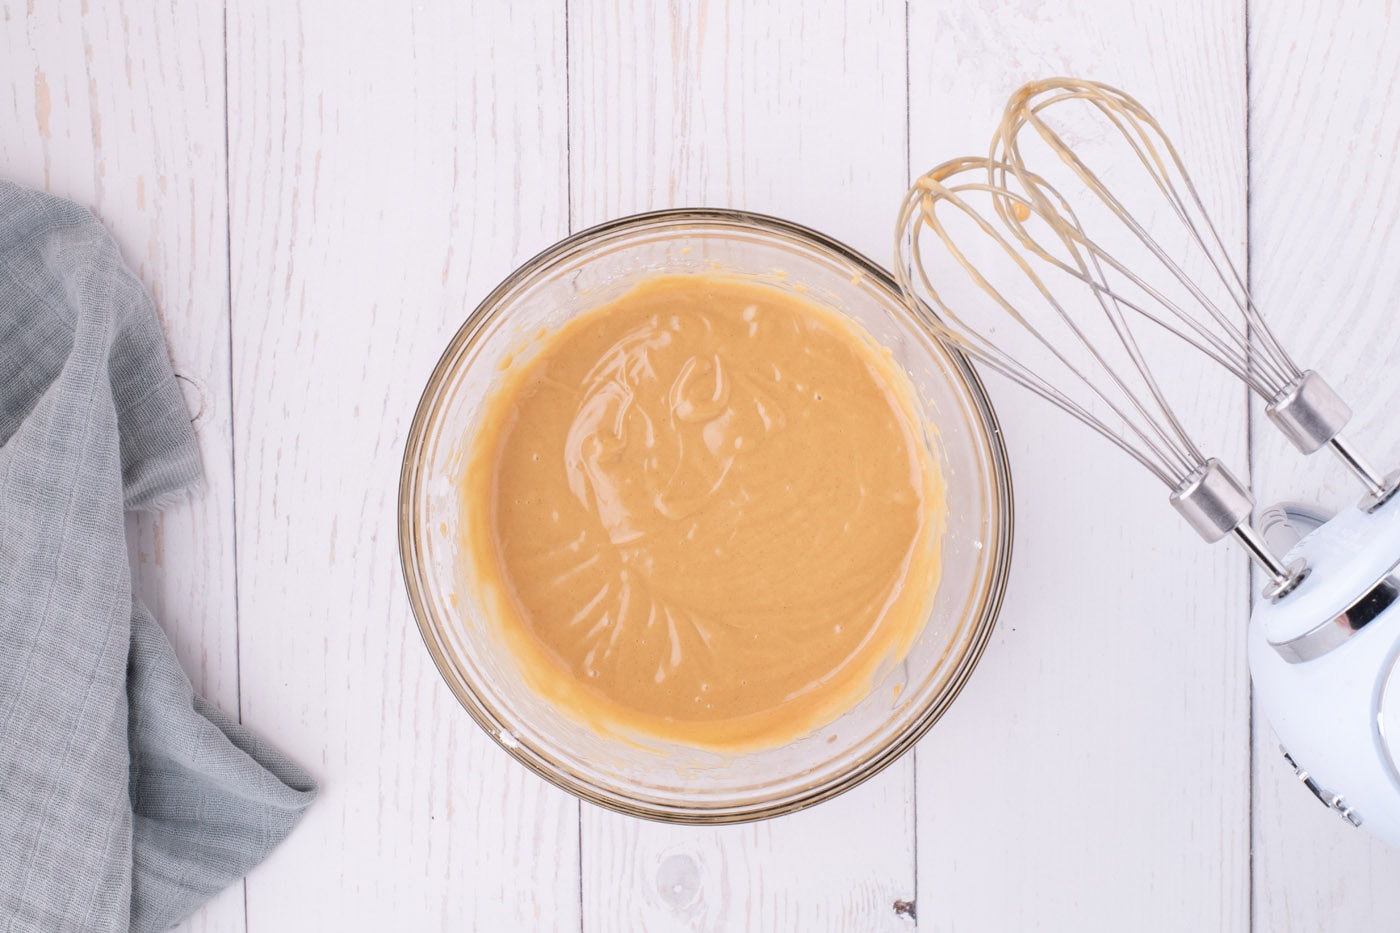
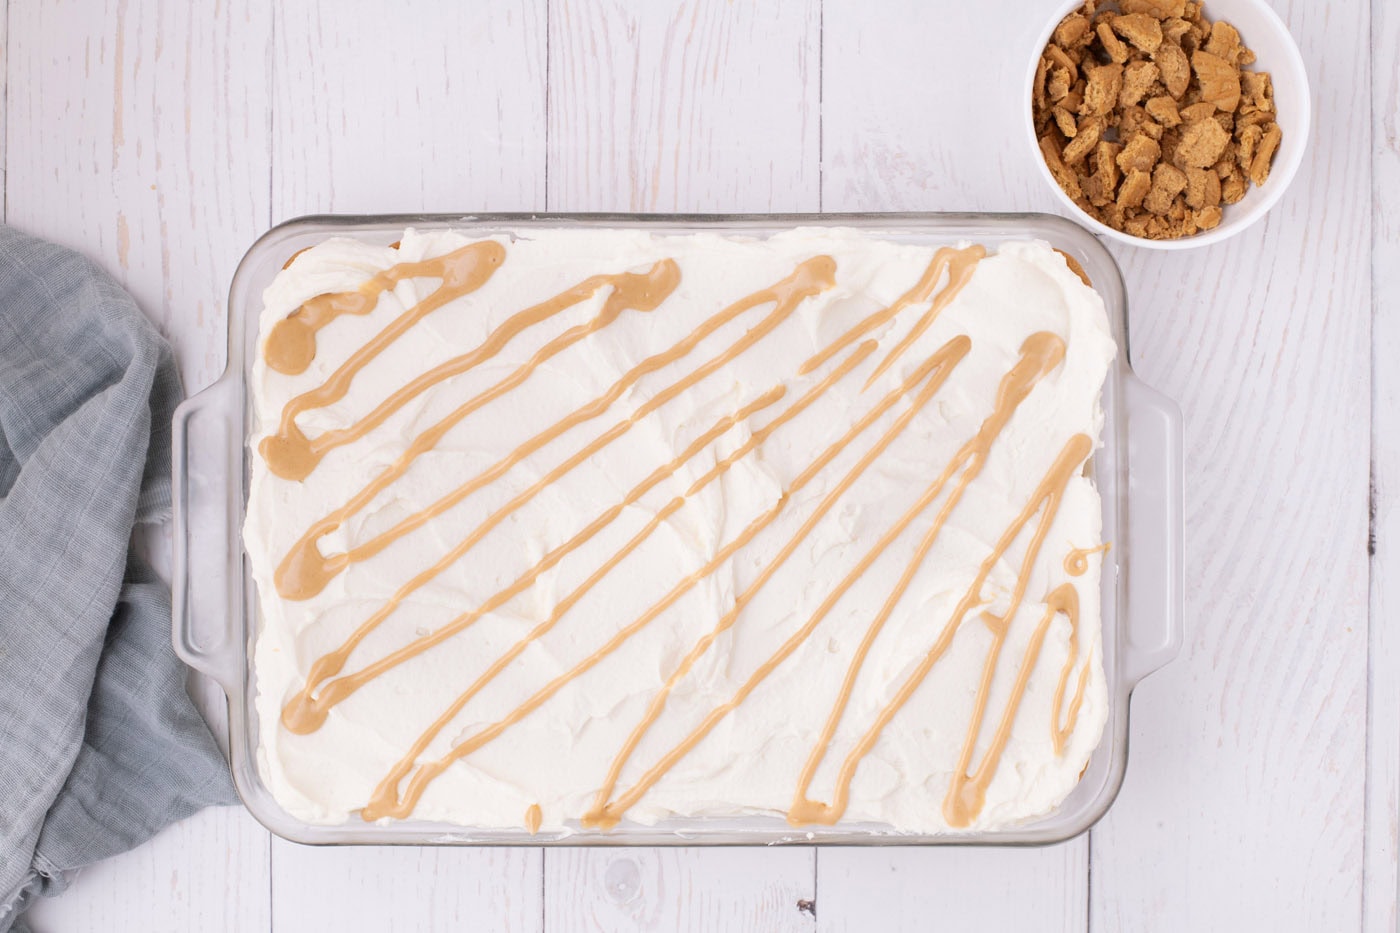
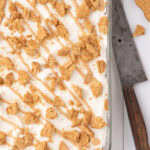
- Drizzle the peanut butter mixture over the whipped cream and top with the crushed Nutter Butter cookies.
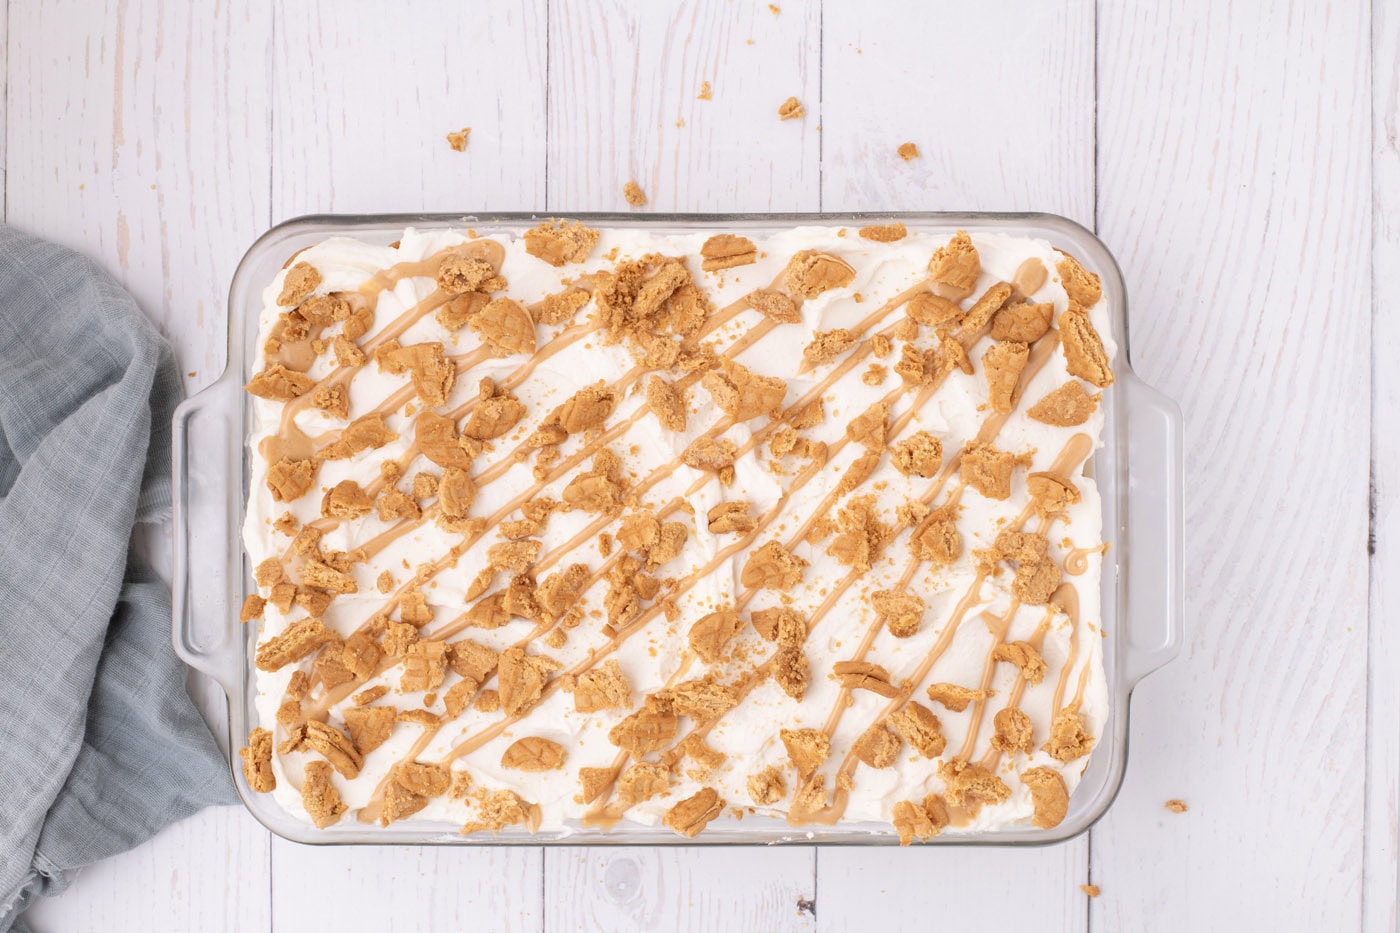
- Refrigerate at least 4 hours before serving.
Frequently Asked Questions & Expert Tips
Store your icebox cake, covered with an air tight lid or wrapped with plastic wrap, in the refrigerator for up to 5 days.
Yes, definitely! In fact, it’s best to make it at a minimum of 4 hours ahead of time. The icebox cake tastes best when eaten a day or two after it has been made. This allows the flavors to meld together and softens the cookies to a sponge-like texture.
To get nice clean-cut slices, the cake must be fully chilled beforehand. The cookie layers need to soften which will make cutting easier (this will take approximately 4 hours). Additionally, I would suggest wiping a sharp knife clean before cutting each slice.
Yes, you can halve the recipe and assemble the icebox cake in an 8×8 pan.
Serving Suggestions
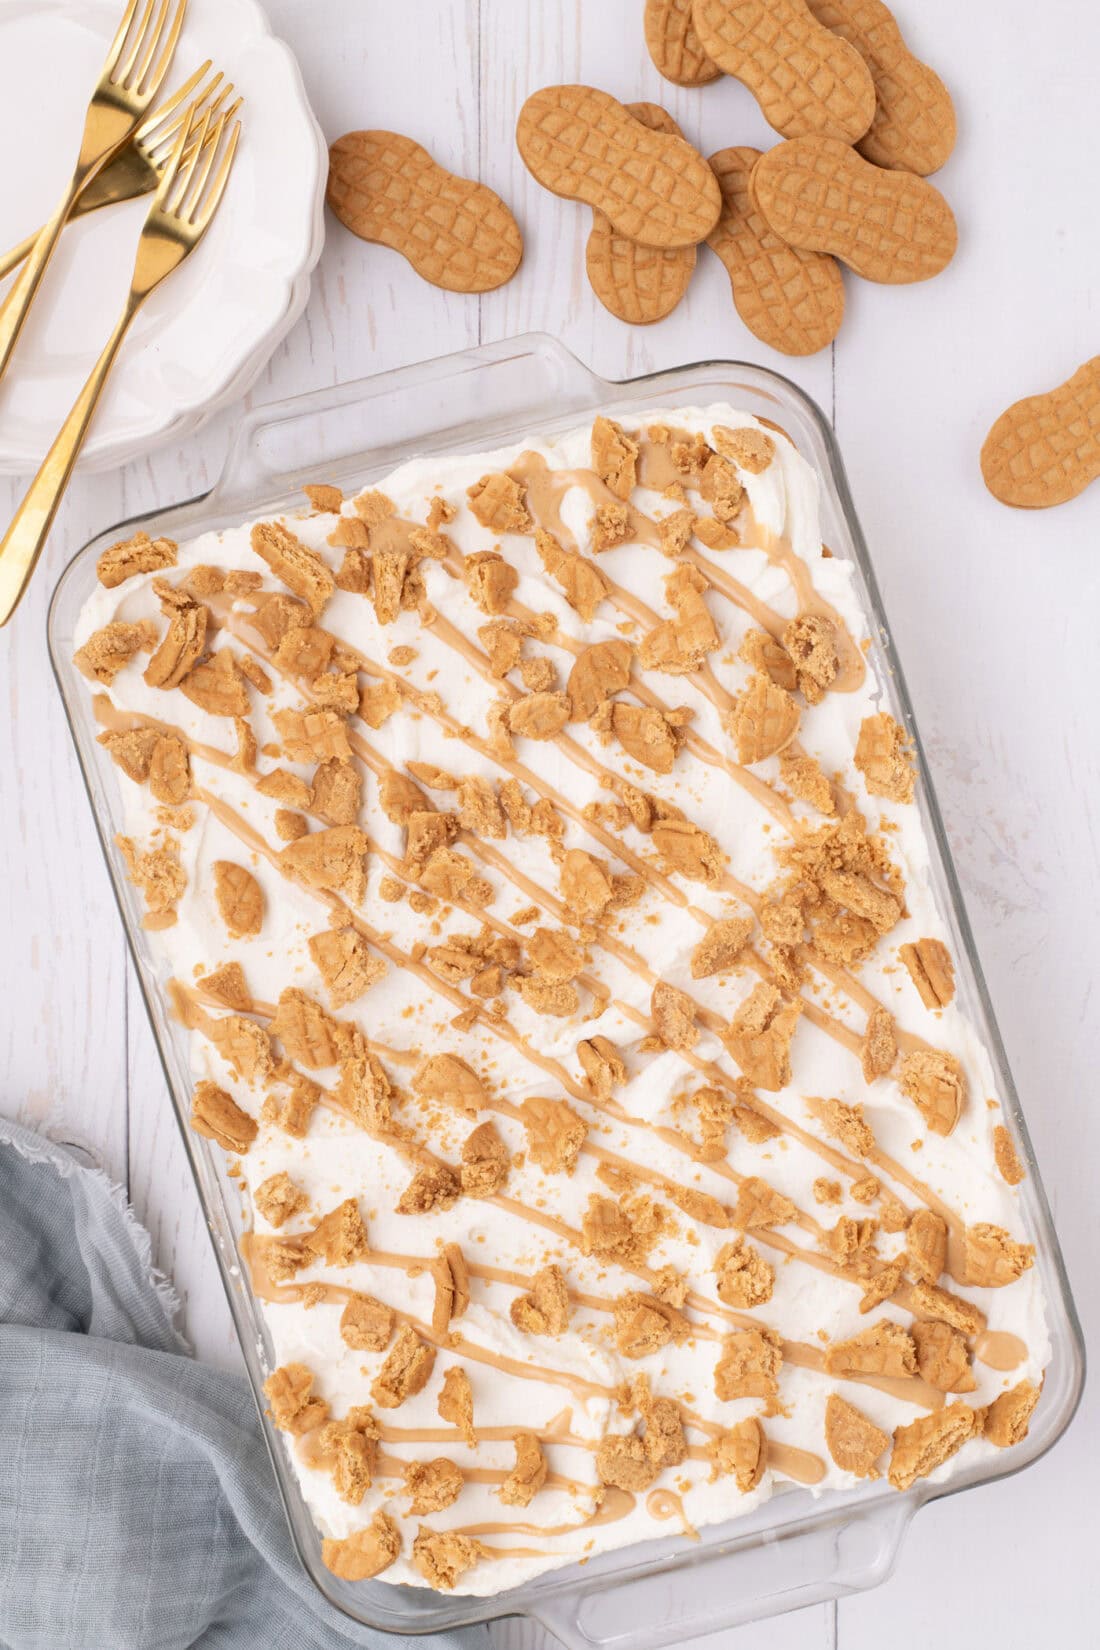
Serve your Nutter Butter icebox cake chilled and sliced into squares. Optionally top with a drizzle of peanut butter, crushed Nutter Butter cookies, or peanut butter chocolate chips.
More Related Recipes
- Nutter Butter Balls
- No Bake Peanut Butter Pie
- Strawberry Icebox Cake
- Chocolate Peanut Butter Lasagna
- Biscoff Icebox Cake
I love to bake and cook and share my kitchen experience with all of you! Remembering to come back each day can be tough, that’s why I offer a convenient newsletter every time a new recipe posts. Simply subscribe and start receiving your free daily recipes!
Nutter Butter Icebox Cake
IMPORTANT – There are often Frequently Asked Questions within the blog post that you may find helpful. Simply scroll back up to read them!
Print It Rate ItIngredients
- 80 Nutter Butter cookies three 16 ounce packages
- 1 quart heavy whipping cream
- 3 ounces cream cheese softened at room temperature
- 3 teaspoons vanilla extract divided
- ¼ cup creamy peanut butter such as Skippy or Jif
- 1 ½ cups powdered sugar divided
- 4-6 Tablespoons water
Things You’ll Need
Before You Begin
- I wouldn’t recommend using natural nut butters in this recipe as they tend to be too runny and can separate as it sits. Regular creamy peanut butter is your best bet here, such as Skippy or Jif.
- Only crush the remaining Nutter Butter cookies once you have finished building the layers in your dessert. You may find you need more (or less) Nutter Butter cookies than called for, depending on how wide the base of your baking dish is (not all 9 x 13-inch baking dishes have the same base width).
Instructions
- Line an ungreased 9 x 13-inch baking dish with approximately 24 Nutter Butter cookies (3 rows of 8 cookies). You may need to cut two Nutter Butter cookies in half and place three half-pieces at the end of each row to fill any gaps in the baking dish. Set the dish aside.
- In the bowl of a stand mixer fitted with the whisk attachment, add 1/4 cup heavy cream and the softened cream cheese. Mix on low speed until smooth.
- Add the remaining heavy cream and 2 teaspoons of vanilla extract. Beat on medium-high speed until soft peaks form.
- Add ¾ cup of the powdered sugar and continue beating until medium-stiff peaks are formed. Divide the whipped cream into three equal portions.
- Spoon one-third of the whipped cream over the Nutter Butter layer and gently smooth it out with an offset spatula, (being careful not to shift the cookies in the bottom layer). Make sure to get the whipped cream into all the corners, filling any gaps.
- Place the second layer of Nutter Butter cookies on top of the whipped cream layer, (the sides of the baking dish usually angle outwards making for a wider surface area) so you will most likely need to lay down a few more Nutter Butter cookies. My dish took 27 Nutter Butter cookies, (3 rows of 9 cookies)
- Add the second portion of whipped cream on top of the Nutter Butter layer, smoothing it out with the offset spatula.
- Place the final layer of Nutter Butter cookies on top of the whipped cream. You’ll be laying out about 27 Nutter Butter cookies, (3 rows of 9 cookies).
- Add the final portion of whipped cream, smooth the top, and place the cake in the refrigerator to chill while you make the peanut butter drizzle.
- Crush the remaining Nutter Butter cookies and set aside.
- In a medium-sized bowl combine the peanut butter, remaining powdered sugar and vanilla extract, and 4 tablespoons of water. Blend with a hand mixer until smooth. Add more water (1 tablespoon at a time) if the glaze is too thick.
- Drizzle the peanut butter mixture over the whipped cream and top with the crushed Nutter Butter cookies.
- Refrigerate at least 4 hours before serving.
Expert Tips & FAQs
- Store your icebox cake, covered with an air tight lid or wrapped with plastic wrap, in the refrigerator for up to 5 days.
- Make Ahead – it’s best to make it at minimum 4 hours ahead of time, or up to 2 days in advance. This icebox cake tastes best when eaten a day or two after it has been made. This allows the flavors to meld together and softens the cookies to a sponge-like texture. Since the whipped cream has been stabilized with the cream cheese it will hold up well kept in the refrigerator over time.
- To get nice clean-cut slices, the cake must be fully chilled beforehand. The cookie layers need to soften which will make cutting easier (this will take approximately 4 hours). Additionally, I would suggest wiping a sharp knife clean before cutting each slice.
Nutrition
Kristen Rittmer
Latest posts by Kristen Rittmer (see all)
- Pecan Pie Brownies - November 20, 2024
- Crockpot Green Bean Casserole - November 13, 2024
- Pumpkin Slab Pie - November 6, 2024


Chris H. says
This recipe calls for 3/4 cup powdered sugar. I used the 3/4 cup in the cream cheese – whipping cream mixture but then step 11 says to add powdered sugar to the peanut butter drizzle mixture. Oh-oh! I couldn’t find anything in the recipe about dividing the powdered sugar. Help- please.
Thank you~
Amanda Davis says
Our sincerest apologies for the error. The recipe has been corrected. If you printed or saved the recipe, please refresh and print/save again.