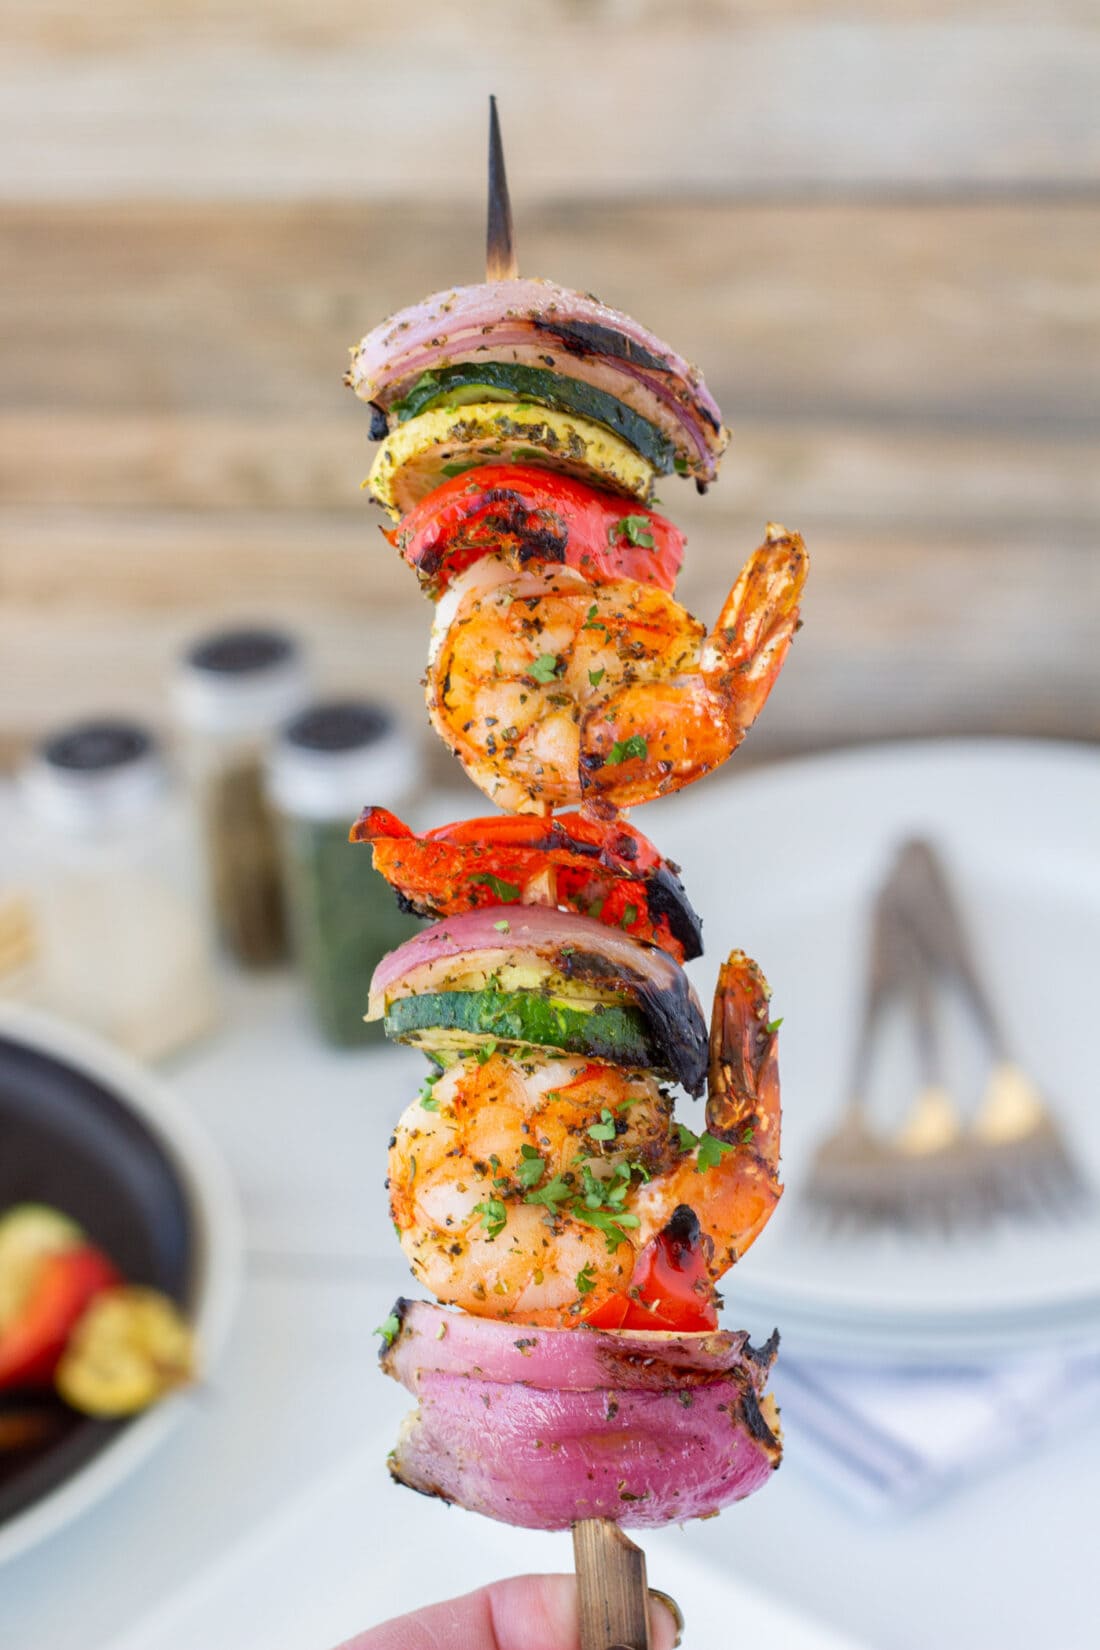
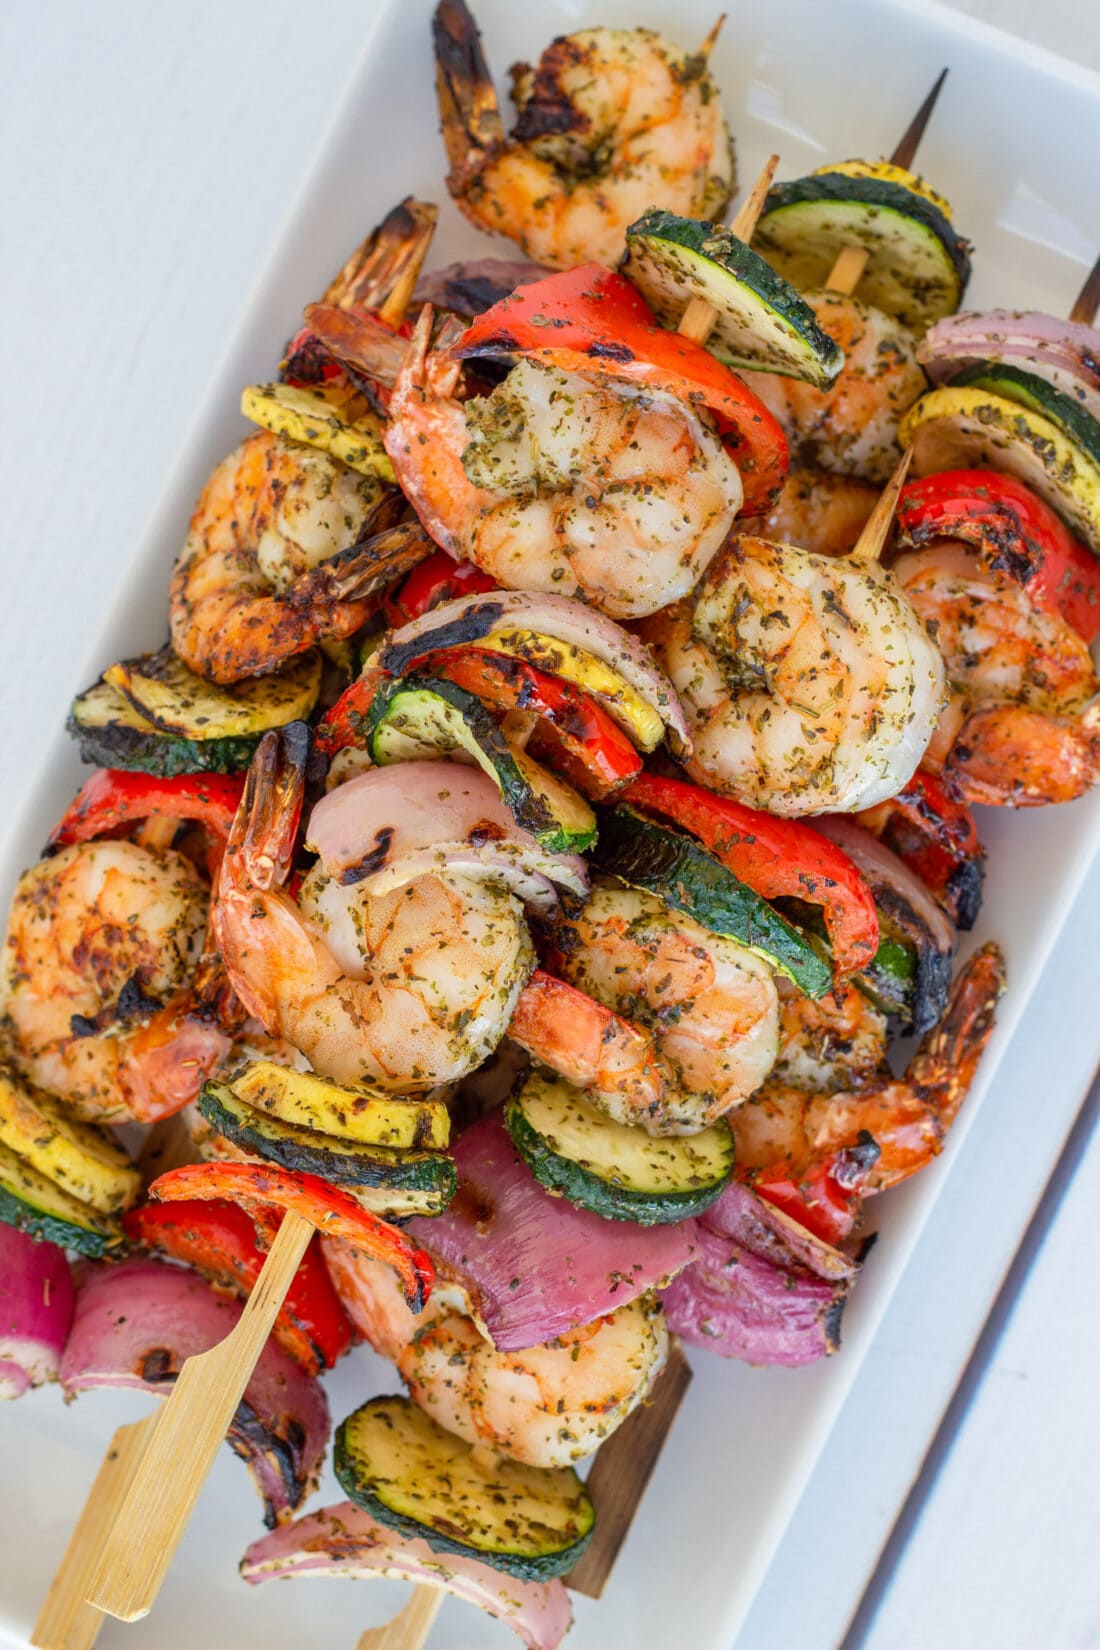
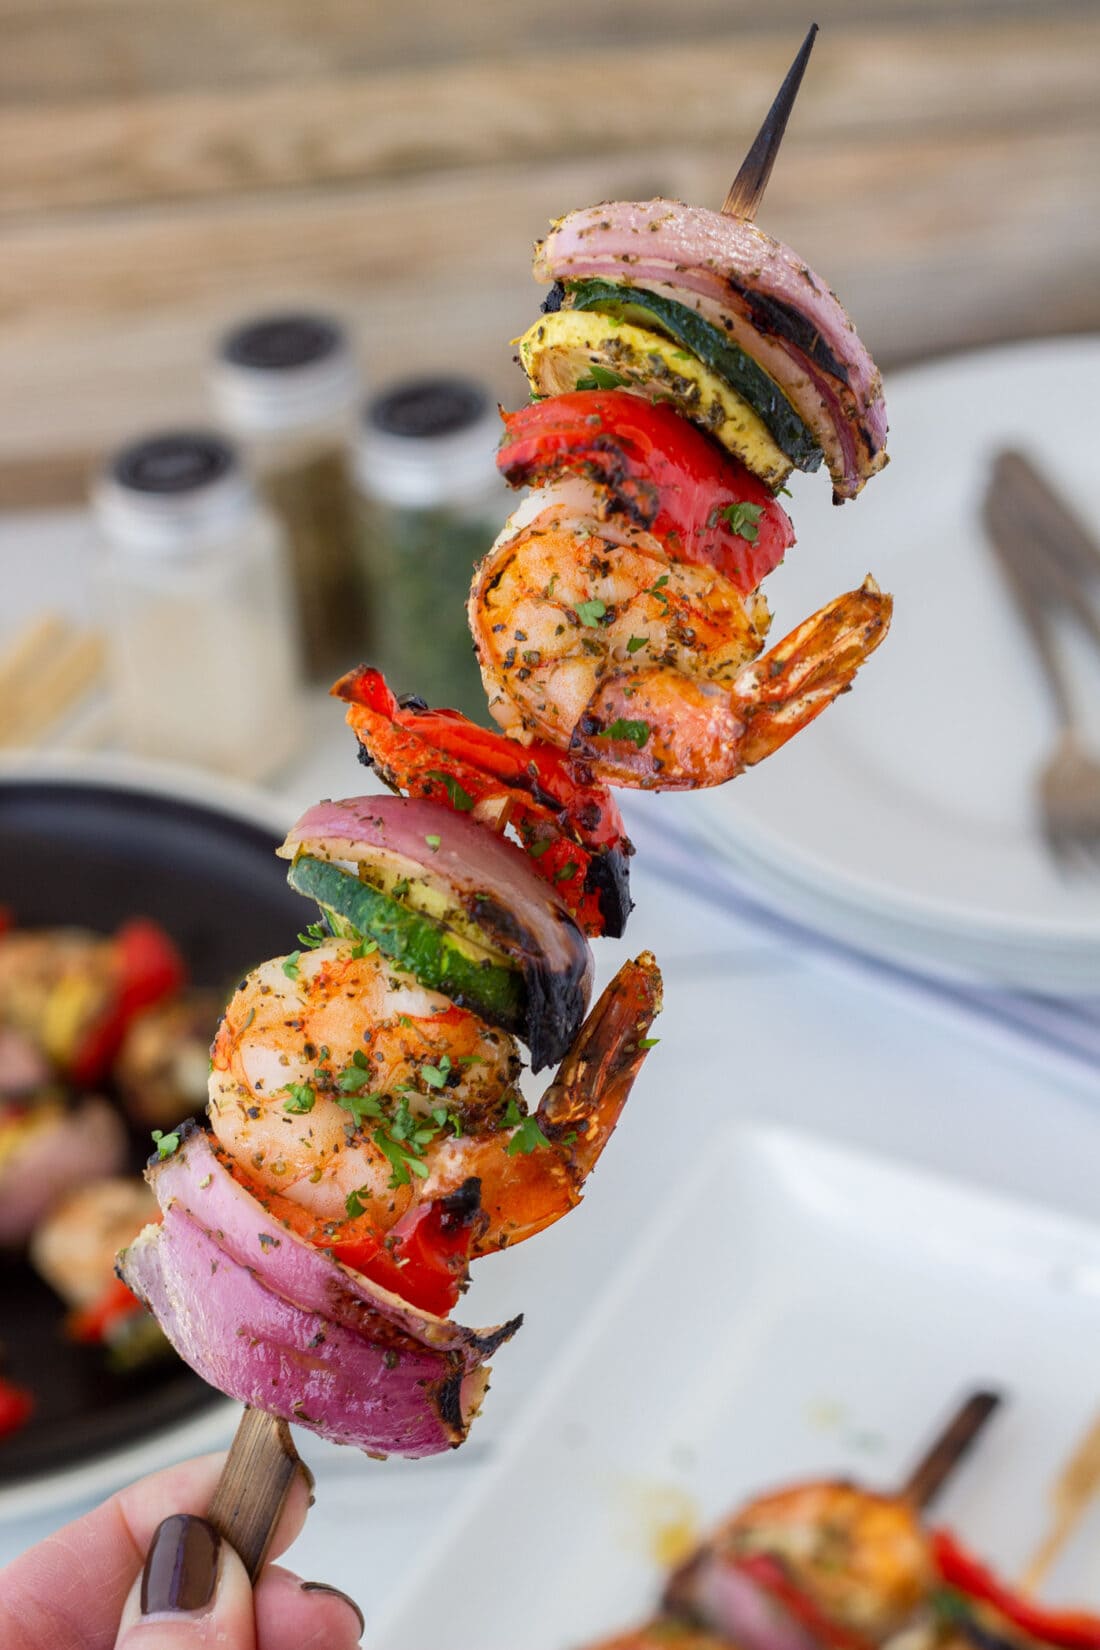
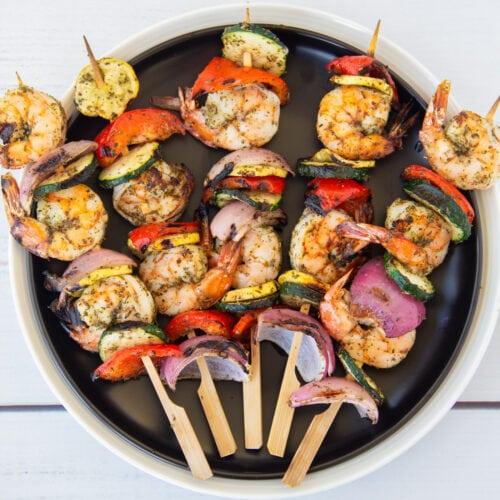
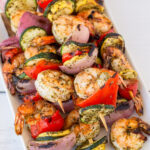
Juicy, seasoned grilled shrimp threaded onto skewers with fresh bell pepper, yellow squash, zucchini, and red onion. These shrimp kabobs are a mouth-watering staple for your next cookout!
Why this recipe works
Summer is upon us, which means it’s just about grilling season – if you haven’t started already! These shrimp kabobs are really easy to make. Basically, you thread your seasoned veggies and shrimp onto a skewer and pop them on the grill until they’re plump and tender, ready to be devoured.
Grilled shrimp can be made in so many different ways. It’s a versatile dish that can be served all on its own or skewed with bell peppers, squash, onion, mushrooms, pineapple, cherry tomatoes, and so much more. Mix and match the veggies here to suit your taste.
Related Recipe: Steamed Lobster Tail
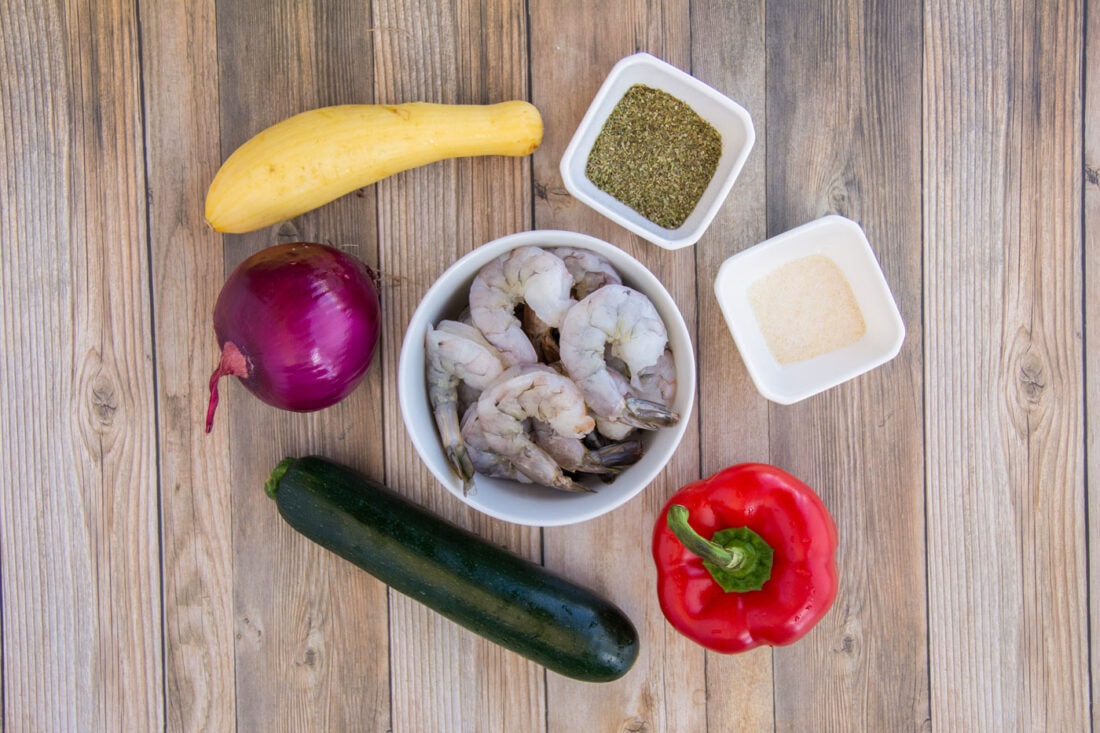
Ingredients you will need
Get all measurements, ingredients, and instructions in the printable version at the end of this post.
Ingredient Info and Substitution Suggestions
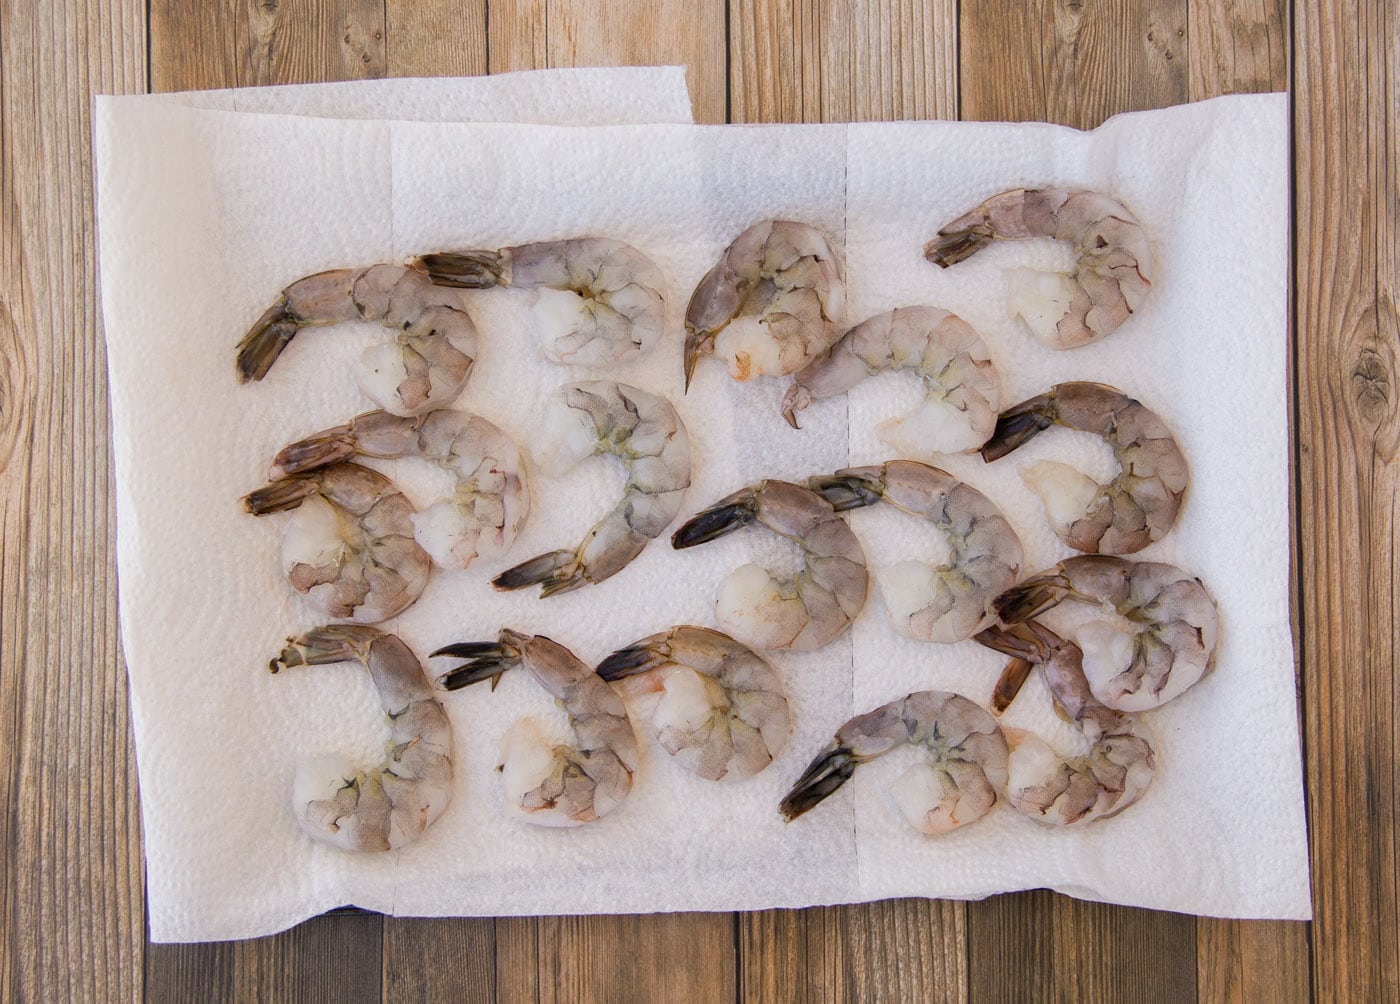
SHRIMP – We used “grilling shrimp” which is a plumper, heartier shrimp that can stand up to the grill. We bought them at the seafood counter in our local grocery store. If you can’t find grilling shrimp, try Tiger Shrimp instead. We suggest leaving the tails on for presentation and to use as a “handle” for guests to pick them up with after removing from the skewers. This is not required, you can buy shrimp that the tails have already been removed if you prefer. Just be sure they are raw, not precooked.
How to Make Shrimp Kabobs
These step by step photos and instructions are here to help you visualize how to make this recipe. You can Jump to Recipe to get the printable version of this recipe, complete with measurements and instructions at the bottom.
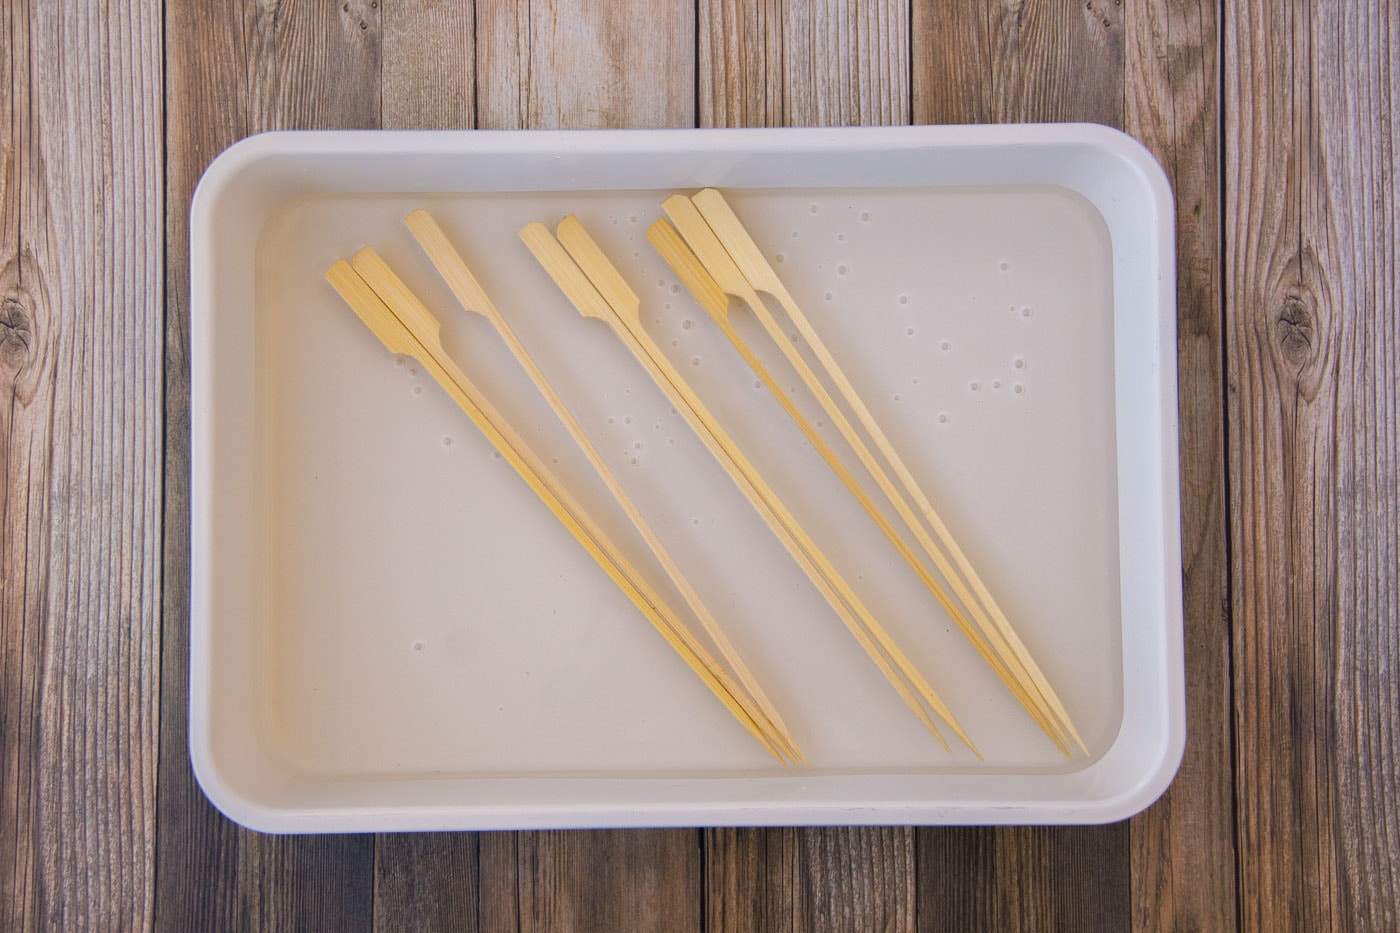
- If using wooden skewers, soak in water for one hour.
- Preheat grill to 400 F.
- Rinse and pat shrimp dry. Place shrimp in a large bowl.
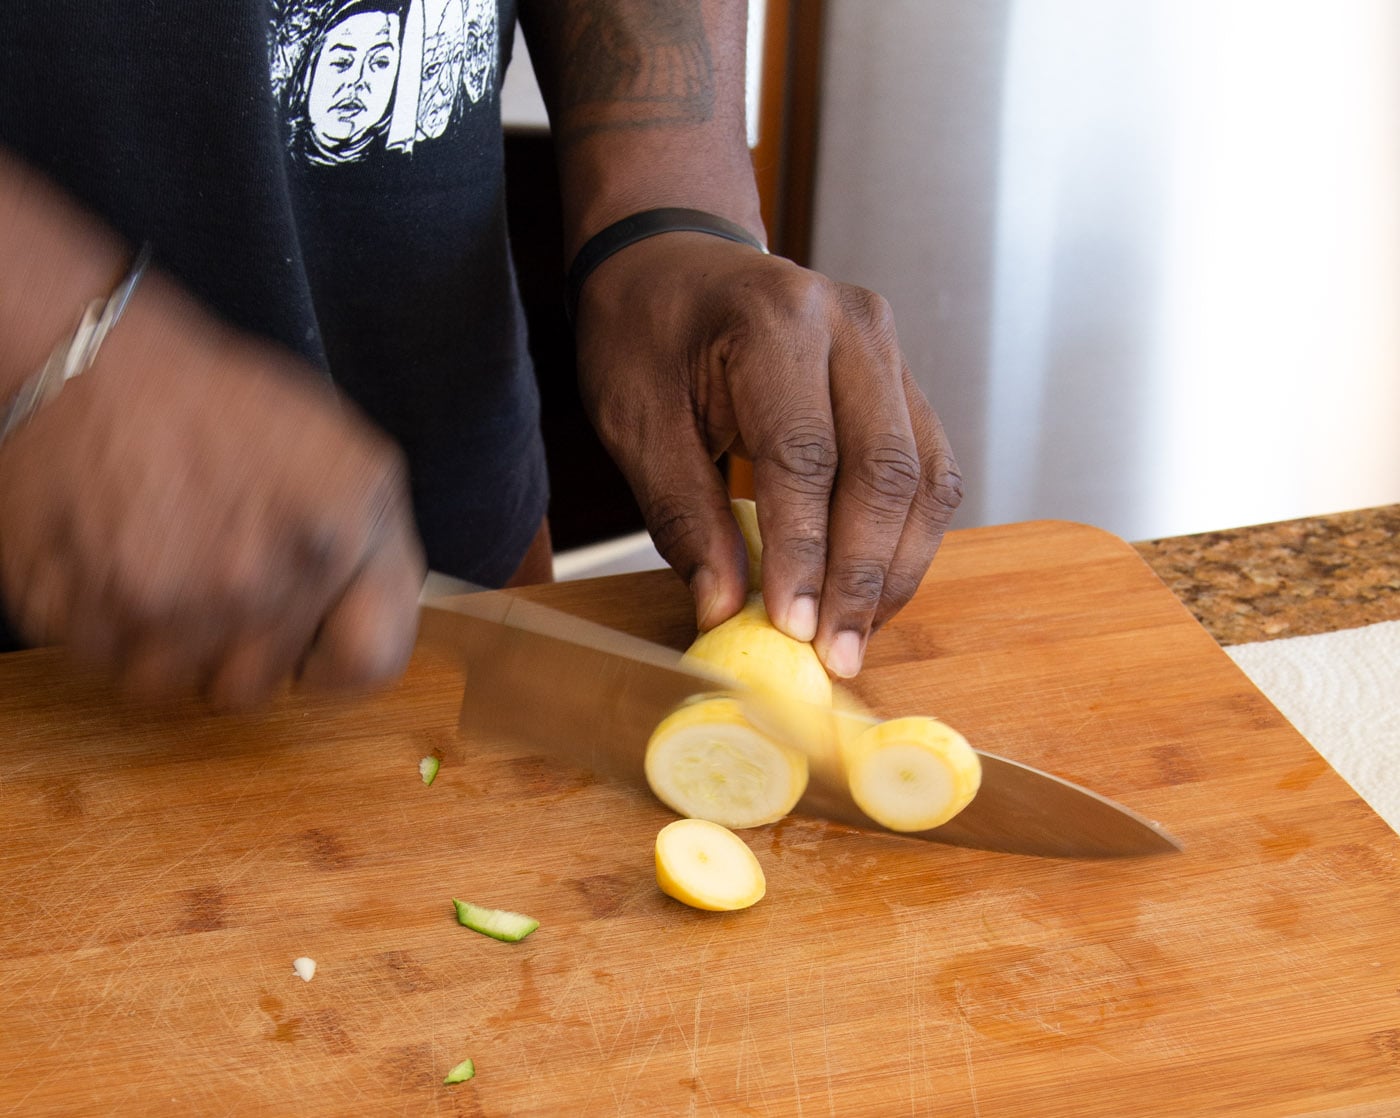
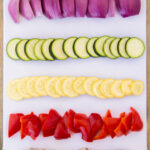
- Cut vegetables into even-sized chunks, roughly the same size as your shrimp. Place into a separate bowl.
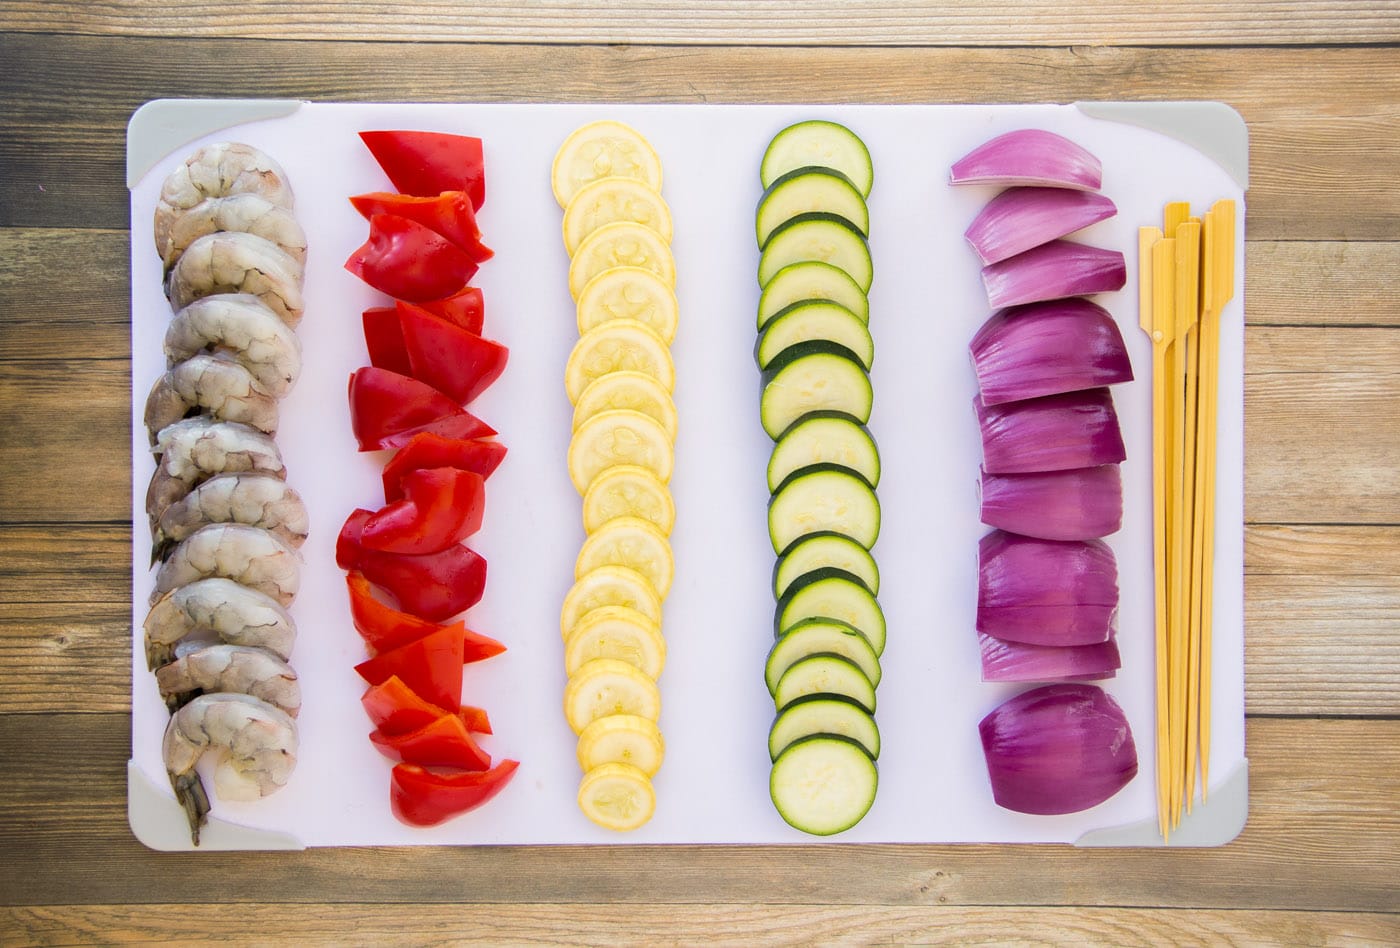
- Combine Italian seasoning and garlic salt and sprinkle half of the mixture all over the shrimp. Sprinkle the remaining seasoning mixture onto the cut-up vegetables.
- Drizzle half the olive oil over the seasoned shrimp, and the other half over the seasoned vegetables. Toss to coat.
- Thread shrimp and vegetables onto skewers, alternating between meat and veggies as you go.
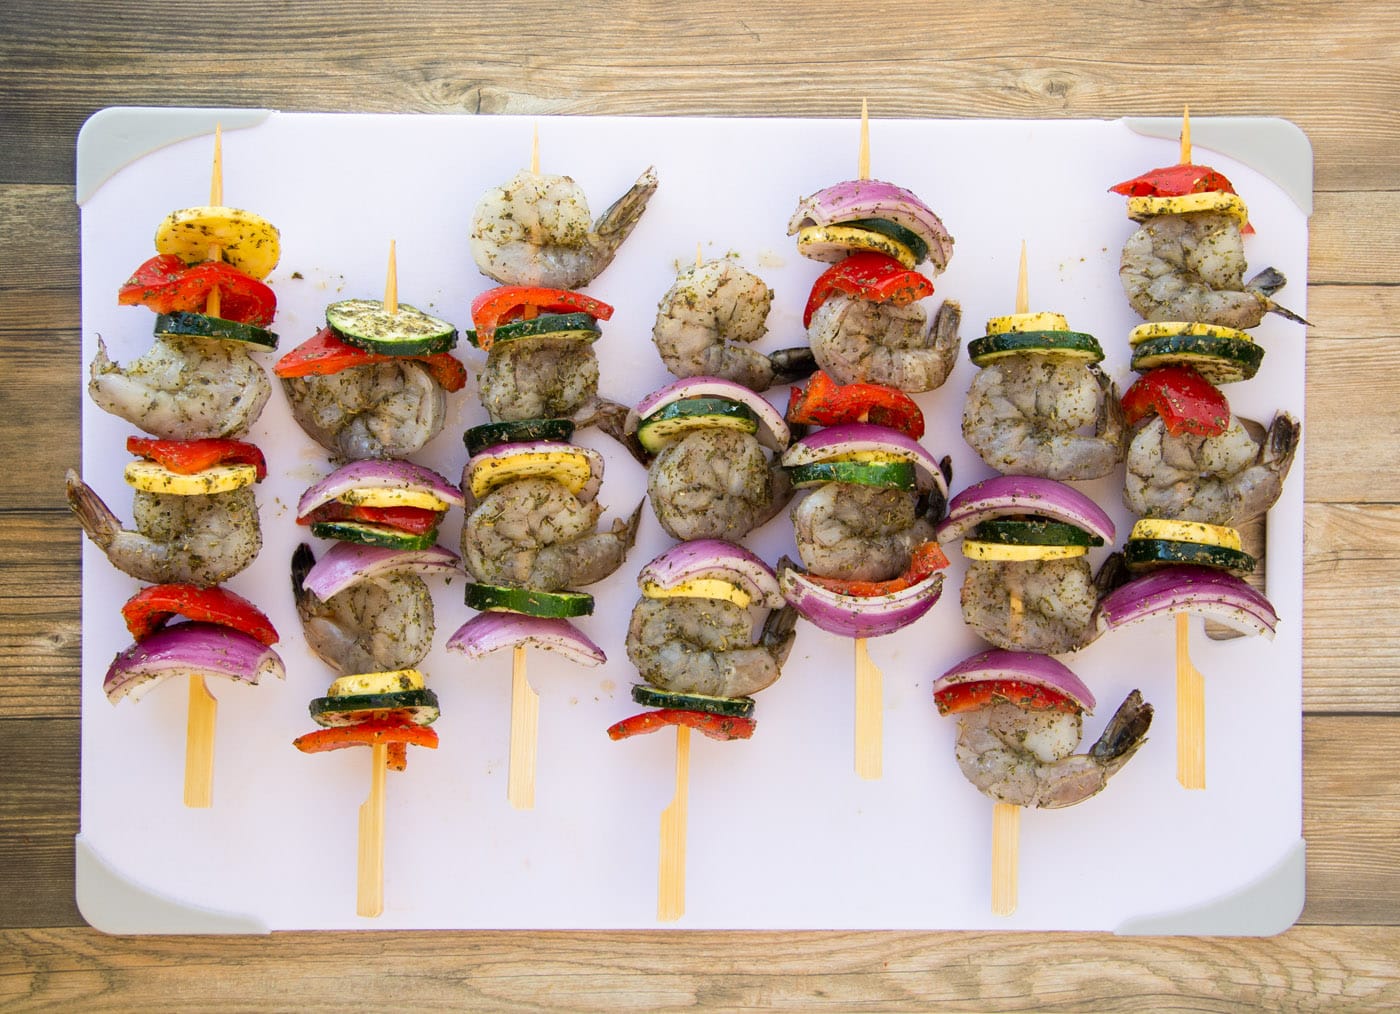
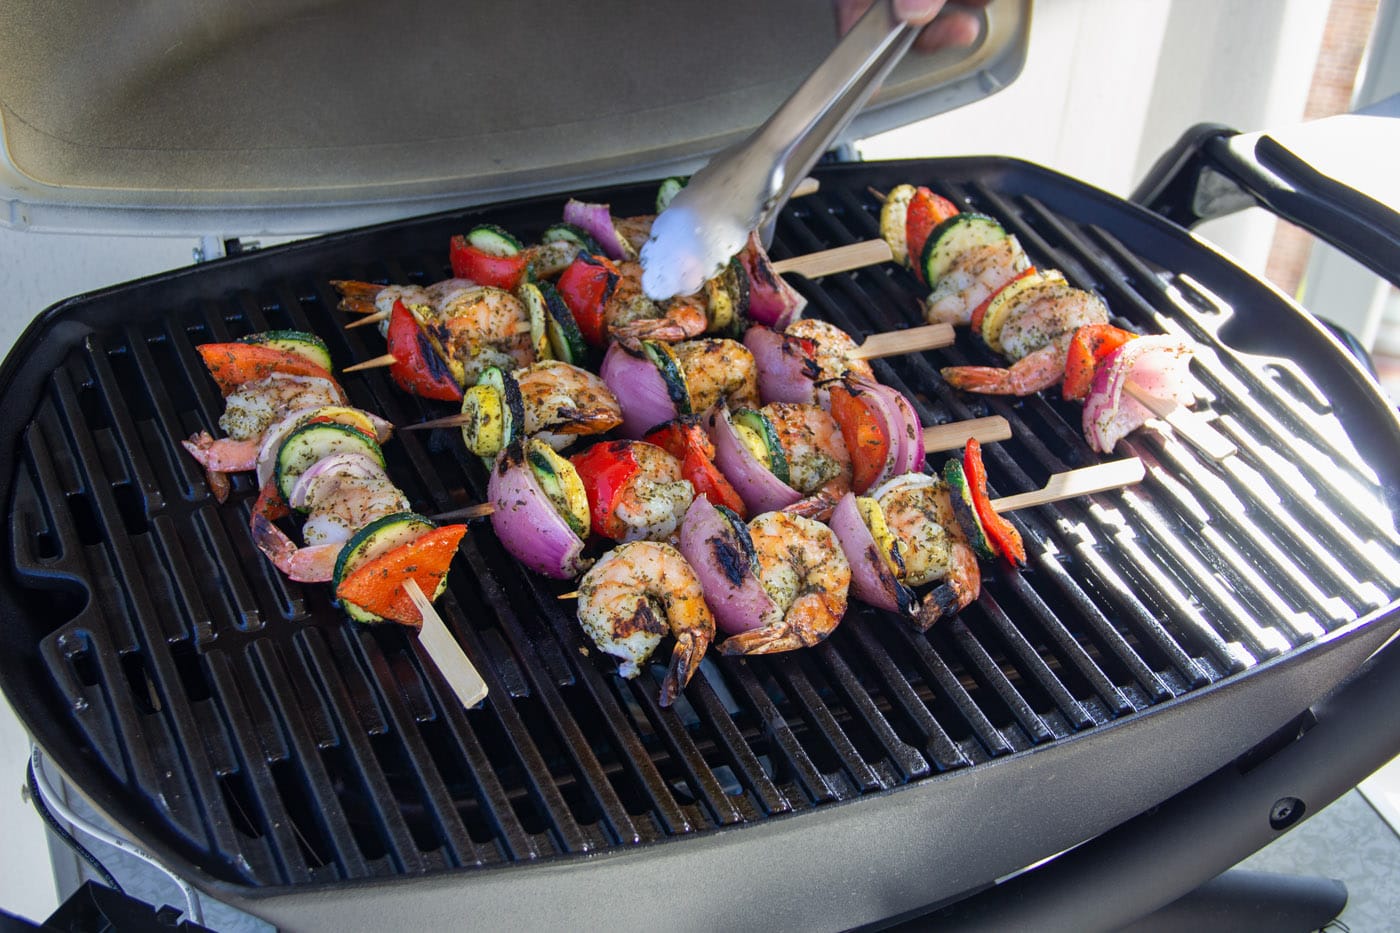
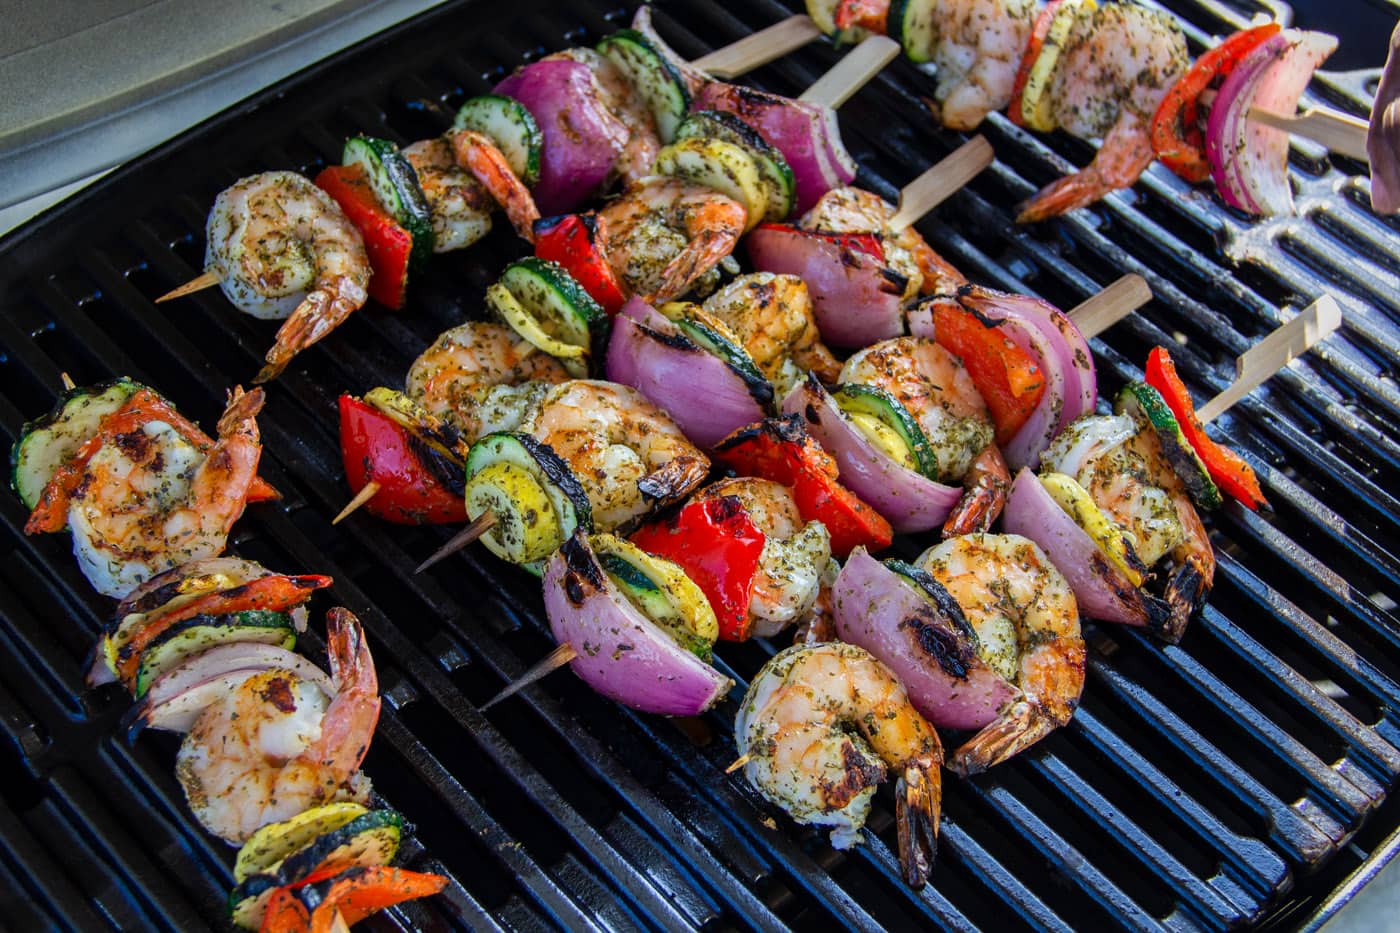
- Place on grill, close the cover. Turn after 4-5 minutes. Cook on other side for an additional 4-5 minutes. Turn again to finish the cooking, about 18-22 minutes total.
Frequently Asked Questions & Expert Tips
Mushrooms, eggplant, orange or yellow bell pepper, zucchini, or cherry tomatoes are all great additions or substitutions to shrimp kabobs.
Soaking the wooden skewers will prevent the skewers from catching fire on the grill. Alternatively, you can use metal skewers.
Remove shrimp and veggies from the skewers and store them in an air-tight container kept in the refrigerator for up to 3 days.
Serving Suggestions
Shrimp kabobs are a classic cookout and summer barbecue staple. Serve with other potluck favorites like corn salad, pineapple salsa, potato salad, or grilled corn on the cob. If you are serving them as dinner they pair well over rice, quinoa, or with a leafy salad.
More Grill Recipes
- Grilled Asparagus
- Cedar Plank Salmon
- Smoked Ribeye Steak
- How To Make Pizza on the Grill
- Marinated Grilled Chicken Skewers
- Grilled Corn and Zucchini Salad with Feta
I love to bake and cook and share my kitchen experience with all of you! Remembering to come back each day can be tough, that’s why I offer a convenient newsletter every time a new recipe posts. Simply subscribe and start receiving your free daily recipes!
Shrimp Kabobs
IMPORTANT – There are often Frequently Asked Questions within the blog post that you may find helpful. Simply scroll back up to read them!
Print It Rate ItIngredients
- 1 pound grilling shrimp shelled, deveined, tails on
- 1 cup red bell peppers 1 large bell pepper, sliced
- 1 cup yellow squash about 1 medium yellow squash, sliced
- 1 cup zucchini about 3/4 medium zucchini, sliced
- 1 cup red onion 1 medium onion, sliced
- 1 ½ Tablespoons Italian seasoning
- 1 ½ teaspoon garlic salt
- 2 Tablespoons olive oil
Things You’ll Need
- Wooden skewers or metal
Before You Begin
- We used “grilling shrimp” which is a plumper, heartier shrimp that can stand up to the grill. We bought them at the seafood counter in our local grocery store. If you can’t find grilling shrimp, try Tiger Shrimp instead.
- We suggest leaving the tails on for presentation and to use as a “handle” for guests to pick them up with after removing from skewers. This is not required, you can buy shrimp that the tails have already been removed if you prefer. Just be sure they are raw, not precooked.
- Be sure to thread the shrimp through each end (head and tail) so that they lay flat on the grill.
- Soaking the wooden skewers will prevent the skewers from catching fire on the grill. Alternatively, you can use metal skewers.
- Store leftovers in an air-tight container kept in the refrigerator for up to 3 days.
Instructions
- If using wooden skewers, soak in water for one hour.
- Preheat grill to 400 F.
- Rinse and pat shrimp dry. Place shrimp in a large bowl.
- Cut vegetables into even-sized chunks, roughly the same size as your shrimp. Place into a separate bowl.
- Combine Italian seasoning and garlic salt and sprinkle half of the mixture all over the shrimp. Sprinkle the remaining seasoning mixture onto the cut-up vegetables.
- Drizzle half the olive oil over the seasoned shrimp, and the other half over the seasoned vegetables. Toss to coat.
- Thread shrimp and vegetables onto skewers, alternating between meat and veggies as you go.
- Place on grill, close the cover. Turn after 4-5 minutes. Cook on other side for an additional 4-5 minutes. Turn again to finish the cooking, about 18-22 minutes total.
Nutrition
Chef Antoine Davis
Latest posts by Chef Antoine Davis (see all)
- Philly Cheesesteak Egg Rolls - January 23, 2025
- Vegetable Lo Mein - January 16, 2025
- Korean Fried Rice - January 14, 2025


Ervina says
I’ve tried to make kabobs before but hey didn’t come out that good. This recipe was a success!! The expert tips were key. Thank you.
Amanda Formaro says
So glad you loved them as much as we do!