A friend of mine always made his pizza on the grill, so I had to try it out myself. There are several different ways to make pizza on the grill, I’m sharing the method that I love best. I even prefer it on the grill over the oven baked version. No need to miss out on pizza all summer!
Before you even get started though, make sure your grill is clean. At the beginning of summer I always clean my gas grill to get it ready for the season.
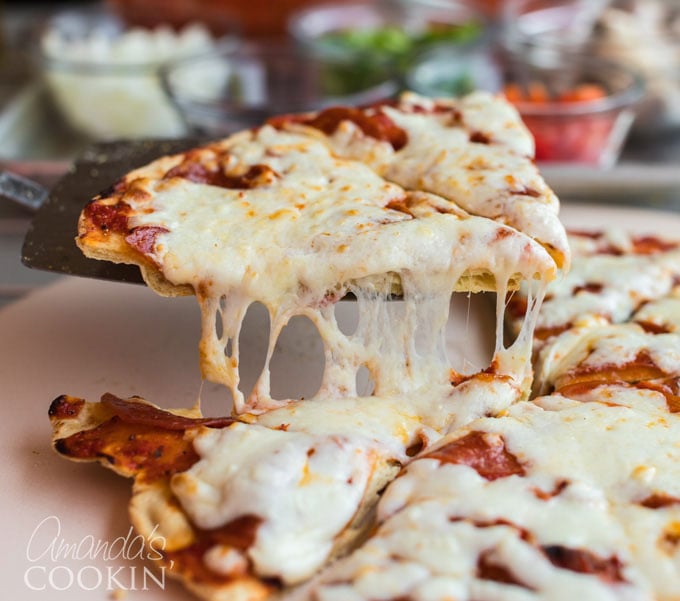
Making Pizza on the Grill
It’s been ten years since I made pizza on the grill for the first time. I remember how much fun the kids had that day, discovering something new right along side me. Pizza is one of their favorite things to eat, even now as adults.
During the summer months, grilling my pizza is a much better option than cranking the oven up over 400 degrees. Like with any homemade pizza, it does require a little planning ahead. Chopping the toppings, making the pizza dough, pizza sauce, and if you’re like me, the pizza sausage all should be done ahead of time.
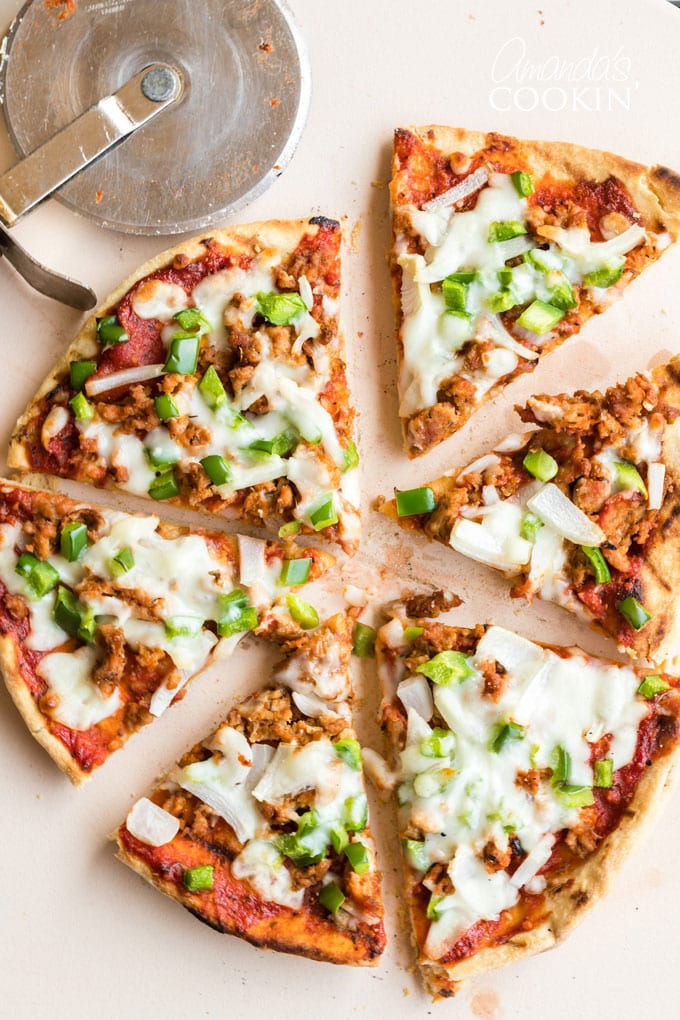
What you need to make pizza on the grill
- Pizza dough from the store is totally fine, but I know you’ll love my homemade pizza dough if you try it!
- Store bought pizza sauce is okay, I like to make my own easy pizza sauce.
- Chop up whatever toppings you like. We always have Mozzarella cheese, pepperoni, homemade pizza sausage, Bell peppers, onion, mushrooms, and olives.
- While you won’t be eating it as an ingredients, you will need some olive oil.
- Be sure you have some cornmeal, these are the little “ball bearings” that help slide the pizza dough.
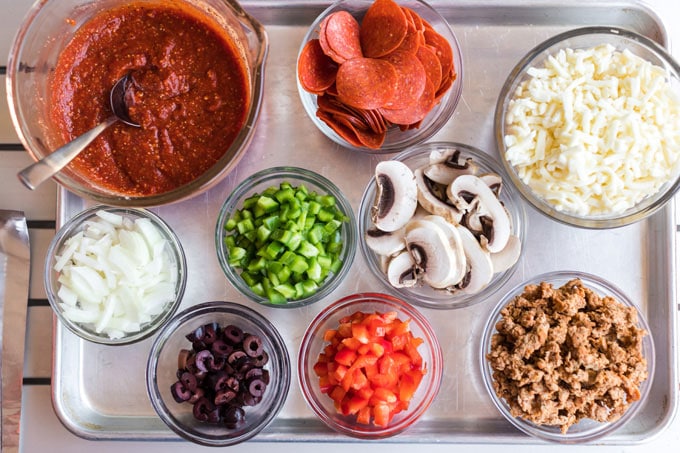
You want to have everything chopped and the cheese shredded before you begin. This is a lot like making stir fry – the cooking part actually goes very quickly so you need to have everything chopped, measured, and sitting at the ready.
Tools you need to grill a pizza
- Grill – gas or charcoal
- Silicone basting brush
- Aluminum foil
- Tongs
- Metal spatula
- Pizza stone or cutting board
How to Cook a Pizza on the Grill
I have a gas grill with four burners. If you have charcoal, you will need to adjust these instructions for indirect cooking. If you are familiar with making your charcoal grill very hot on one side and using indirect heat, then you should be able to follow the instructions below and adjust for your grill.
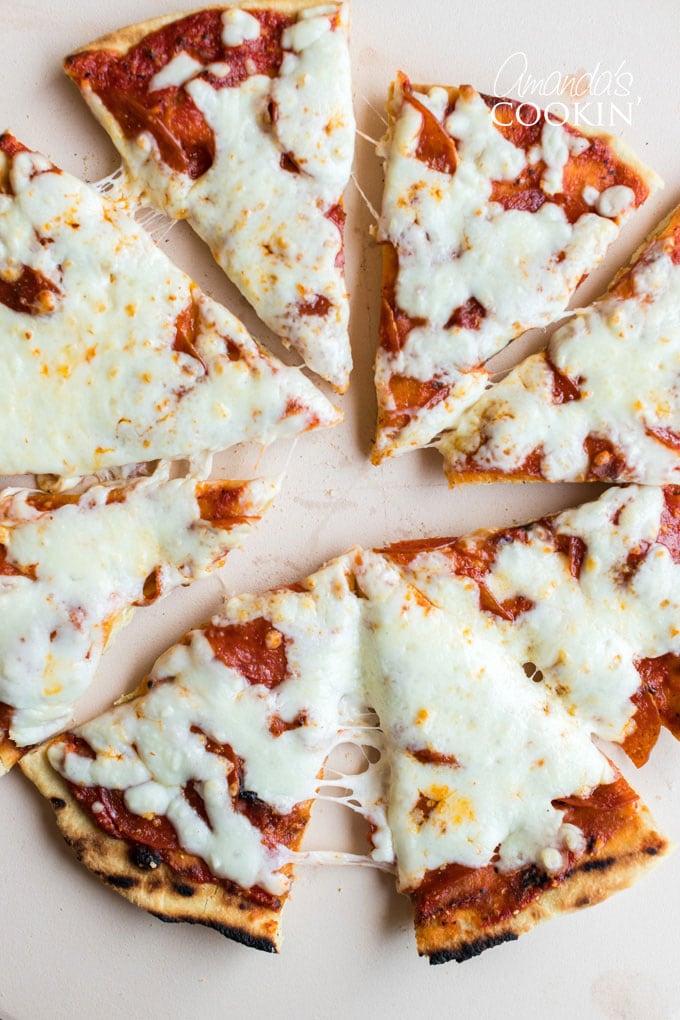
Getting Ready
- First, turn your grill to medium-high and close the lid. Allow it to heat up and get good and hot, about 15 minutes.
- Pull out 4 sheets of aluminum foil, large enough to cover a cookie sheet. Brush one side of each piece of foil with olive oil.
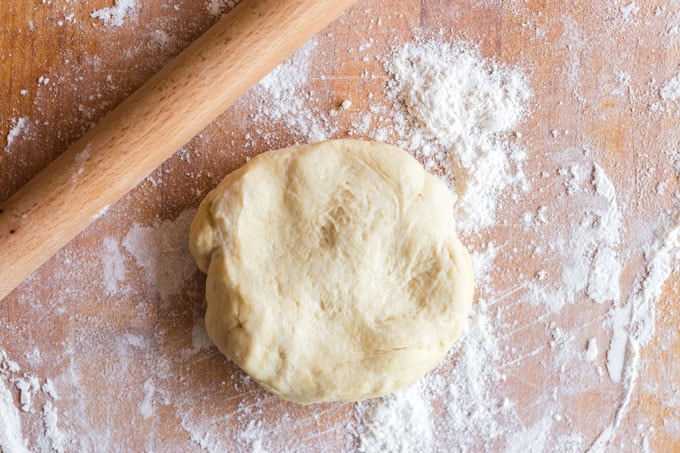
- Cut your dough into 3 or 4 pieces. You want to make individual pizzas instead of trying to make one great big one. Use the heel of your hand to press the dough flat and stretch it out, or if you prefer you can roll it, pressing it give it a more rustic look though. I make mine about 7-8″ in diameter and get 4 pizzas from one dough recipe.
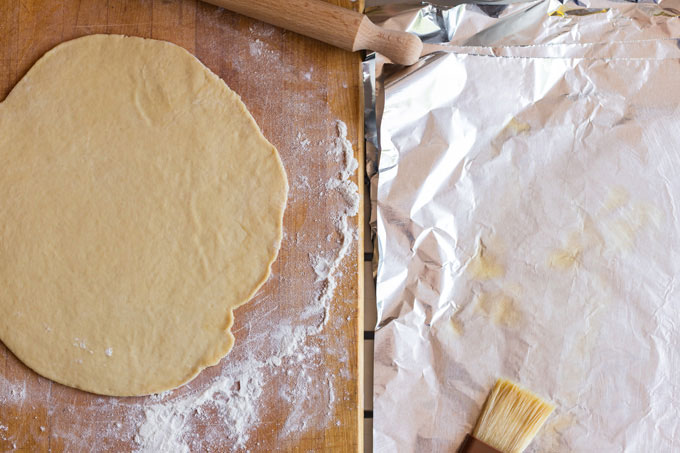
- Place one dough onto an oiled sheet of foil. Use brush or your fingers to oil the top of the dough.
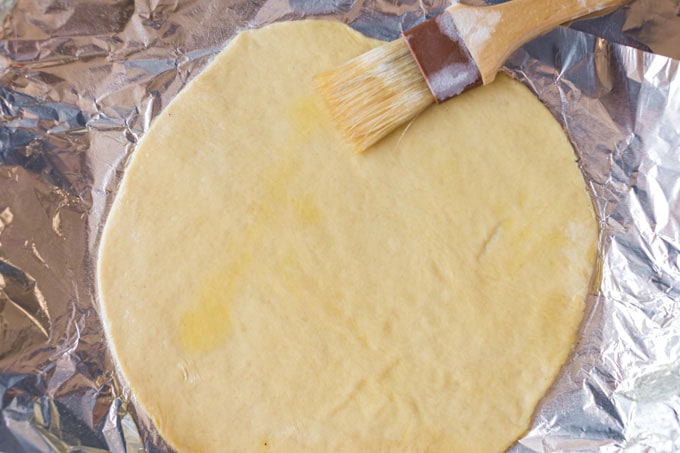
- Place next piece of foil, oiled side facing up, on top of that dough. Continue stacking by placing the next dough on top of that foil, then oil the dough. Repeat until all four pieces of foil have dough on them and they are all oiled. Set aside.
- Sprinkle a thin layer of cornmeal onto your pizza stone or cutting board.
NOTE: The olive oil keeps the dough from sticking to the grill grates and adds great flavor as well. It also keeps the dough from sticking to the foil. The foil works as a handy way to slap the dough onto the grill.
Grilling the Pizza
- Be sure all your toppings and your sauce are at the ready. Have your pizza stone or cutting board, tongs and spatula ready.
- Grab one piece of foil with dough. Turn all four burners down to medium, open grill and invert the dough onto the grill, peel off the piece of foil.
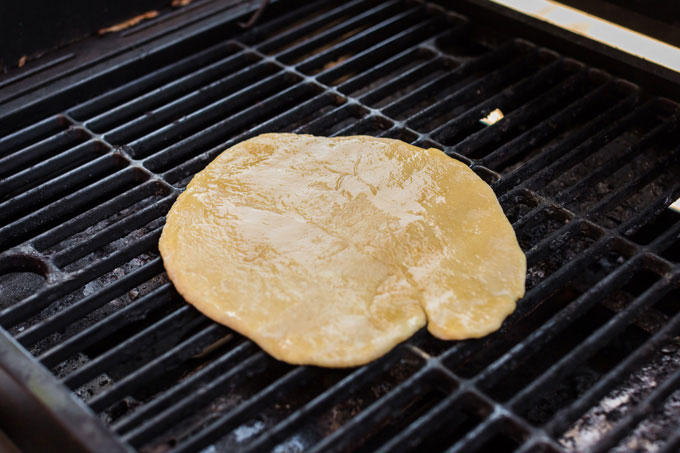
- Close the lid and LEAVE IT CLOSED for 2 1/2 minutes. After 2 minutes you can check and see how the dough is doing, it should be getting puffy and developing grill marks on the bottom. Check by lifting the corner with your tongs. If you have nice brown grill marks move on to the next step. If not, close the grill and let them cook a little longer, but generally 2-3 minutes does the trick.
- Next, open the grill, use the tongs and metal spatula to remove your dough and place it on the stone or cutting board, grill marks up.
- Close the grill to keep the temperature up.
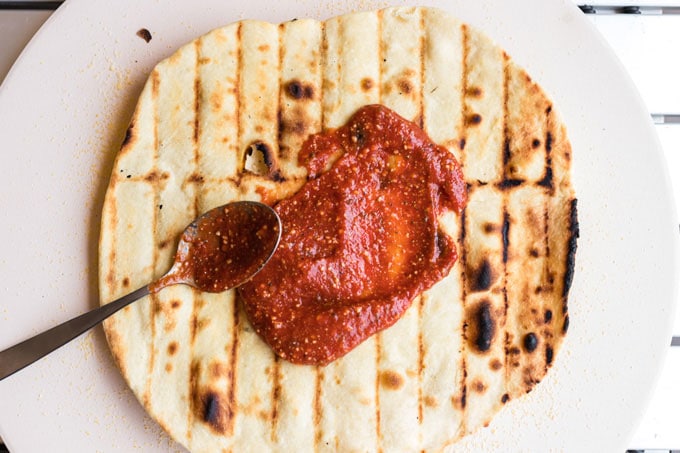
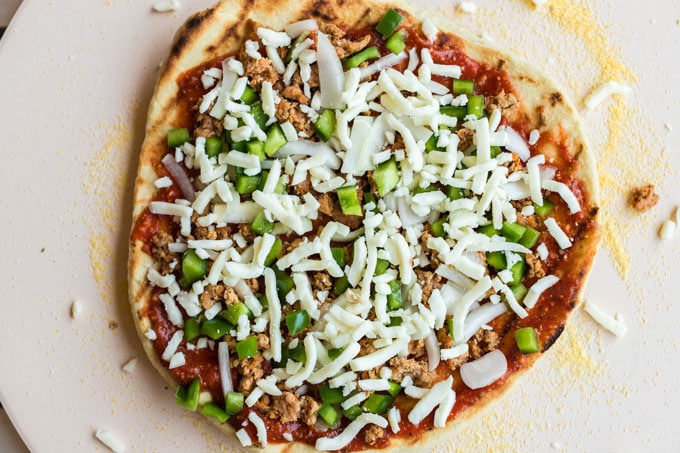
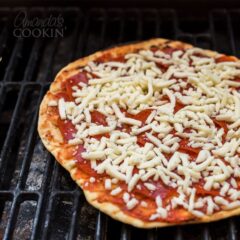
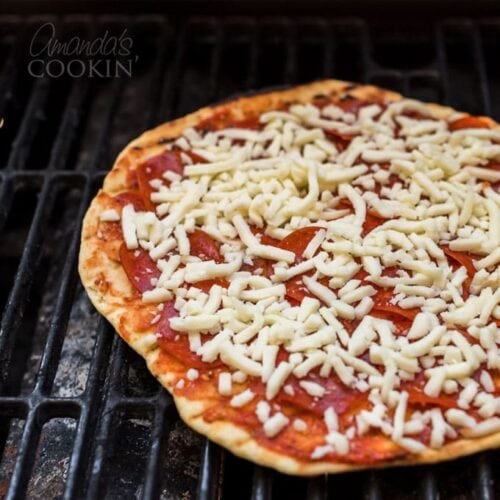
- Now, add your sauce and toppings to your dough, again the grill marks should be facing up.
- Turn the two middle burners OFF and turn the outer left and right burners up to high. This creates a hot environment, but allows you to cook on indirect heat so that the bottom of your crust does not burn.
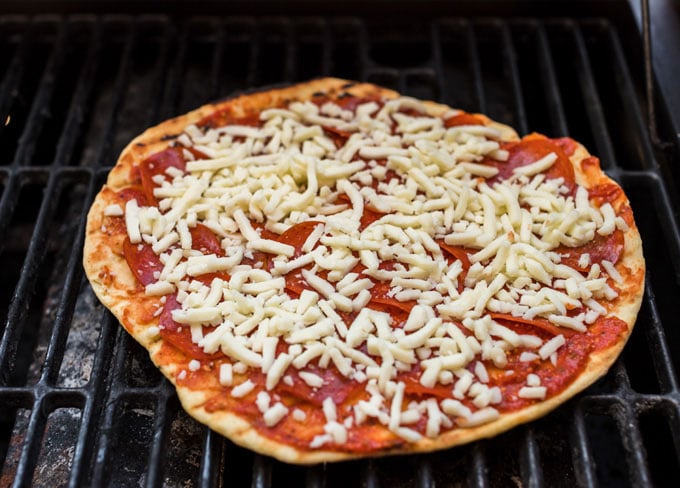
- Open the grill and carefully slide your pizza back onto the grill (the cornmeal acts as ball bearings and lets the dough slide off the stone or cutting board easily) on the center rack, where the burners should be off. Close the lid and let cook for 5-7 minutes, or until cheese is melted and toppings are done. Mine generally took 6 to 6.5 minutes.
- Use spatula and tongs to remove pizza.
To continue making more pizzas, after removing finished pizza turn the middle burner back to high and close the lid. Repeat steps above.
NOTE: I was able to cook two pizzas at a time this way, sliding both pizzas onto the middle burners together.
More pizza and grill ideas:
- French Bread Pizza
- Cauliflower Pizza Crust
- Pizza Lasagna
- Grilled Chicken
- Grilled Chicken Tacos
- Grilled Watermelon & Pineapple
- Perfect Grilled Pork Chops
- Cedar Plank Salmon
- Shrimp Kabobs
Making Pizza on the Grill
IMPORTANT - There are often Frequently Asked Questions within the blog post that you may find helpful. Simply scroll back up to read them!
Print It Rate ItIngredients
- pizza dough
- pizza sauce
- toppings
- olive oil
Instructions
- First, turn your grill on to high and close the lid. Allow it to heat up and get good and hot, about 15 minutes.
- Next, you will need 4 pieces of aluminum foil (big enough to cover a cookie sheet). Brush each piece of foil (on one side only) with olive oil.
- Cut your dough into 3 or 4 pieces. You want to make individual pizzas instead of trying to make one great big one. Use the heel of your hand to press the dough flat and stretch it out, or if you prefer you can roll it, pressing it give it a more rustic look though. :) I made mine about 7-8" in diameter and got 4 pizzas from one dough recipe. Place one dough onto an oiled sheet of foil. Use brush or your fingers to oil the top of the dough. Place next piece of foil, oiled side facing up, on top of that dough. (You are stacking here) Now place the next dough on top of that foil, then oil the dough, repeat until all four pieces of foil have dough on them and they are all oiled. Just FYI – the olive oil keeps the dough from sticking to the grill grates and adds great flavor as well. Oh, and it also keeps the dough from sticking to the foil. The foil works as a handy way to slap the dough onto the grill.
- Place your stack of dough/foil aside for now.
- Again, be sure all your toppings and your sauce are at the ready, make sure you have your pizza stone or cutting board sprinkled with cornmeal. Have tongs and spatula ready.
- Grab one piece of foil with dough. Turn all four burners down to medium, open grill and invert the dough onto the grill, peel off the piece of foil. Close the lid and LEAVE IT CLOSED for 2 1/2 minutes.
- After two minutes you can check and see how the dough is doing, it should be getting puffy and developing grill marks on the bottom. Check this by lifting the corner with your tongs. If you have nice brown grill marks move on to the next step. If not, close the grill and let them cook a little longer, but generally 2-3 minutes does the trick.
- Next, open the grill, use the tongs and metal spatula to remove your dough and place it on the stone or cutting board, grill marks up. Close the grill.
- Now, add your sauce and toppings to your dough, again the grill marks should be facing up.
- Turn the two middle burners OFF and turn the outer left and right burners back up to high. This creates a hot environment, but allows you to cook on indirect heat so that the bottom of your crust does not burn.
- Open the grill and carefully slide your pizza back onto the grill (the cornmeal acts as ball bearings and lets the dough slide off the stone or cutting board easily) on the center rack, where the burners should be off. Close the lid and let cook for 5-7 minutes, or until cheese is melted and toppings are done.
- Use spatula and tongs to remove pizza. Enjoy!
This post was originally published here on June 25, 2009.
Amanda Davis
Latest posts by Amanda Davis (see all)
- Banana Bundt Cake - July 23, 2024
- Lemon Icebox Cake - July 22, 2024
- Philly Cheesesteak Dip - July 15, 2024


CHERI B. says
I’v been wanting to try pizza on the grill and I was always scared it would stick. Thank You so much for the step by step instructions. Now we can have pizza on the grill!!!!!
Amanda Formaro says
We love it so much! Thank you Cheri!
Sue says
Your post made me believe I could do this! Grand kids are here and we enjoyed making them and eating them! Thank you
Amanda Formaro says
How fun Sue! Thanks so much!
Amanda says
That's great Joan, so glad you guys enjoyed it! And the 64? That was a major bonus! :-D
Anonymous says
I just tried this, noticed some of the posts were from last year, but what the heck! Thank you! It was fun and I would do it again…pizza's were great! Followed your directions to a tee and it all worked great! The 17 year old son even loved it…high praise! (I even drank a 64!) LOL
:)
Joan Rupp
Jennifer, The Lady Riposter says
Sometime when I get a back porch and a grill I'm definitely trying these. They look incredible!!
Thanks for sharing the link on my blog!
Tiffiny Felix says
Love it, love it, love it! I made grilled pizza once, years ago…why haven't I done it since?! I need to remedy this :) Thanks for the reminder of a great way to make pizza!
PacificSean says
I don't bother making pizza in a the oven anymore, as I cannot get it hot enough – unless I have the oven on for 2 hours.
The grill is definitely the way to go. Get yourself a pizza stone, crank the grill up to maximum heat (I have a gas grill) and within 10 mins the grill is up over 600 degrees.
I cheat and buy shop-bought pizza dough, roll it out, slap some pasta sauce on top – we prefer Glen Muir Organic and then some toppings. My wife and daughter can't do cheese, so we go without. Frankly I don't even miss it (and I can eat cheese).
I figure that once the stone is up to temperature I can cook a pizza in about 2 minutes. If you go thin crust, it'll cook in 90 secs!
Thanks for sharing. I'm getting hungry!
Arfi Binsted says
wow, lovely flavour it must be coming from the grill. hmmm… great invention!
mickey says
Those look beautiful!! I am sure they taste as good as they look. Thanks for sharing your idea. Love it!
Pamela says
Thanks for the informative lesson. I am ready to conquer grilled pizzas this summer thanks to this post and your enthusiasm!! Great job.
Culinary Cory says
I love grilled pizzas! Yours look great with those amazing grill marks. I've heard the Miller 64's are pretty good. I'm more of a Bacardi O and tonic on the rocks kind of guy. :)
Barbara Bakes says
I've never tried pizza on the grill, but what's not to like!
Heidi says
I have got to try this idea out!
Ingrid says
Your pizzas look GREAT! I love pizza.
I finally made my own dough about a month ago and it was GREAT. So easy I don't know why my lazy butt hasn't made more that way I can have all the white pizza I want!! :)
Thanks Amanda for sharing!
~ingrid
Katrina says
First of all, it's been stinkin' hot here all week, too and I haven't baked/turned on the oven. Second, I have the same pizza stone as you and it looks just as "well seasoned" as yours! Third, we often have pizza on Friday nights. We're gonna have to try the grill! Looks great.
Chef Fresco says
It's been way to flipp'n hot in Charlotte too. It was hot when I left the house this morning at 8 AM — ridiculous! You're on the right track to keep cool though, especially with that last picture. Your pizza looks awesome too — I'm sure it had wonderful flavor.
finsmom says
I just bookmarked this! I think it sounds fantastic! Ive never tried it before, but will be soon!
Thanks for sharing!
Judy says
I don't make pizza that often, but I've been experimenting. Everyone likes their pizza different — hubby and I prefer thin crust pizza but my neighbor can't get it thick enough. Yours looks in between. It is a great idea to make pizza on the grill in hot weather. Wish I could eat it more often because I really do love pizza.
The Blonde Duck says
That looks wonderful!
Jane says
Wow, those look great! Tomorrow is Friday, which is homemade pizza day at our house. I think I'll try this.
Jane