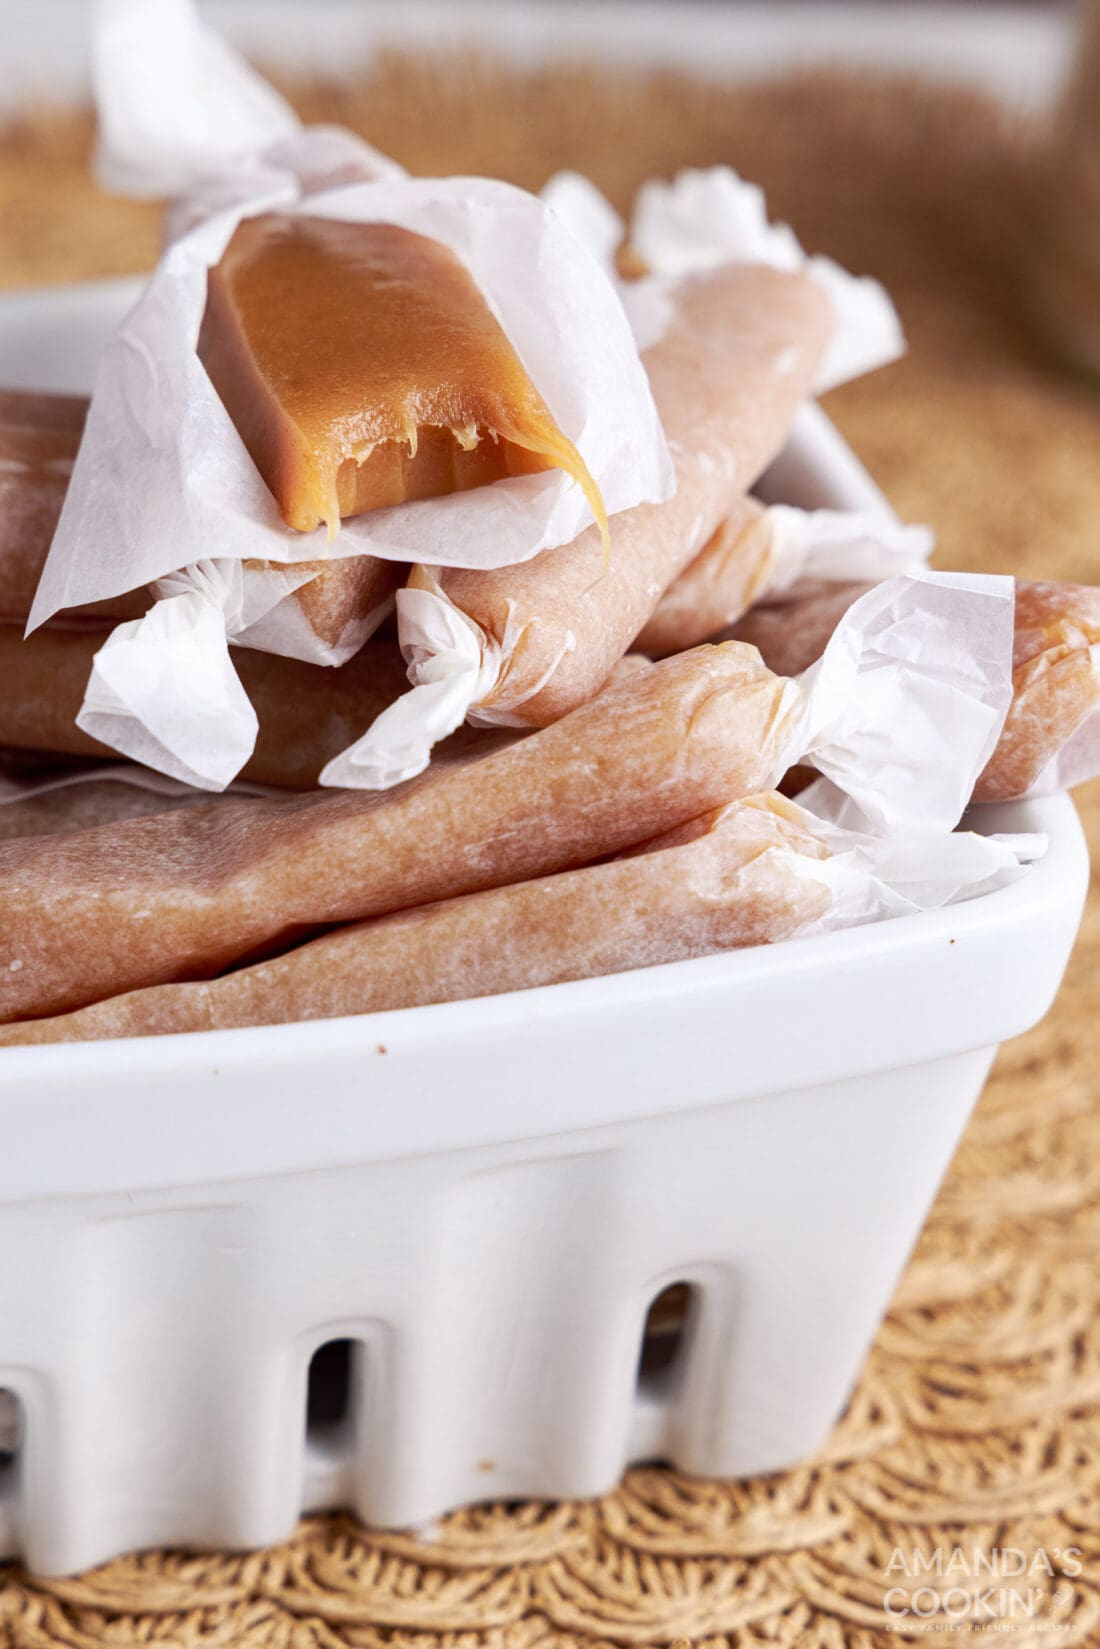
Soft and chewy homemade microwave caramels are incredibly easy to make with a handful of ingredients and a microwave!
Why this recipe works
‘Tis the season for homemade candy! From peanut brittle to chocolate barks and fudge, these microwave caramels are a recipe to bookmark and save for many seasons to come.
Making homemade caramels is actually really easy, especially when you can make them right in the microwave oven. Soft caramels make sweet little treats perfect for gift giving during the holidays, or even to have goodies in reaching distance year-round.
Ingredients you will need
Get all measurements, ingredients, and instructions in the printable version at the end of this post.
Ingredient Info and Substitution Suggestions
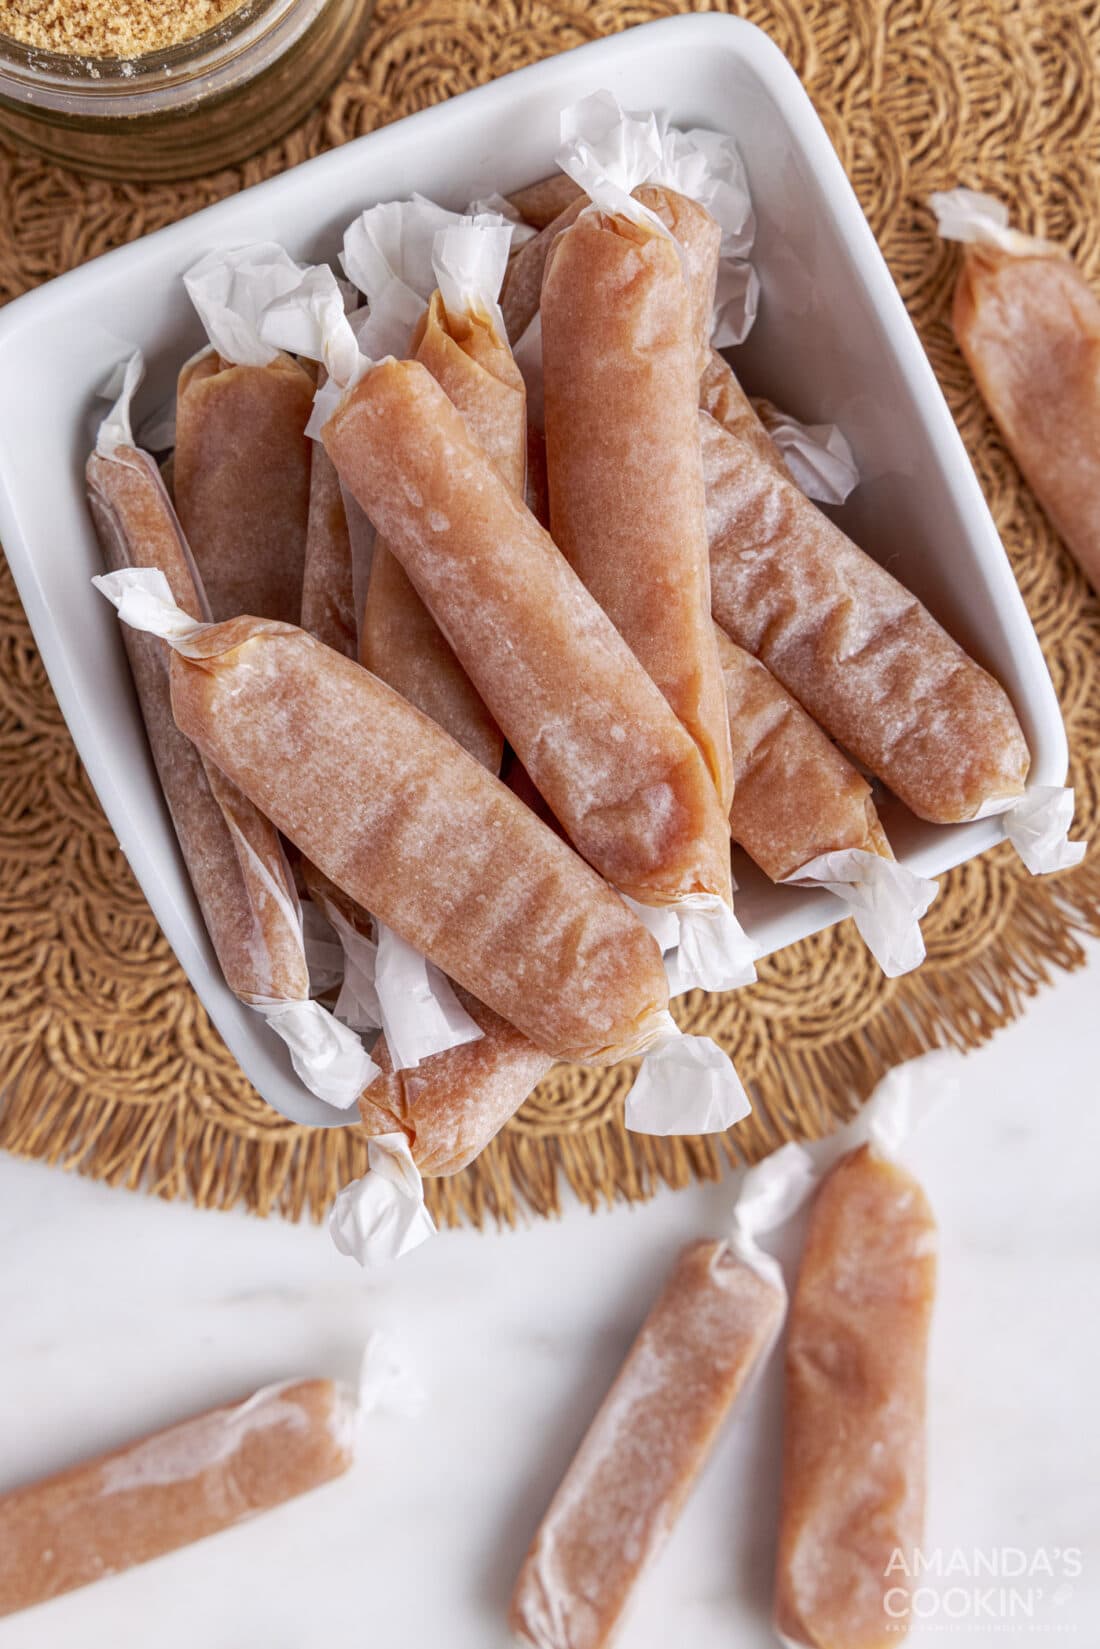
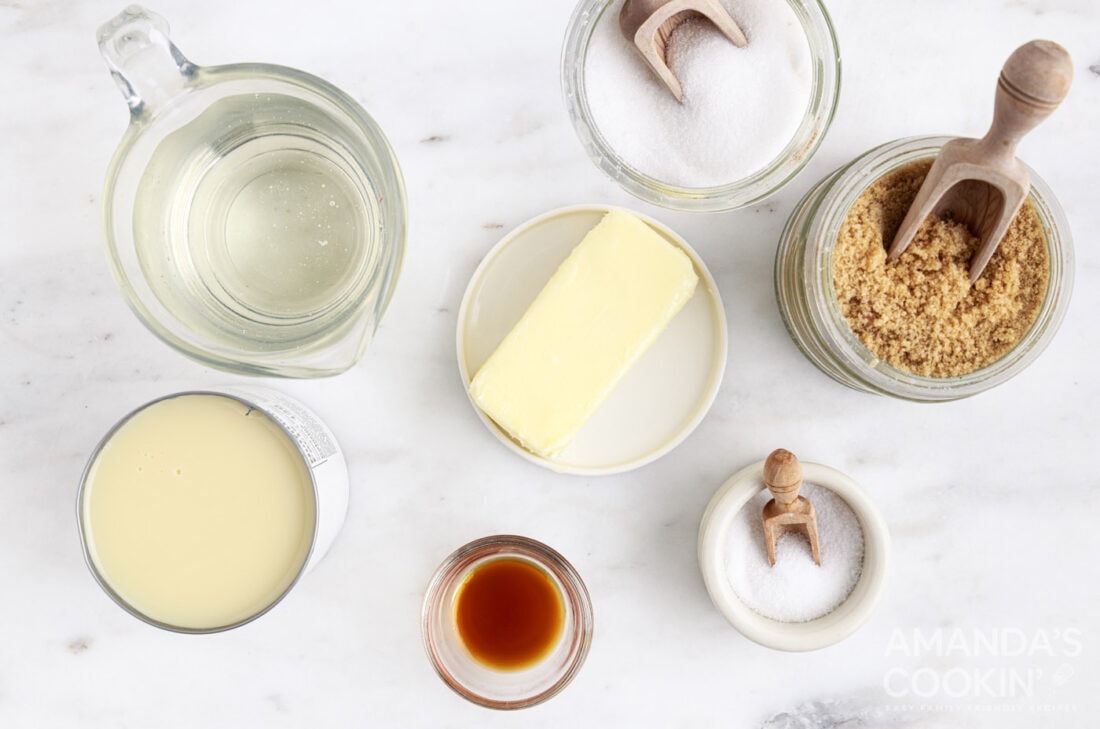
CARAMEL – To make these homemade caramel candies you will need unsalted butter (do not use salted butter), light corn syrup, light brown sugar, granulated sugar, sweetened condensed milk, and vanilla extract. You may optionally add 1/2 tsp of salt if desired.
How to Make Microwave Caramels
These step by step photos and instructions are here to help you visualize how to make this recipe. You can Jump to Recipe to get the printable version of this recipe, complete with measurements and instructions at the bottom.
- In a microwave-safe, deep bowl, melt the butter.
- Stir in the corn syrup, brown sugar, and granulated sugar and continue microwaving on full power for 1-2 minutes (until boiling).
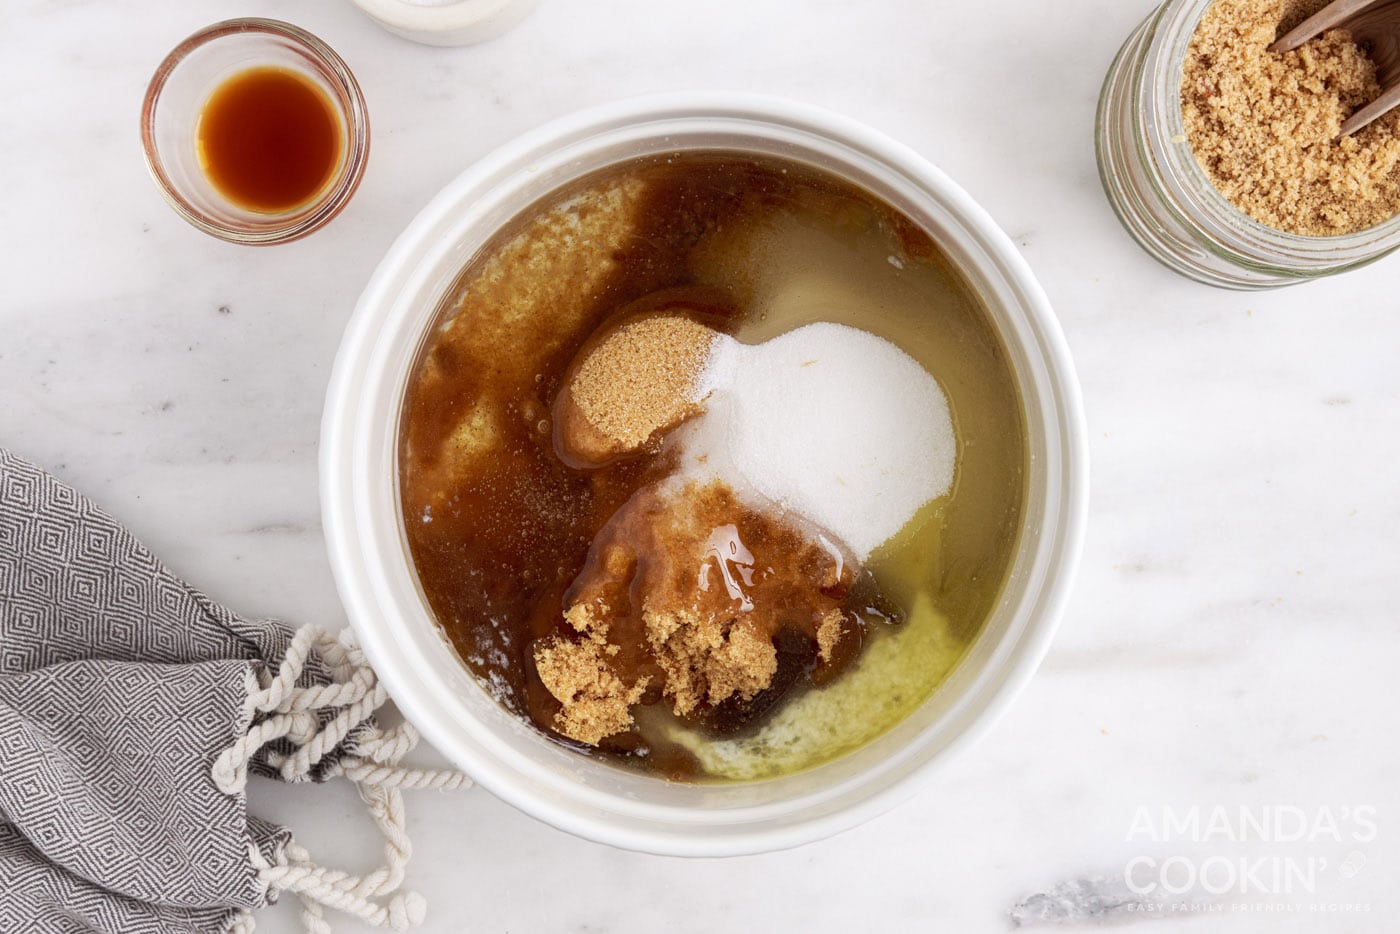
- Whisk the sweetened condensed milk into the boiling sugar mixture.
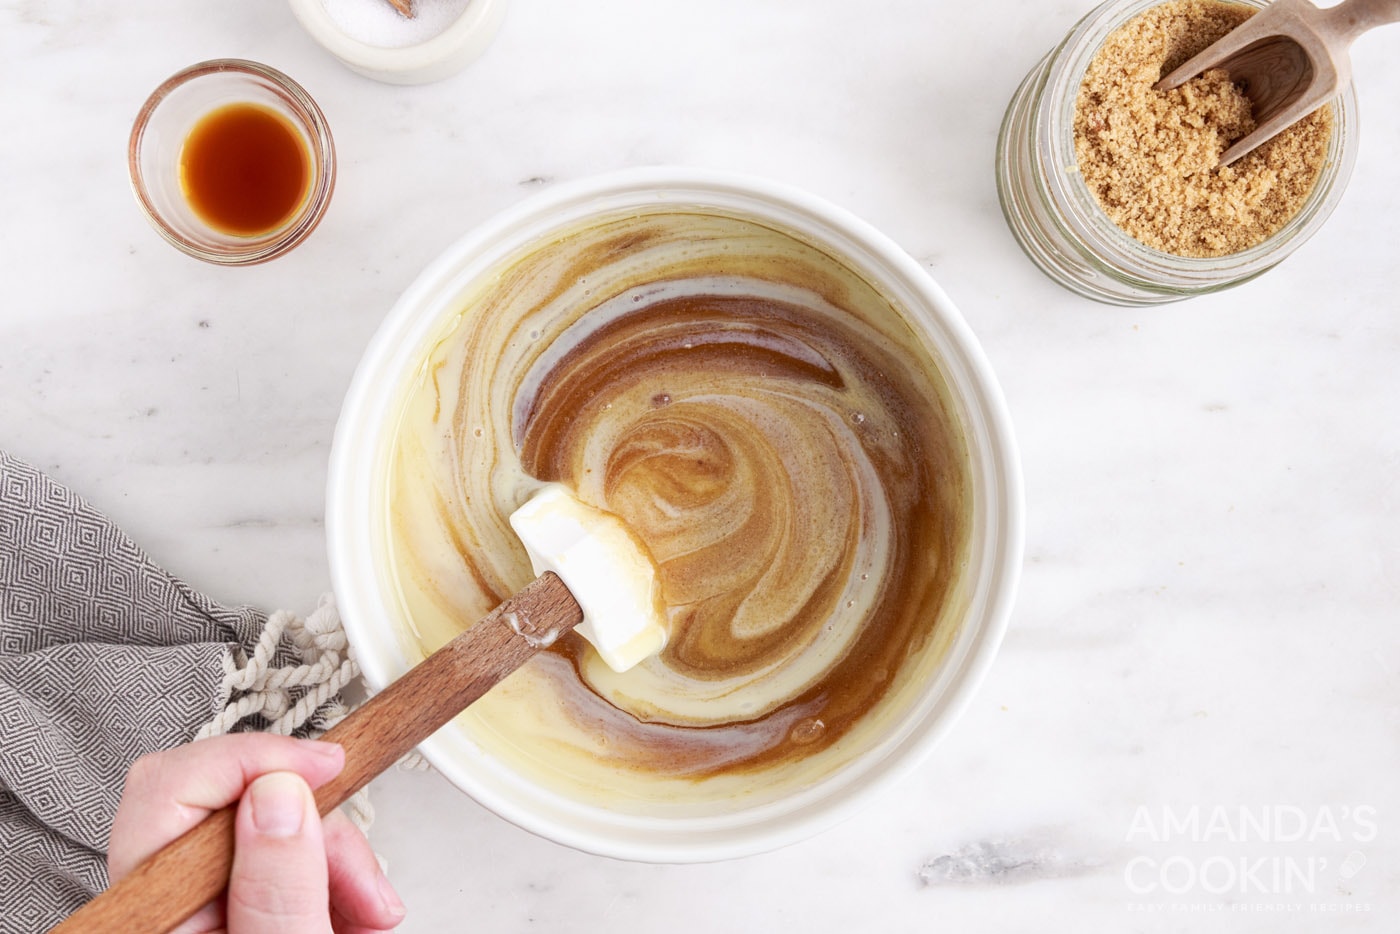
- Cook for 3 1⁄2 minutes longer, whisk, and cook for another 3-4 minutes. The temperature of the caramel should reach 240-248°F on a candy thermometer for a thick, chewy caramel.
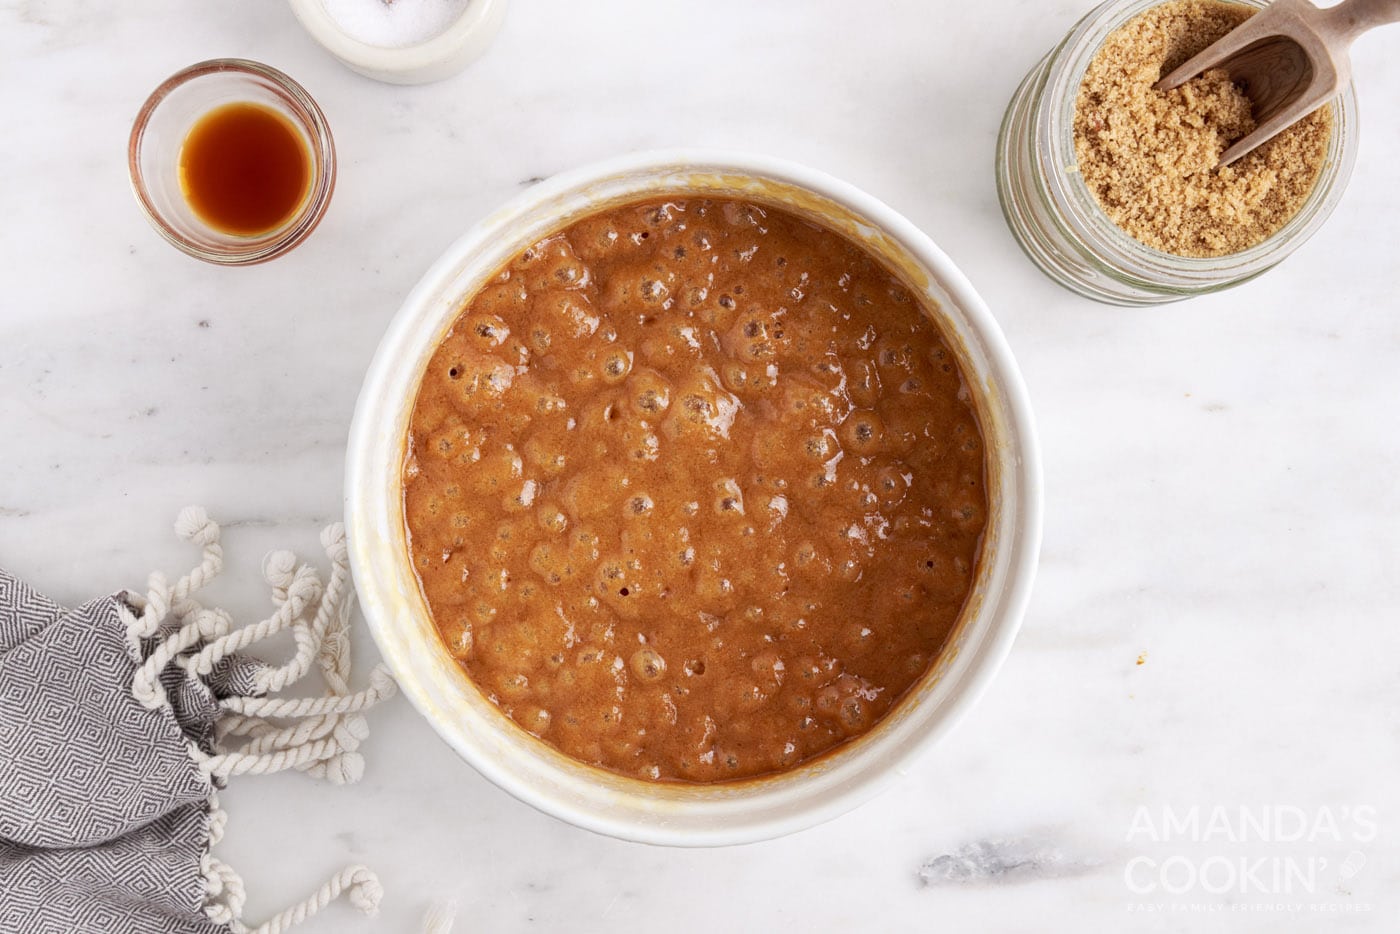
- Stir in the vanilla extract and salt, if desired.
- Butter a jelly roll pan or half sheet pan (or a 9×13 casserole dish) or line with parchment paper.
EXPERT TIP – The smaller the pan you use, the thicker your caramel slices will be. It may need longer to set if you are using a smaller pan. - Pour the cooked caramel mixture into the pan. Allow caramel to cool completely (1-2 hours).
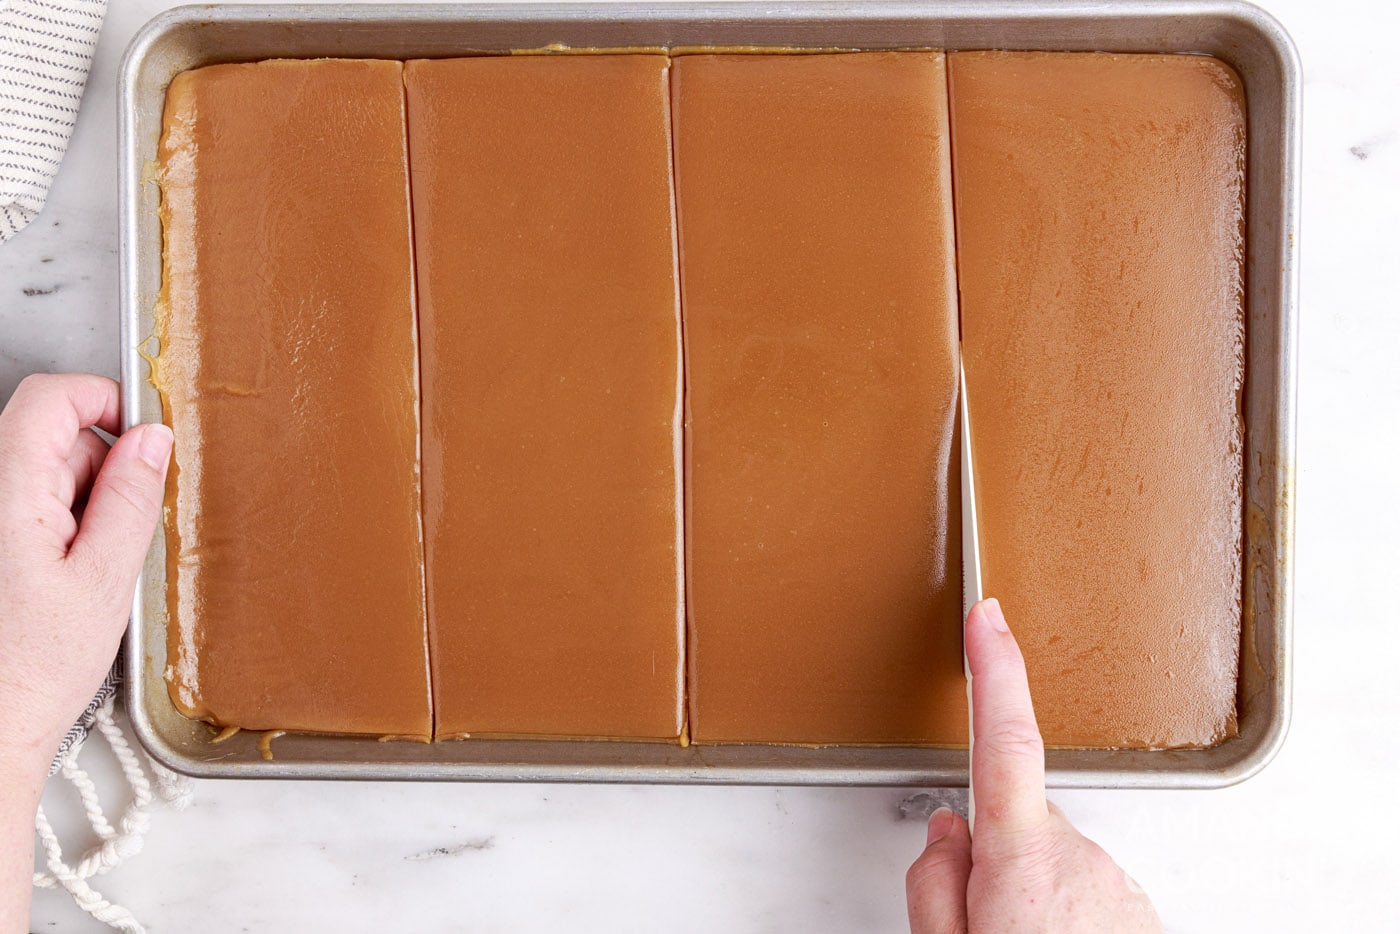
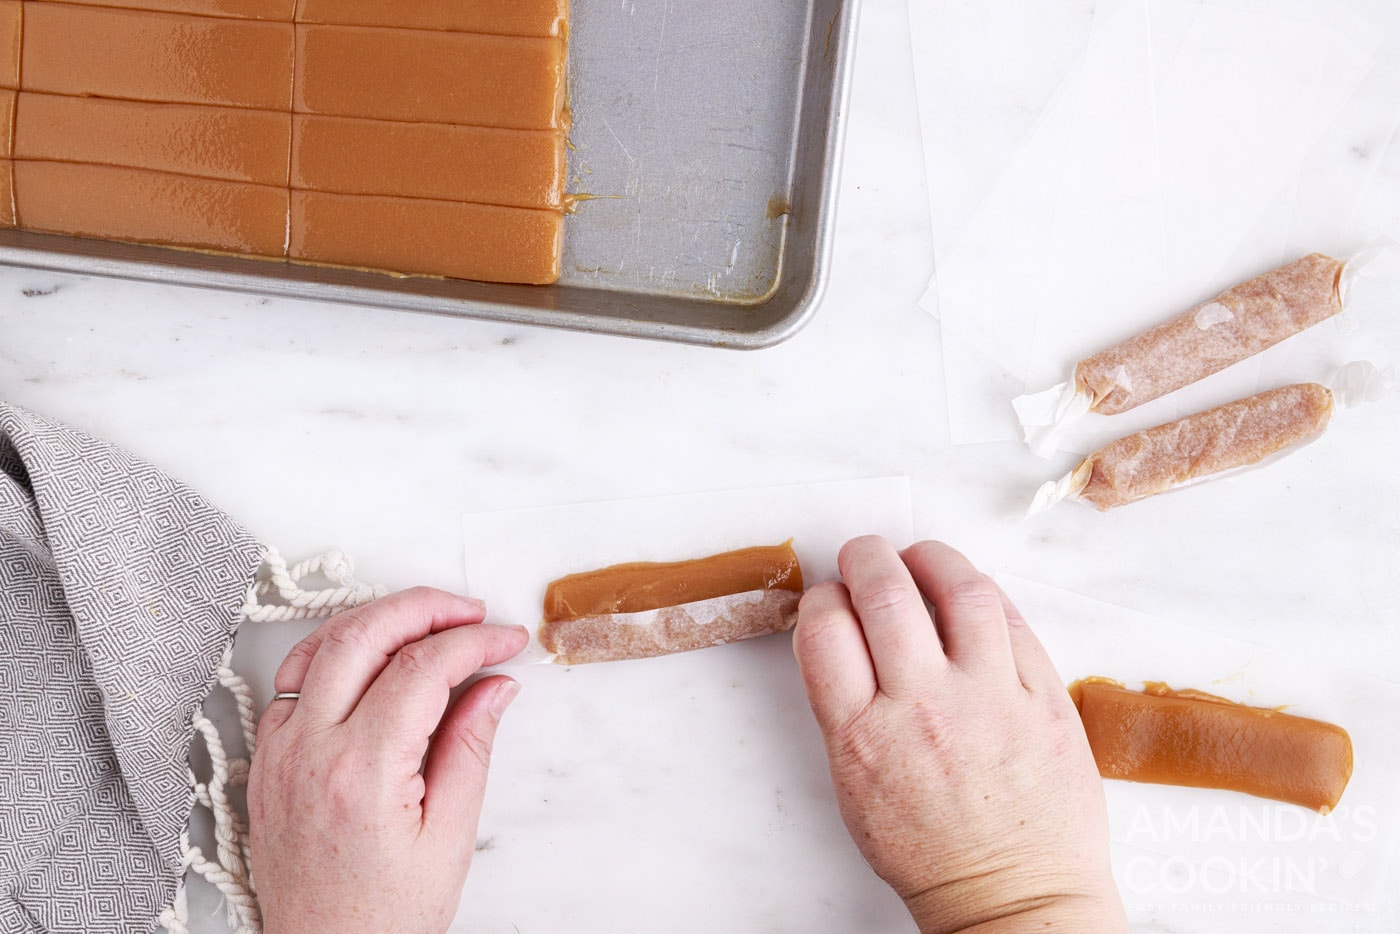
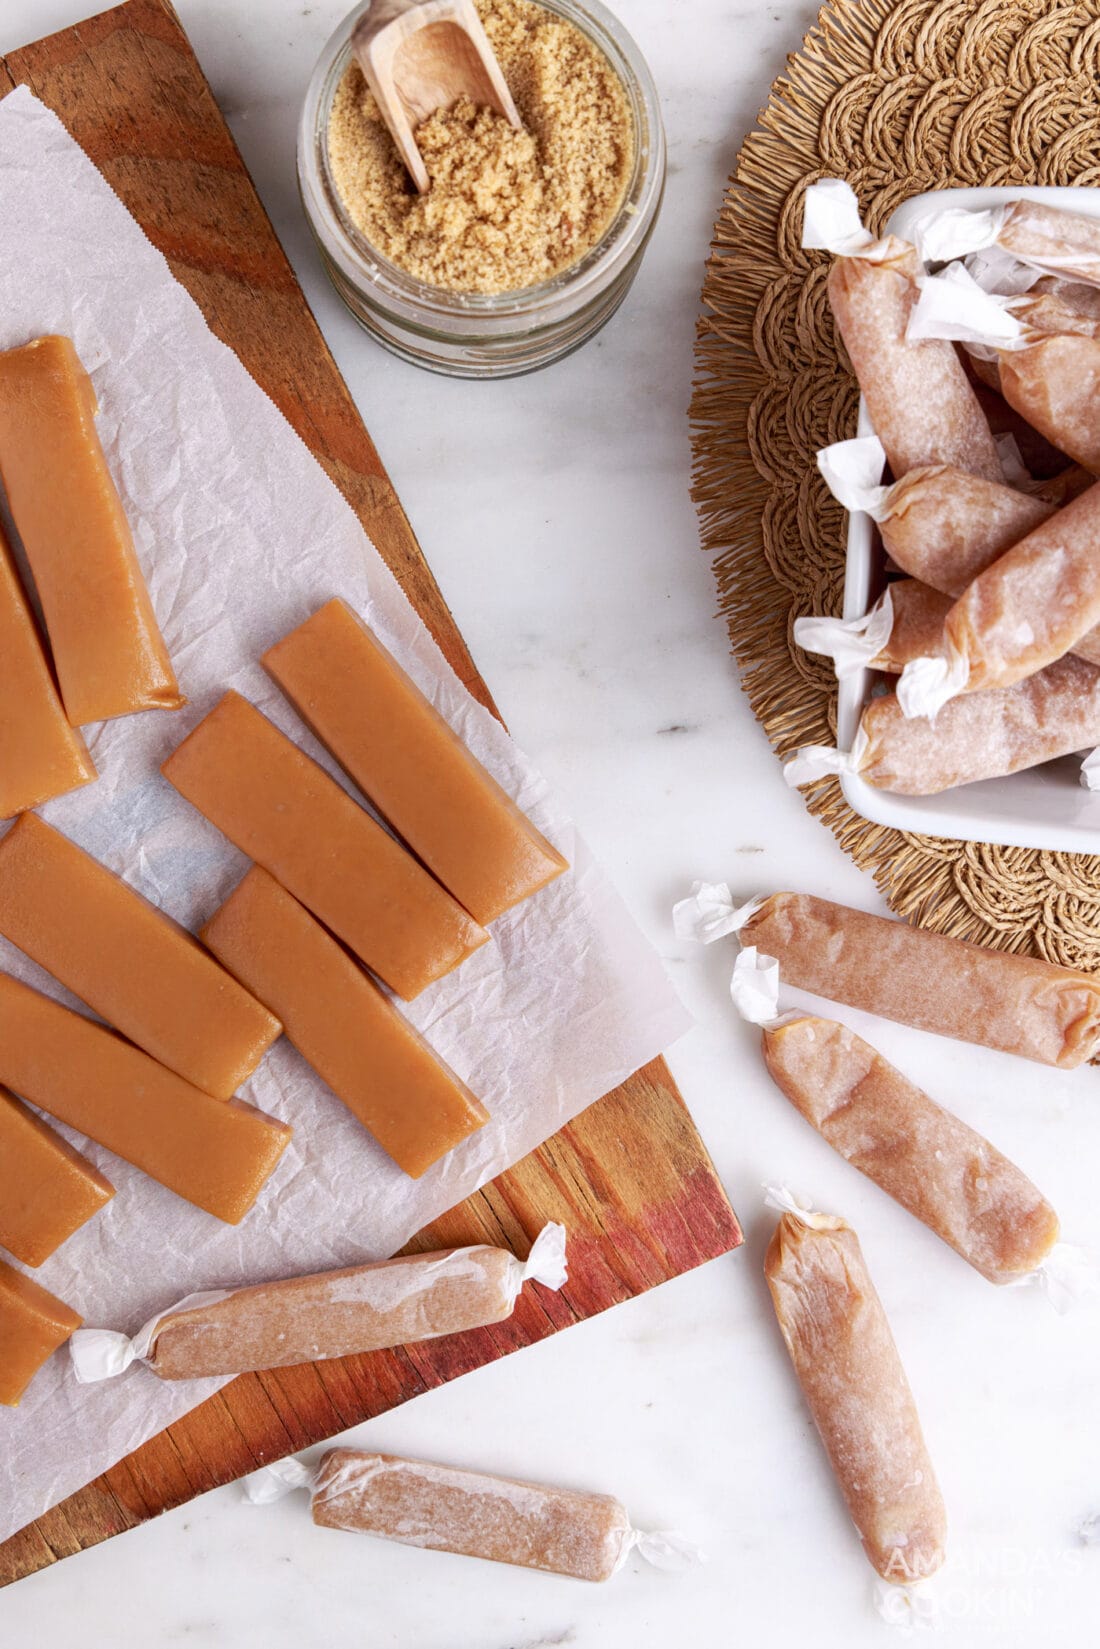
- Use a butter knife to slice the caramel into rectangular (or square) pieces and wrap in squares of parchment paper.
Frequently Asked Questions & Expert Tips
Don’t fret just yet. During one of my trials, the caramel looked almost curdled at the end of the cook time. It turned smooth and poured out into great caramels with just a quick whisking. Try giving it a stir before tossing the caramel.
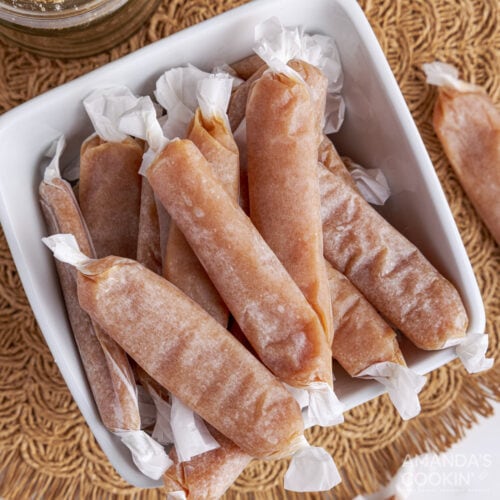
Parchment paper really works best for wrapping, though these clear cellophane candy wrappers work nicely as well. Wrap and twist the ends.
Homemade microwave caramels should last between 2 and 3 weeks properly stored in a dry, cool place or in the refrigerator.
Caramels can be stored in the refrigerator or in a cool room away from any heat or humidity.
Serving Suggestions
Microwave caramels make the perfect edible gift for friends, family, and neighbors during the holiday season. Wrap up a few with twine, place them in cellophane baggies tied with a festive bow, or attach them to wrapped gifts for gift giving. If desired, sprinkle on some coarse sea salt before the caramel sets in the pan.
More Candy Recipes
- Rock Candy
- Saltine Toffee
- Chocolate Turtles
- Caramel Hot Cocoa Bombs
- Peppermint Candy Cane Bark
- Chocolate Peanut Butter Fudge
- White Chocolate Candy Cane Pretzels
- Candied Pecans
- Chocolate Truffles
- Homemade Lollipops
I love to bake and cook and share my kitchen experience with all of you! Remembering to come back each day can be tough, that’s why I offer a convenient newsletter every time a new recipe posts. Simply subscribe and start receiving your free daily recipes!
Microwave Caramels
IMPORTANT – There are often Frequently Asked Questions within the blog post that you may find helpful. Simply scroll back up to read them!
Print It Rate ItIngredients
- ½ cup unsalted butter
- ¾ cup light corn syrup
- 1 ½ cup light brown sugar packed
- ½ cup granulated sugar
- 14 oz sweetened condensed milk
- 1 tsp vanilla extract
- ½ tsp salt optional
Things You’ll Need
Before You Begin
- If the caramels are too soft, the caramel did not get hot enough. I found that the caramel needs to reach at least 240°F – the caramels are still edible and delicious when they are softer, but they don’t hold their shape really well and stick to the papers when wrapped.
- Monitor the caramel while it is cooking. When you stir midway through the cook time, use a spatula and make sure to really scrape down the sides and across the bottom of the bowl to make sure the mixture is stirred evenly.
- Caramels can be stored in the refrigerator or in a cool room.
Instructions
- In a microwave-safe, deep bowl, melt the butter.
- Stir in the corn syrup, brown sugar, and granulated sugar and continue microwaving on full power for 1-2 minutes (until boiling).
- Whisk the sweetened condensed milk into the boiling sugar mixture.
- Cook for 3 1⁄2 minutes longer, whisk, and cook for another 3-4 minutes. The temperature of the caramel should reach 240-248°F for a thick, chewy caramel.
- Stir in the vanilla extract and salt, if desired.
- Butter a jelly roll pan or half sheet pan (or a 9×13 casserole dish) or line with parchment paper.
- Pour the cooked caramel mixture into the pan. Allow caramel to cool completely (1-2 hours).
- Use a butter knife to slice the caramel into rectangular (or square) pieces and wrap in squares of parchment paper.
Nutrition
Amanda Davis
Latest posts by Amanda Davis (see all)
- Cauliflower Pizza Crust - January 13, 2025
- Keto Peanut Butter Cookies - January 9, 2025
- Cloud Bread - January 6, 2025


Leave a Reply