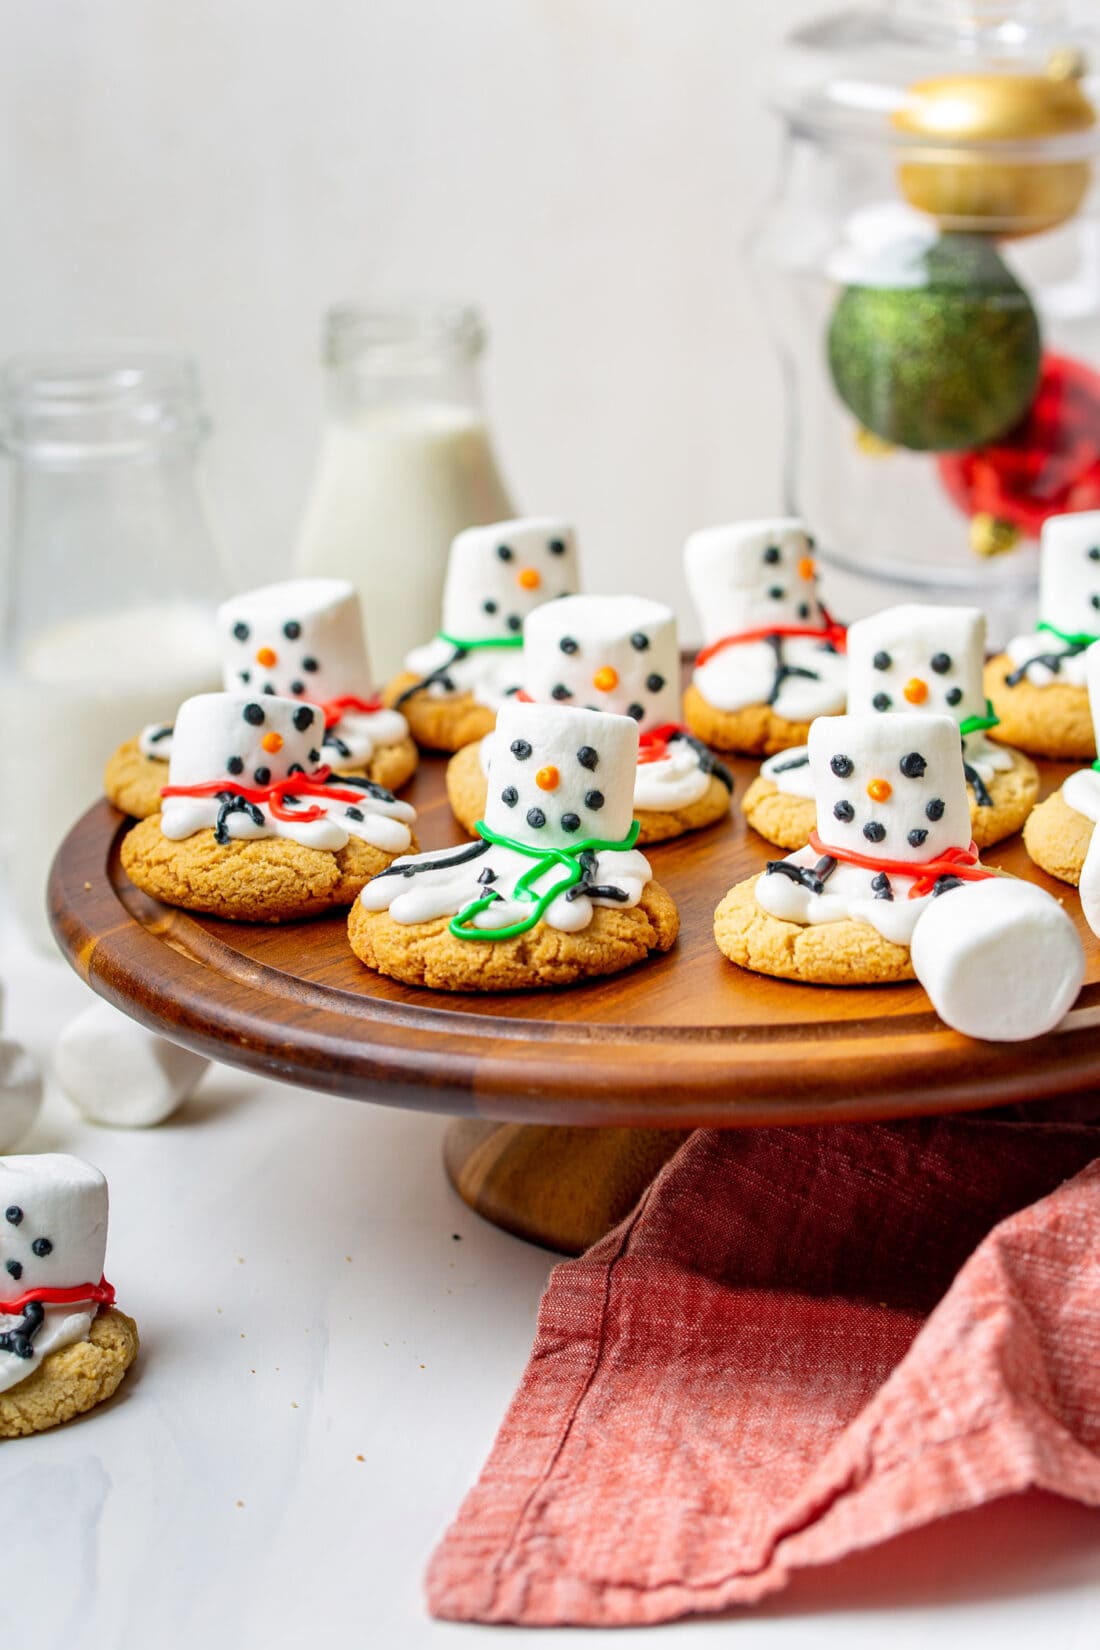
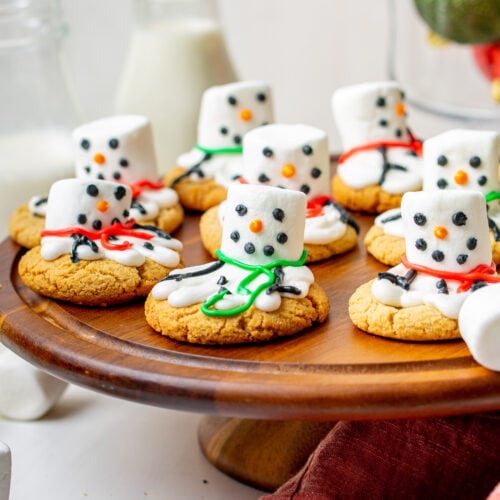
Cute little melted snowman cookies are a fun way to bring some cheer to your Christmas cookie platter.
Why this recipe works
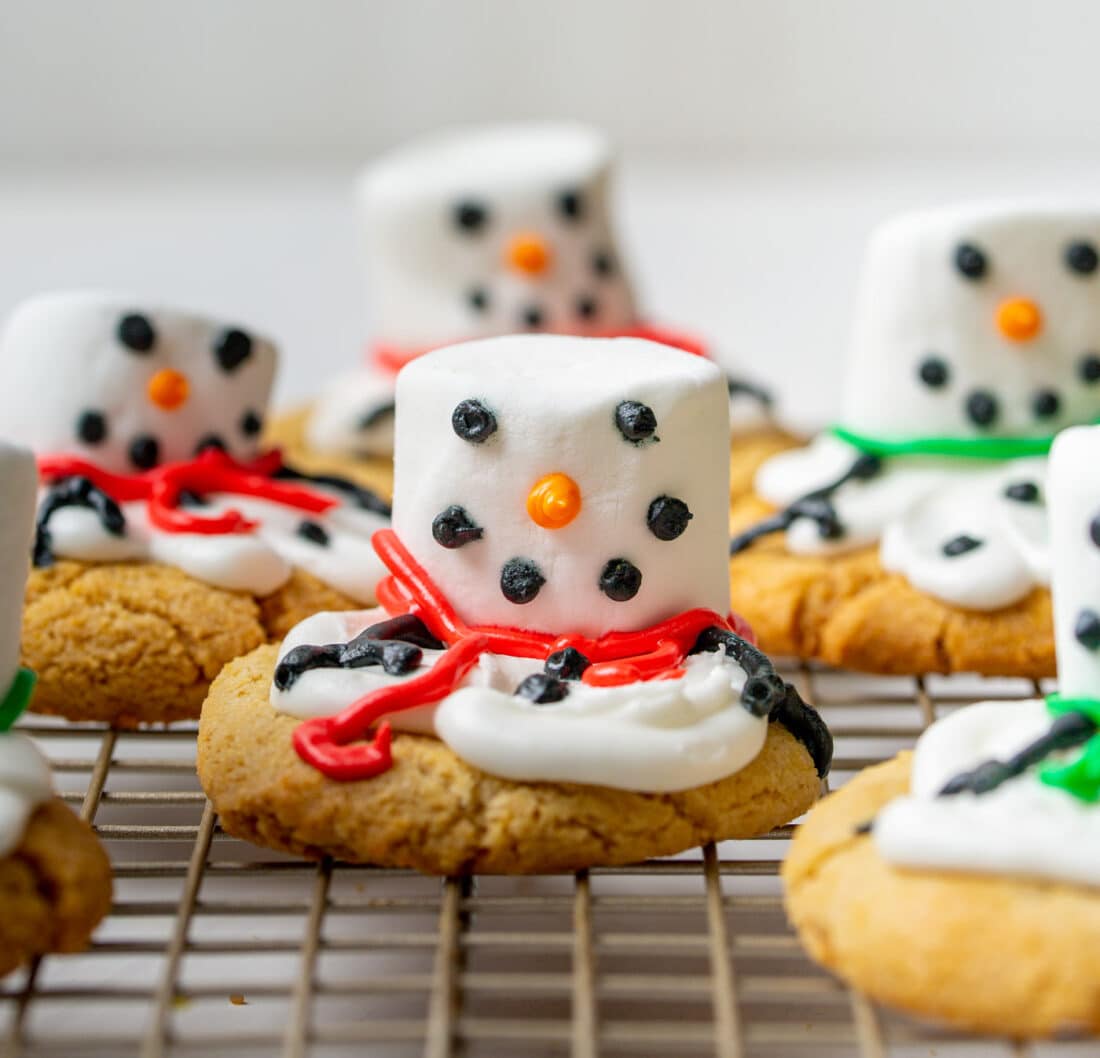
These melted snowman cookies are made with icing, marshmallows, and sugar cookies. They fall right in line with our easy decorated sugar cookies as far as cuteness goes, but they’re also really simple to assemble.
Using ready-to-bake cookies makes it easy for kids to get involved, plus there’s minimal clean-up. I bet they’ll enjoy piping on the frosting, attaching the marshmallows, and watching the snowmen come to life! They’d also be a fun one to make at your holiday cookie decorating parties.
Ingredients you will need
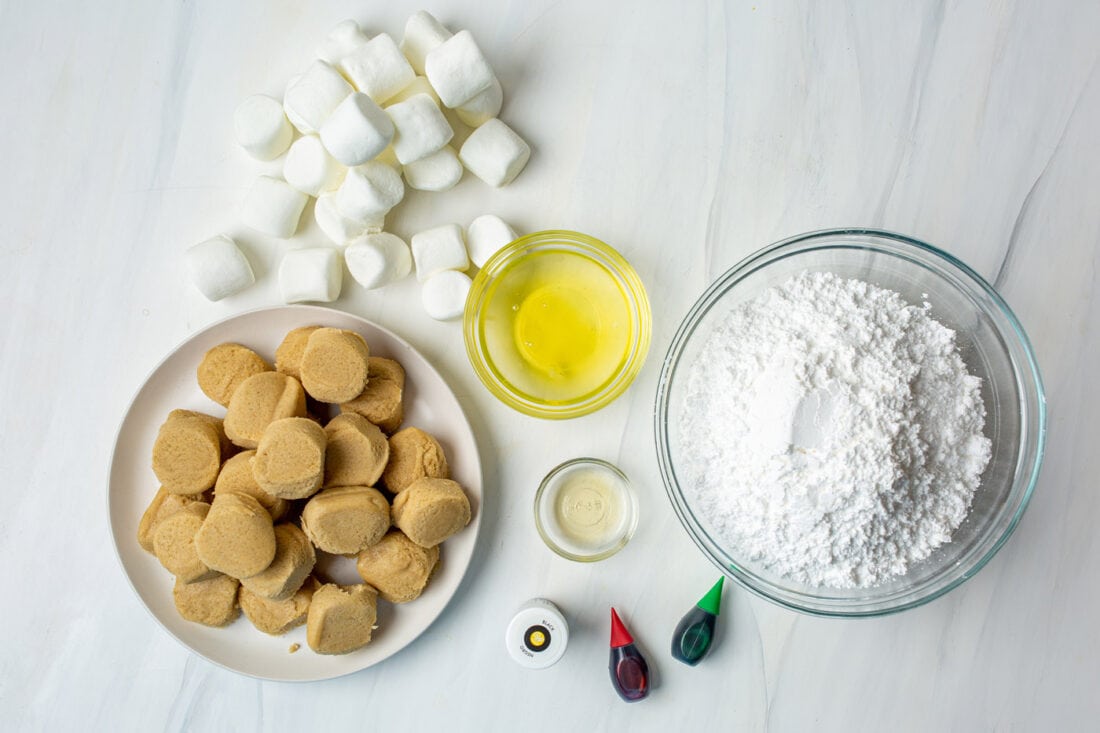
Get all measurements, ingredients, and instructions in the printable version at the end of this post.
Ingredient Info and Substitution Suggestions
COOKIE – We opted for some refrigerated sugar cookie dough, but you can of course make these with homemade sugar cookies if you prefer. These little snowmen can be made on top of your favorite type of cookies. Try gingerbread, gingersnap, or chocolate chip!
SNOWMEN – We will show you how to make a simple icing to pipe the eyes, nose, mouth, buttons, and scarf. If you’d like, you can always use store-bought decorating icing that comes in tubes for the intricate parts and try our easy decorated sugar cookies method for the “melted snow” (using store-bought frosting, but with a little trick).
How to Make Melted Snowman Cookies
These step by step photos and instructions are here to help you visualize how to make this recipe. You can Jump to Recipe to get the printable version of this recipe, complete with measurements and instructions at the bottom.
- Bake the sugar cookies, if needed, according to package instructions. Set aside 12 marshmallows, one for each cookie.
- In the bowl of a stand mixer with a paddle attachment, whisk the egg whites until foamy. Add in the vanilla extract. Slowly, 1 cup at a time, add in the powdered sugar whisking on low.
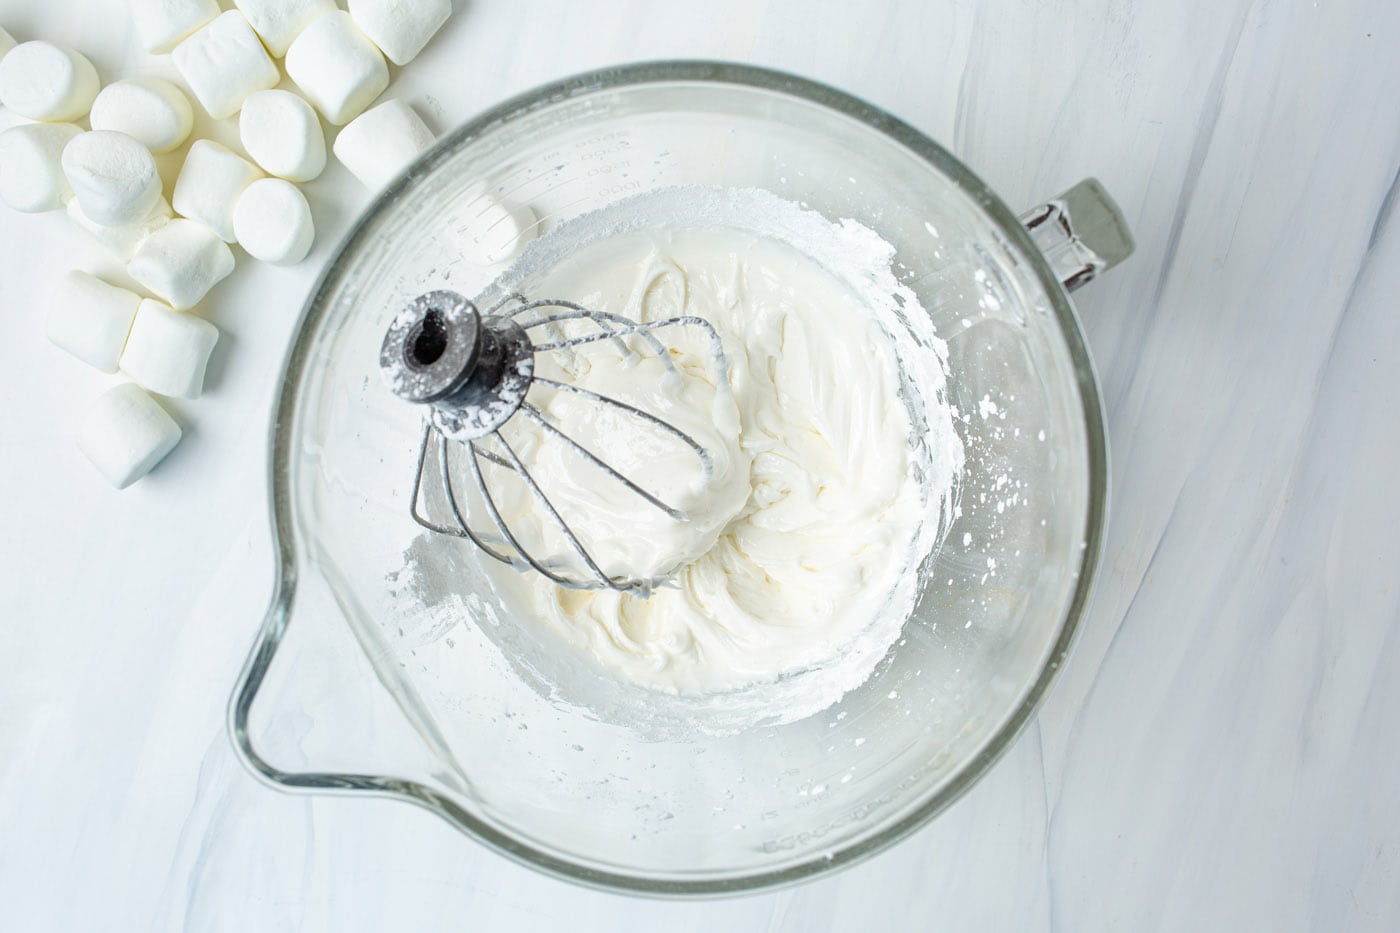
- Reserve 1/3 of the white royal icing for the snow layer. In separate bowls divide the frosting as needed and add the food coloring of choice.
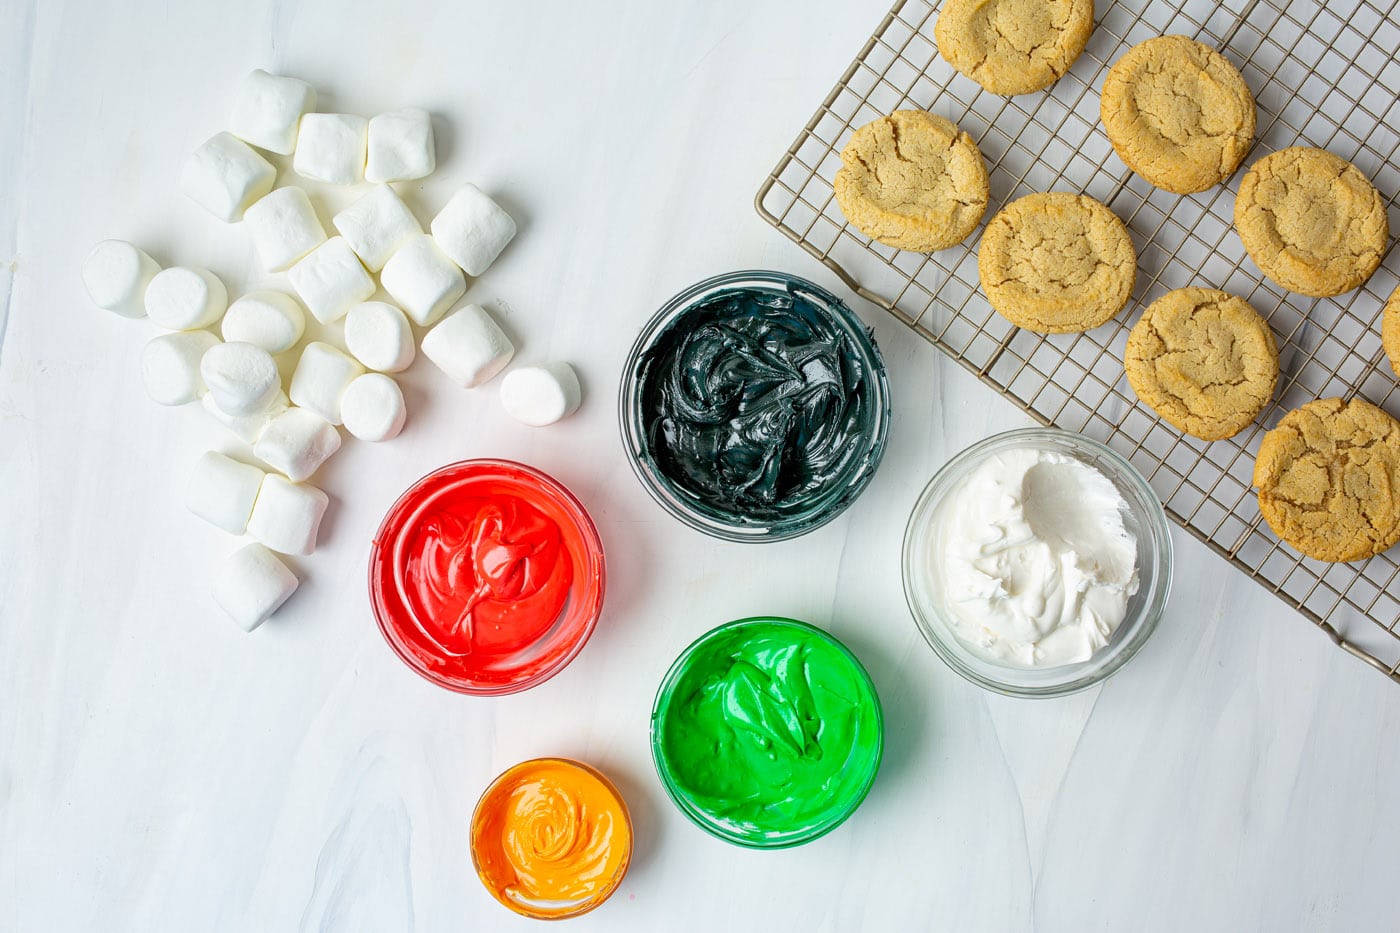
- Once cookies have cooled, pipe the white icing in puddle shapes on the cookies using the #8 round tip. Stick the marshmallow towards one edge.
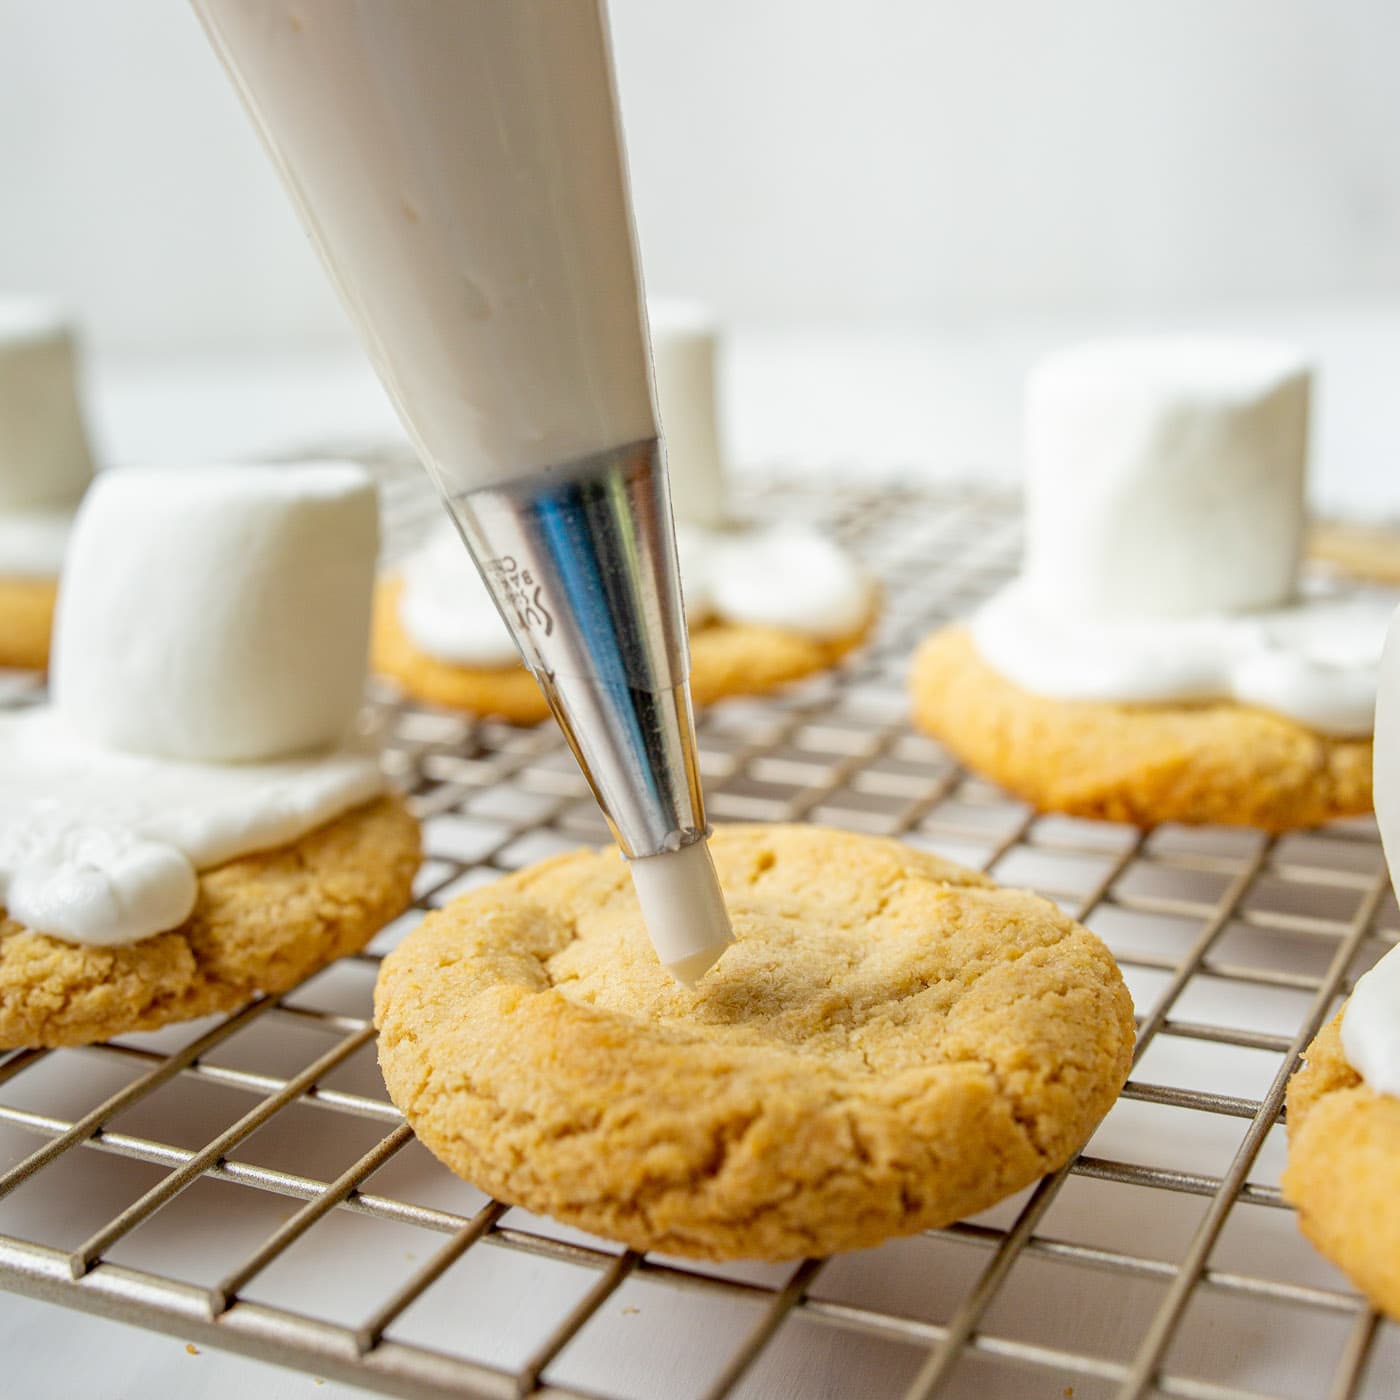
- Use the #7 tip or smaller for the black (or brown) icing to make hands, eyes, mouth, and buttons.
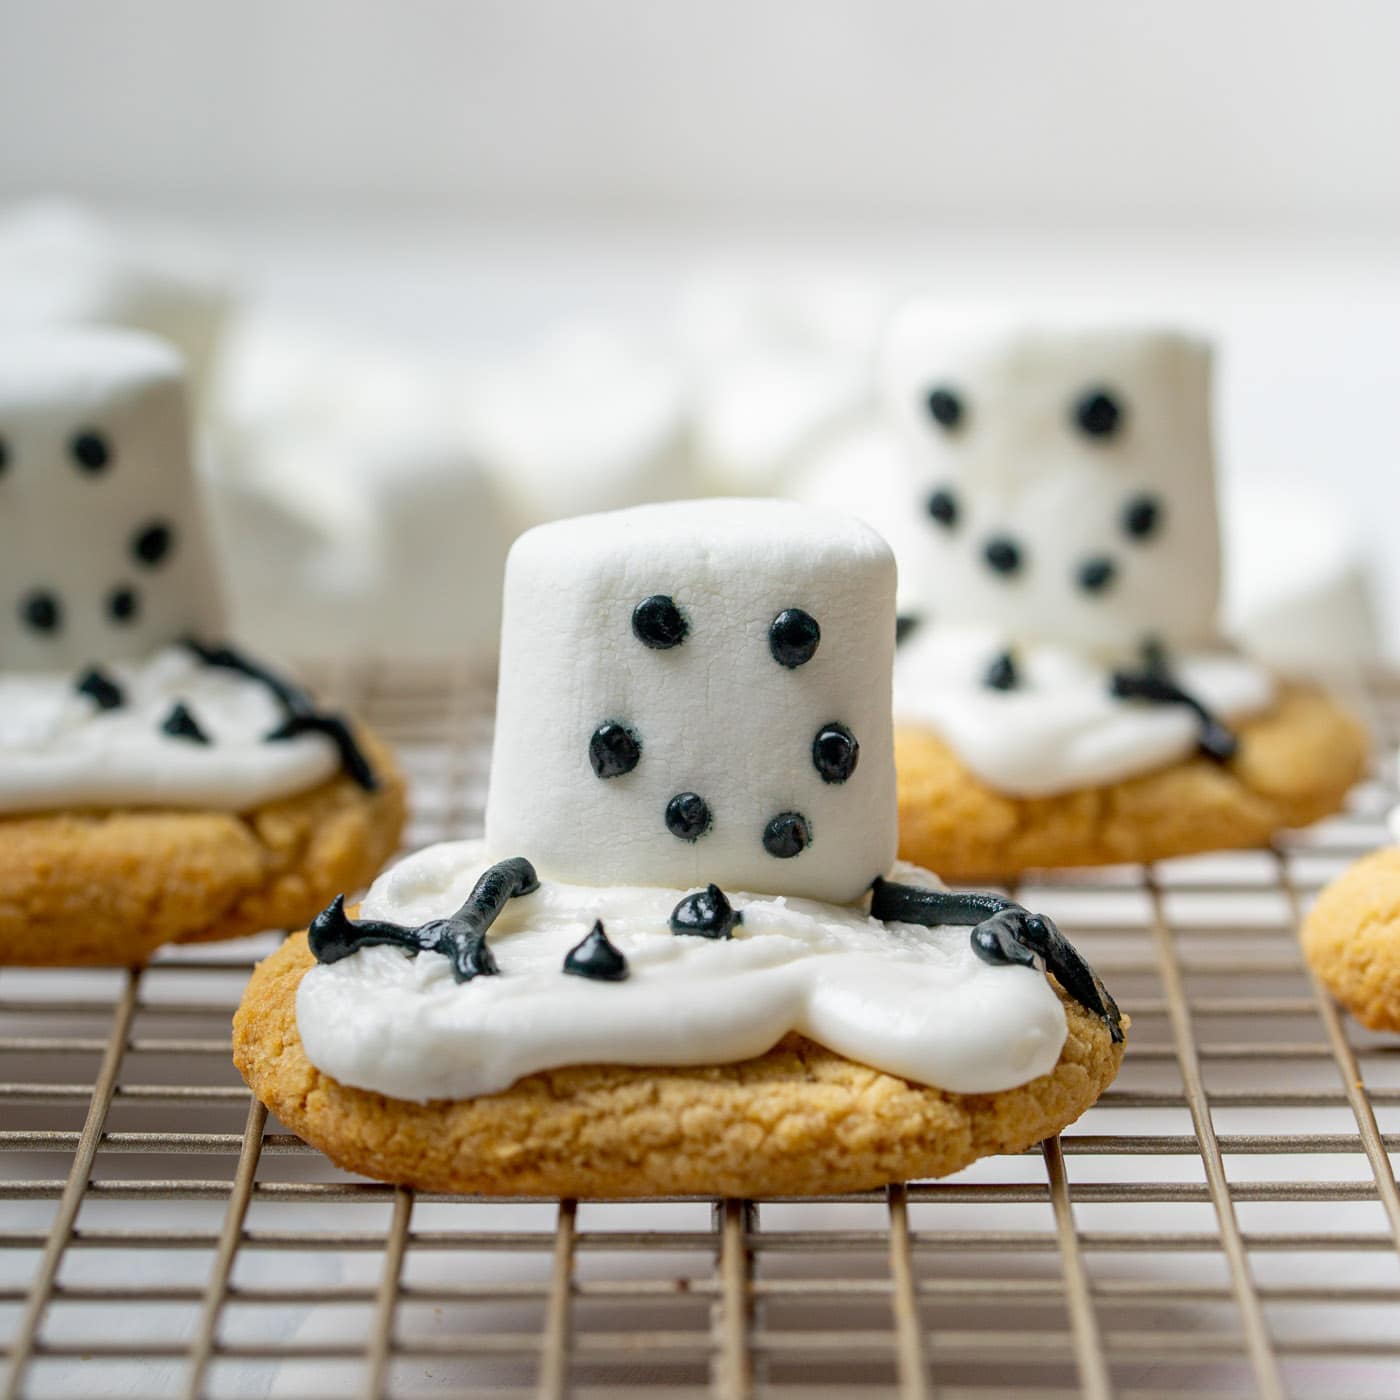
- Use the #3 tip to create an orange nose.
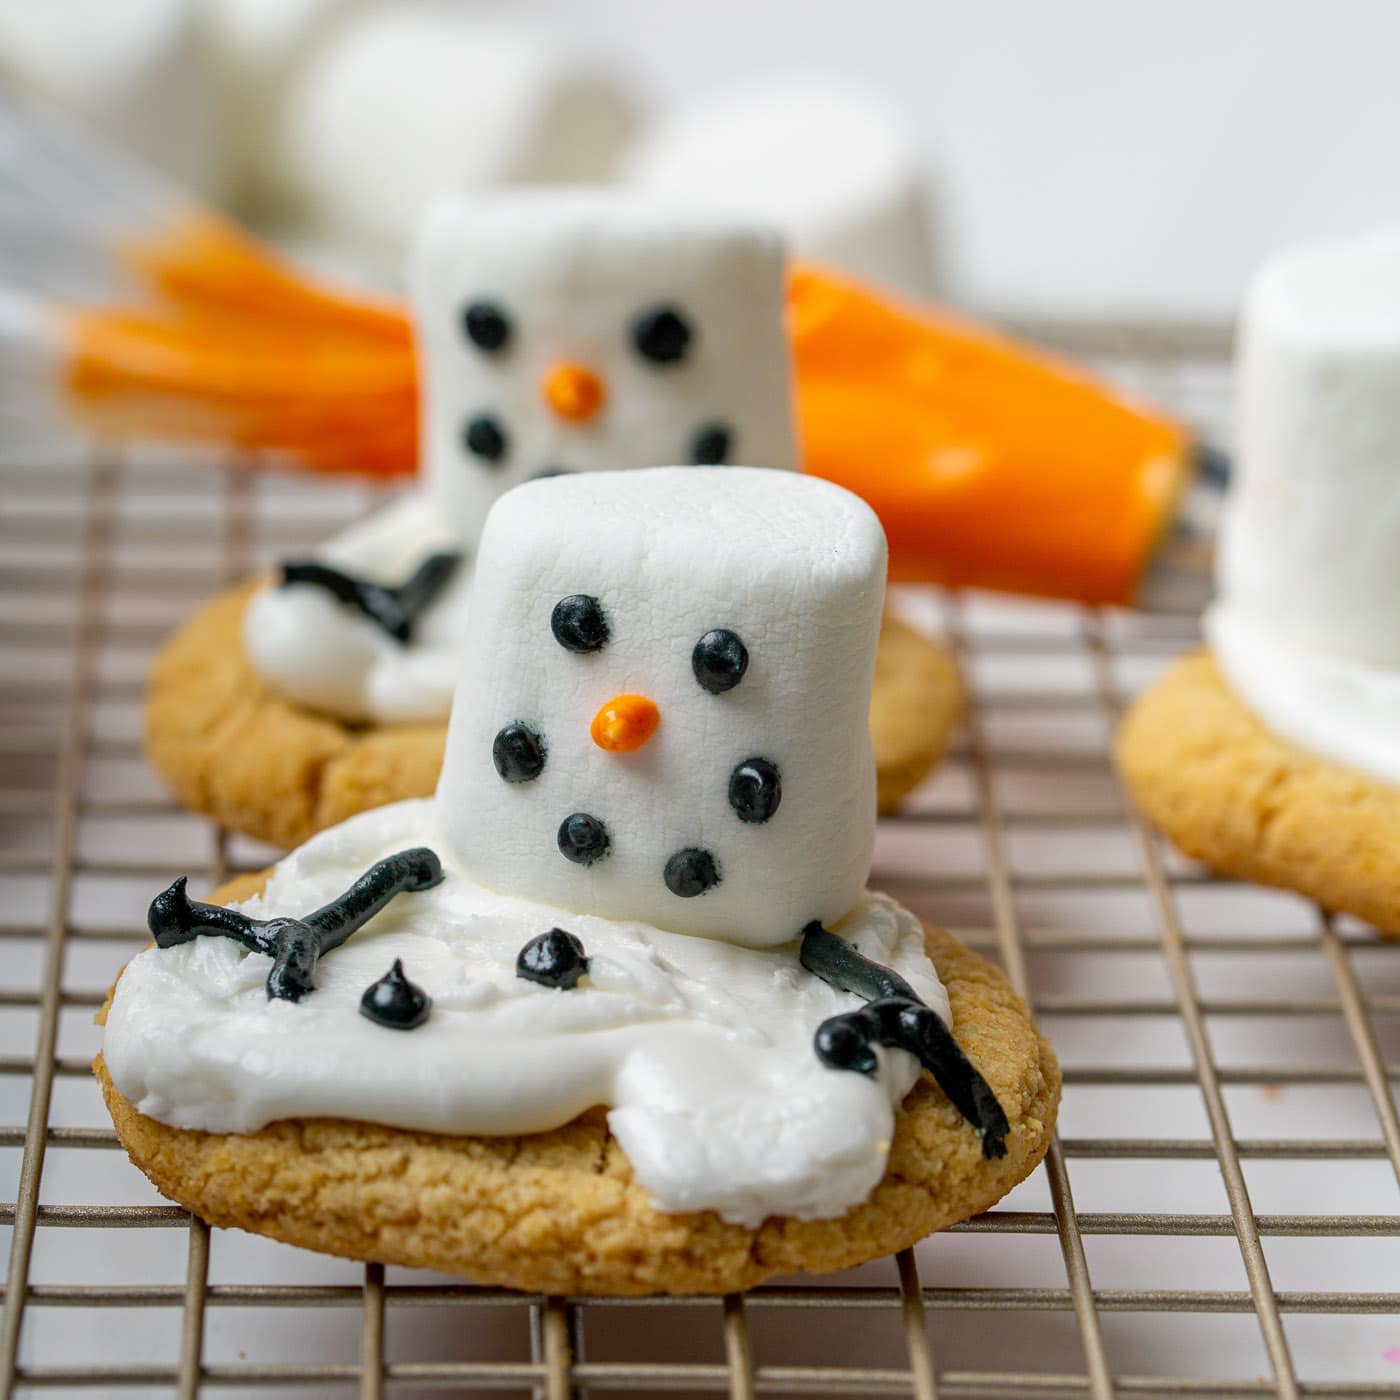
- Use a small tip, like #3, to pipe the remaining icing colors around the marshmallow head to make scarves.
Frequently Asked Questions & Expert Tips
Store in an air-tight container kept at room temperature or in a dry, cool place for up to 4 days.
If you don’t have an icing tip, place the icing in a ziptop bag and snip one corner off. You want to be careful not to snip too large of a hole so you can make small buttons, eyes, etc.

Serving Suggestions
Play around with the colors for the scarf and add any personal touches you would like to your melted snowman cookies! You could use M&M’s or sprinkles for the buttons or add a dash of sparkling sugar on top after they’re decorated.
More Cookie Recipes
- Gingersnap Cookies
- Peppermint Cookies
- Gingerbread Cookies
- Christmas Kiss Cookies
- Cornflake Christmas Wreaths
- Grinch Cookies
I love to bake and cook and share my kitchen experience with all of you! Remembering to come back each day can be tough, that’s why I offer a convenient newsletter every time a new recipe posts. Simply subscribe and start receiving your free daily recipes!
Melted Snowman Cookies
IMPORTANT – There are often Frequently Asked Questions within the blog post that you may find helpful. Simply scroll back up to read them!
Print It Rate ItIngredients
- 12 sugar cookies we used store-bought refrigerated cookie dough
- 12 marshmallows regular size
- 3 oz egg whites about 3 eggs worth
- 1 tsp vanilla extract
- 4 cups powdered sugar
- food coloring in various colors. Brown/black, red, green, orange
Things You’ll Need
- Wilton piping tips #8, #7, #3
Before You Begin
- Store in an air-tight container kept at room temperature or in a dry, cool place for up to 4 days.
- The total time listed above does not include time to bake the cookies as it depends on whether or not you use homemade cookies, store-bought, or refrigerated dough. The time listed is just for assembling the cookies.
- You can easily double this recipe to make more.
Instructions
- Bake the sugar cookies, if needed, according to package instructions. Set aside 12 marshmallows for each cookie.
- In the bowl of a stand mixer with a paddle attachment, whisk the egg whites until foamy. Add in the vanilla extract. Slowly, 1 cup at a time, add in the powdered sugar whisking on low.
- Reserve 1/3 of the white royal icing for the snow layer. In separate bowls divide the frosting as needed and add the food coloring of choice. Start slow, mixing 1-2 drops of the food coloring into the different bowls until you reach the desired color intensity.
- Once cookies have cooled, pipe the white icing in puddle shapes on the cookies using the #8 round tip. Stick the marshmallow towards one edge.
- Use the #7 tip or smaller for the black (or brown) icing to make hands, eyes, mouth, and buttons.
- Use the #3 tip to create an orange nose.
- Use a small tip, like #3, to pipe the remaining icing colors around the marshmallow head to make scarves
Nutrition
This post originally appeared on this blog on December 12, 2021.
Amanda Davis
Latest posts by Amanda Davis (see all)
- Air Fryer Pretzel Bites - January 27, 2025
- Raspberry Poke Cake - January 21, 2025
- Chocolate Covered Strawberries - January 20, 2025


Bipolar Bandit aka Michelle Clark says
These are so cute and creative!