
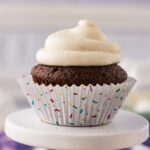
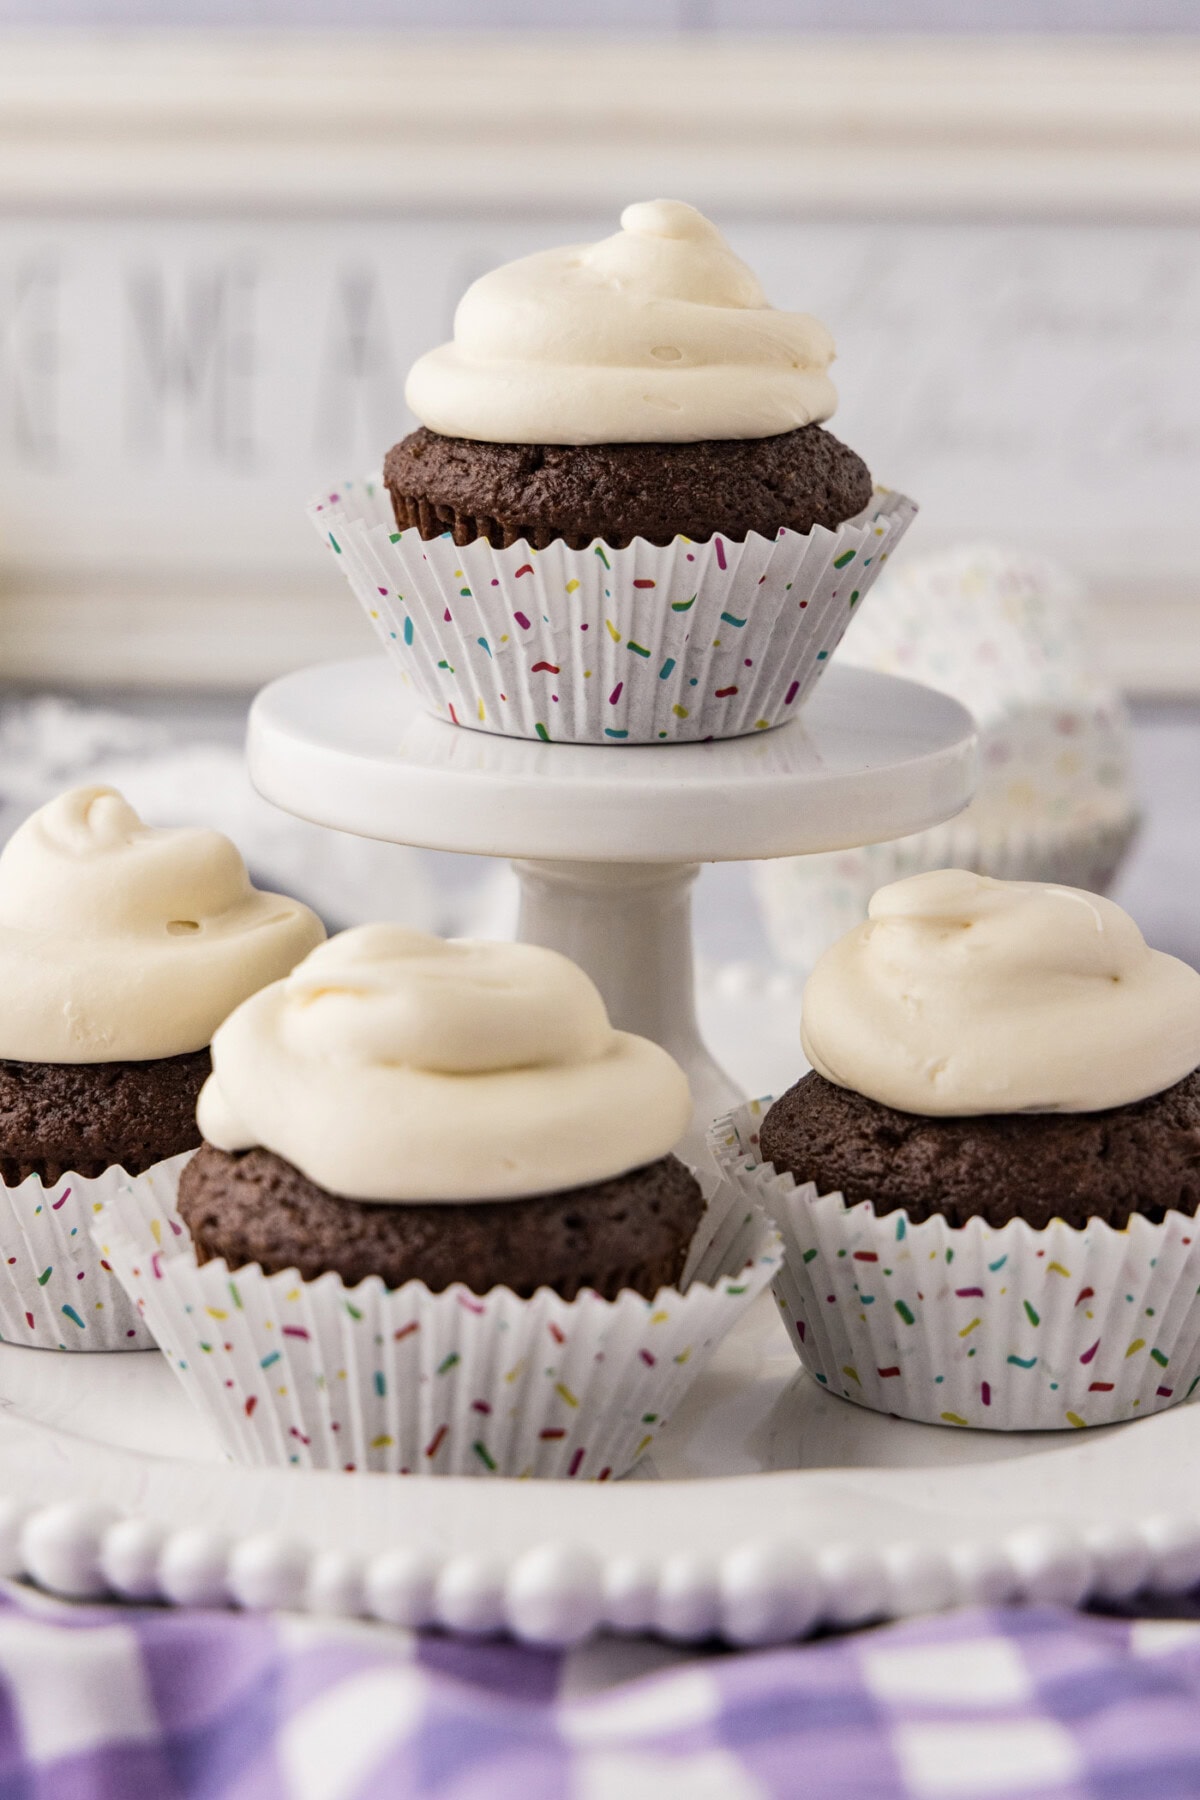
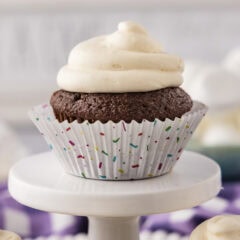
This easy 4-ingredient marshmallow frosting recipe tastes like a silky, pillowy cloud of sweetness. Great for cookies, cakes, and cupcakes!
Why this recipe works
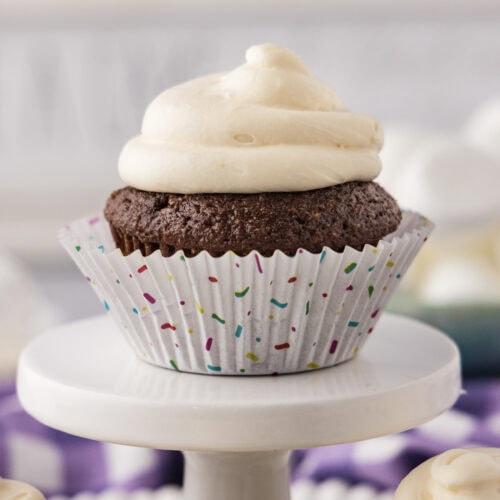
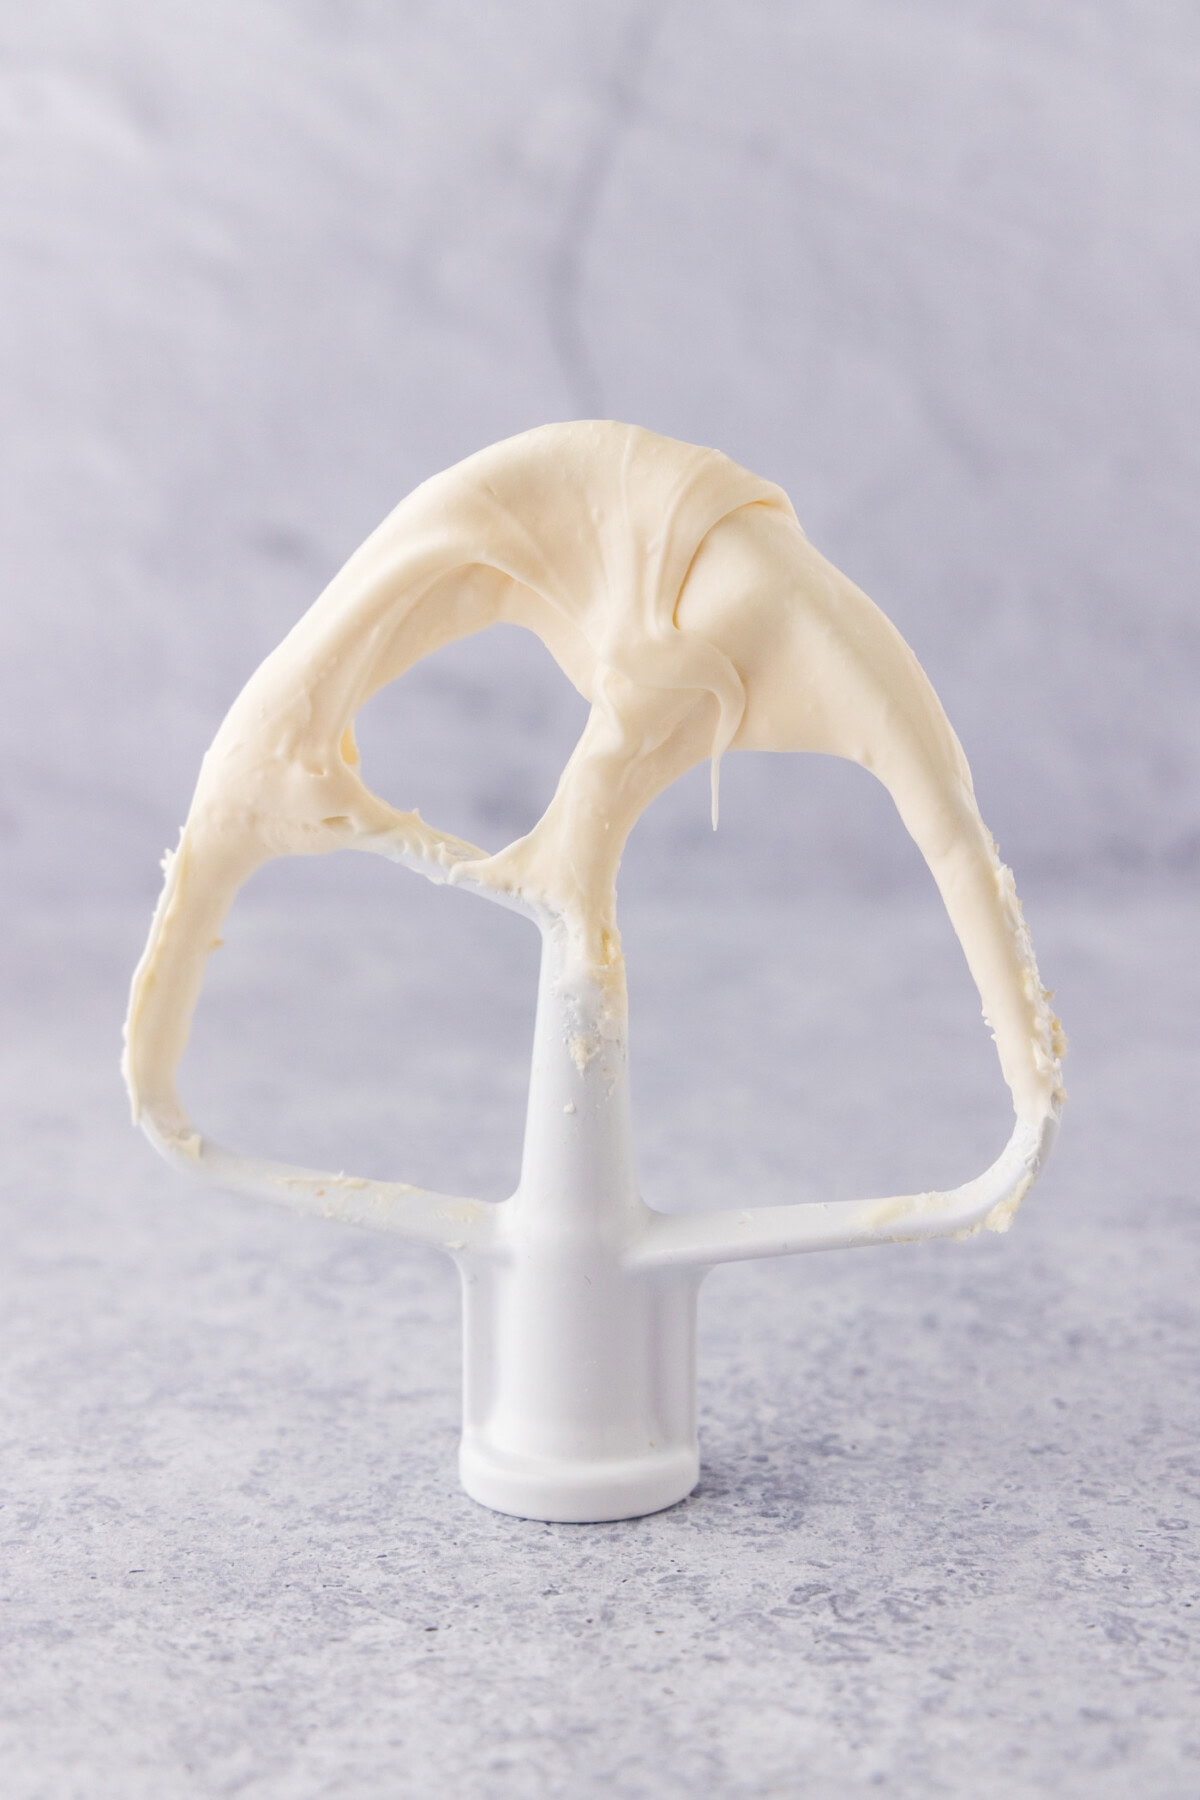
The best marshmallow frosting you’ll ever sink your teeth into begins with a simple jar of marshmallow fluff. With a kiss of butter, powdered sugar, and vanilla extract, this frosting becomes a glossy, pipable, sticky mound of soft marshmallow. It’s so dreamy. Especially on top of S’mores cupcakes!
I tested this recipe multiple times to make sure I got it right for you. And although it only takes 4 ingredients to make, it’s important to follow the handful of tips I’ve listed below to be certain that you get the best possible marshmallow fluff frosting you can get your hands on.
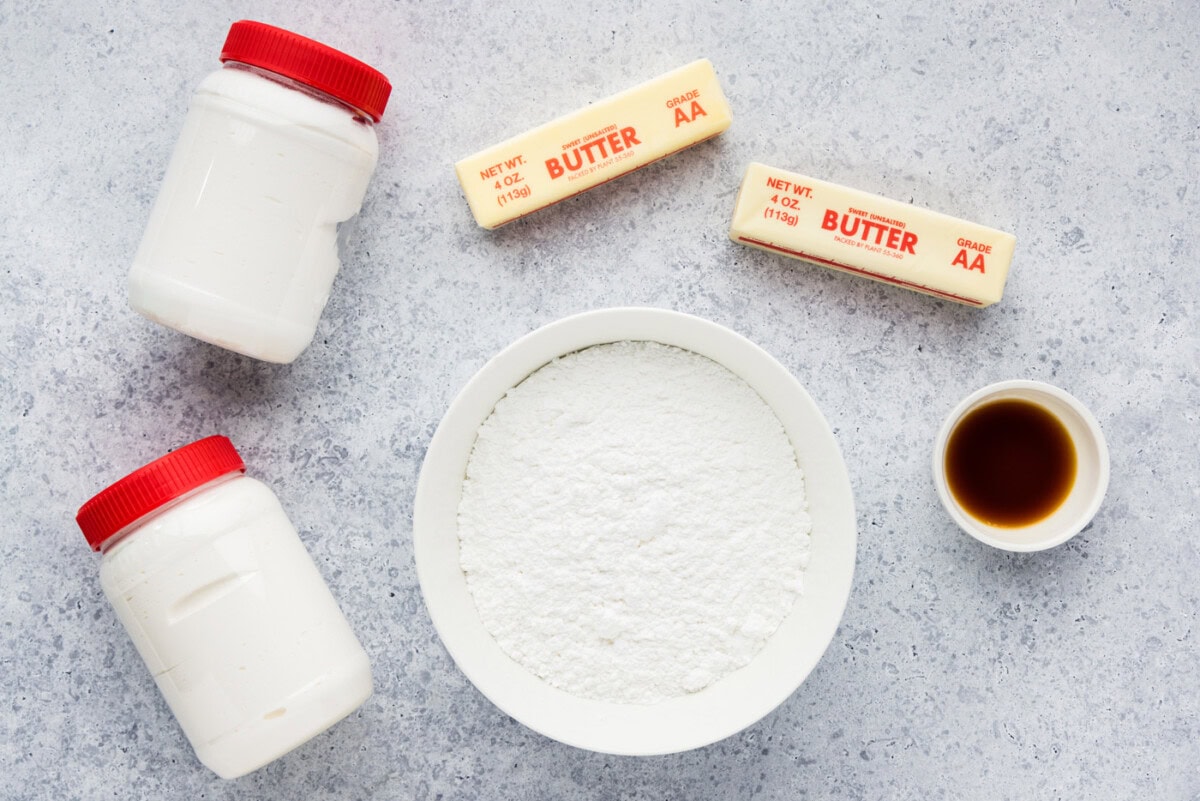
Ingredients you will need
Get all measurements, ingredients, and instructions in the printable version at the end of this post.
Ingredient Info and Substitution Suggestions
MARSHMALLOW FLUFF – While we have not tested this recipe with marshmallow creme, many recipes suggest that you can use it in place of marshmallow fluff if needed. Do note that the marshmallow fluff called for in this recipe is not the same as melted marshmallows. The marshmallow fluff is one of the most important parts of this frosting!
How to Make Marshmallow Frosting
These step by step photos and instructions are here to help you visualize how to make this recipe. You can Jump to Recipe to get the printable version of this recipe, complete with measurements and instructions at the bottom.
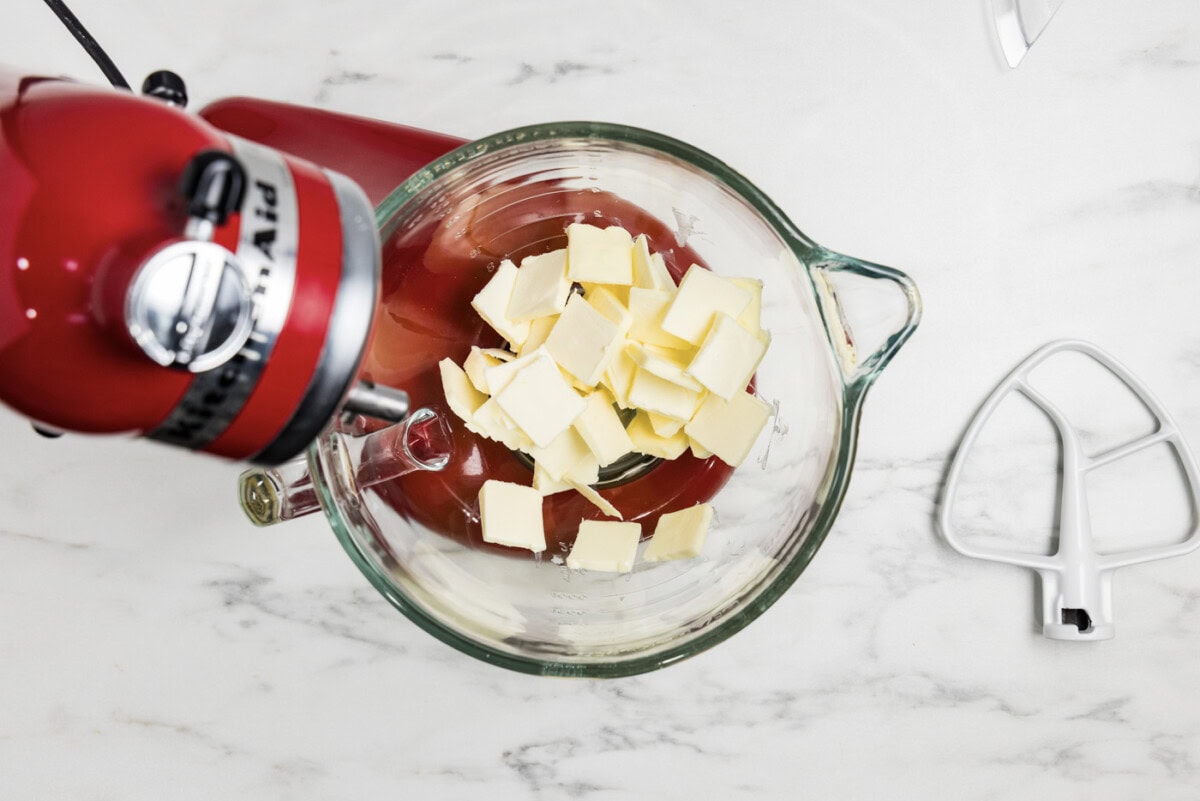
- In a stand mixer with the paddle attachment, beat softened butter on medium speed until creamy. Increase speed to medium high and beat for 4 minutes.
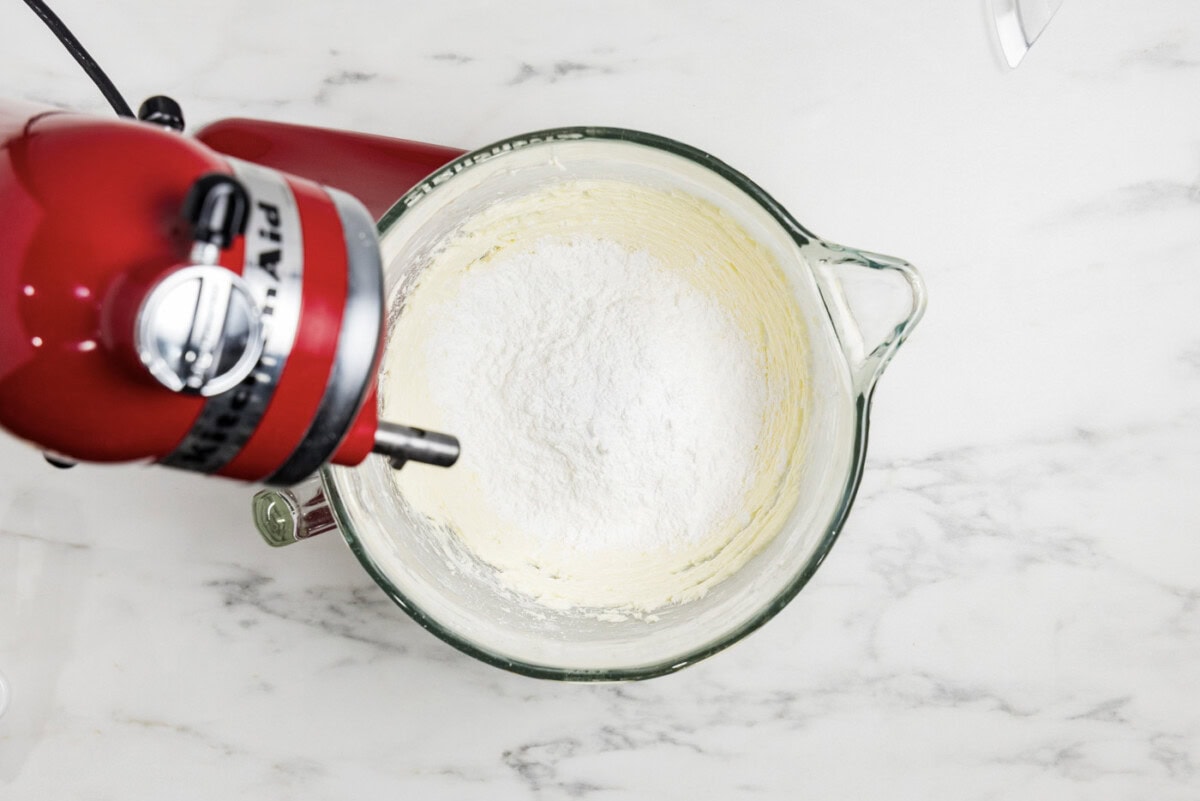
- Add powdered sugar and turn mixer on low. Beat on low until powdered sugar and butter come together. You will need to scrape down the sides of the bowl once or twice.
- Increase speed to medium-high and beat for 4 minutes.

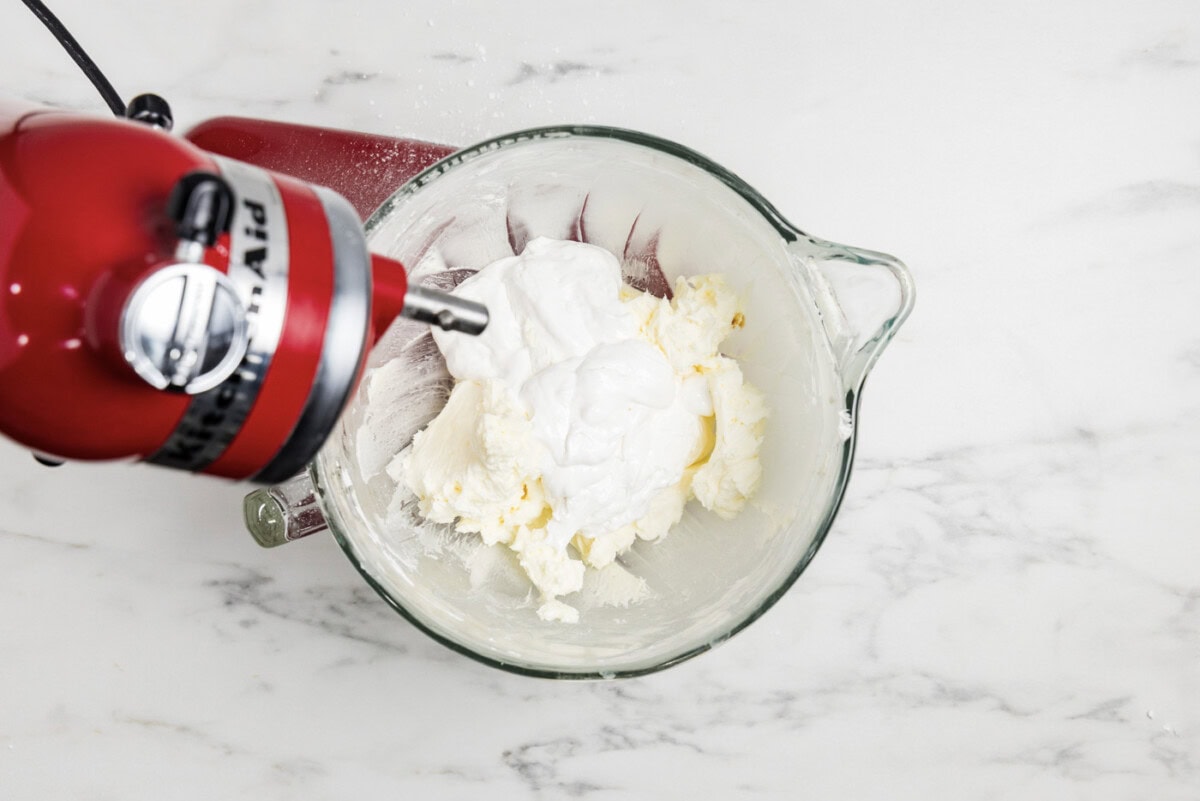
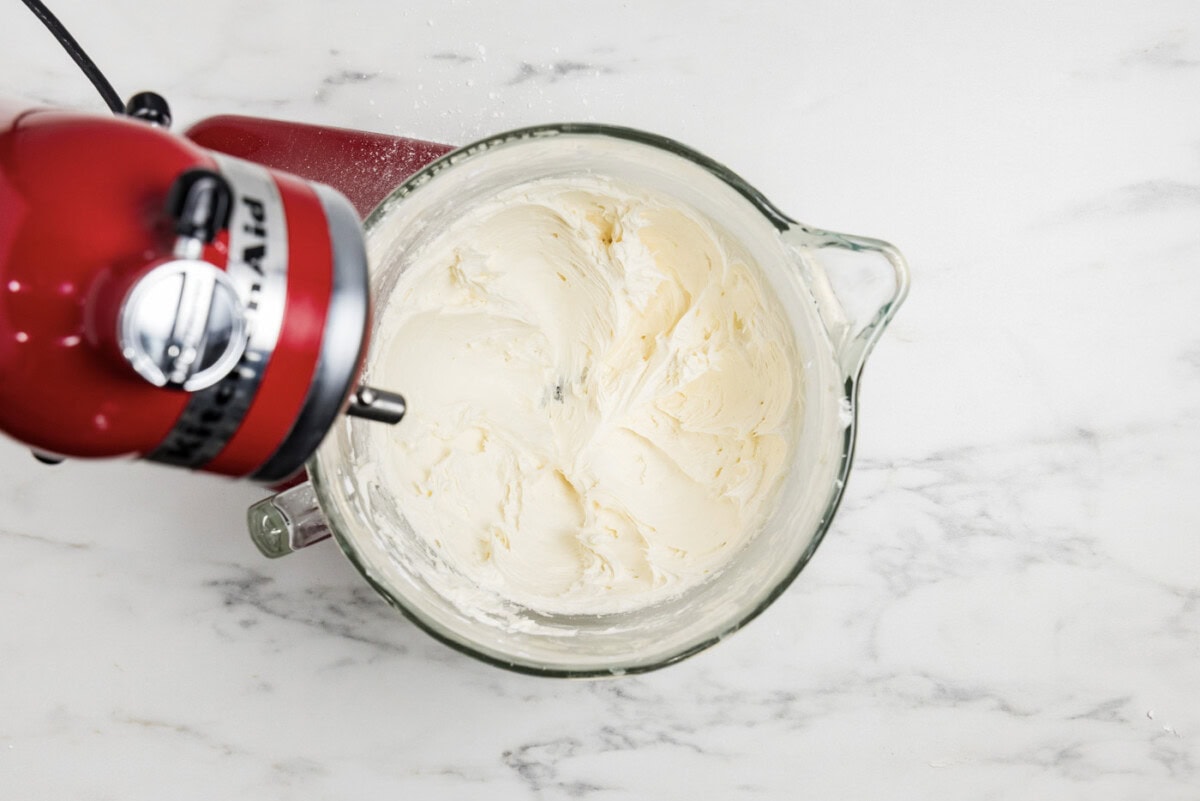
- Add vanilla extract and marshmallow fluff to the mixing bowl. Turn mixer on medium to incorporate ingredients, then increase mixer to medium-high and beat for a full 5 minutes, scraping down the sides and bottom of the bowl halfway through.
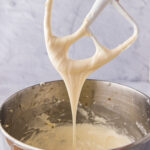
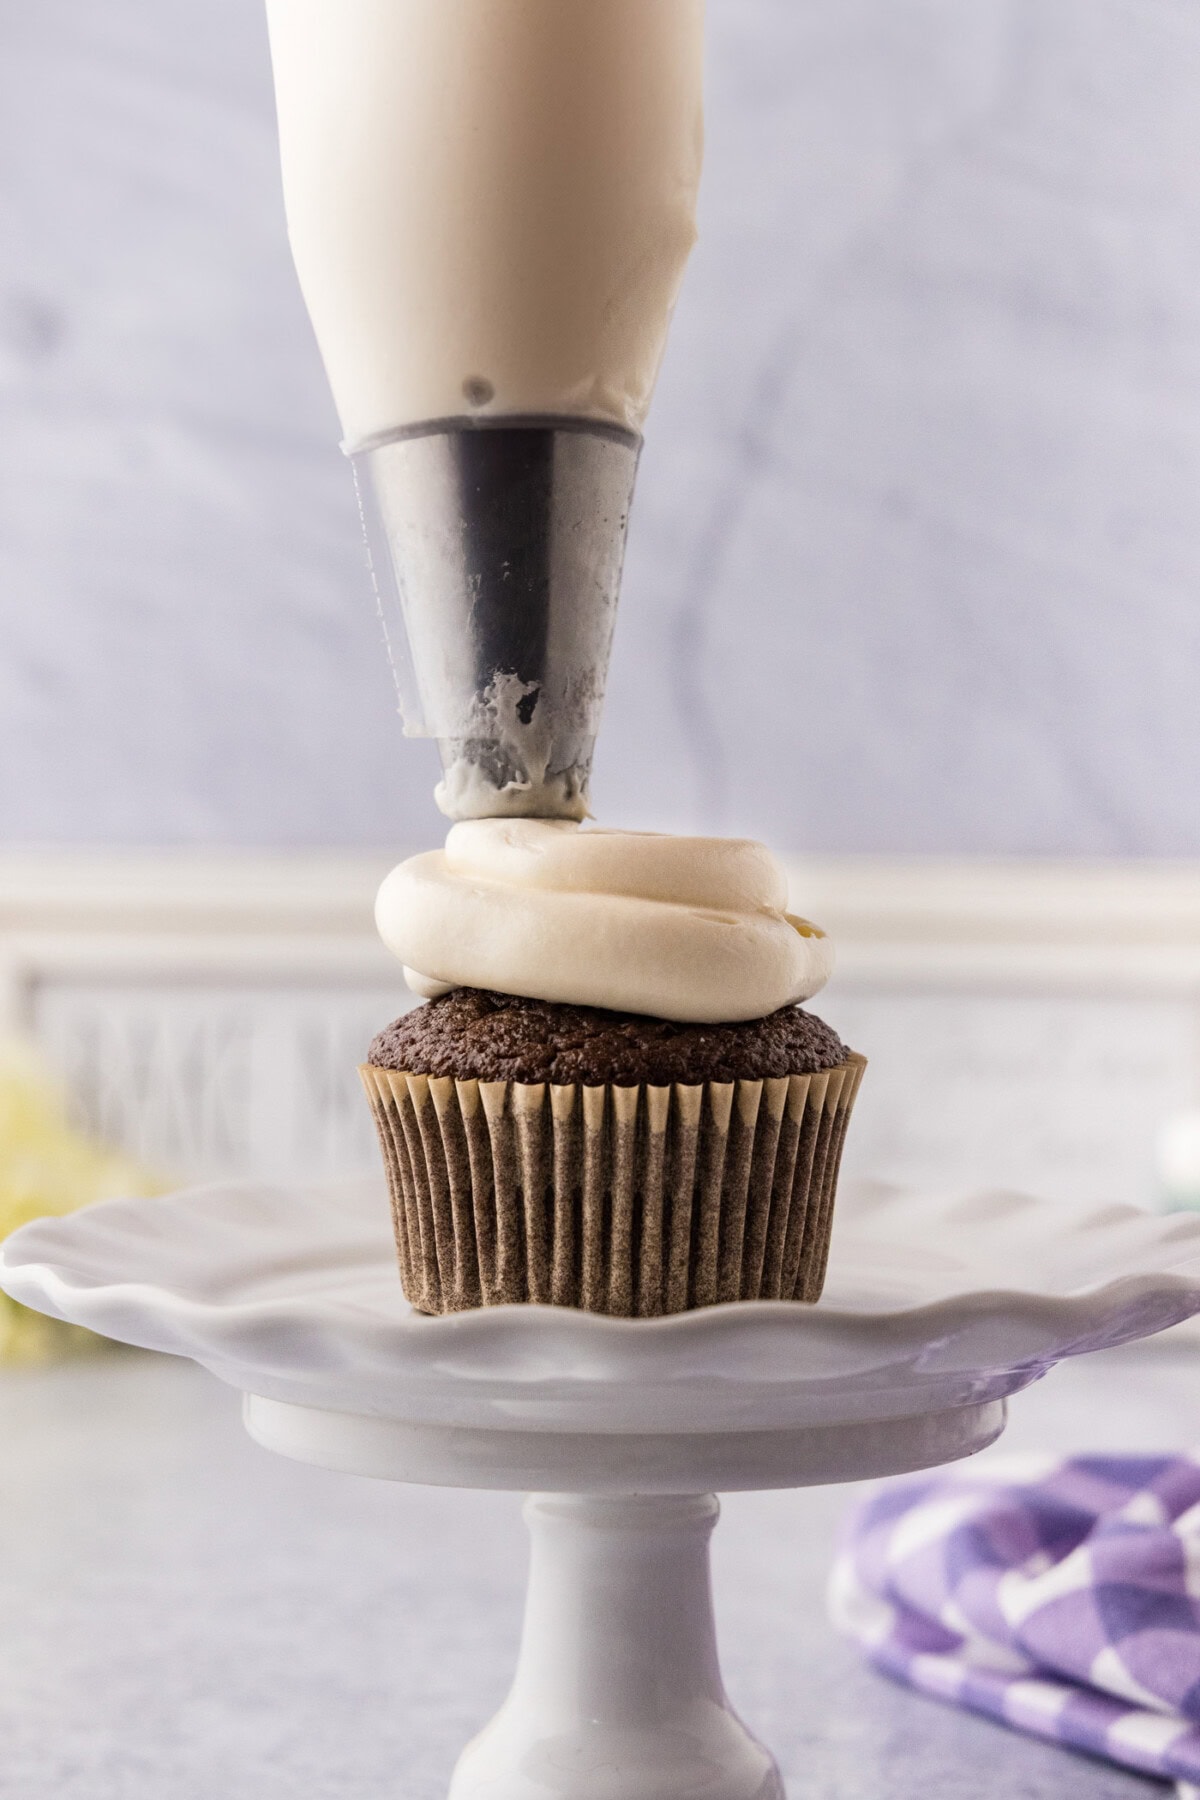
- Add frosting to your piping bag and place in the refrigerator for 30 minutes. Don’t leave it too long or the butter will harden too much and make it impossible to pipe.
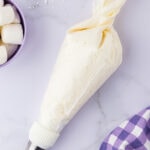
- Pipe frosting onto one cupcake, then place cupcake in the refrigerator. Repeat for each cupcake until all are in the fridge. This is an important step to keep the integrity of the frosting. Allow cupcakes to chill for 30-45 minutes.
Frequently Asked Questions & Expert Tips
It’s important to make sure you beat the frosting for the time suggested in this post, which will typically alleviate any runny problems you might have. Set a timer to be sure. However, if you are still having difficulties getting it to stiffen up, I would suggest popping the frosting into the refrigerator for 30-45 minutes which will help the butter resolidify. If needed after chilling, run the frosting with the mixer again or simply stir it by hand. Do note that this frosting is not quite as thick as your typical buttercream frosting, so don’t try adding extra powdered sugar to the mix! In fact, adding more powdered sugar can make it runnier because sugar dissolves.
Store the frosting in an air-tight container kept in the refrigerator for up to 4 days, this will help keep the butter in the frosting stable enough to pipe when you are ready. If you plan on spreading it instead, you can spread it on top and store the frosted cupcakes at room temperature for up to 2 days.
Can I brown this frosting with a kitchen torch?
Our testing says yes and no. This frosting will not brown in the same way as an actual marshmallow. In our experience, the heat from the torch will melt the frosting and will not brown as lovely as something like meringue will. It is possible to brown these if you don’t mind the slightly melted look. To do so it’s important to freeze the frosted cupcakes for at least an hour first. This will help the frosting hold up to the flame. Hold the flame close to the frosting (be careful not to light your paper cupcake liners on fire!) and work quickly. Again, the frosting will melt a bit, but the flavor far outweighs the appearance!

Serving Suggestions
This marshmallow frosting can be spread onto a cake or cupcakes if you don’t want to pipe it. If that’s the case, you can skip the refrigeration step and just spread it on!
Pipe this frosting over double chocolate cupcakes, chocolate peanut butter cupcakes, S’mores cupcakes, or spread it over a layered cakes or cookies. Enjoy!
More Frosting Recipes
I love to bake and cook and share my kitchen experience with all of you! Remembering to come back each day can be tough, that’s why I offer a convenient newsletter every time a new recipe posts. Simply subscribe and start receiving your free daily recipes!
Marshmallow Frosting
IMPORTANT – There are often Frequently Asked Questions within the blog post that you may find helpful. Simply scroll back up to read them!
Print It Pin It Rate ItIngredients
- 1 cup unsalted butter softened at room temperature
- 8 ounces powdered sugar 2 cups
- 2 teaspoons vanilla extract
- 14 ounces marshmallow fluff two 7 ounce jars
Things You’ll Need
- Stand mixer with paddle attachment
Before You Begin
- It’s important to beat the frosting for the suggested times in the recipe. Set a timer to make sure you get the full amount of time in. Beating incorporates air into the frosting which will help it become fluffy and stand up to piping.
- The refrigeration steps are crucial as well. The frosting, even after placing the piping bag in the refrigerator, will begin to slowly relax. Placing them in the fridge will stop this process and help the frosting hold up.
- It’s important to make sure you beat the frosting for the time suggested in this post, which will typically alleviate any runny problems you might have. Set a timer to be sure. However, if you are still having difficulties getting it to stiffen up, I would suggest popping the frosting into the refrigerator for 30-45 minutes which will help the butter resolidify. If needed after chilling, run the frosting with the mixer again or simply stir it by hand. Don’t try adding extra powdered sugar to the mix! Adding more powdered sugar can make it runnier because sugar dissolves.
Instructions
- In a stand mixer with the paddle attachment, beat softened butter on medium speed until creamy. Increase speed to medium high and beat for 4 minutes.1 cup unsalted butter
- Add powdered sugar and turn mixer on low. Beat on low until powdered sugar and butter come together. You will need to scrape down the sides of the bowl once or twice.8 ounces powdered sugar
- Increase speed to medium-high and beat for 4 minutes.
- Add vanilla extract and marshmallow fluff to the mixing bowl. Turn mixer on medium to incorporate ingredients, then increase mixer to medium-high and beat for a full 5 minutes, scraping down the sides and bottom of the bowl halfway through.2 teaspoons vanilla extract, 14 ounces marshmallow fluff
- Add frosting to your piping bag and place in the refrigerator for 30 minutes. Don’t leave it too long or the butter will harden too much and make it impossible to pipe.
- Pipe frosting onto one cupcake, then place cupcake in the refrigerator. Repeat for each cupcake until all are in the fridge. This is an important step to keep the integrity of the frosting. Allow cupcakes to chill for 30-45 minutes.
Expert Tips & FAQs
- Store the frosting in an air-tight container kept in the refrigerator for up to 4 days, this will help keep the butter in the frosting stable enough to pipe when you are ready. If you plan on spreading it instead, you can spread it on top and store the frosted cupcakes at room temperature for up to 2 days.
- For Browning – This frosting will not brown in the same way as an actual marshmallow. In our experience, the heat from the torch will melt the frosting and will not brown as lovely as something like meringue will. It is possible to brown these if you don’t mind the slightly melted look. To do so it’s important to freeze the frosted cupcakes for at least an hour first. This will help the frosting hold up to the flame. Hold the flame close to the frosting (be careful not to light your paper cupcake liners on fire!) and work quickly. Again, the frosting will melt a bit, but the flavor far outweighs the appearance!
Nutrition
The recipes on this blog are tested with a conventional gas oven and gas stovetop. It’s important to note that some ovens, especially as they age, can cook and bake inconsistently. Using an inexpensive oven thermometer can assure you that your oven is truly heating to the proper temperature. If you use a toaster oven or countertop oven, please keep in mind that they may not distribute heat the same as a conventional full sized oven and you may need to adjust your cooking/baking times. In the case of recipes made with a pressure cooker, air fryer, slow cooker, or other appliance, a link to the appliances we use is listed within each respective recipe. For baking recipes where measurements are given by weight, please note that results may not be the same if cups are used instead, and we can’t guarantee success with that method.
- Pineapple Salsa - July 16, 2026
- 26 Best Ground Beef Casseroles for Easy Family Dinners - July 8, 2026
- Strawberry Shortcake Kabobs - July 2, 2026


Debido says
Very easy and great filling for devil dogs and whoopee pies
Wendi Petitt says
GREAT!!