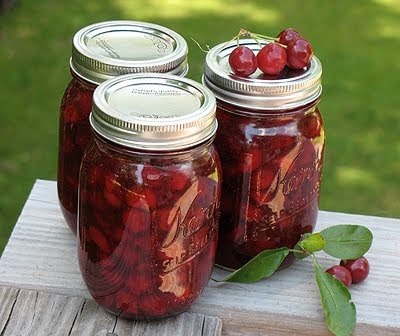
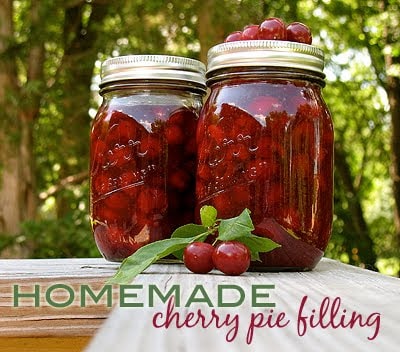
I did it, I conquered my fear of canning and was able to preserve 9 pints of delicious cherry pie filling that I made from the wonderful fresh sour cherries from my neighbor’s tree! I actually accomplished this a week ago, but am just now getting around to posting.
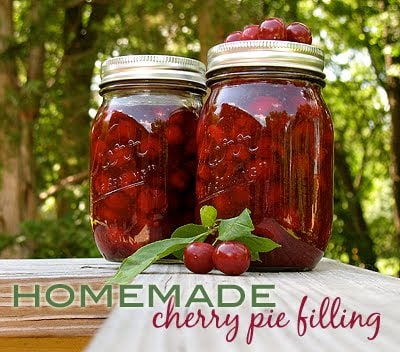
I also have another basket full of cherries that I picked just before the weekend. They need to be pitted and I plan to make some cherry jam from some and hopefully another sour cherry almond cake. However this time I was thinking of making individual cakes, maybe in ramekins? Yum. :)
UPDATE: below is a list of recipes I have made so far with this batch of cherry pie filling (or with the fresh sour cherries before making the filling) END UPDATE
Here’s a recap of the cherry pie filling recipes I’ve tested so far:
Cherry Cake with Cherry Cream Cheese Frosting
Cherry Pie Squares
Cherry Cheesecake
Cherry Cream Cheese Coffee Cake
Black Forest Brownie Bites
These use fresh sour cherries:
Cherry Almond Cake
Sour Cherry Financiers
PROCESSING THE CHERRIES
So this cherry pie filling recipe is pretty much everywhere on the internet. I didn’t want to get complicated, especially since I was canning this, so I stuck to the recipe that I got from the Utah State University Extension Office, however, the step by step photos are much better on the website PickYourOwn.org. However, FAIR WARNING, I discovered a few typos on the pick your own website, typos that conflicted with the recipe, so I stuck strictly with the recipe in the Utah University PDF and used Pick Your Own’s photos as a guide only.
First off, if you are lucky enough to pick fresh sour cherries, always try to keep the stems intact until you are actually ready to use them. Once the stem is removed, the flesh of the cherry is exposed to the air and will begin to brown. Store your picked cherries in the refrigerator until you are ready to remove stems and pits, not more than a few days if possible.
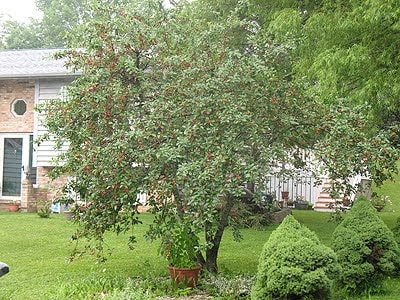
See? Here’s the tree down the street from me! It’s pretty much picked clean now, between me, my neighbor’s father, and the birds, we didn’t let any go to waste. :)
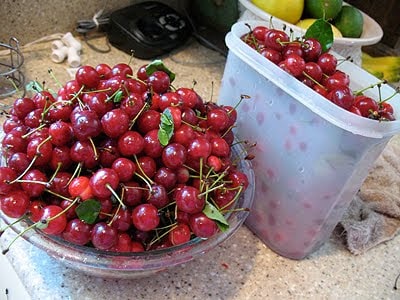
When you are ready to pit your cherries, place them in a colander and give them a quick rinse under cold water. Remove the stem and pit the cherry.
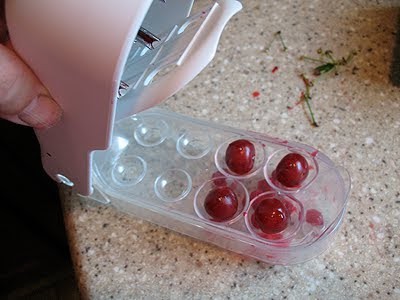
I have this totally cool cherry pitter that removes 4 pits at once. I got it from a good friend of mine over at Kid Smart Living, but they are gone now – I also found it on Amazon and it rocks! It has a little tray with 8 slots, 4 large for cherries like bing, and 4 small for sour cherries. As you can see from the picture above, I hadn’t figured that out yet and had the sour cherries in the big slots. :-/
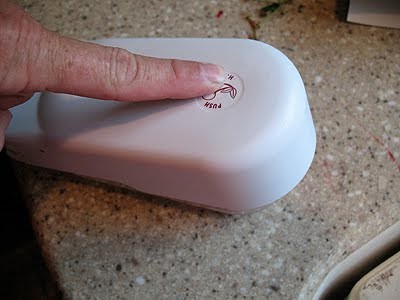
You place the 4 cherries into the little slots, then just press down on the top of the pitter and lift it back up.
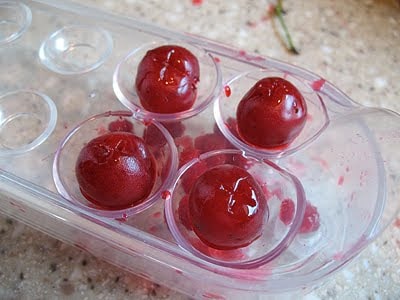
That’s it, pitted!
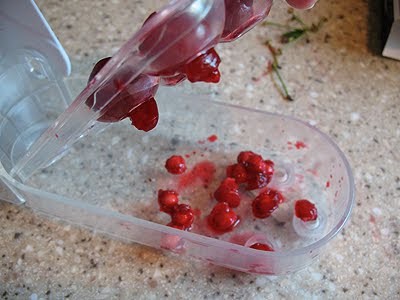
There’s a little collection tray underneath that catches the pits for you. It even came with a nifty little collapsable colander. After I pitted the cherries, I tossed them into the colander.
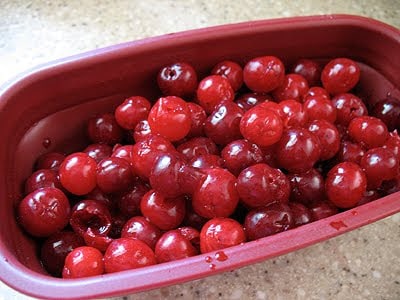
When the colander was full I gave them another quick rinse then dumped them into a large glass bowl.
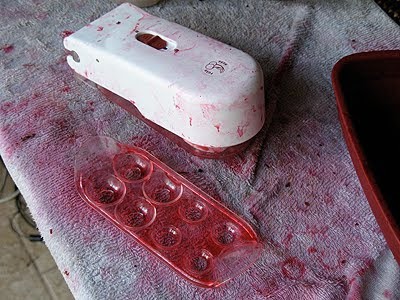
When I was finished, it looked like a murder scene… Haha!
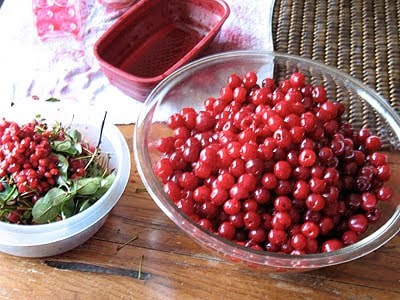
I wasn’t quite ready to can, so I placed all of the cherries into a large plastic container with a lid and covered them with water. I cut a lemon in half and squeezed some juice into the water and let them sit until the next day.
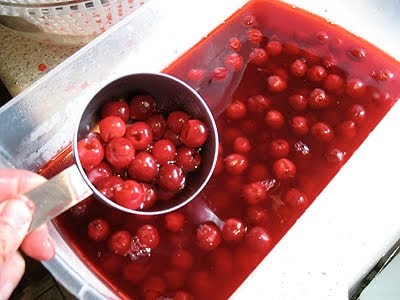
The first thing to do was to drain the cherries. However, I did not just drain the cherries and lose all of that glorious red water they had been soaking in! I reserved the water and used that in place of the water in the pie filling recipe.
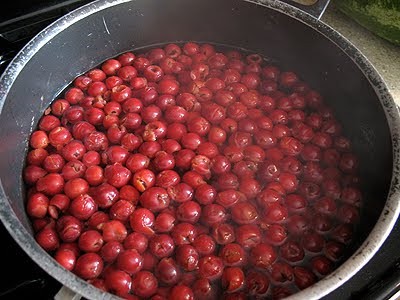
Next, I blanched them for one minute, though I definitely had to do several batches with the number of cherries that I had. After each batch, I needed to put them in a bowl or pot with a lid to keep the heat from escaping, so I just used the ceramic insert and lid from my Crockpot.
The next step is to combine the sugar and Clear Jel in a pot, then add the water. Clear Jel is a thickening agent, basically like cornstarch, but apparently it’s modified specifically for things like pie filling. You can’t find t at regular grocery stores, so I had to order mine online. So anyhoo, I combined the Clear Jel and sugar in a large pot, then I added the red water I had reserved earlier. After attempting to whisk it all together, I then added the cinnamon and almond extract. There was no need for me to add the red food coloring since I used the very red water the cherries had been soaking in.
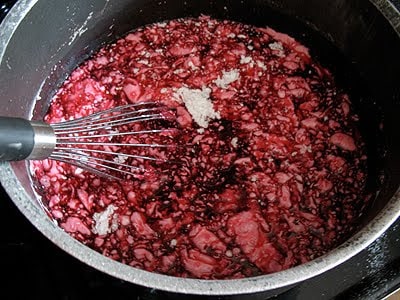
As you can see, the Clear Jel did not want to combine with the water well, and I should have known better! I know that cornstarch should be mixed with a small amount of liquid first then added as a thick liquid, but I didn’t do that. So instead, I fought with it, smashed it against the side of the pan with my wooden spoon, etc, until it was all dissolved.
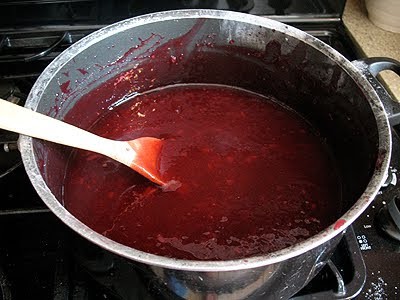
The warmer and thicker the mixture became, the more the Clear Jel melted in, so all was well.
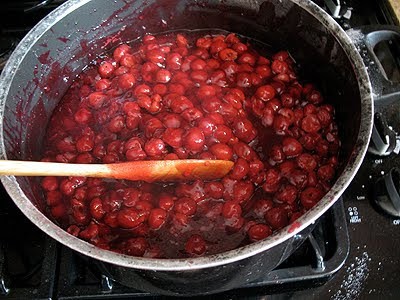
Lastly, I added in the lemon juice and boiled for another minute, and then folded the drained cherries into the thickened mixture. I then followed the directions from Utah University for processing the pie filling and it was successful! I won’t tell you how to do it here but will tell you this was way easier than I thought and now I wish I hadn’t put it off for so long! Can’t wait to can some more stuff as fall approaches. :)
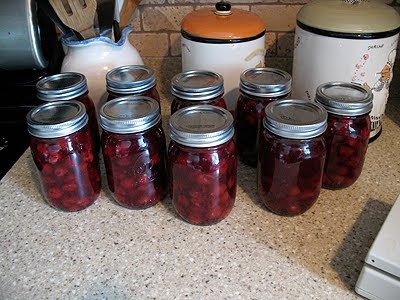
Below is the recipe for cherry pie filling, please download the PDF for processing instructions.
Homemade Cherry Pie Filling
IMPORTANT - There are often Frequently Asked Questions within the blog post that you may find helpful. Simply scroll back up to read them!
Print It Rate ItIngredients
- 3 ⅓ cups fresh or thawed sour cherries
- 1 cup granulated sugar
- ¼ cup + 1 tablespoon Clear Jel
- 1 ⅓ cups cold water I used the water the cherries were soaking in
- 1 tablespoon + 1 teaspoon bottled lemon juice
- ⅛ teaspoon cinnamon
- ¼ teaspoon almond extract
- 6 drops red food coloring optional, I didn't use this
Before You Begin
Instructions
- Rinse and pit fresh cherries, and hold in cold water. For fresh fruit, blanch up to 6 cups of cherries at a time in one gallon of boiling water. After water returns to a boil, boil for one minute. Drain, but keep heated in a covered bowl or pot. Combine Clear Jel and sugar in a large pot and add water. Add cinnamon, almond extract and food coloring. Stir mixture and cook over medium high heat until mixture thickens and bubbles. Add lemon juice and boil one minute, stirring constantly. Fold in drained cherries immediately. Fill your jars with mixture without delay, leaving one inch headspace. Adjust lids and process immediately.
- Instructions for 1 quart, adjust quantities based on the measurement of cherries you have.
Nutrition
I will be sharing with you my cherry version of the blackberry pie squares that were such a big hit around here.
More from Amanda you might like:
Vanilla Bean Mulberry Cake
Cherry Cream Cheese Coffee Cake
Cherry Cheesecake
More from the web:
Cherry Pie Cups – from Recipe Girl
Amanda Davis
Latest posts by Amanda Davis (see all)
- Shrimp Tacos - January 2, 2025
- Shrimp Cocktail - December 30, 2024
- Appetizer Veggie Pizza - December 23, 2024


Melissa says
Really cool pictures and what a cool thing to be able to keep in the freezer and just pull out! Awesome!
mr. and mrs. says
Just love your bottom photo! Could be a Stonewall Kitchen photo any day! Beautiful ;]
Barbara @ moderncomfortfood says
Well done, Amanda, and so pretty! It's really satisfying to go local, gather your own fruit, and then put it up the way you've done here. The fruit always seems to taste better when you've invested yourself that way, and it feels like Christmas months later when you rediscover a jar you've put up in the back of the pantry. I look forward to your future cherry recipes.
Anonymous says
Your canned cherries are unbelievably gorgeous! Wish we could get sour cherries in Calif. Sigh….
Thanks for all the useful info, which I will apply to some other fruit!
biz319 says
Amanda – great job on getting over your fear of canning – the cherry pie filling looks amazing!
Hope you had a great 4th!
Deeba PAB says
What an absolutely cool pitter, and GREAT job on the canning Amanda! LOVE IT!! Those pictures are totally cool too! SU'd
Tiffiny Felix says
You are a *goddess*!! Store-bought cherry pie filling is so awful, I bet your filling was to die for! If I can find some sour cherries at our farmer's market I'm going to try this :) Yum!
Grumpy and HoneyB says
looks absolutely amazing Amanada!
jose manuel says
Estupenda tarta
Katrina says
Awesome, Amanda! I bought that same cherry pitter a couple months ago at Bed, Bath & Beyond. It's GREAT! Your photos are fantastic.
Tasty Eats At Home says
Gah, Amanda, that makes me HUNGRY! Congrats on your first cherry pie filling adventure. I actually went looking for a cherry pitter a few weeks back, and the guy at Sur La Table tried to talk me into that kind! I opted for the single version (takes up less room), but if I was doing what you did, I'd definitely appreciate that one!
Joyce says
I have never canned a thing but this looks wonderful. Now what is the name of the cherry pitter and where did your friend buy it? I would love one of those little gizmos.
Joyce
Anna says
I'm still scared of canning, but you did a remarkable job!
Heather Davis says
Love seeing & reading all about the process Amanda. I have always been nervous about canning but you make it look really easy. Thanks for sharing all of this with us!
jose manuel says
Riquisima esta mermelada. Saludos
Julie says
I'm so impressed! I'd love to get into canning but I'm a huge chicken.
Tami says
Awesome! I want to grab a spoon and dig into one of the jars. YUM!!
allison lemons says
Oh wow!! Canning cherry pie filling, what a great, great idea! I haven't seen sour cherries for a while – we have tons of Rainier, but not many sour. I really want to can something with nectarines this year. Not sure exactly what yet. Great post!
Elizabeth Wright says
Nectarines mixed with peaches makes the most DIVINE jam!
Amanda Formaro says
Mmm that does sound good!
Gail @ Faithfulness Farm says
Great job! I LOVE canning pie fillings and working with Clear Jel is so much better than cornstarch. Congratulations on your beautiful cherry pie filling :)
Blessings!
Gail
Leslie says
You rock! I have never had the nerve to can, even when I've had a jillion tomatoes. I am awed by the sheer volume of cherries you processed and the lovely pie filling you made. And that cherry pitter…MUST. HAVE.