

Easy buttery hibachi shrimp can be pan-seared right at home in under 15 minutes with a bit of sesame oil, oyster sauce, garlic, butter, and soy sauce.
Why this recipe works
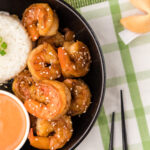
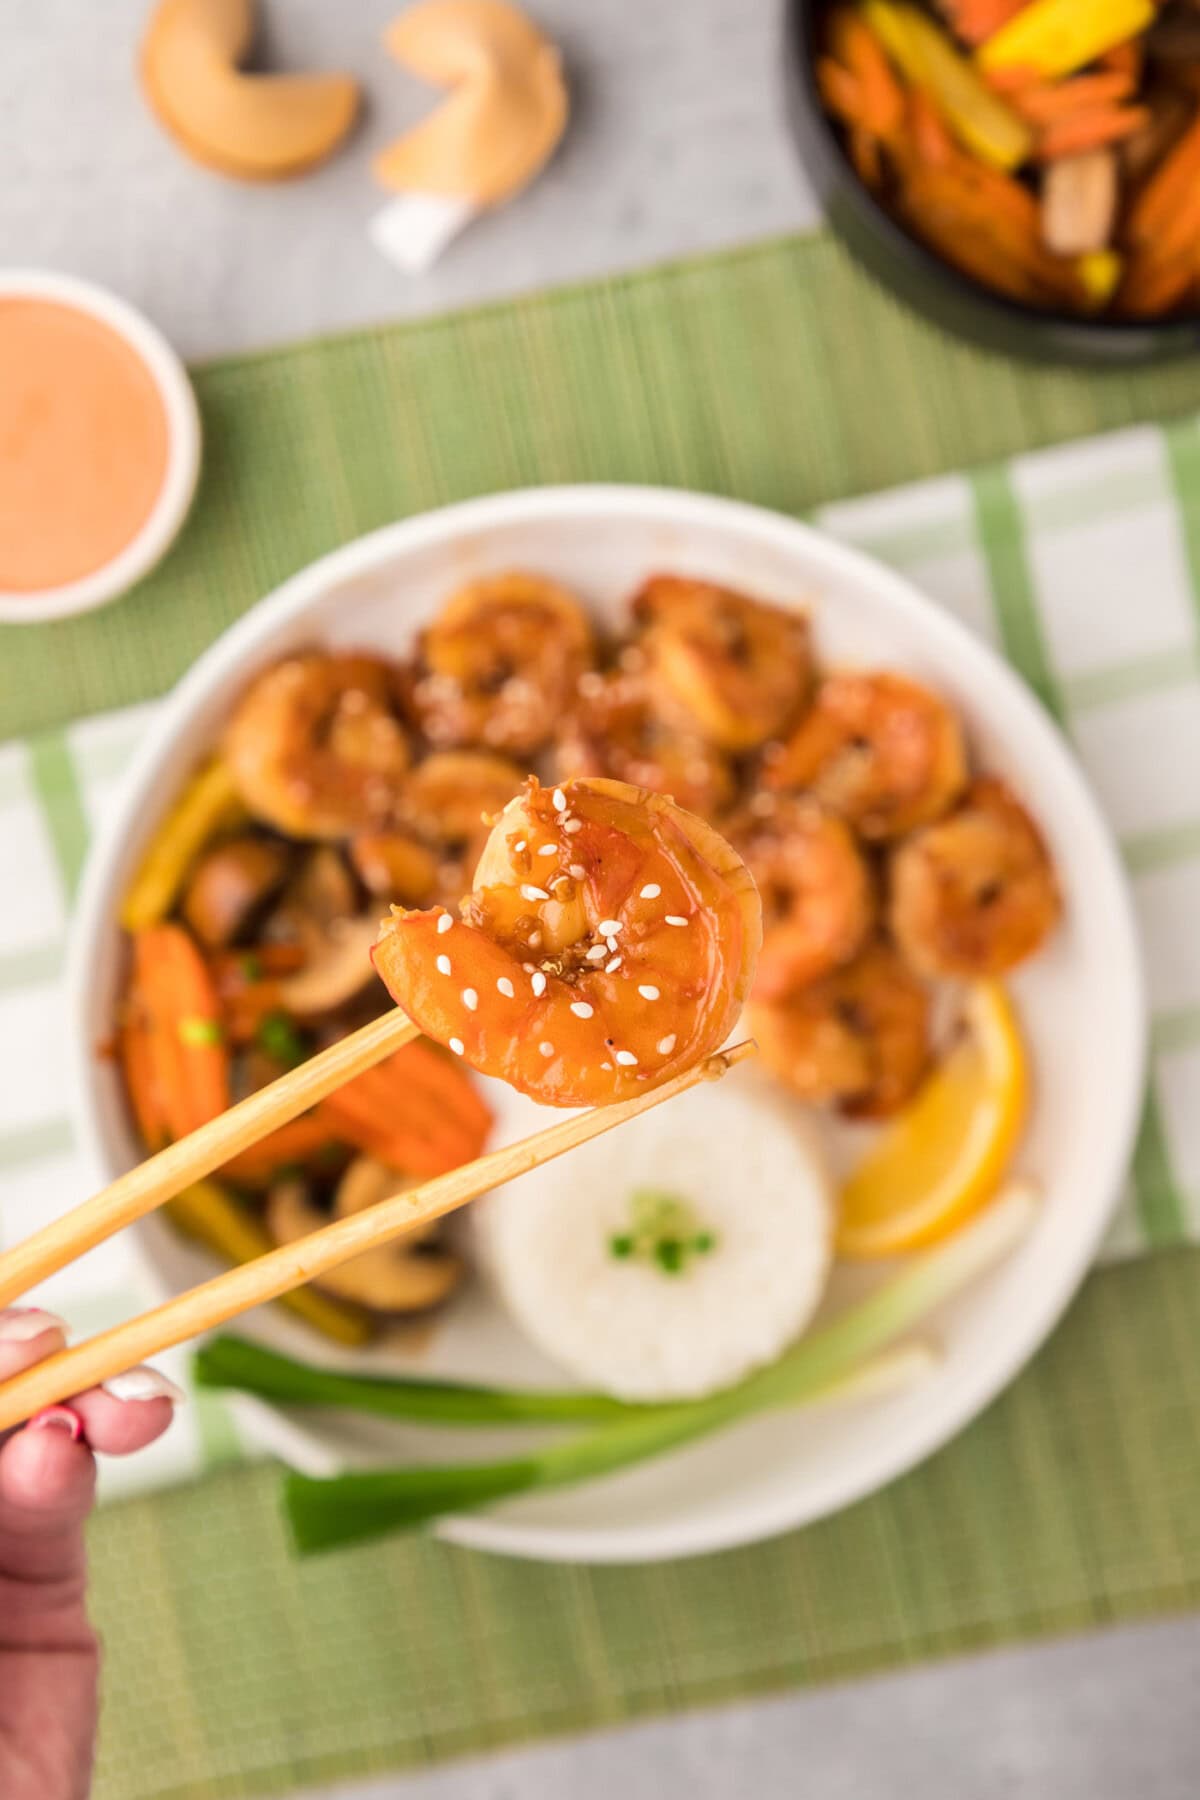
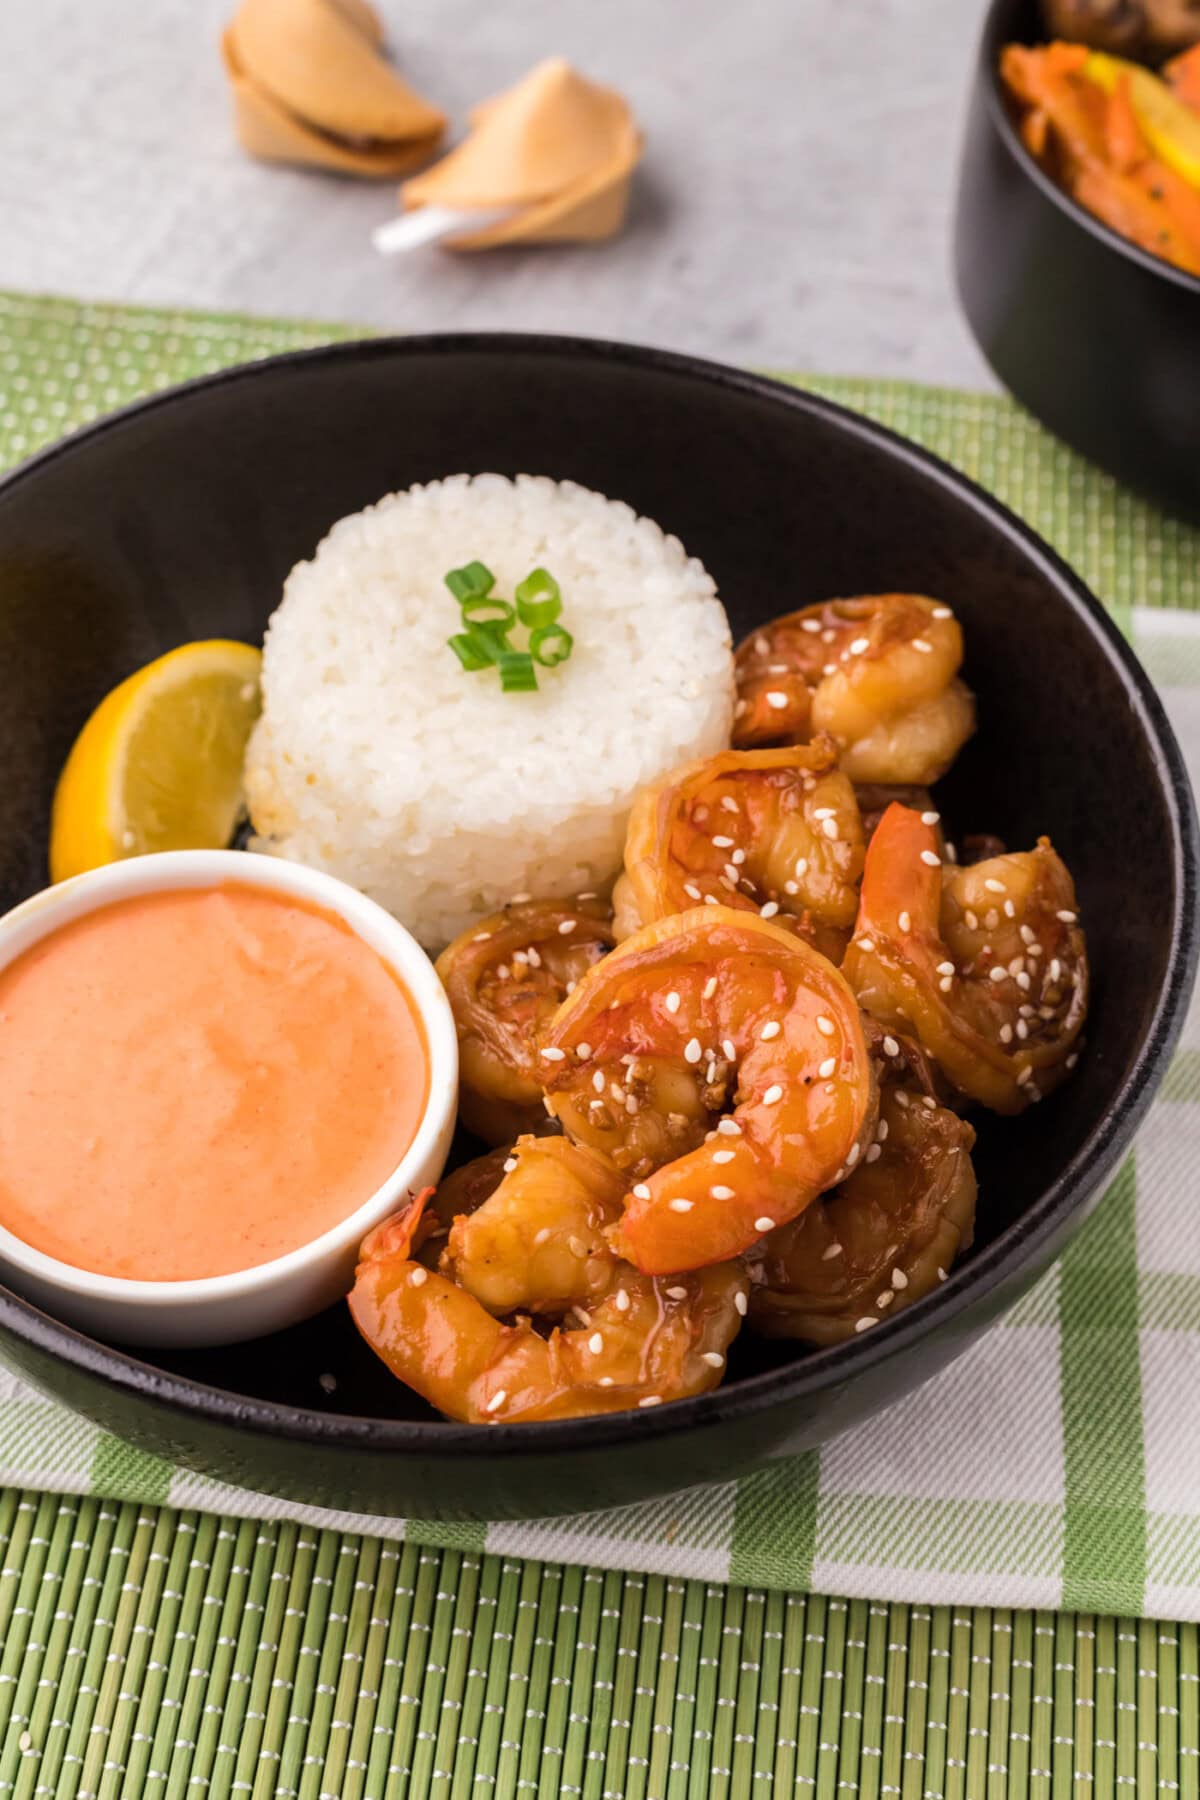
This hibachi shrimp recipe tastes like it just came off the sizzling hot griddle at your local Japanese hibachi grill. To make it, you’ll need a handful of ingredients and some raw grilling shrimp. Serve with homemade yum yum sauce for dipping, dunking, or drizzling as the finishing touch.
Ingredients you will need
Get all measurements, ingredients, and instructions in the printable version at the end of this post.
Ingredient Info and Substitution Suggestions
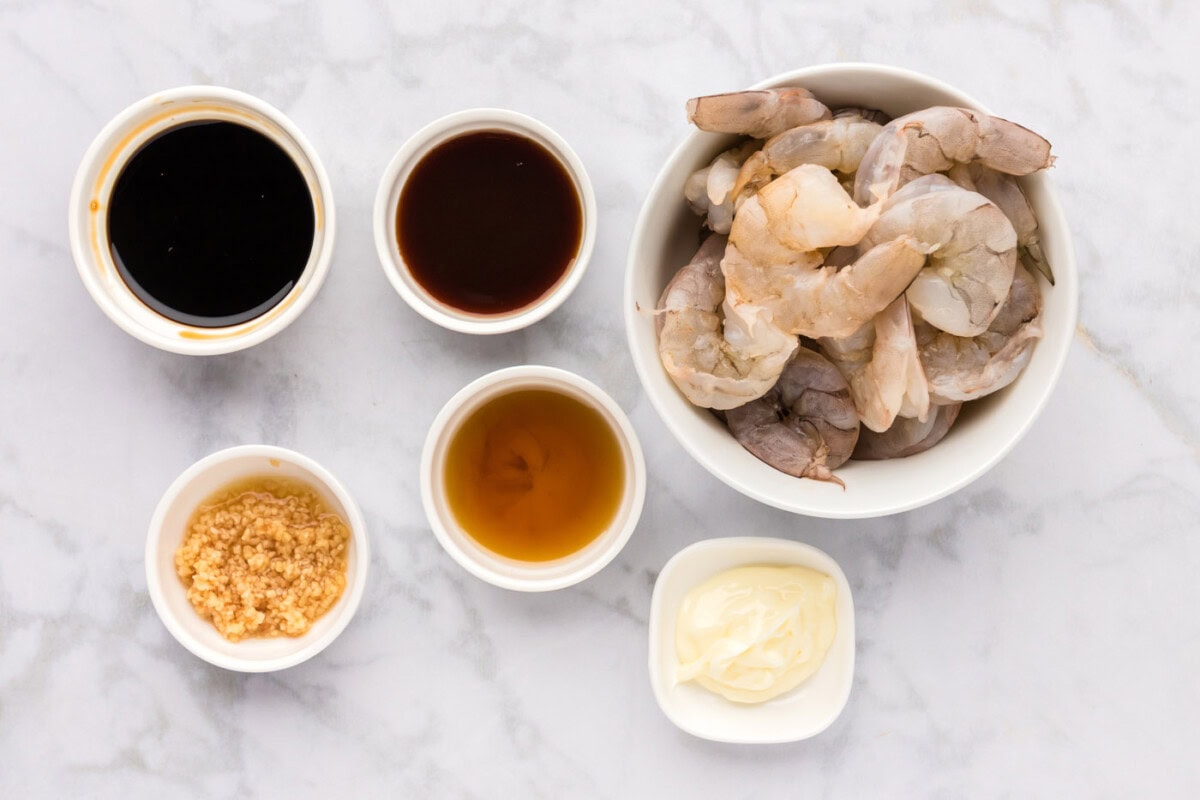
SHRIMP – We use grilling shrimp which we find at the seafood counter in our local grocery store. If you can’t find grilling shrimp, substitute with extra large raw shrimp.
How to Make Hibachi Shrimp
These step by step photos and instructions are here to help you visualize how to make this recipe. You can Jump to Recipe to get the printable version of this recipe, complete with measurements and instructions at the bottom.
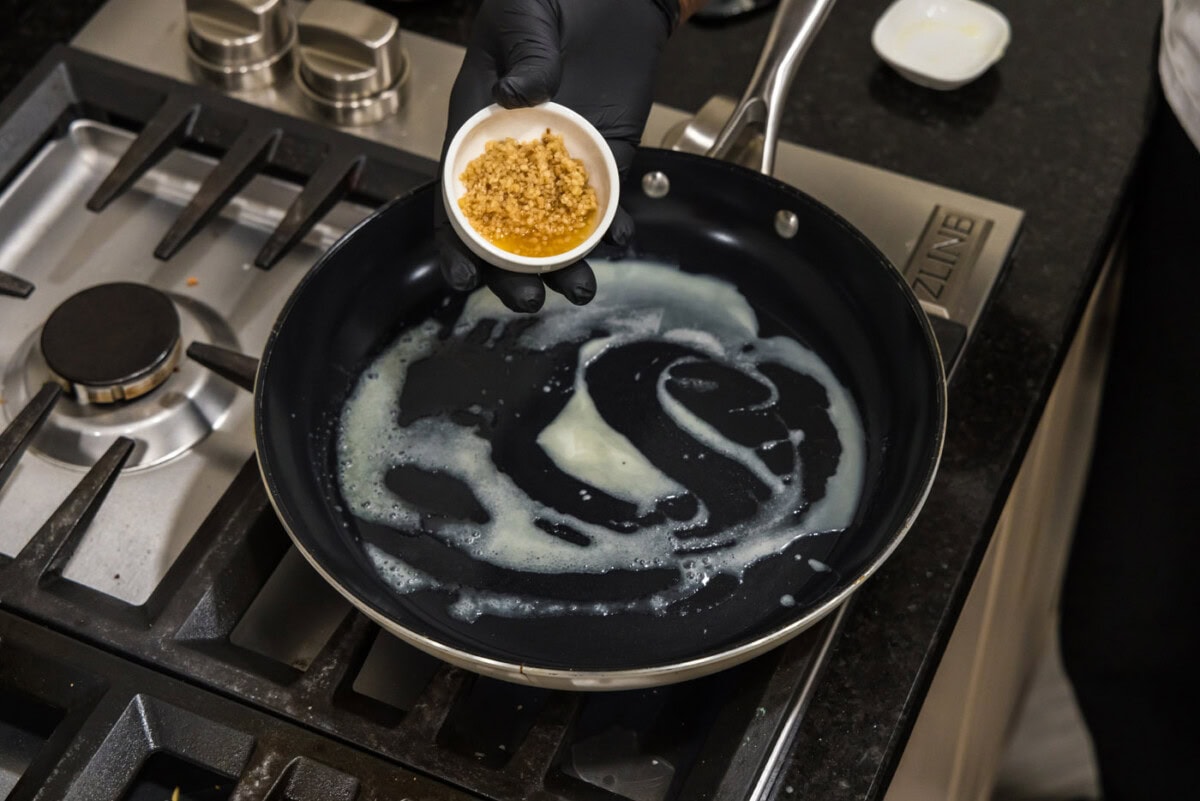
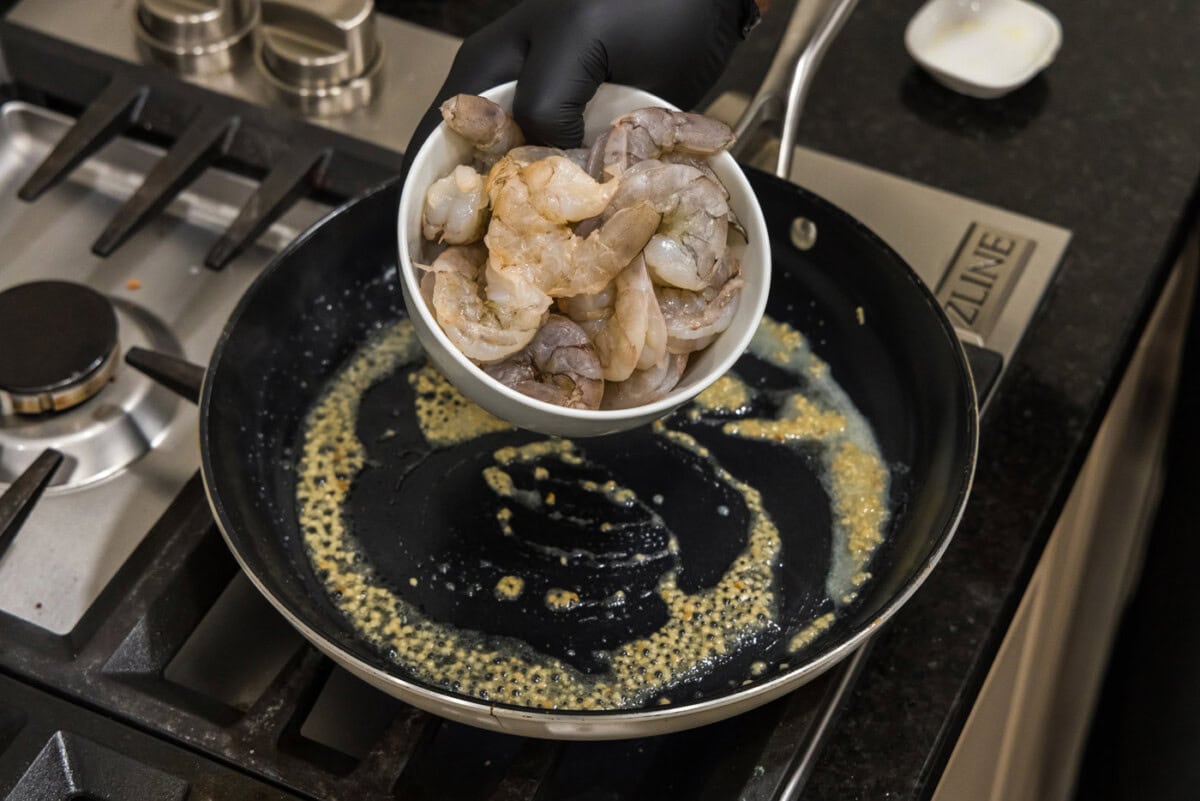
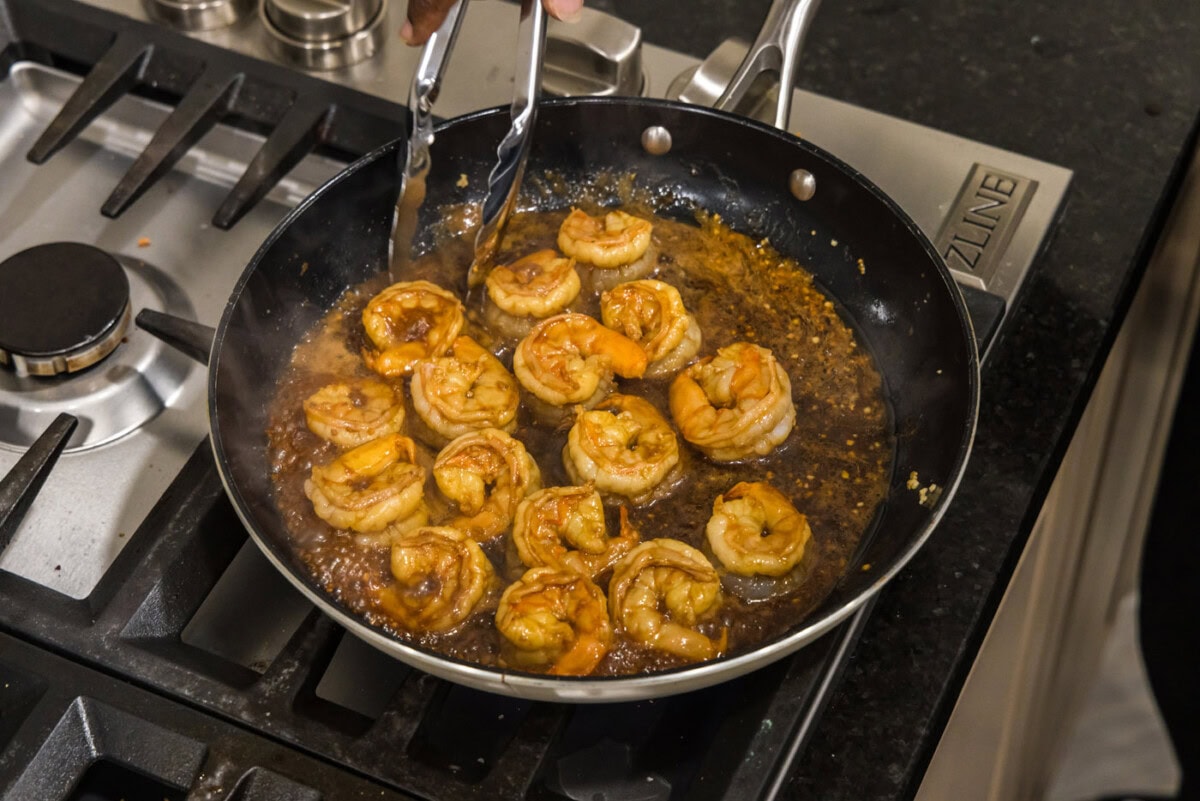
- Melt butter in a large skillet over medium-high heat. Add garlic and saute for 1 minute.
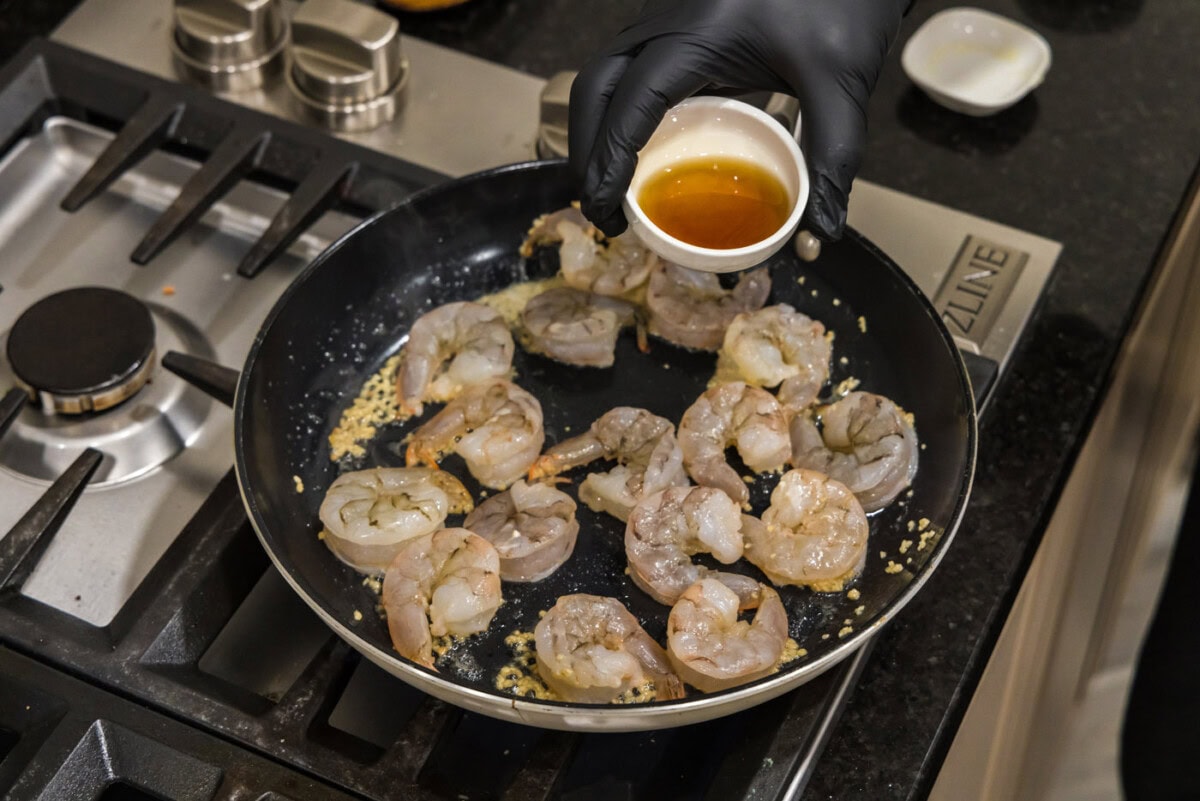
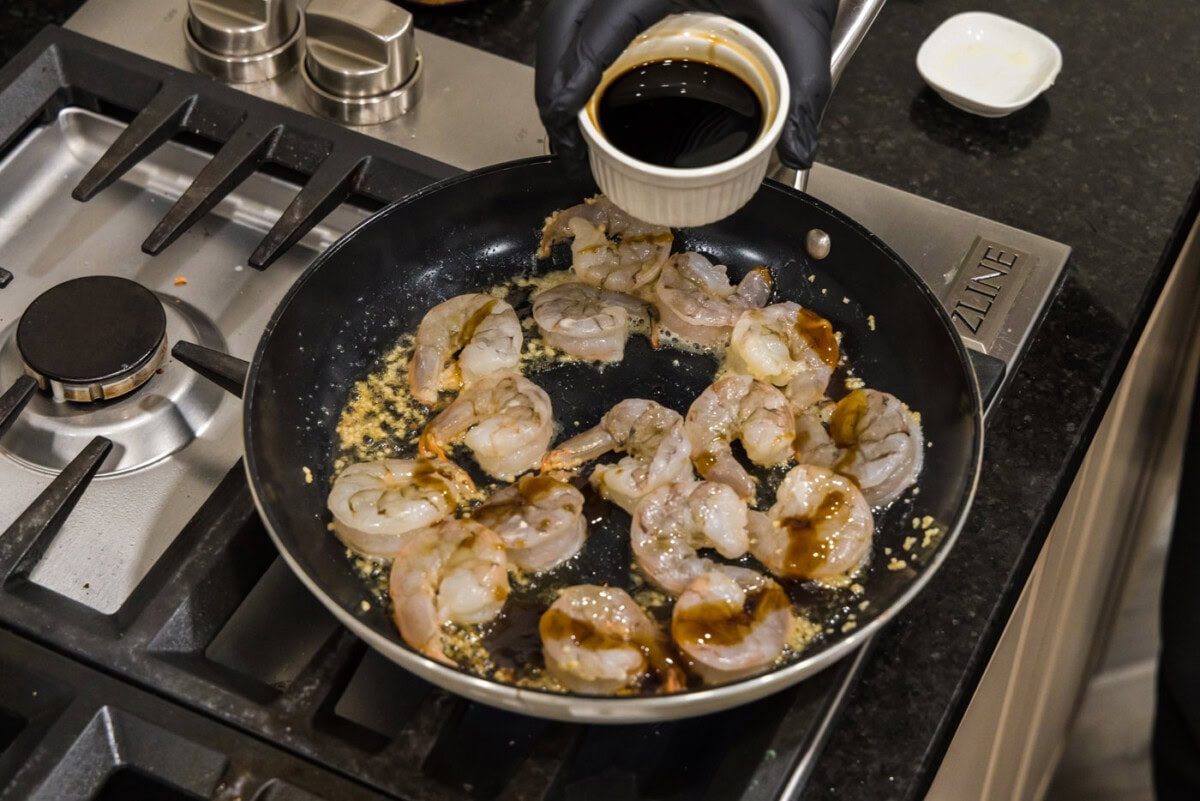
- Add shrimp, sesame oil, oyster sauce, and soy sauce. Cook for 2-3 minutes then turn shrimp over and cook 2-3 minutes more.
- Remove shrimp to a paper towel lined plate. Serve immediately.

Frequently Asked Questions & Expert Tips
Yes, you can use both frozen and precooked shrimp. However, you will definitely want to thaw the frozen shrimp and pat them dry before beginning. Precooked shrimp will not need as long in the skillet, just enough to heat them through. I always recommend raw shrimp over precooked as the flavor and texture are better when you start with raw, but it’s fine to use precooked in a pinch.
Although hibachi shrimp is best served fresh, you can store any leftovers in an air-tight container for 2-3 days. Reheat in a skillet over medium-low heat just until warmed through. Do note that shrimp is easily overcooked, even when reheating.

Serving Suggestions
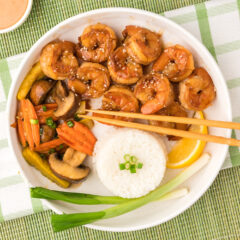
Serve hibachi shrimp with yum yum sauce or homemade teriyaki sauce to dip with along with a side of white or fried rice. Optionally garnish with sesame seeds. This shrimp also pairs well with a variety of stir-fried vegetables that you can sear in the same pan.
More Shrimp Recipes
I love to bake and cook and share my kitchen experience with all of you! Remembering to come back each day can be tough, that’s why I offer a convenient newsletter every time a new recipe posts. Simply subscribe and start receiving your free daily recipes!
Hibachi Shrimp
IMPORTANT – There are often Frequently Asked Questions within the blog post that you may find helpful. Simply scroll back up to read them!
Print It Pin It Rate ItIngredients
- 2 ½ Tablespoons unsalted butter
- 2 ½ Tablespoons minced garlic
- 1 pound raw grilling shrimp peeled, and tail shells removed
- 3 Tablespoons sesame oil
- 3 Tablespoons oyster sauce
- 4 Tablespoons low sodium soy sauce
Things You’ll Need
Before You Begin
- If you can’t find grilling shrimp (we get it at the seafood counter in our local grocery store), you can buy extra large shrimp.
- Although hibachi shrimp is best served fresh, you can store any leftovers in an air-tight container for 2-3 days. Reheat in a skillet over medium-low heat just until warmed through. Do note that shrimp is easily overcooked, even when reheating.
Instructions
- Melt butter in a large skillet over medium-high heat. Add garlic and saute for 1 minute.
- Add shrimp, sesame oil, oyster sauce, and soy sauce. Cook for 2-3 minutes then turn shrimp over and cook 2-3 minutes more.
- Remove shrimp to a paper towel lined plate. Serve immediately.
Nutrition
The recipes on this blog are tested with a conventional gas oven and gas stovetop. It’s important to note that some ovens, especially as they age, can cook and bake inconsistently. Using an inexpensive oven thermometer can assure you that your oven is truly heating to the proper temperature. If you use a toaster oven or countertop oven, please keep in mind that they may not distribute heat the same as a conventional full sized oven and you may need to adjust your cooking/baking times. In the case of recipes made with a pressure cooker, air fryer, slow cooker, or other appliance, a link to the appliances we use is listed within each respective recipe. For baking recipes where measurements are given by weight, please note that results may not be the same if cups are used instead, and we can’t guarantee success with that method.

- Grilled Chicken Thighs - July 15, 2026
- Air Fryer Corn on the Cob - July 9, 2026
- Grilled Chicken Wings - July 6, 2026


Leave a Reply