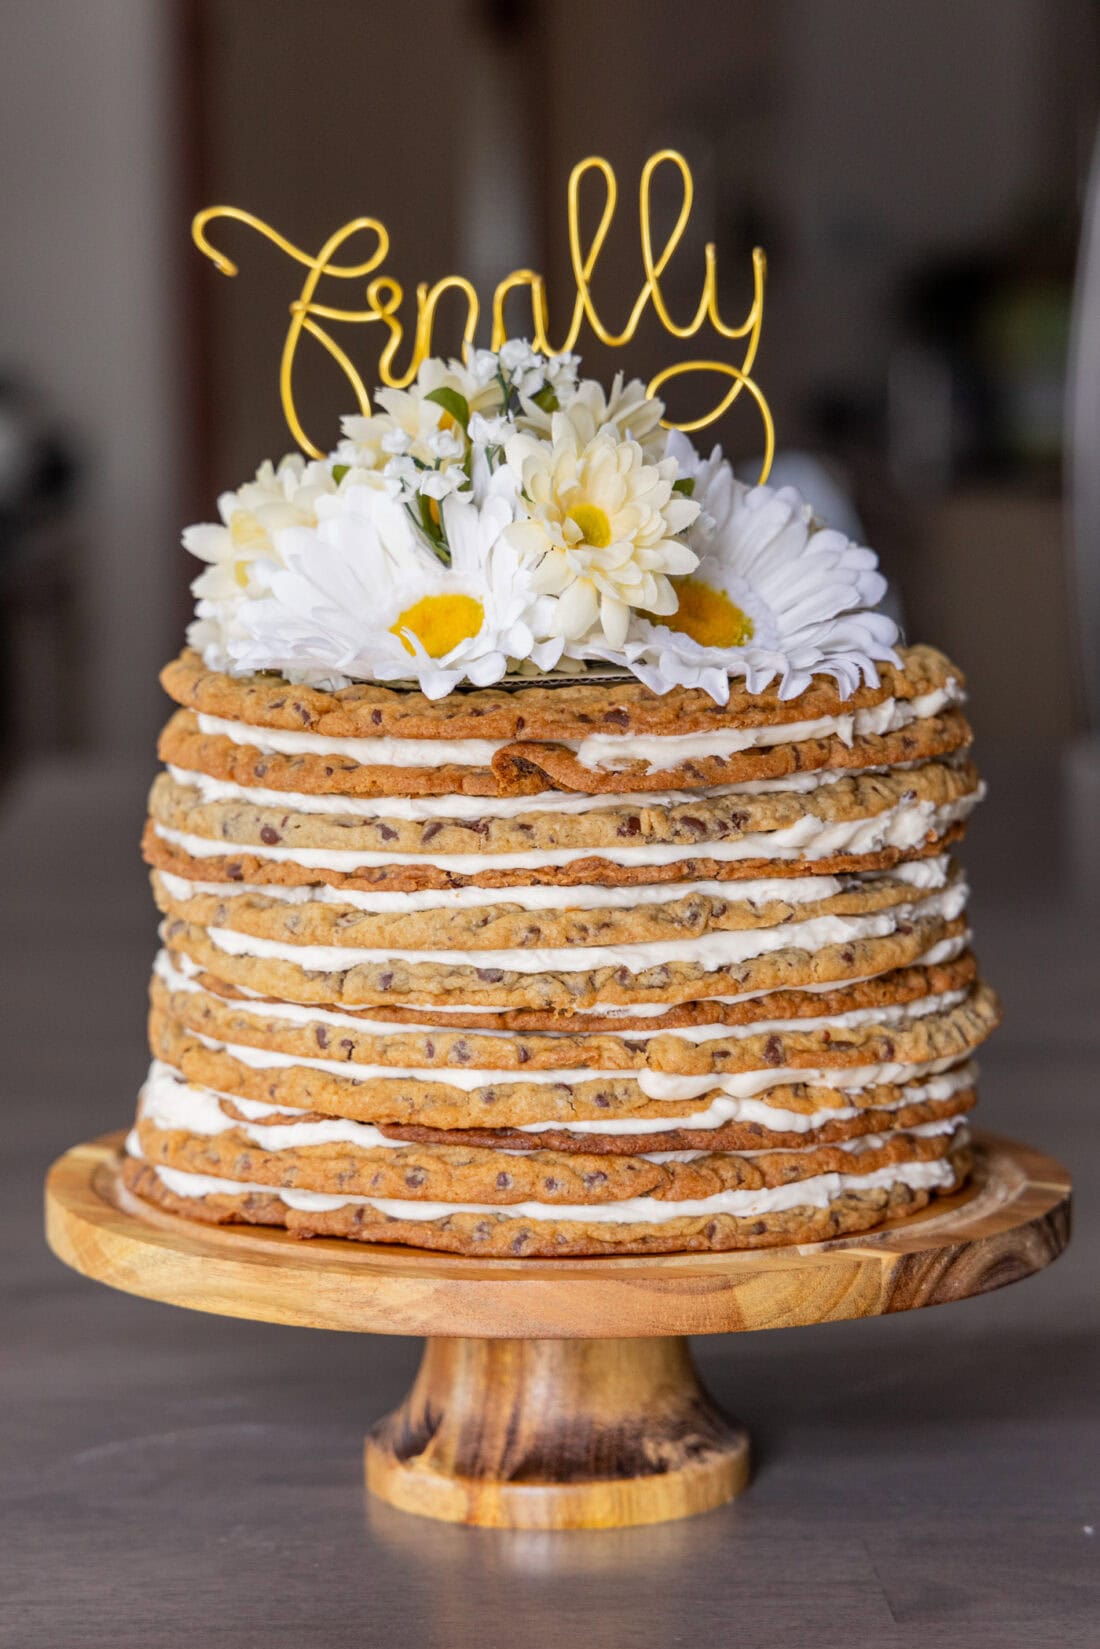
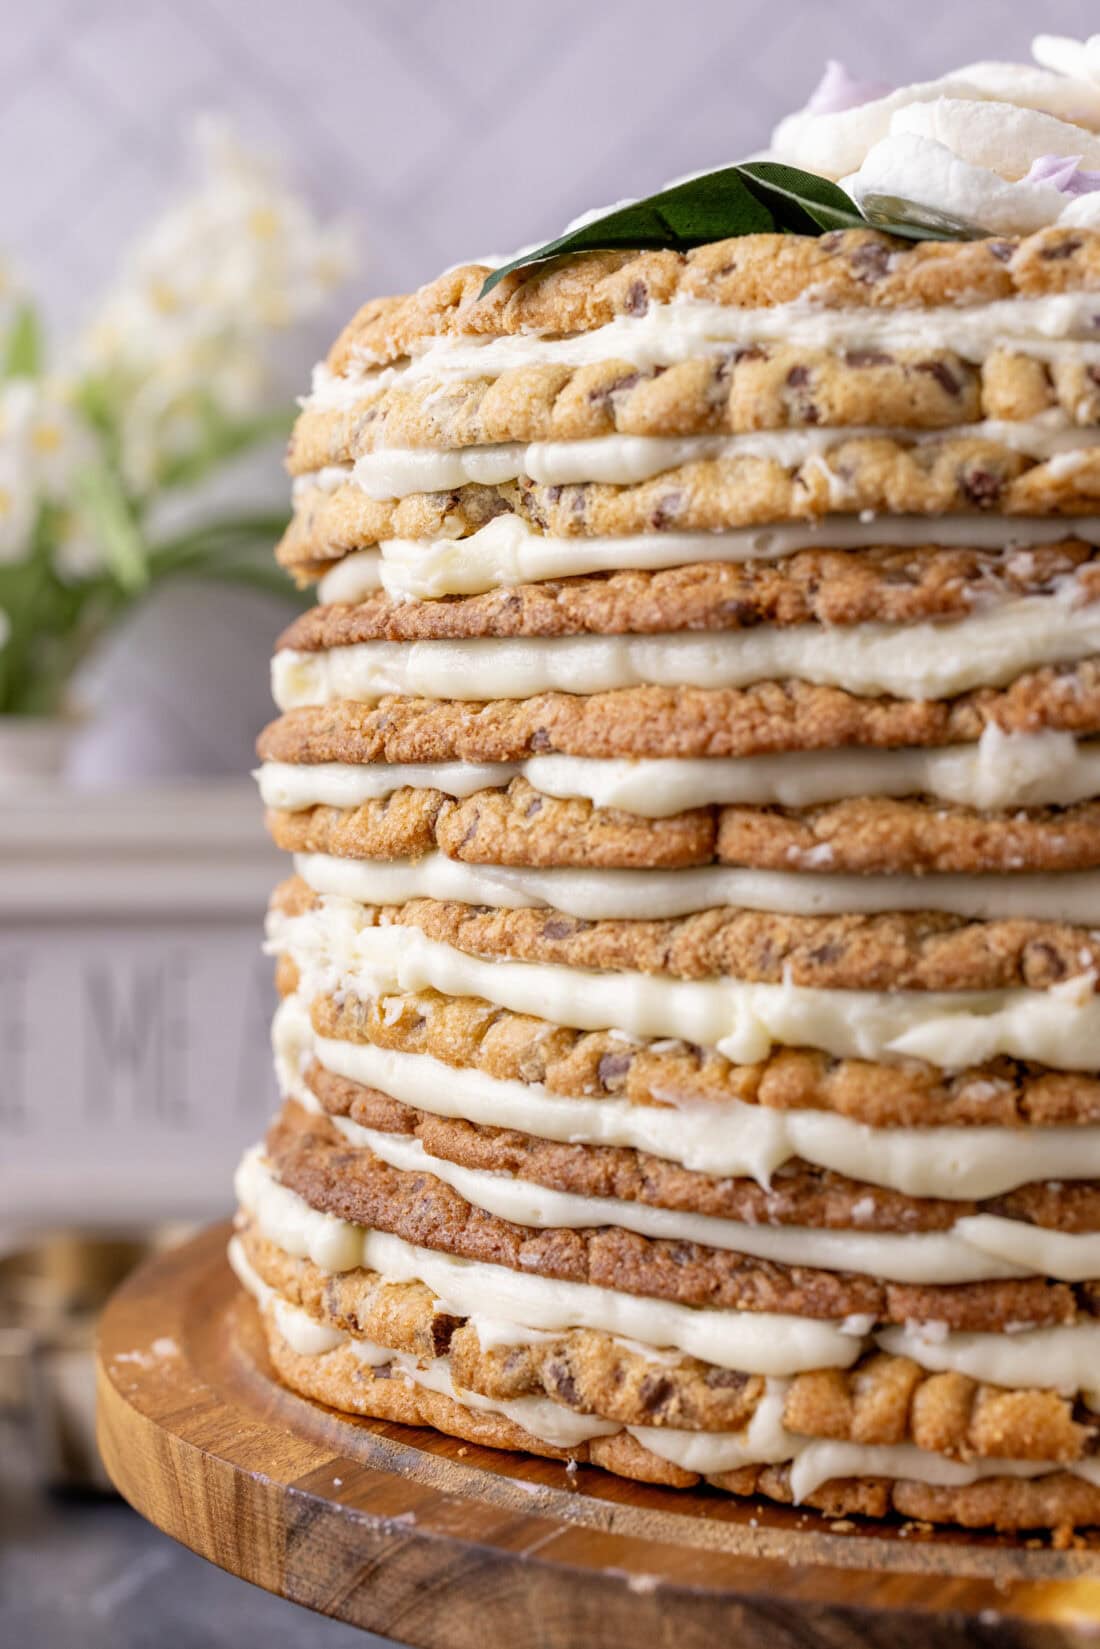
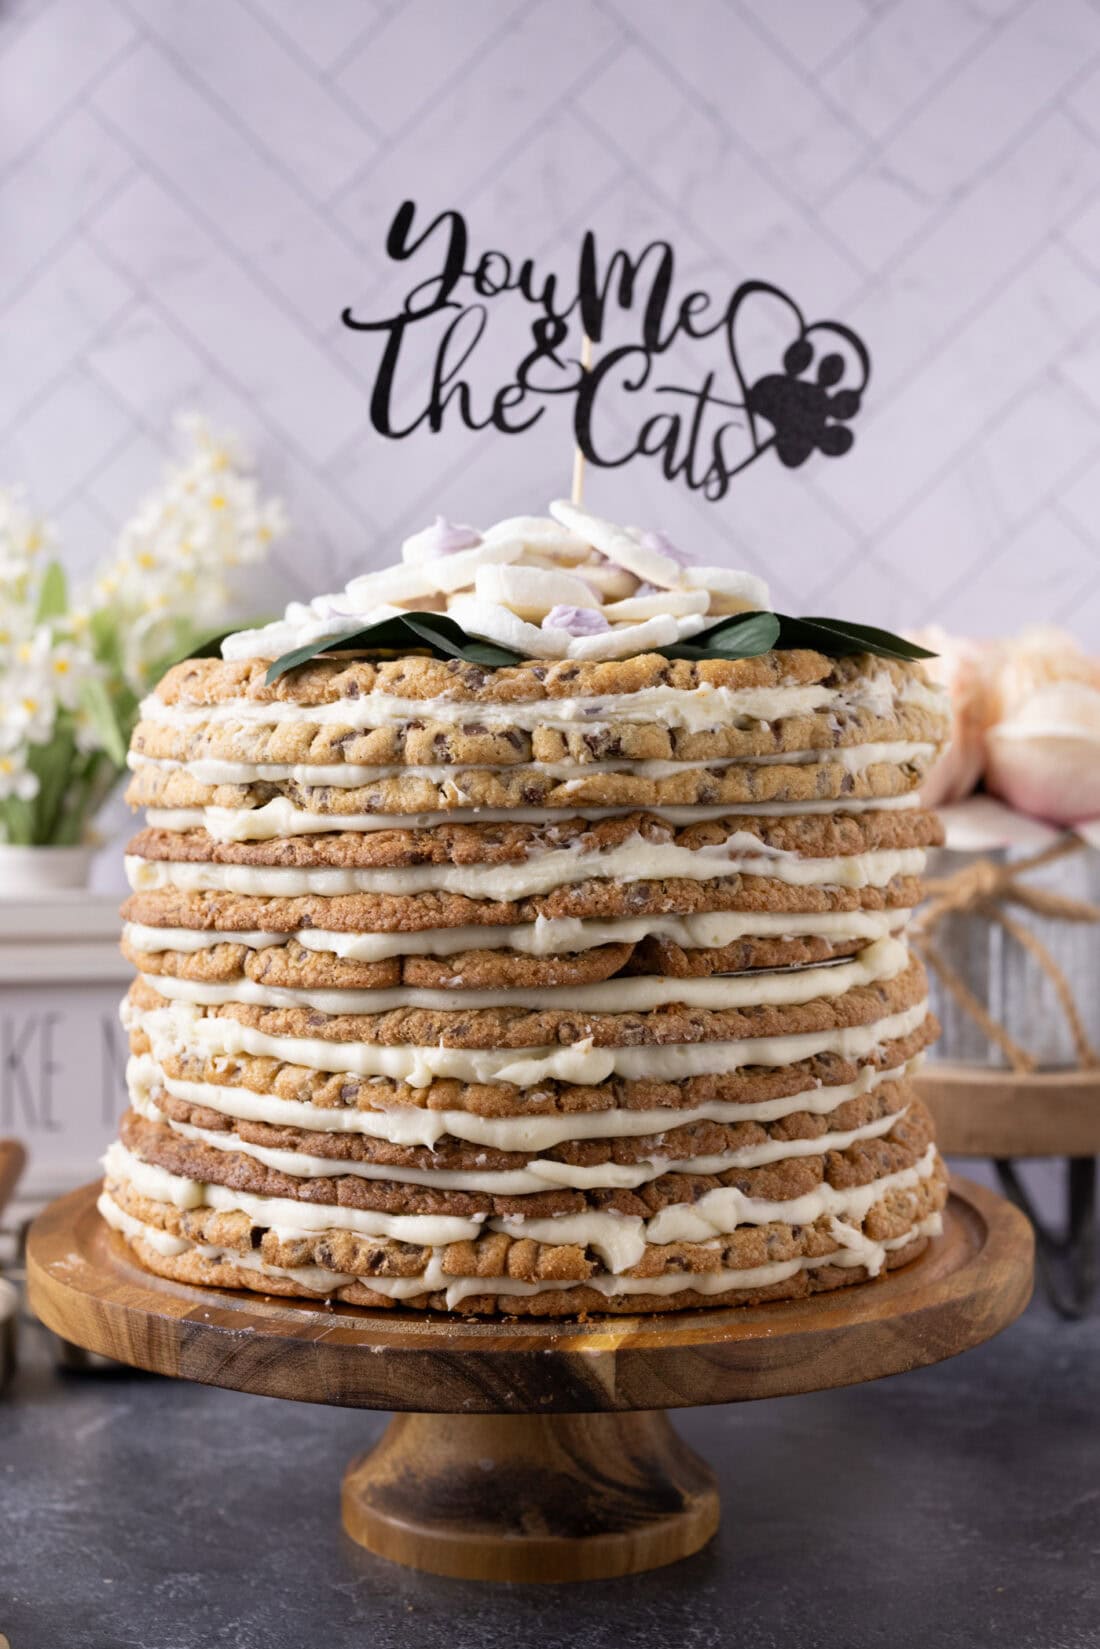
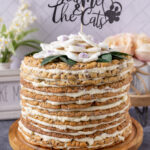
A skyscraper of chewy chocolate studded cookies with layers of buttercream frosting in between makes this gorgeous chocolate chip cookie tower the show stopper that it is.
Why this recipe works
Move aside single layer cookie cakes because this chocolate chip cookie tower didn’t come to play! There are 12 giant chocolate chip cookies in this recipe separated by decadent buttercream frosting. To make this cake secure, you’ll need to layer cardboard cake rounds between every 4 cookies.
I’ve had the honor of making this chocolate chip cookie tower twice now, both of which were for my two youngest sons’ weddings. You can see both versions in the post here with their different cake toppers! Not only is this cookie tower great for weddings, but it’d be perfect for birthdays, graduation parties, family reunions, or large potlucks where you’re looking for a dessert to feed a crowd. This baby should yield around 32 slices among the 3 different layers.
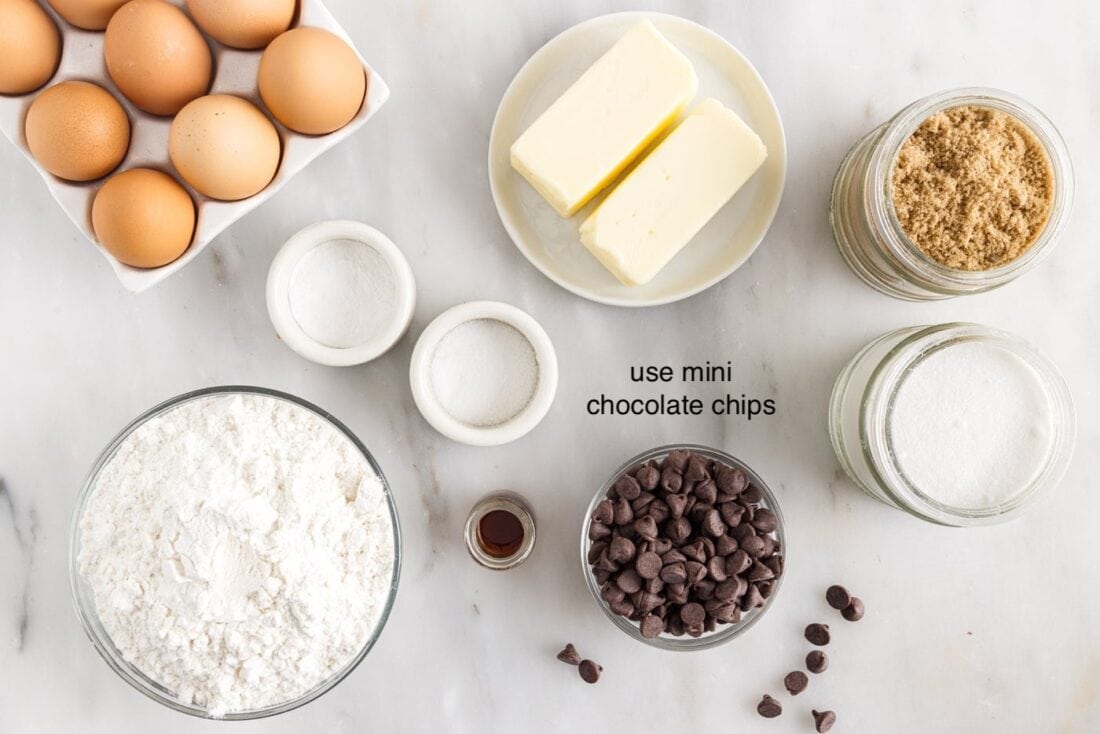
Ingredients you will need
Get all measurements, ingredients, and instructions in the printable version at the end of this post.
Ingredient Info and Substitution Suggestions
COOKIES – You will need 3 batches of cookie dough to make the tower. We tried making these giant cookies with our favorite chocolate chip cookie recipe but it just worked better with our Toll House recipe.
FROSTING – Just like you have to multiply the cookie recipe, you’ll need to do the same with the buttercream frosting. To make enough frosting, you will need to make 4 batches. Making a giant cookie cake is a labor of love, but I promise it’s worth it in the end.
How to Make Chocolate Chip Cookie Tower
These step by step photos and instructions are here to help you visualize how to make this recipe. You can Jump to Recipe to get the printable version of this recipe, complete with measurements and instructions at the bottom.
Making the Cookie Dough
- Make 3 separate batches of cookie dough. Instructions for ONE batch follows.
- Combine the flour, baking soda, and salt in a small mixing bowl and set aside.
- In a large bowl, beat the butter, granulated sugar, brown sugar, and vanilla extract with a hand mixer or stand mixer.
- Add the eggs, one at a time, beating well after each addition.
- Slowly add in the flour mixture until combined.
- Weigh the dough then divide it into 4 smaller batches. Form each smaller batch into a circle. Flatten between 2 pieces of wax paper or parchment paper, rolling until the rolling pin is hitting the mini chocolate chips.
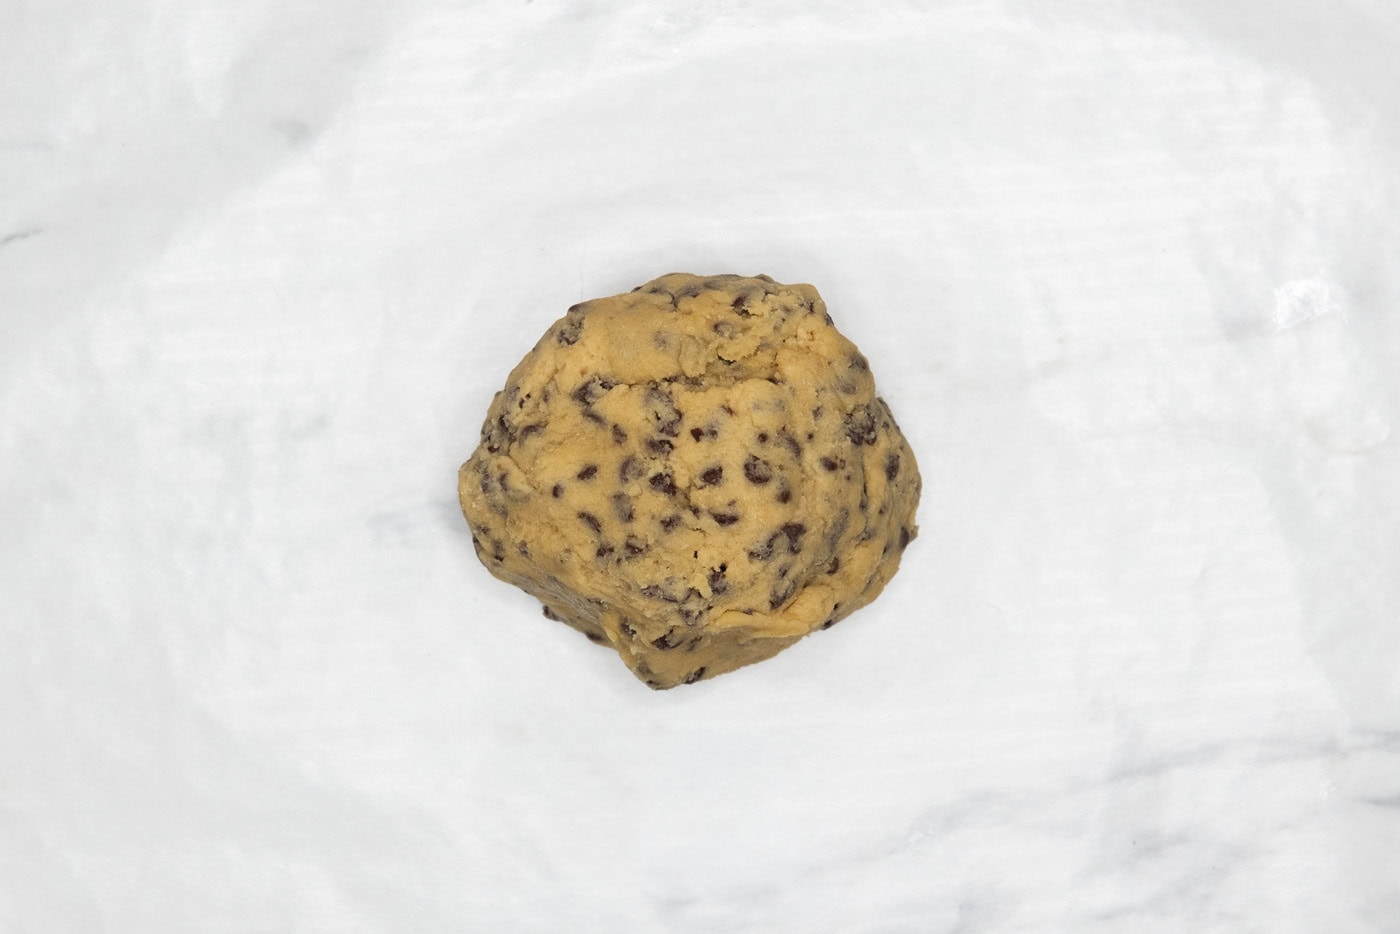
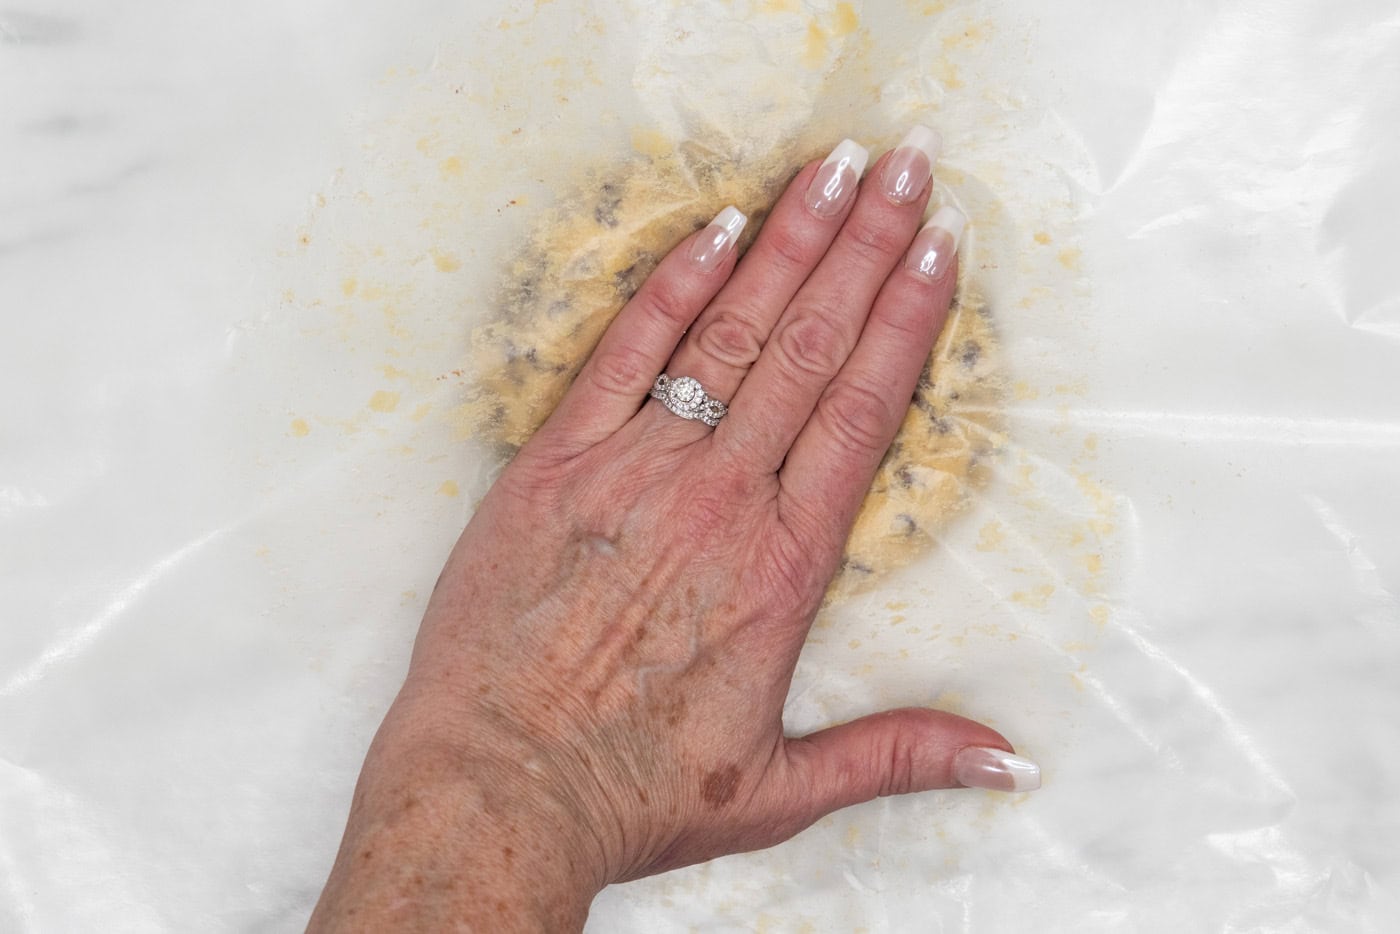
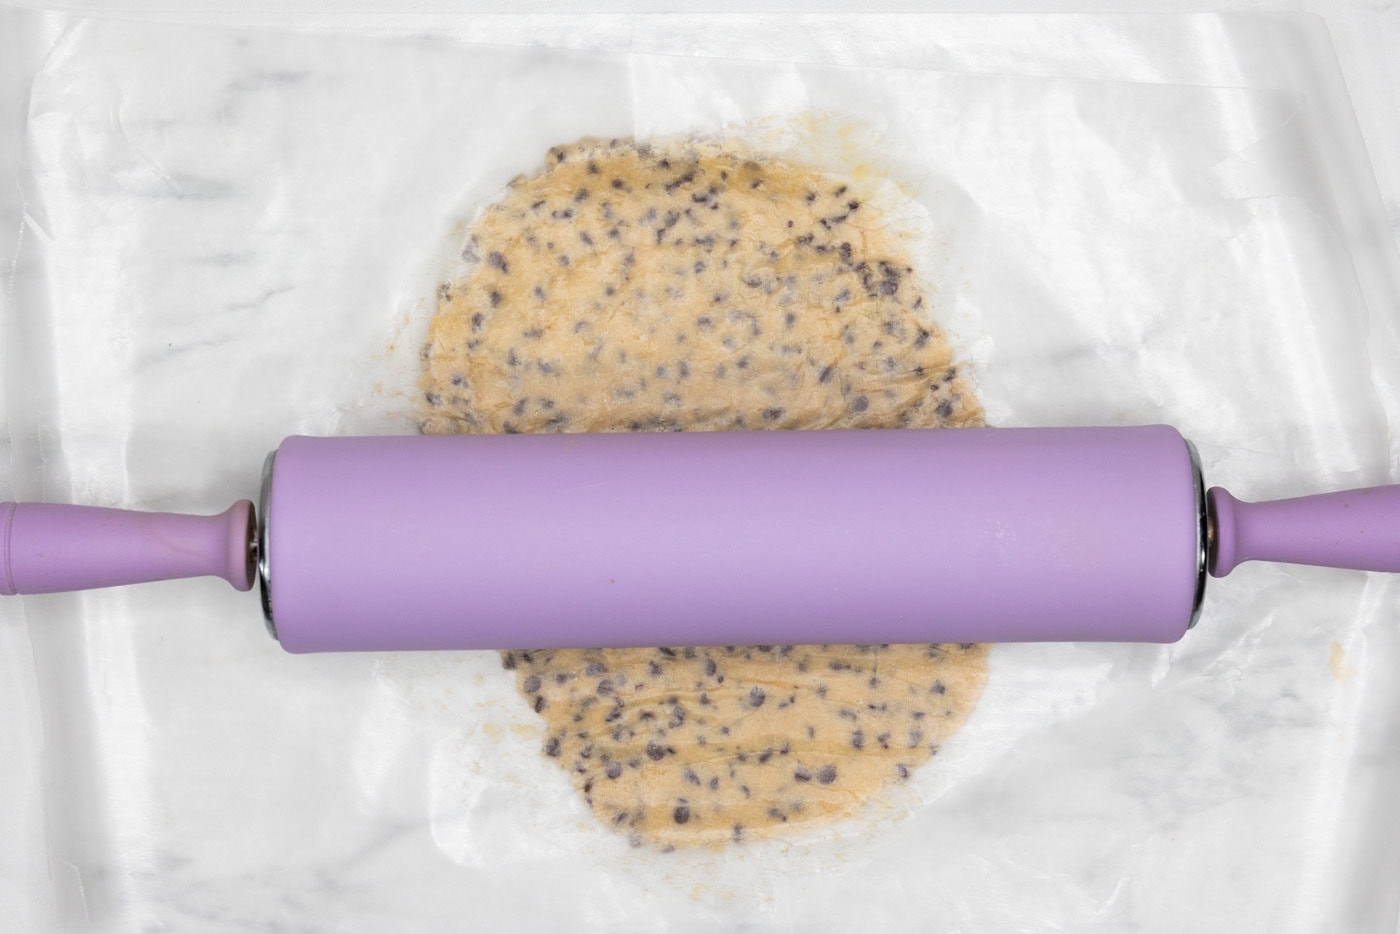
- Freeze circles, separated between sheets of wax paper or parchment, for 2 hours or up to a month.
- Repeat for 2 more batches.
Making the Buttercream
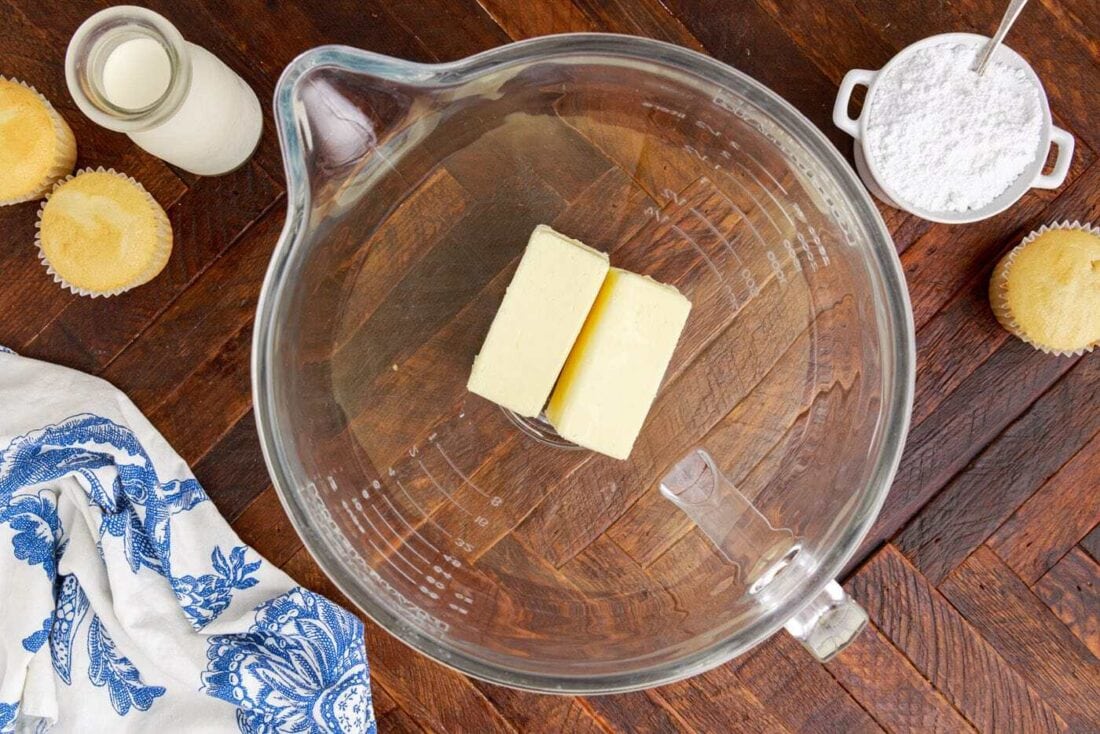
- Beat softened butter in the bowl of a stand mixer using the whisk attachment until light and fluffy.
- Add in powdered sugar. Mix slowly, gradually increasing the speed so that the powdered sugar stays in the mixing bowl.
- Beat in vanilla extract.
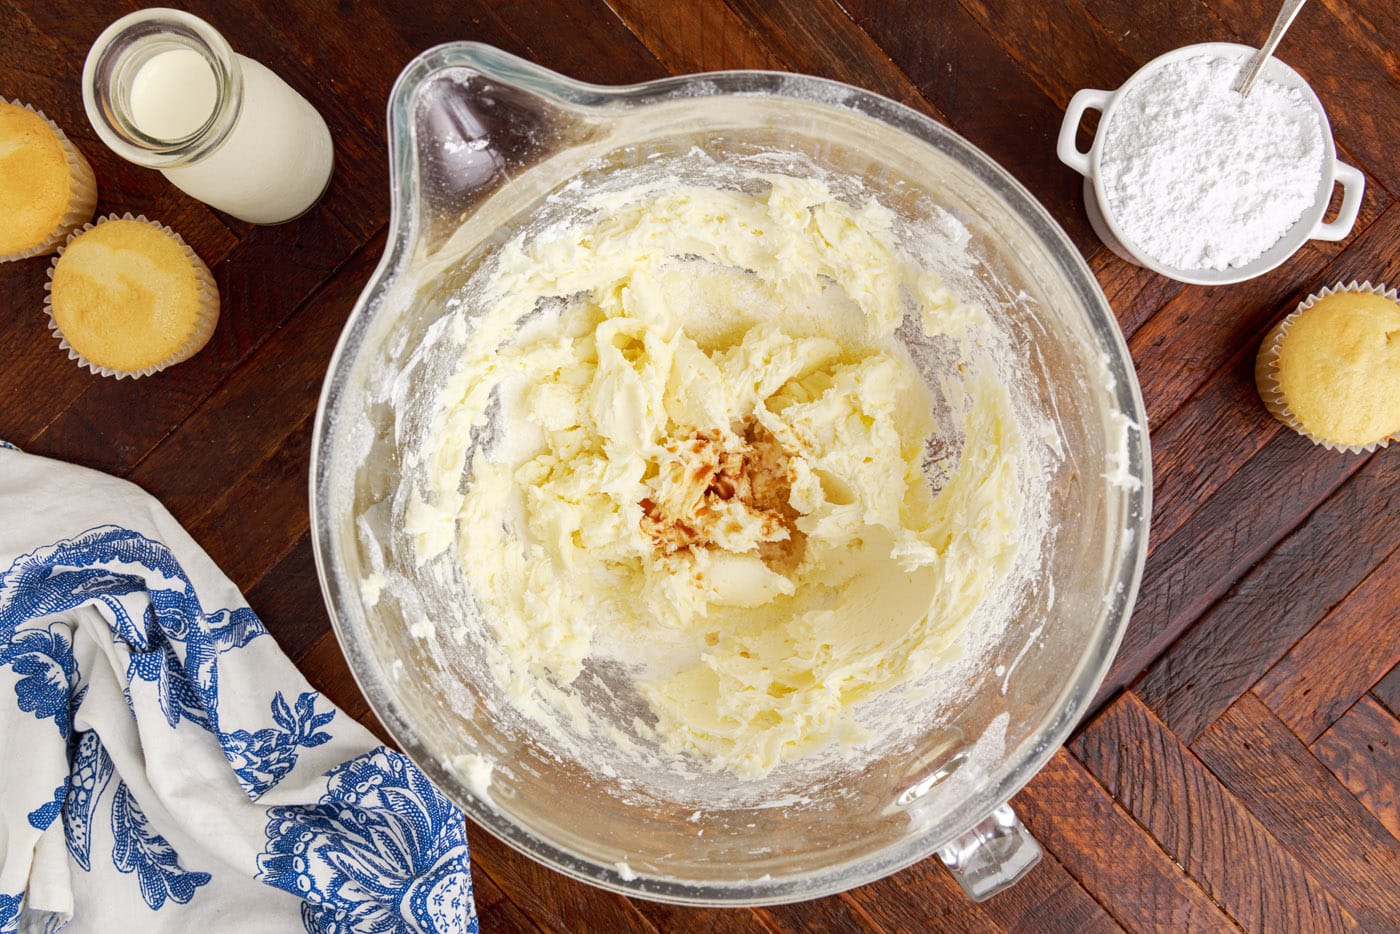
- Add the heavy cream and whisk on high speed. Scrape down the sides of the bowl, beat until desired consistency is achieved (about 5 minutes).
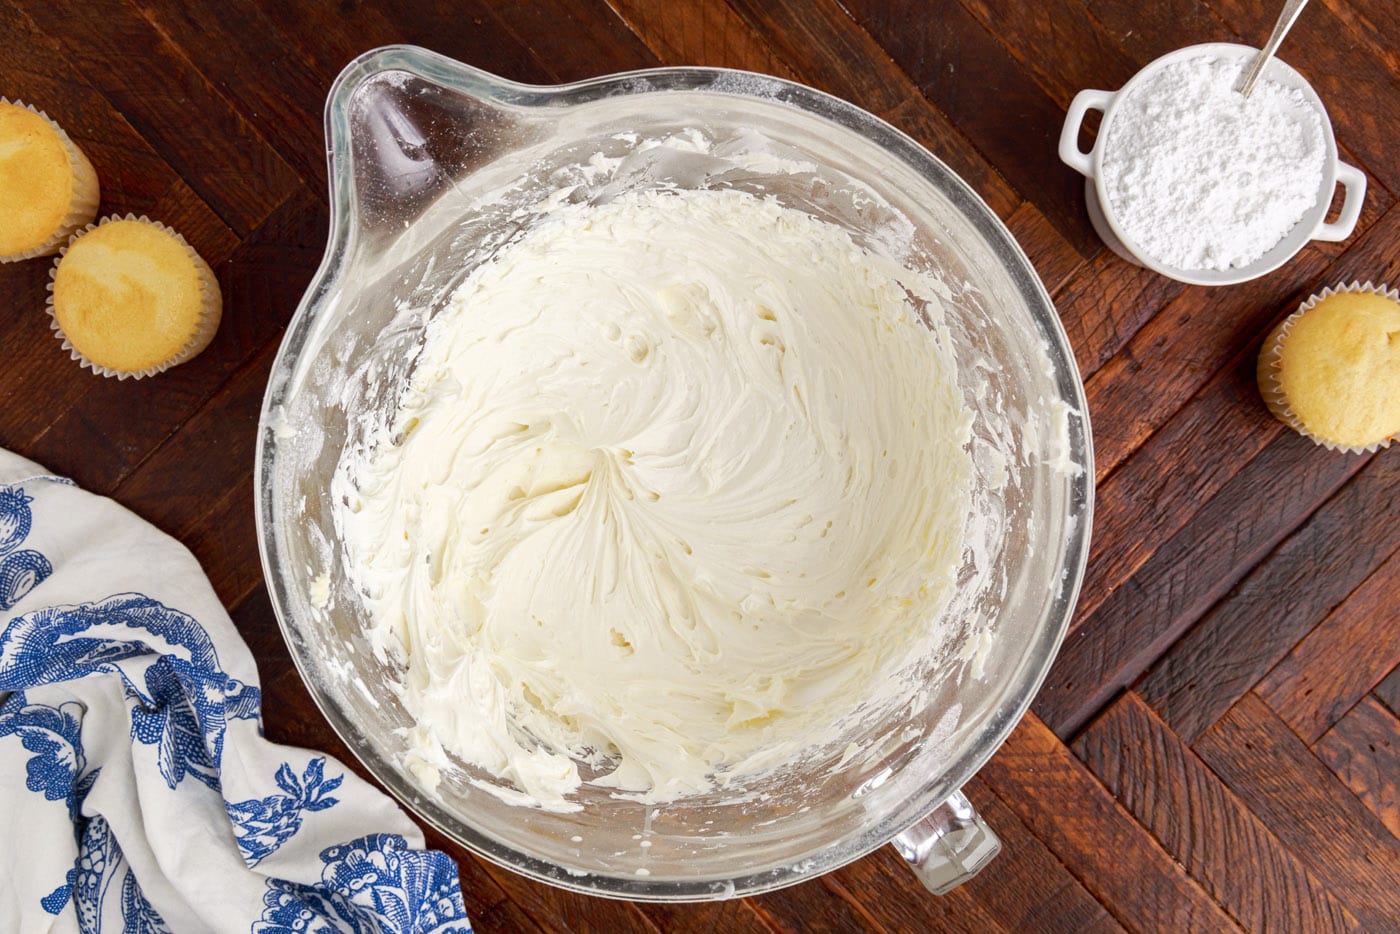
- Repeat for 3 more batches.
Baking the Layers
- Preheat oven to 375 F. Line an insulated baking sheet with parchment paper. I used 4 total, but if you only have 1 or 2 that’s fine as well.
- Bake the cookie layers, one at a time, straight from freezer. Bake for 10-12 minutes, mine were good at 11.5 minutes.
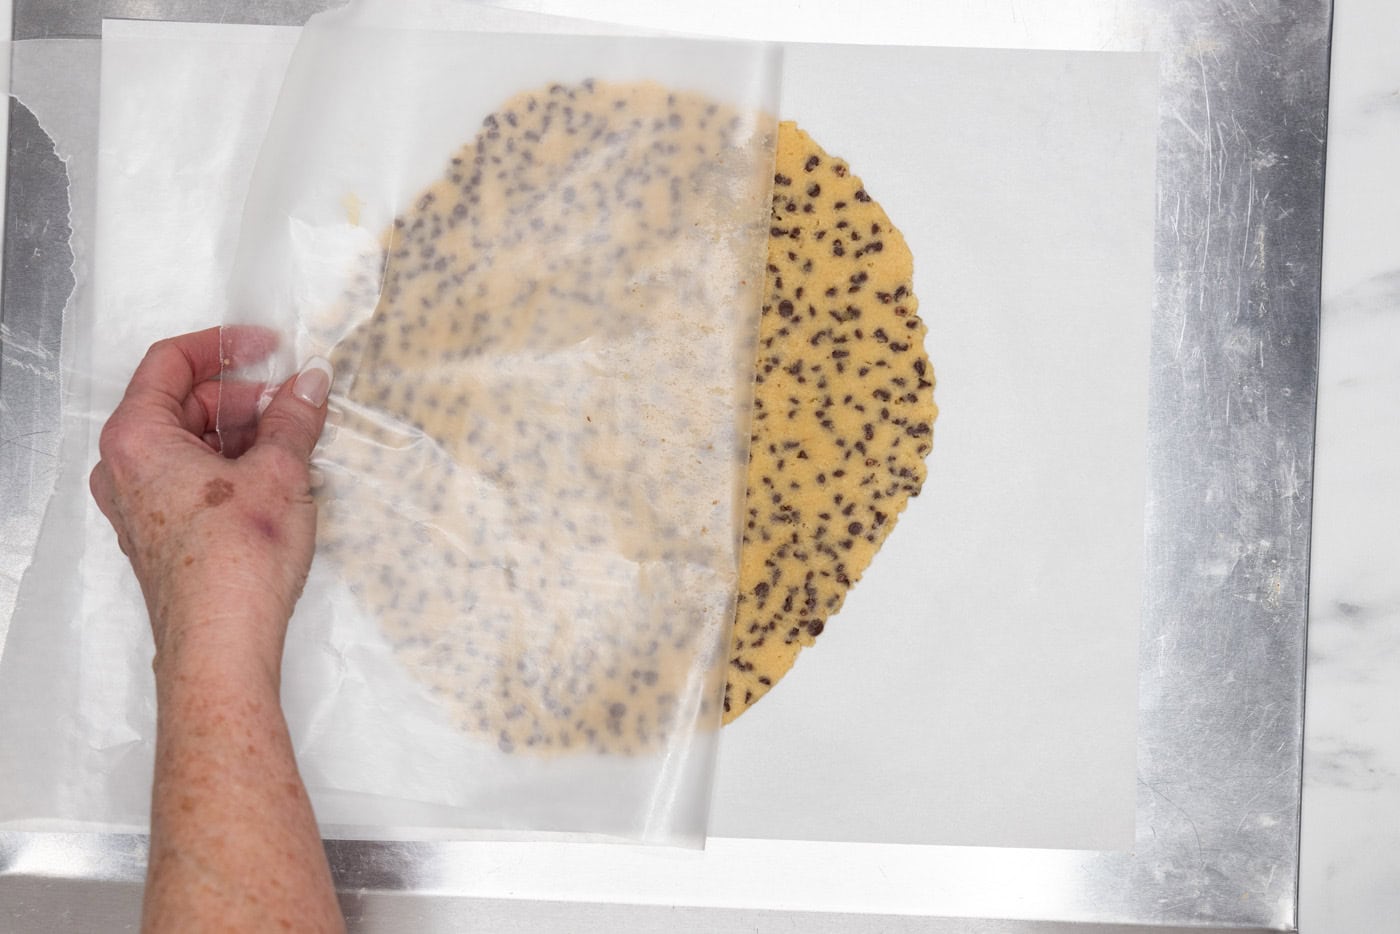
- As soon as you remove the cookie sheet from the oven, use the edge of the spatula to form the hot cookie into a 9-inch circle.
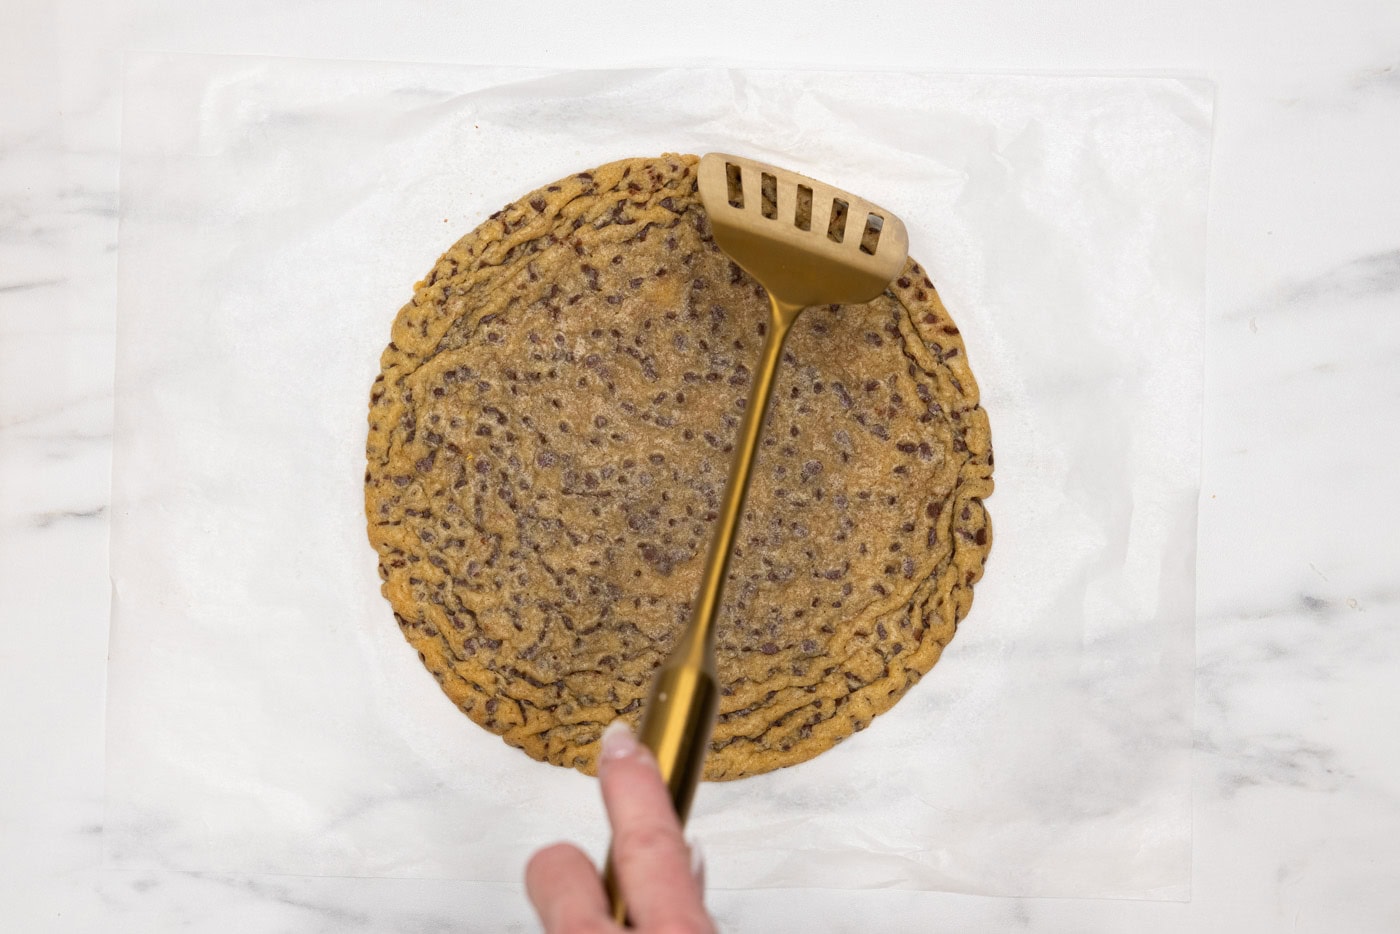
- Slide parchment with cookie onto a cooling rack and cool completely.
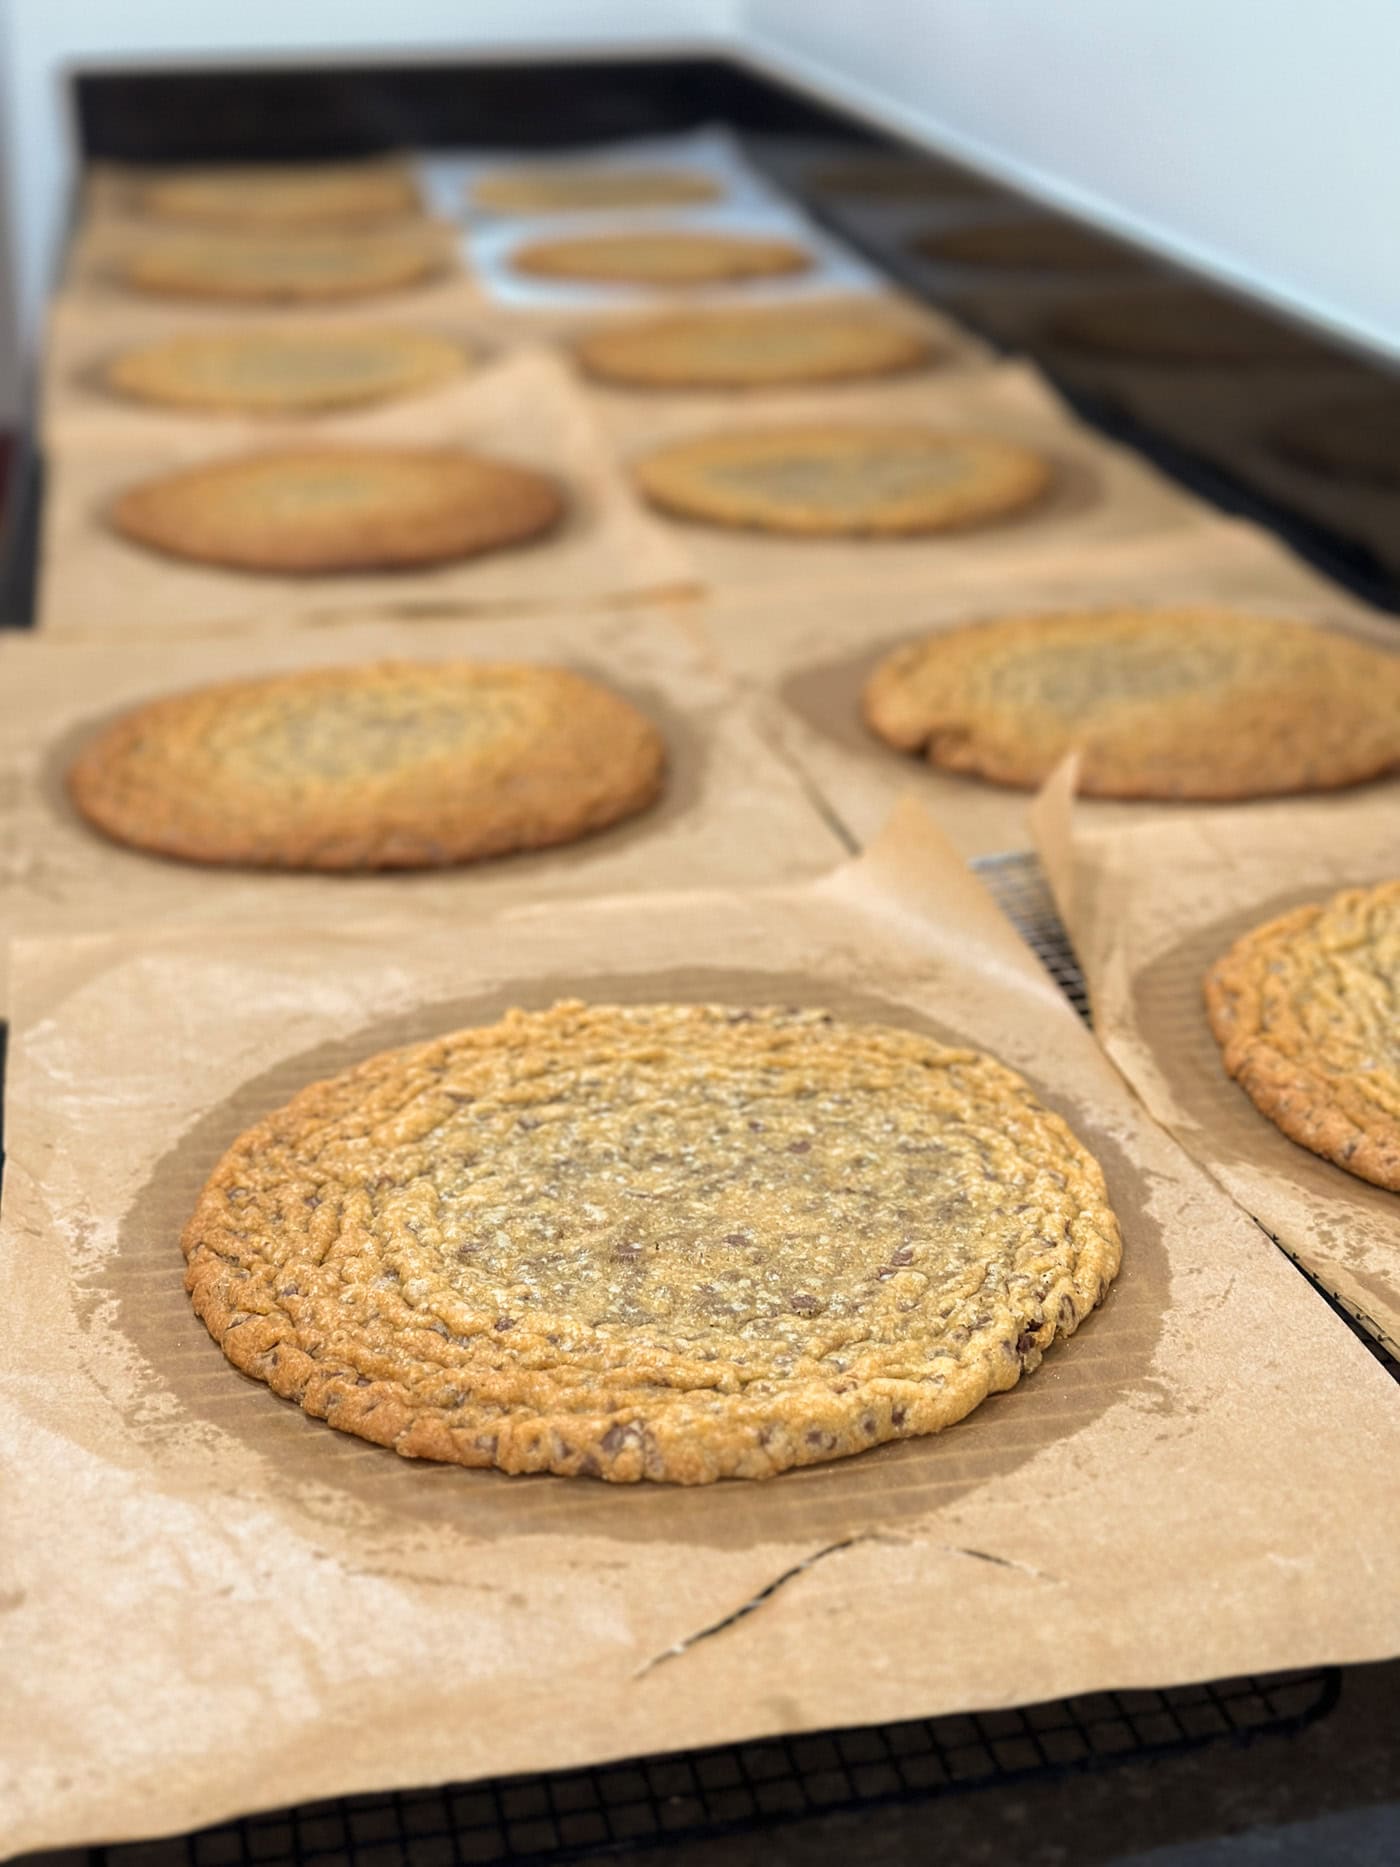
- Repeat for remaining cookie layers.
Frost and Assemble
- Add a tablespoon of buttercream to the center of your cake stand or plate. Place a cookie layer on the cake plate.
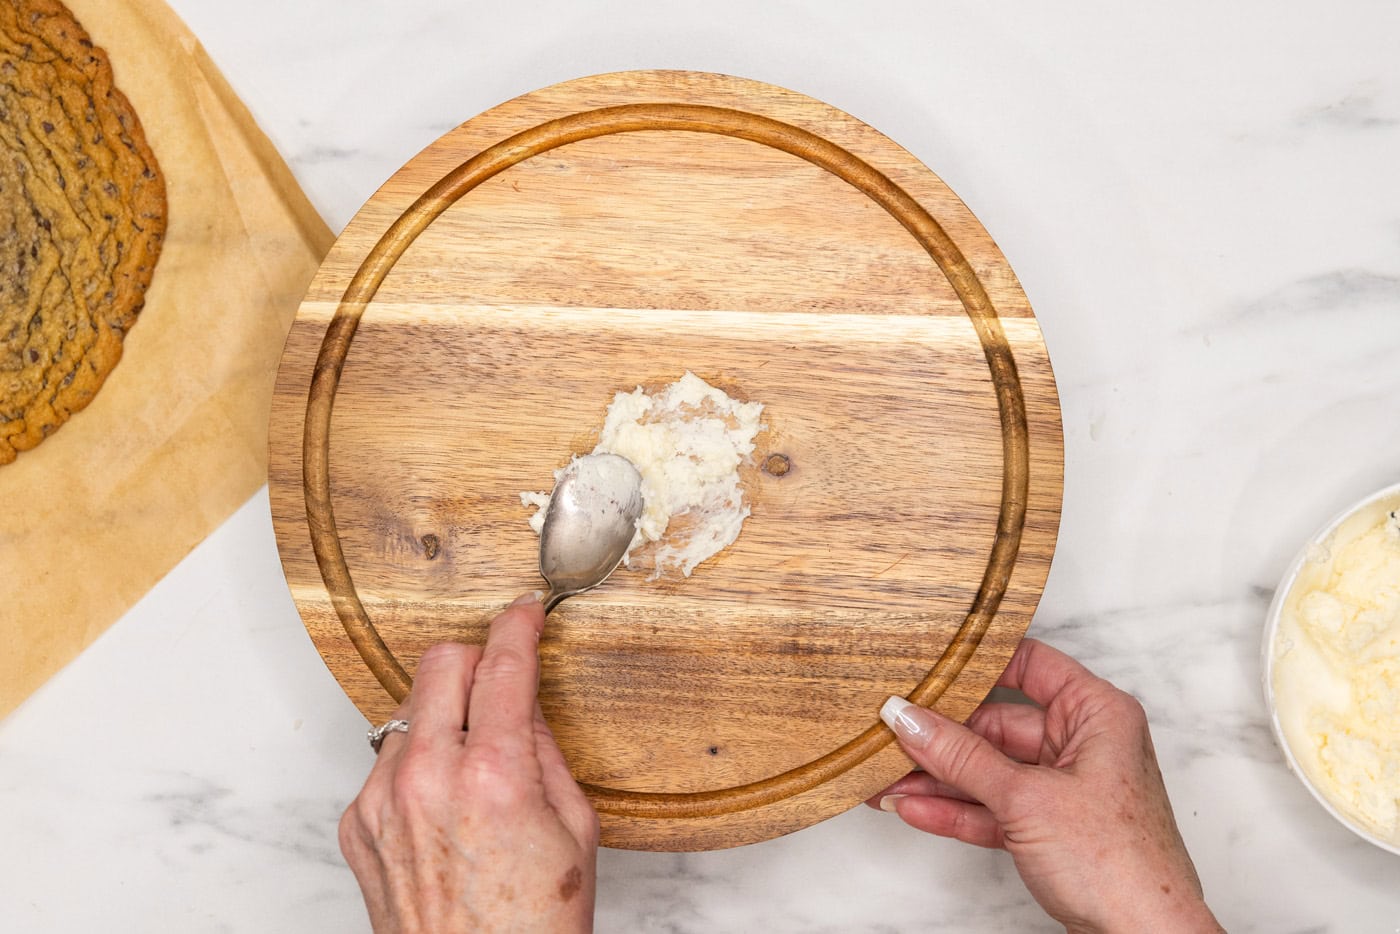
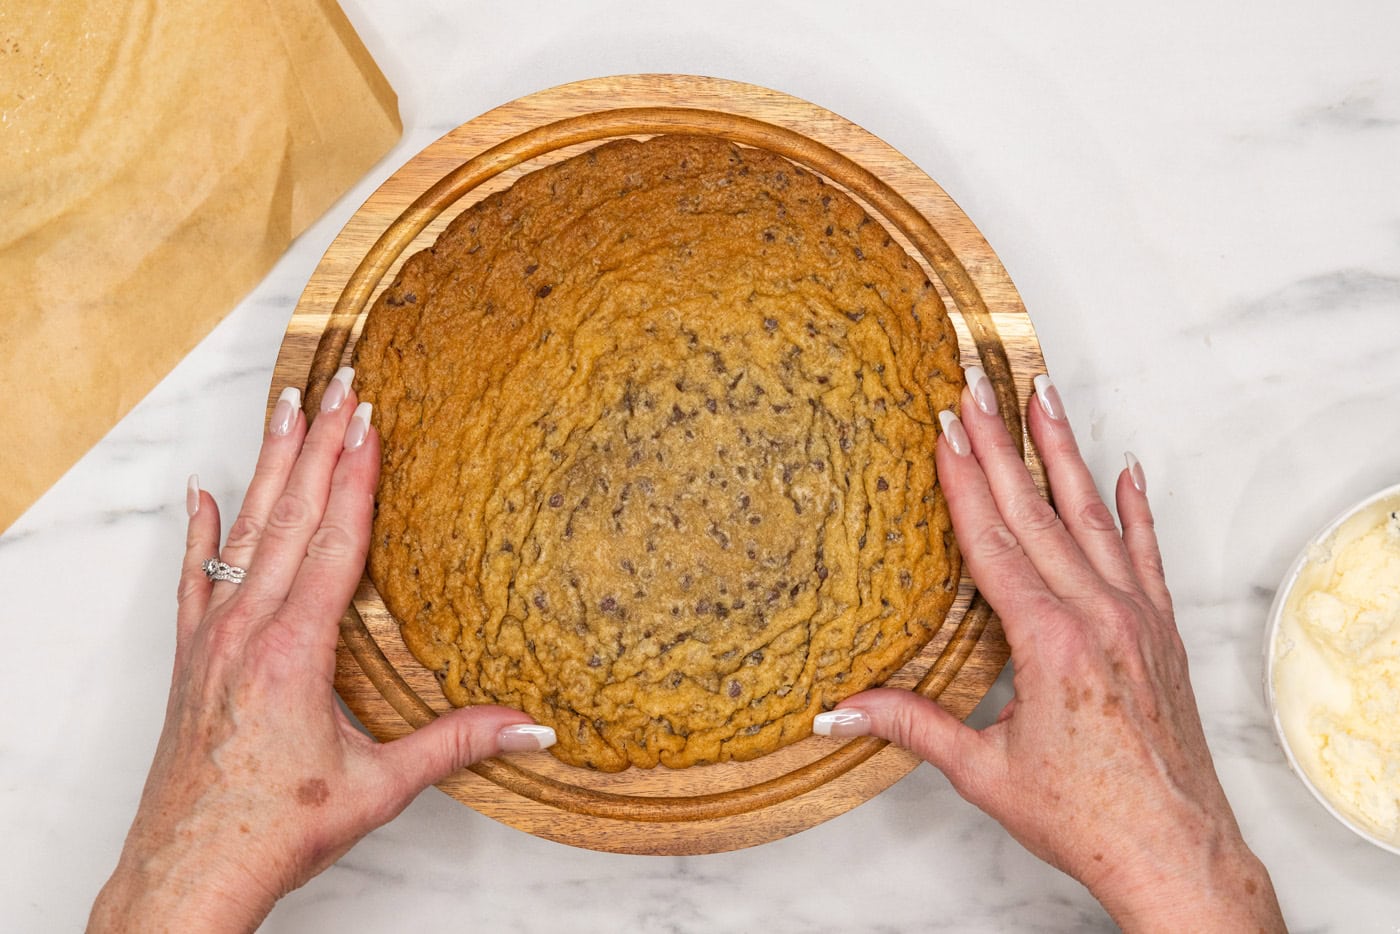
- Spread 1 cup of the buttercream on top of the first cookie and spread almost to the edges. Pipe frosting around the cookie along the edge.
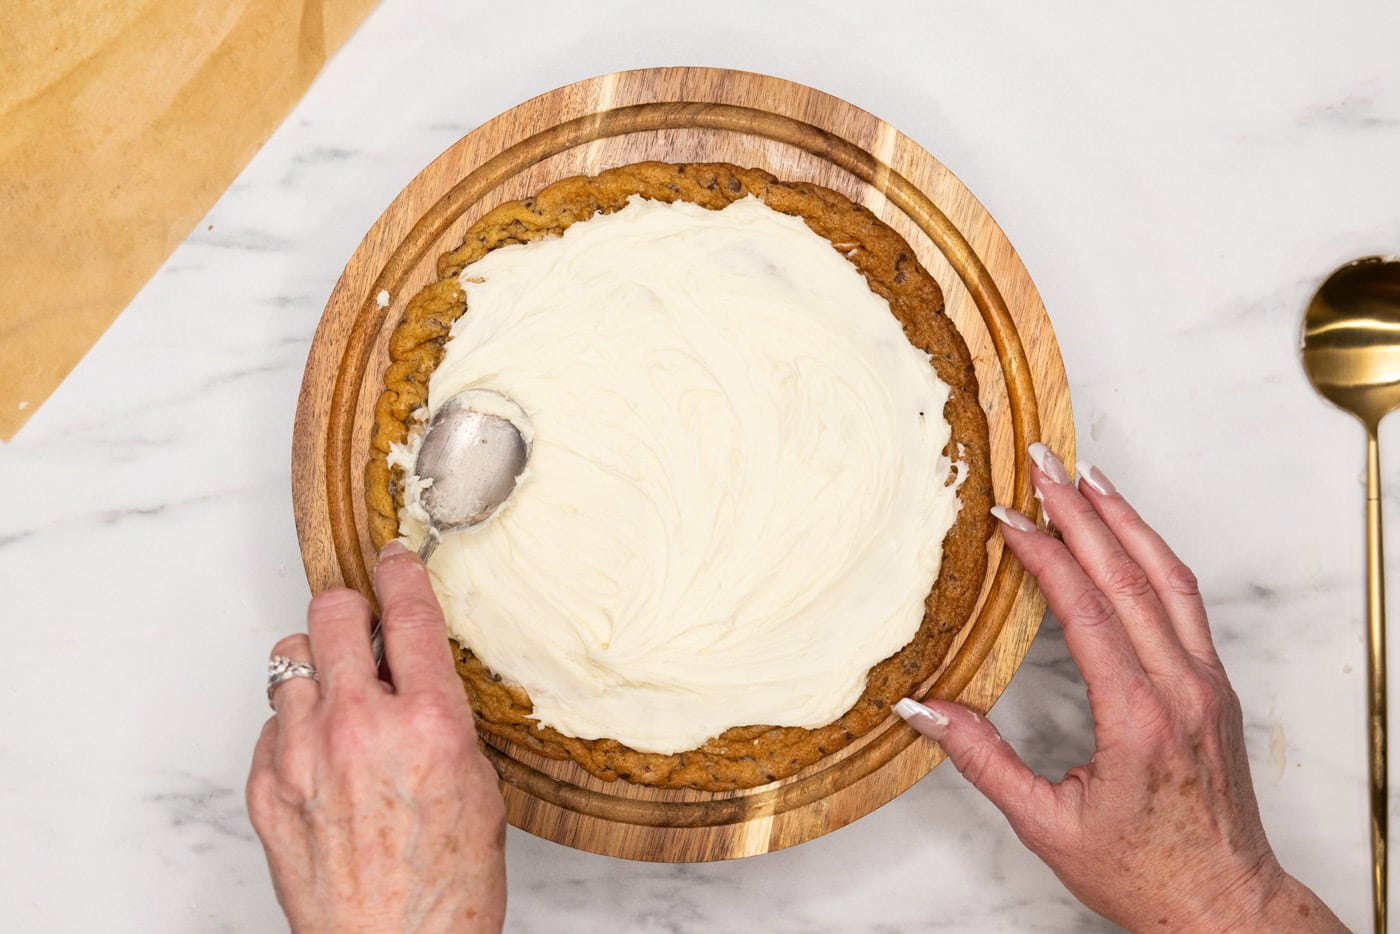
- Place second cookie on top of that and repeat.
- Place third cookie on top of that. Add a tablespoon of buttercream in the center of that cookie and place a cardboard cake circle on top of that. This keeps the cake circle from sliding.
- Pipe buttercream on the edges of the cookie. Add a tablespoon of buttercream to the center of the cake circle.
- Place fourth cookie on top and repeat the above process. You want a cake circle every three layers. This allows you to cut the cake into 3 layer wedges, then remove the cake circle to move down to the next tier.
TIP – You can see in the photo below that one tier has already been removed and we were slicing into the second tier.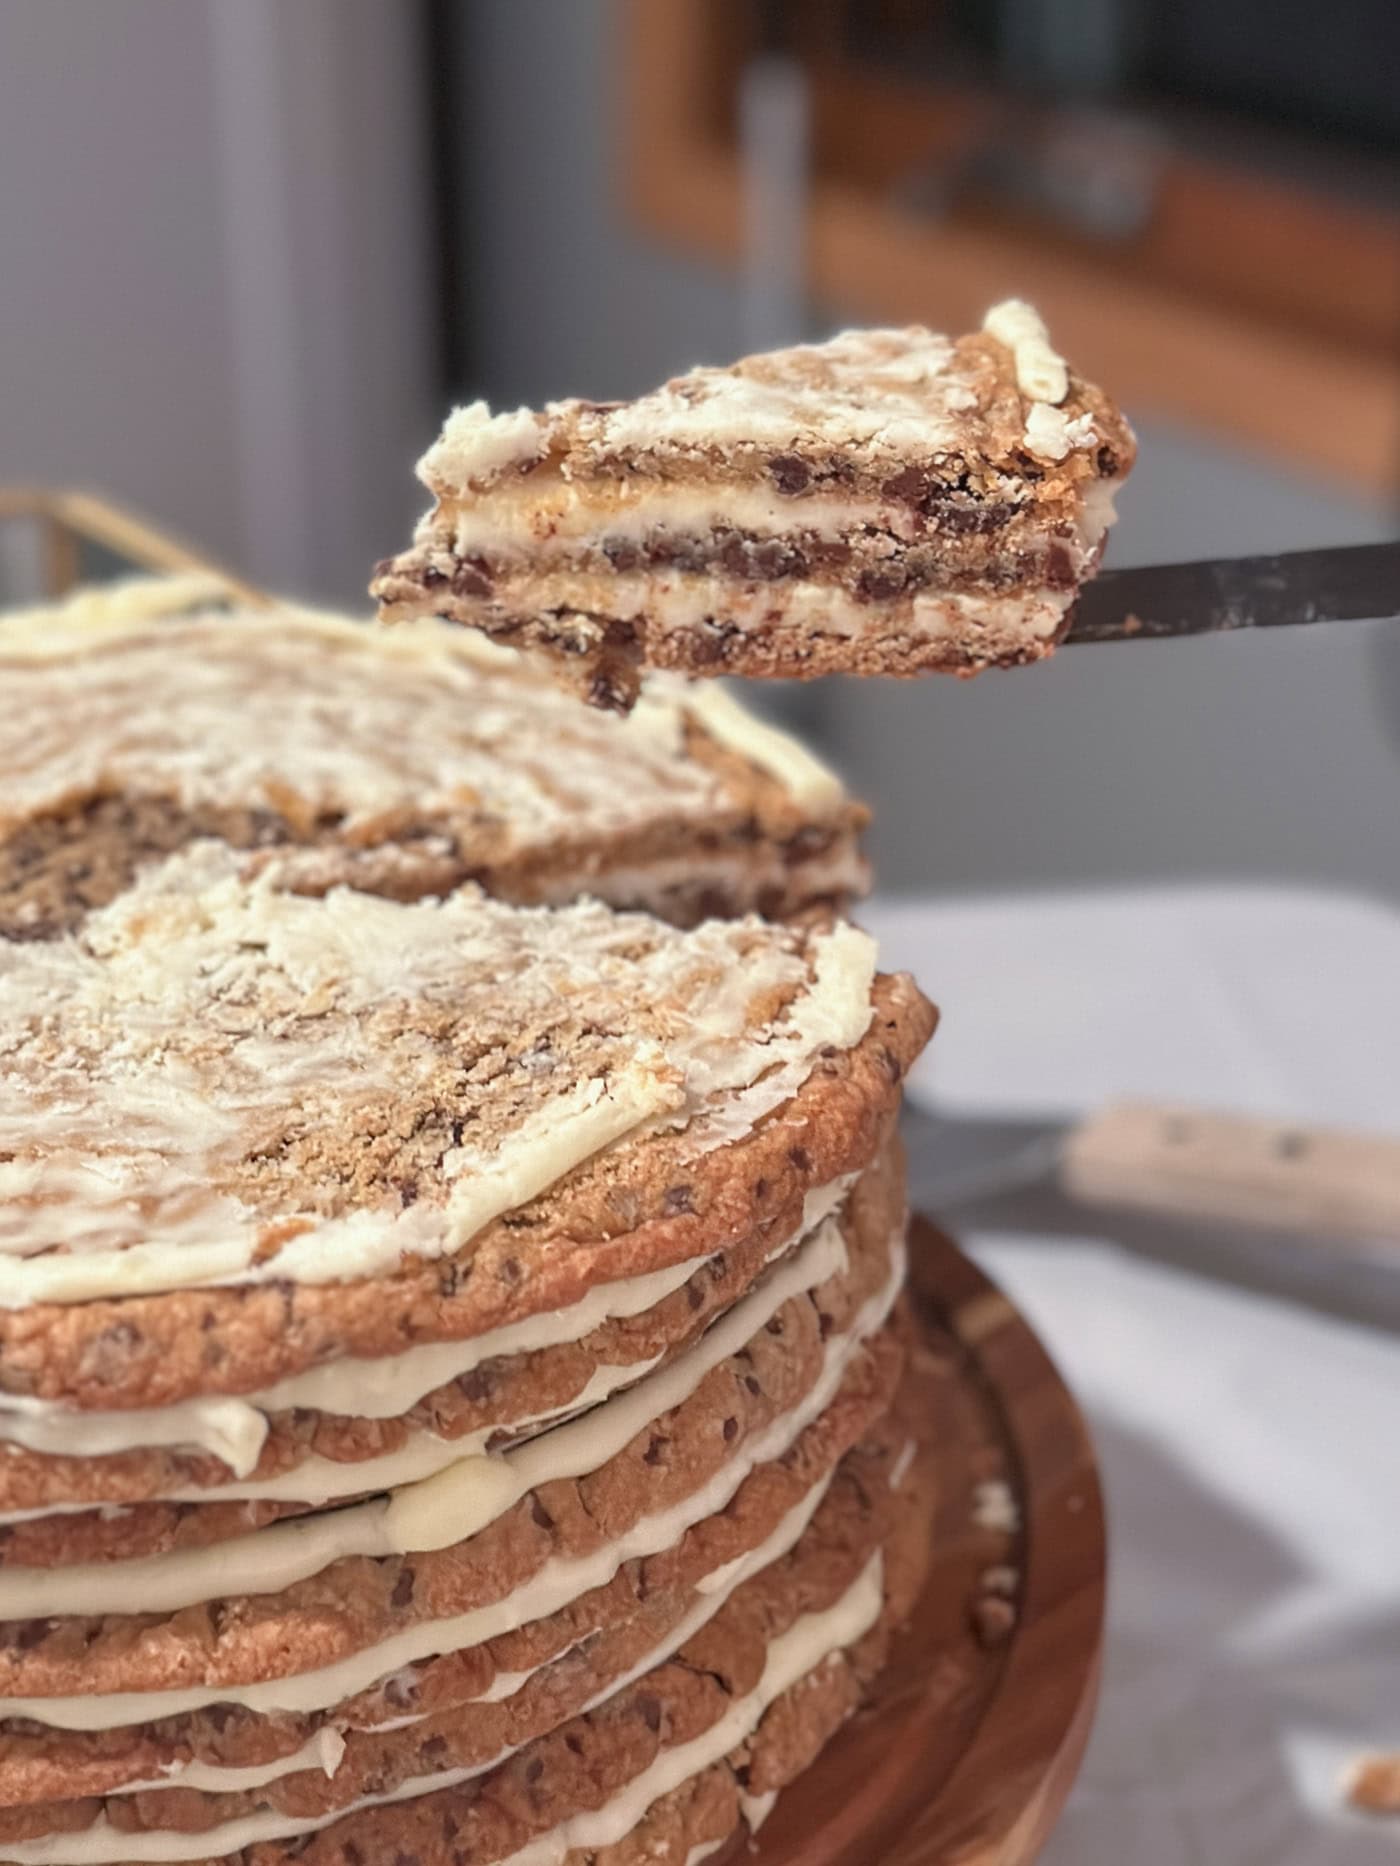
- You will probably have buttercream left over.
Frequently Asked Questions & Expert Tips
Yes, in fact, I recommend making the cookie tower a day in advance. This will save you a lot of stress the day of and it also allows the frosting to settle. However, any longer than that I would suggest preparing the cookie dough and freezing them until you are ready to bake and serve. If you are preparing it a day ahead of time, cover the entire cookie tower in plastic wrap so that no air penetrates. Keep at room temperature.
Store the leftover chocolate chip cookie tower wrapped with plastic wrap, or slice it and put in a large ziptop bag or air-tight container. Store at room temperature for up to 2 days or in the refrigerator for up to 4. Your cookie tower needs to be covered well so that the cookies do not dry out and become crumbly.
Transporting the cookie tower can be a little tricky, which is why it’s best to prepare the tower on a cake stand. Wrap the entire cake loosely in plastic wrap (including the stand) and place it in a large box. Surround the cake with bubble wrap, grocery bags, or any kind of soft material to help cushion it without squishing.
Serving Suggestions
There are so many different ways to top and decorate this chocolate chip cookie tower. Here are a few ideas…
- Add a themed cake topper or birthday candles.
- Pipe dollops of buttercream around the perimeter of the cake.
- Use faux flowers or fresh flowers to decorate the top.
- If you have experience with fondant, making fondant flowers adds a nice bit of charm!
- The cake is also fantastic as-is without any additional toppers.
More Dessert Recipes
I love to bake and cook and share my kitchen experience with all of you! Remembering to come back each day can be tough, that’s why I offer a convenient newsletter every time a new recipe posts. Simply subscribe and start receiving your free daily recipes!
Chocolate Chip Cookie Tower
IMPORTANT – There are often Frequently Asked Questions within the blog post that you may find helpful. Simply scroll back up to read them!
Print It Rate ItIngredients
One Batch of Cookie Dough (x3)
- 2 ¼ cups all purpose flour
- 1 teaspoon baking soda
- 1 teaspoon salt
- 1 cup unsalted butter 2 sticks, softened
- ¾ cup granulated sugar
- ¾ cup brown sugar packed
- 1 teaspoon pure vanilla extract
- 2 large eggs
- 10 ounces semi-sweet mini chocolate chips
One Batch of Buttercream Frosting (x4)
- 1 cup unsalted butter softened. 2 sticks
- 1 teaspoon pure vanilla extract
- 4 ½ cups powdered sugar
- 3 Tablespoons heavy whipping cream
Things You’ll Need
- Stand mixer or hand mixer
Before You Begin
- IMPORTANT – you will need 3 batches of cookie dough (one listed above) and 4 batches of buttercream (one listed above). You will not be able to make 3 batches of cookie dough in one bowl, it’s easiest to separate them and work in batches. The listed ingredients above are for ONE batch of cookie dough and ONE batch of frosting.
- I prefer to make the buttercream when I’m getting ready to assemble the cake. I don’t like to refrigerate it because it starts to get hard to spread.
Instructions
Making the Cookie Dough
- Make 3 separate batches of cookie dough. Instructions for ONE batch follows.
- Combine the flour, baking soda, and salt in a small mixing bowl and set aside.
- In a large bowl, beat the butter, granulated sugar, brown sugar, and vanilla extract with a hand mixer or stand mixer.
- Add the eggs, one at a time, beating well after each addition.
- Slowly add in the flour mixture until combined.
- Weigh the dough then divide into 4 smaller batches. Form each smaller batch into a circle. Flatten between 2 pieces of wax paper or parchment paper, rolling until the rolling pin is hitting the mini chocolate chips.
- Freeze circles, separated between sheets of wax paper or parchment, for 2 hours or up to a month.
- Repeat for 2 more batches.
Making the Buttercream
- Beat softened butter in the bowl of a stand mixer using the whisk attachment until light and fluffy.
- Add in powdered sugar. Mix slowly, gradually increasing the speed so that the powdered sugar stays in the mixing bowl.
- Beat in vanilla extract.
- Add the heavy cream and whisk on high speed. Scrape down the sides of the bowl, beat until desired consistency is achieved (about 5 minutes).
- Repeat for 3 more batches.
Baking the Layers
- Preheat oven to 375 F. Line an insulated baking sheet with parchment paper. I used 4 total, but if you only have 1 or 2 that’s fine as well.
- Bake the cookie layers, one at a time, straight from freezer. Bake for 10-12 minutes, mine were good at 11.5 minutes.
- As soon as you remove the cookie sheet from the oven, use the edge of the spatula to form the hot cookie into a 9-inch circle.
- Slide parchment with cookie onto a cooling rack and cool completely.
- Repeat for remaining cookie layers.
Frost and Assemble
- Add a tablespoon of buttercream to the center of your cake plate. Place a cookie layer on the cake plate.
- Spread 1 cup of the buttercream on top of the first cookie and spread almost to the edges. Pipe frosting around the cookie along the edge.
- Place second cookie on top of that and repeat.
- Place third cookie on top of that. Add a tablespoon of buttercream in the center of that cookie and place a cardboard cake circle on top of that. This keeps the cake circle from sliding.
- Pipe buttercream on the edges of the cookie. Add a tablespoon of buttercream to the center of the cake circle.
- Place fourth cookie on top and repeat the above process. You want a cake circle every three layers. This allows you to cut the cake into 3 layer wedges, then remove the cake circle to move down to the next tier.
- You will probably have buttercream left over.
Expert Tips & FAQs
- Make Ahead – I recommend making the cookie tower a day in advance. However, any longer than that I would suggest preparing the cookie dough batches and freezing them until you are ready to bake and serve. If you are preparing it a day ahead of time, cover the entire cookie tower in plastic wrap so that no air penetrates and store at room temperature.
- Storing – Store the leftover chocolate chip cookie tower wrapped with plastic wrap, or slice it and put in a large ziptop bag or air-tight container. Store at room temperature for up to 2 days or in the refrigerator for up to 4. Your cookie tower needs to be covered well so that the cookies do not dry out and become crumbly.
- Transporting – Transporting the cookie tower can be a little tricky, which is why it’s best to prepare the tower on a cake stand. Wrap the entire cake loosely in plastic wrap (including the stand) and place it in a large box. Surround the cake with bubble wrap, grocery bags, or any kind of soft material to help cushion it without squishing.
Nutrition
Amanda Davis
Latest posts by Amanda Davis (see all)
- Mint Chocolate Lasagna - February 18, 2025
- Chili and Cornbread Stuffed Peppers - February 12, 2025
- Pasta Method Rice - February 11, 2025


Michelle Larsen says
Every year I do a themed birthday party for my niece. Even though she’s going to be 28 this year, we still do it. This year’s theme is cookies. I can’t wait to make this for her special ‘cake’!!
Amanda Davis says
Everyone really loved it! Let me know how it goes :)