
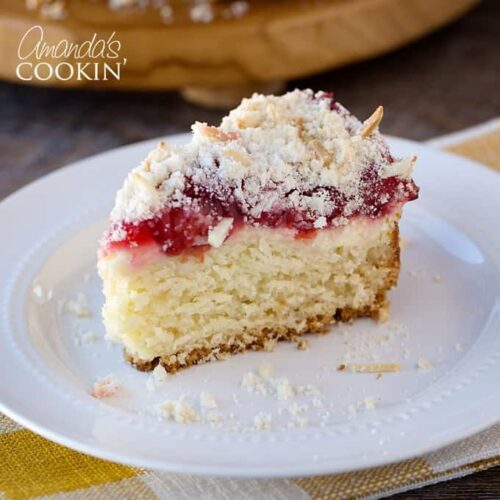
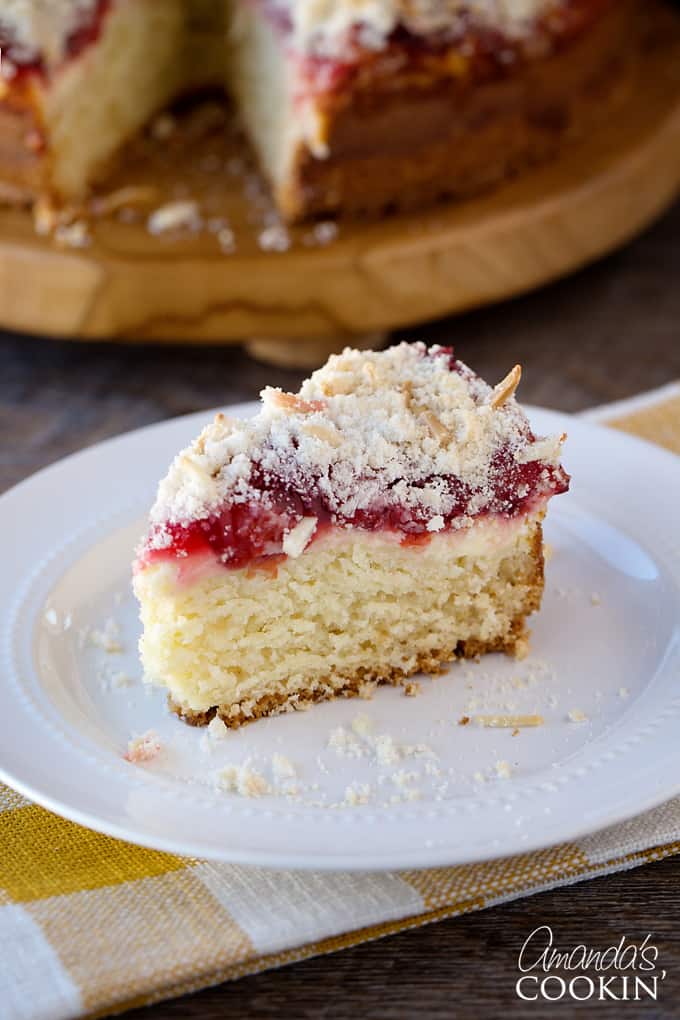
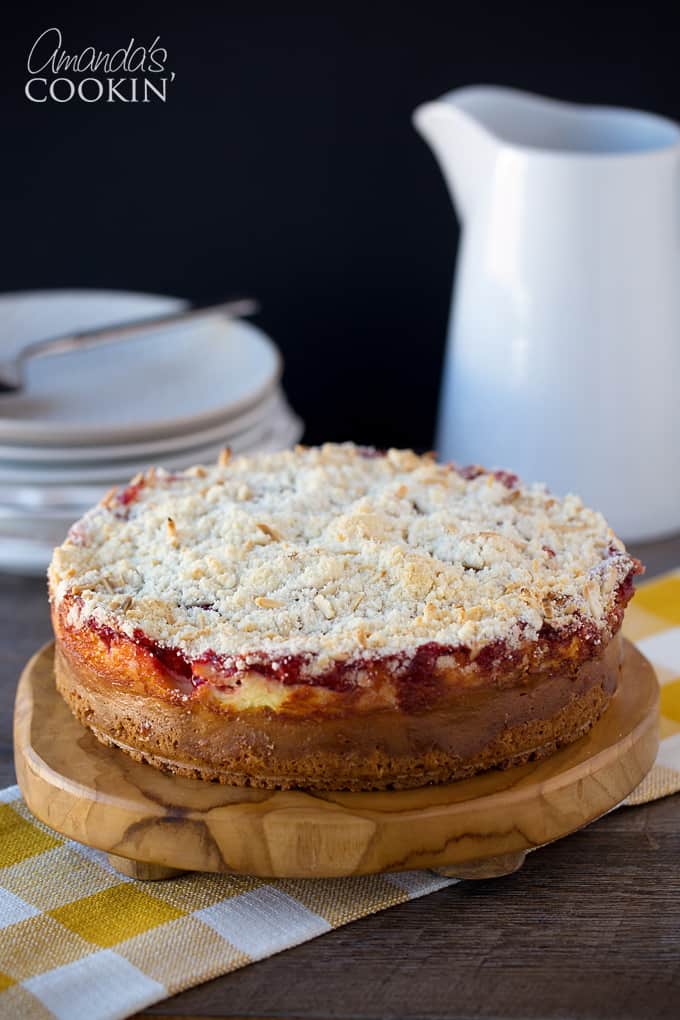
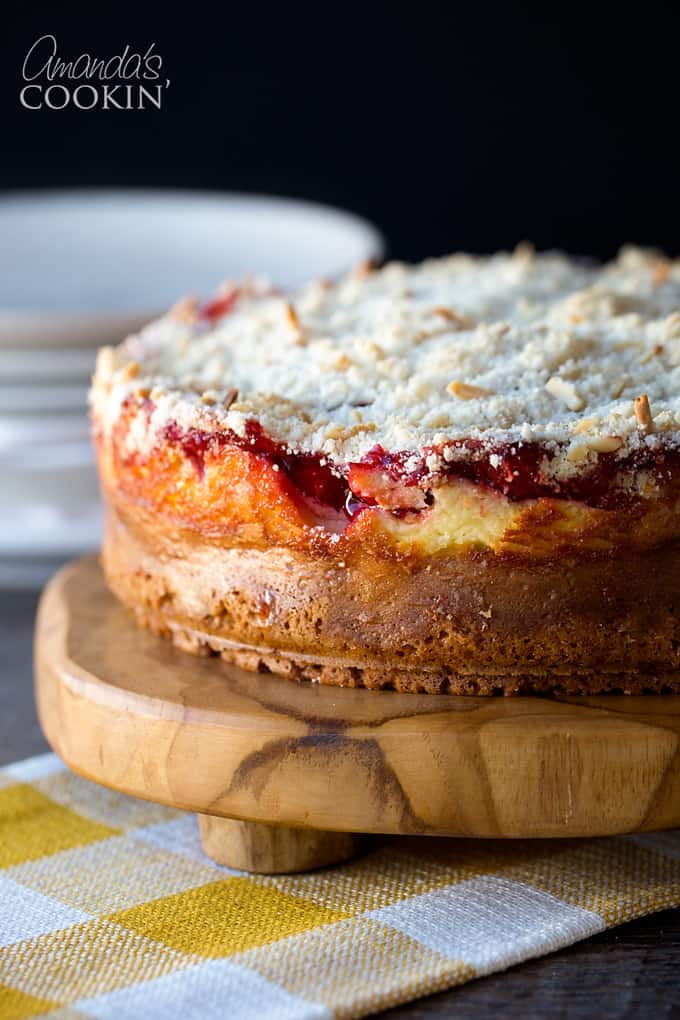
This rich cherry cream cheese coffee cake has layers of soft cake, creamy cheesecake, sweet cherry pie filling, and a topping of crumbly streusel and crunchy almonds
Why this recipe works
Cherry cream cheese coffee cake is subtly sweet and the perfect morning pick-me-up alongside your morning cup of coffee or tea. Combing cherry pie filling, cake, and cheesecake this little cake has a small piece of each decadent dessert all wrapped into one.
This cherry coffee cake reminds me just how much I love any type of breakfast sweet treat. Just like my Blueberry Breakfast Cake, you’ll want more than one piece.
Ingredients You Will Need
Get all measurements, ingredients, and instructions in the printable version at the end of this post.
Ingredient Info and Substitute Suggestions
CRUST – This is a very sticky batter which will make it difficult for you to press down in the pan. I would suggest wearing latex gloves to avoid a sticky mess all over your hands, plus it will help you spread it easier.
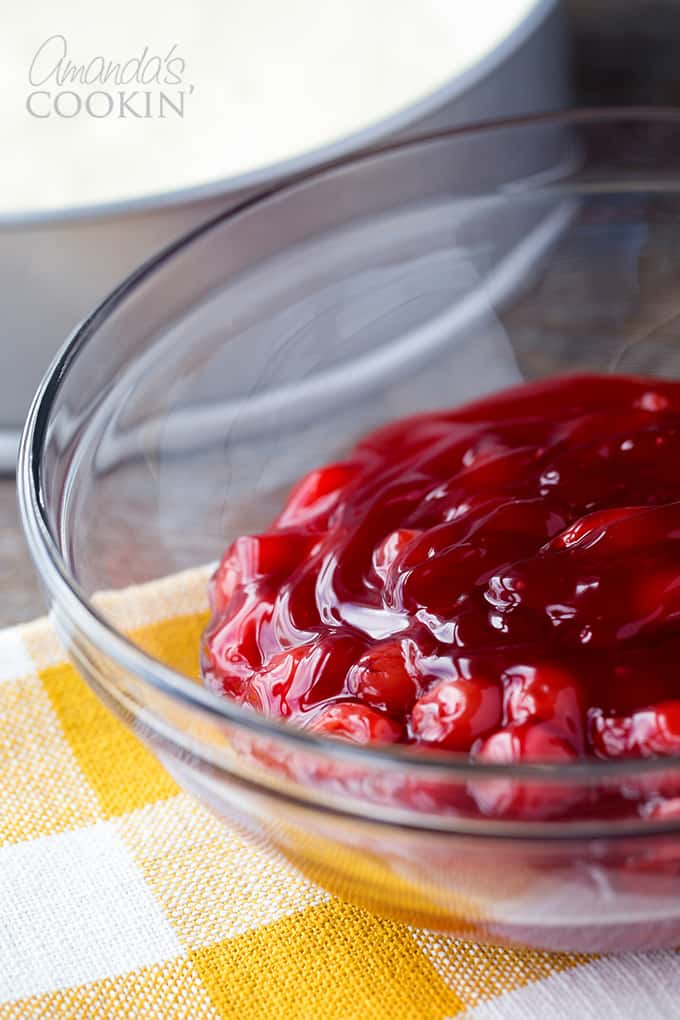
FILLING – You can try this recipe with any flavor of pie filling like blueberry, blackberry, strawberry, or raspberry. You can also use homemade cherry pie filling.
How To Make Cherry Cream Cheese Coffee Cake
These step by step photos and instructions are here to help you visualize how to make this recipe. You can Jump to Recipe to get the printable version of this recipe, complete with measurements and instructions at the bottom.
- In a large bowl, combine flour and sugar. Cut in butter until crumbly. Reserve 3/4 cup crumb mixture. Add the baking powder, baking soda, and salt to the remaining crumb mixture. Stir in the egg, sour cream and almond extract until blended.
- Press the mixture onto the bottom and 1 inch up the sides of an un-greased 9 inch springform pan with removable bottom.
EXPERT TIP – The crust on this cake is quite thick. Press the crumb mixture down well into the pan to flatten it for a slightly less thick crust. - In the bowl of a stand mixer, beat cream cheese and sugar for 1 minute. (you can use a hand mixer as well). Add egg, beating just until combined. Spread cream cheese mixture over crust. Carefully top with pie filling.
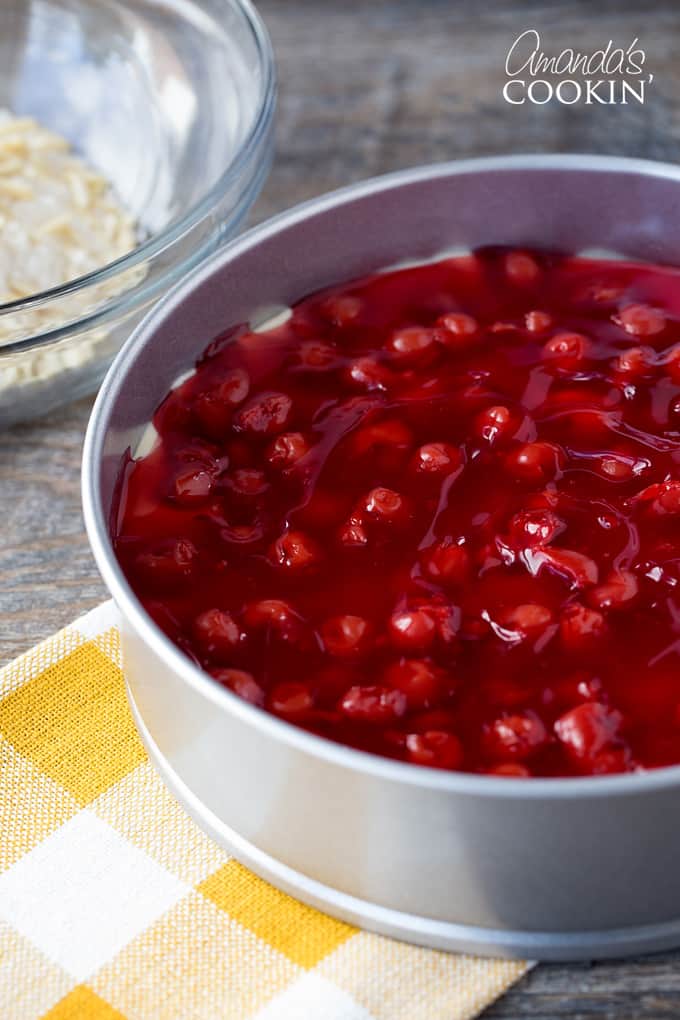
- Sprinkle with almonds and reserved crumb mixture.
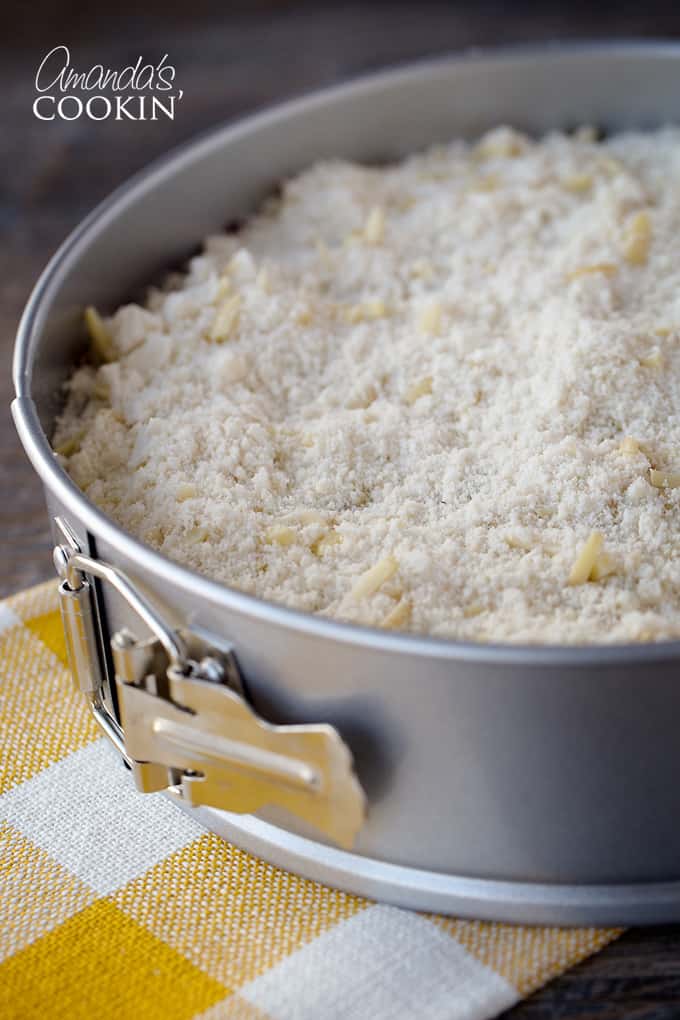
- Bake at 350° F for 50-60 minutes or until the center is set. Cool on a wire rack.
- Once cooled, carefully run a knife around the edge of the pan to loosen it then remove the sides of the pan. Store in the refrigerator.
Frequently Asked Questions & Expert Tips
Yes, you can freeze this cake. To do so, wrap the fully cooled coffee cake in plastic wrap a couple of times followed by a layer of aluminum foil. For extra protection from freezer burn, place the cake in a large freezer-safe ziptop bag and store it in the freezer for up to 3 months. Thaw in the refrigerator overnight.
Cherry cream cheese coffee cake will keep well in the refrigerator for up to 5 days. To store, wrap the cake in plastic wrap or place it inside an air-tight container in the fridge. This cake contains cream cheese, so it must be refrigerated and not stored at room temperature.
Serving Suggestions
You will definitely want to chill your cherry cream cheese coffee cake before serving the first slice. Enjoy alongside a cup of coffee or tea for breakfast and brunch or serve as a mid-day snack and even as an after dinner dessert.
More Breakfast Cake, Rolls, and Bun Recipes
- Bread Pudding
- Blackberry Scones
- Quick Orange Rolls
- Cranberry Coffee Cake
- Raspberry Coffee Cake
- Blueberry Breakfast Cake
- Homemade Cinnamon Rolls
- Lemon Blueberry Hand Pies
I love to bake and cook and share my kitchen experience with all of you! Remembering to come back each day can be tough, that’s why I offer a convenient newsletter every time a new recipe posts. Simply subscribe and start receiving your free daily recipes!
Cherry Cream Cheese Coffee Cake
IMPORTANT – There are often Frequently Asked Questions within the blog post that you may find helpful. Simply scroll back up to read them!
Print It Rate ItIngredients
- 2-1/4 cups all-purpose flour
- ¾ cup sugar
- ¾ cup cold butter cubed
- ½ teaspoon baking powder
- ½ teaspoon baking soda
- ½ teaspoon salt
- 1 egg lightly beaten
- ¾ cup sour cream
- 1 teaspoon almond extract
Filling
- 8 ounces cream cheese softened
- ¼ cup granulated sugar
- 1 large egg lightly beaten
- 21 ounces cherry pie filling
- ½ cup slivered almonds
Things You’ll Need
- Stand mixer or hand mixer
Before You Begin
- This is a very sticky batter which will make it difficult for you to press down in the pan. I would suggest wearing latex gloves to avoid a sticky mess all over your hands, plus it will help you spread it easier.
- To freeze, wrap the fully cooled coffee cake in plastic wrap a couple of times followed by a layer of aluminum foil. For extra protection from freezer burn, place the cake in a large freezer-safe ziptop bag and store it in the freezer for up to 3 months. Thaw in the refrigerator overnight.
- It will keep well in the refrigerator for up to 5 days. To store, wrap the cake in plastic wrap or place it inside an air-tight container in the fridge. This cake contains cream cheese, so it must be refrigerated and not stored at room temperature.
- Chill the cake before serving.
Instructions
- In a large bowl, combine flour and sugar. Cut in butter until crumbly. Reserve 3/4 cup crumb mixture. Add the baking powder, baking soda, and salt to the remaining crumb mixture. Stir in the egg, sour cream and almond extract until blended.
- Press the mixture onto the bottom and 1 inch up the sides of an un-greased 9 inch springform pan with removable bottom.
- TIP – The crust on this cake is quite thick. Press the crumb mixture down well into the pan to flatten it for a slightly less thick crust.
- In the bowl of a stand mixer, beat cream cheese and sugar for 1 minute. (you can use a hand mixer as well). Add egg, beating just until combined.
- Spread cream cheese mixture over crust. Carefully top with pie filling. Sprinkle with almonds and reserved crumb mixture.
- Bake at 350° F for 50-60 minutes or until the center is set. Cool on a wire rack.
- Once cooled, carefully run a knife around the edge of the pan to loosen it then remove the sides of the pan. Store in the refrigerator.
Nutrition
The recipes on this blog are tested with a conventional gas oven and gas stovetop. It’s important to note that some ovens, especially as they age, can cook and bake inconsistently. Using an inexpensive oven thermometer can assure you that your oven is truly heating to the proper temperature. If you use a toaster oven or countertop oven, please keep in mind that they may not distribute heat the same as a conventional full sized oven and you may need to adjust your cooking/baking times. In the case of recipes made with a pressure cooker, air fryer, slow cooker, or other appliance, a link to the appliances we use is listed within each respective recipe. For baking recipes where measurements are given by weight, please note that results may not be the same if cups are used instead, and we can’t guarantee success with that method.
This recipe was adapted from Taste of Home and was originally published on this blog on Oct 27, 2008 which has now been updated to include new photos and expert tips.

- Apple Cider Sangria - September 29, 2026
- Pumpkin Truffles - September 22, 2026
- Double Chocolate Zucchini Muffins - September 9, 2026








Leave a Reply