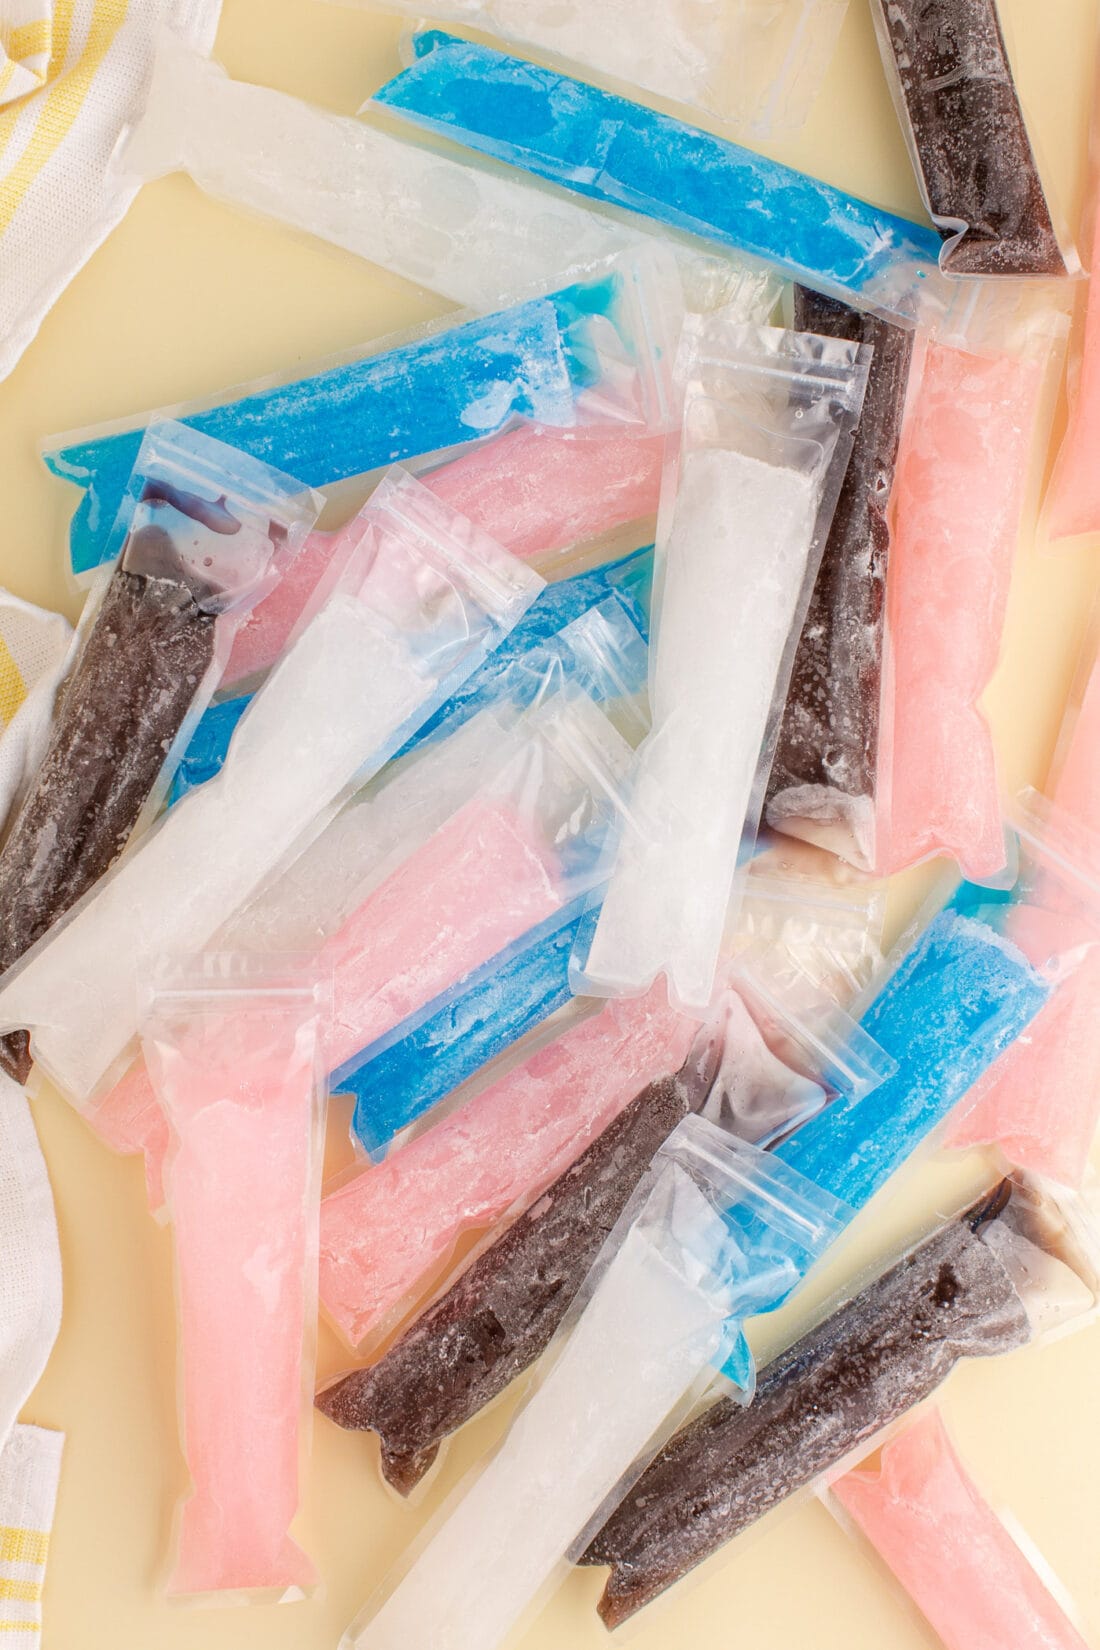
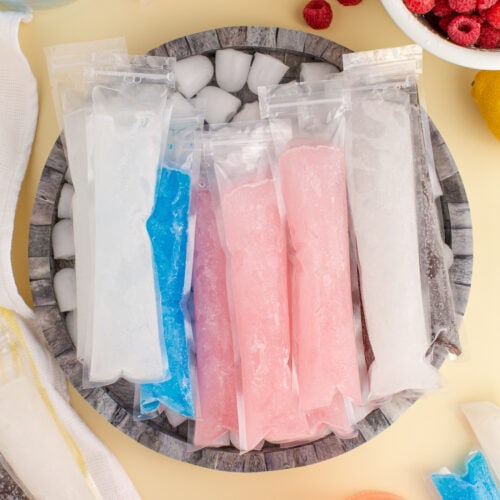
These boozy ice pops are made with only 2 ingredients – your favorite juice and vodka. They’re like little frozen cocktails wrapped in a popsicle sleeve!
Why this recipe works
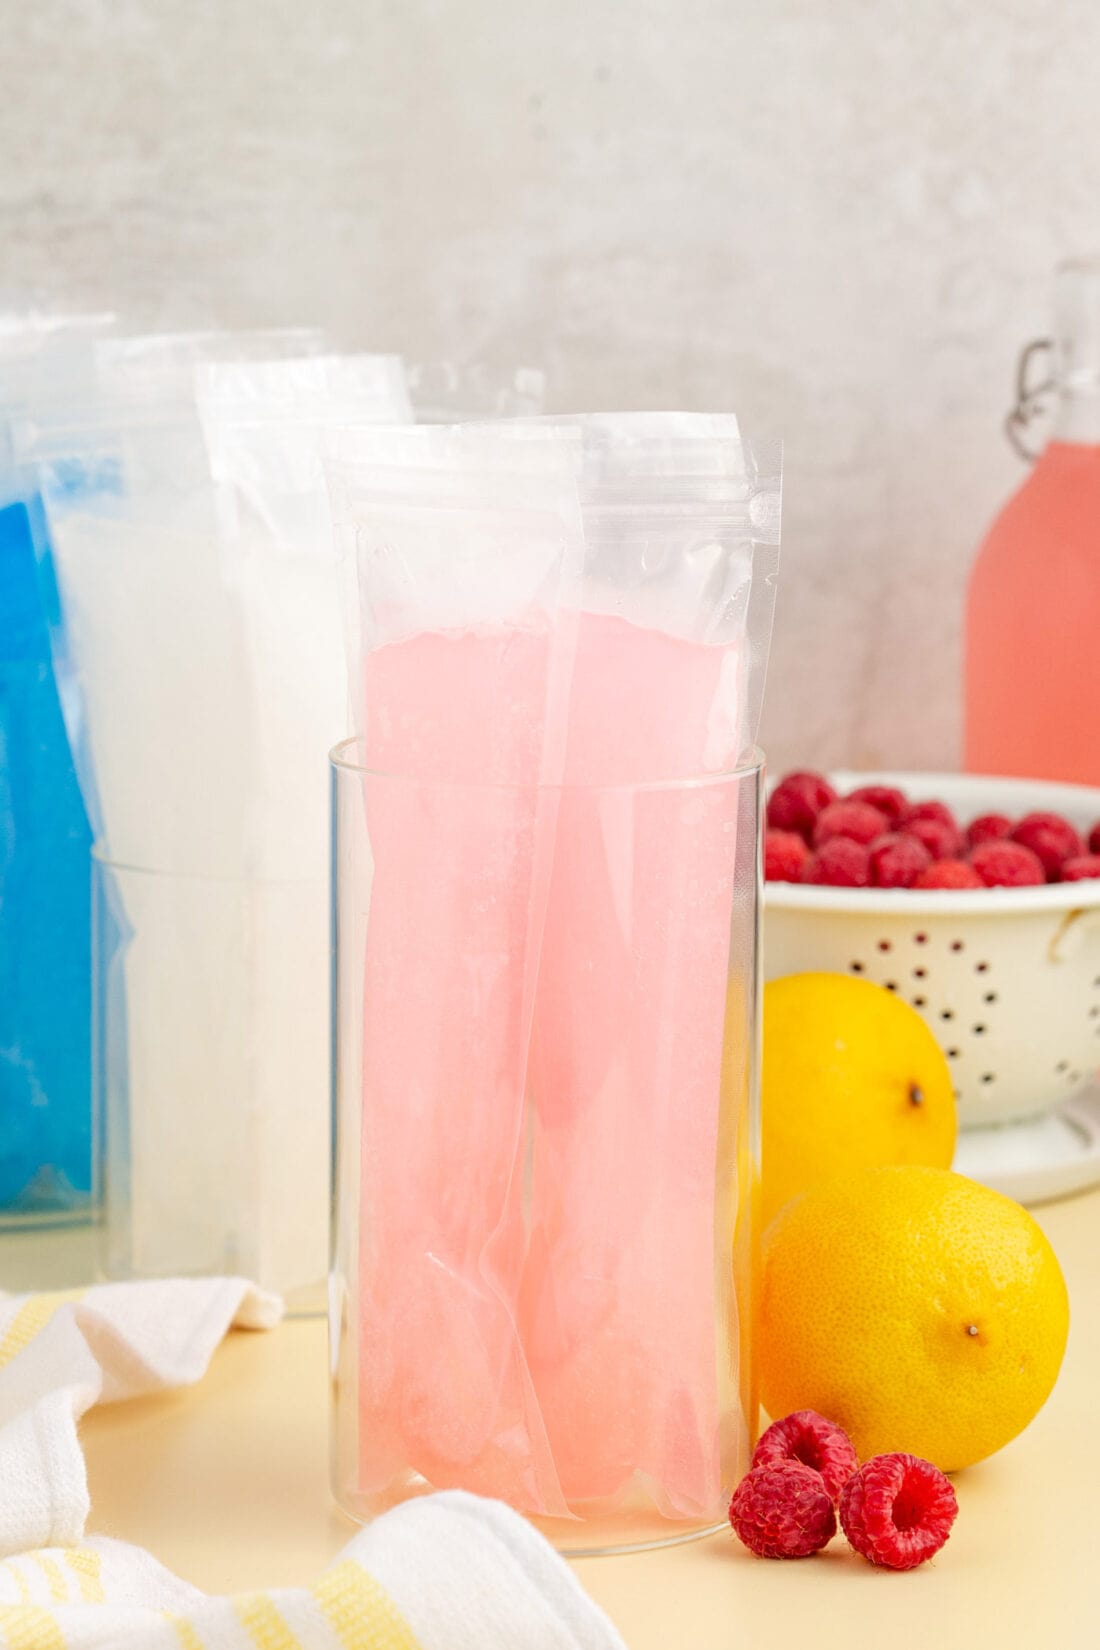
Grab your cooler and a beach towel because these boozy ice pops are the perfect addition to your summer pool parties. They couldn’t be any easier to make, and I mean that literally. Juice, vodka, ice pop sleeves, and a freezer are all you need folks! No fancy ingredients, just a really simple vodka popsicle recipe that requires nothing more than a little measuring. So step aside jello shots, there’s a new cocktail in town.
Ingredients you will need
Get all measurements, ingredients, and instructions in the printable version at the end of this post.
Ingredient Info and Substitution Suggestions
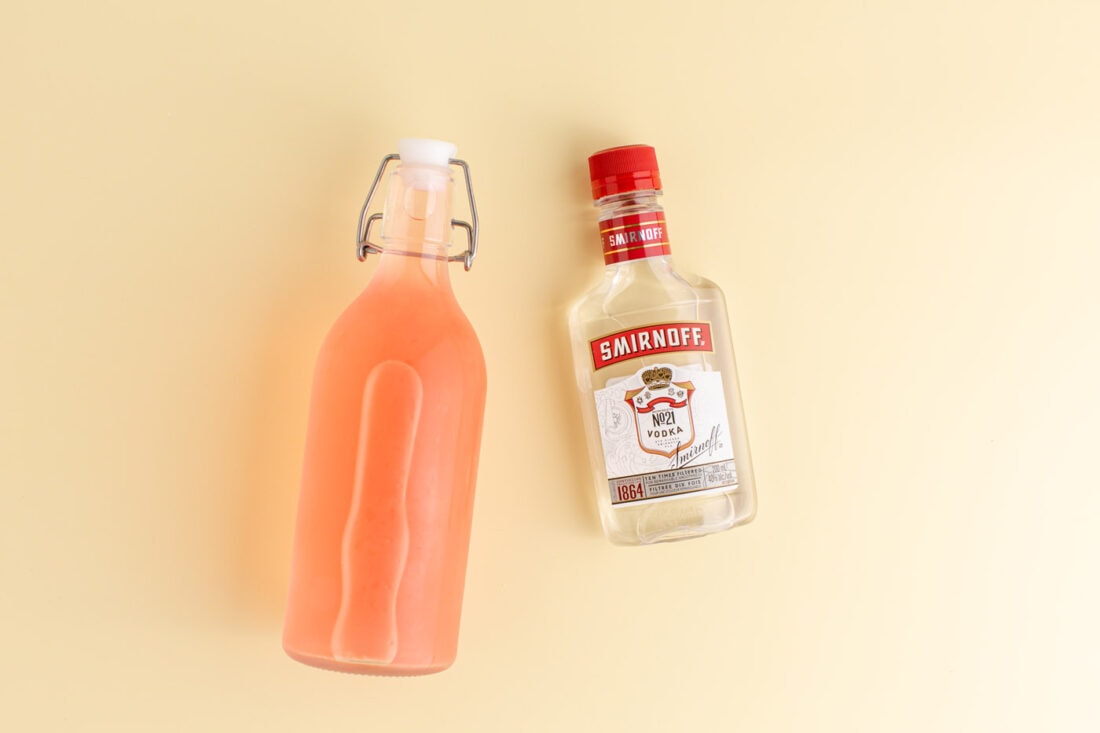
JUICE – The beauty of these boozy ice pops is that you can use just about any kind of fruit juice. Anything from lemonade, pink lemonade, fruit punch, Hawaiian punch (the blue kind is a favorite around here!), pineapple juice, grape juice, and even orange juice. There are so many options to choose from, pick your favorites! For a Keto version choose a juice that has 0 sugars.
How to Make Boozy Ice Pops
These step by step photos and instructions are here to help you visualize how to make this recipe. You can Jump to Recipe to get the printable version of this recipe, complete with measurements and instructions at the bottom.
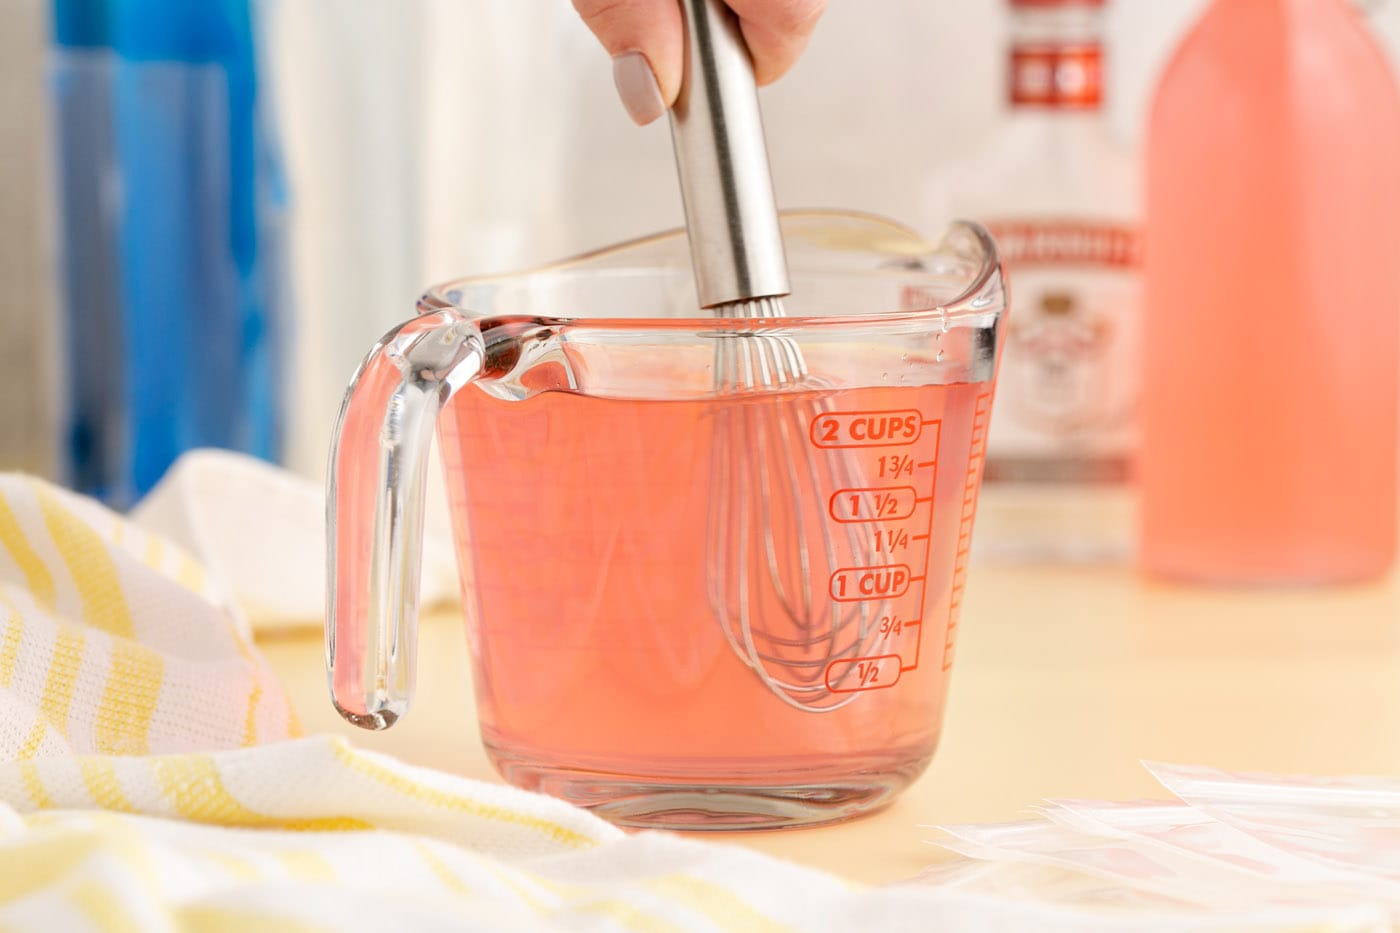
- Mix your juice and vodka together in a large pitcher (we used 14.5 ounces of juice and 3 ounces of vodka for each of the 4 flavors).
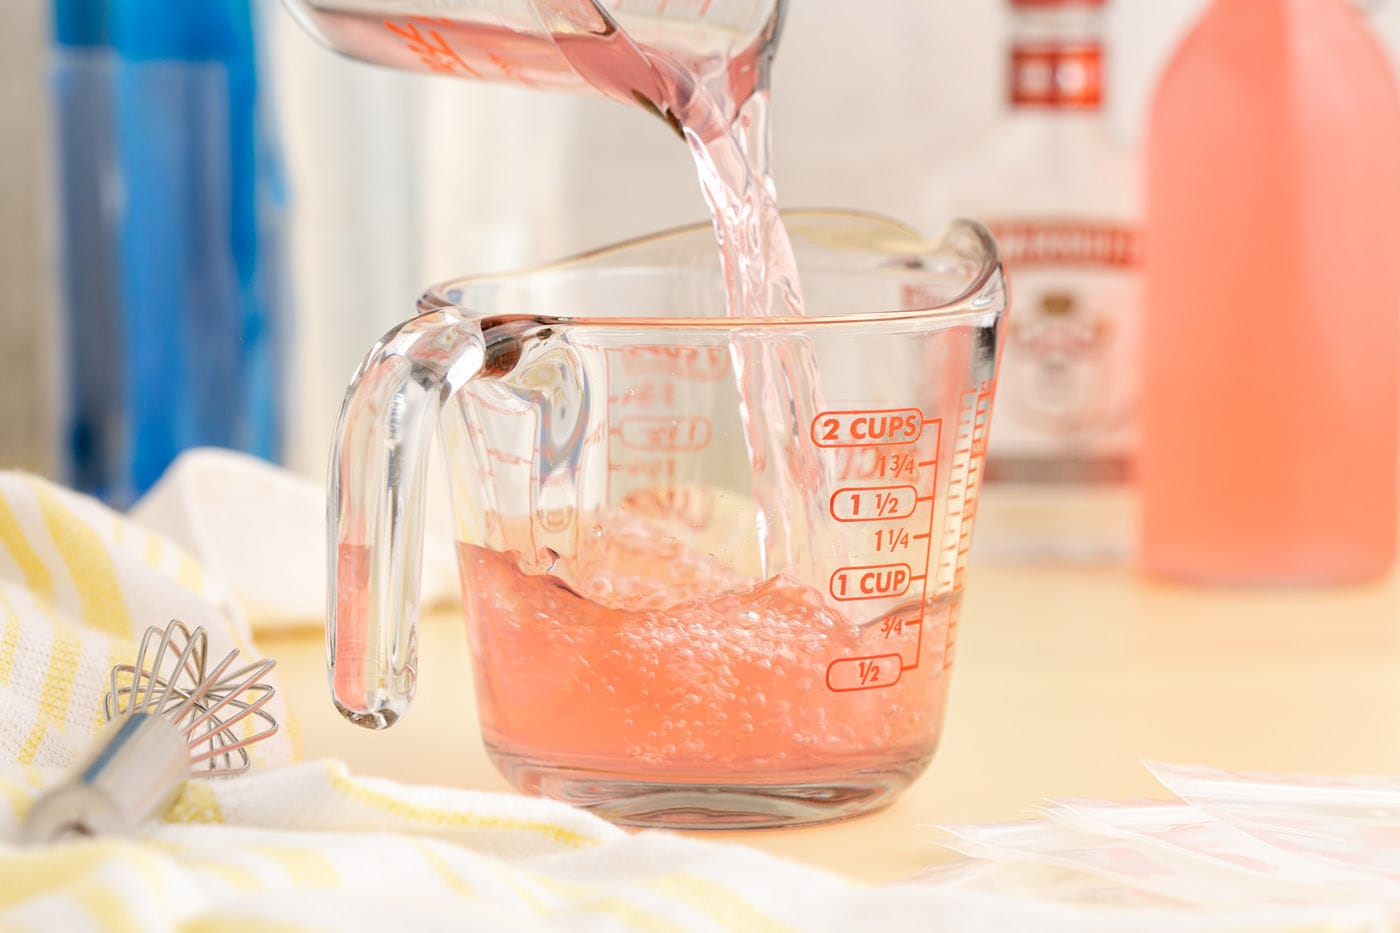
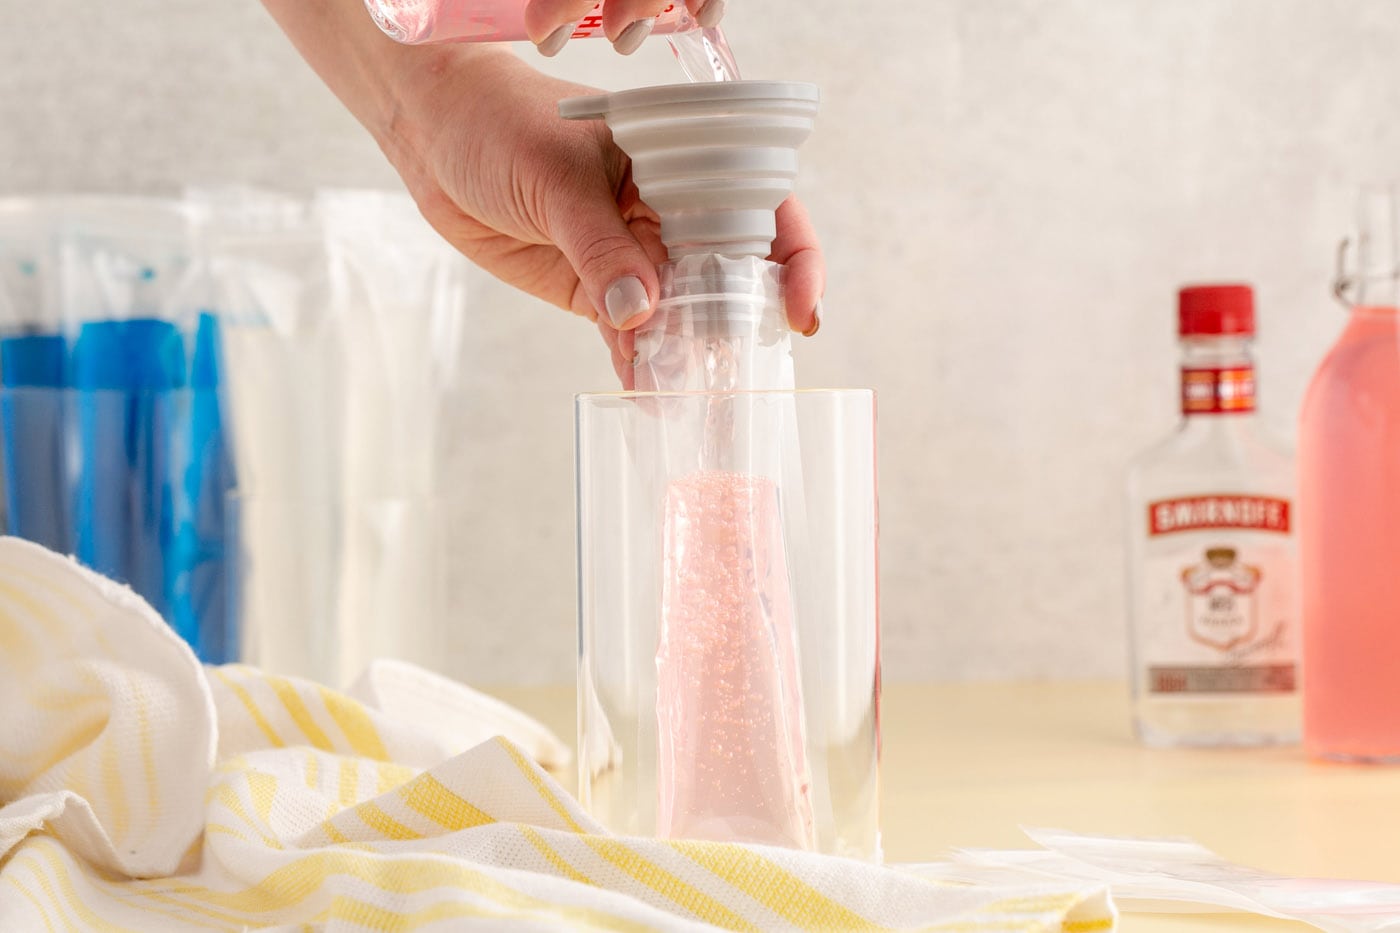
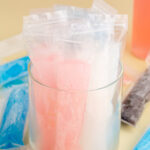
- Transfer 3.5 ounces to a smaller glass and use a funnel to pour into your ice pop sleeve, ensuring that you are about a ½ inch under the fill line (or follow the instructions provided on your popsicle sleeves).
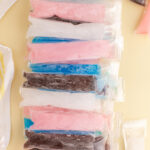
- Freeze flat until solid.
Frequently Asked Questions & Expert Tips
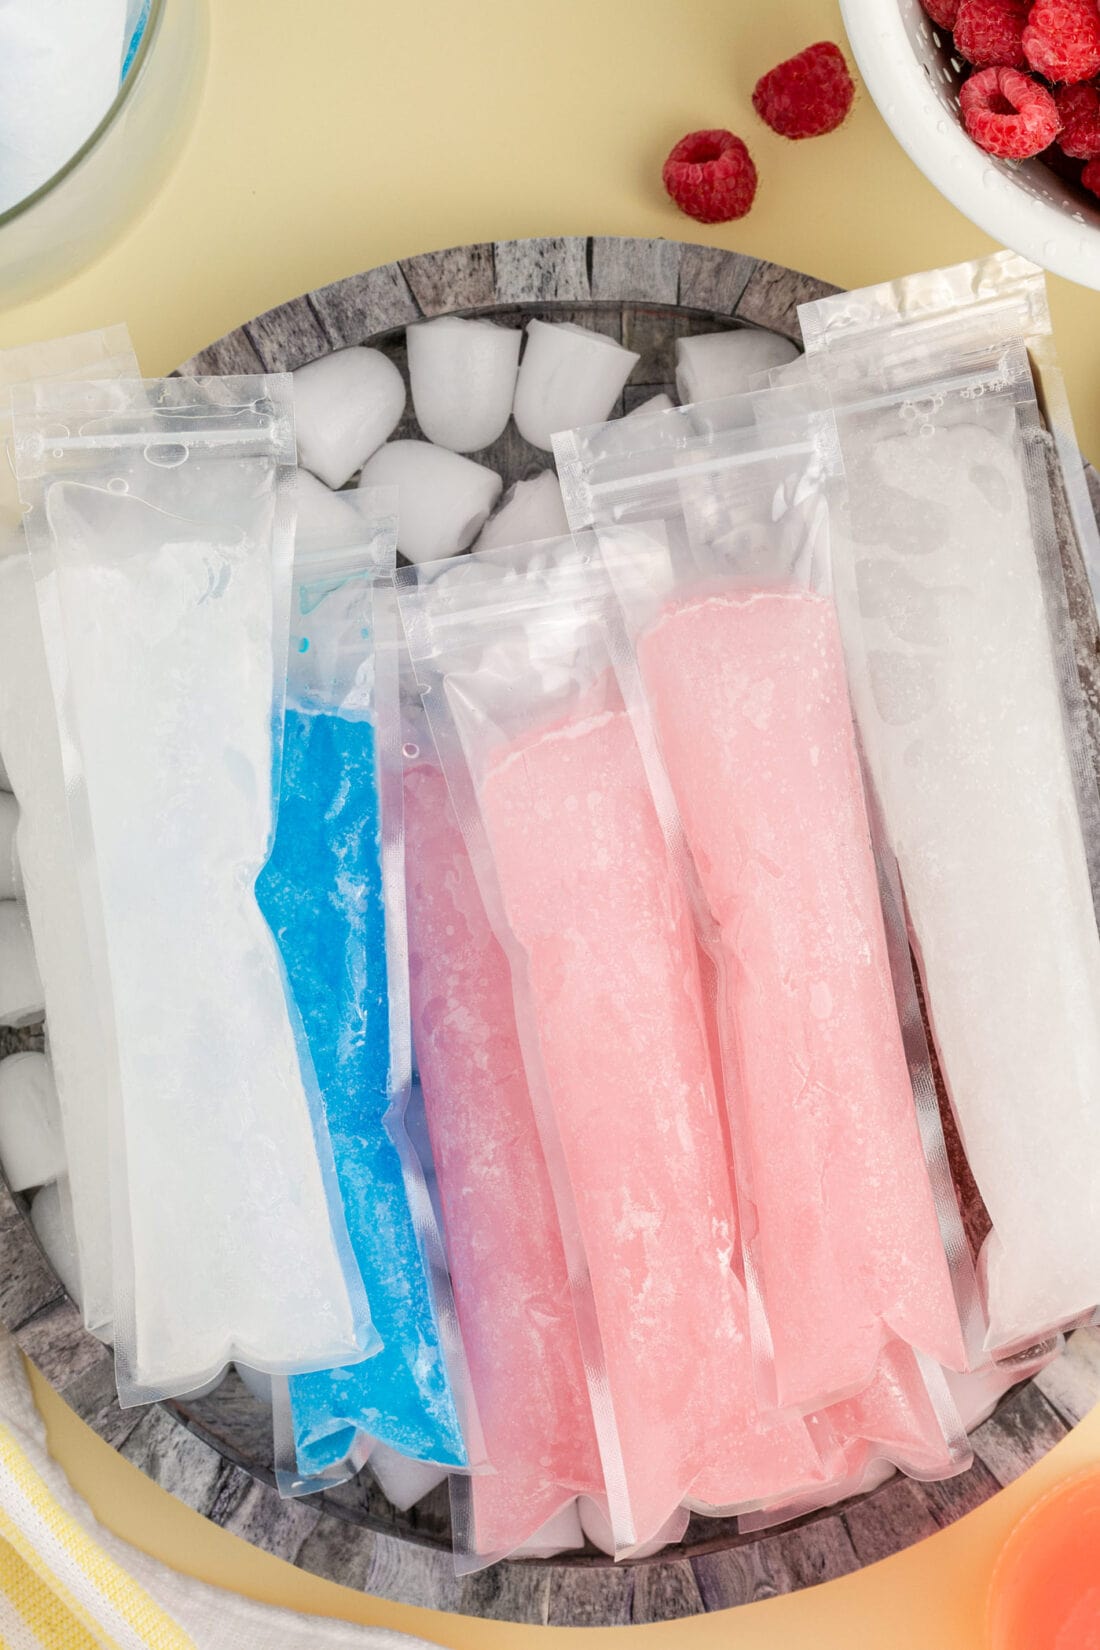
It’s important to note that most standard freezers simply aren’t set cold enough to freeze vodka fully. These popsicles will harden and become fairly solid but will have a slight give, somewhat like a slushie, when squeezed. I have had success in the past freezing these in a cooler with dry ice to take along on our yearly camping trips, and through testing we have also determined they tend to do better in a chest freezer. However, don’t let that deter you because they do just fine in a regular freezer as well. If yours still feel really soft, allow them more time in the freezer, or even set the temperature colder. You will want to make sure you lay your popsicles flat, this will also help them freeze better.
Serving Suggestions
These boozy popsicles are a grown-up version of your typical freeze pops, you know the kind that left your mouth with raw corners from sucking the popsicle out of the plastic tube? Ah, yes. The memories. That certainly didn’t stop me from having at least two or three!
Plan to prepare your popsicles at minimum a day before you serve them. I like to make them two days in advance just in case. If you are bringing them to a party, pop them in a cooler with plenty of ice.
For camping trips, you’ll want to keep them loaded in a cooler with plenty of ice. In fact, you may want to add a block of dry ice to keep them thoroughly chilled if they are going to be kept in a cooler for a long period of time. Pair them up with campfire foil packets which are perfect for dinner while camping!
More Cocktail Recipes
- Wine Slushies
- Pineapple Rum Slush
- Ocean Water Cocktail
- Watermelon Malibu Slush
- Frozen Strawberry Salty Dog Cocktails
I love to bake and cook and share my kitchen experience with all of you! Remembering to come back each day can be tough, that’s why I offer a convenient newsletter every time a new recipe posts. Simply subscribe and start receiving your free daily recipes!
Boozy Ice Pops
IMPORTANT – There are often Frequently Asked Questions within the blog post that you may find helpful. Simply scroll back up to read them!
Print It Rate ItIngredients
- 58 ounces fruit juice divided. We used grape juice, blue raspberry juice, pink lemonade, and regular lemonade
- 12 ounces vodka divided
Things You’ll Need
- 20 ice pop sleeves disposable or reusable
Before You Begin
- The nutrition calculation will vary depending on the type of juice you use, please refer to the nutrition facts listed on the specific juice you use for better reference.
- The beauty of these boozy ice pops is that you can use just about any kind of fruity juice. Anything from lemonade, pink lemonade, fruit punch, Hawaiian punch (the blue kind is a favorite around here!), pineapple juice, grape juice, and even orange juice. There are so many options to choose from, pick your favorites!
- For a Keto version choose a juice that has 0 sugars.
- Plan to prepare your popsicles at minimum a day before you serve them. I like to make them two days in advance just in case.
- If you are bringing them to a party, pop them in a cooler with plenty of ice.
- It’s important to note that most standard freezers simply do not get cold enough to freeze vodka fully. These popsicles will harden and become fairly solid but will have a slight give, somewhat like a slushie, when gently squeezed. I have had success in the past freezing these in a cooler with dry ice to take along on our yearly camping trips, and through testing we have also determined they tend to do better in a chest freezer. However, don’t let that deter you because they do just fine in a regular freezer as well. If yours still feel really soft, allow them more time in the freezer, or even set the temperature colder. You will also want to make sure you lay your popsicles flat, this will also help them freeze better.
Instructions
- Mix your juice and vodka together in a large pitcher (we used 14.5 ounces of juice and 3 ounces of vodka for each of the 4 flavors).
- Transfer 3.5 ounces to a smaller glass and use a funnel to pour into your ice pop sleeve, ensuring that you are about a ½ inch under the fill line (or follow the instructions provided).
- Freeze flat until solid.
Nutrition
Lindsay Formaro
Latest posts by Lindsay Formaro (see all)
- Lasagna Soup - February 26, 2024
- Monster Cupcakes - October 4, 2023
- Brownie Trifle - September 27, 2023


Leave a Reply