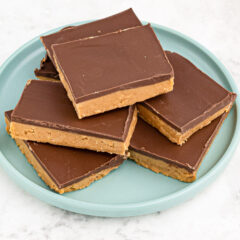
These peanut butter bars are so easy to make and are ready to eat in 30 minutes or less! Chances are you have most of these ingredients in your pantry, if not all of them.
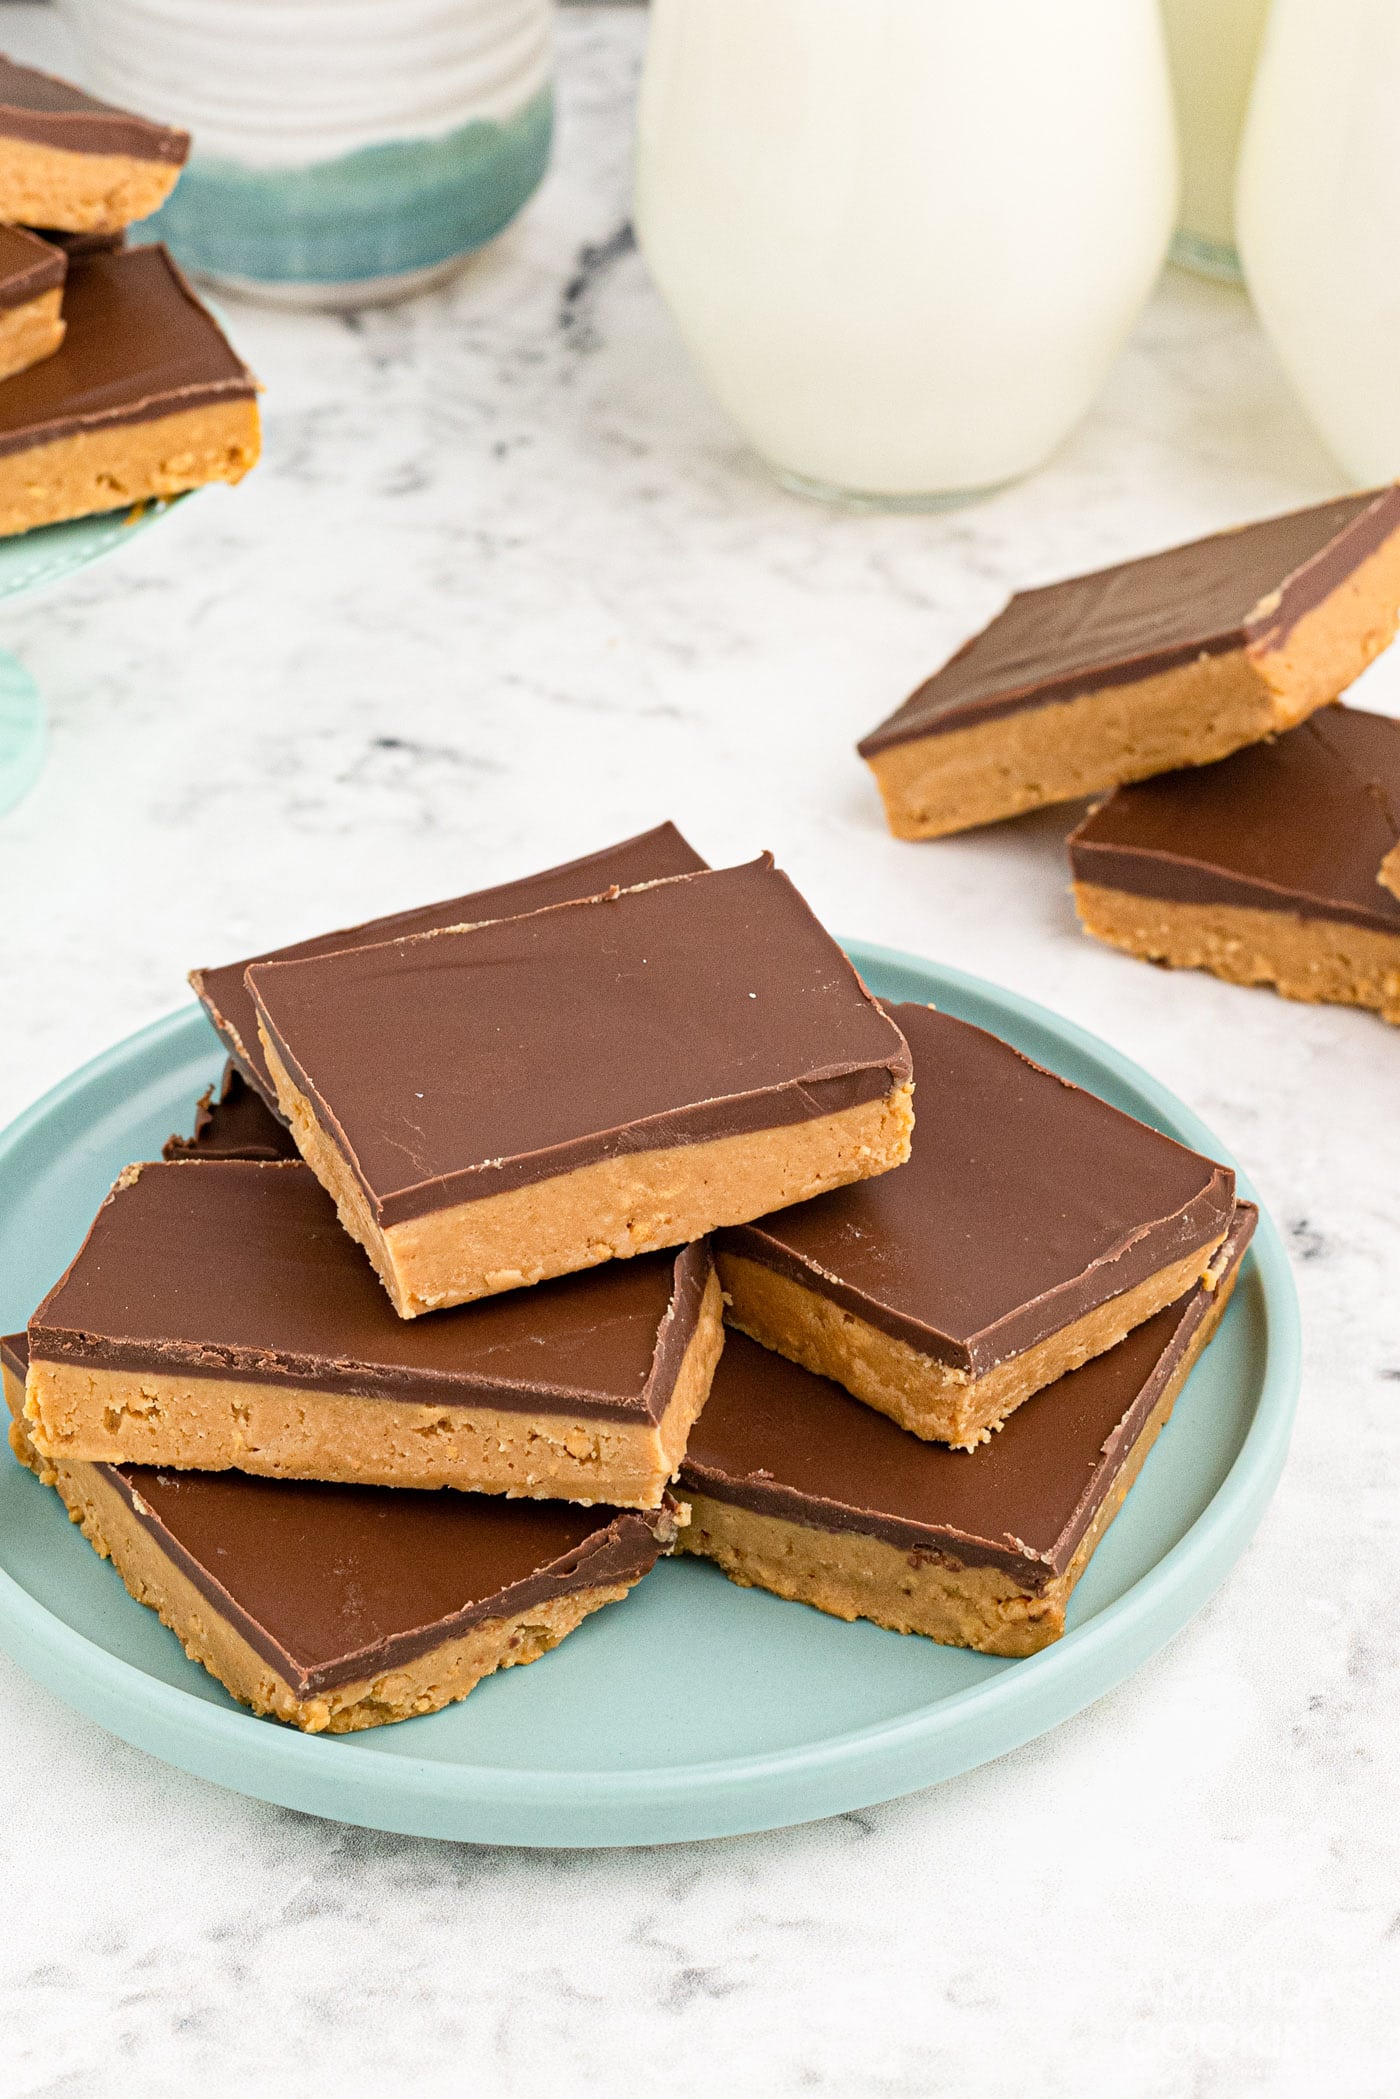
Why this recipe works
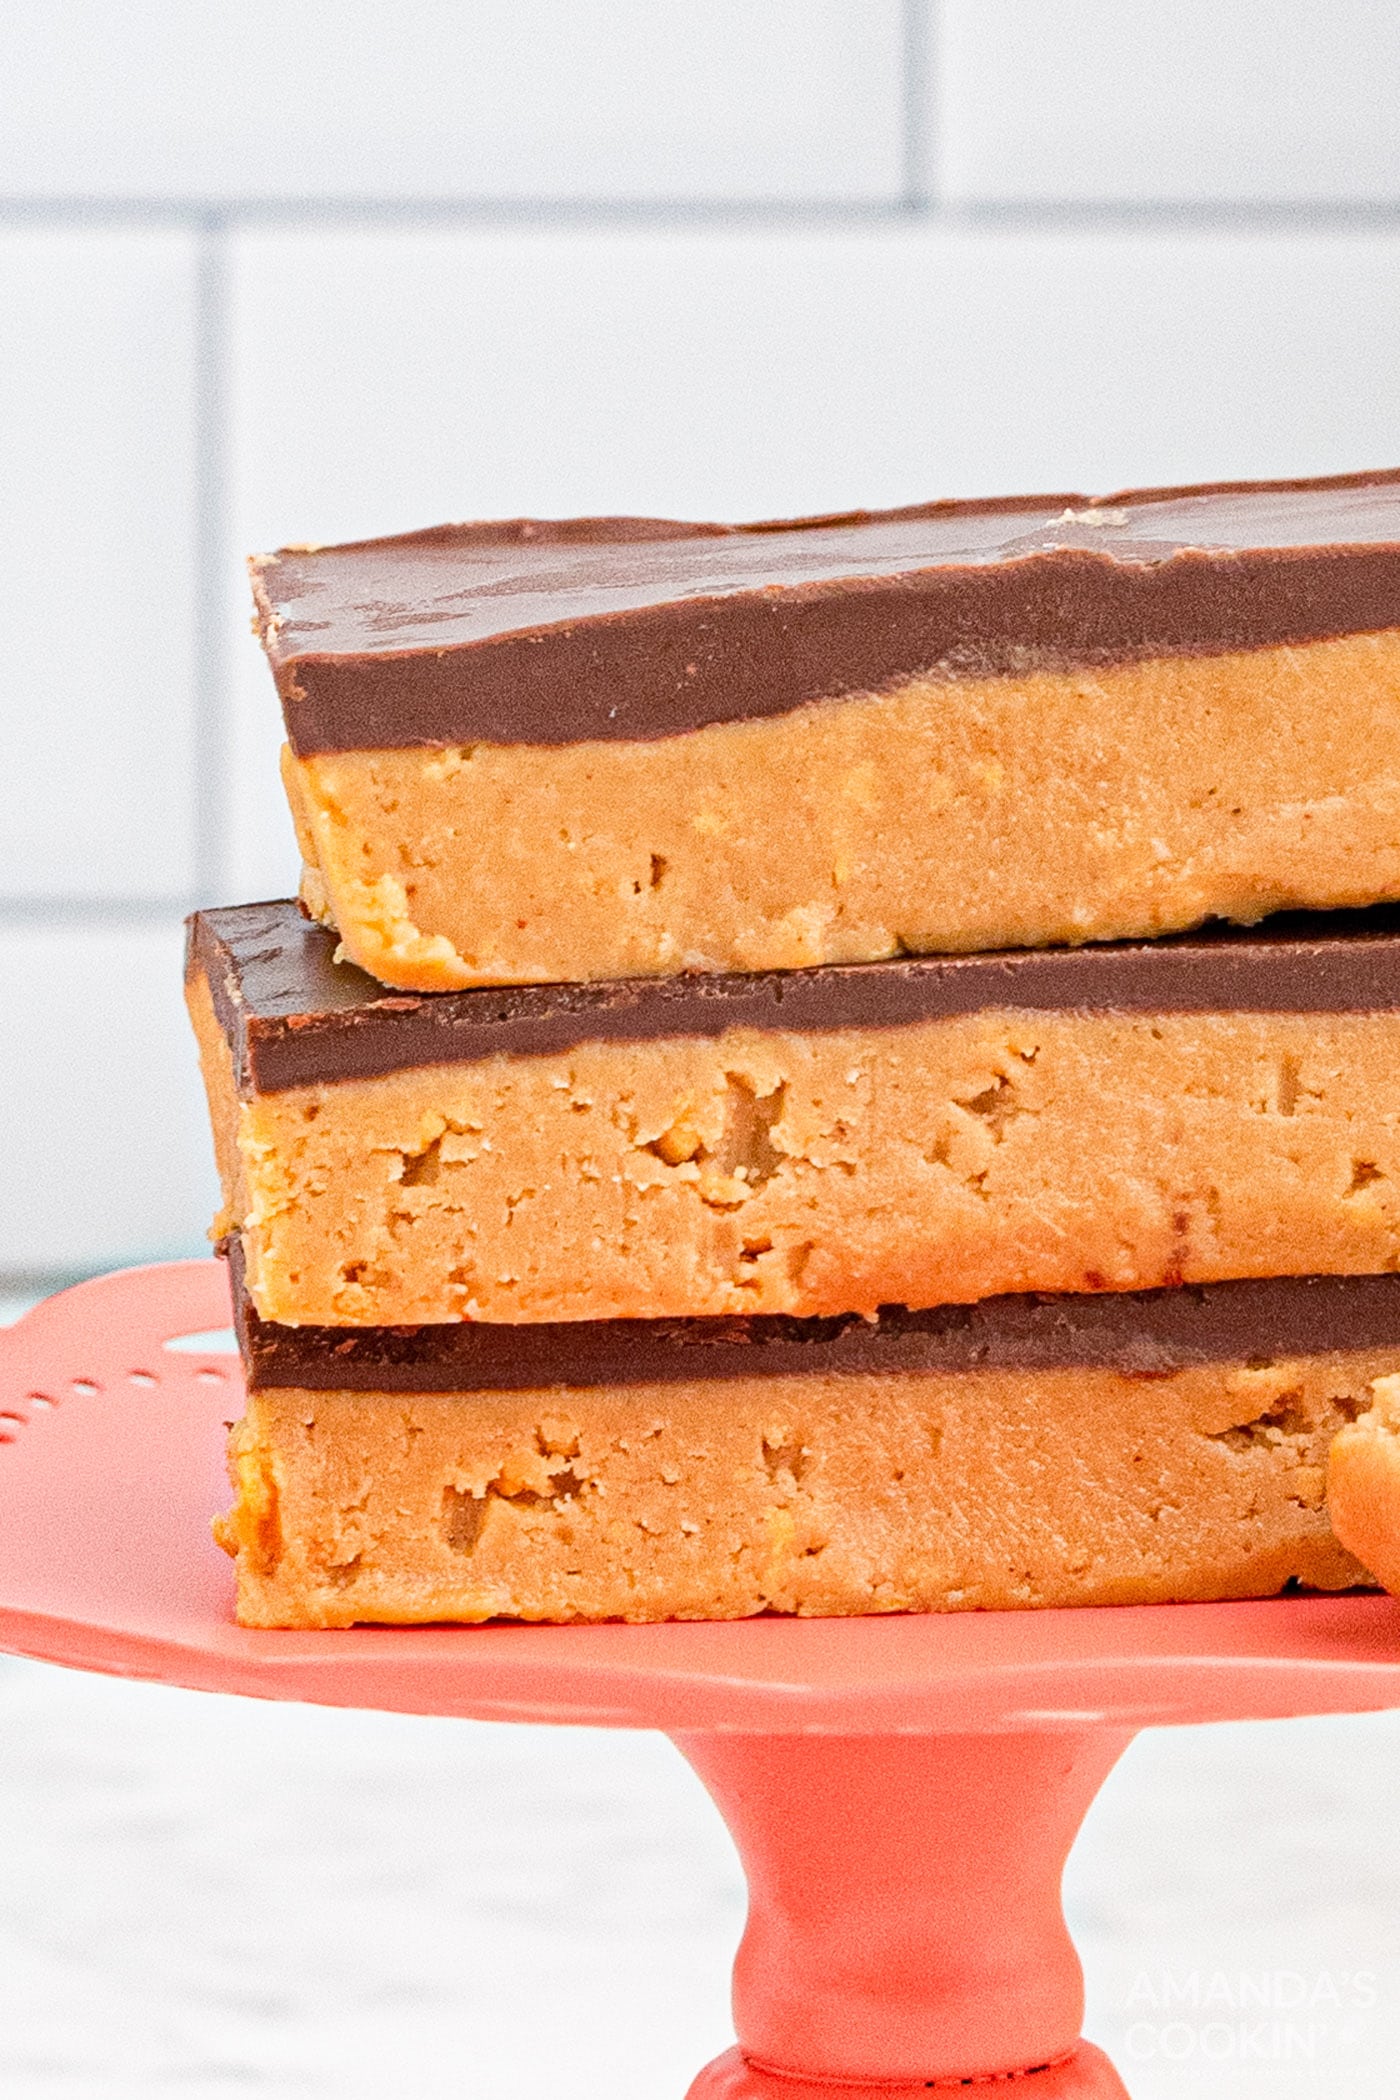
Recipes that don’t require baking are easy and great any time of year. While they are a year-round treat, these peanut butter bars are especially wonderful in the summer, when you don’t want to crank up your oven. And with them being so quick to make, they’re perfect for unexpected company or that last-minute teen request.
Ingredients you will need
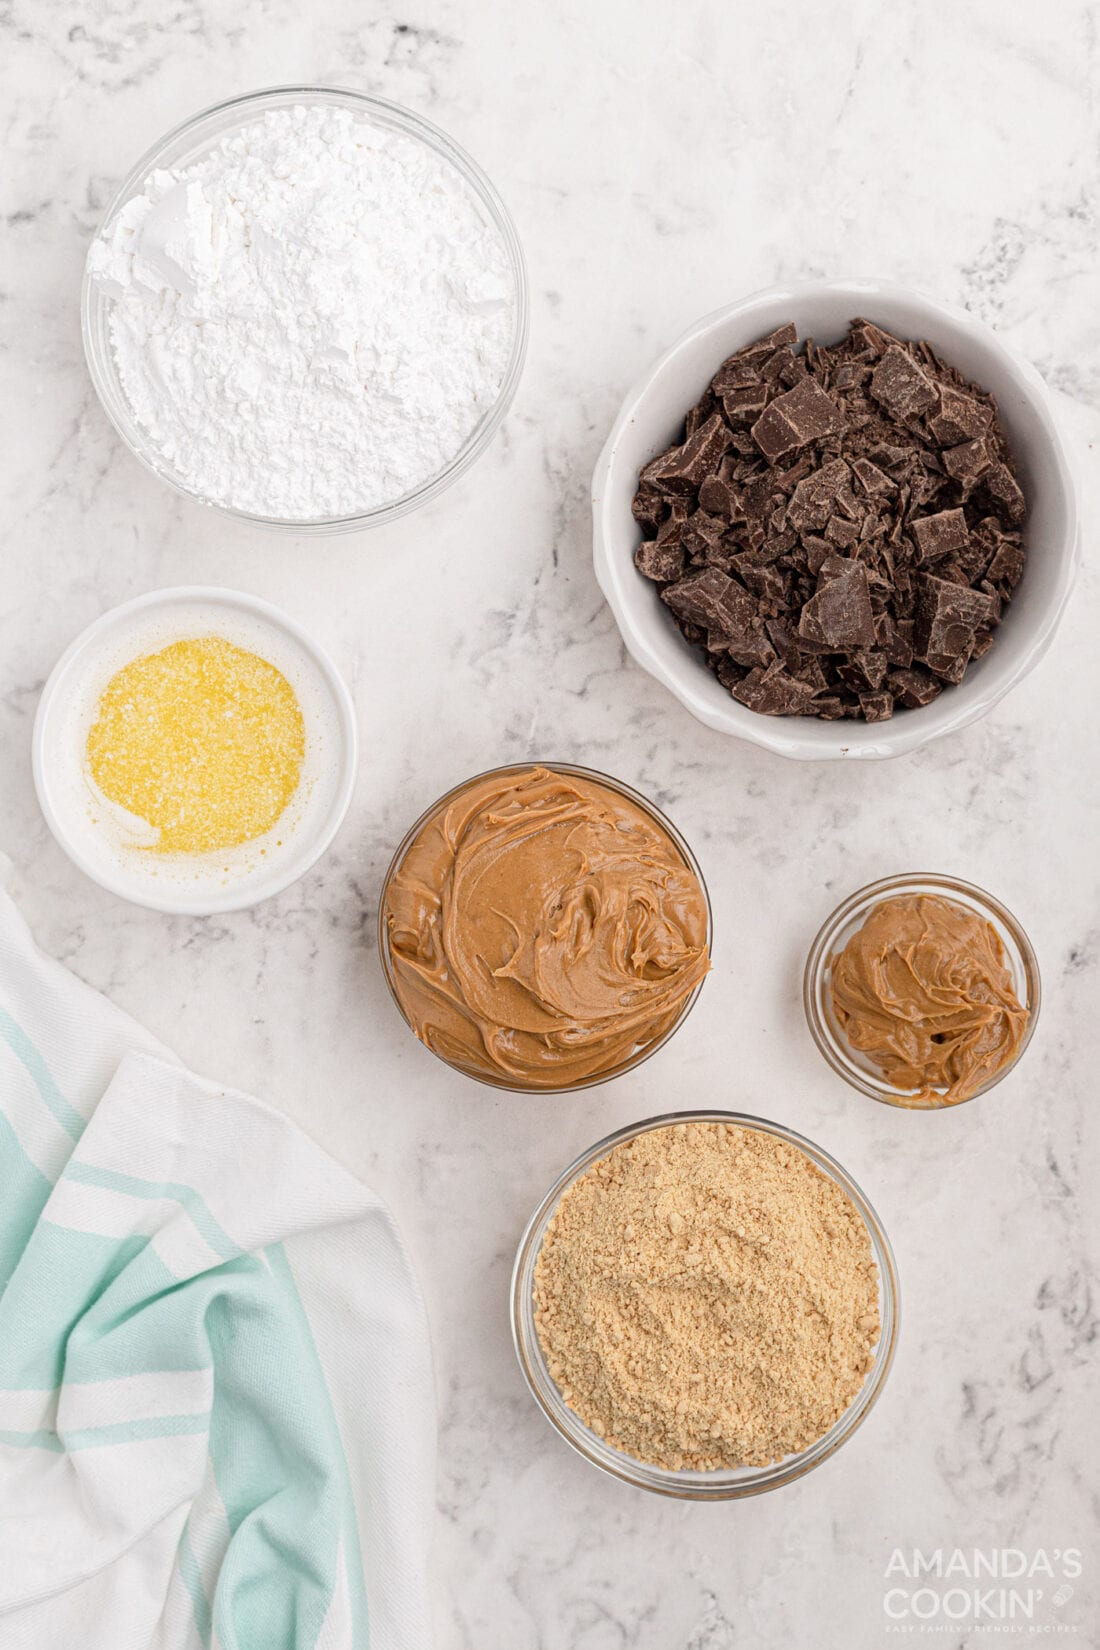
Ingredient Info and Substitute Suggestions
CHOCOLATE – I prefer to use baking chocolate for these bars as it’s easier to melt in my opinion, however, you can also use chocolate chips. Semi-sweet, dark chocolate, or milk chocolate are all great options.
PEANUT BUTTER – I used regular creamy peanut butter for this recipe. I have not tested this recipe with natural peanut butter. In natural peanut butter, the oil separates from the butter itself therefore I am uncertain if the bars will harden completely. Some of my readers have suggested adding extra animal cracker/graham cracker crumbs to help it solidify better if you do take this route.
How to Make Peanut Butter Bars
These step by step photos and instructions are here to help you visualize how to make this recipe. You can Jump to Recipe to get the printable version of this recipe, complete with measurements and instructions at the bottom.
- In a mixer or a food processor, combine the first four ingredients until smooth.
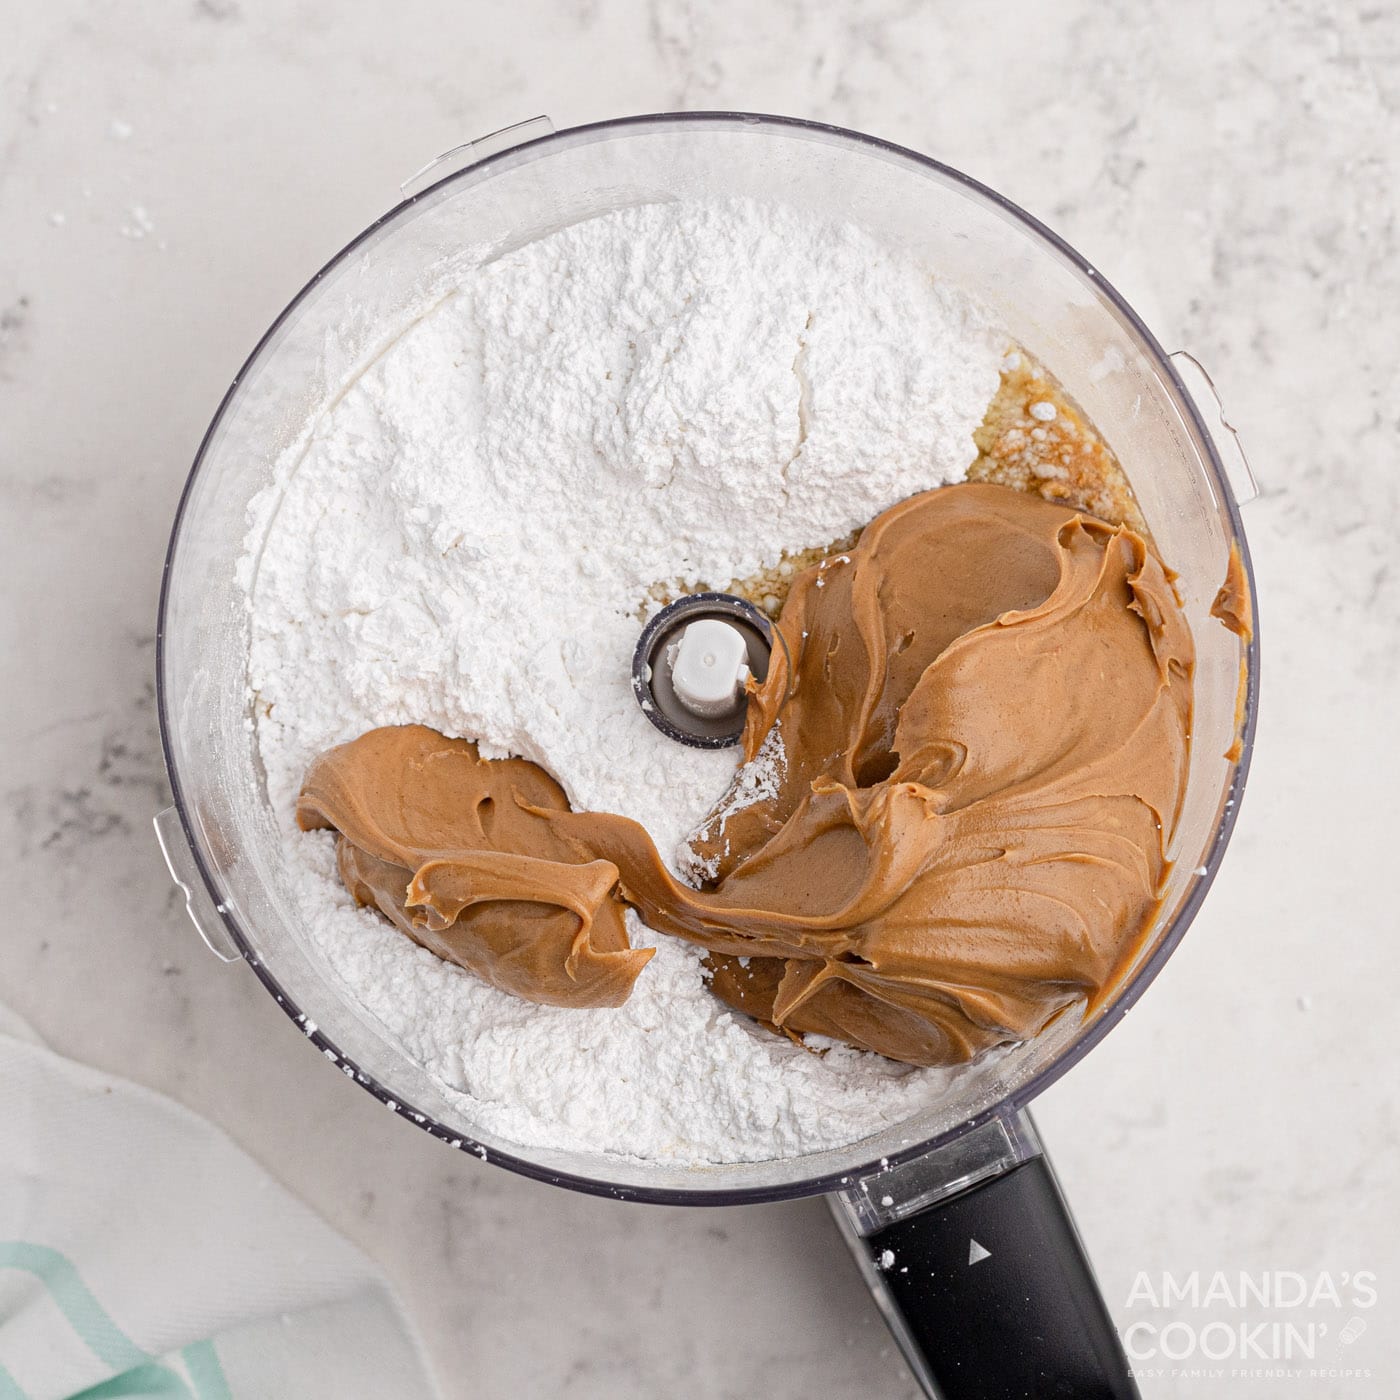
- Spread into a 13×9 baking pan.
- For the topping, melt the chocolate and peanut butter together in the microwave for 1 minute. Stir. If not completely melted you can heat in 10-second intervals until smooth.
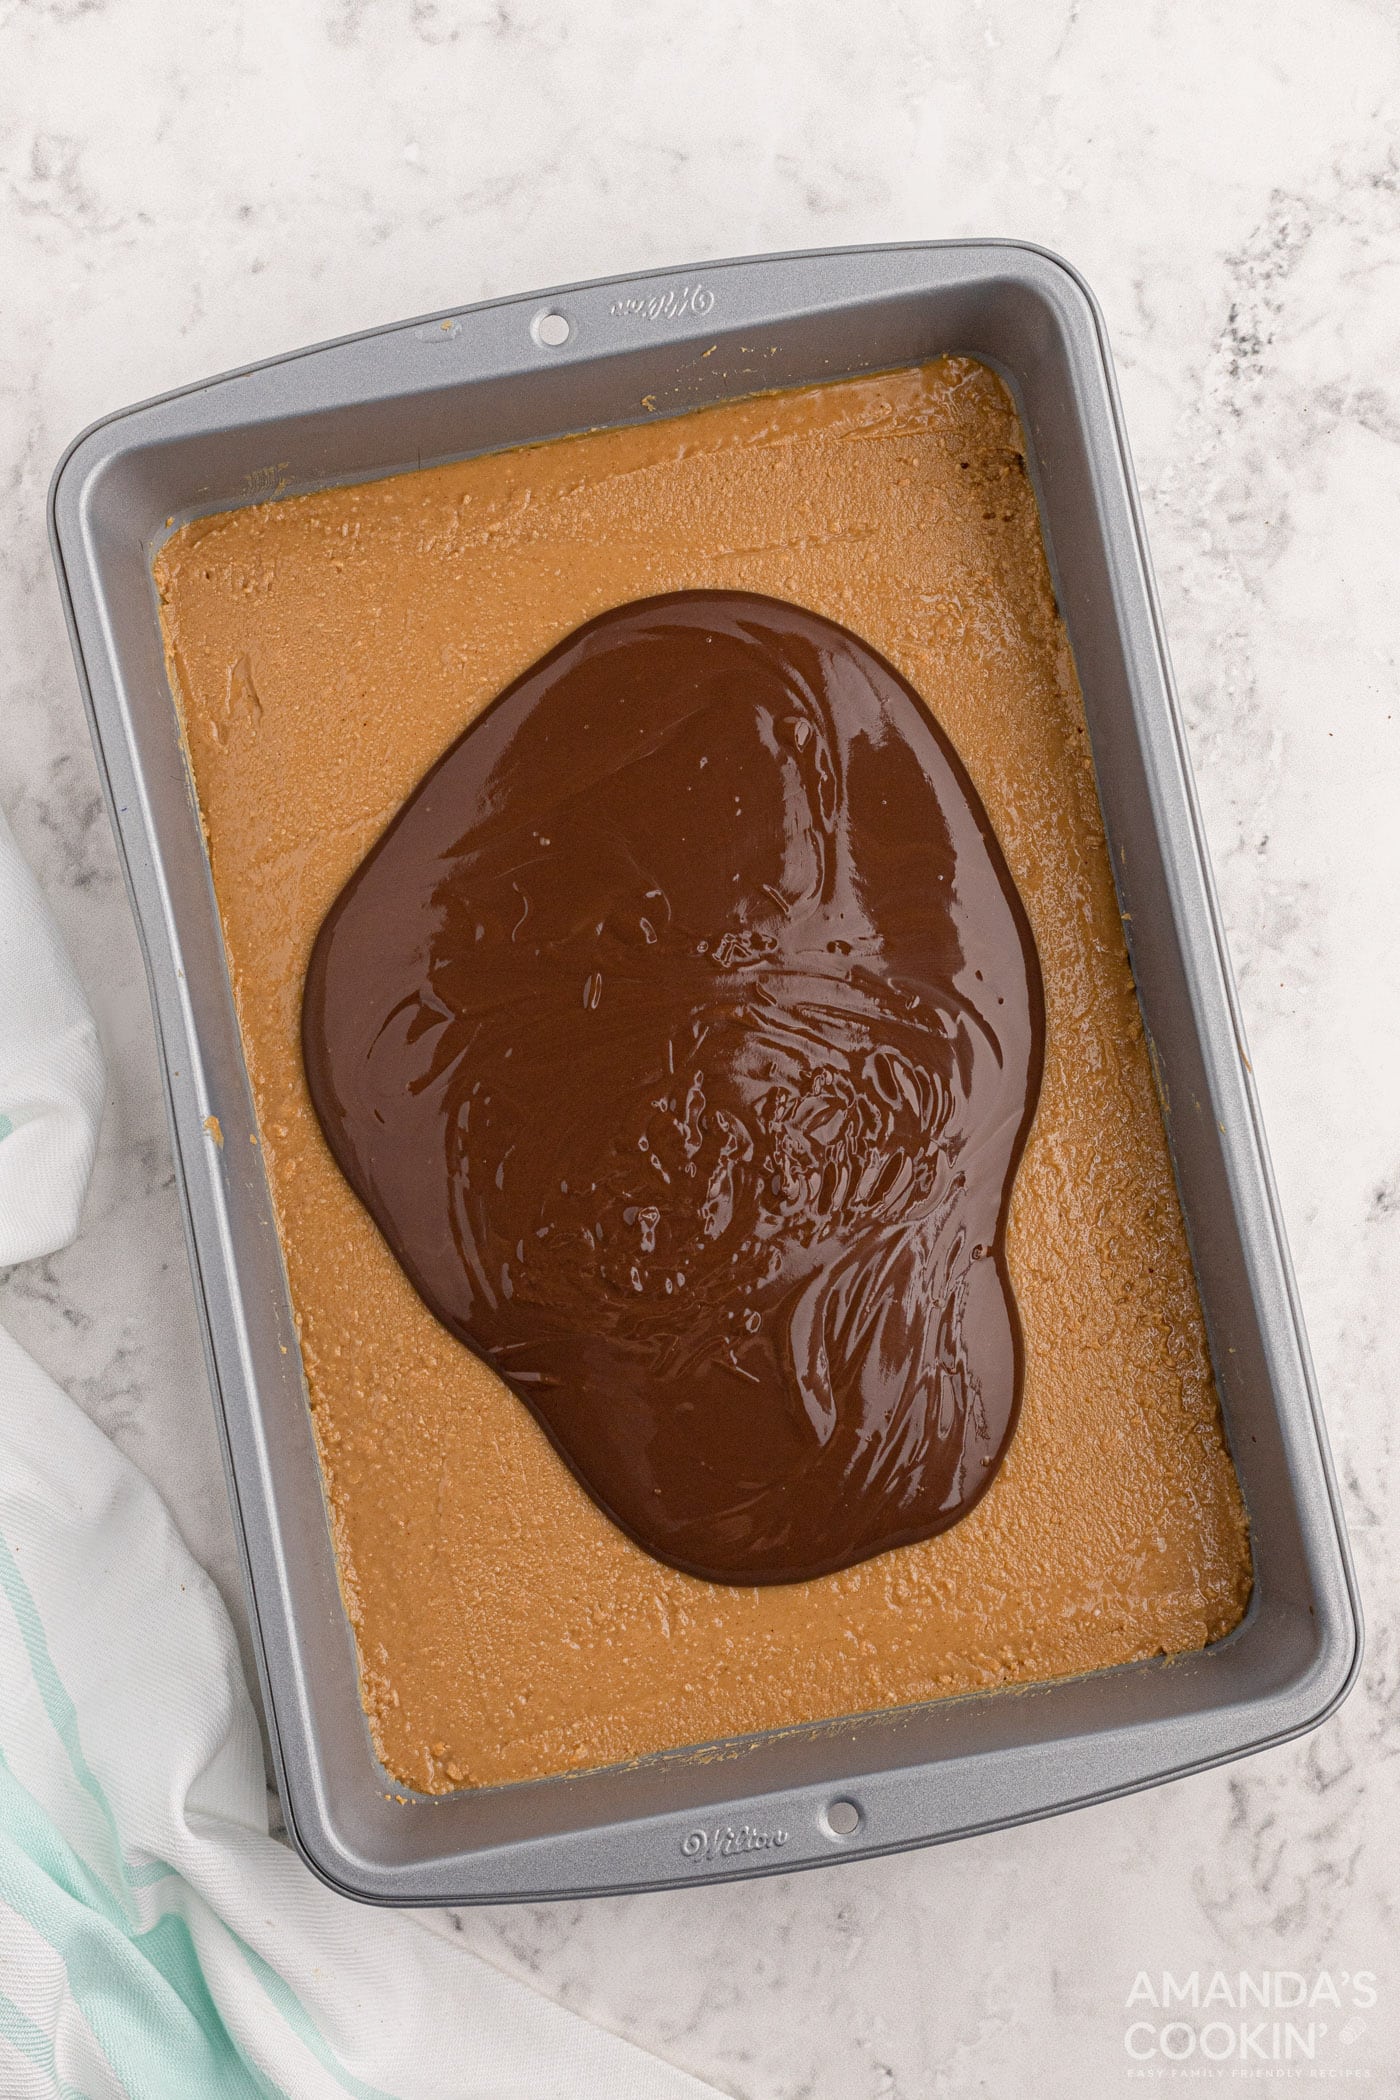
- Spread over the top of the peanut butter layer.
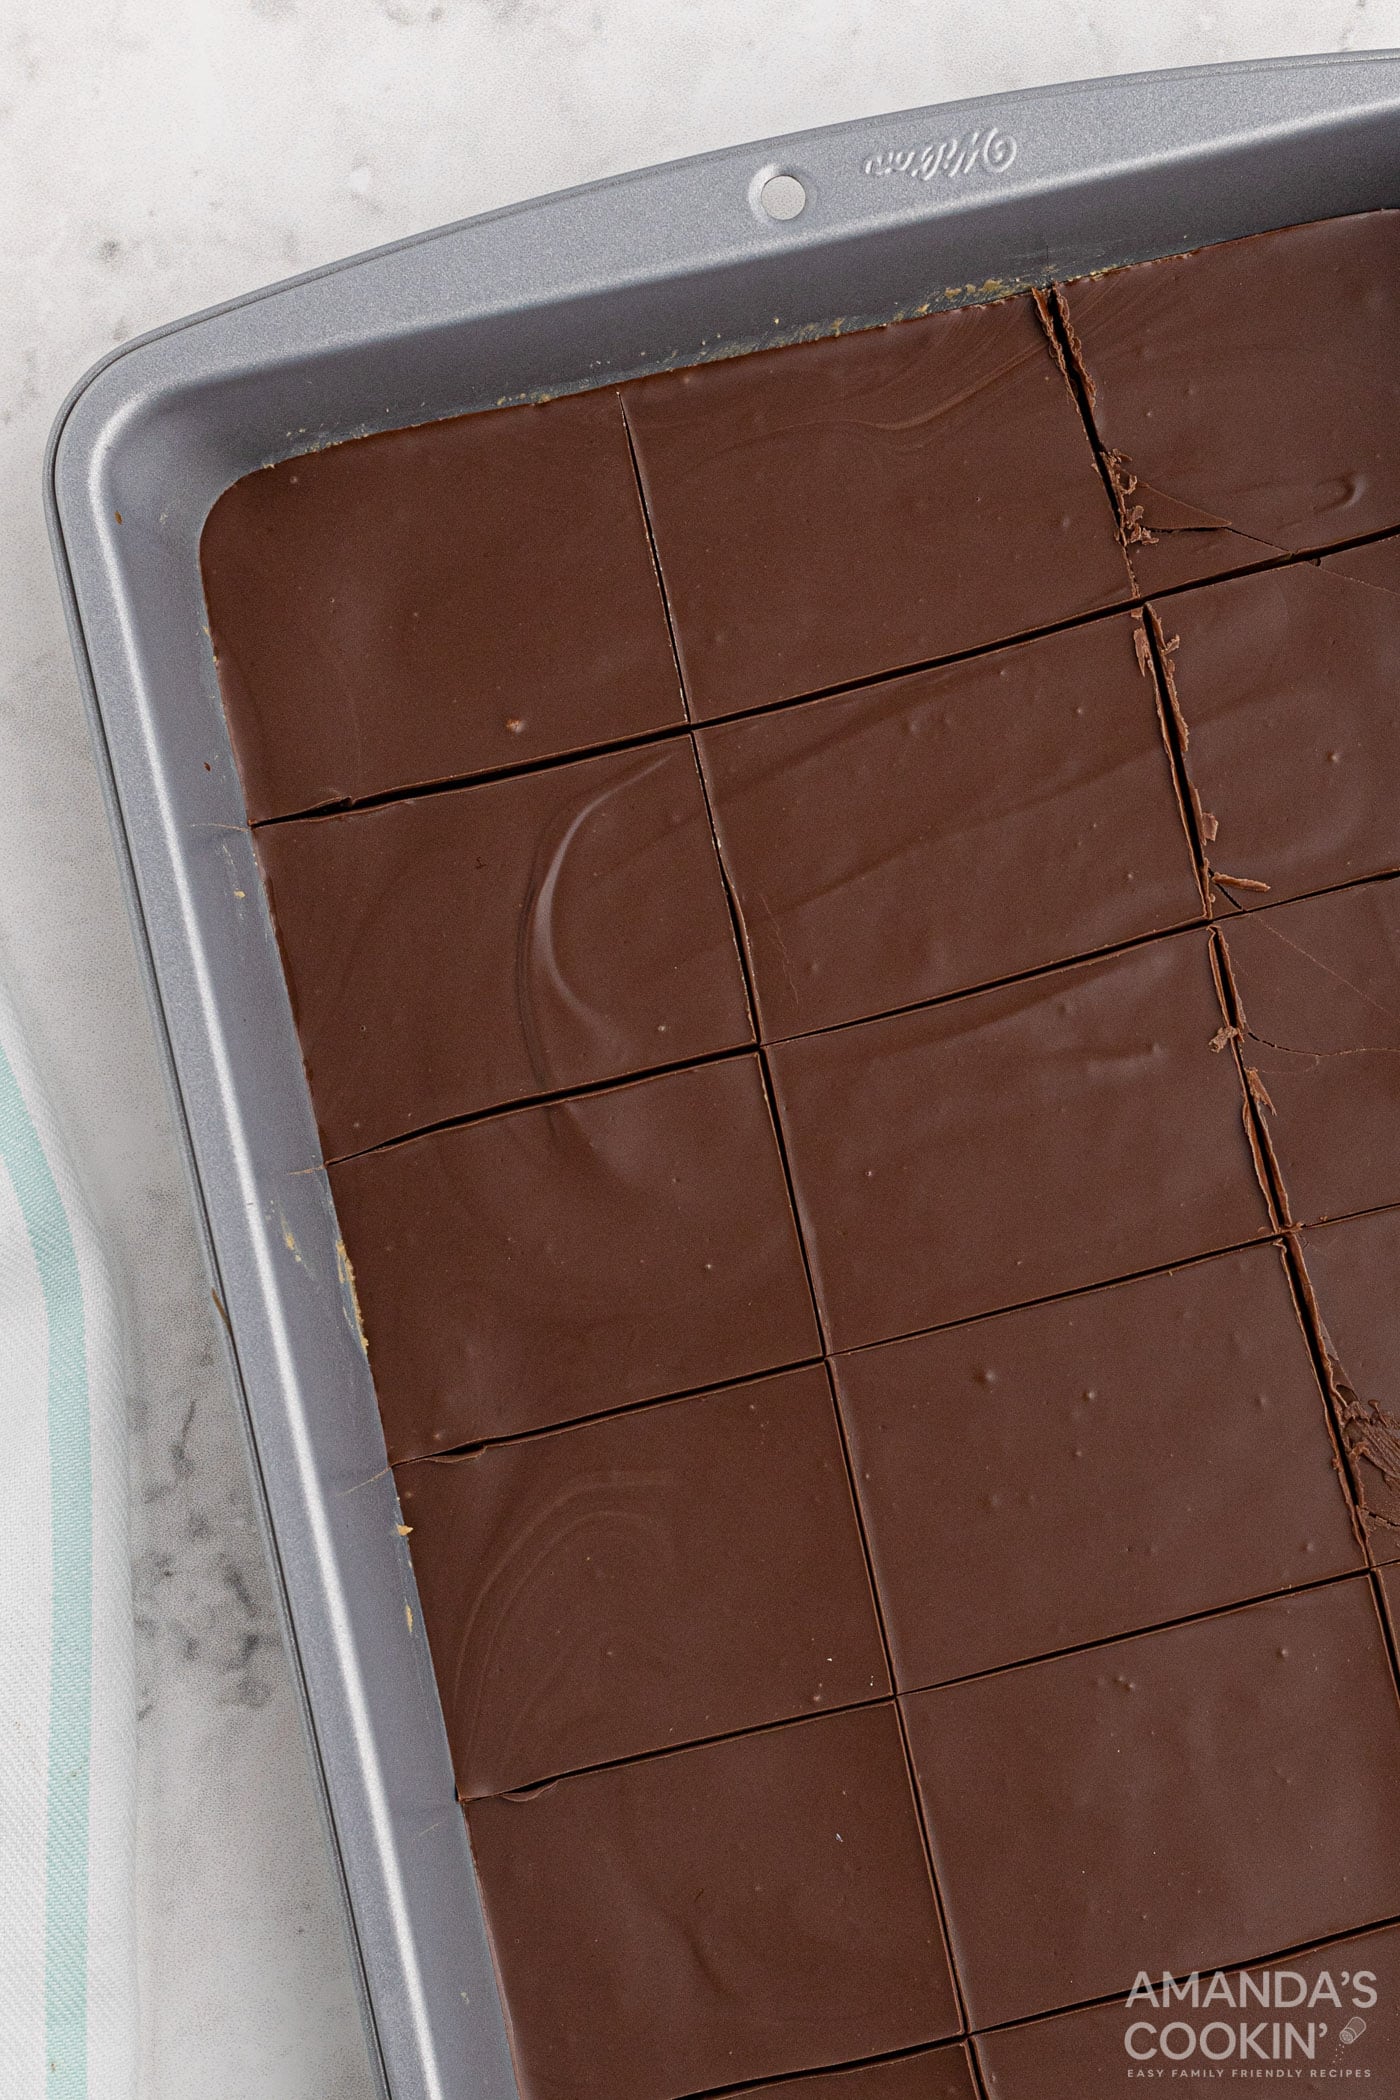
- Chill dessert in the refrigerator for about an hour, or in the freezer for 15 minutes. Cut into bars and serve.
Frequently Asked Questions
You can use a hand mixer or even a blender if you don’t have a food processor. We like the food processor because it makes for the smoothest mixture.
This recipe uses semi sweet chocolate for the topping. If you want it a bit sweeter, and closer to the flavor of a Reese’s Peanut Butter Cup, simply substitute milk chocolate for the semi sweet. I prefer to use baking chocolate, but you can certainly use chocolate chips instead.
Yes, absolutely. I would suggest flash freezing the bars first, removing them from the freezer once they are mostly frozen, then transferring them to a large ziptop bag or air-tight container. Freeze for up to 3 months.
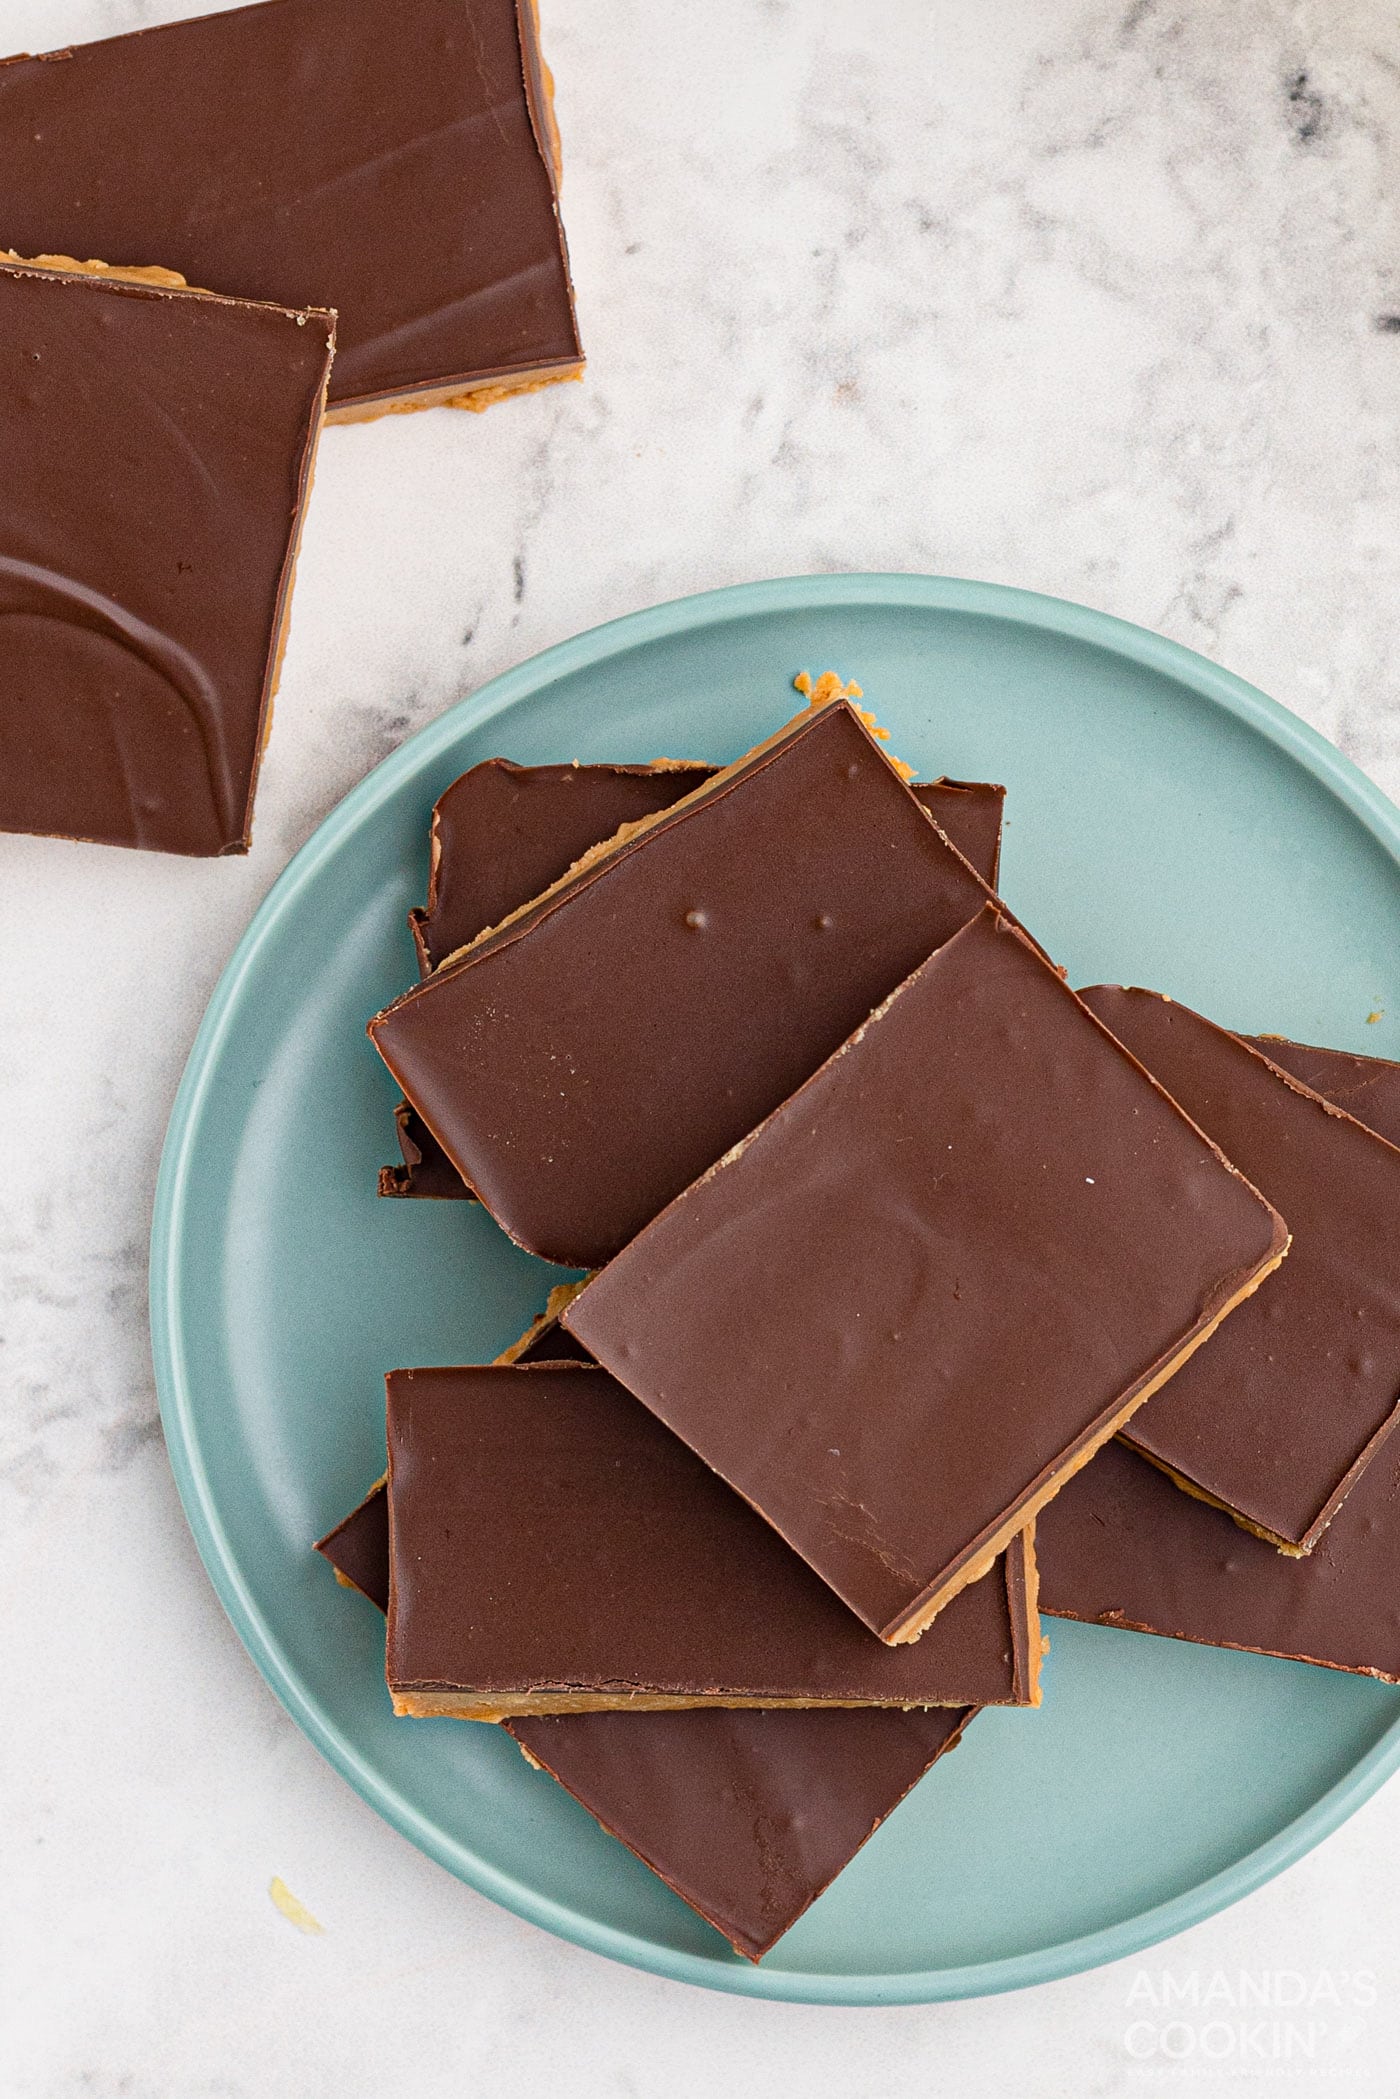
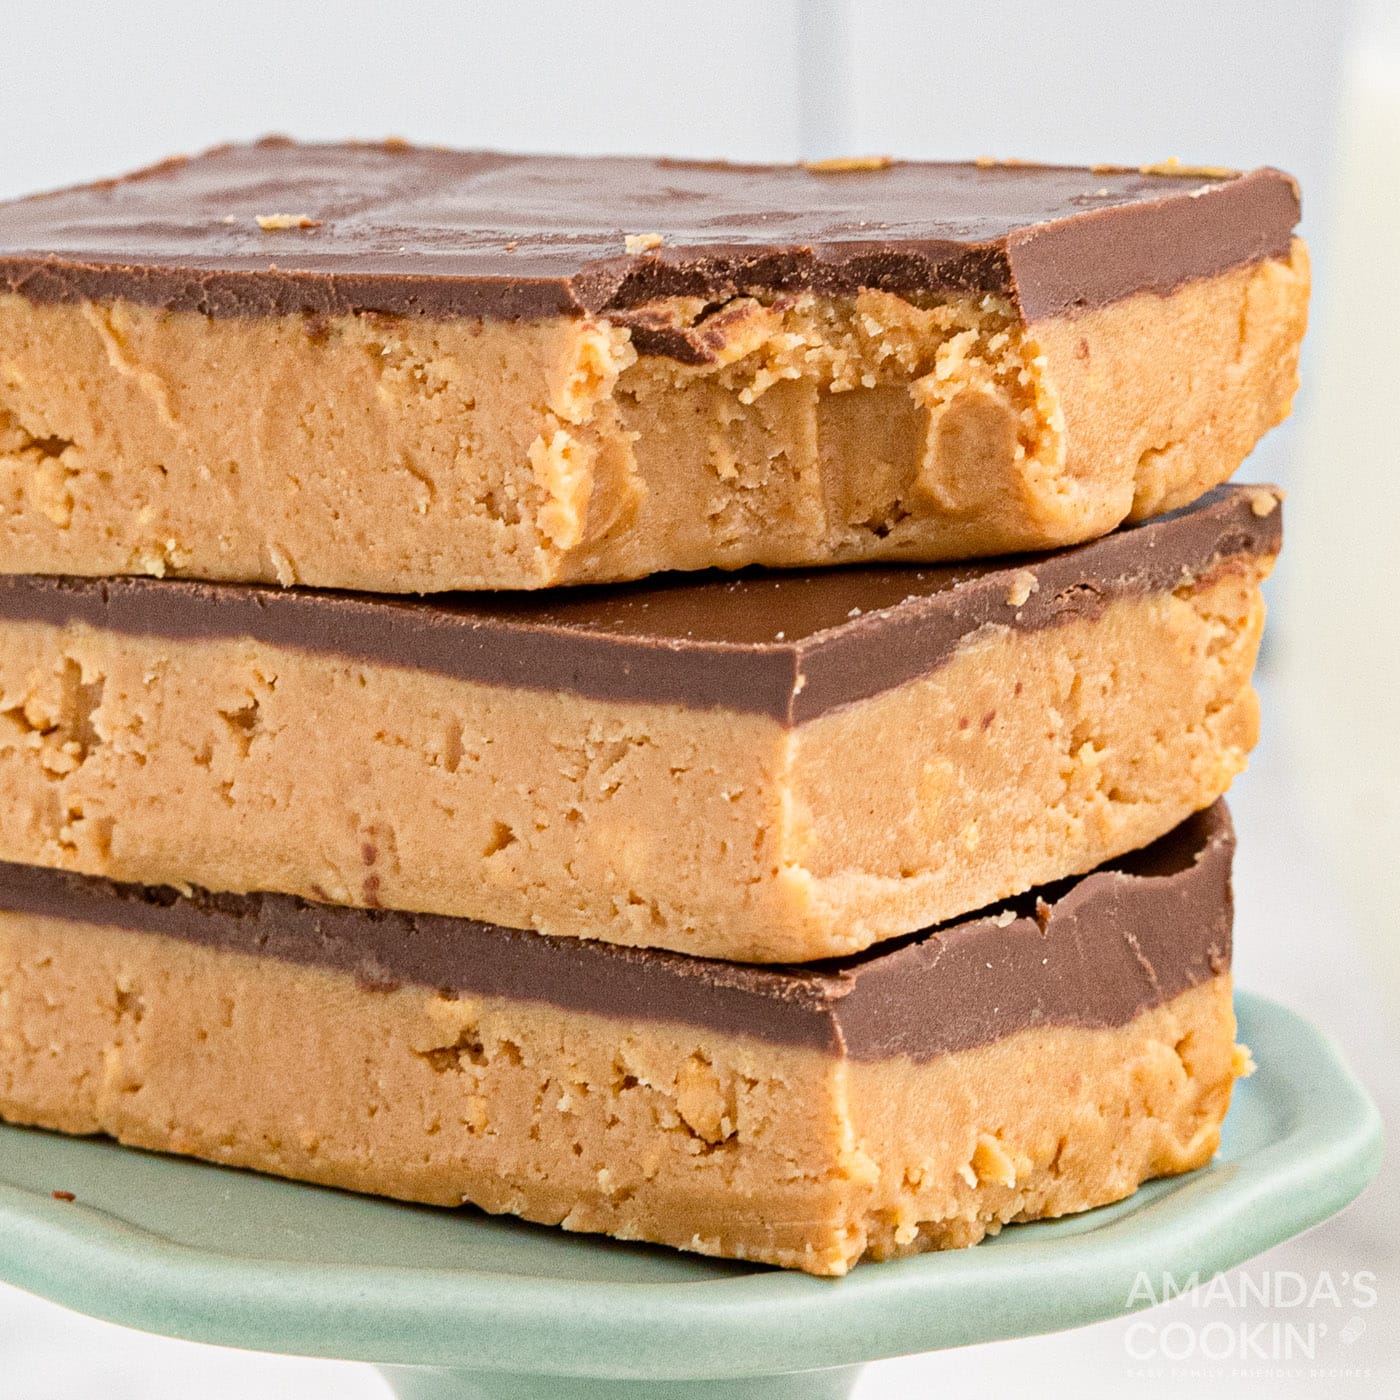
If you love the combination of chocolate and peanut butter, these no-bake chocolate topped peanut butter bars are for you. Easy to make and ready to eat in less than 30 minutes!
More Peanut Butter Recipes
- Peanut Butter Blossoms
- Peanut Butter Cookies
- Chocolate Peanut Butter Lasagna
- Peanut Butter Apple Dip
- Chocolate Peanut Butter Cookies
- No Bake Peanut Butter Pie
- Fudge Brownies with Peanut Butter Frosting
- Chocolate Peanut Butter Balls
- Peanut Butter Cups
- Chocolate Peanut Butter Cupcakes
- No Bake Peanut Butter Cornflake Cookies
I love to bake and cook and share my kitchen experience with all of you! Remembering to come back each day can be tough, that’s why I offer a convenient newsletter every time a new recipe posts. Simply subscribe and start receiving your free daily recipes!
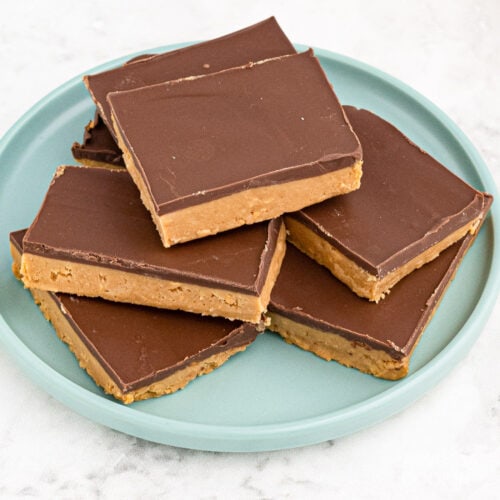
No Bake Peanut Butter Bars
IMPORTANT – There are often Frequently Asked Questions within the blog post that you may find helpful. Simply scroll back up to read them!
Print It Rate It Text ItIngredients
- 1 cup unsalted butter melted
- 2 cups animal cracker crumbs or vanilla wafers, graham crackers, etc
- 2 cups powdered sugar
- 1 ½ cups creamy peanut butter
Topping
- ¼ cup peanut butter
- 10 oz semi-sweet chocolate chopped
Things You’ll Need
Before You Begin
- You can use a hand mixer or even a blender if you don’t have a food processor. We like the food processor because it makes for the smoothest mixture.
- This recipe uses semi sweet chocolate for the topping. If you want it a big sweeter, and closer to the flavor of a Reese’s Peanut Butter Cup, simply substitute milk chocolate for the semi sweet. I prefer to use baking chocolate, but you can certainly use chocolate chips instead.
Instructions
- In a mixer or a food processor, combine the first four ingredients until smooth. Spread into a 13×9 baking pan.
- For the topping, melt the chocolate and peanut butter together in the microwave for 1 minute. Stir. If not completely melted you can heat in 10 second intervals until smooth. Spread over the top of the peanut butter layer.
- Chill dessert in the refrigerator for about an hour, or in the freezer for 15 minutes. Cut into bars and serve.
Nutrition
This recipe was originally published on April 15, 2013 but has since been updated with expert tips and new photos.
Amanda Davis
Latest posts by Amanda Davis (see all)
- Raspberry Poke Cake - January 21, 2025
- Chocolate Covered Strawberries - January 20, 2025
- Cauliflower Pizza Crust - January 13, 2025


Shelley says
Sorry but I don’t like these at all! Followed the recipe exactly even using a food processor. They are super soft like pb and gritty. I’m glad others enjoyed them. I won’t make these again.
Amanda Davis says
Did you make any changes? What type of peanut butter did you use?
Alissa says
It tasted so nice and the flavored texture was great.
S says
No fill pbb!
Garey 🤙 says
I made two batches for my family and they loved them 😊 Thank you so much for sharing this recipe . Very good and easy to make 😎
Emily Adams says
ABSOLUTELY SCRUMPTIOUS!!!! Omg I was craving a sweet treat and this hit the spot!! Super easy and relatively quick recipe, I substituted the gram cracker crumbs with some milano cookies and wasn’t sure if it would work but it worked wonderfully. I could eat the whole pan in one sitting if i wasn’t careful. Had my mom try it and she absolutely adored! I would give this a thousand stars if I could!!! Absolutely recommend to everyone!
rose says
amazing! delicious!!!!!!!!!!!!
Pau Fla says
This was delicious and highly popular among our guests, big and small! I used pretzels instead of animal crackers and it was perfect and added extra salt, which I love in sweets. I also used salted butter and it turned out great! Topped with sprinkles and put in freezer. Cut into squares and storing it in the freezer. Ready to eat immediately. Thanks!
Lou says
Mine turned out pretty runny. I followed the instructions to a T.
Kelly says
These did set up in the fridge just fine and were delicious. They started to soften into a peanut butter consistency after leaving them out on the table for only about an hour. Doesn’t seem like a good option to bring as a dish to pass as they’d need to stay refrigerated. Maybe I ground my Nilla wafers too fine? The mixture was definitely pourable/spreadable, there was no pressing it into the pan for me.
Sandra Martin says
Absolutely delicious! I own a coffee shop and my customers loved these!! Great addition ❤️
Katherine Barker says
I made these with less melted butter, one cup of powdered sugar, and graham crackers. I am having a hard time stopping myself from eating them all. They taste so much like a Reese’s cup!! I’ve kept them in the freezer and cut them as needed.