Sweet cherry pie filling snuggled inside a flaky, buttery homemade pie dough and topped with a sprinkle of sugar and a cute red heart – these Valentine cherry hand pies are the perfect edible gift for your sweetheart!

Why this recipe works
What better way to show your love for someone than to fill their belly with a sweet treat for Valentine’s Day? These Valentine cherry hand pies are little handheld love bombs stuffed with cherry pie filling wrapped inside a delicious homemade pie dough.
Hand pies are obviously mini versions of pie, but they’re extra adorable in handheld form and are quite easy to make. From blueberry hand pies to apple hand pies, and now onto heart-shaped cherry pies, we just can’t stop making them.

Ingredients you will need
Get all measurements, ingredients, and instructions in the printable version at the end of this post.
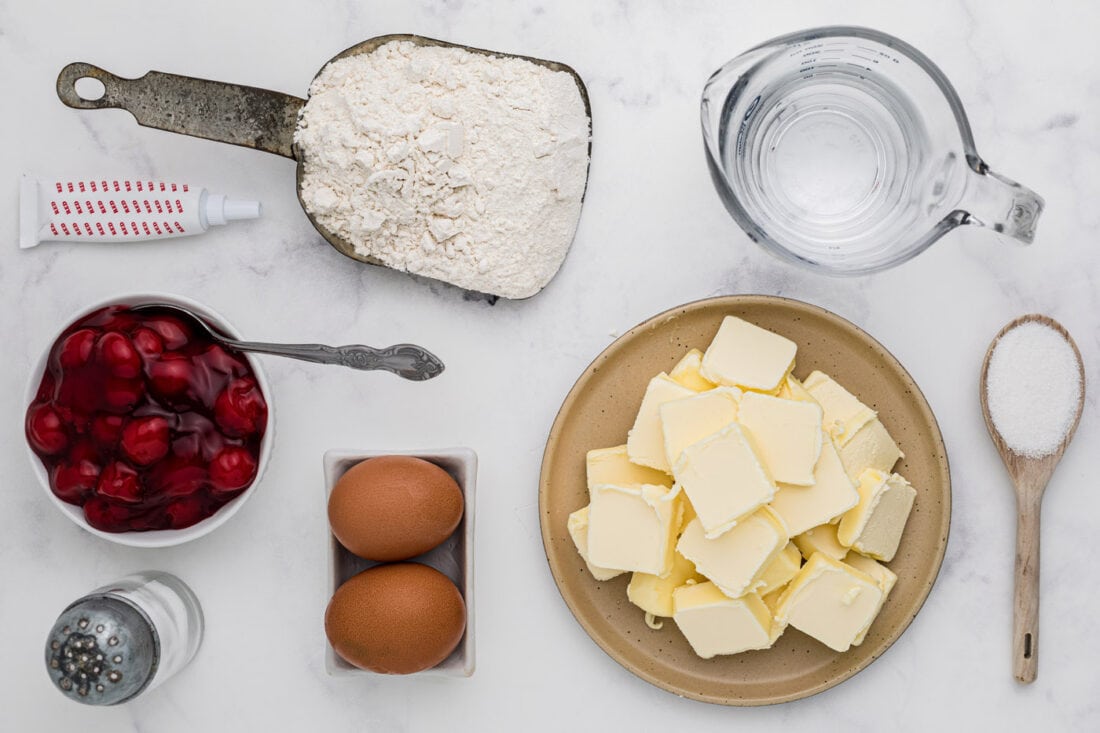
Ingredient Info and Substitution Suggestions
DOUGH – We’ve provided an easy recipe for a homemade buttery, flaky pie dough, but if you want to save some time then you can substitute with store-bought refrigerated pie crust.
FILLING – You can use cherry, strawberry, apple, blueberry, blackberry, raspberry, lemon curd, or whatever your favorite type of pie filling is for this recipe. You could also try your hand at a chocolate variation by using Nutella in the center (this would be tasty with a small amount of cherry pie filling as well).
How to Make Valentine Cherry Hand Pies
These step by step photos and instructions are here to help you visualize how to make this recipe. You can Jump to Recipe to get the printable version of this recipe, complete with measurements and instructions at the bottom.
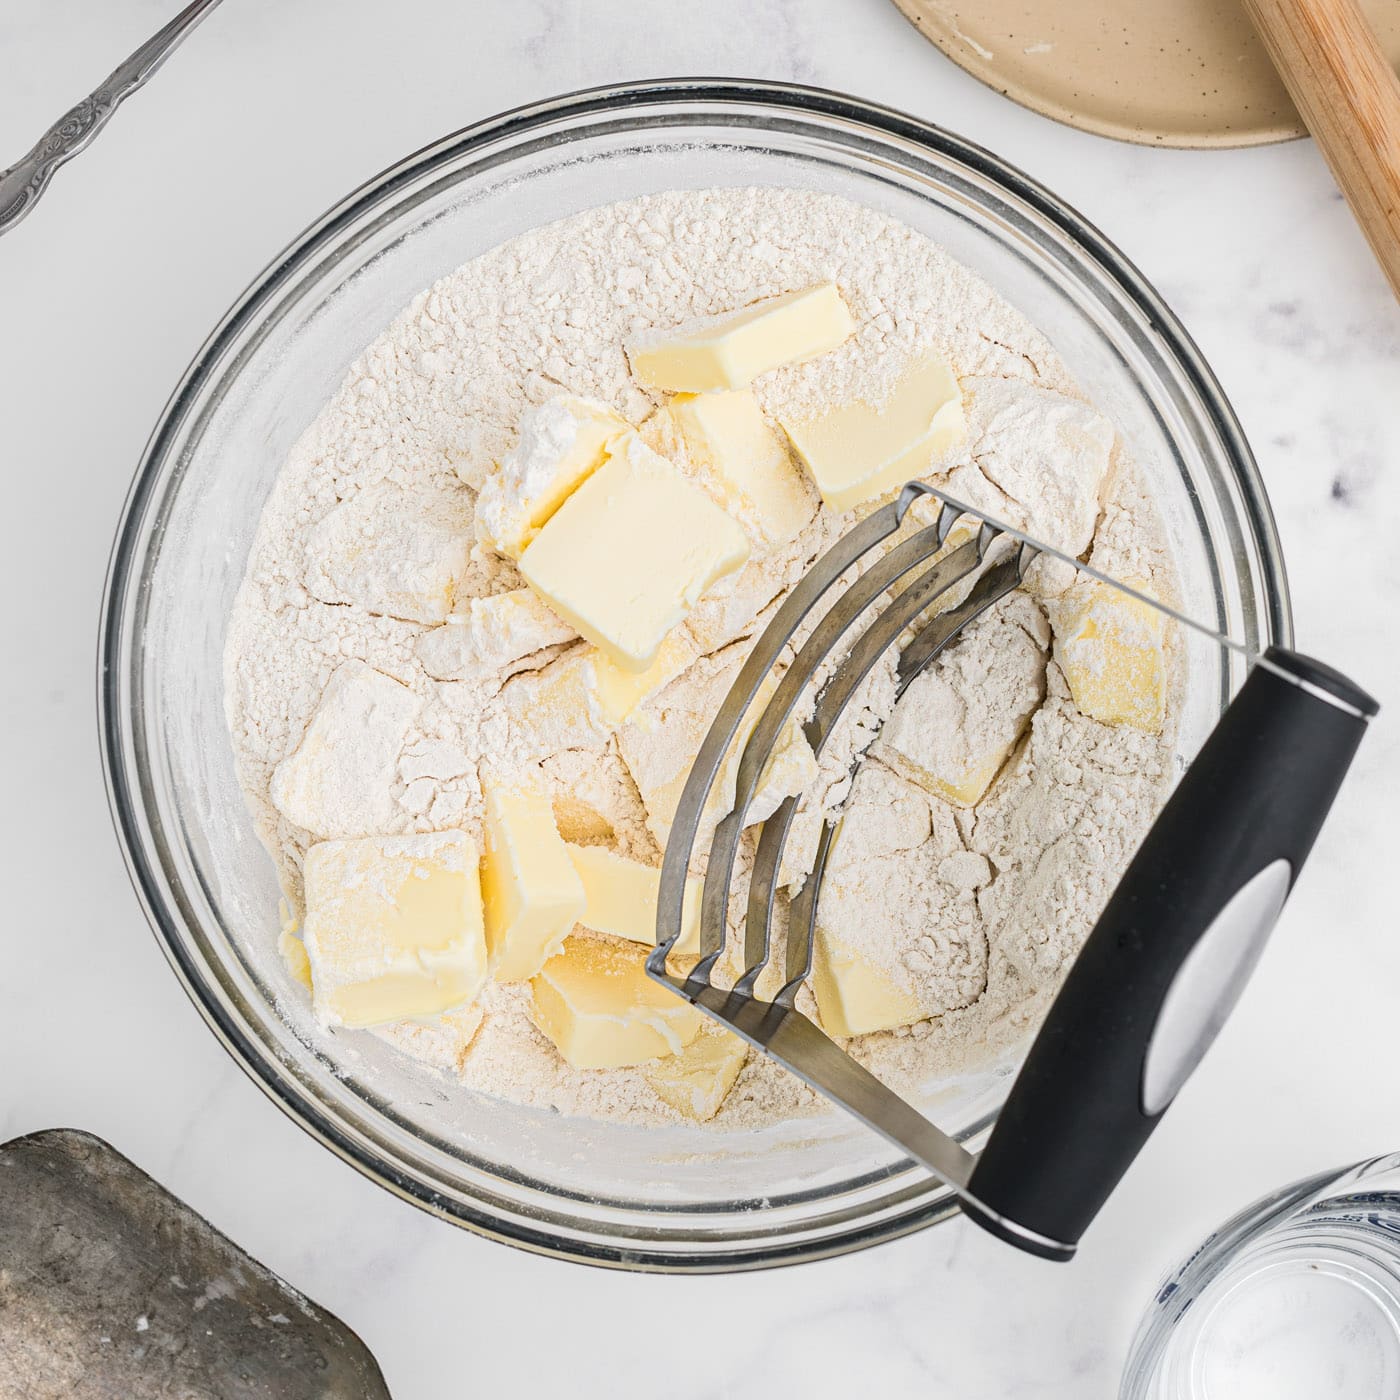
- Cut the butter into small pats. In a large mixing bowl, add the flour and salt and mix together.
- Using a pastry cutter, add the butter and cut into the flour mixture. Keep cutting it in until you have small pea size pieces. You can also use your fingers to work through the mixture, rubbing away at the pieces until it almost resembles breadcrumbs.
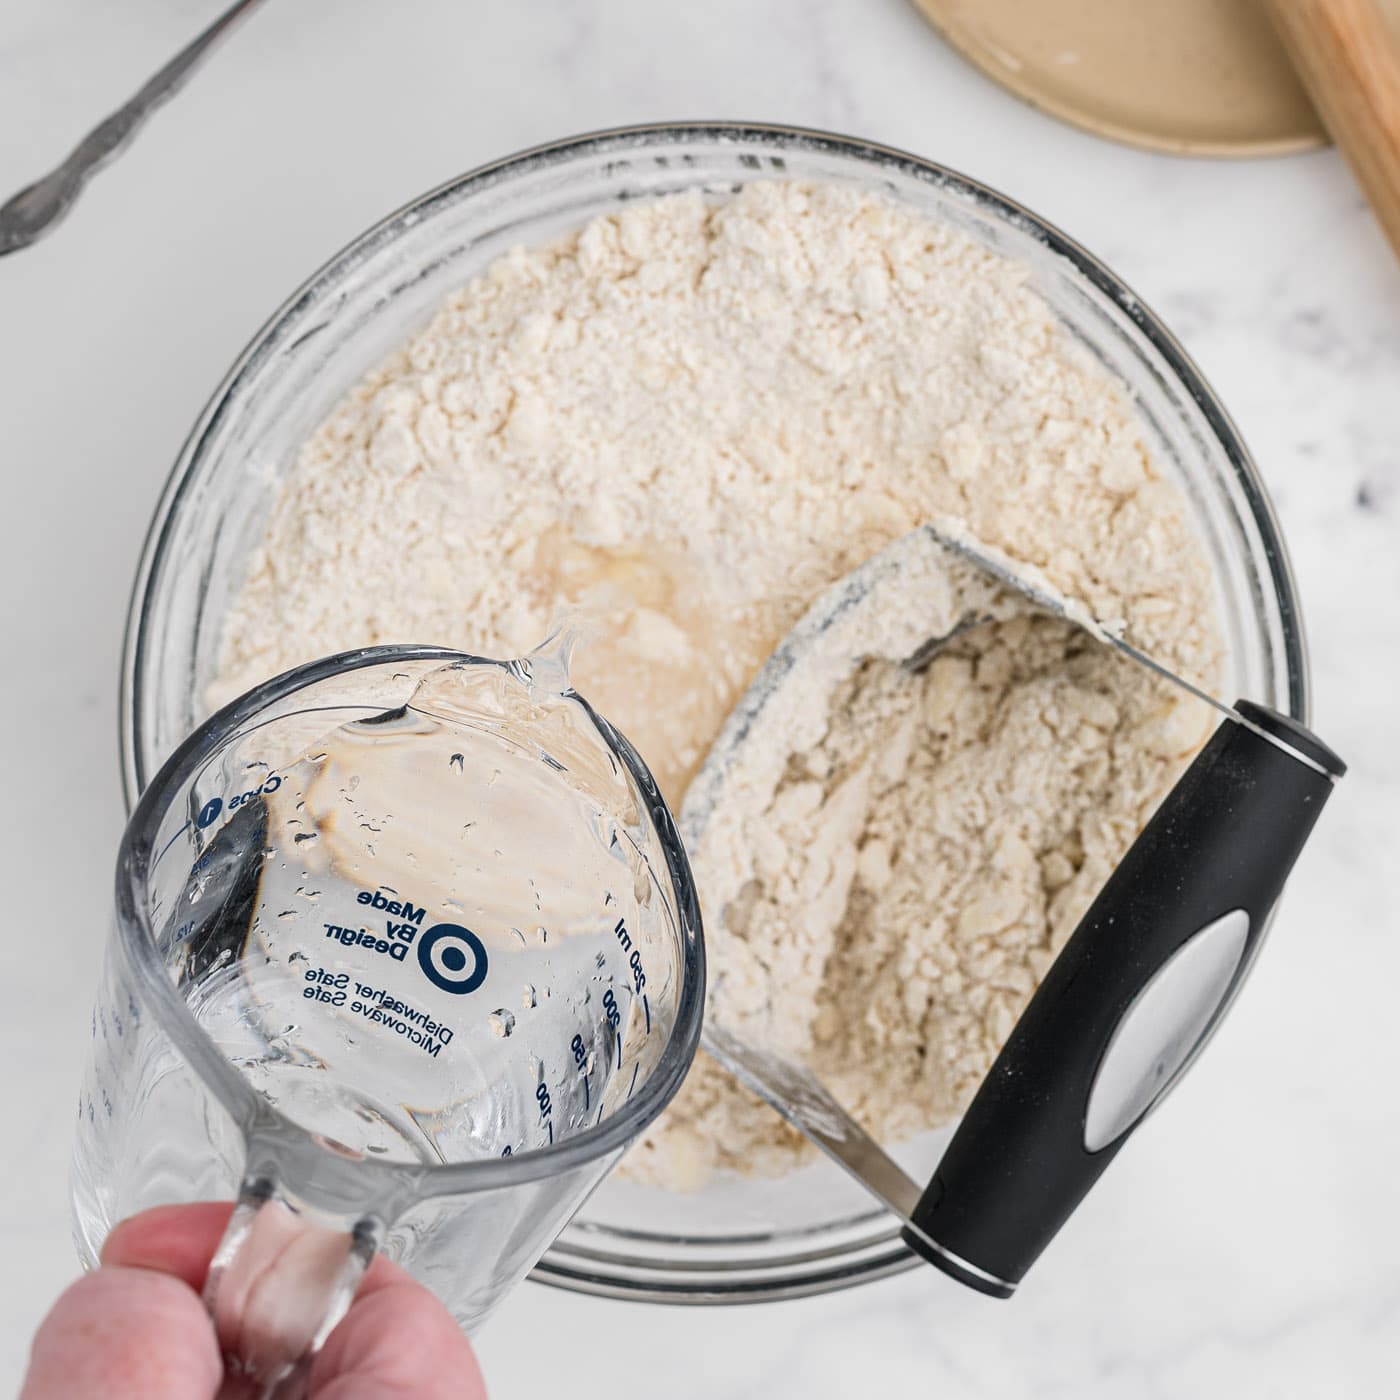
- Gradually add about half of the water, mixing well. Then spoon by spoon add more until you have a workable dough.
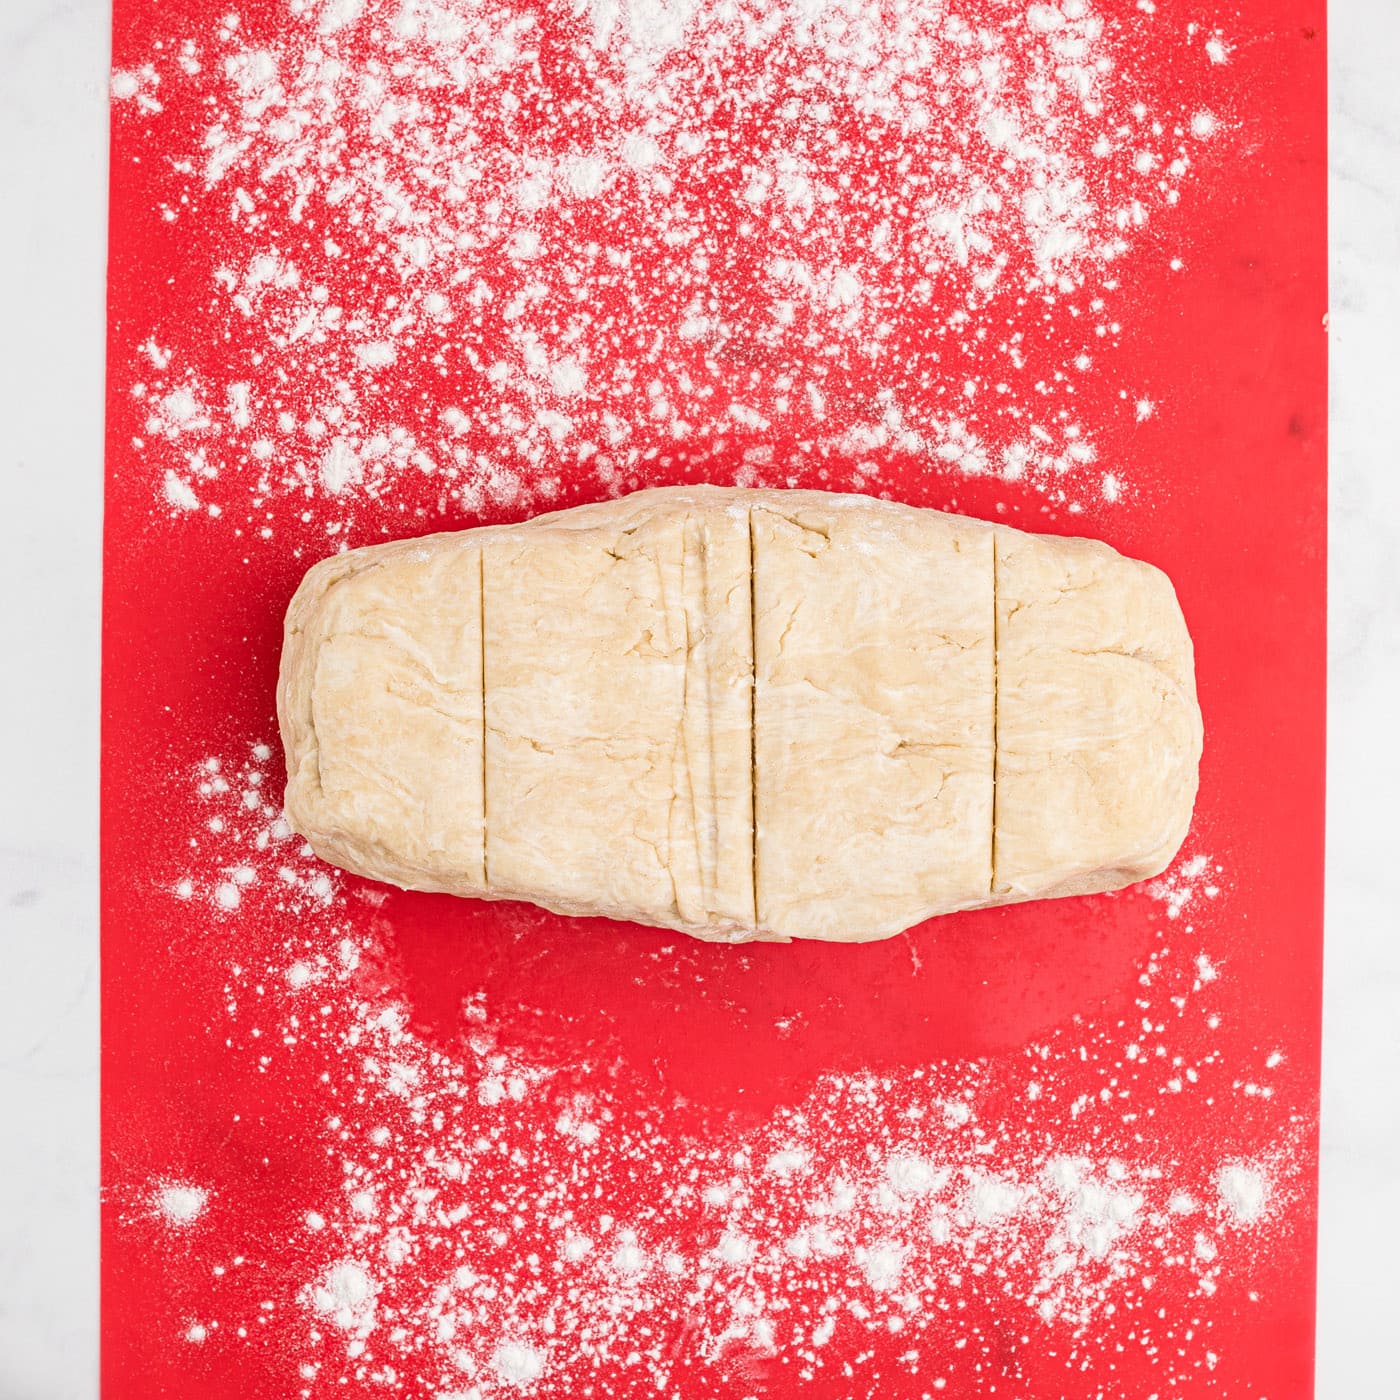
- Once the dough has come together you can roll it into a ball, work it out into an even log (ish) and cut into four sections.
- Roll each section into a ball and place into a plastic bag. Place in the refrigerator for about 10 minutes to cool down.
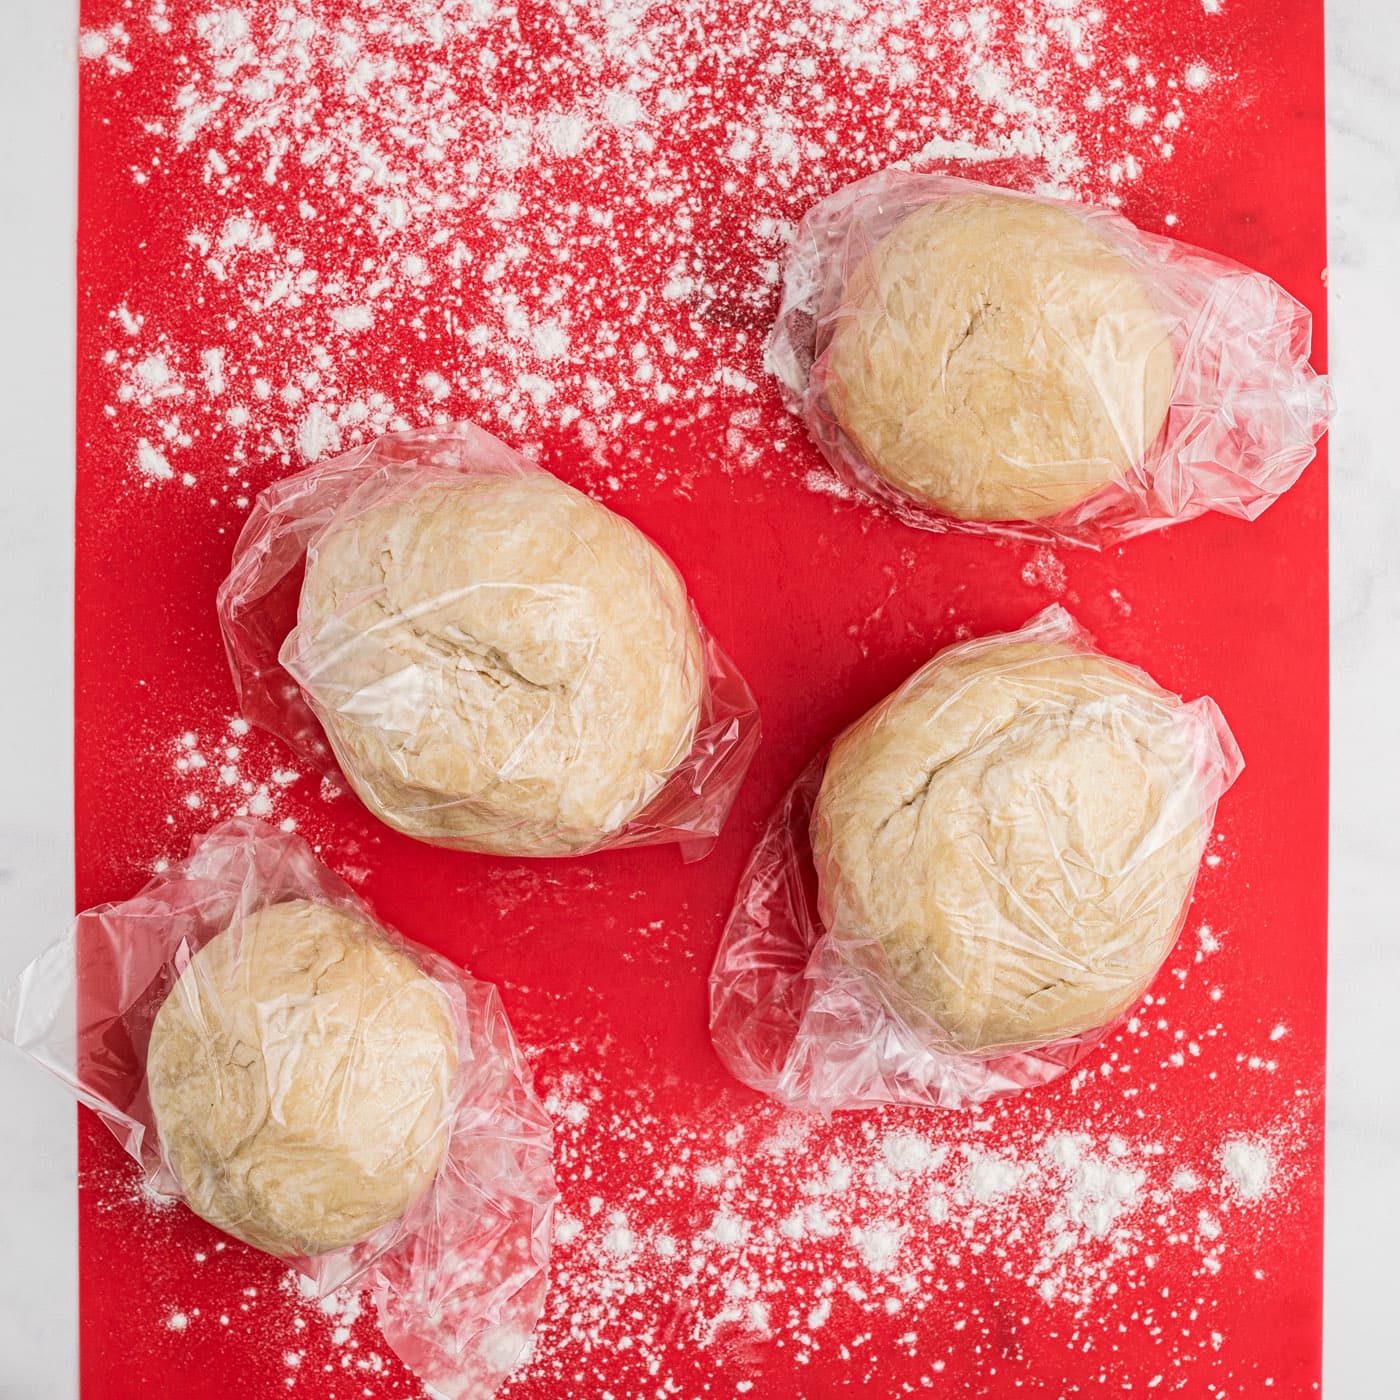
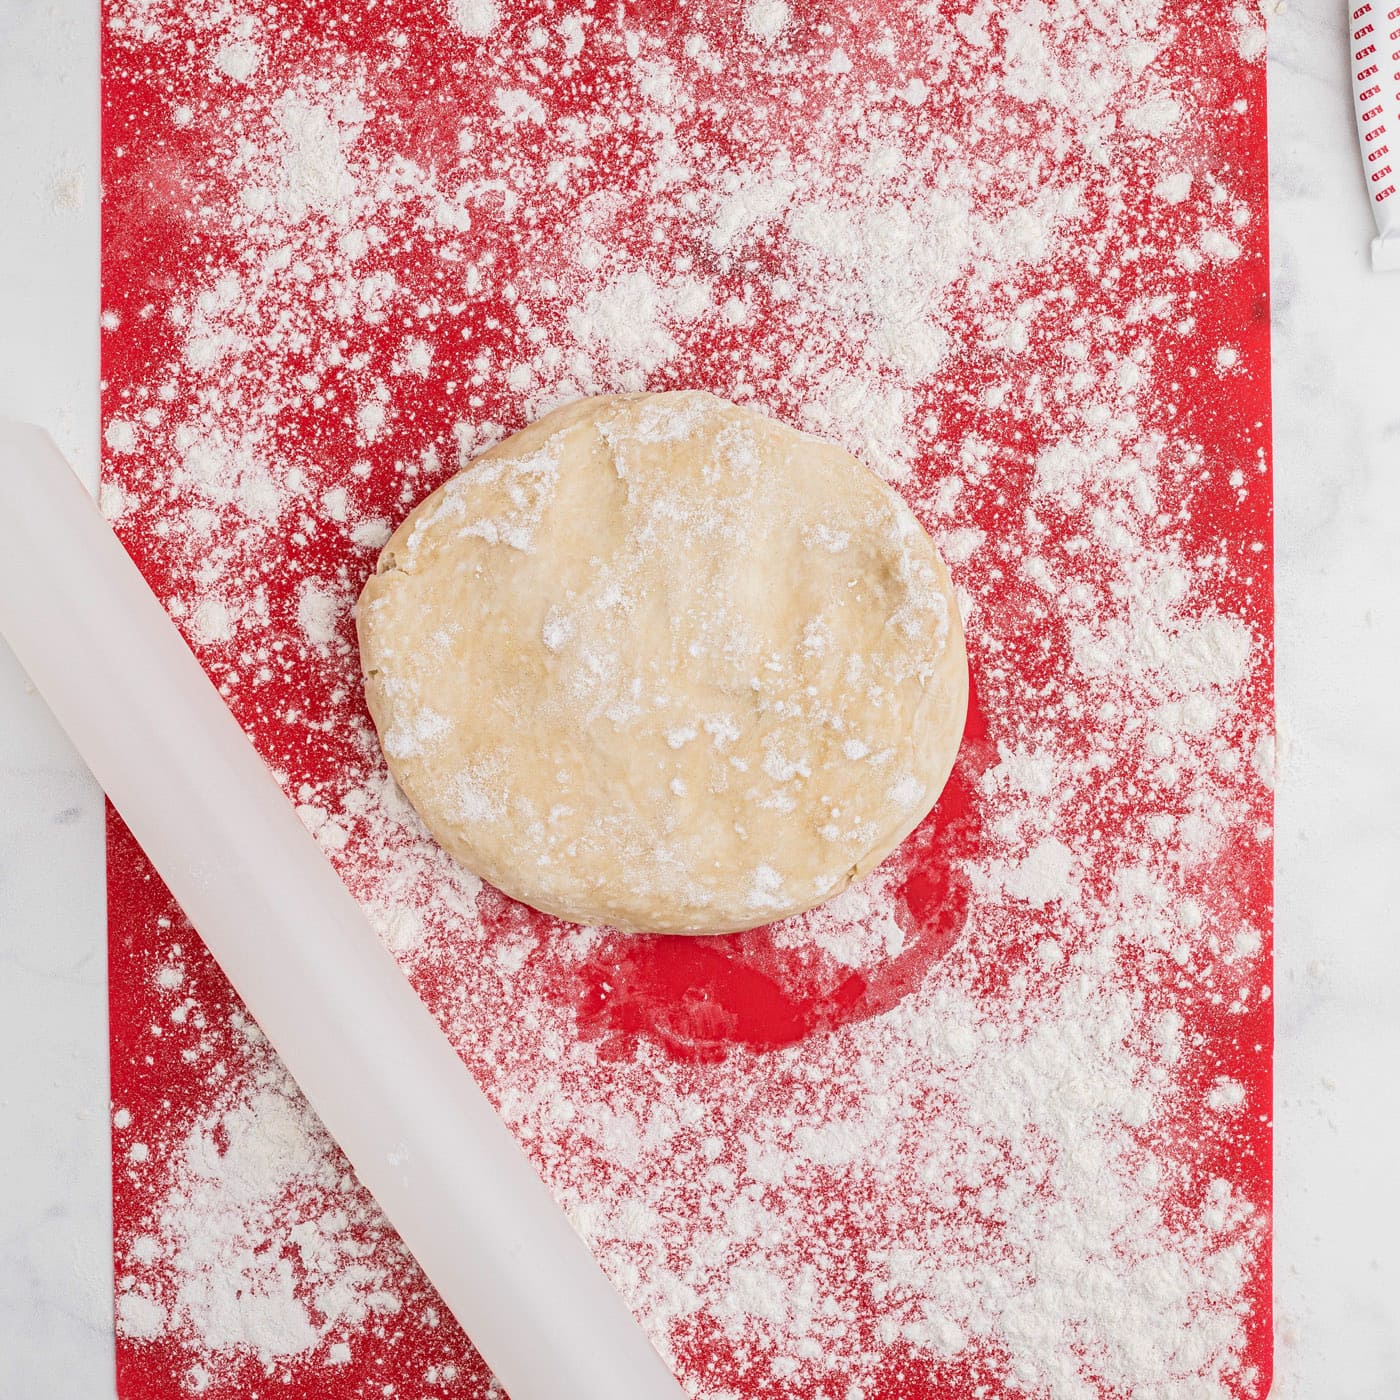
- Take one of the balls of dough and place it onto a floured work surface. Roll out until it’s about 1/8” thick.
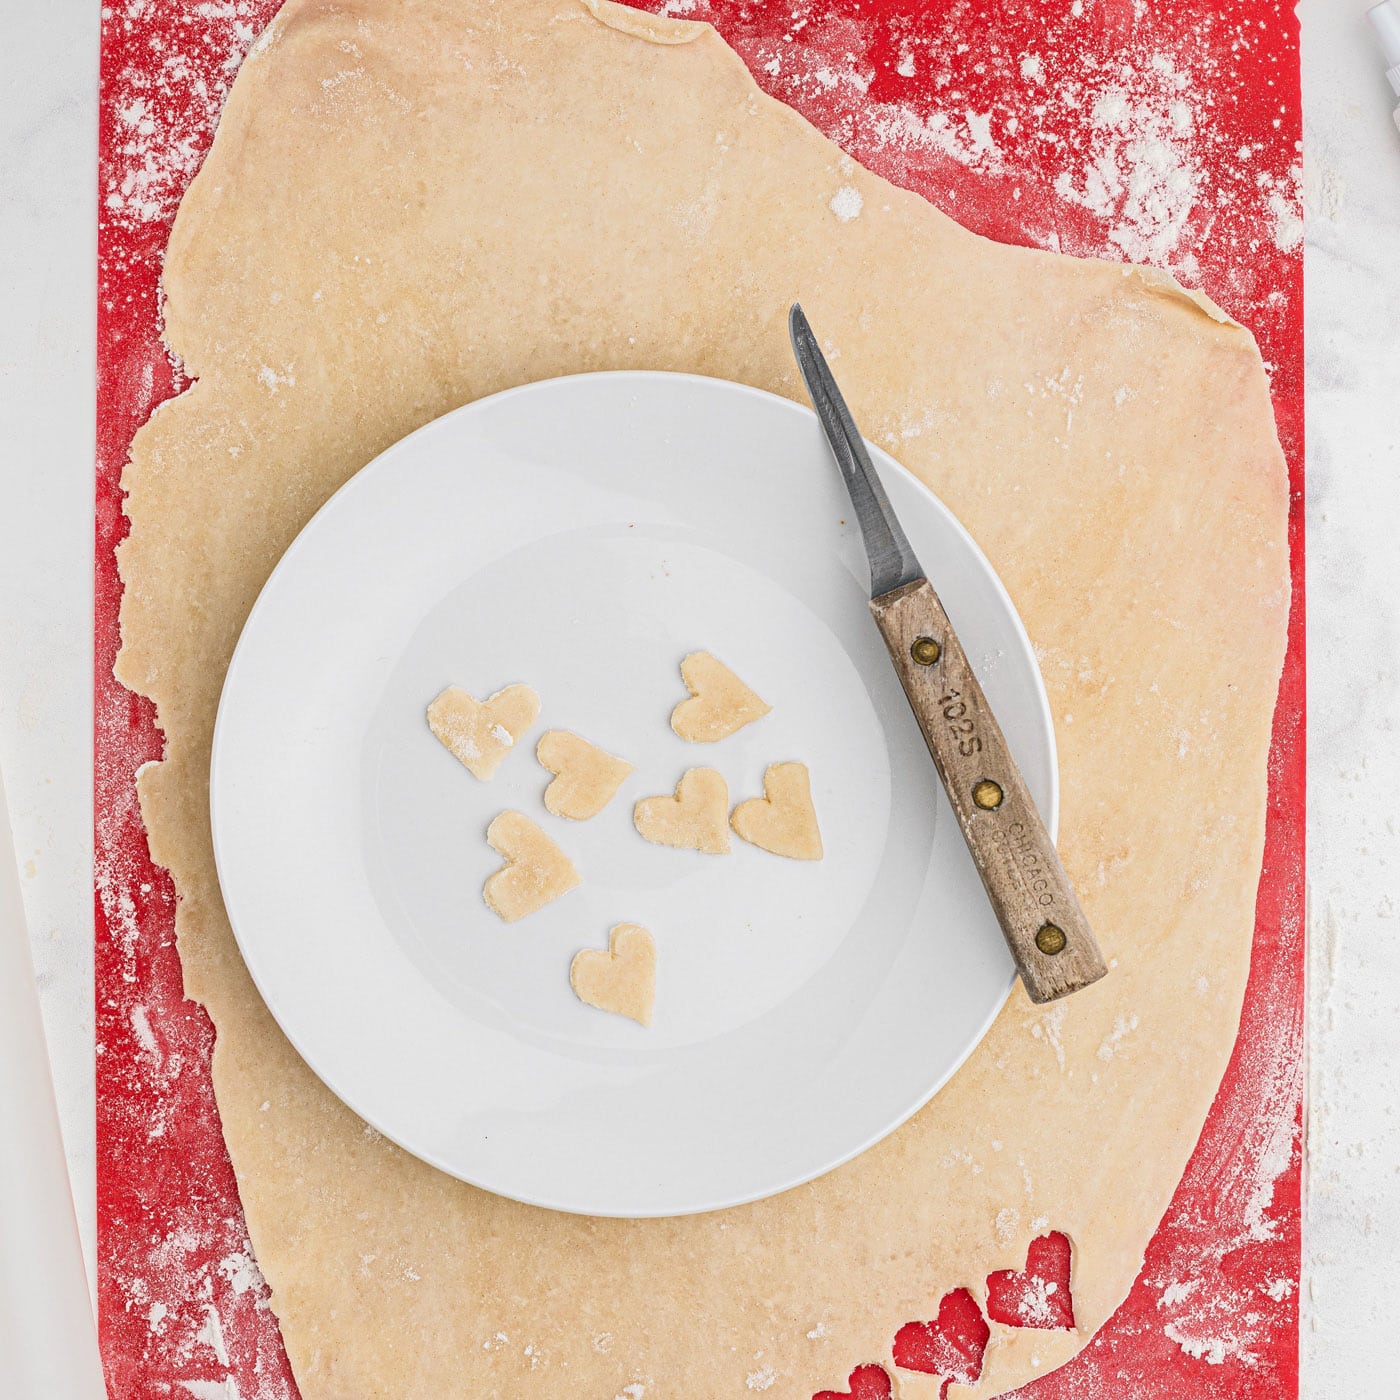
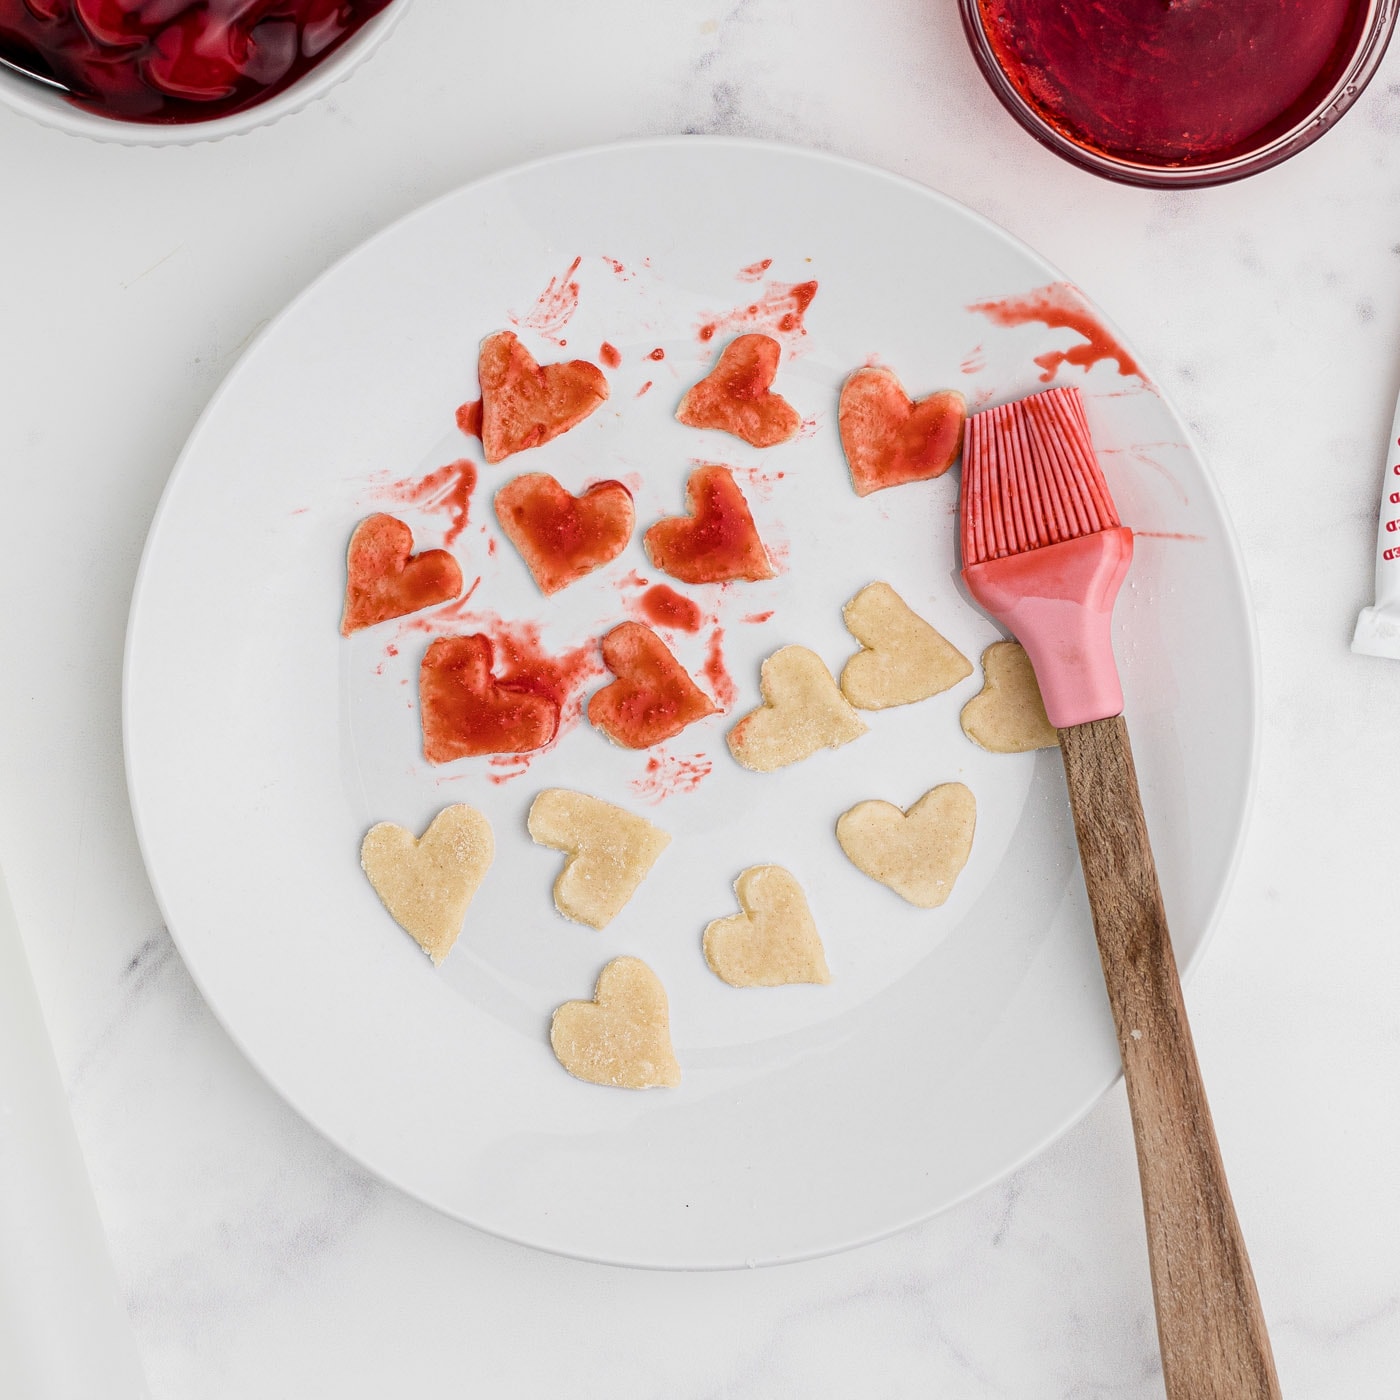
- With a small knife, carefully cut out some heart shapes that are about ½” big and place onto a plate. If you have a small heart shaped cookie cutter, even better, use that.
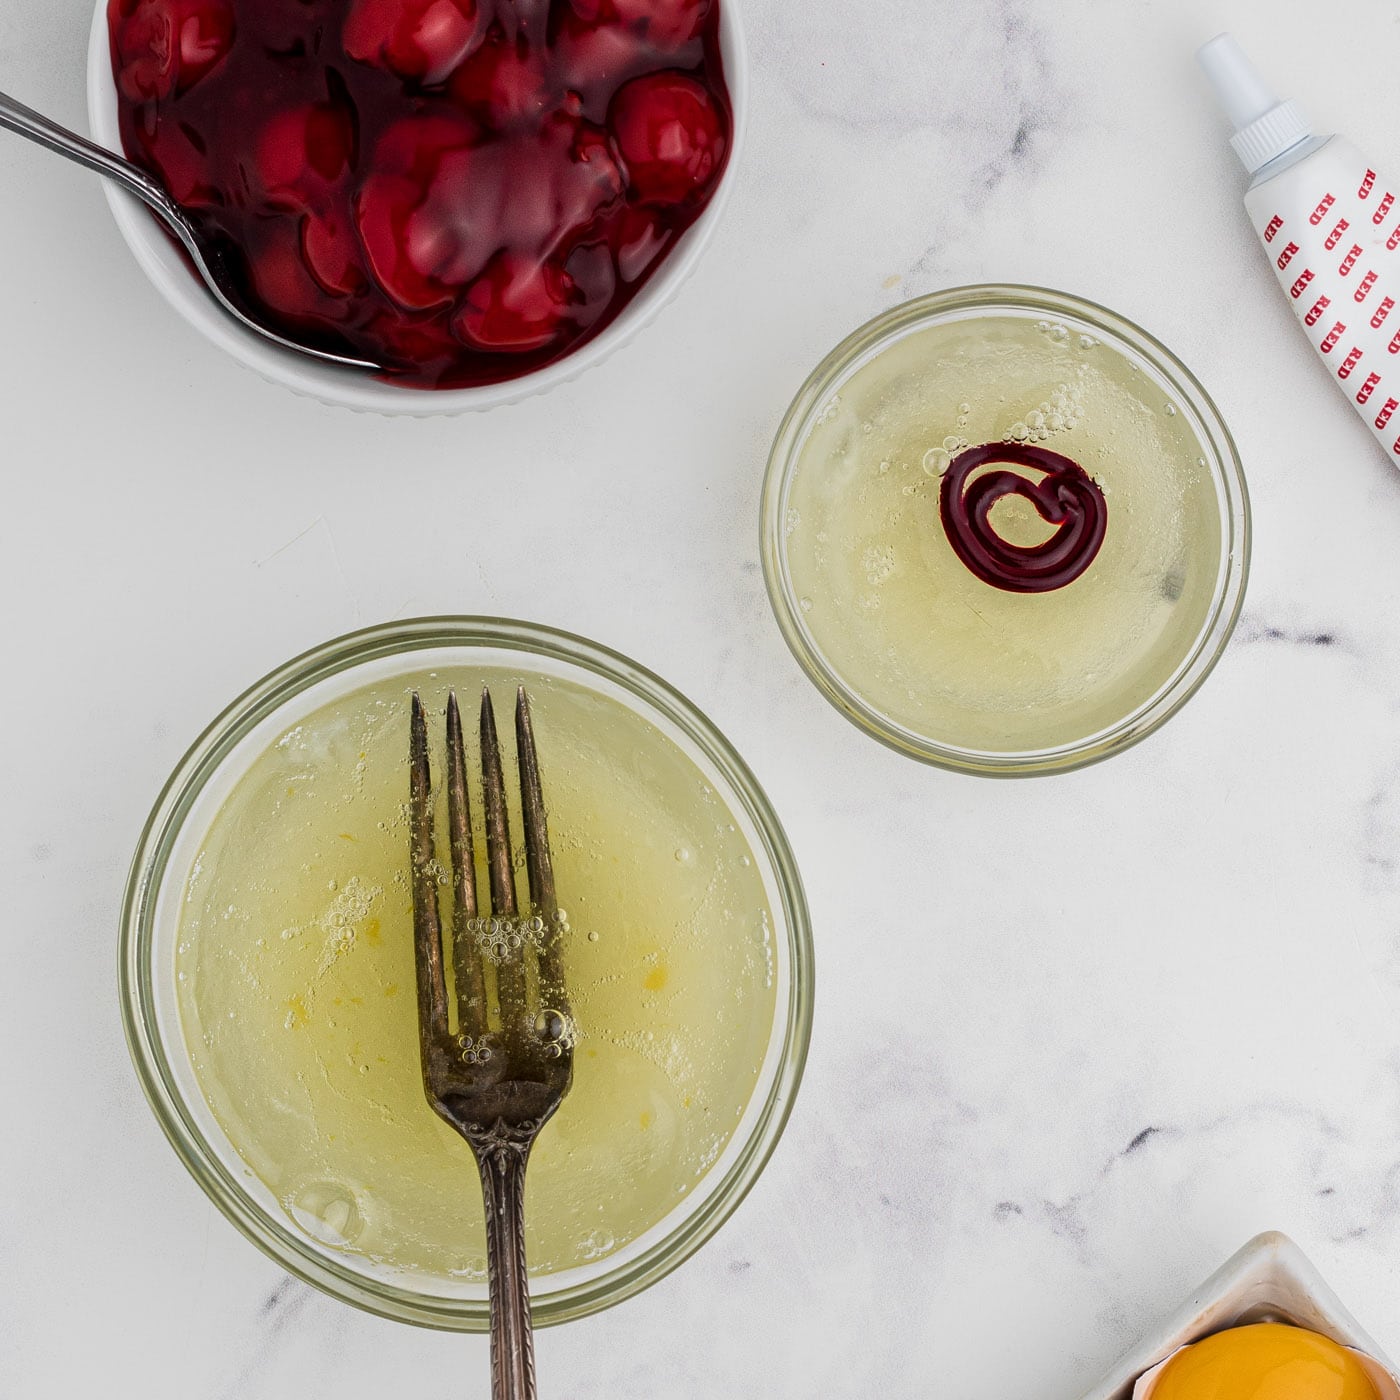
- In a small bowl mix one of the egg whites with 1 Tablespoon of sugar and the red food color, mix well. In another small bowl mix the remaining egg whites with 3 tablespoons of sugar.
- Using a small pastry brush, brush this red colored egg white all over the hearts on the plate. Set aside and allow to dry.
- Preheat your oven to 350°F.
- Using a heart shaped pie press, use it like you would a cookie cutter and cut out two hearts.

- Take one of those hearts and place it on one side of the pie press. Press down on the edges so that it stays in place while you are putting the cherry pie together.
- Take the other heart and do the same on the other side of the pie press.
- Brush both sides with the egg white mix (without the red dye).
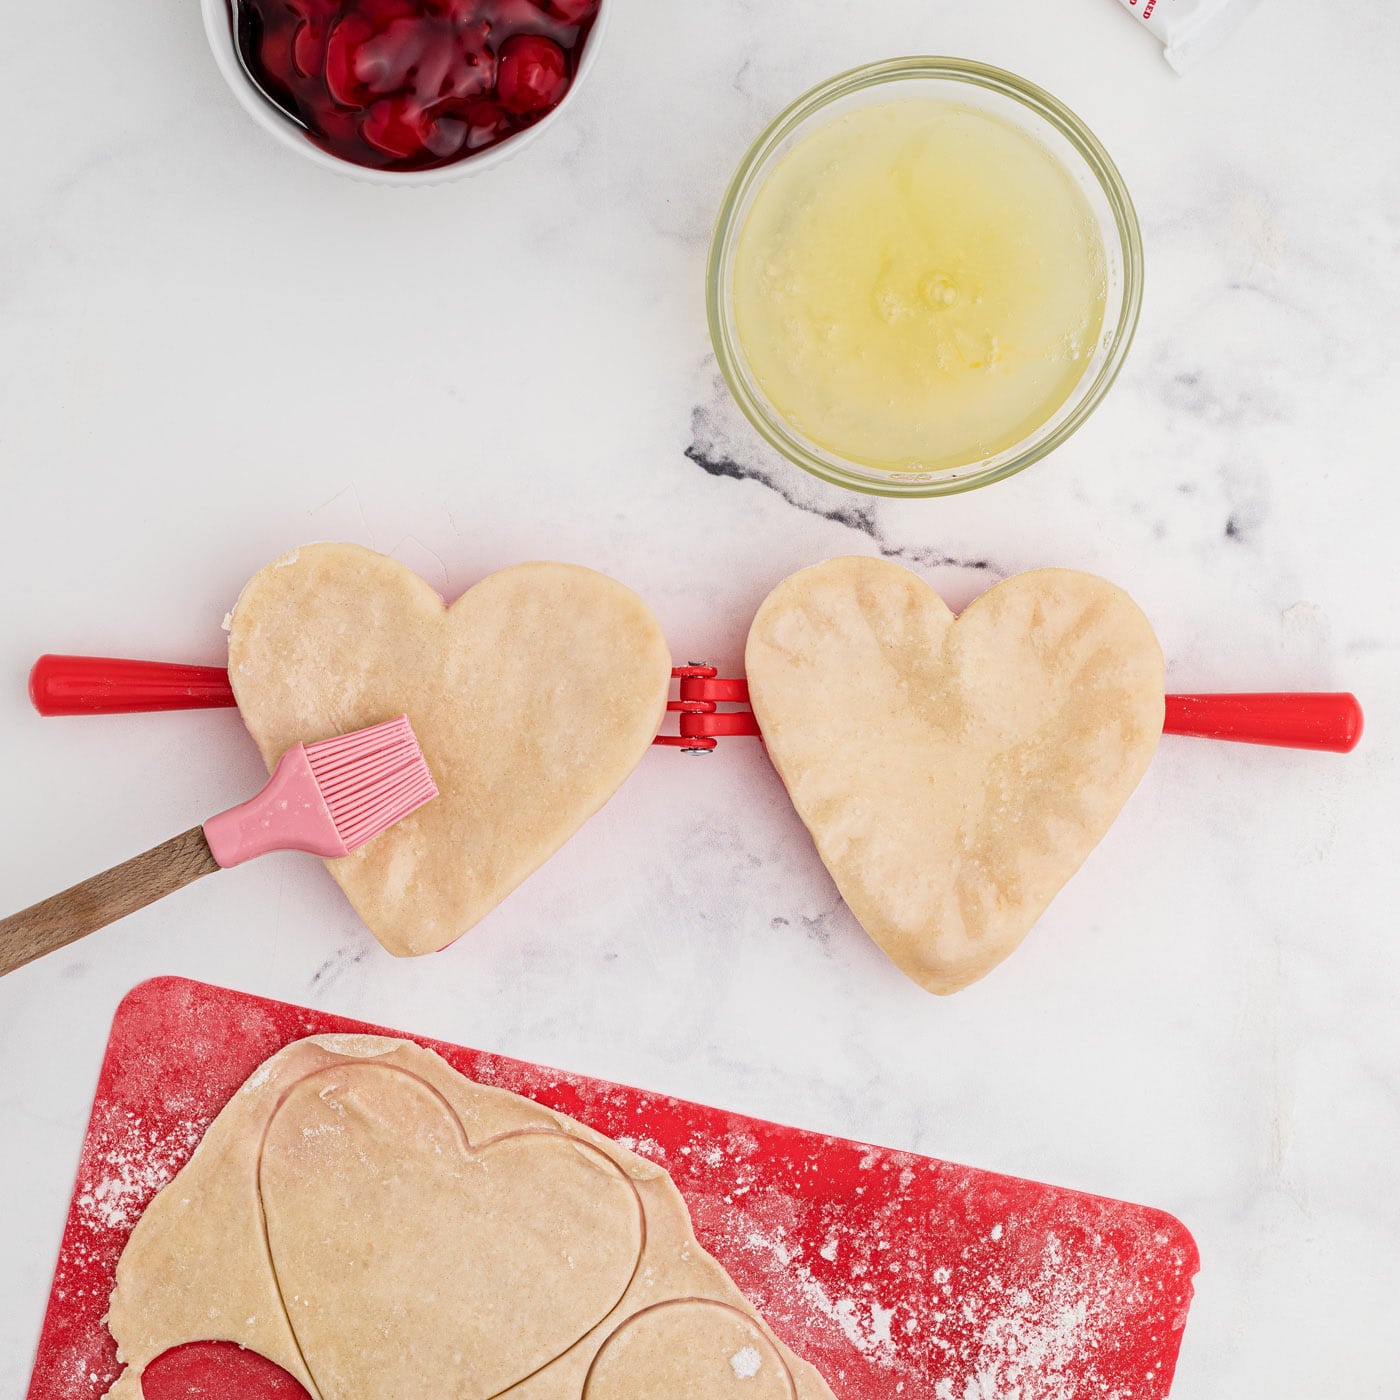
- Add about 1 tablespoon of the cherry pie filling to one side, be sure to stay away from the edges of the pie.

- Close the pie press together and press tightly, all around the outside.
- Open up the pie press and empty the pie out onto a baking sheet lined with parchment paper.
- Repeat the above steps for the remaining dough that’s left.
- Brush the cherry pies with the clear egg wash then affix a red heart to each one.
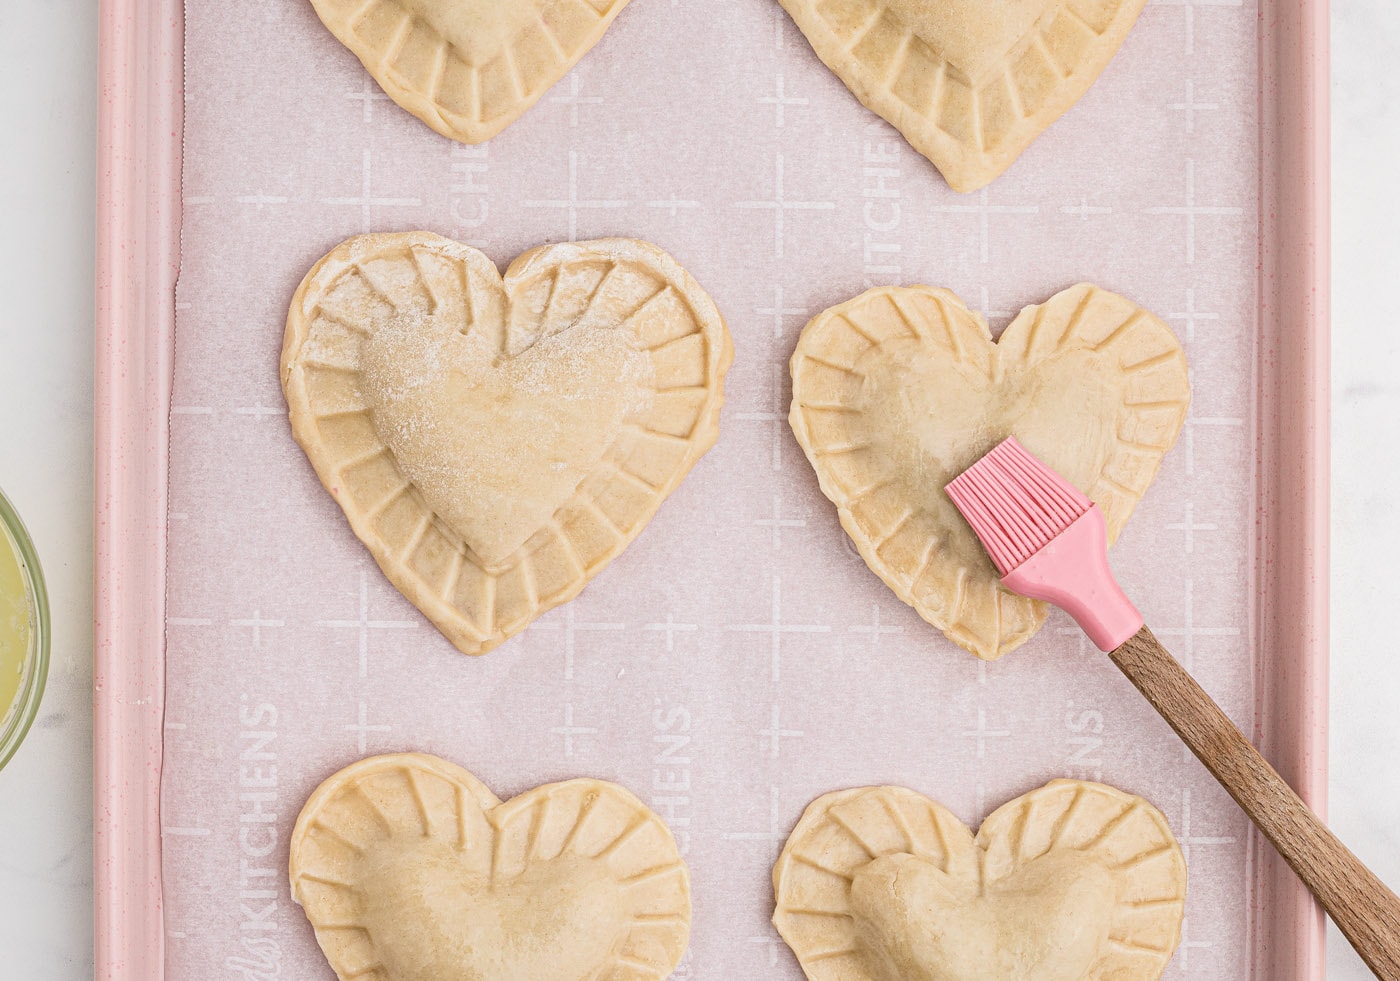
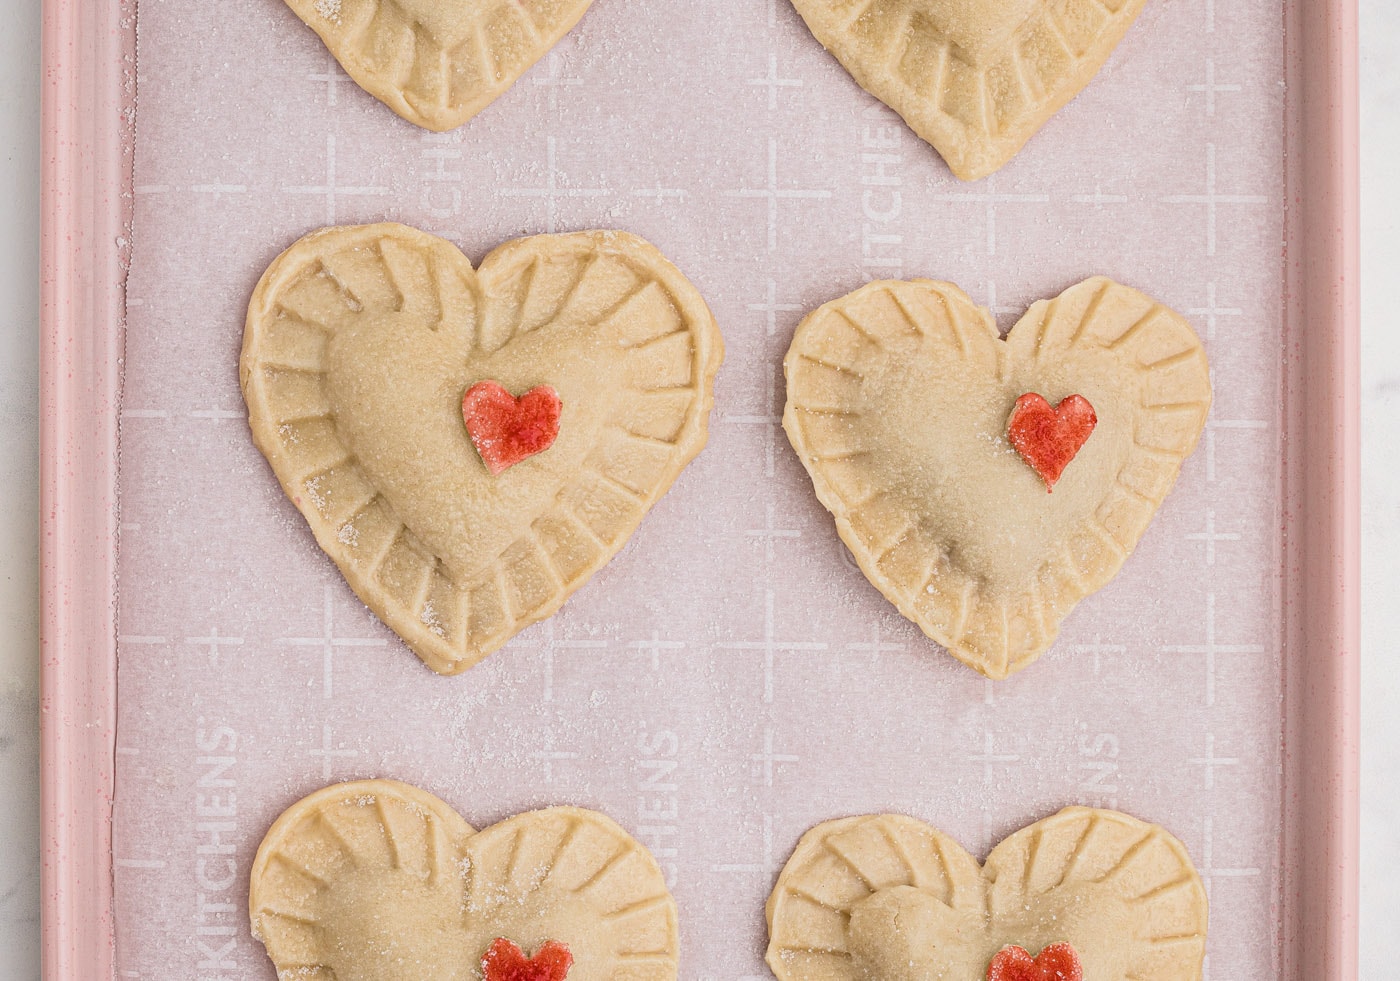
- Liberally sprinkle with sugar and bake for 28-30 minutes.
- Remove from the oven and allow to cool slightly before enjoying.
Frequently Asked Questions & Expert Tips
No worries, if you do not have a pie press, you can simply use a large heart-shaped cookie cutter instead. Use a fork to press the edges together. If you are confident free-handed you could also attempt to shape them with a knife.
Absolutely! If you don’t want to make as many hand pies, you can freeze the remaining dough for later. Wrap the excess pie dough tightly with plastic wrap and place it inside a large ziptop bag. Store in the freezer for up to 6 months.
This will happen if you don’t allow the little hearts to dry enough first. As long as you brush them before you get started putting the pies together – the length of time it takes to finish the pies is plenty of time for them to dry enough.
These cherry hand pies can be stored in an air-tight container kept at room temperature for up to 10 days.

Serving Suggestions
Pack your Valentine cherry hand pies into an adorable pastry box for gift giving. Serve warm, at room temp, or chilled – however you prefer! Optionally top with a simple powdered sugar glaze if preferred or add Valentine-themed sprinkles. Easily switch up the theme by using a shaped cookie cutter or pie press for different holidays. Enjoy!
More Valentine Recipes
- Pink Mudslide
- Red Velvet Fudge
- Heart Oreo Truffles
- Valentine Heart Cupcakes
- Chocolate Covered Fruit Truffles
- Valentine Play Dough Cookie Pops
- Valentine Muddy Buddies
- Conversation Heart Cookies
I love to bake and cook and share my kitchen experience with all of you! Remembering to come back each day can be tough, that’s why I offer a convenient newsletter every time a new recipe posts. Simply subscribe and start receiving your free daily recipes!

Valentine Cherry Hand Pies
IMPORTANT – There are often Frequently Asked Questions within the blog post that you may find helpful. Simply scroll back up to read them!
Print It Rate ItIngredients
- 4 cups all-purpose flour
- 2 tsp salt
- 1 ½ cups unsalted butter cold
- ¾ cup cold water
- 3 egg whites
- 4 Tbsp granulated sugar plus more for garnish
- 1 tsp red food color for heart shaped toppers
- 21 oz cherry pie filling 1 can
Before You Begin
- Store at room temperature in an airtight container for up to 10 days.
- You can use a large heart shaped cookie cutter instead of a pie press if needed. Use a fork to press the edges. If you are good free-hand you could also try that!
- Make sure you allow the little red hearts to dry before placing them onto the hand pies, otherwise they may end up bleeding into the pie dough.
- If you do not roll out the dough enough, you will get less than 26 hand pies – and your crust will be thicker (which may also take longer to bake).
- You can certainly use store-bought refrigerated pie crust instead if preferred.
Instructions
- Cut the butter into small pats. In a large mixing bowl, add the flour and salt and mix together.
- Add the butter and cut into the flour mixture. Keep cutting it in until you have small pea size pieces. You can also use your fingers to work through the mixture, rubbing away at the pieces until it almost resembles breadcrumbs.
- Gradually add about half of the water, mixing well. Then spoon by spoon add more until you have a workable dough.
- Once the dough has come together you can roll it into a ball, work it out into an even log (ish) and cut into four sections.
- Roll each section into a ball and place into a plastic bag. Place in the refrigerator for about 10 minutes to cool down.
- Take one of the balls of dough and place it onto a floured work surface. Roll out until it’s about 1/8” thick.
- With a small knife, carefully cut out some heart shapes that are about ½” big and place onto a plate. If you have a small heart shaped cookie cutter, even better, use that.
- In a small bowl mix one of the egg whites with 1 Tablespoon of sugar and the red food color, mix well. In another small bowl mix the remaining egg whites with 3 tablespoons of sugar.
- Using a small pastry brush, brush this red colored egg white all over the hearts on the plate. Set aside and allow to dry.
- Preheat your oven to 350°F.
- Using a heart shaped pie press, use it like you would a cookie cutter and cut out two hearts.
- Take one of those hearts and place it on one side of the pie press. Press down on the edges so that it stays in place while you are putting the cherry pie together.
- Take the other heart and do the same on the other side of the pie press.
- Brush both sides with the egg white mix (without the red dye).
- Add about 1 tablespoon of the cherry pie filling to one side, be sure to stay away from the edges of the pie.
- Close the pie press together and press tightly, all around the outside. Open up the pie press and empty the pie out onto a baking sheet lined with parchment paper.
- Repeat the above steps for the remaining dough that’s left.
- Brush the cherry pies with the clear egg wash then affix a red heart to each one.
- Liberally sprinkle with sugar and bake for 28-30 minutes.
- Remove from the oven and allow to cool slightly before enjoying.
Nutrition
Amanda Davis
Latest posts by Amanda Davis (see all)
- Raspberry Poke Cake - January 21, 2025
- Chocolate Covered Strawberries - January 20, 2025
- Cauliflower Pizza Crust - January 13, 2025



Leave a Reply