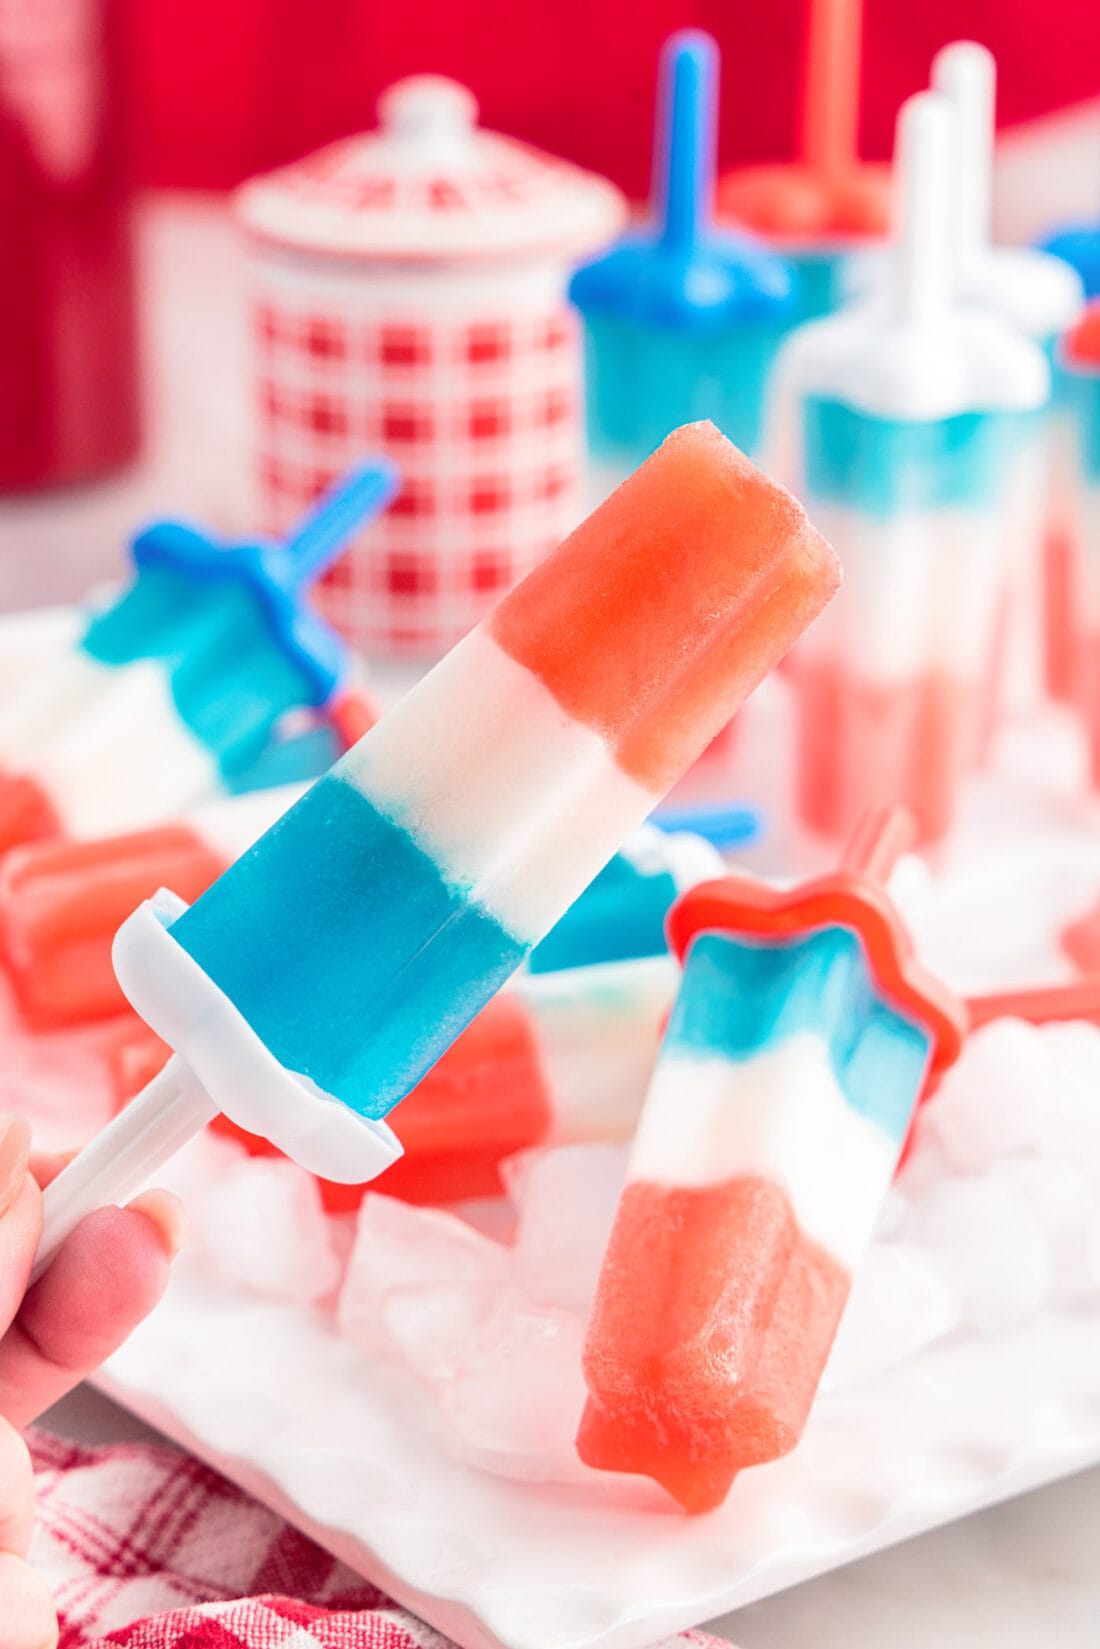
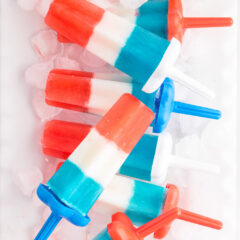
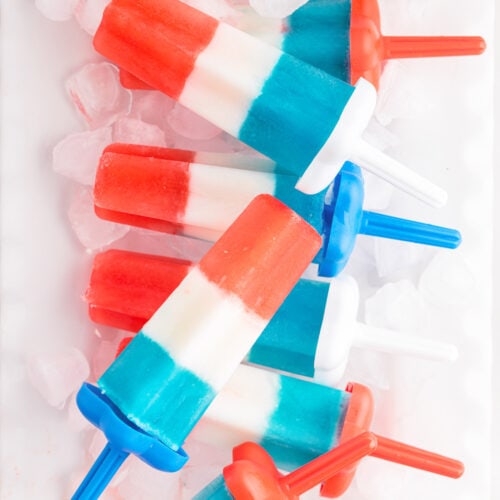
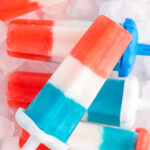
Homemade patriotic bomb pops are a refreshing frozen treat for the Fourth of July. With sweet layers of cherry and blue raspberry Kool-Aid plus limeade, these popsicles are just like the original!
Why this recipe works
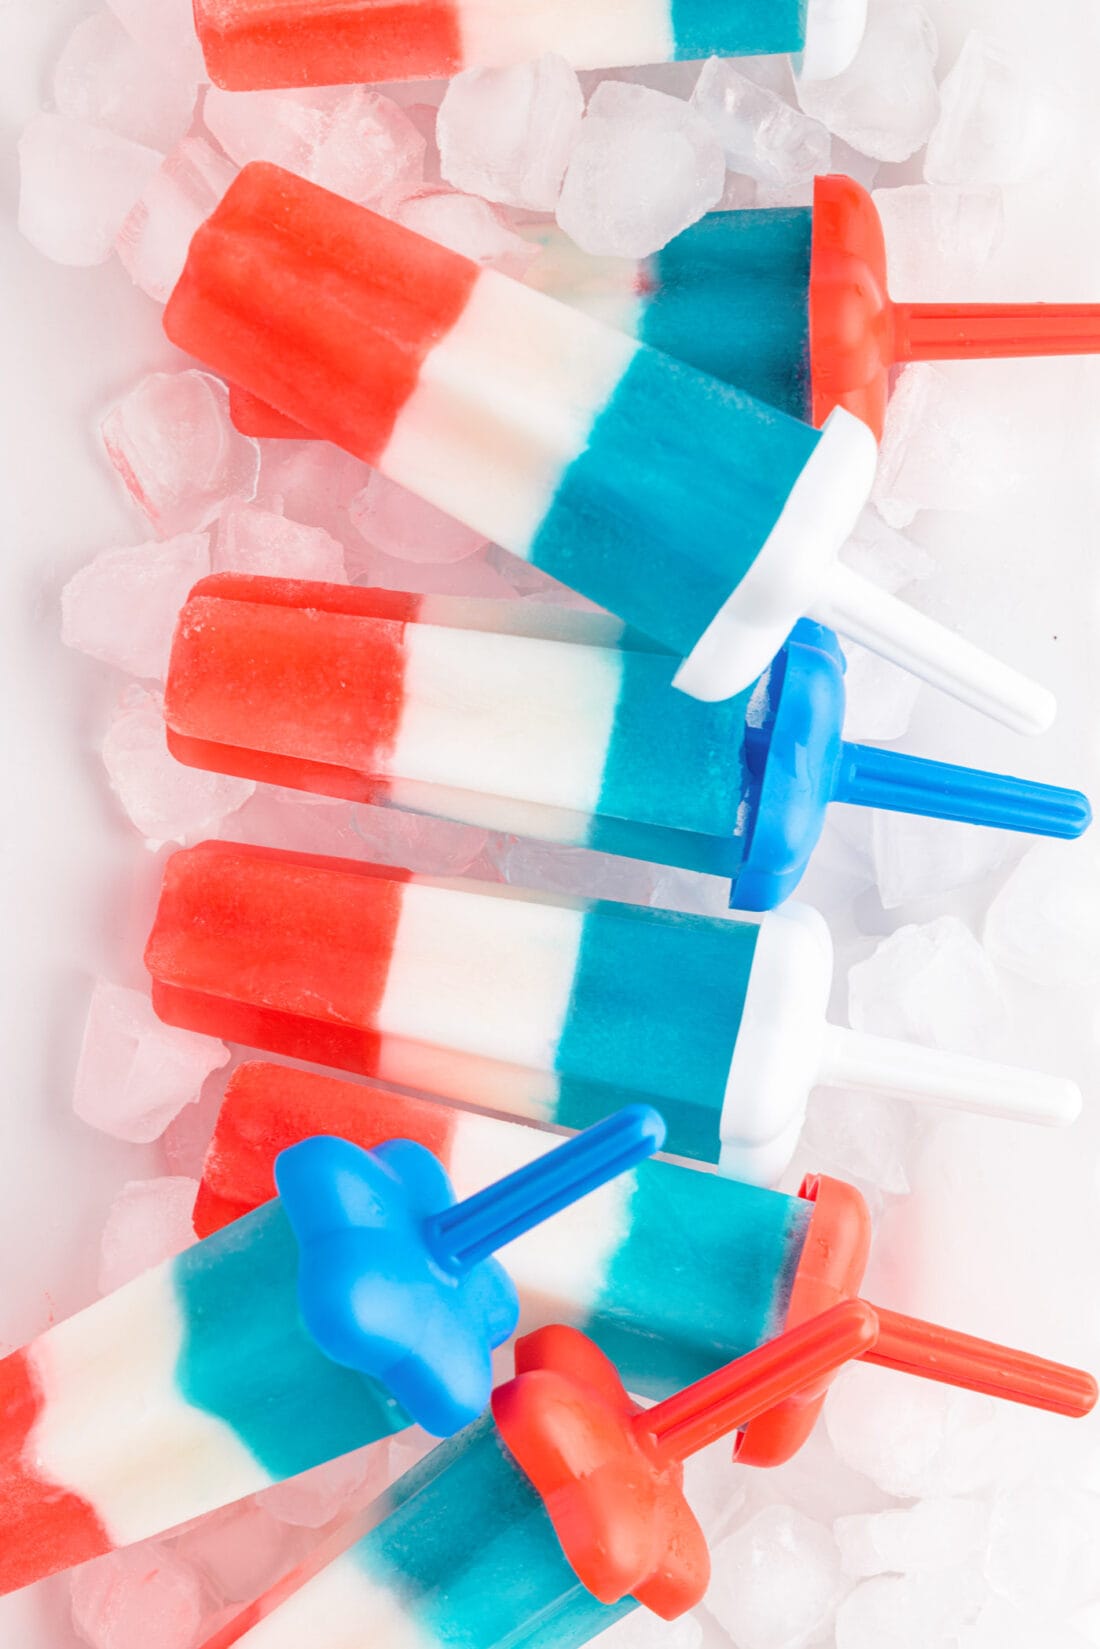
Cool down this summer with an ice cold popsicle in classic red white and blue fashion. This patriotic bomb pops recipe is made with only 4 ingredients and a popsicle mold, just in time for National Bomb Pop Day on the last Thursday of June and all your upcoming patriotic celebrations.
The classic rocket-shaped Bomb Pop popsicle has been around since 1955 and has remained a popular frozen dessert not only for the Fourth of July but all year-round since its debut. Now, you can make them right at home and even have the kids join in on the fun, but you will want to account for the time in between each layer when making them as they need time to set so the colors don’t bleed.
Use your bomb pop molds to make other frozen treats like blueberry cheesecake popsicles or fruit popsicles!
Ingredients you will need
Get all measurements, ingredients, and instructions in the printable version at the end of this post.
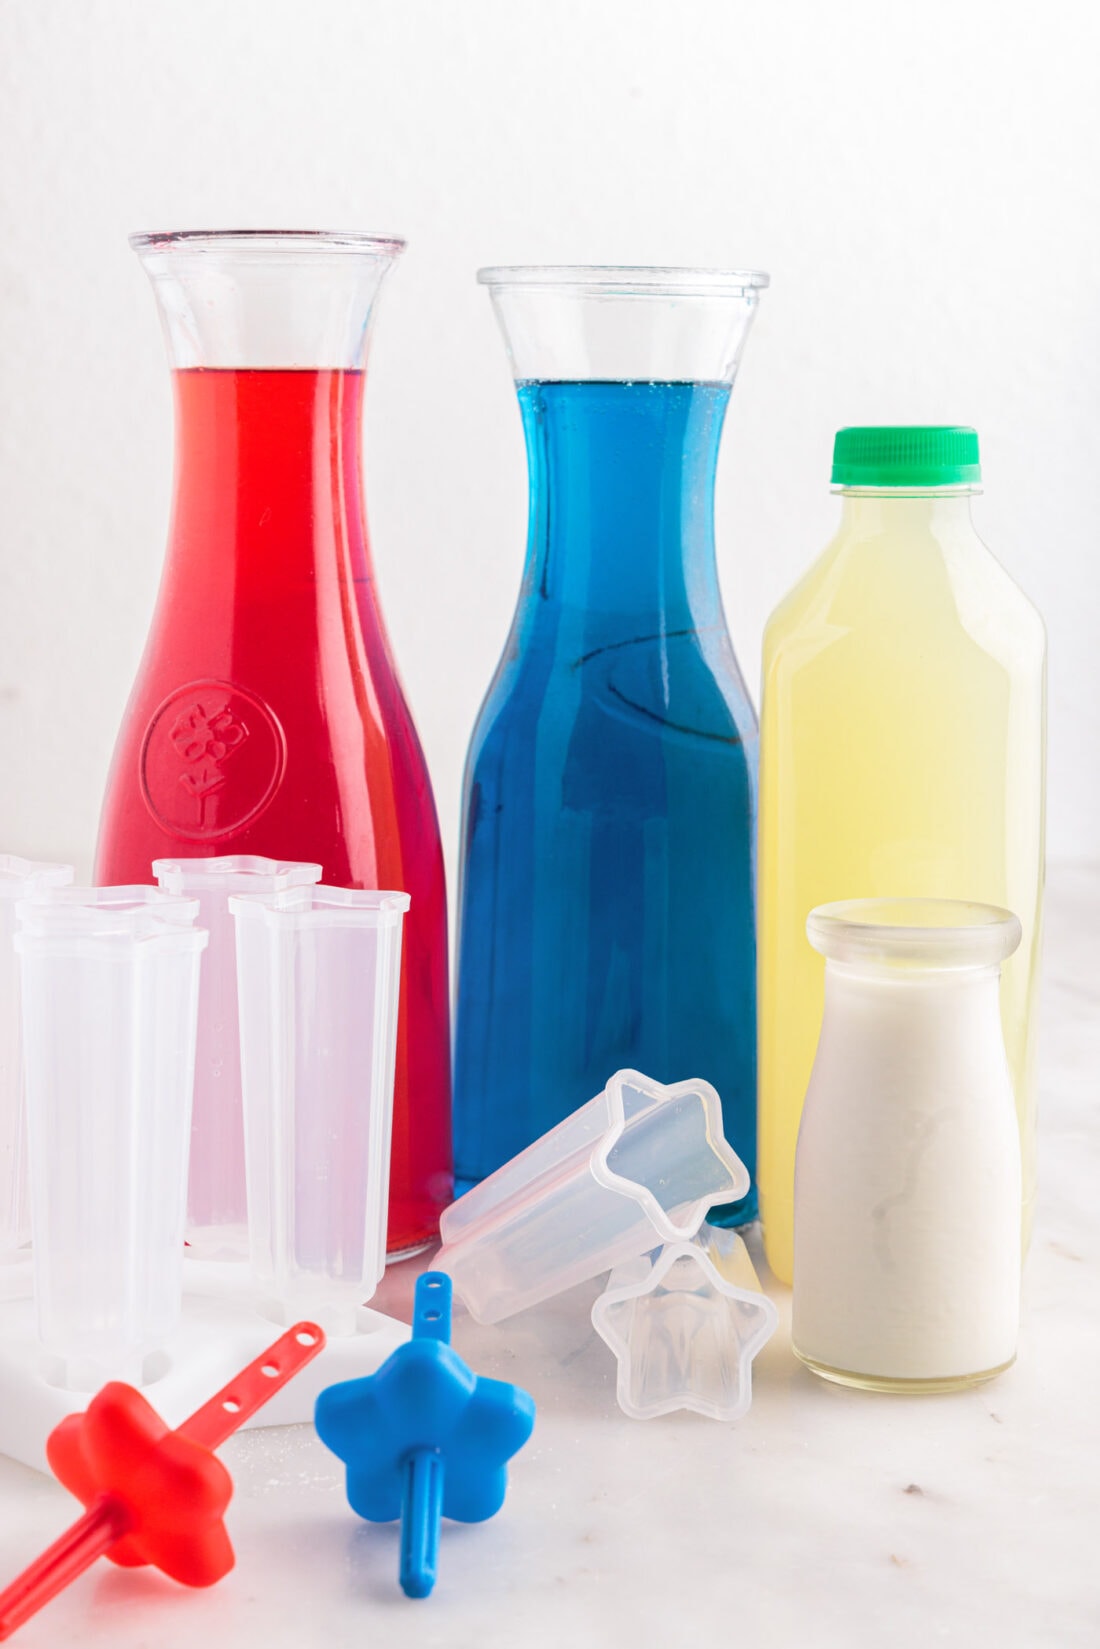
Ingredient Info and Substitution Suggestions
RED LAYER – Cherry Kool-Aid creates the red layer.
WHITE LAYER – I did not have any trouble with the limeade curdling the cream when the two were mixed together, but if you do run into this with your limeade, you can alternately use coconut milk. Coconut milk is also a great alternative for making dairy-free popsicles.
BLUE LAYER– You will also need blue raspberry Kool-Aid to create the blue layer.
How to Make Patriotic Bomb Pops
These step by step photos and instructions are here to help you visualize how to make this recipe. You can Jump to Recipe to get the printable version of this recipe, complete with measurements and instructions at the bottom.
- Prepare cherry and blue raspberry Kool-Aid according to packet instructions (you can use regular sugar or Splenda for sugar-free if desired)
- Pour cherry Kool-aid into the bomb pop popsicle molds, filling 1⁄3 of the way full. (For a 2 oz. mold, 1⁄3 is about 1 1⁄3 tablespoons of Kool-aid.)
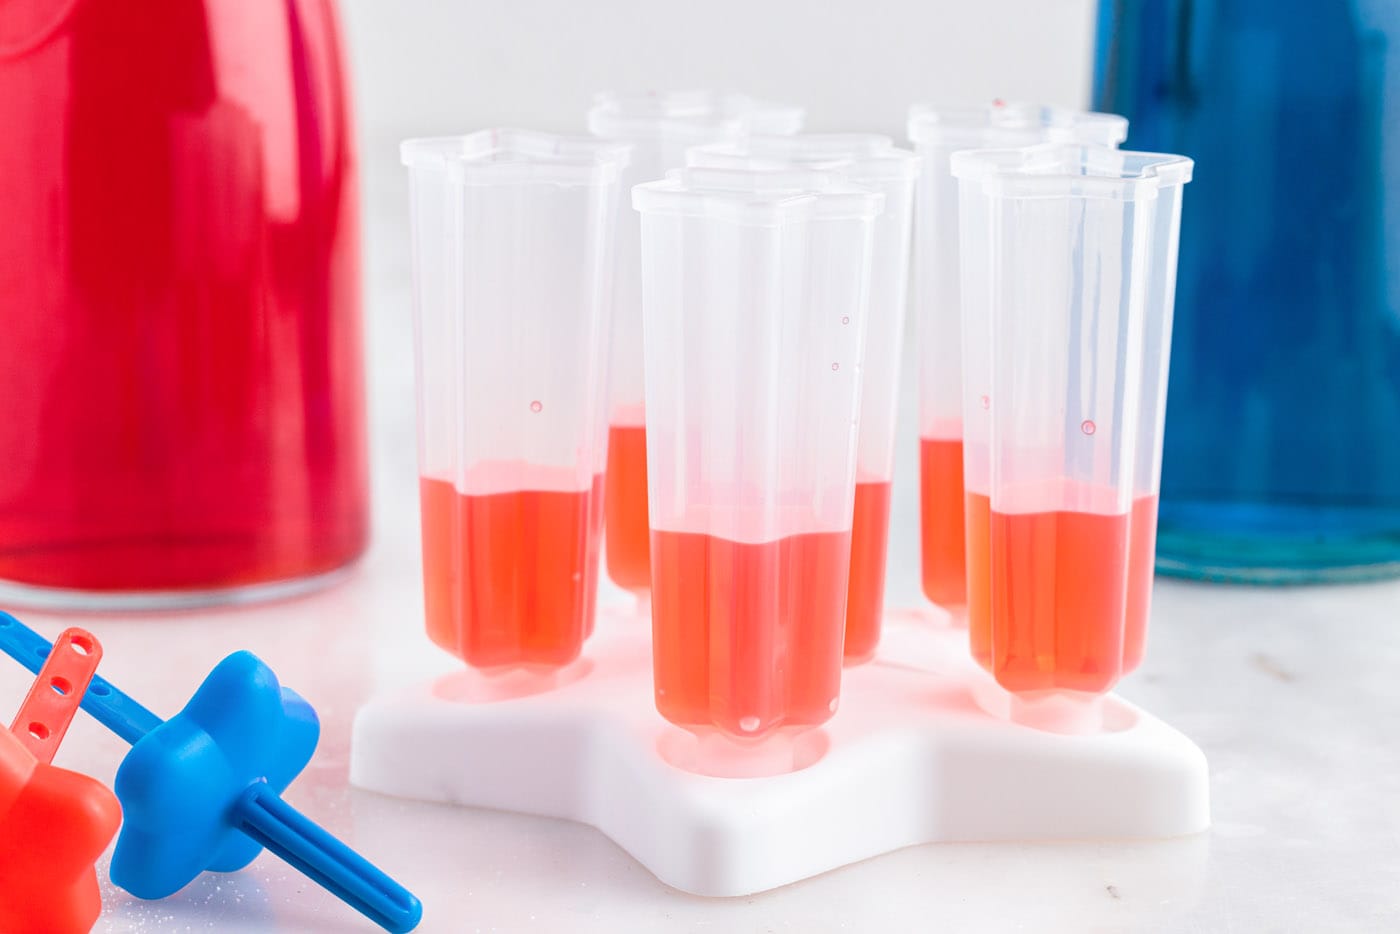
- Place the molds into the freezer for 2-3 hours or until the liquid is frozen solid.
- Pour the cream into the limeade and stir until fully combined. Add the second layer of “white liquid” on top of the frozen red layer. Check to determine if you will need to add the lids to the popsicles at this point – see notes in the recipe card below for some ideas on this.
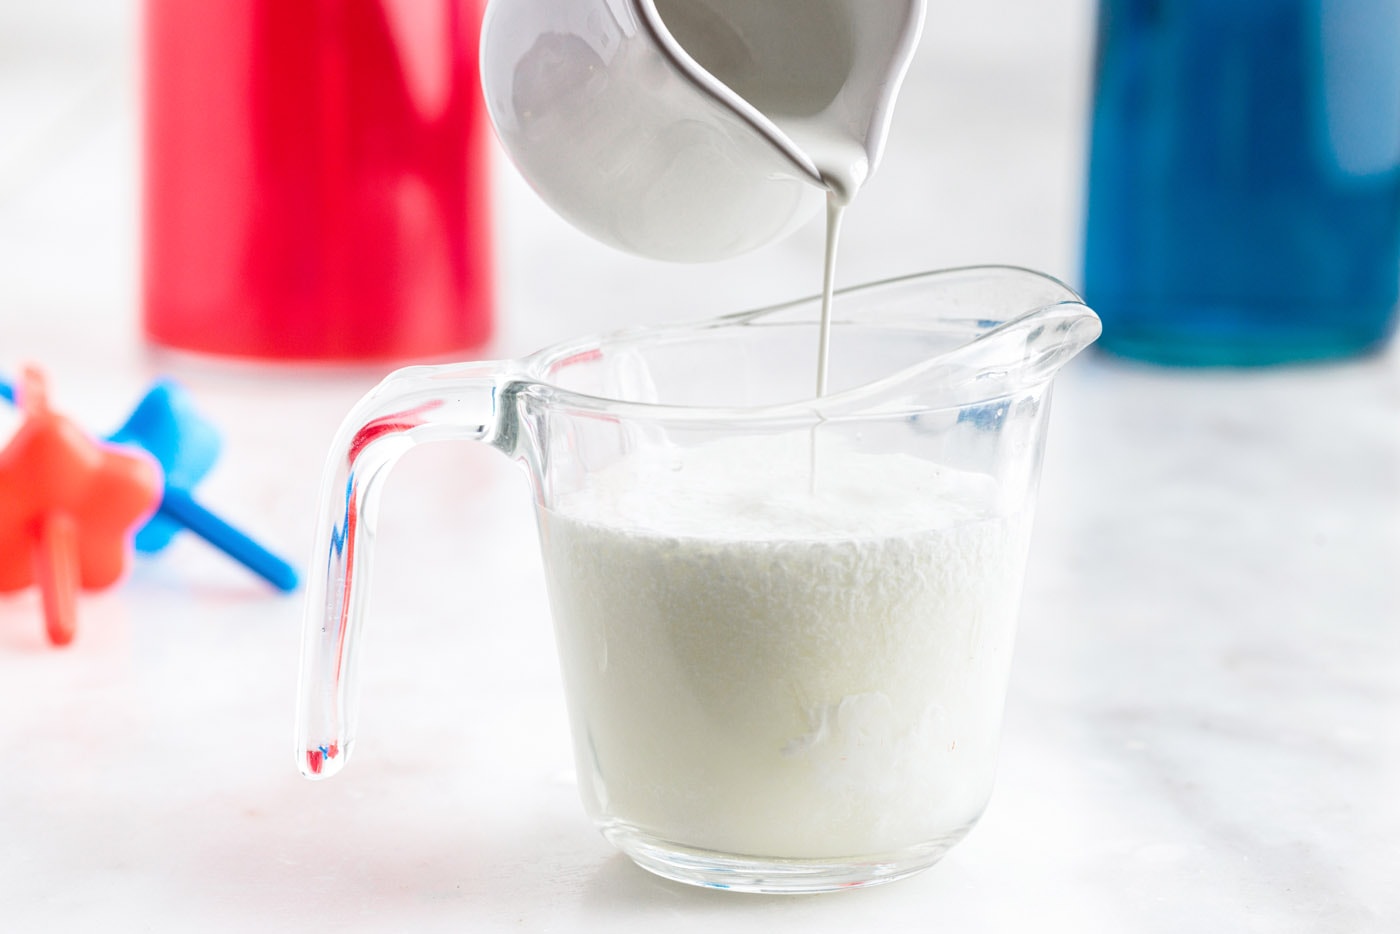
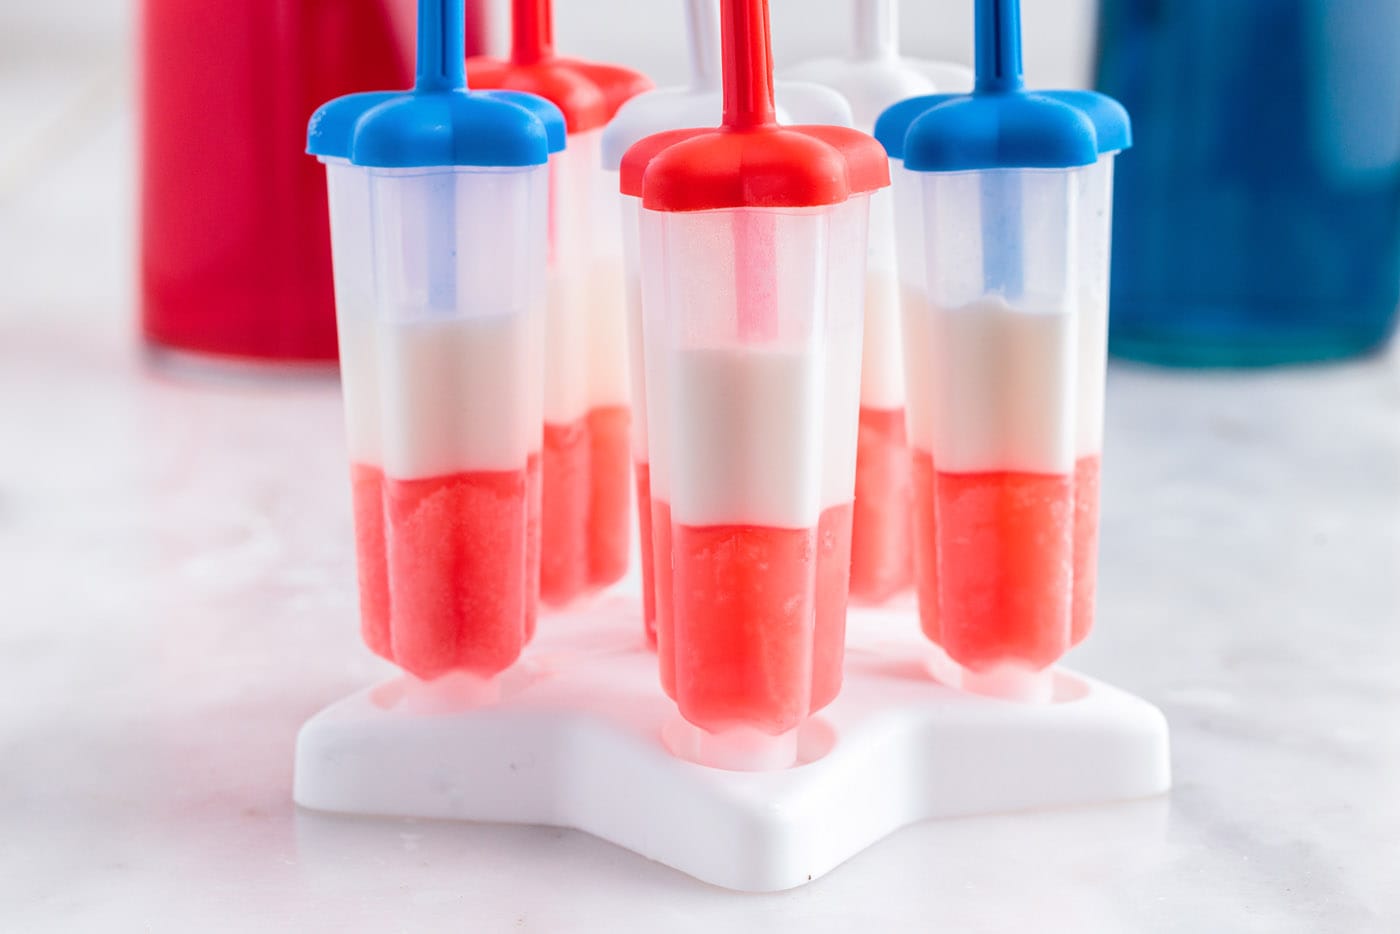
- Freeze the popsicles for another 2-3 hours until the second layer is solid.
- Add the blue Kool-aid to top off the popsicles and freeze until solid. (Add popsicle sticks before freezing if you have not already done so).
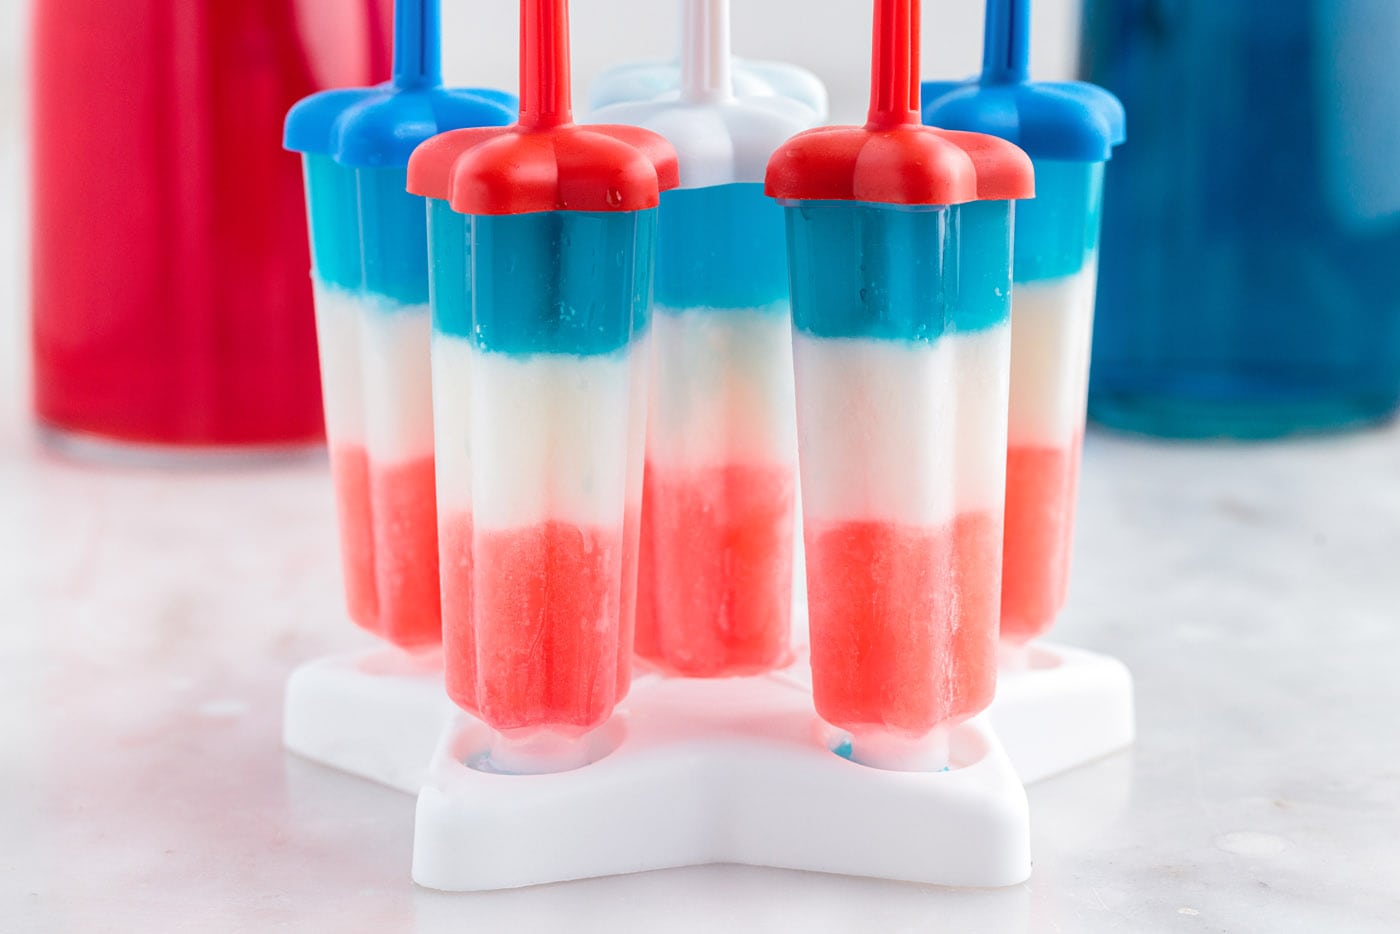
- Loosen the popsicle from the molds by running them briefly under lukewarm water or by setting on the counter for a couple minutes until they slide easily from the molds.
Frequently Asked Questions & Expert Tips
If stored in an air-tight container, these homemade popsicles will keep well in the freezer for up to 1 month. Otherwise, you can wrap the popsicles in plastic wrap (or keep them in the mold) and store them for up to 1 week in the freezer.
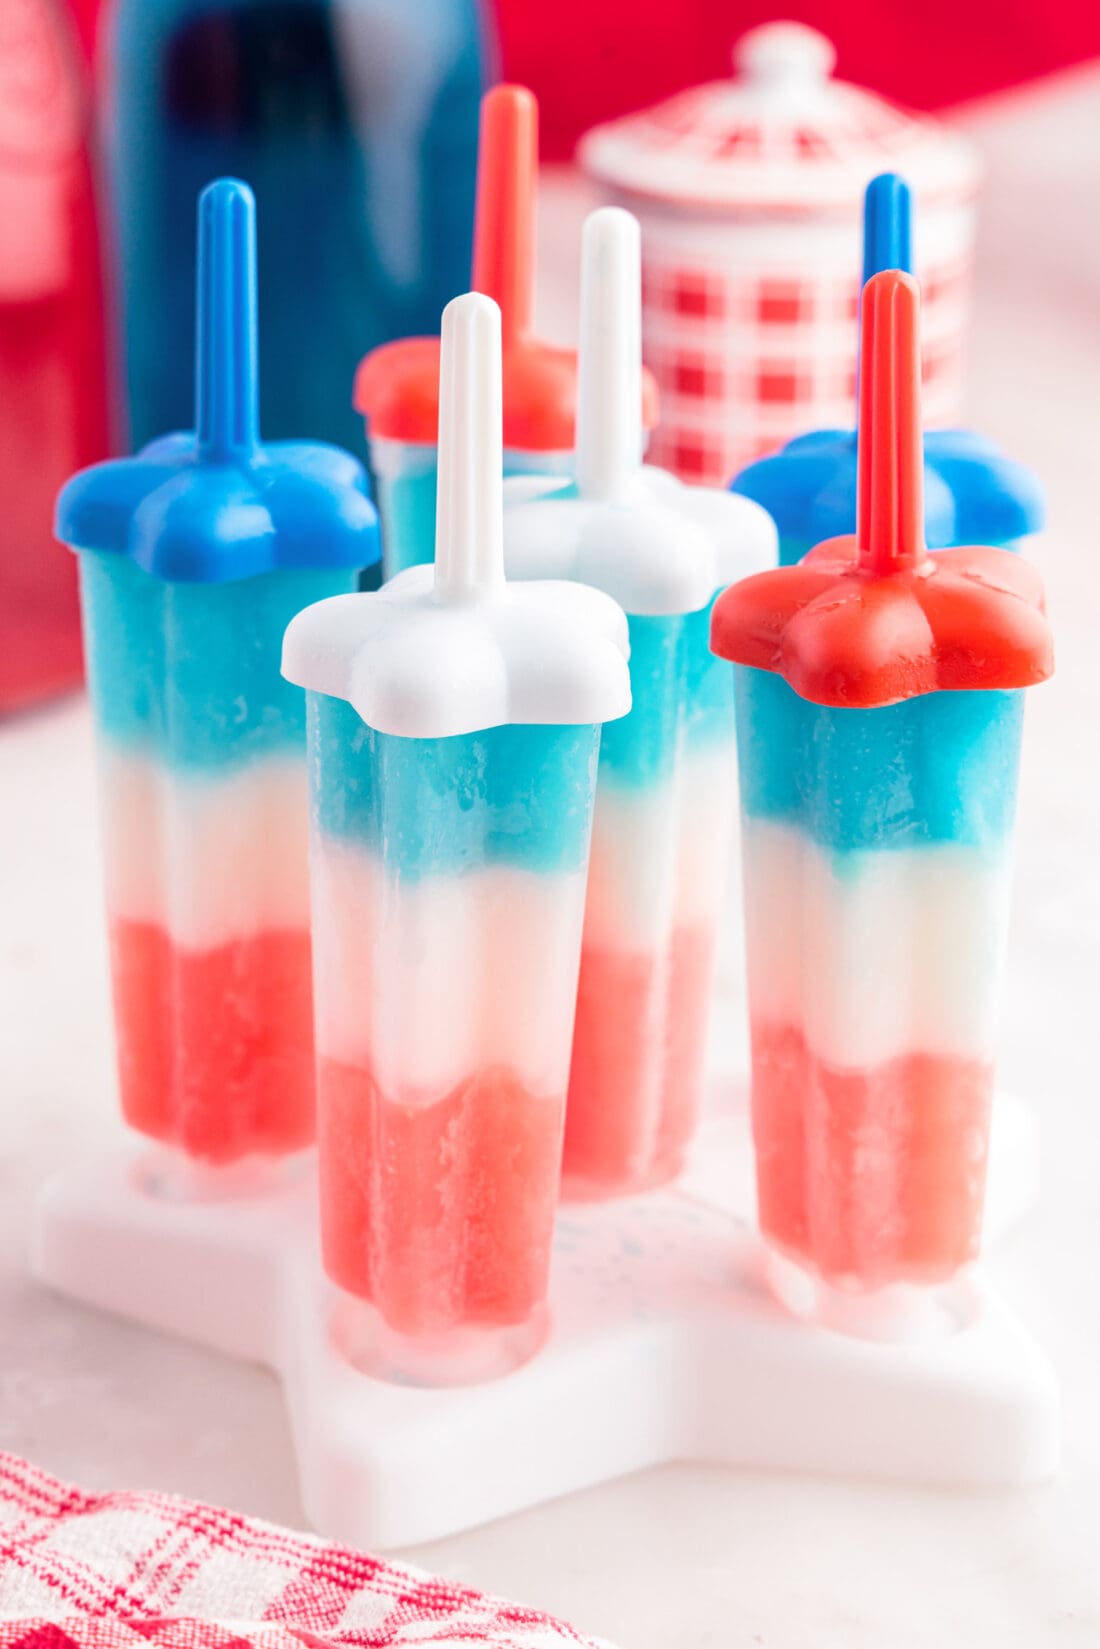
Serving Suggestions
Patriotic bomb pops are the perfect little refresher for the Fourth of July, Veterans Day, Patriots Day, or for whenever you want to whip up a batch at home. Serve frozen.
More Patriotic Recipes
- Patriotic Punch
- 4th of July Jello Shots
- Red White and Blue Oreo Truffles
- Red White and Blue Fruit Salad
- Patriotic Chocolate Covered Strawberries
I love to bake and cook and share my kitchen experience with all of you! Remembering to come back each day can be tough, that’s why I offer a convenient newsletter every time a new recipe posts. Simply subscribe and start receiving your free daily recipes!
Patriotic Bomb Pops
IMPORTANT – There are often Frequently Asked Questions within the blog post that you may find helpful. Simply scroll back up to read them!
Print It Rate ItIngredients
- 1 cup cherry Kool-Aid
- ¾ cup limeade
- ¼ cup heavy whipping cream
- 1 cup blue raspberry Kool-Aid
Things You’ll Need
- 2 ounce popsicle molds
Before You Begin
- *It’s really important to make sure each layer is frozen solid before adding the next so that the colors don’t bleed together – that white layer in the middle can easily turn pink or blue if each layer isn’t frozen well.
- The only tricky thing about making these popsicles is coordinating the addition of the popsicle stick. For these molds, when the lid/stick was added, the end of the stick reached well into the white layer. However, if you place the lid on and freeze it in the white layer, then it’s more challenging to add the blue layer. I wiggled the cap over and poured the blue right in, but an easier method might be to abandon the lid/stick combo that comes with these molds and instead just add a normal popsicle stick. I also had luck using a knife to make a slit in the white layer after it was frozen, then poured in the blue layer and was able to insert the lid/stick into the popsicle.
- I did not have any trouble with the limeade curdling the cream when the two were mixed together, but if you do run into this with your limeade, you can alternately use coconut milk. Coconut milk is also a great alternative for dairy free popsicles.
- If stored in an air-tight container, these homemade popsicles will keep well in the freezer for up to 1 month. Otherwise, you can wrap the popsicles in plastic wrap (or keep them in the mold) and store them for up to 1 week in the freezer.
Instructions
- Prepare cherry and blue raspberry Kool-Aid according to packet instructions (you can use regular sugar or Splenda for sugar-free, if desired).
- Pour cherry Kool-aid into the bomb pop popsicle molds, filling 1⁄3 of the way full. (For a 2 oz. mold, 1⁄3 is about 1 1⁄3 tablespoons of Kool-aid.)
- Place the molds into the freezer for 2-3 hours or until the liquid is frozen solid.
- Pour the cream into the limeade and stir until fully combined. Add the second layer of “white liquid” on top of the frozen red layer. Check to determine if you will need to add the lids to the popsicles at this point – see notes below for some ideas on this.
- Freeze the popsicles for another 2-3 hours until the second layer is solid.
- Add the blue Kool-aid to top off the popsicles and freeze until solid. (Add popsicle sticks before freezing if you have not already done so.
- Loosen the popsicle from the molds by running them briefly under lukewarm water or by setting on the counter for a couple minutes until they slide easily from the molds.
Nutrition
Lindsay Formaro
Latest posts by Lindsay Formaro (see all)
- Mini Candy Corn Cheesecakes - October 3, 2024
- Cake Mix Cookie Bars - August 8, 2024
- Lasagna Soup - February 26, 2024


Leave a Reply