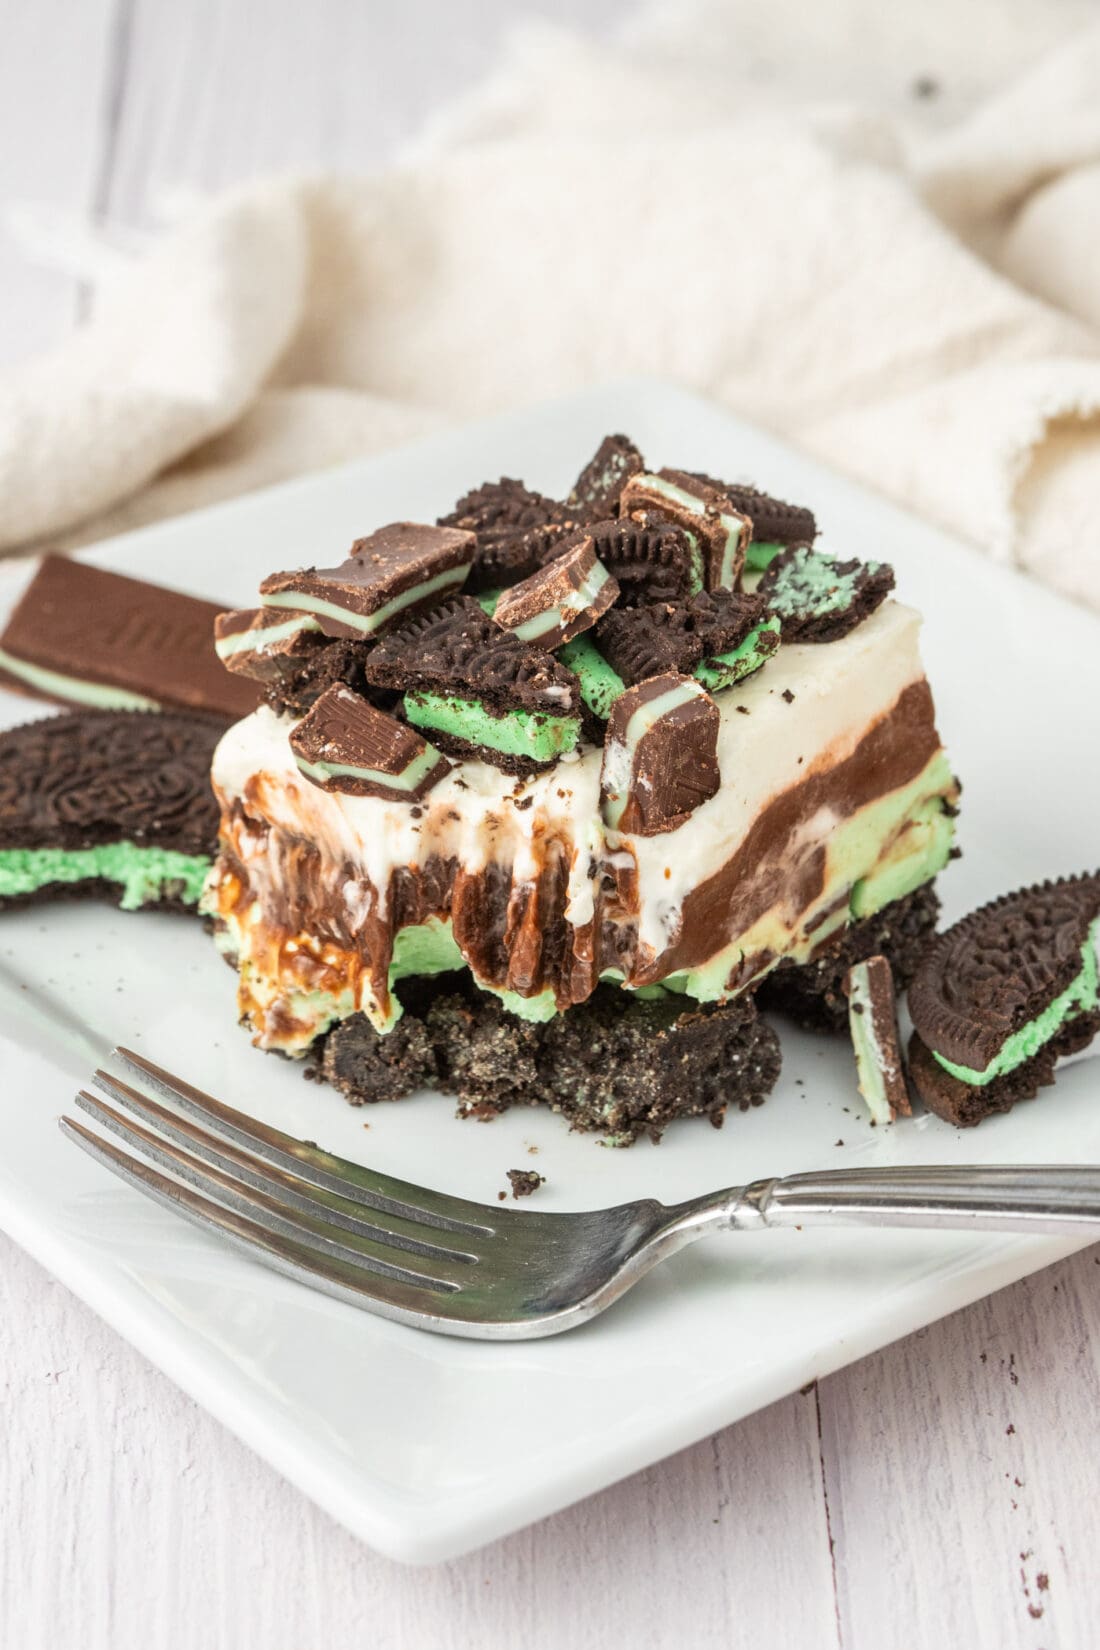
Four creamy, dreamy layers of mint chocolate bliss make up these no-bake mint chocolate dream bars. Top with chopped Andes mints and crumbled Oreos for an over-the-top dessert lasagna!
Why this recipe works
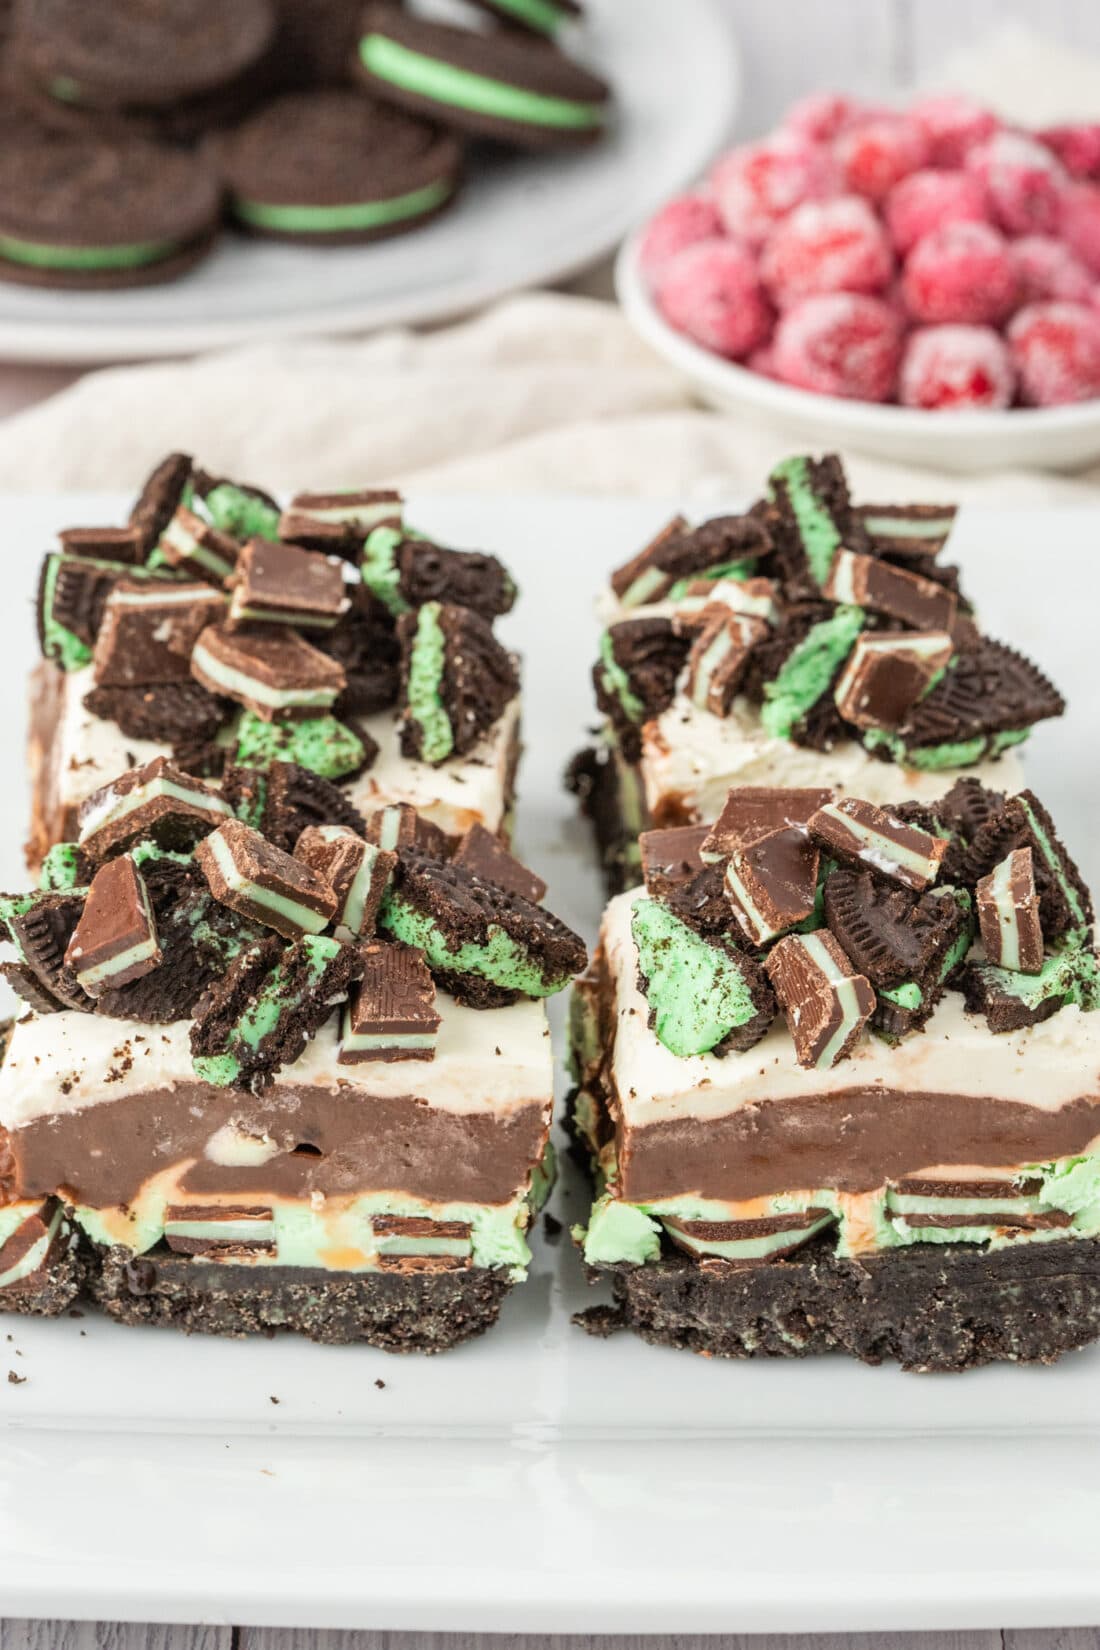
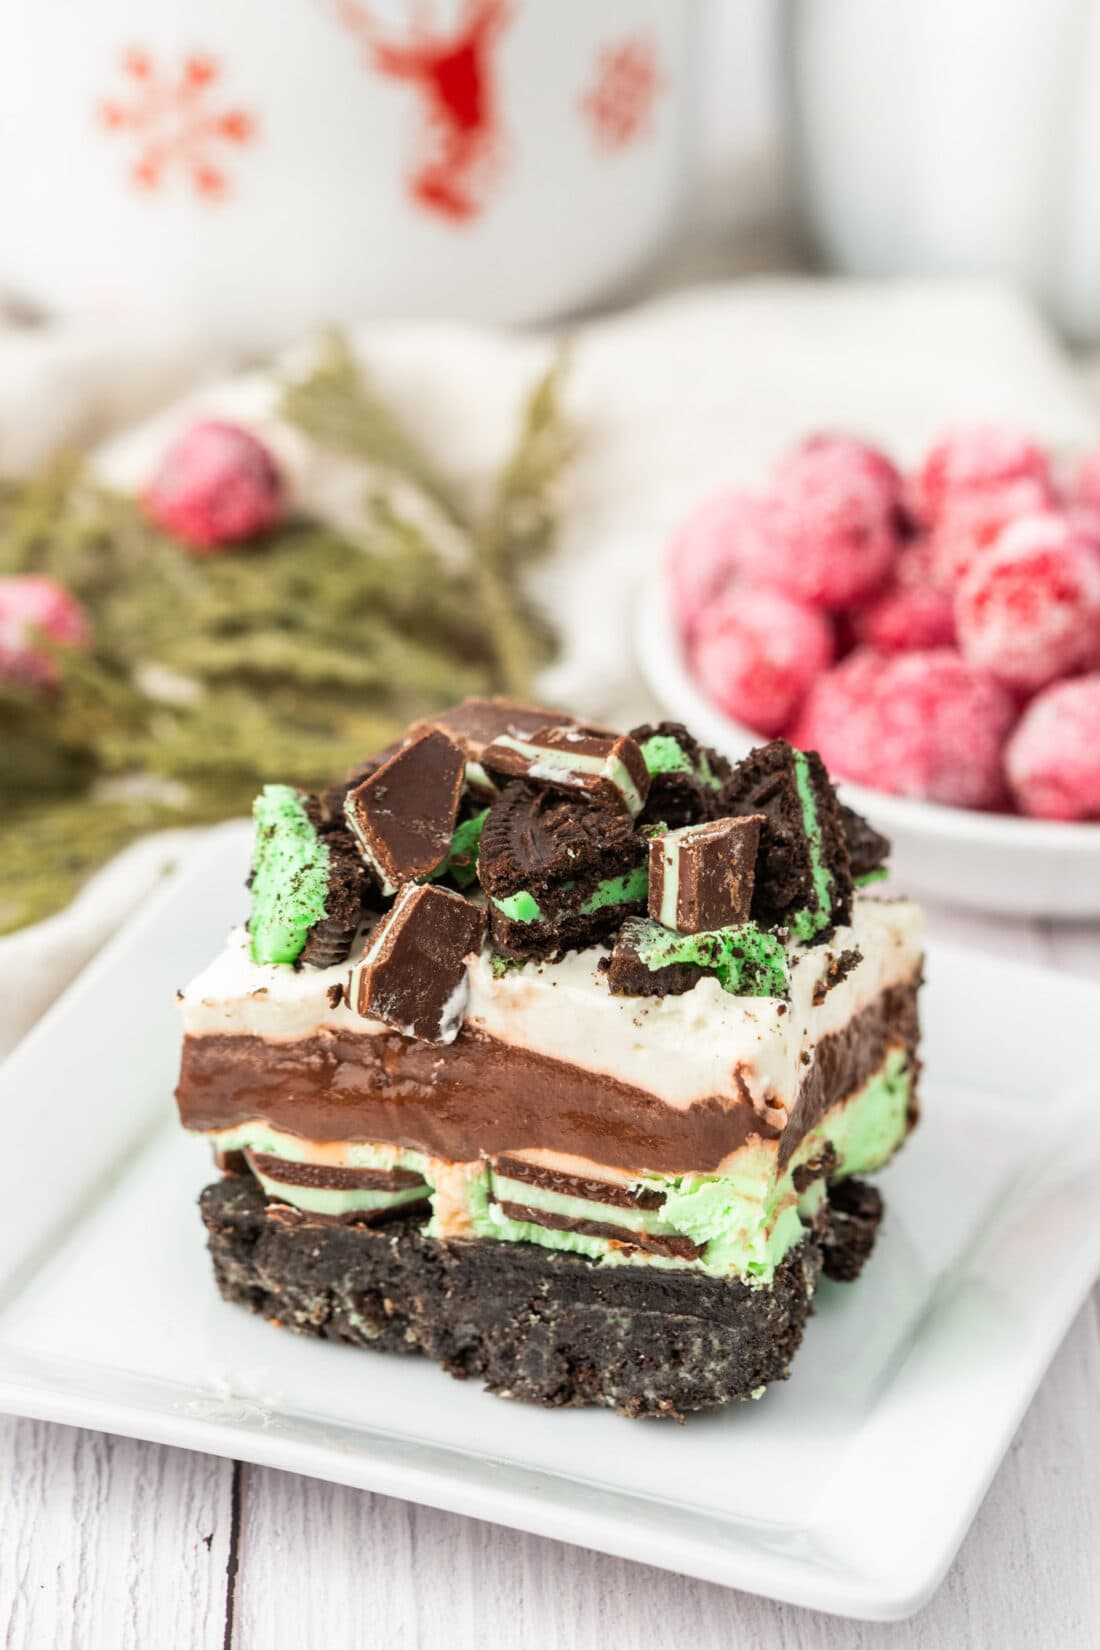
Just wait until you sink your teeth into all four fluffy layers of these Andes mint chocolate dream bars. The first layer starts with a simple Oreo cookie crust followed by a peppermint cream cheese layer, a chocolate fudge pudding layer, and lastly, creamy whipped topping.
This is the dessert lasagna of all the mint chocolate lovers’ dreams. You can say it’s a little fancier than our classic mint chocolate lasagna with the addition of Andes mints and extra cream cheese for an almost cheesecake-like taste. Swoon.
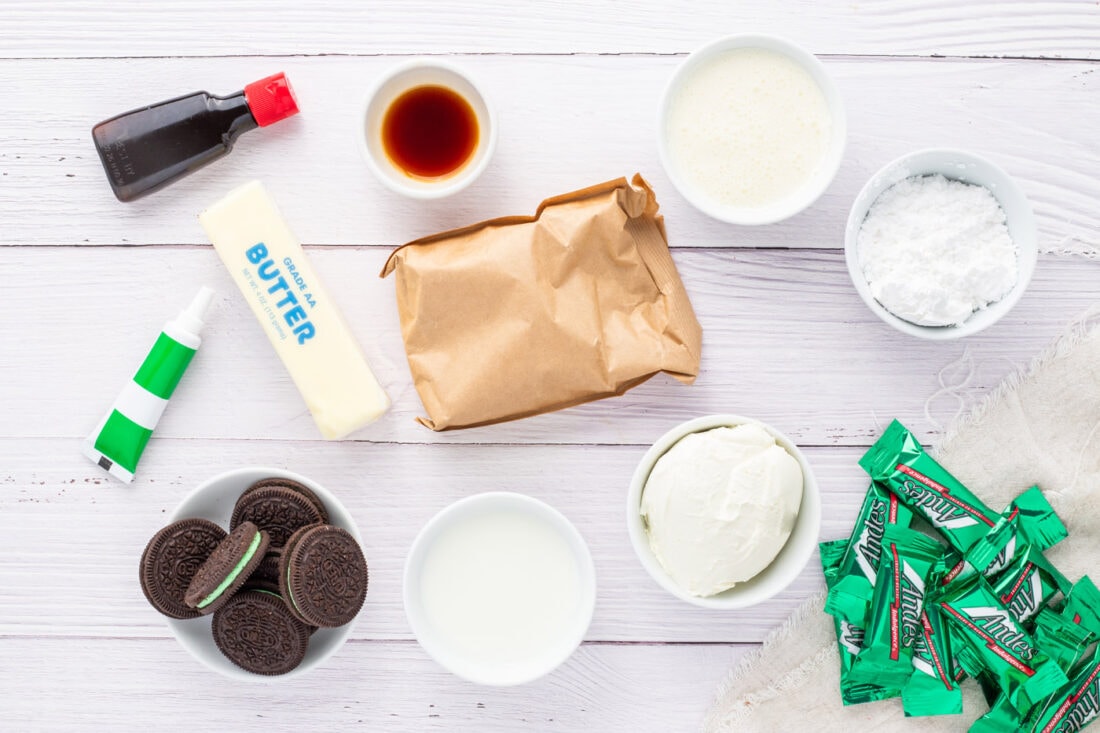
Ingredients you will need
Get all measurements, ingredients, and instructions in the printable version at the end of this post.
Ingredient Info and Substitution Suggestions
CRUST – The crust is made with mint Oreo cookies, filling included. The mint Oreo cookies make the bars extra minty, but if desired, you can substitute with regular Oreo cookies.
WHIPPED CREAM – The whipped cream layer is thickened with cream cheese so it is more stable and easier to layer. Make sure your cream cheese is at room temperature for both the whipped cream and the peppermint cream cheese layer so you don’t end up with any lumps and it’s easier to incorporate into the other ingredients. To do so, slice it into cubes and allow it to rest at room temp for around 30 minutes.
CREAM CHEESE LAYER – You’ll need room temperature cream cheese, confectioners sugar (powdered sugar), peppermint extract, and green food coloring. Do not use peppermint oil, stick to peppermint extract. Adjust the color saturation of this layer by adding more or less food coloring. We prefer to use gel food coloring because you can use less to create a nice vibrant color.
PUDDING – One 5.9-ounce box of instant chocolate fudge pudding plus milk and some of the thickened whipped cream is added to create this layer. You can use regular chocolate pudding if that’s all you can find.
How to Make Mint Chocolate Dream Bars
These step by step photos and instructions are here to help you visualize how to make this recipe. You can Jump to Recipe to get the printable version of this recipe, complete with measurements and instructions at the bottom.
- Line an 8×8 inch baking pan with parchment paper so that the edges come up on the side. Spray with vegetable oil coating.
- Place Oreos into a food processor and pulse to finely grind into crumbs. You can also do this by placing cookies in a plastic bag and smashing them with a rolling pin.
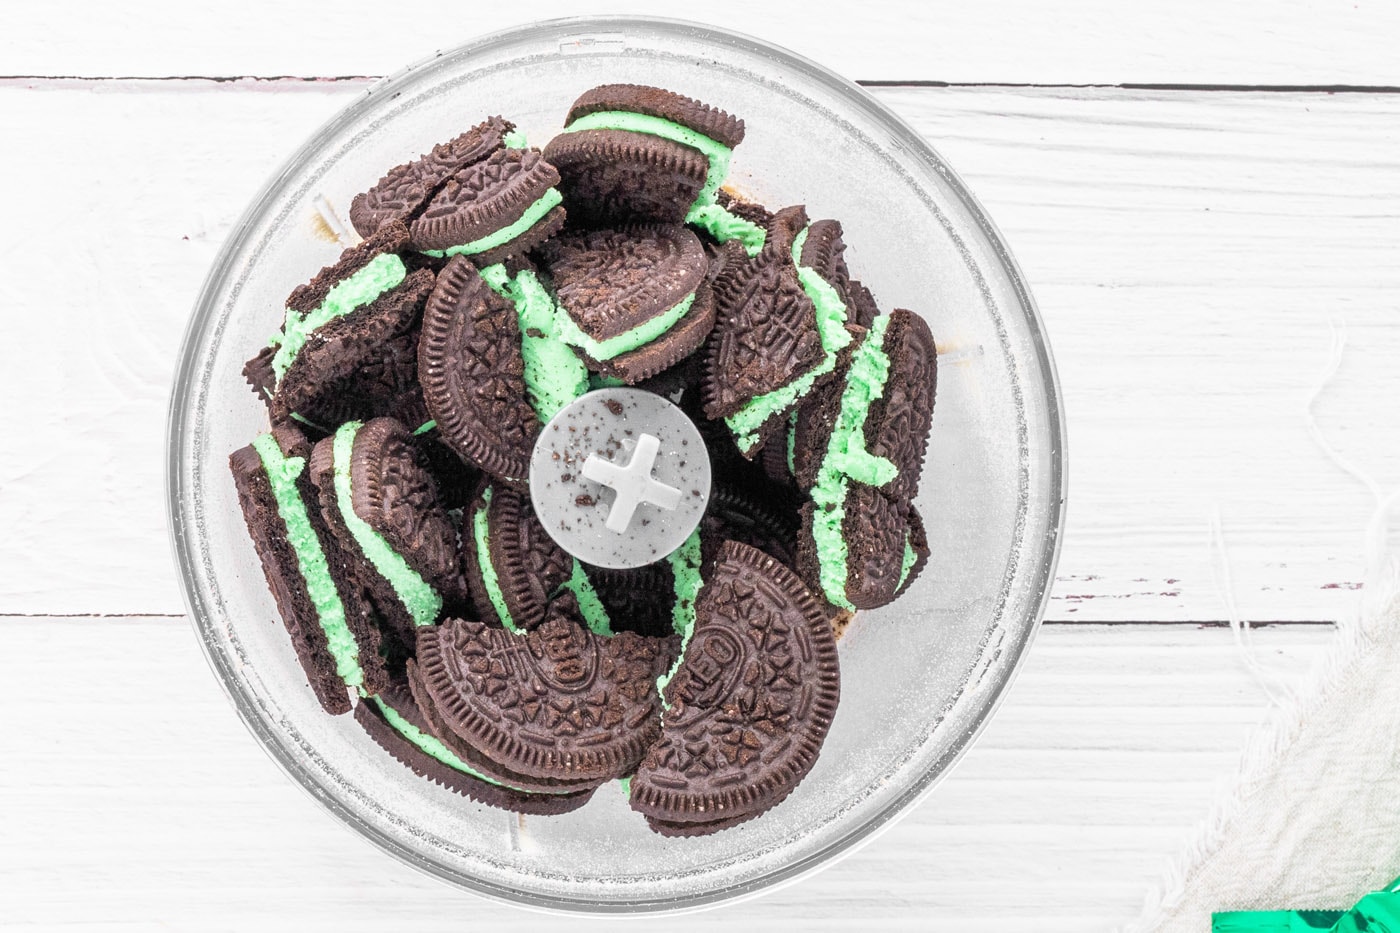
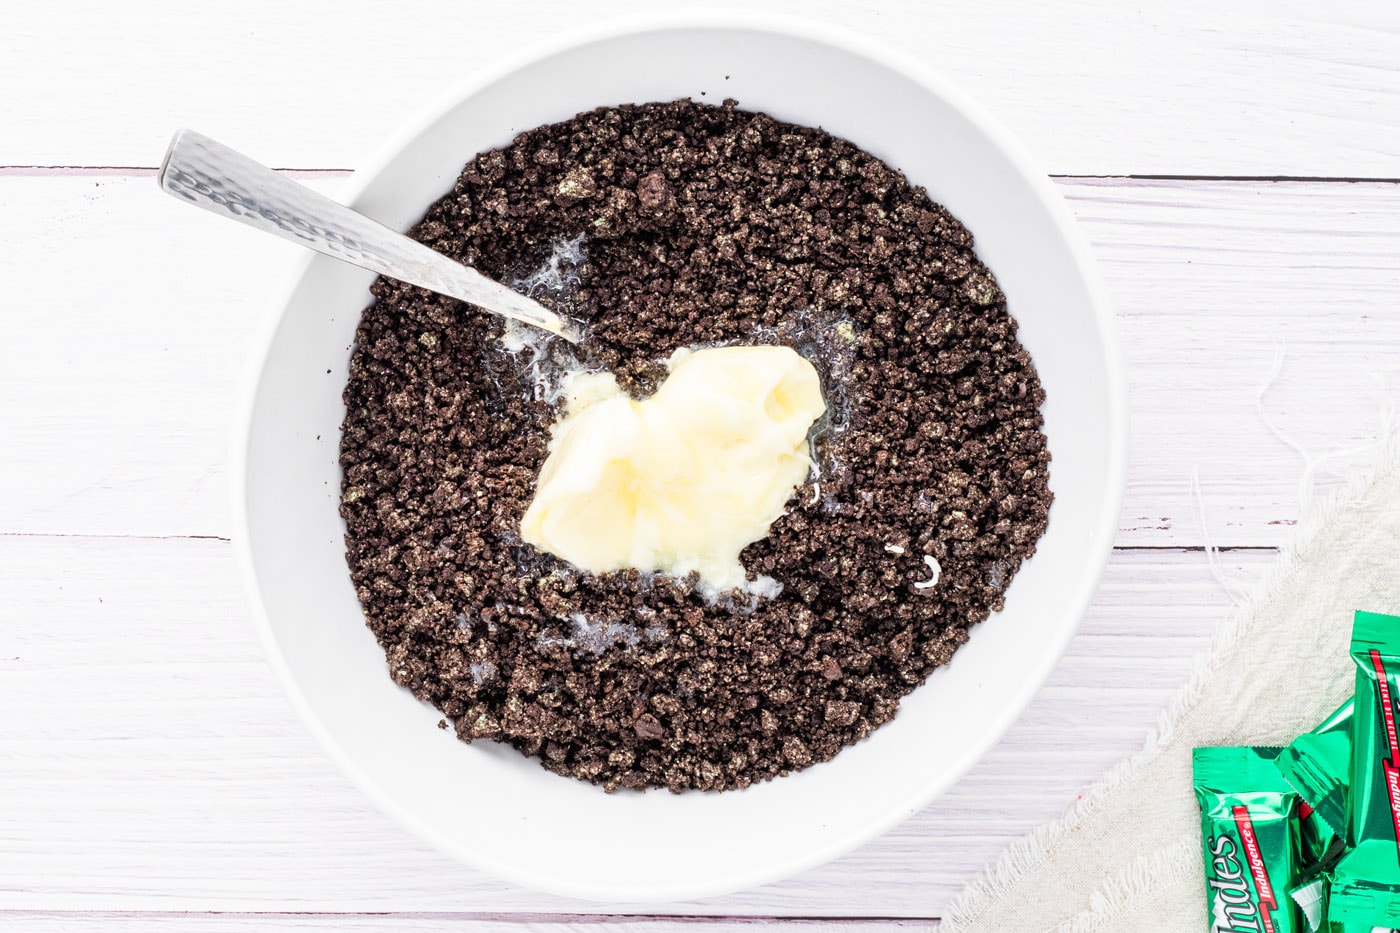
- Add the melted butter to the cookie crumbs and mix well.
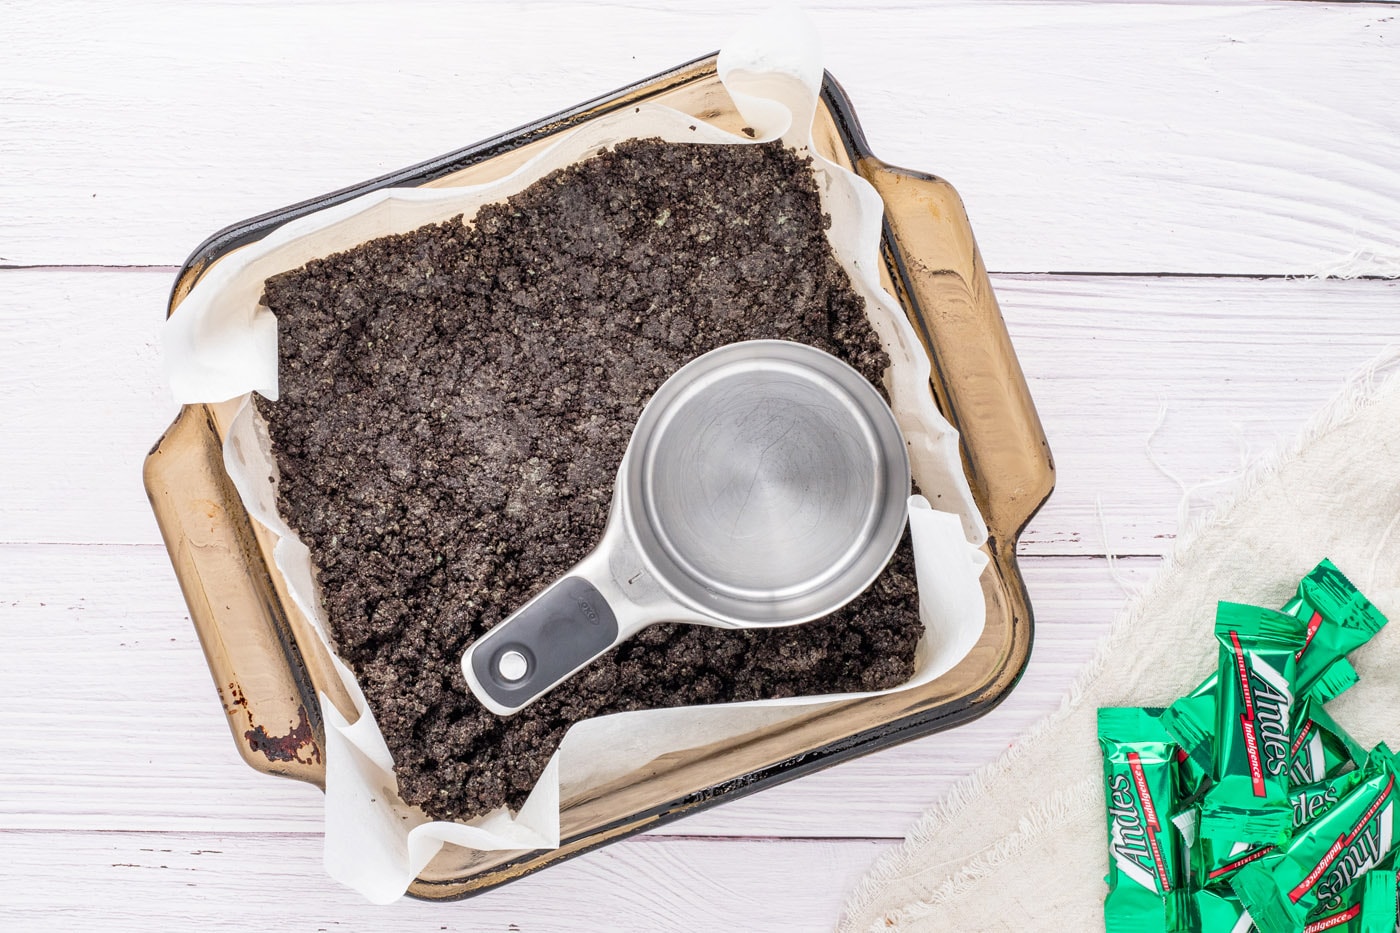
- Place the 3⁄4 of the crumb mixture into the prepared baking pan and pat down firmly, spreading to all of the edges. A measuring cup provides a solid surface when compacting the crumbs.
- Put the pan into the freezer to set for a minimum of 30 minutes.
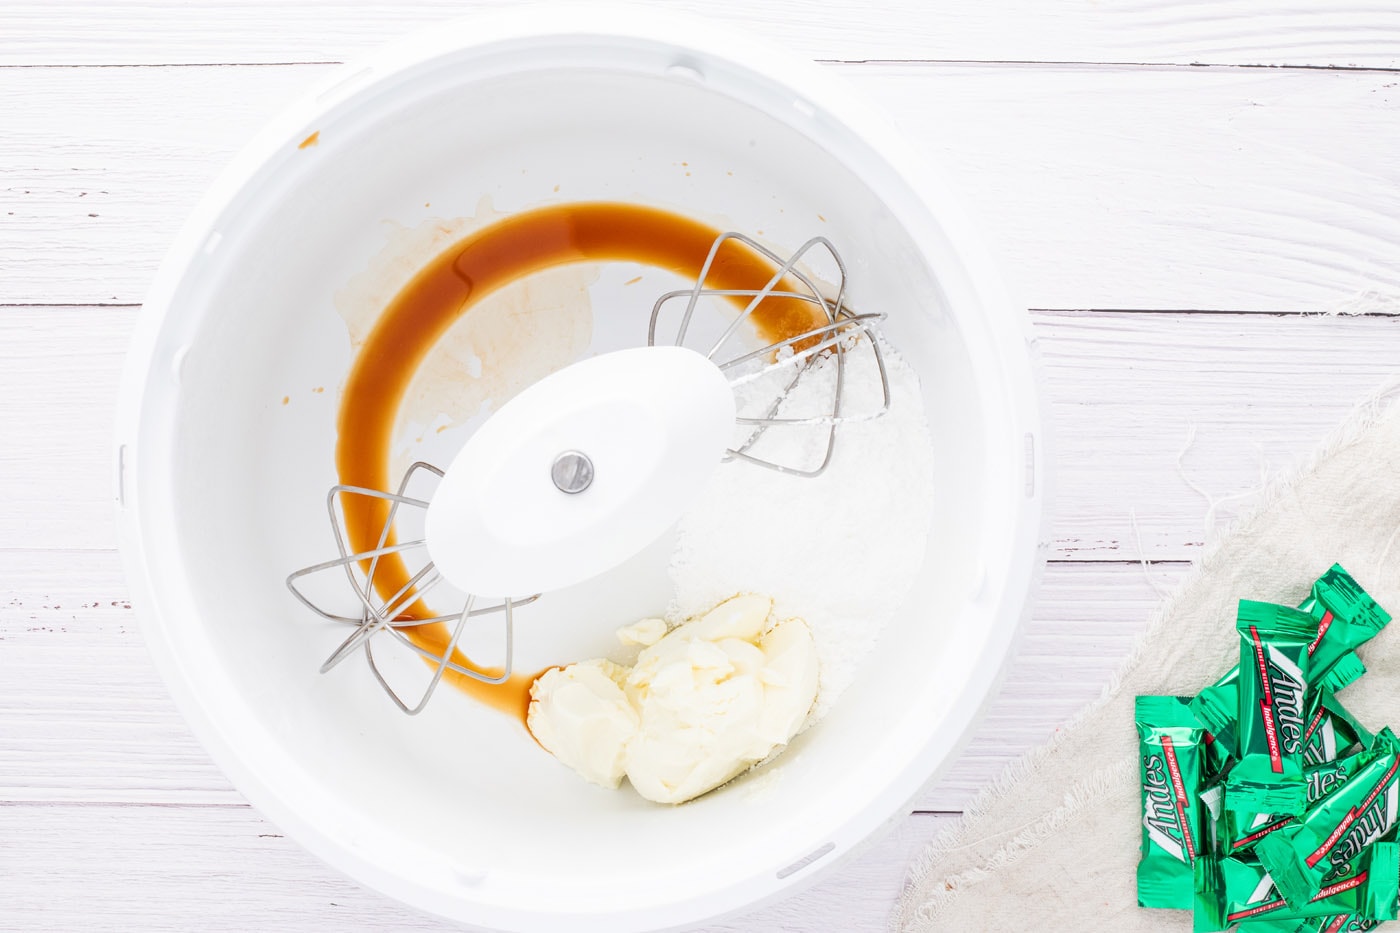
- To make the thickened whipped cream: In a mixing bowl, beat the cream cheese with the confectioners’ sugar and vanilla until soft and creamy. Add the heavy whipping cream and beat until stiff peaks form. Store in refrigerator until ready to use.
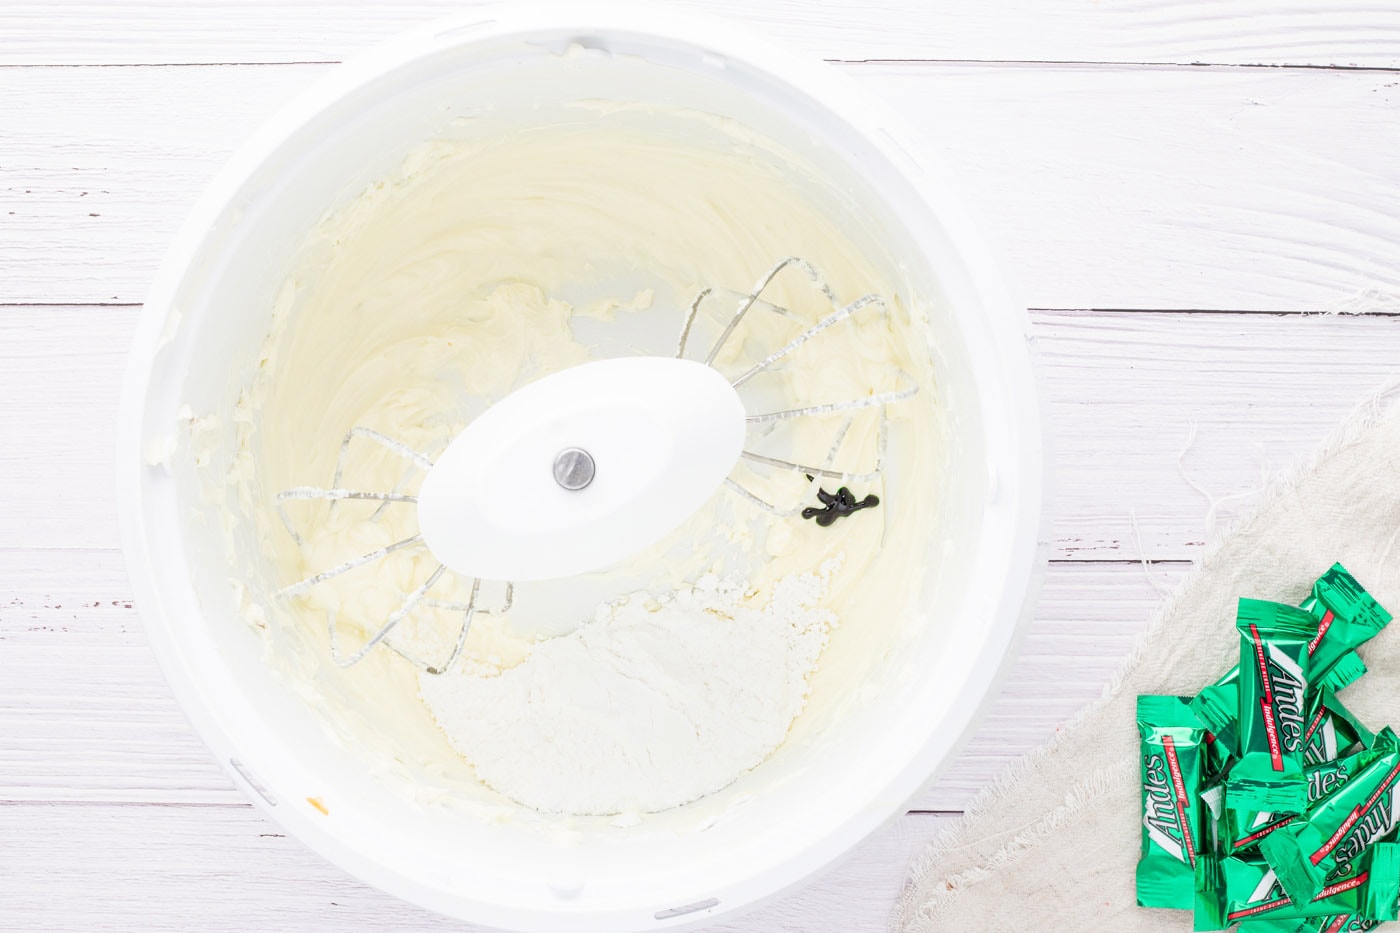
- In a mixing bowl, beat the cream cheese until smooth. Add the confectioners’ sugar, peppermint extract and green food coloring. Beat until thoroughly combined, scraping down the sides and bottom of the mixing bowl. Add more green food coloring until desired saturation is reached. Fold in one cup of the thickened whipped cream.

- In a mixing bowl, mix together the chocolate fudge pudding and milk until thickened. Place into the refrigerator to set.
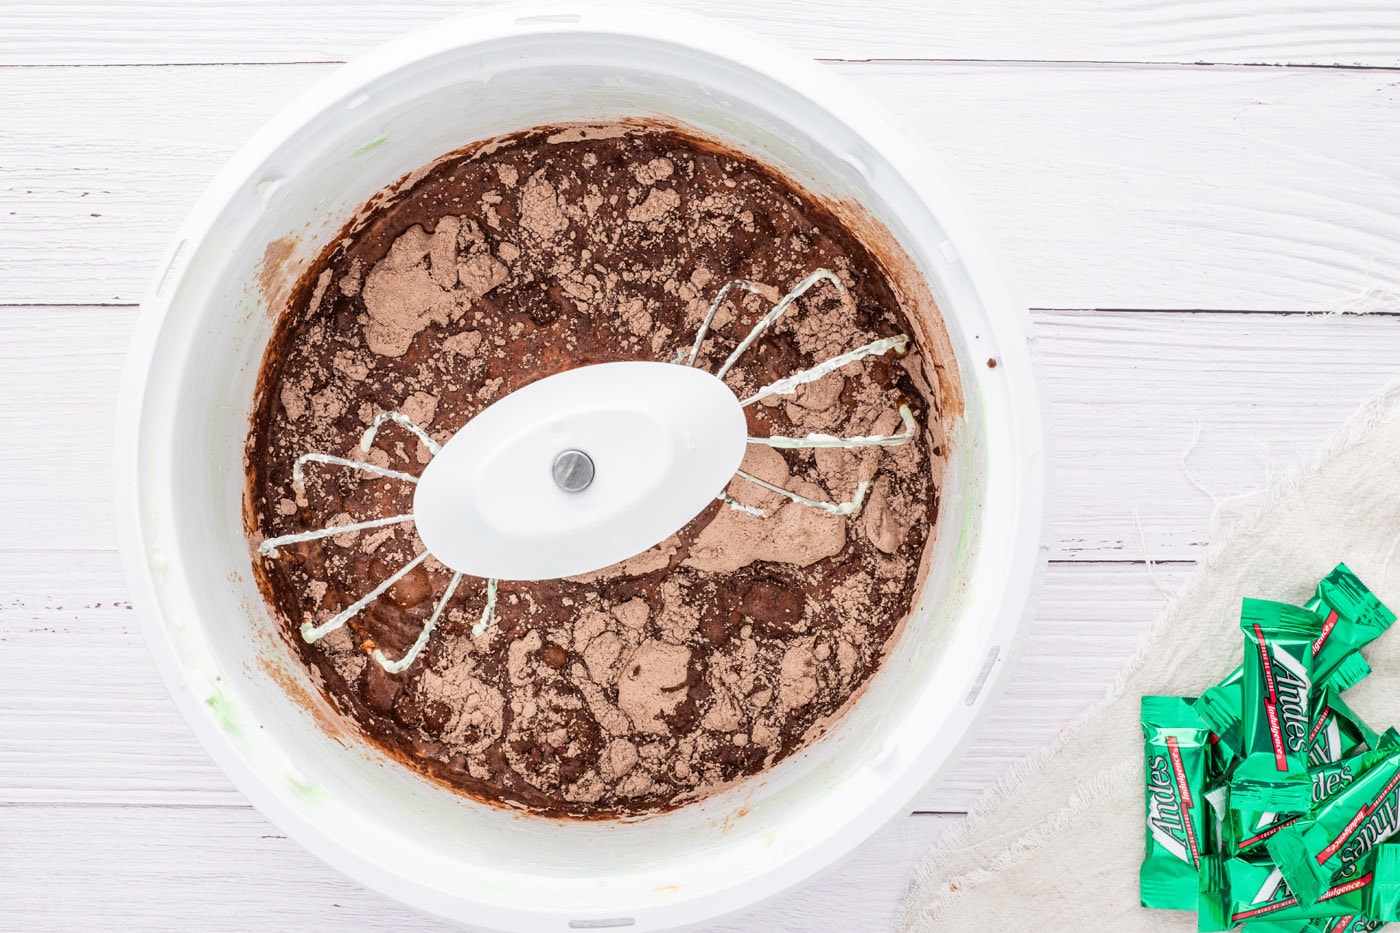
- Evenly distribute 2/3 the chopped Andes mints on top of the Oreo crust.
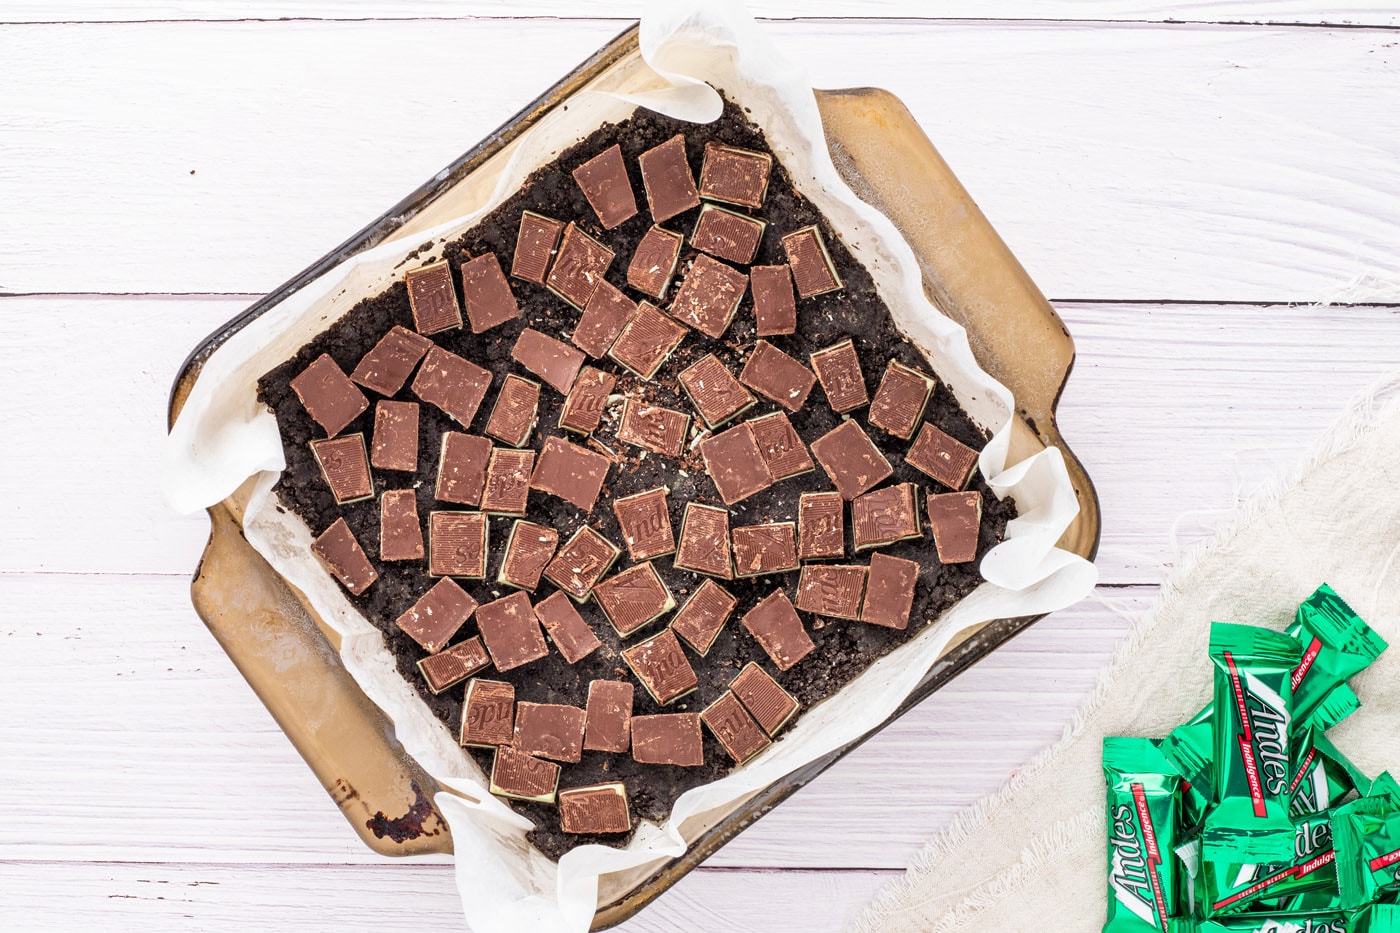
- Place dollops of the peppermint cream cheese on top of the chopped Andes Mints, and gently spread to the edges of the pan.
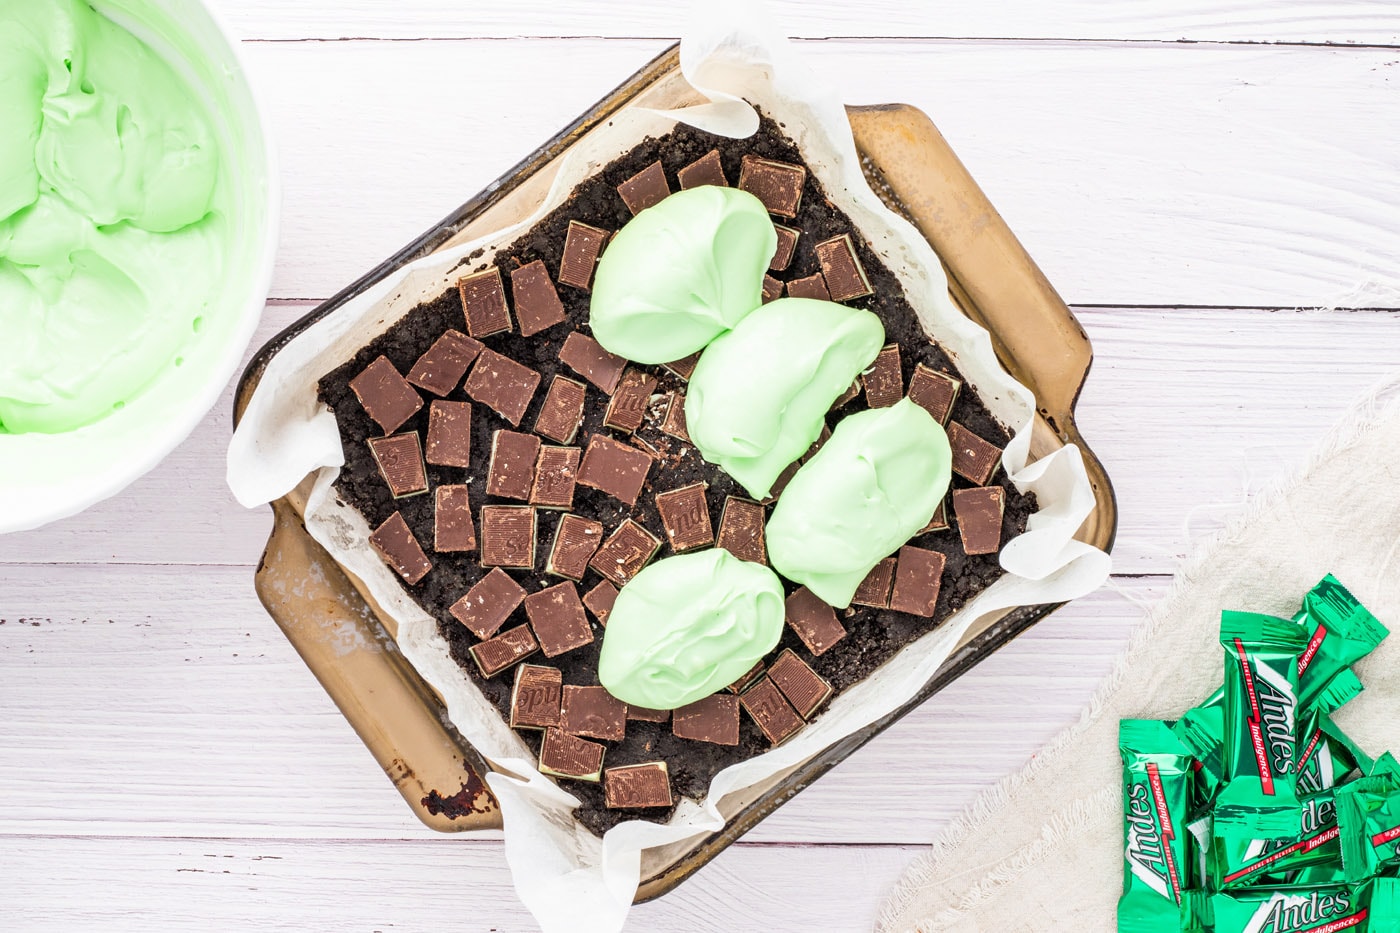
- Gently spread dollops of chocolate pudding on top of the cream cheese layer.
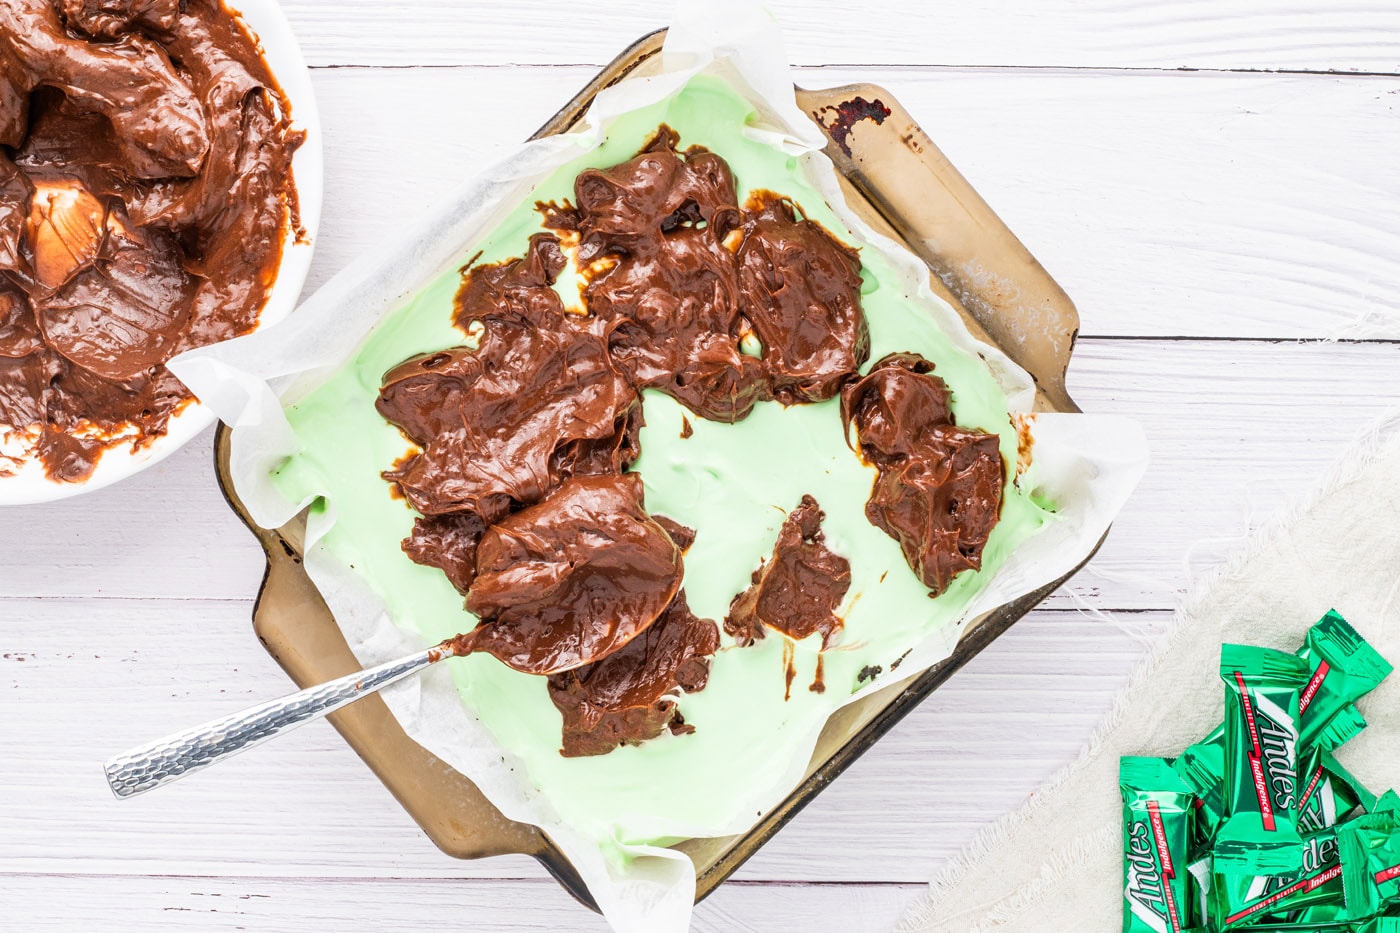
- Place dollops of the remaining thickened whipped cream over the pudding and gently spread it.
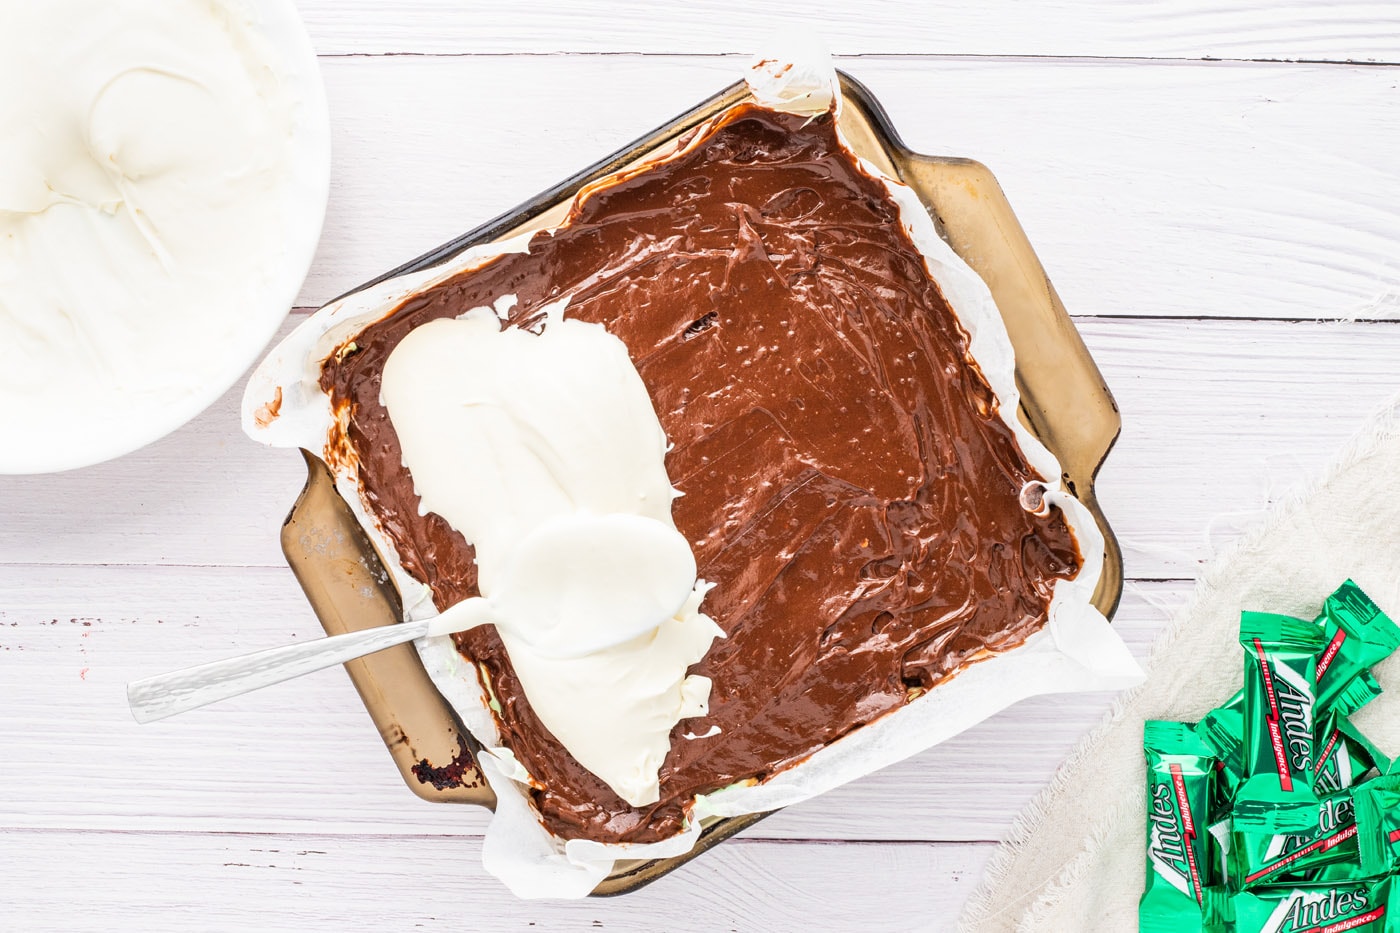
- Place pan into the refrigerator for a minimum of two hours to set.
- A half hour before serving, place the pan into the freezer. This will allow it to be sliced easily.
- When ready to serve, lift the bars out of the pan by the parchment paper.
- Sprinkle the remaining chopped Andes Mints and chopped Oreos on top.
- Peel the parchment away from the sides and slice with a large knife.
TIP – I find it easiest to slice them when the knife has been placed under some warm running water and then dried.
Frequently Asked Questions & Expert Tips
Store the bars in an air-tight container kept in the refrigerator for 4-5 days.
Absolutely. Andes mint chocolate dream bars can be made a day or two in advance. Store in an air-tight container or tightly covered with plastic wrap in the refrigerator until you are ready to serve. I would hold off on adding the garnish until an hour or so before serving so the Oreo cookie crumbles don’t get overly soft.
Yes, you can double the recipe and make it in a 13×9 baking dish.
Serving Suggestions
You can garnish the mint chocolate dream bars however you want. Do as we did and add extra crumbled Oreo cookies and chopped Andes mints, or opt for one or the other. It’s also fantastic without the extra garnishings! Serve the bars chilled for potlucks, celebrations, or Christmas parties.
More Mint Chocolate Recipes
- Grasshopper Pie
- Chocolate Mint Brownies
- Chocolate Mint Cookies
- Mint Chocolate Chip Ice Cream
- Andes Mint Fudge
I love to bake and cook and share my kitchen experience with all of you! Remembering to come back each day can be tough, that’s why I offer a convenient newsletter every time a new recipe posts. Simply subscribe and start receiving your free daily recipes!

Mint Chocolate Dream Bars
IMPORTANT – There are often Frequently Asked Questions within the blog post that you may find helpful. Simply scroll back up to read them!
Print It Rate ItIngredients
Crust
- 15 ounces Mint Oreo cookies divided
- 5 Tablespoons unsalted butter melted
- 4.6 ounces Andes mints candies chopped and divided – about 26 candies
Thickened Whipped Cream
- 6 ounces cream cheese at room temperature
- ½ cup confectioners sugar
- 2 teaspoons pure vanilla extract
- 1 ½ cups heavy whipping cream
Peppermint Cream Cheese Layer
- 8 ounces cream cheese at room temperature
- ½ cup confectioners sugar
- ½ teaspoon peppermint extract
- 10-12 drops green food coloring or more as needed
- 1 cup thickened whipped cream
Chocolate Pudding Layer
- 5.9 ounces instant chocolate fudge pudding mix 1 large box
- 2 cups whole milk
- 1 cup thickened whipped cream
Things You’ll Need
- Food processor or rolling pin and ziptop bag
Before You Begin
- Make sure your cream cheese is at room temperature for both the whipped cream and the peppermint cream cheese layer so you don’t end up with any lumps and it’s easier to incorporate into the other ingredients. To do so, slice it into cubes and allow it to rest at room temp for around 30 minutes.
- The mint Oreo cookies make the bars extra minty, but if desired, you can substitute with regular Oreo cookies.
Instructions
To Make the Crust
- Line an 8×8 inch baking pan with parchment paper so that the edges come up on the side. Spray with vegetable oil coating.
- Place Oreos into a food processor and pulse to finely grind into crumbs. You can also do this by placing cookies in a plastic bag and smashing them with a rolling pin.
- Add the melted butter to the cookie crumbs and mix well.
- Place the 3⁄4 of the crumb mixture into the prepared baking pan and pat down firmly, spreading to all of the edges. A measuring cup provides a solid surface when compacting the crumbs.
- Put the pan into the freezer to set for a minimum of 30 minutes.
Thickened Whipped Cream
- In a mixing bowl, beat the cream cheese with the confectioners’ sugar and vanilla until soft and creamy. Add the heavy whipping cream and beat until stiff peaks form. Store in refrigerator until ready to use.
Peppermint Cream Cheese Layer
- In a mixing bowl, beat the cream cheese until smooth. Add the confectioners’ sugar, peppermint extract and green food coloring. Beat until thoroughly combined, scraping down the sides and bottom of the mixing bowl. If desired, add more green food coloring until desired saturation is reached. Fold in one cup of the thickened whipped cream.
Chocolate Pudding Layer
- In a mixing bowl, mix together the chocolate fudge pudding and milk until thickened. Place into the refrigerator to set.
Assembly
- Evenly distribute 2/3 the chopped Andes mints on top of the Oreo crust.
- Place dollops of the peppermint cream cheese on top of the chopped Andes Mints, and gently spread to the edges of the pan.
- Gently spread dollops of chocolate pudding on top of the cream cheese layer.
- Place dollops of the remaining thickened whipped cream over the pudding and gently spread it.
- Place pan into the refrigerator for a minimum of two hours to set.
- A half hour before serving, place the pan into the freezer. This will allow it to be sliced easily.
- When ready to serve, lift the bars out of the pan by the parchment paper.
- Sprinkle the remaining chopped Andes Mints and chopped Oreos on top.
- Peel the parchment away from the sides and slice with a large knife. I find it easiest to slice them when the knife has been placed under some warm running water and then dried.
Expert Tips & FAQs
- Store the bars in an air-tight container kept in the refrigerator for 4-5 days.
- Make Ahead – Andes mint chocolate dream bars can be made a day or two in advance. Store in an air-tight container or tightly covered with plastic wrap in the refrigerator until you are ready to serve. I would hold off on adding the garnish until an hour or so before serving so the Oreo cookie crumbles don’t get overly soft.
- You can easily double the recipe and make it in a 13×9 baking dish.
- You can garnish the bars however you want. Do as we did and add extra crumbled Oreo cookies and chopped Andes mints, or opt for one or the other. It’s also fantastic without the extra garnishings. Serve chilled.
Nutrition
Kristen Rittmer
Latest posts by Kristen Rittmer (see all)
- Chicken Pot Pie Pasta - January 15, 2025
- Butterscotch Brownies - January 8, 2025
- Instant Pot Split Pea Soup - December 25, 2024





Leave a Reply