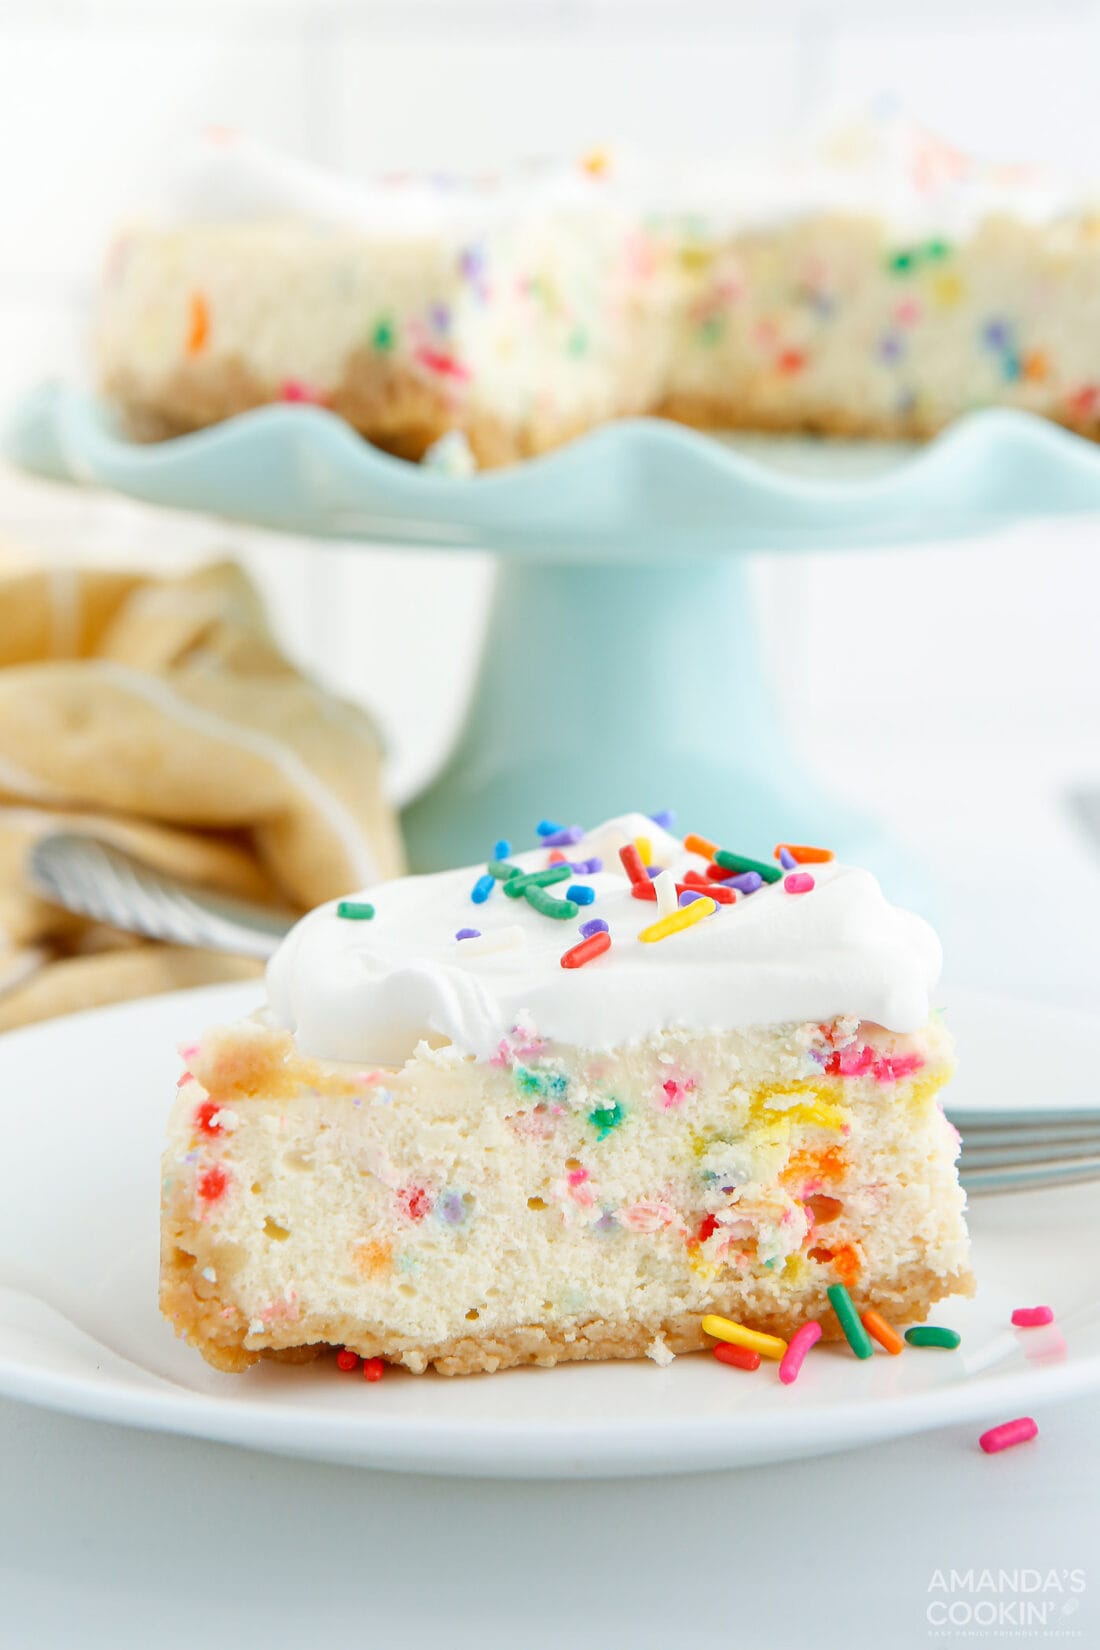
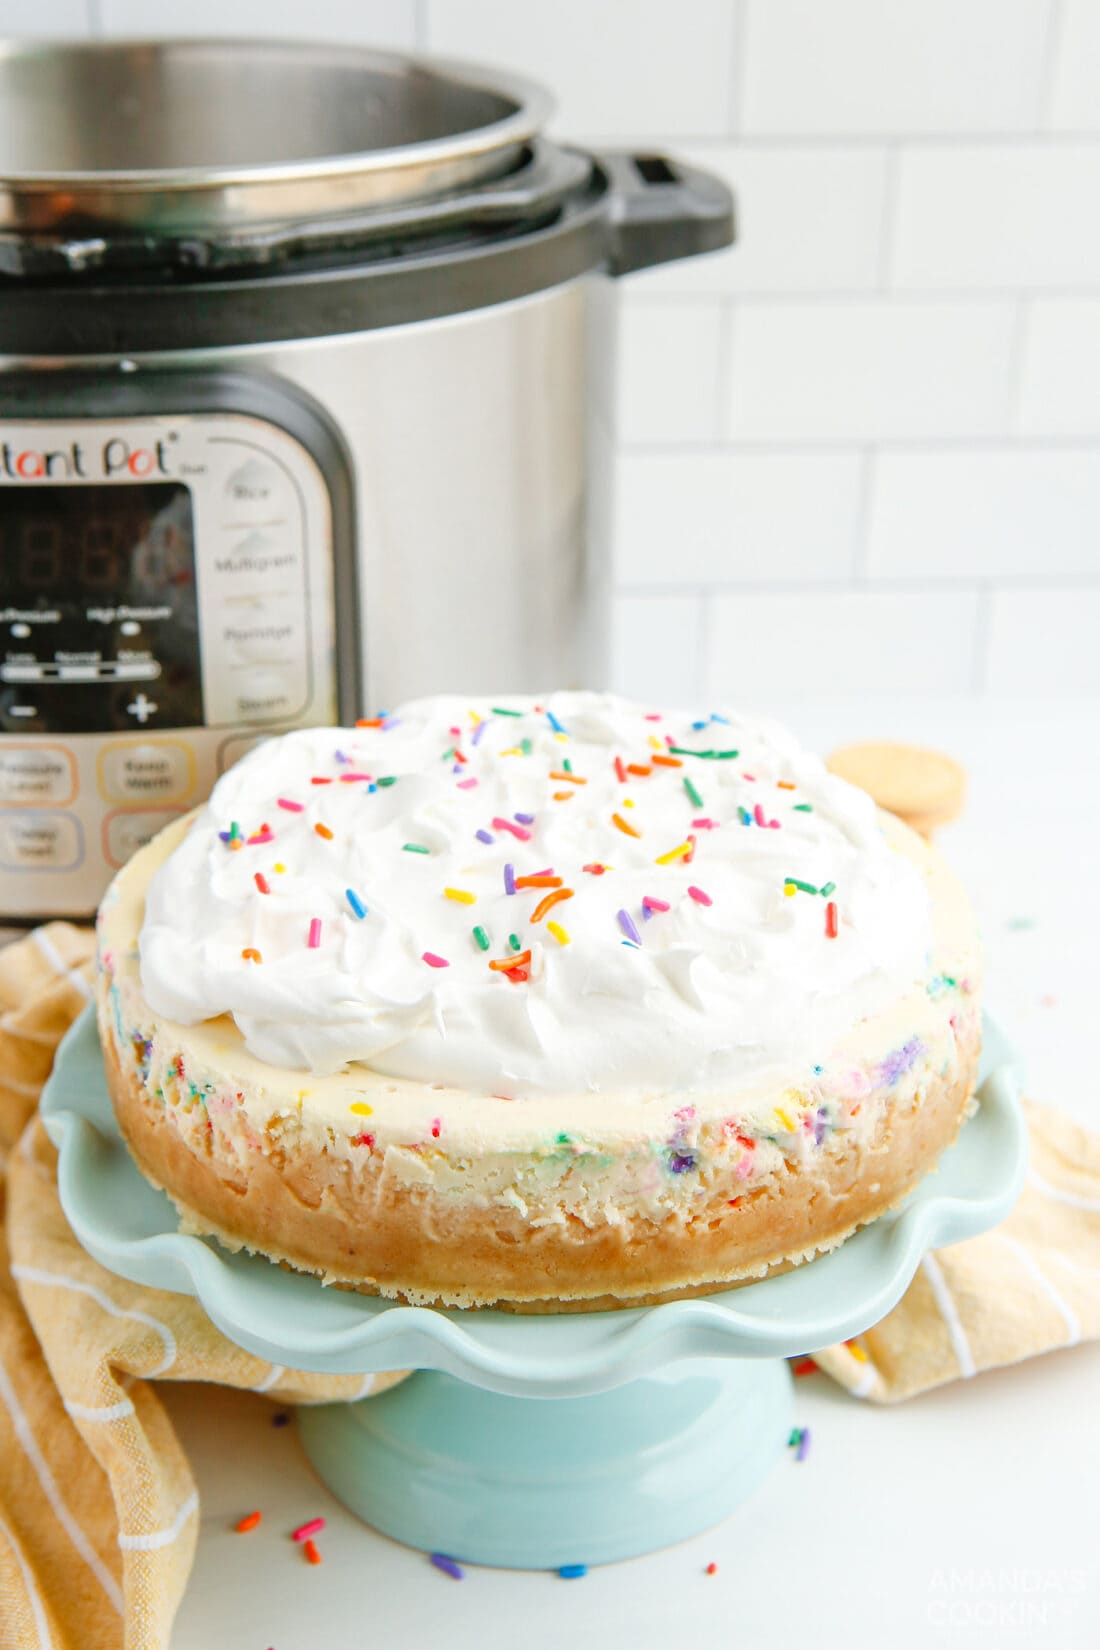
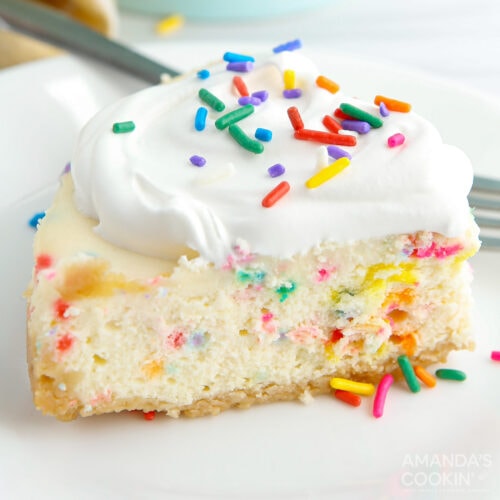
A colorful rainbow of sprinkles swirled into a creamy vanilla cheesecake on top of a sandwich cookie crust, this instant pot funfetti cheesecake is a party in a pan!
Why this recipe works
Making cheesecake in the pressure cooker produces a creamy moist cheesecake. Having made instant pot cherry cheesecake and instant pot strawberry cheesecake, we knew we had to throw an even more fun one into the mix. Enter this colorful funfetti cheesecake!
This recipe is great for birthdays, especially for those who aren’t huge fans of cake but love that creamy goodness a cheesecake gives. It’ll be a huge hit between kids and adults alike.
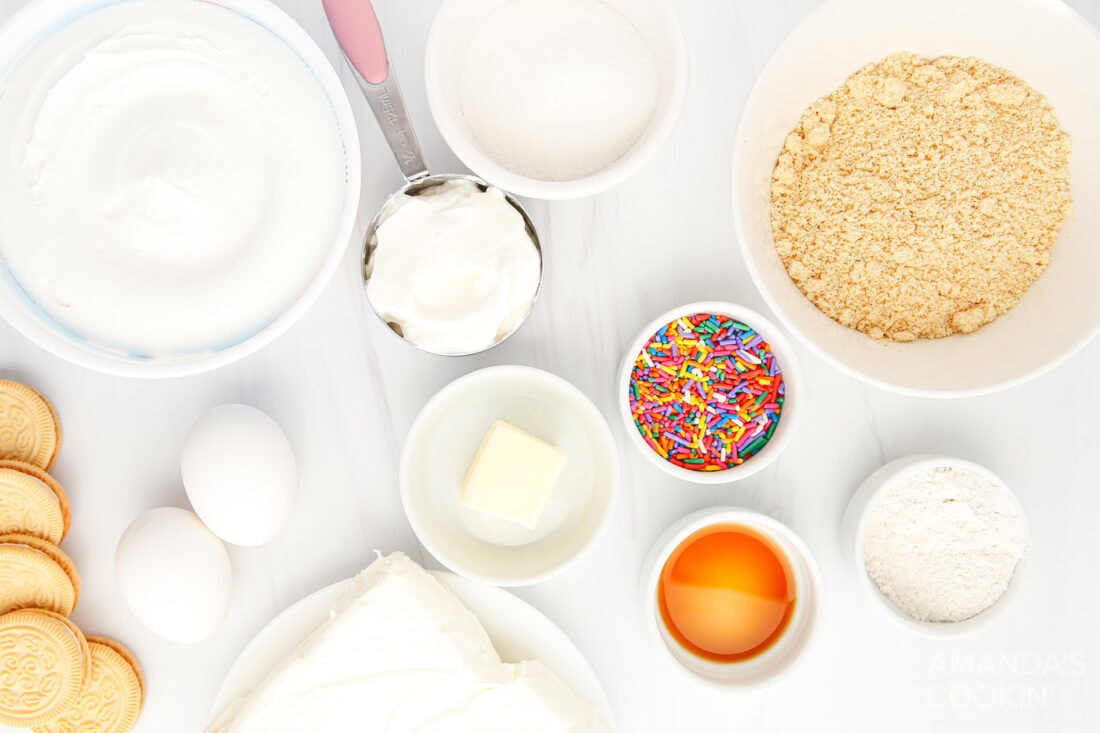
Ingredients you will need
Get all measurements, ingredients, and instructions in the printable version at the end of this post.
Ingredient Info and Substitution Suggestions
CHEESECAKE – Using room temperature ingredients is important for the best creamy texture and for avoiding lumps. To help your cream cheese come to room temperature, remove it from the packaging and cut it into cubes. Separate the cubes on a plate and allow them to sit at room temp for around 30 minutes. Do not skip out on the flour or substitute, flour is important for firming up the cheesecake as well as the eggs which act as your bonding agent. Buy large eggs, not jumbo as that can change the science of the recipe.
CRUST – The crust is made with vanilla sandwich cookies, we use golden Oreos. If you don’t have access to golden Oreos then graham crackers, sugar cookies, or digestive biscuits are always a tasty base for cheesecake. See our instant pot cherry cheesecake for how to use a graham cracker base.
How to Make Instant Pot Funfetti Cheesecake
These step by step photos and instructions are here to help you visualize how to make this recipe. You can Jump to Recipe to get the printable version of this recipe, complete with measurements and instructions at the bottom.
- Grease your 7 inch springform pan sides with cooking spray or butter and place a parchment paper round or cut sheet into the bottom of the pan. Pour the 1 ½ cup of water into the bottom of your Instant Pot.
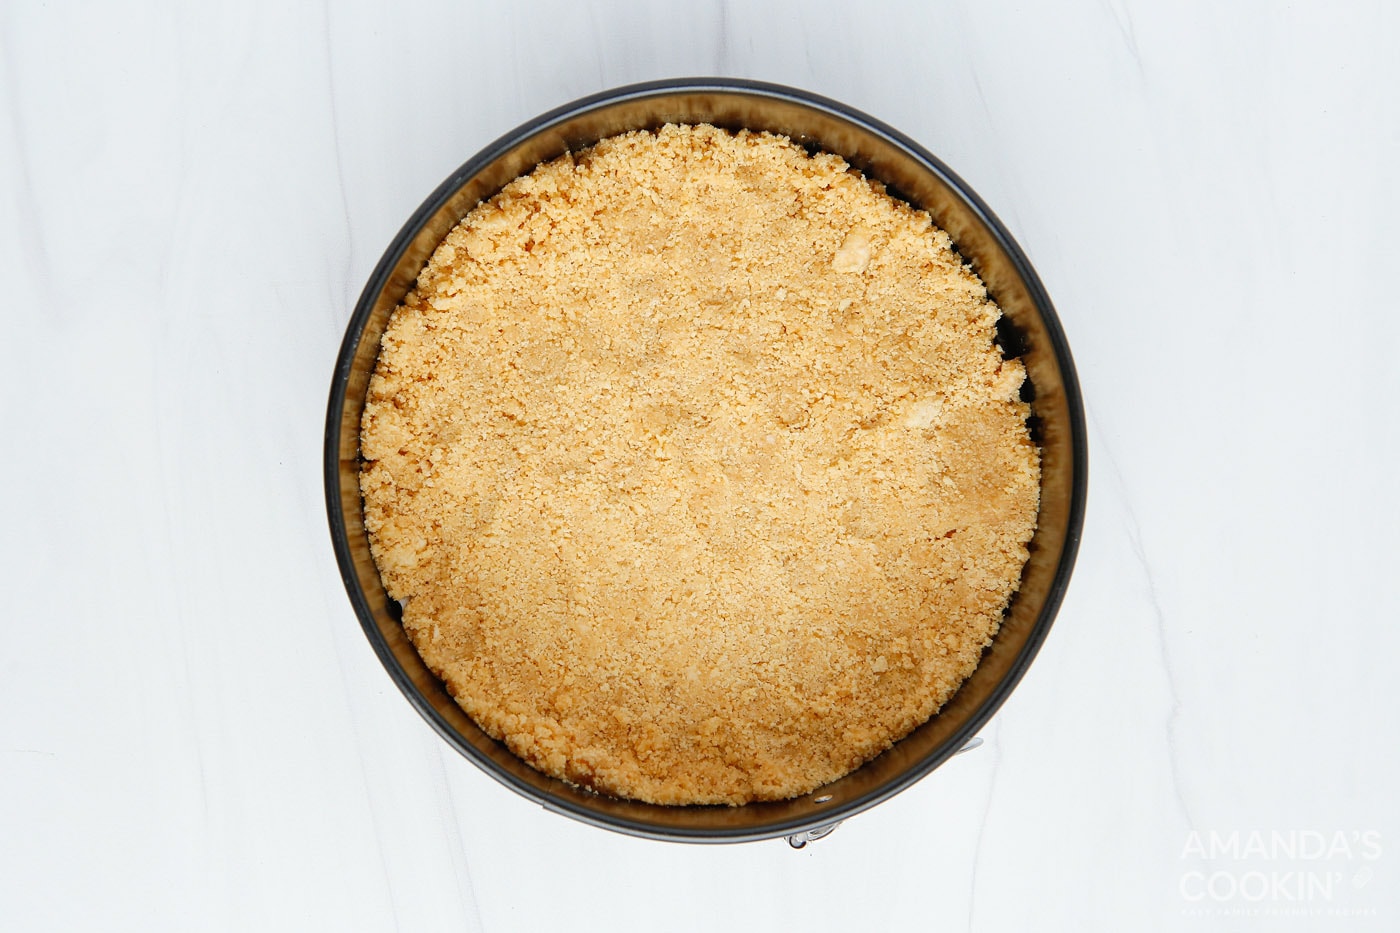
- Use a food processor to crush vanilla sandwich cookies into crumbs.Add to a bowl with the melted butter and mix well. Press the crust mixture tightly into the bottom of your springform pan and place in the freezer to chill while you prepare the cheesecake filling.
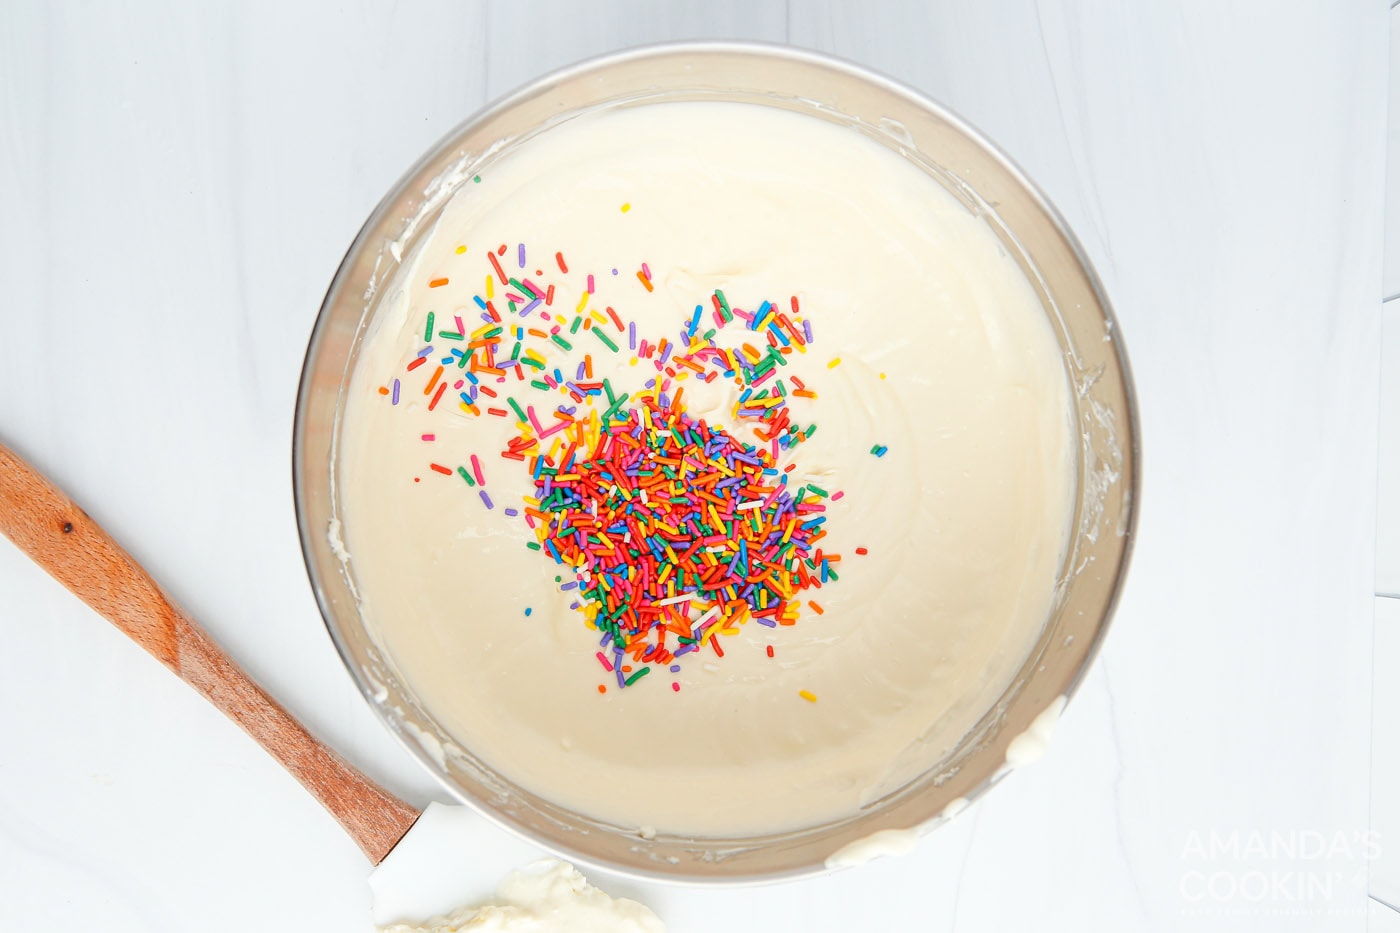
- In a large mixing bowl or stand mixer, add the cream cheese and granulated sugar. Blend the cream cheese mixture until smooth and creamy. Add the eggs in, one at a time, until combined. Mix in the sour cream, flour, and vanilla extract until just blended. Gently fold in the funfetti sprinkles.
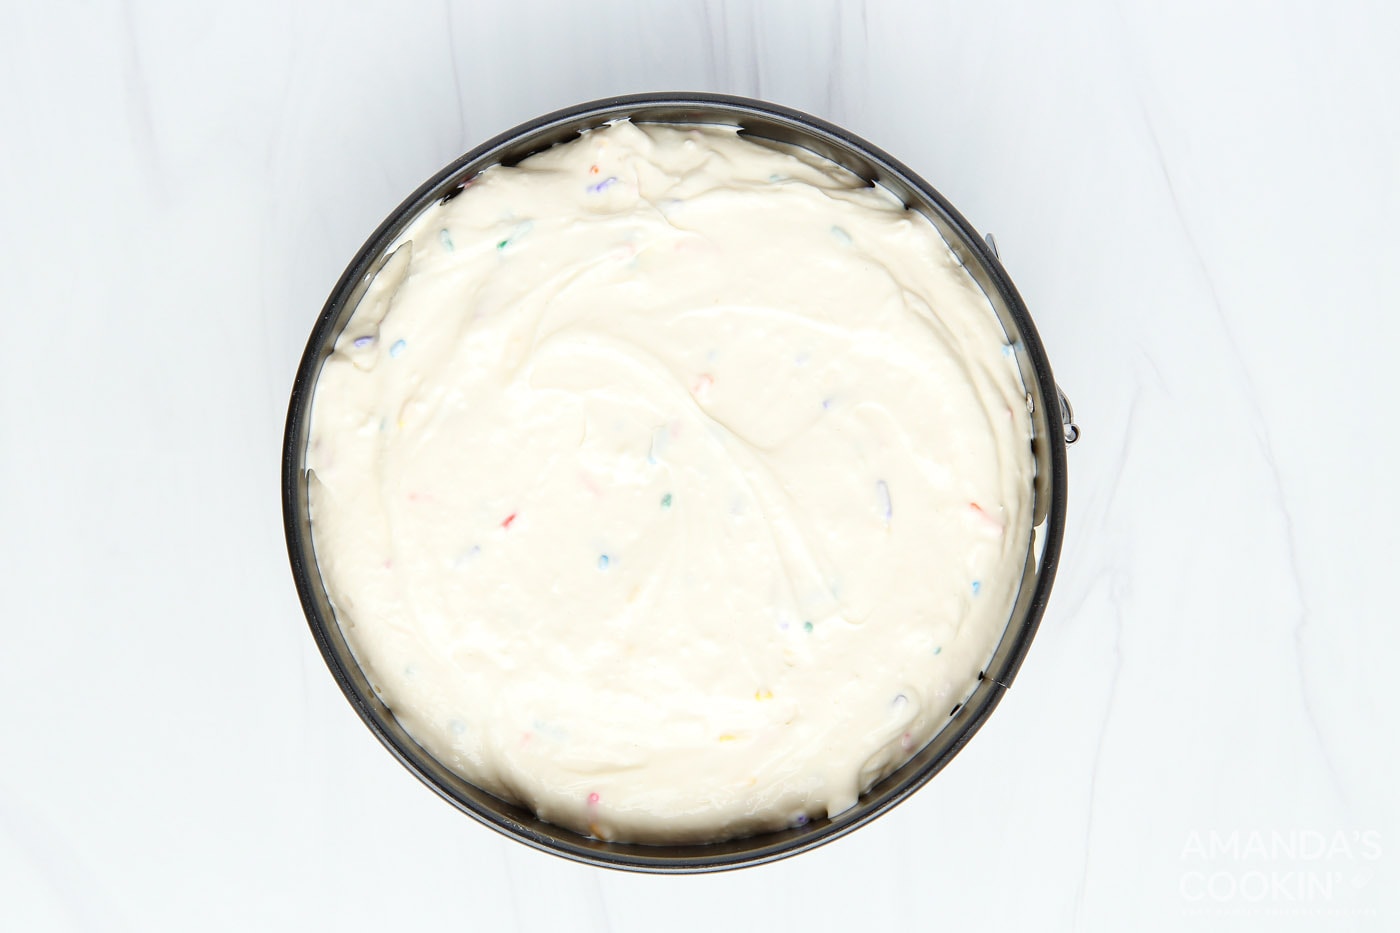
- Pour the cheesecake filling onto the chilled cookie crust. Use a small spatula or knife to smooth out the top of the cheesecake. Wrap aluminum foil tightly over the pan to prevent excess moisture from dripping onto the cheesecake while cooking. Lower the cheesecake on the trivet inside of a 6 qt Instant Pot and close the lid.
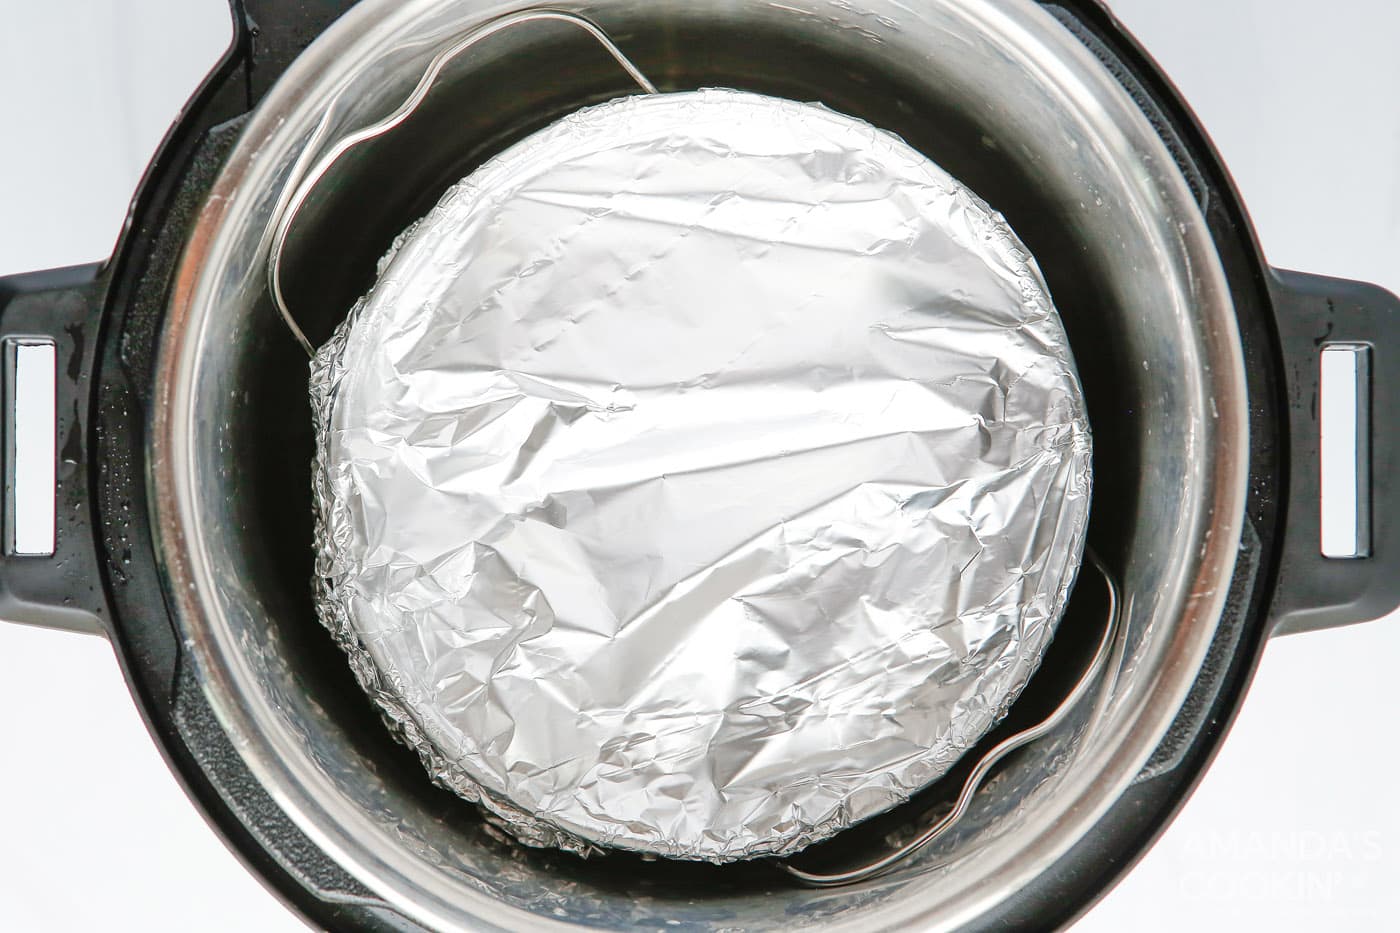
- Turn the steam valve to seal and choose manual high pressure for 35 minutes. Naturally release the steam for 10 minutes after cooking, and then quickl release any remaining steam.
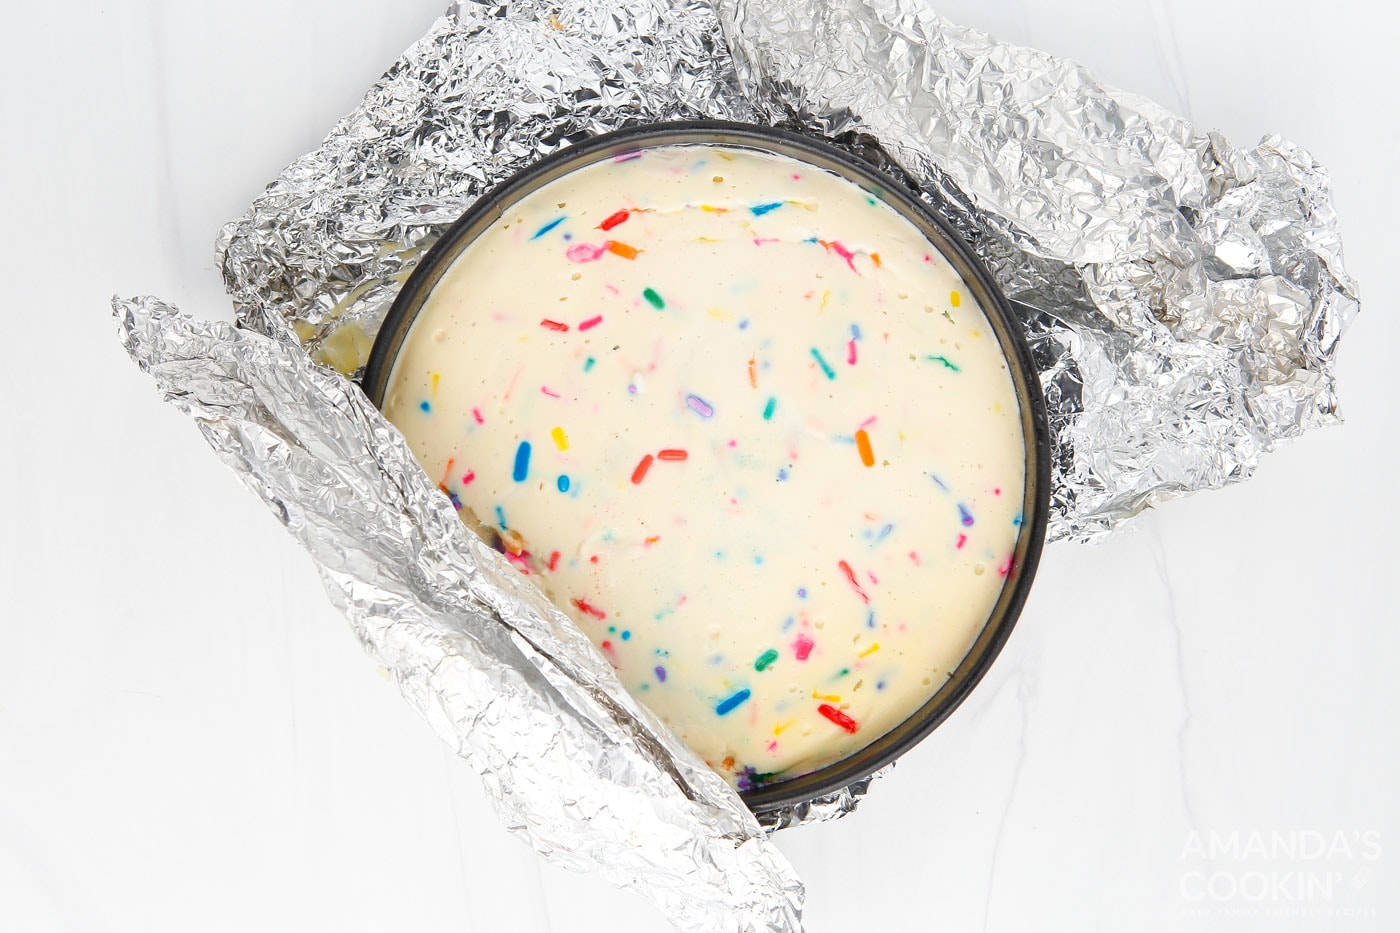
- Remove the tin foil and let the cheesecake cool on the counter for 15 minutes before placing in the refrigerator to chill. Chill for at least 6 hours or overnight.
- When ready to serve, remove the cheesecake from the pan and spread the whipped cream across the top of the cheesecake. Garnish with extra sprinkles, slice and serve!

Frequently Asked Questions & Expert Tips
You can store leftover funfetti cheesecake in an airtight container kept in the refrigerator for 4-5 days.
The cheesecake will be slightly jiggly in the center after cooking and finish setting after being chilled. If the cheesecake looks too runny, return to the Instant Pot to cook for another 5-10 minutes.
Springform pans are recommended for easy release of the cheesecake. Use a warm butter knife to pull around the edges for the cheesecake if you’re having trouble releasing it from the pan.
Yes, you can easily freeze this cheesecake. To do so, let it cool completely, wrap your cheesecake in plastic wrap, then again in freezer paper. It can be kept in the freezer for around 4-5 months. When ready to serve, allow to thaw completely and top with whipped cream.

Serving Suggestions
You’ll want to keep this cheesecake chilled until ready to serve. Save a few extra vanilla sandwich cookies to crumble on top with the whipped cream and sprinkles if you’d like! And if you’re feeling extra fancy, go ahead and add some cherries around the outside of the cake.
Serve at birthday parties, or make it just because! There doesn’t always have to be a reason to make a funfetti cheesecake, right?
More Cheesecake Recipes
- Mini Cheesecakes
- Oreo Cheesecake Bars
- Strawberry Swirl Cheesecake
- No Bake Pumpkin Cheesecake
- Chocolate Cheesecake Brownies
- No Bake Strawberry Cheesecake Bars
- Instant Pot Lemon Curd Cheesecake
- Instant Pot Oreo Cheesecake
- Salted Caramel Cheesecake
I love to bake and cook and share my kitchen experience with all of you! Remembering to come back each day can be tough, that’s why I offer a convenient newsletter every time a new recipe posts. Simply subscribe and start receiving your free daily recipes!

Instant Pot Funfetti Cheesecake
IMPORTANT – There are often Frequently Asked Questions within the blog post that you may find helpful. Simply scroll back up to read them!
Print It Rate ItIngredients
Crust
- 12 golden Oreos or any vanilla sandwich cookie, crushed into crumbs
- 3 Tbsp unsalted butter melted
Cheesecake
- 16 oz cream cheese softened at room temperature
- ½ cup granulated sugar
- 2 large eggs at room temperature
- ¼ cup sour cream
- 3 Tbsp all-purpose flour sifted
- 1 tsp vanilla extract
- ¼ cup funfetti sprinkles
- 1 ½ cup water for the bottom of the instant pot
- 1 cup whipped cream optional, for serving
Things You’ll Need
Before You Begin
- Room temperature cream cheese and eggs produce the best results.
- The cheesecake will be slightly jiggly in the center after cooking and finish setting after being chilled. If the cheesecake looks too runny, return to the Instant Pot to cook for another 5-10 minutes.
- Springform pans are recommended for easy release of the cheesecake. Use a warm butter knife to pull around the edges for the cheesecake if you’re having trouble releasing from the pan.
Instructions
- Grease your springform pan sides with cooking spray or butter and place a parchment paper round or cut sheet into the bottom of the pan. Pour the 1 ½ cup of water into the bottom of your Instant Pot.
- Use a food processor to crush vanilla sandwich cookies into crumbs. Add to a bowl with the melted butter and mix well. Press the crust mixture tightly into the bottom of your springform pan and place in the freezer to chill while you prepare the cheesecake filling.
- In a large mixing bowl or stand mixer, add the cream cheese and granulated sugar. Blend the cream cheese mixture until smooth and creamy. Add the eggs in, one at a time, until combined. Mix in the sour cream, flour, and vanilla extract until just blended. Gently fold in the funfetti sprinkles.
- Pour the cheesecake filling into the chilled cookie crust. Use a small spatula or knife to smooth out the top of the cheesecake. Wrap aluminum foil tightly over the pan to prevent excess moisture from dripping onto the cheesecake while cooking. Lower the cheesecake on the trivet inside of the Instant Pot and close the lid. Turn the steam valve to seal and choose manual high pressure for 35 minutes. Naturally release the steam for 10 minutes after cooking, and then quick release any remaining steam.
- Let the cheesecake cool on the counter for 15 minutes before placing in the refrigerator to chill.
- Chill for at least 6 hours or overnight.
- When ready to serve, remove the cheesecake from the pan and spread the whipped cream across the top of the cheesecake. Garnish with extra sprinkles, slice and serve!
Nutrition
Amanda Davis
Latest posts by Amanda Davis (see all)
- Chocolate Covered Strawberries - January 20, 2025
- Cauliflower Pizza Crust - January 13, 2025
- Keto Peanut Butter Cookies - January 9, 2025


Leave a Reply