I’ve made several German recipes for my kids’ high school German classes over the last few years. The assignment was to make or bake a German recipe and everyone in the class enjoyed the snacks. My daughter decided she wanted to try real homemade German pretzels when she was a Freshman. So I set out to find an authentic German pretzel recipe.
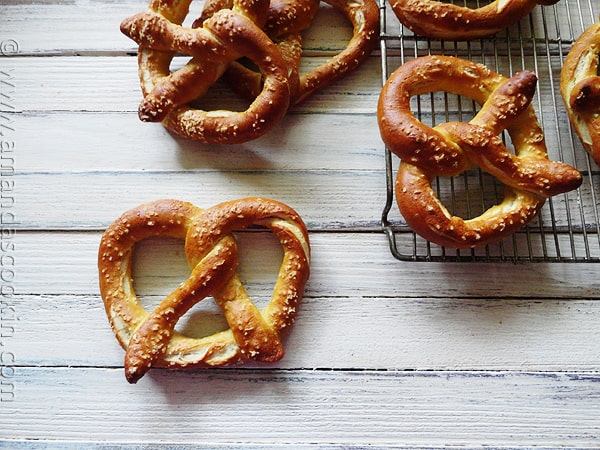
Homemade German Pretzel Recipe
Previously I had made Bretzel Rolls, so luckily I was already prepared for this. The Bretzel rolls were delicious and reminded me of a restaurant I used to go to. For this same class assignment we also made mini lemon cakes and Partybrot.
I found this pretzel recipe on the blog La Cerise. It’s run by Astrid who lives in Zurich and bakes up some true masterpieces. This German pretzel recipe was originally adapted by Astrid from a German website.
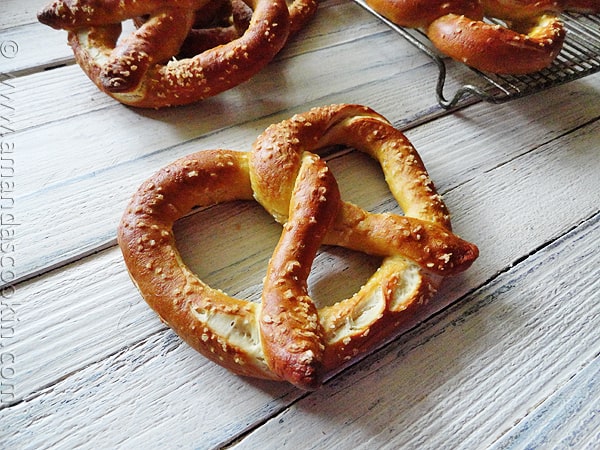
I’ve calculated the adjustments from metric to standard, so I was very pleased that our homemade German pretzels came together so well.
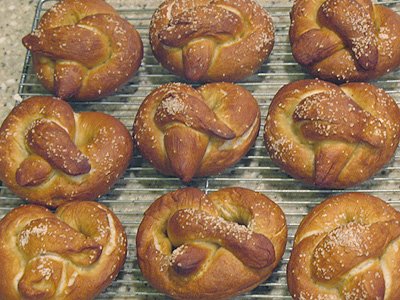
Original photo from the first time I made these in 2009
The first time I made them they were considerably smaller than I expected. Mine looked quite a bit fatter than Astrid’s, so when I made these again, I made sure to roll out my ropes longer.
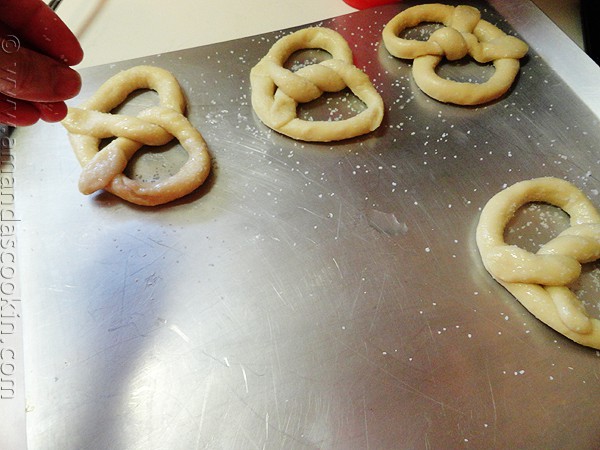
That was back in February of 2009. Fast forward a few years and I’ve made these homemade German pretzels several times.
Baking Soda Bath
Have you ever wondered why pretzels, which are made essentially from bread dough, have that lovely brown crust when a loaf of bread does not? Pretzels get that wonderful brown crust from something called the “Maillard process”. While I won’t take you back to science class, I can tell you that this process is a het activated reaction between small sugars and amino acids.
“Dipping dough in lye alters the ratio between sugar and protein, because lye breaks proteins present in the dough into smaller bits. Those are the small amino acids that then combine with sugars in the dip to create the flavor compounds at the pretzel’s crust.” [Source: Wisconsin Public Radio Ideas Network]
Since you can’t really find lye at the grocery store, you can use a baking soda bath to get the same results. The chemical reaction takes place in the baking soda bath, and after baking in the hot oven you’ll get that beautiful brown crust that pretzels are so famous for.
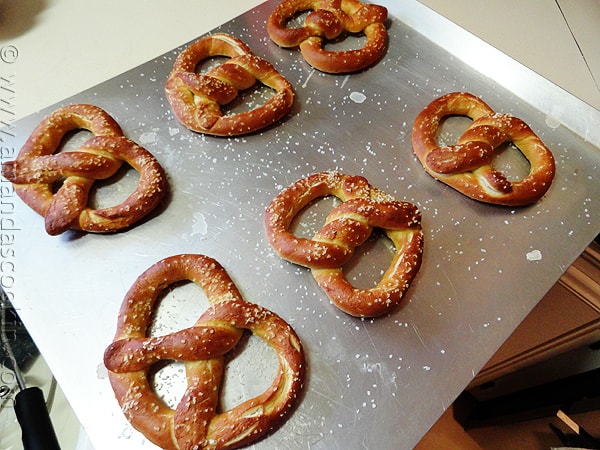
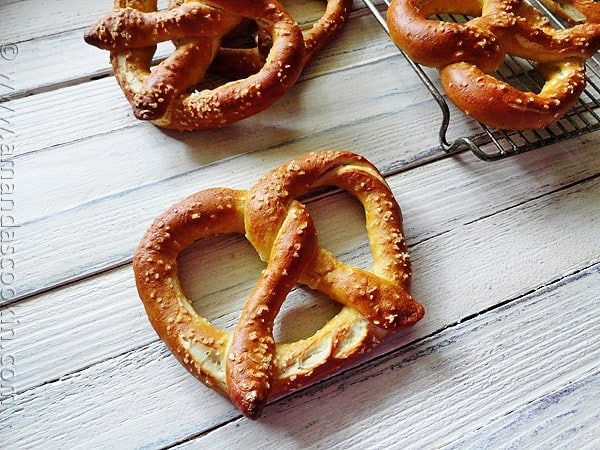
Authentic German pretzels are a little smaller and not as fat as the kind you get at the county fair or local food stand. So don’t expect the same pretzel that you buy from the street vendor or food truck.
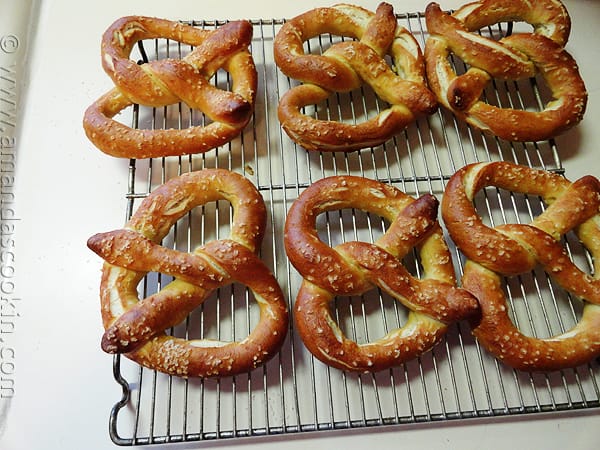
They are delicious though and you should definitely try them. Besides, the process is actually quite fun. Who knew science could be so delicious?
More Pretzel Recipes
- Ham & Cheese Pretzel Roll Sandwiches
- Bretzel Rolls (Pretzel Sandwich Rolls)
- Homemade Pretzel Dogs – What Megan’s Making
- Rosemary Sea Salt Pretzels – Two Peas and Their Pod
- Air Fryer Pretzel Bites

Homemade German Pretzels
IMPORTANT - There are often Frequently Asked Questions within the blog post that you may find helpful. Simply scroll back up to read them!
Print It Rate ItIngredients
- 4 cups all-purpose flour
- 2 teaspoons salt
- 1 teaspoon sugar
- 1 cup lukewarm water
- 1 ½ oz active dry yeast 4 1/2 teaspoons (2 packages)
- 3 tablespoons butter
- Coarse salt for sprinkling
Soda Bath
- ½ cup baking soda
- 2 quarts water
Before You Begin
Instructions
- Dissolve yeast in the lukewarm water. Mix flour and salt together in a large mixing bowl. Form a well in the flour mixture then add the sugar to the center of the well. Pour the yeast/water mixture into the well. Let it rest for 15 minutes before mixing.
- Add the softened butter to the mixing bowl and knead everything to a smooth dough. I used the dough hook on my Kitchenaid for about 6 minutes on speed #2, I did have to add about a tablespoon of additional water as it was not quite gathering all the dry ingredients. Remove the dough hook and let the dough rest for 30 minutes.
- Cut the dough into twelve equal parts, then roll each piece on the table (don't flour the surface, you shouldn't need it) to about 20 inches, tapered toward the ends. Don't make it smaller than 20 inches as it's impossible to get a good shape with a short, thick rope of dough. The dough should not get too warm as you roll it out, or it might tear.
- To form the pretzel shape, place dough rope on parchment lined cookie sheet so that it creates the shape of the letter "U". Take both ends of the "U" and cross them over each other twice forming a twist. Bring that twist down and place it over the bottom curve of the "U".
- Place the pretzels without covering them in the fridge for about an hour. This helps build a skin that will absorb the dipping solution better and make a beautiful shiny crust.
- Preheat the oven to 400 F.
- Fill large stock or pasta pot 3/4 full and bring the water to a boil. Carefully and slowly add the baking soda to the boiling water. There will be a reaction when the baking soda hits the water and it will bubble furiously for a moment and then relax. Stand back a bit just to be safe. Using a slotted spoon, gently drop each pretzel into the bath for 10 seconds, then turn over for another 10. Astrid called for a total of 10 seconds only. Place them on a baking sheet lined with parchment paper.
- Score the dough once like for a baguette with a razor blade or sharp knife.
- Sprinkle with coarse salt. Bake the pretzels for about 15 to 20 minutes (mine took 20 minutes for a nice dark crust), depending on how dark you like them.
Nutrition
This post originally published on February 19, 2009
Amanda Davis
Latest posts by Amanda Davis (see all)
- Banana Bundt Cake - July 23, 2024
- Lemon Icebox Cake - July 22, 2024
- Philly Cheesesteak Dip - July 15, 2024


Melanie and Annie says
Thank you for this awesome recipe! It was fun and easy to follow the steps to a crunchy on the outside, soft on the inside gourmet German pretzel! We will be making another batch soon. Also, we kneaded by hand and added a Tablespoon more water…result was delicious. I can’t believe that I and my ten year old daughter were able to make these amazing pretzels!
Wolpertinger says
It turned out great. This recipe is so easy and even ‘I’ did it! All thanks to you, Amanda! My German husband was very happy. :-)
Jan Nelson says
I am thinking of making these as wedding favors with stickers on the individual bags saying. “We tied the knot!” I need to know how big these are so I can be sure they fit in individual bags that are about 5 x 5 inches I believe. Thanks so much.
Amanda Davis says
They will probably fit. But you can always cut the dough into 14 instead of 12 to make them a little smaller.
cole says
kneaded with my hands and followed the instructions to a T. didnt need to add any water at all. i did finish them off with egg wash. came out perfect and delicious and im gonna make them again tomorrow!
Celest says
Hi Amanda! Thanks for the great recipe, were hosting Christmas in Bavaria and these pretzels look perfect! Can I freeze them after baking and then thaw and reheat for the party? Any advice on how to keep warm forr a few hours? Looking at renting a pretzel warmer but would love your advice. Thank you so much. Prost!
Amanda Davis says
H Celest. I honestly have not tried this, though a pretzel warmer would be perfect. We often keep lots of different foods in our conventional oven on a warm setting of like 175 or 200 F. That might work too! I haven’t tried freezing them however, but if you decide to experiment I would love to hear your results!
Jess C. says
I visited Germany recently and was inspired to try making homemade pretzels. I thought this recipe was super easy to follow and the end result came out great. The dough needed a little more liquid but as long as you add it little by little while kneading until the dough just incorporates all the flour you’re good. The hardest part is rolling them out evenly, but they still turned out pretty and tasty with some bits thinner than others.
Leah says
Fantastic recipe! I did have to add 4T of water to the dough and decided to make 6 pretzels instead of 12. Wow!! Were these ever tender and delicious! Thank you for a great recipe!
Alissa Mathias says
Everything went perfectly and then boiling it is where it all went wrong. I’ve made soft pretzels before and I know you need the baking soda bath but mine would go in and immediately it fell apart and turned everything into mush. Super disappointed especially waiting for so long.
Milica says
This is not a good recipe if you are doing it with your hands, I needed to add one more cup of water and it is still dry. I cannot make anything and probably will look for another recipe.
Milica says
I wanted to amend my comment, i havent noticed another metrics and there was a problem when I converted from cup to grams ect therfore thats why the problem occurred, I manage to save my pretzels and they were good :)