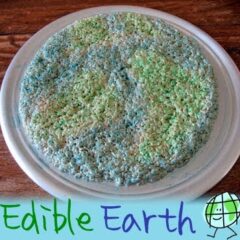
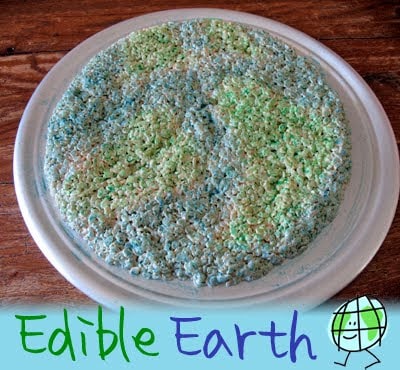
One great, big Rice Krispy treat shaped and colored like the Earth… genius! I can’t take full credit for this idea, I actually found it on The Idea Box (if you visit their link, the photo you see there is mine, I work for them) while going through and deciding on a few crafts to make and photograph for the site.
When I told Dominic, my 11 year old about it, he wanted to help. I love how his eyes light up when I tell him he can help. He’s my youngest and the only one left of the four that still wants to putter around in the kitchen with me!
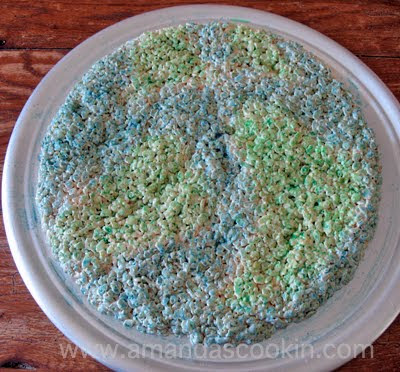
You basically just make Rice Krispy treats, shape it into a circle on a pizza pan, then use a clean paintbrush or pastry brush to paint on some lightly watered down food coloring.
Hope you have a great Earth Day!
Rice Krispy Treat Edible Earth
If you’d like to make a fun Earth craft with your kids, try my textured globe earth craft, or if your kids are little, they’ll love this coffee filter Earth from The Idea Box!
Have fun!

Edible Earth: Rice Krispy Treats for Earth Day
IMPORTANT - There are often Frequently Asked Questions within the blog post that you may find helpful. Simply scroll back up to read them!
Print It Rate ItIngredients
- 3 tablespoons butter
- 1 10- oz package of marshmallows or 4 cups mini marshmallows
- 6 cups crispy rice cereal
- blue and green food coloring
- 2 small dishes with 2 tablespoons of water in each
- pastry brush
- 2 plastic baggies
- 2 rubber bands
- cooking spray
- pizza pan
Instructions
- Melt the butter of medium heat in a stock pot. Add the marshmallows and continue cooking, stirring constantly, until marshmallows are melted. Remove from heat and add cereal. Stir to combine them dump out onto the pizza pan.
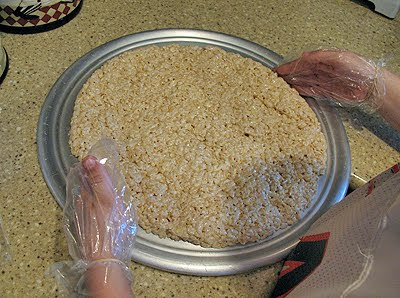
- Have child put baggies on their hands, secure them around their wrists with rubber bands. Spray the palm side of the baggies with cooking spray.
- Have child shape the cereal mixture into a large circle on the pizza pan. Don't pack the cereal mixture down too hard or they will become tough and hard to chew.
- Add a few drops of blue food coloring to one of the dishes of water, and add a few drops of green to the other. Use a clean pastry brush to "paint on" the land and the water.
- Cut and enjoy!
While I usually reserve this for my craft blog, I’m submitting this to the following craft carnivals. To see some other awesome projects, be sure to visit them!
NEW! Be sure to subscribe to my newsletter, Foodie in the Craftroom, to receive updates and tips from both Amanda’s Cookin’ and Crafts by Amanda! Visit https://amandascookin.com/p/subscribe-to-newsletter.html
Amanda Davis
Latest posts by Amanda Davis (see all)
- Chocolate Covered Strawberries - January 20, 2025
- Cauliflower Pizza Crust - January 13, 2025
- Keto Peanut Butter Cookies - January 9, 2025


Amanda says
That's awesome Amy! So glad they had fun, I know we did :)