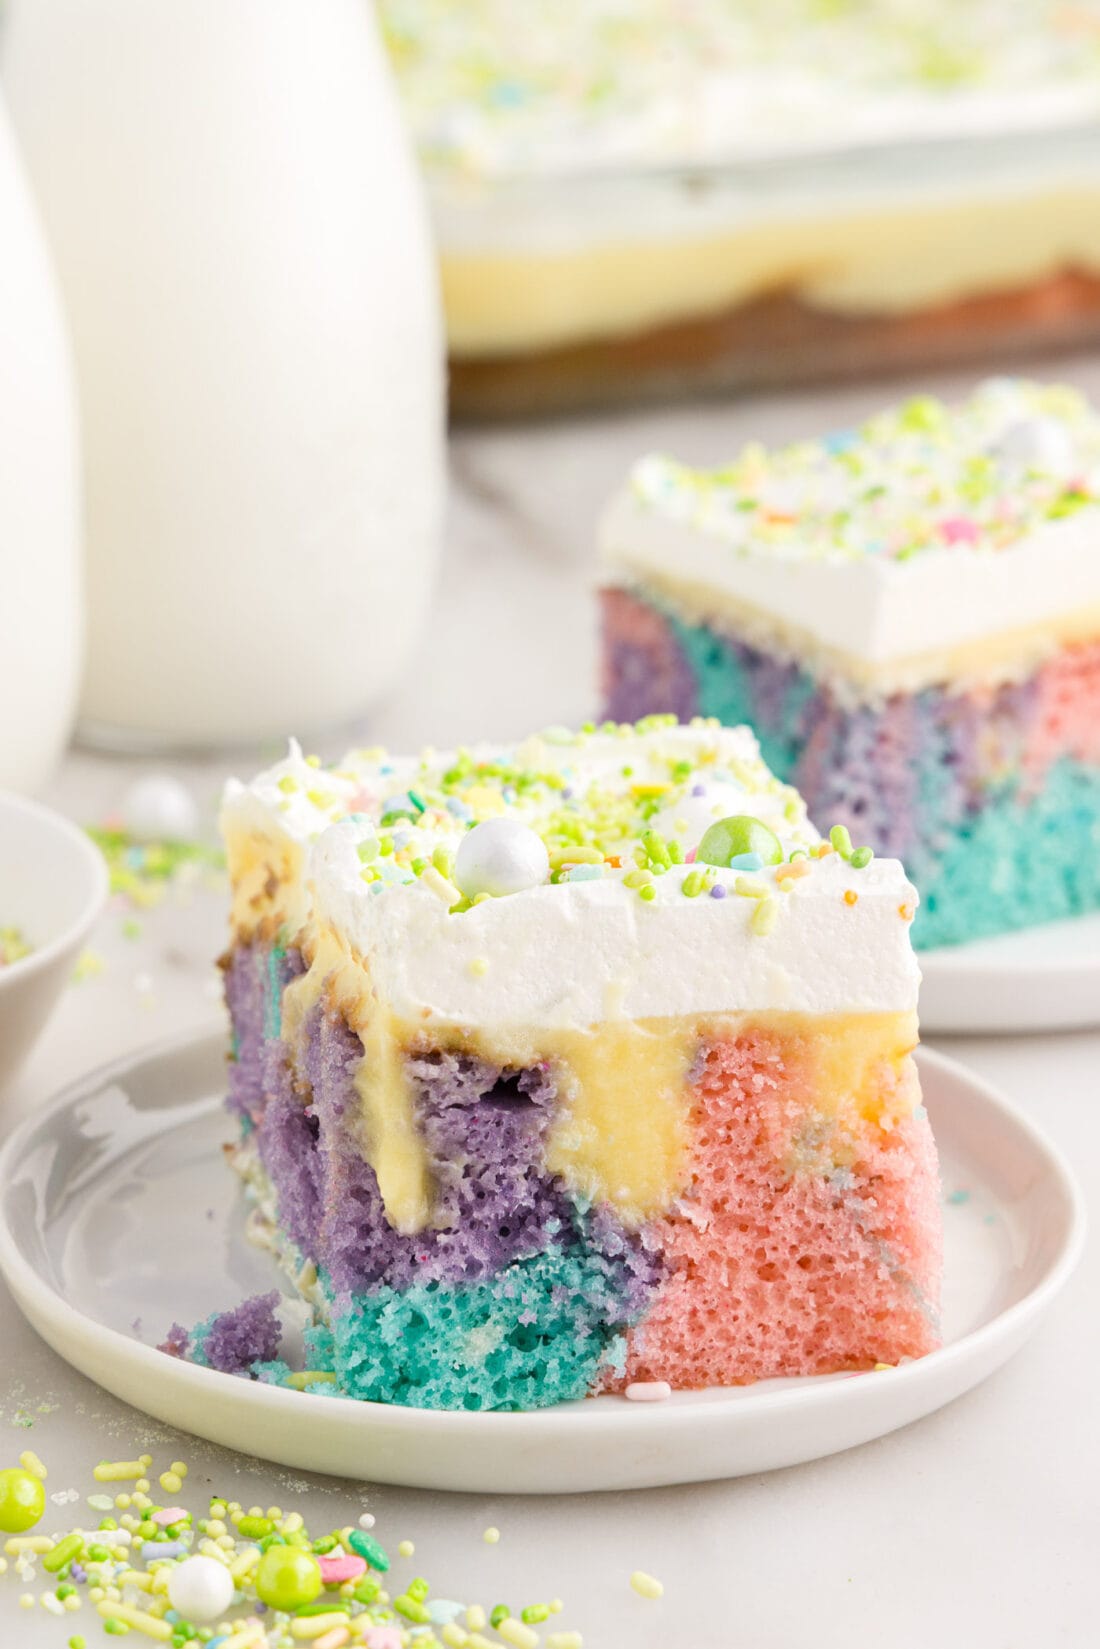
There’s nothing sweeter than a pastel-colored Easter poke cake to grace your holiday dessert table. Plus, it’s super easy to make with a white cake mix, instant vanilla pudding, and a silky Cool Whip topping!
Why this recipe works
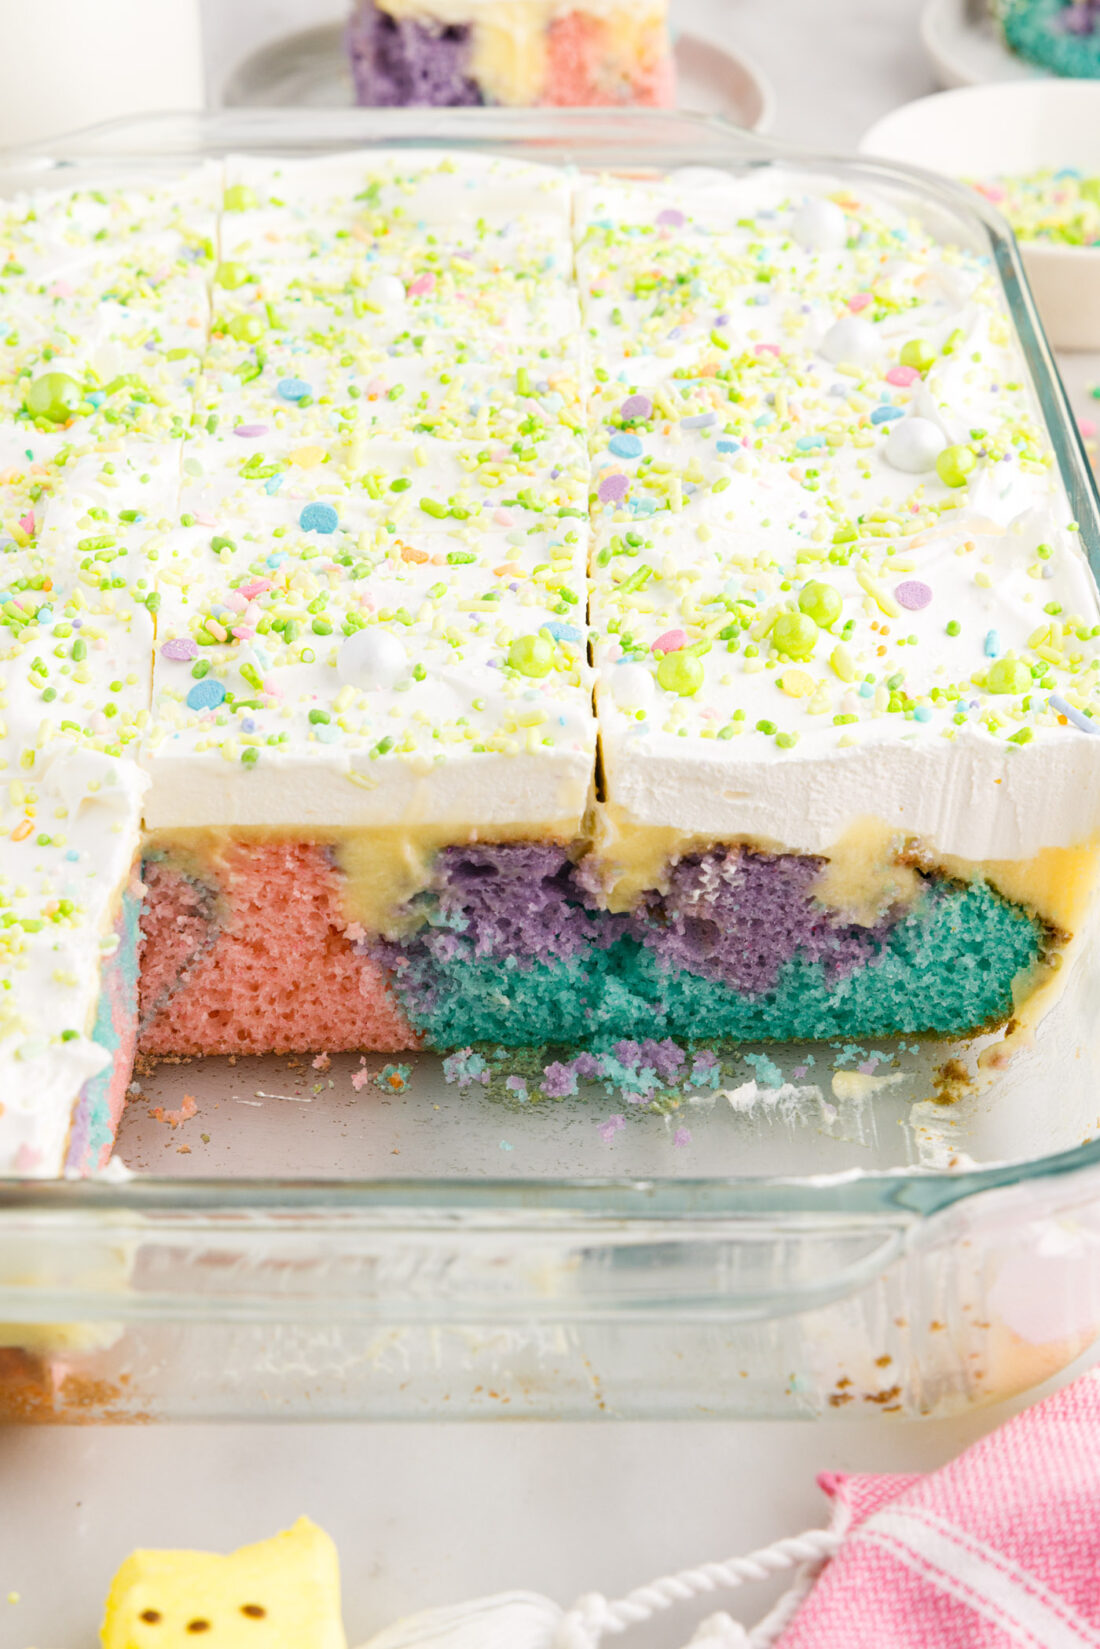
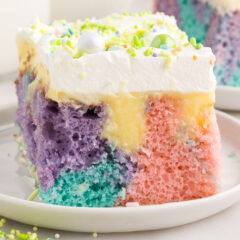
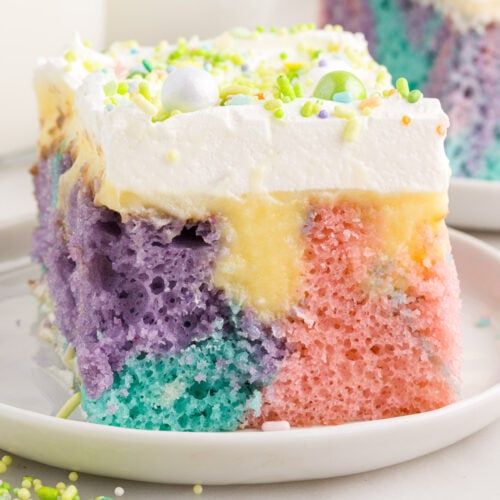
This Easter poke cake is cheery and bright with pastel purple, pink, and blue cake swirled together and a touch of yellow from the vanilla pudding poked inside. The cool whip frosting ties it all together with a garnish of colorful sprinkles for an Easter dessert that’s not only easy to prepare but pretty to look at!
Easter is one of our favorite holidays for baking and creating fun recipes with pastel colors along with bunnies, chicks, and tie dye eggs. Last year we made an adorable Easter dirt cake that was a huge hit with kids and adults alike, and we just know this poke cake will be the same.
Ingredients you will need
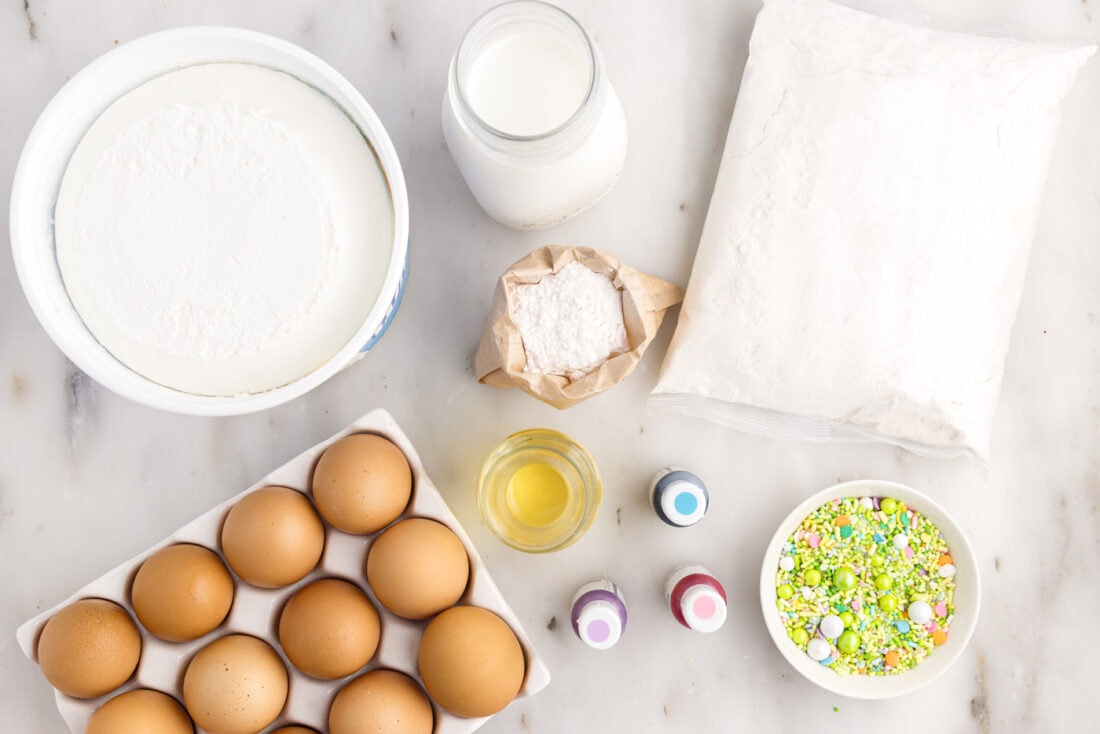
Get all measurements, ingredients, and instructions in the printable version at the end of this post.
Ingredient Info and Substitution Suggestions
CAKE – We used whole eggs with a white cake mix. For a true white cake, use only egg whites instead of the whole eggs. The cake will rise, bake, and taste essentially the same. The slight yellow tint of the egg yolks in the batter may interfere with the colors when you are tinting the batter for the cake.
PUDDING – Vanilla instant pudding has a pale yellow tint, which makes a nice fourth pastel color in the sliced cake. If you use yellow as one of your cake batter colors, I would recommend using white chocolate pudding mix for a truer white contrast.
How to Make Easter Poke Cake
These step by step photos and instructions are here to help you visualize how to make this recipe. You can Jump to Recipe to get the printable version of this recipe, complete with measurements and instructions at the bottom.
- Preheat oven to 350°F. Spray a 9×13 glass baking dish with nonstick baking spray and set aside.
- Beat together cake mix, eggs (or just egg whites if using), oil, and 1 cup of milk until fully combined.
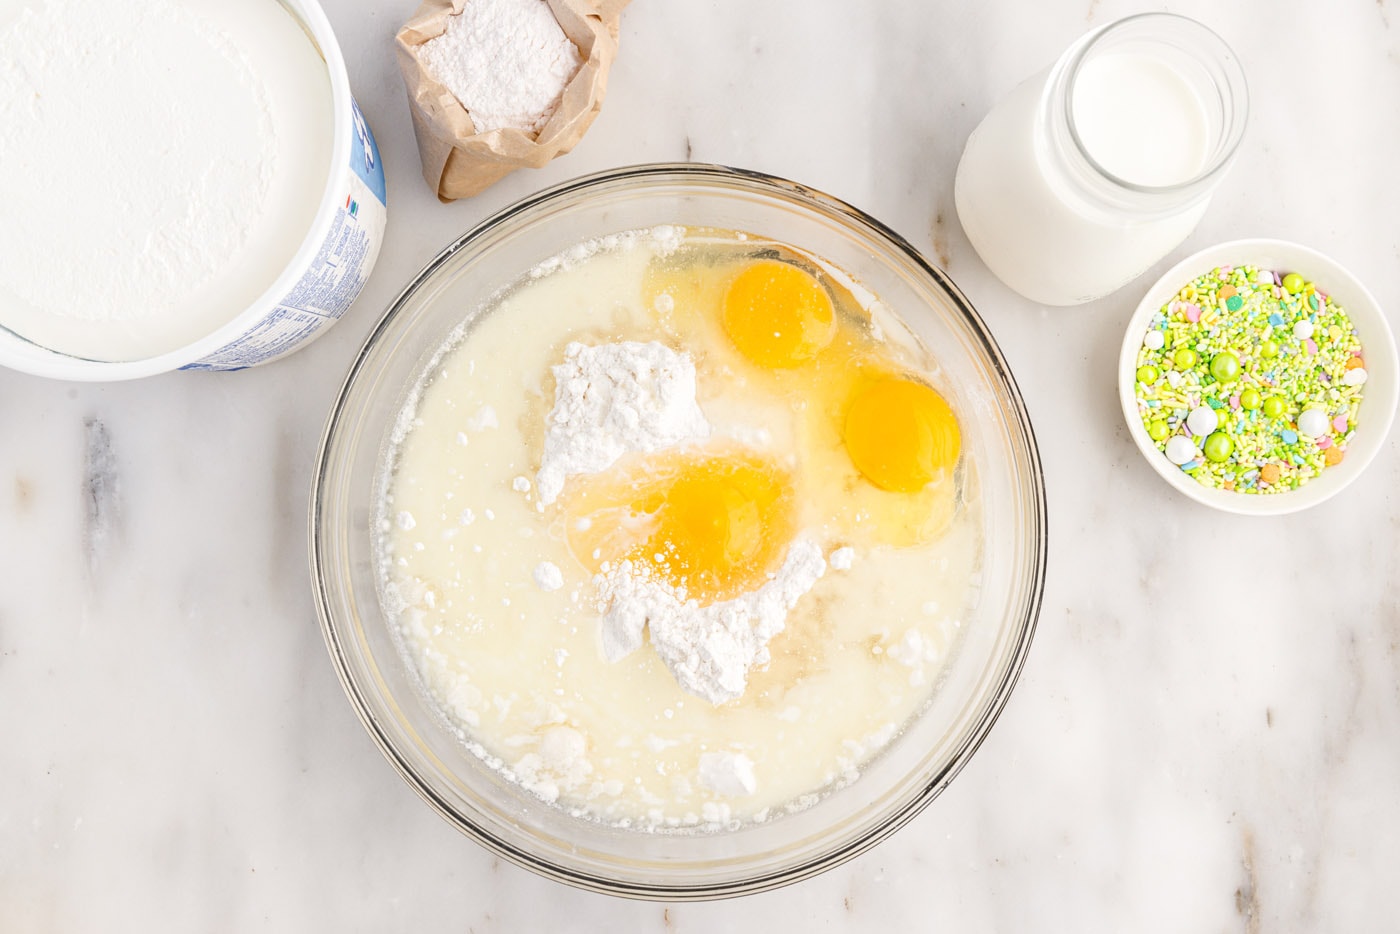
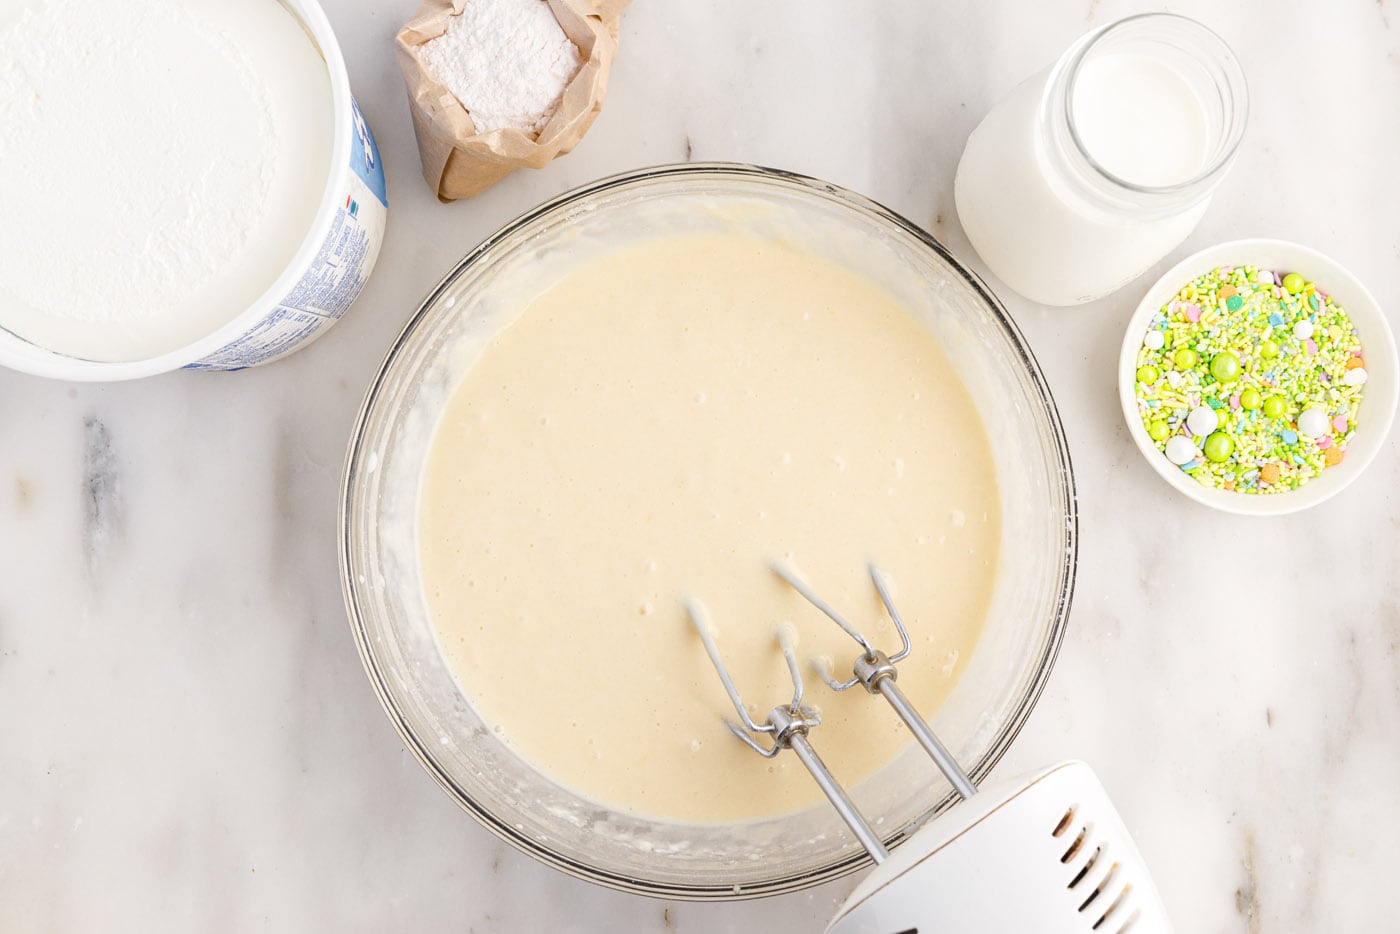
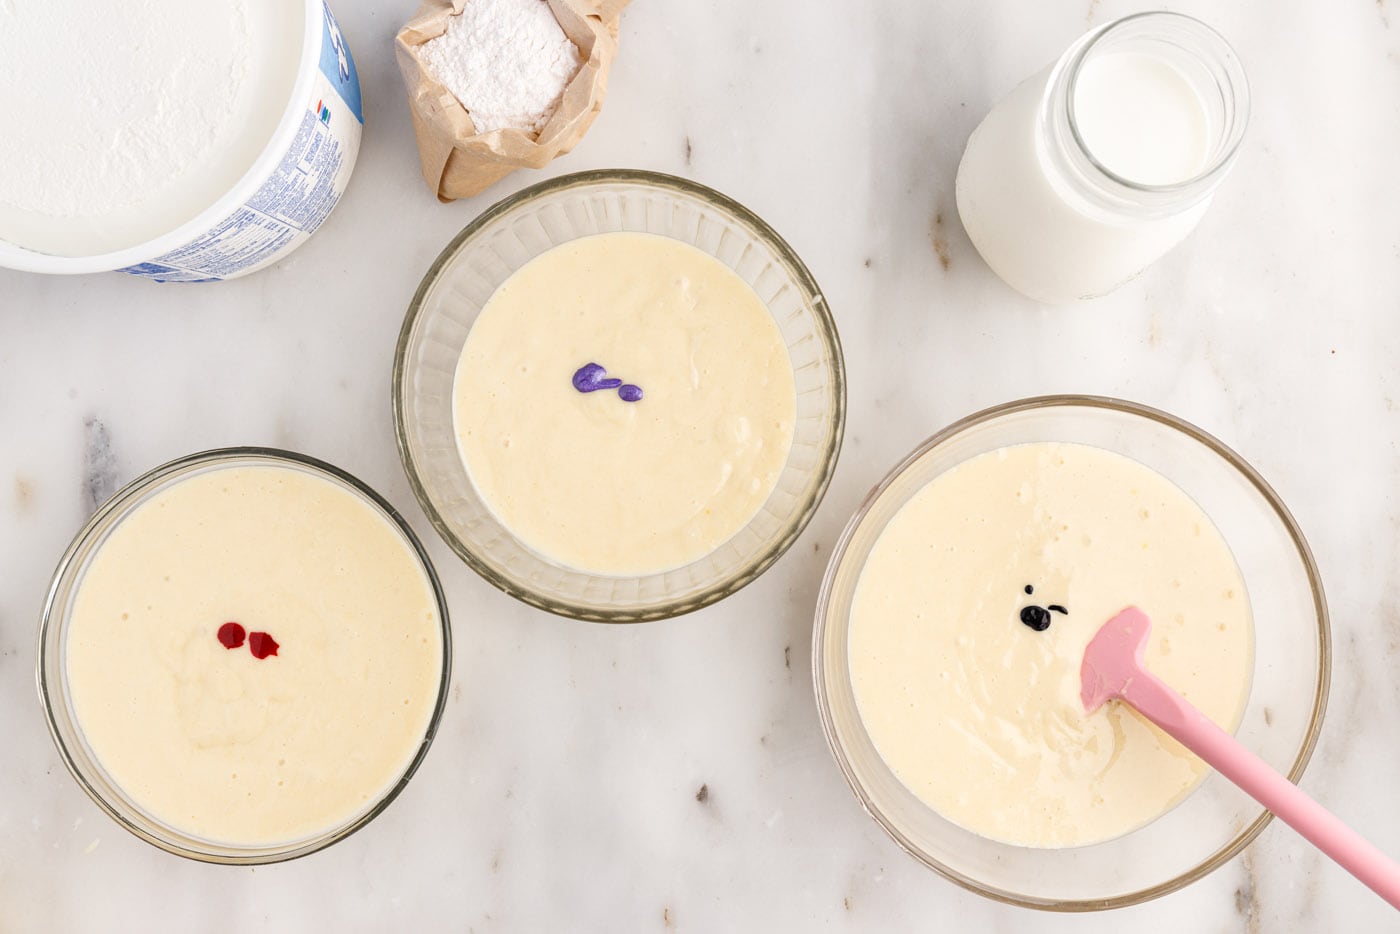
- Divide the cake batter evenly into three bowls.
- Tint each bowl of cake batter, adding just a drop or two of gel food coloring at a time and then adding more to control the color of the cake batter.
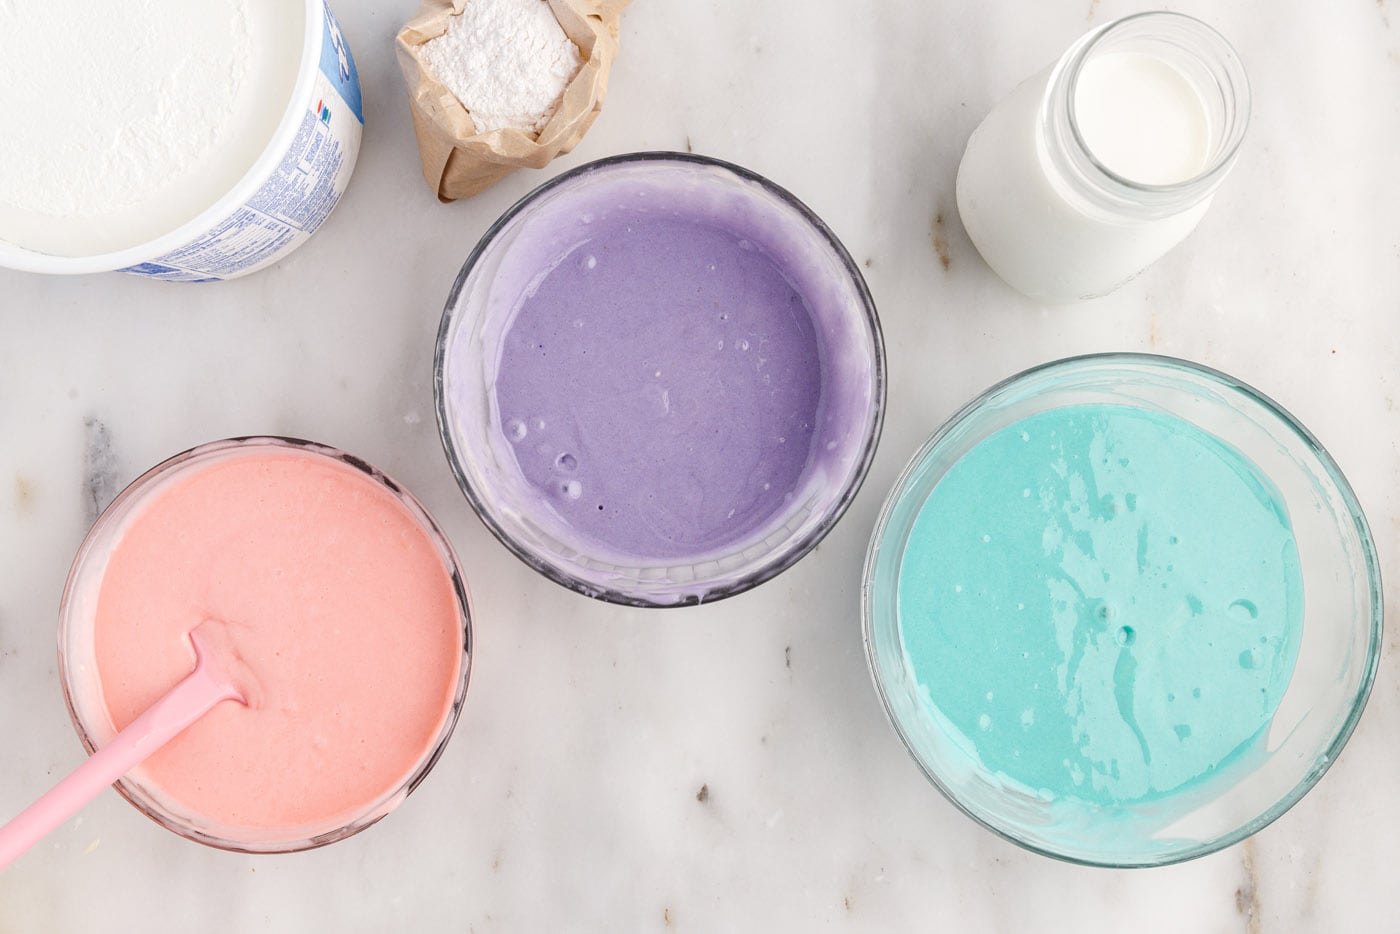
- Drop large spoonfuls of the cake batter throughout the prepared baking dish, rotating the colors.
EXPERT TIP – I like to use an ice cream scoop or large cookie dough scoop to drop the batter into the baking dish. It makes it easy to dispense the batter from the spoon. If you drop smaller scoops of batter, don’t swirl the batter together. The smaller scoops will create enough color variety as is.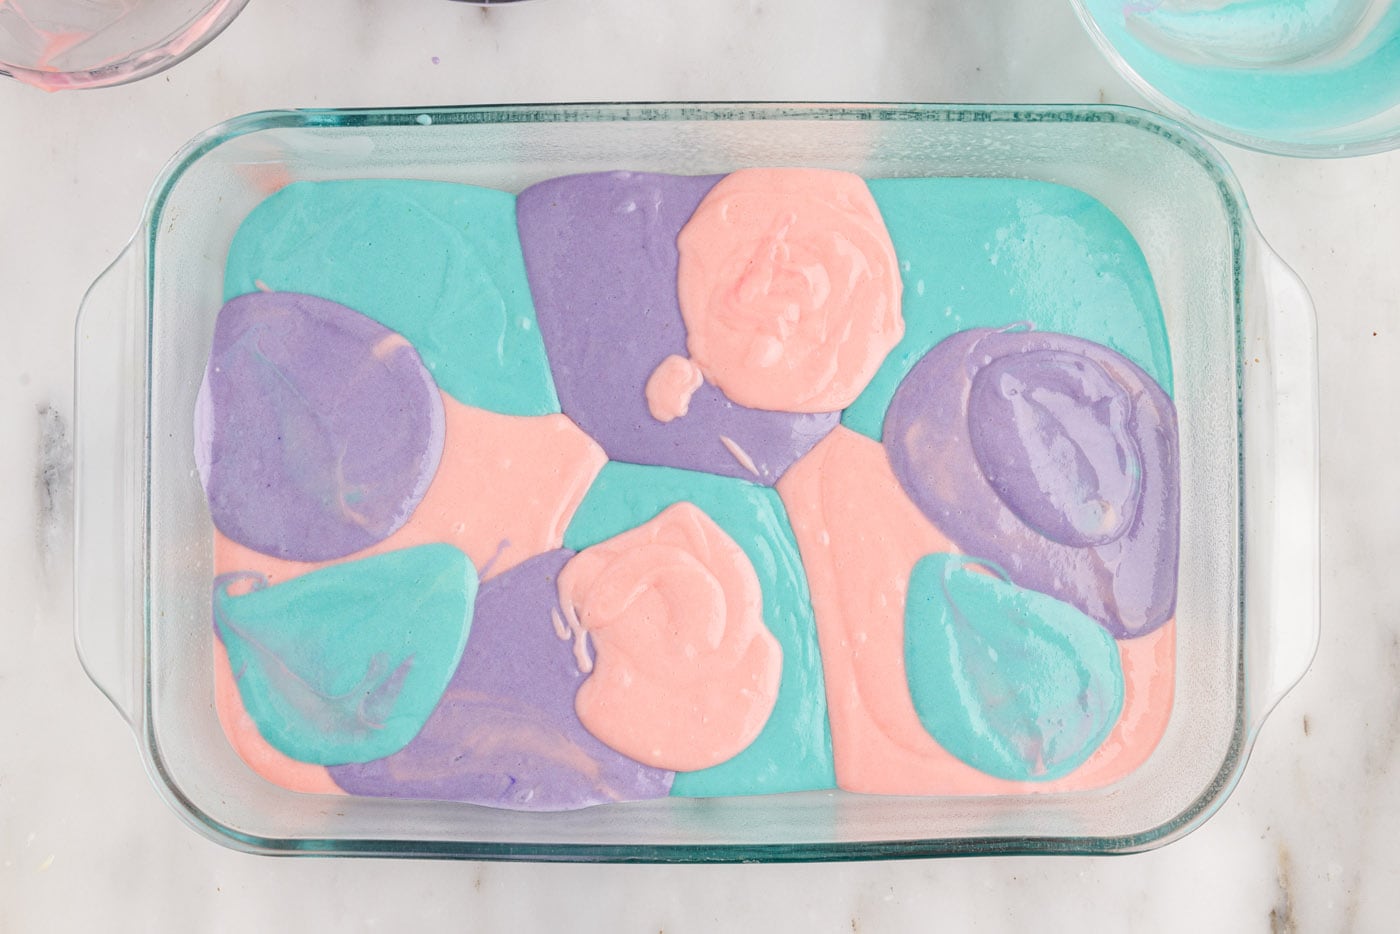
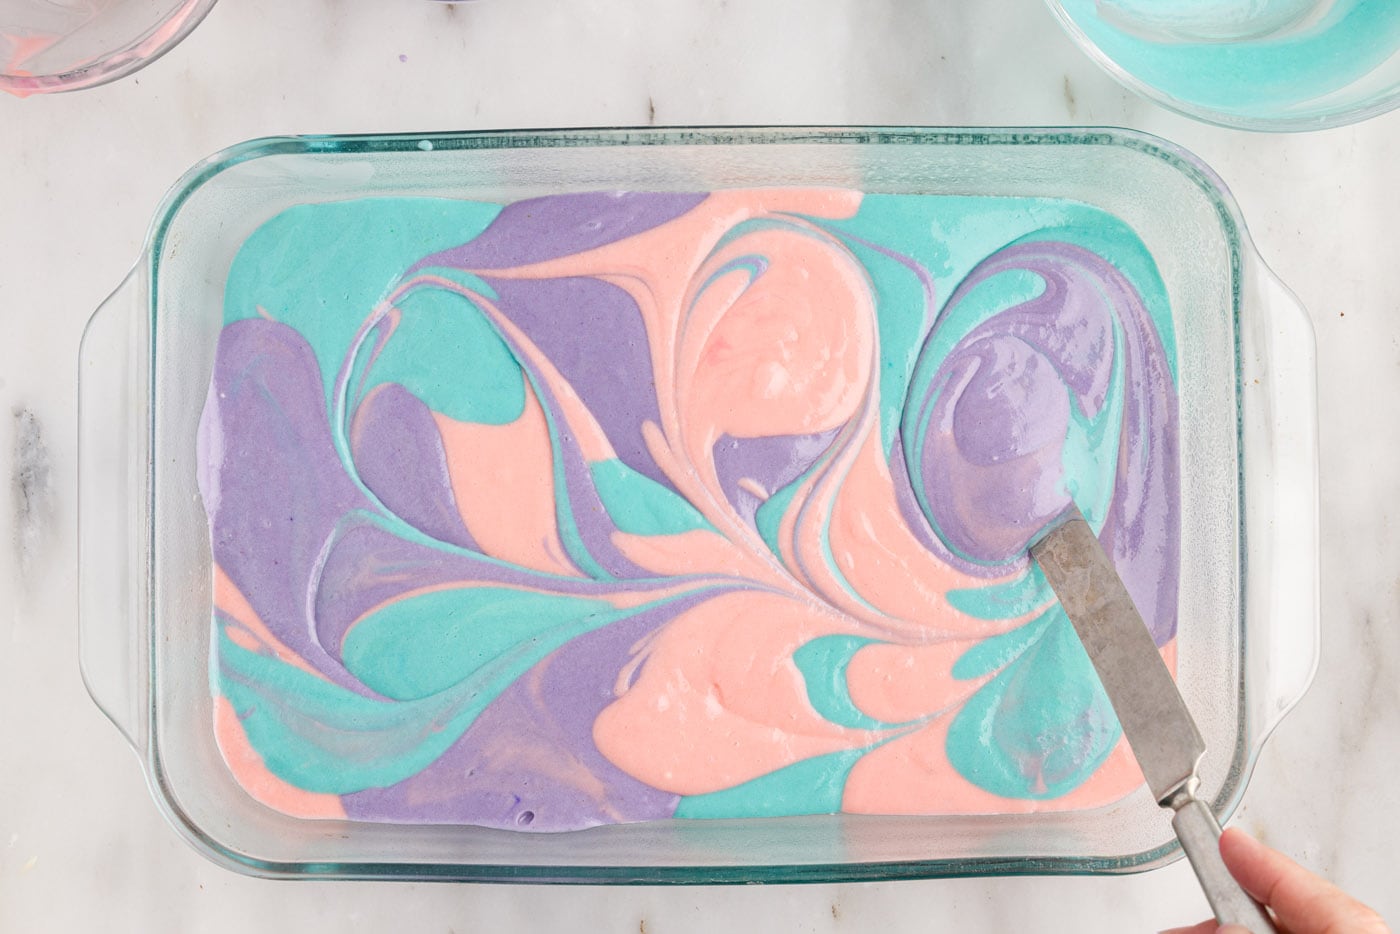
- Use a knife to swirl the colors slightly – do not over swirl or the colors will become muddy and mixed.
- Bake the cake for 25-30 minutes, until the center is set and a toothpick comes out with just a few crumbs when poked in the center of the cake.
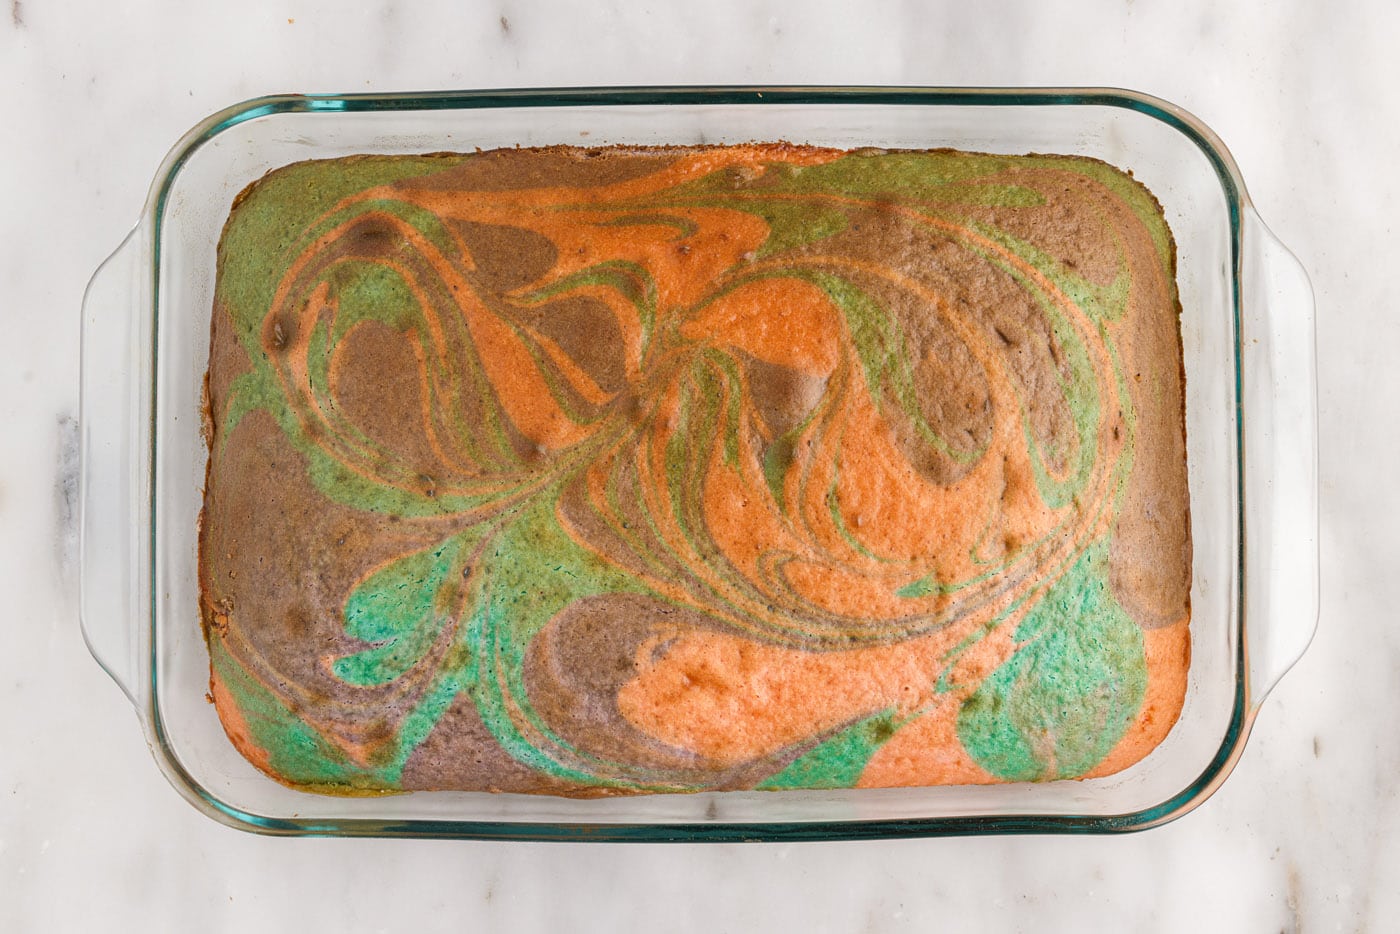
- Allow the cake to cool.
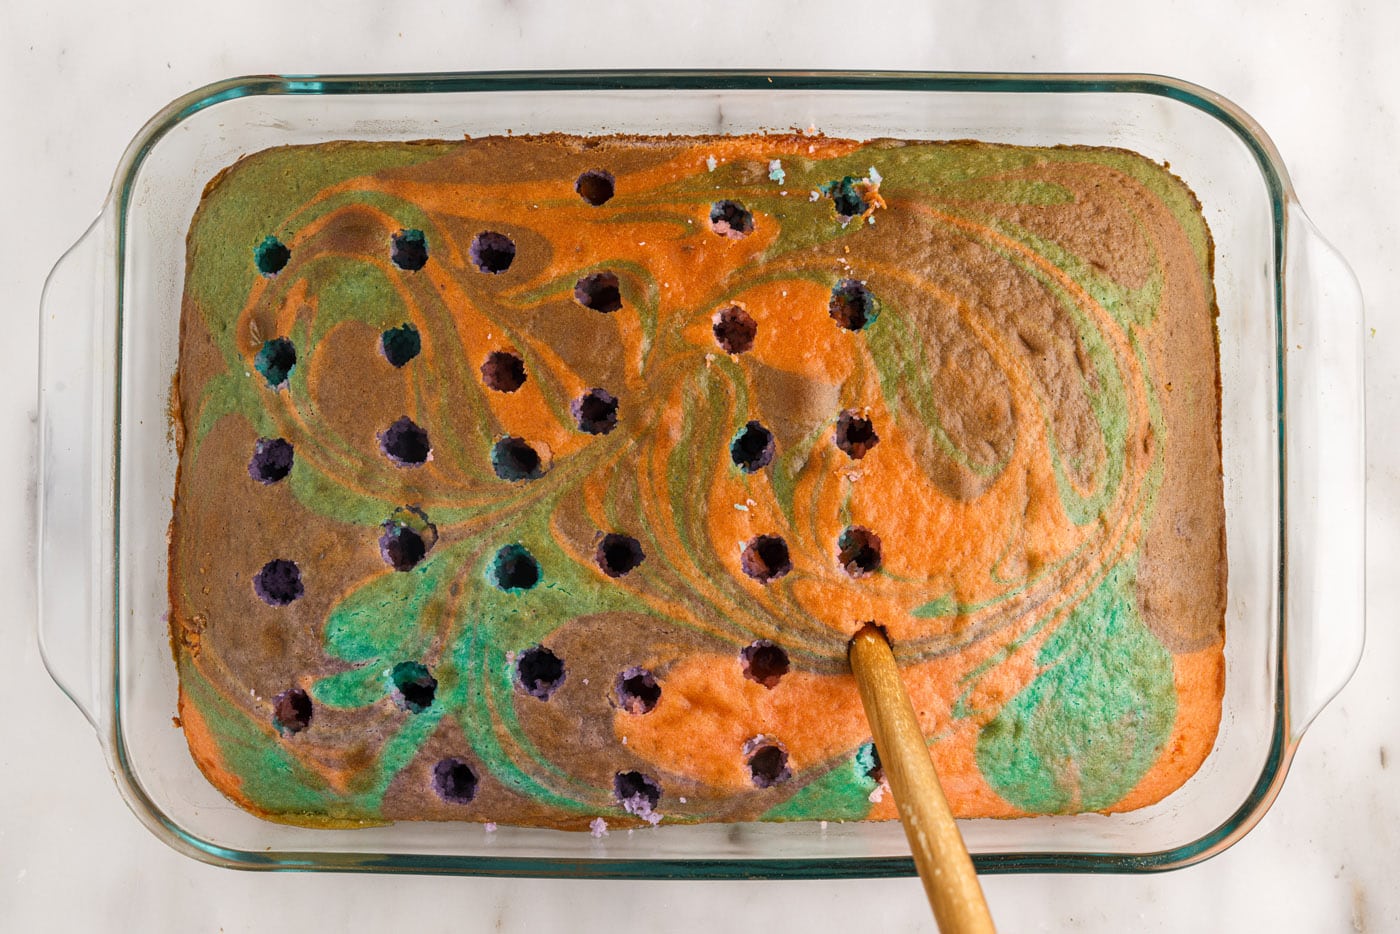
- When the cake has cooled most of the way, use the round handle of a wooden spoon or a wooden dowel to poke holes all over the cake. Poke the holes about 2⁄3 of the way down into the cake, spacing 3⁄4”-1: apart.
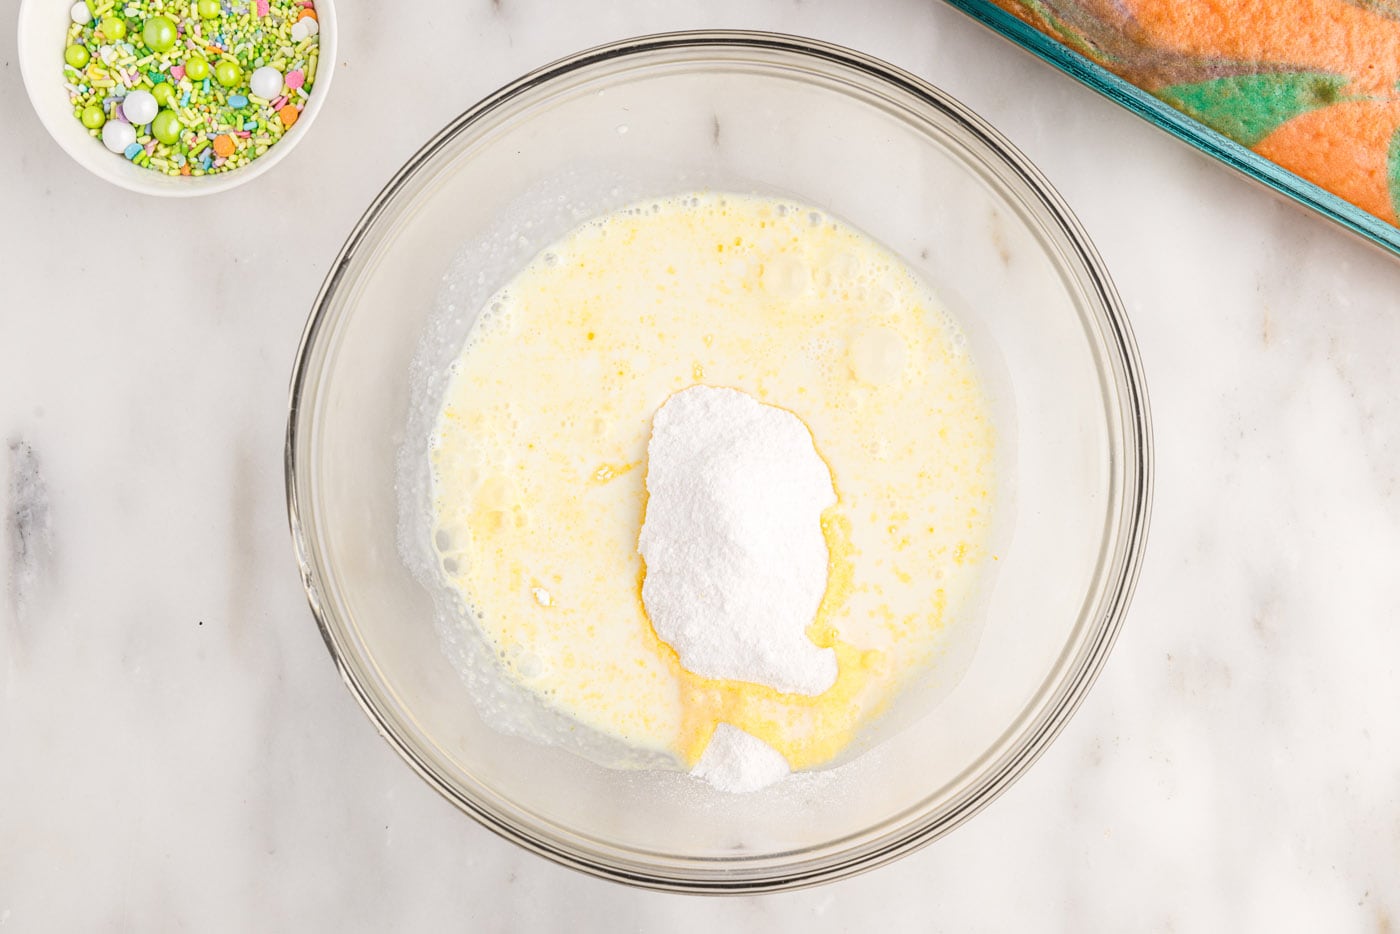
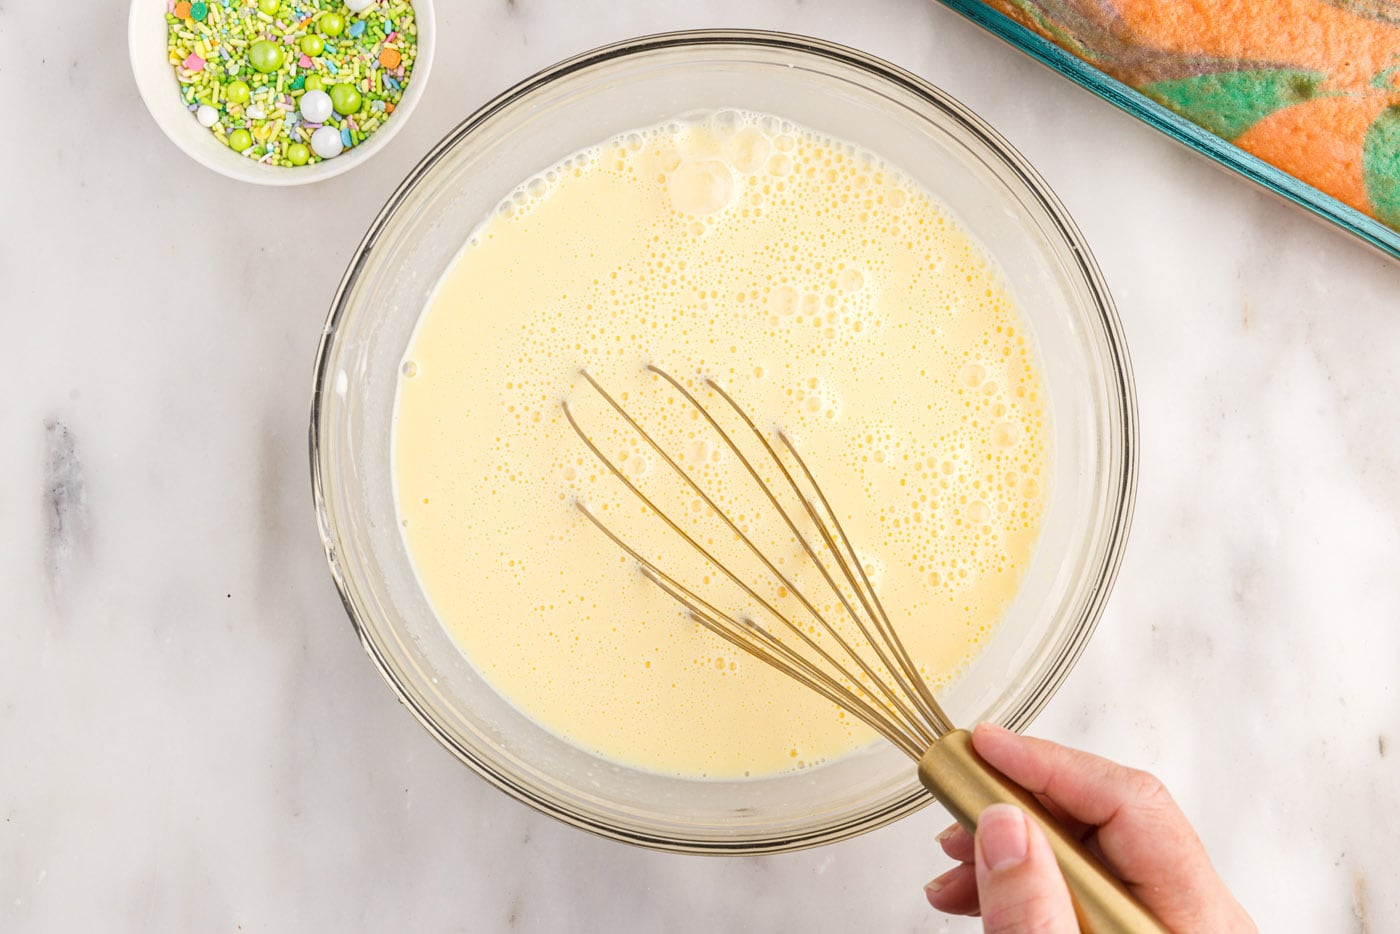
- Prepare the pudding mixture. Whisk together the instant pudding mix with the remaining 2 cups of milk. Whisk for 1-2 minutes until the mixture is fully combined and just beginning to thicken.
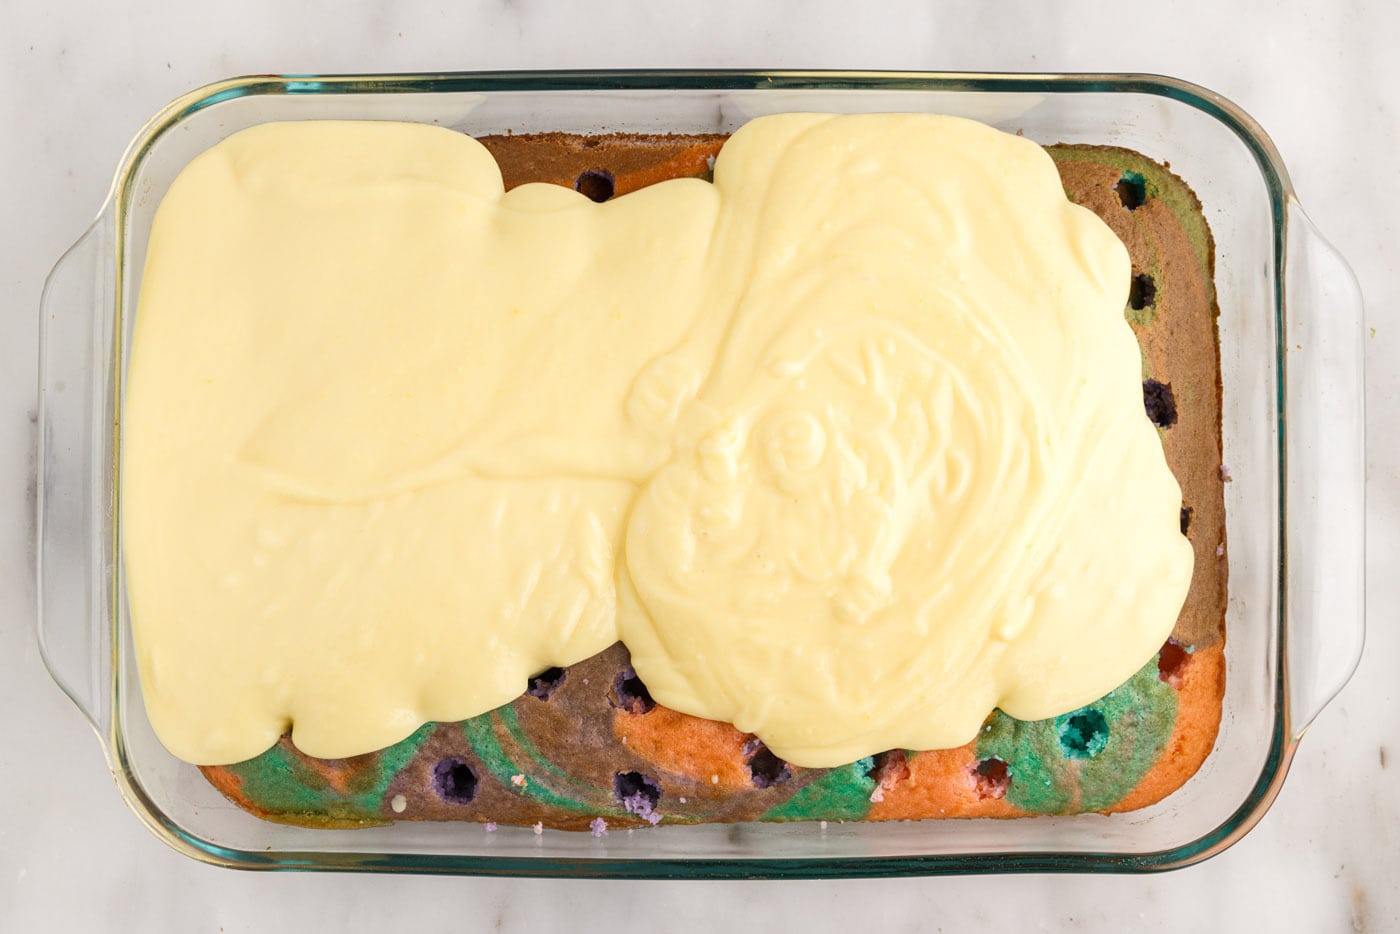
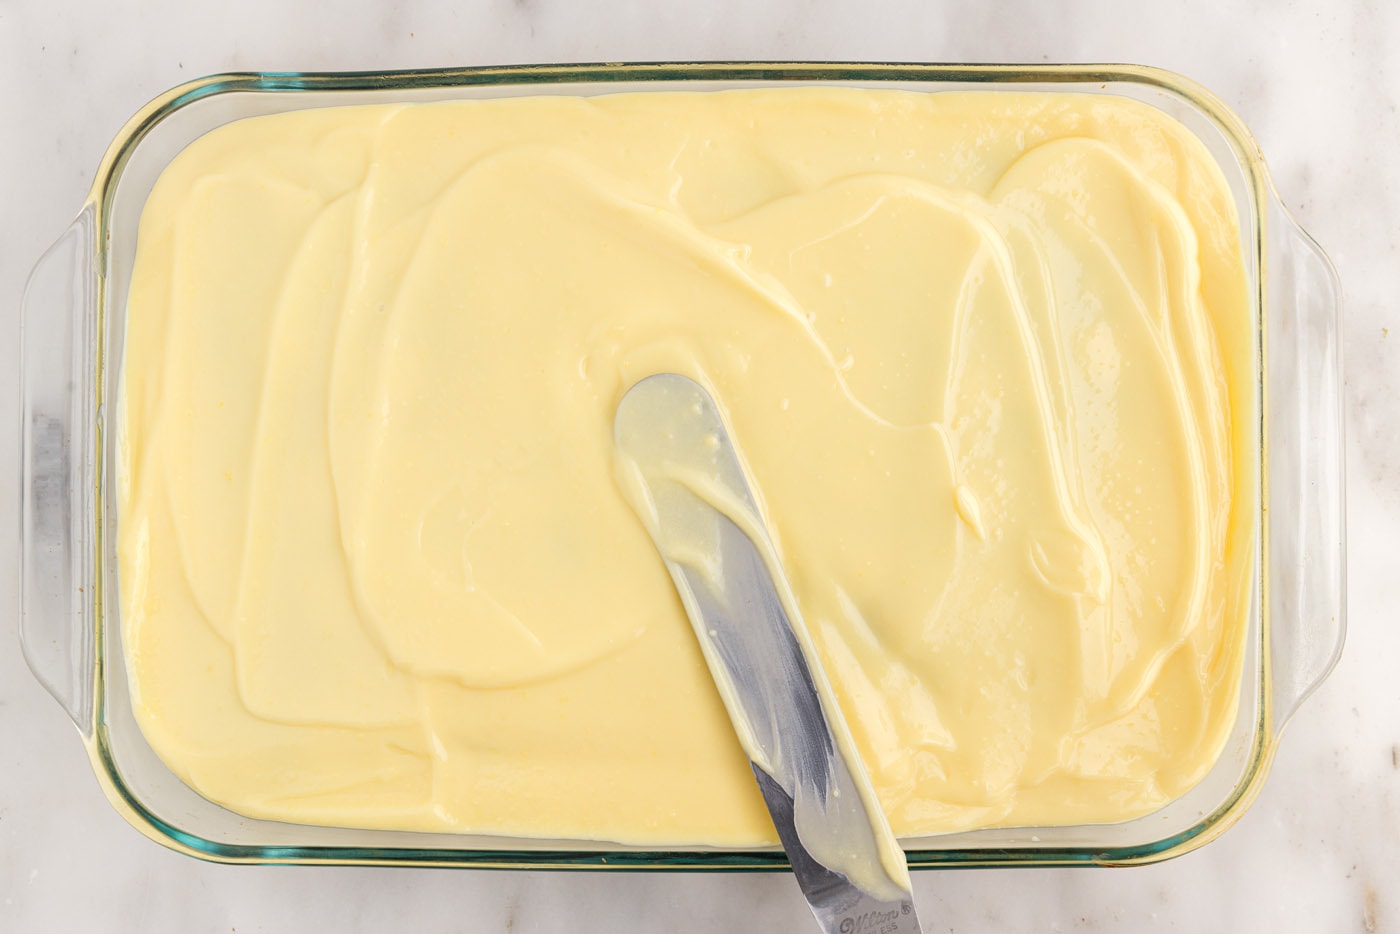
- Pour the pudding mixture over the cake and spread over the top, pressing the pudding down slightly while spreading so that it fills the holes.
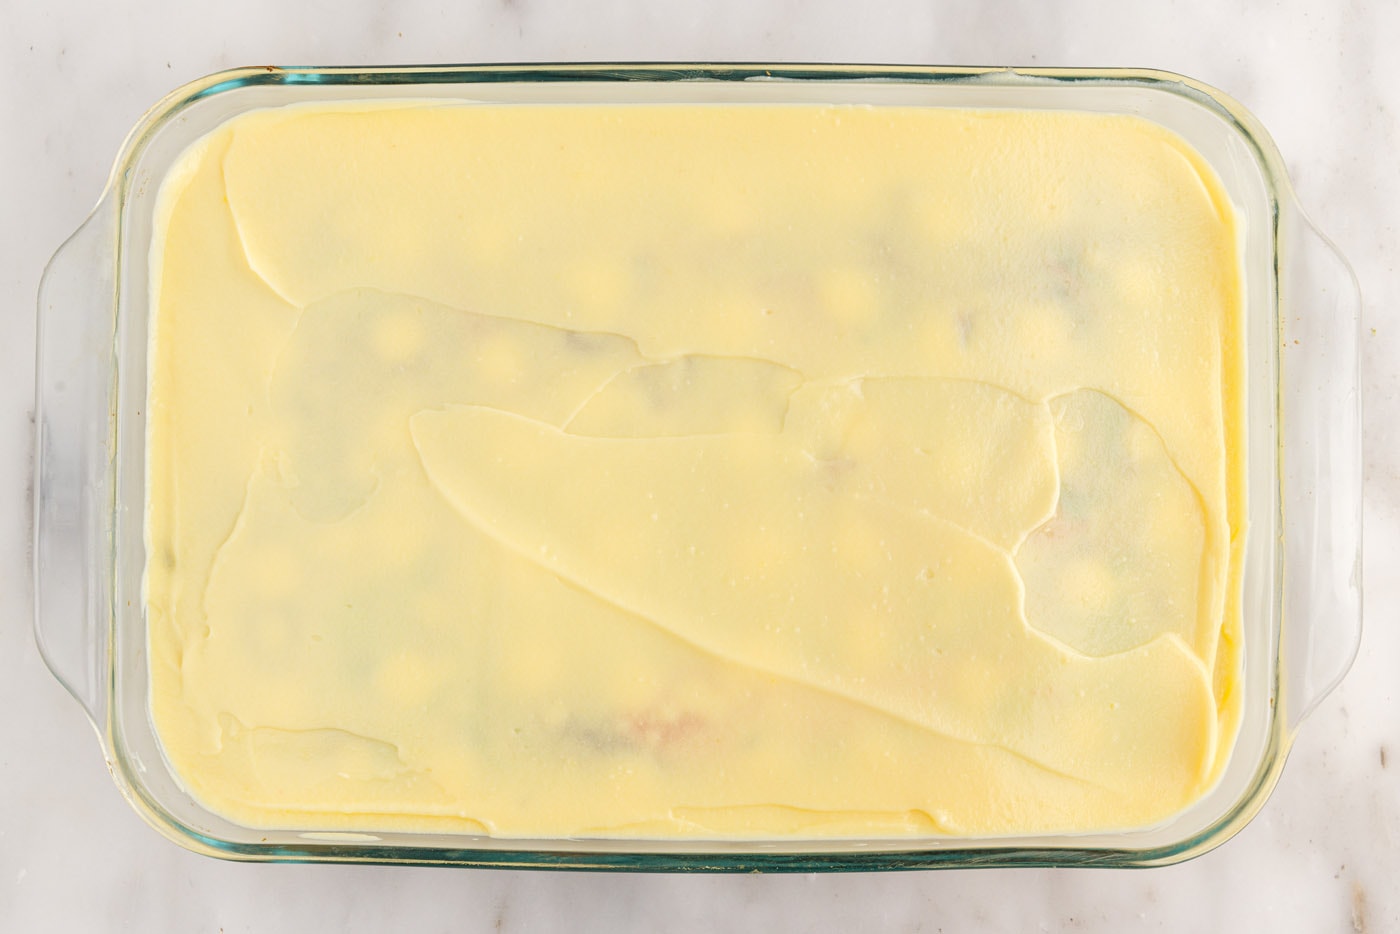
- Place the cake in the refrigerator for 30 minutes to allow the pudding to thicken.
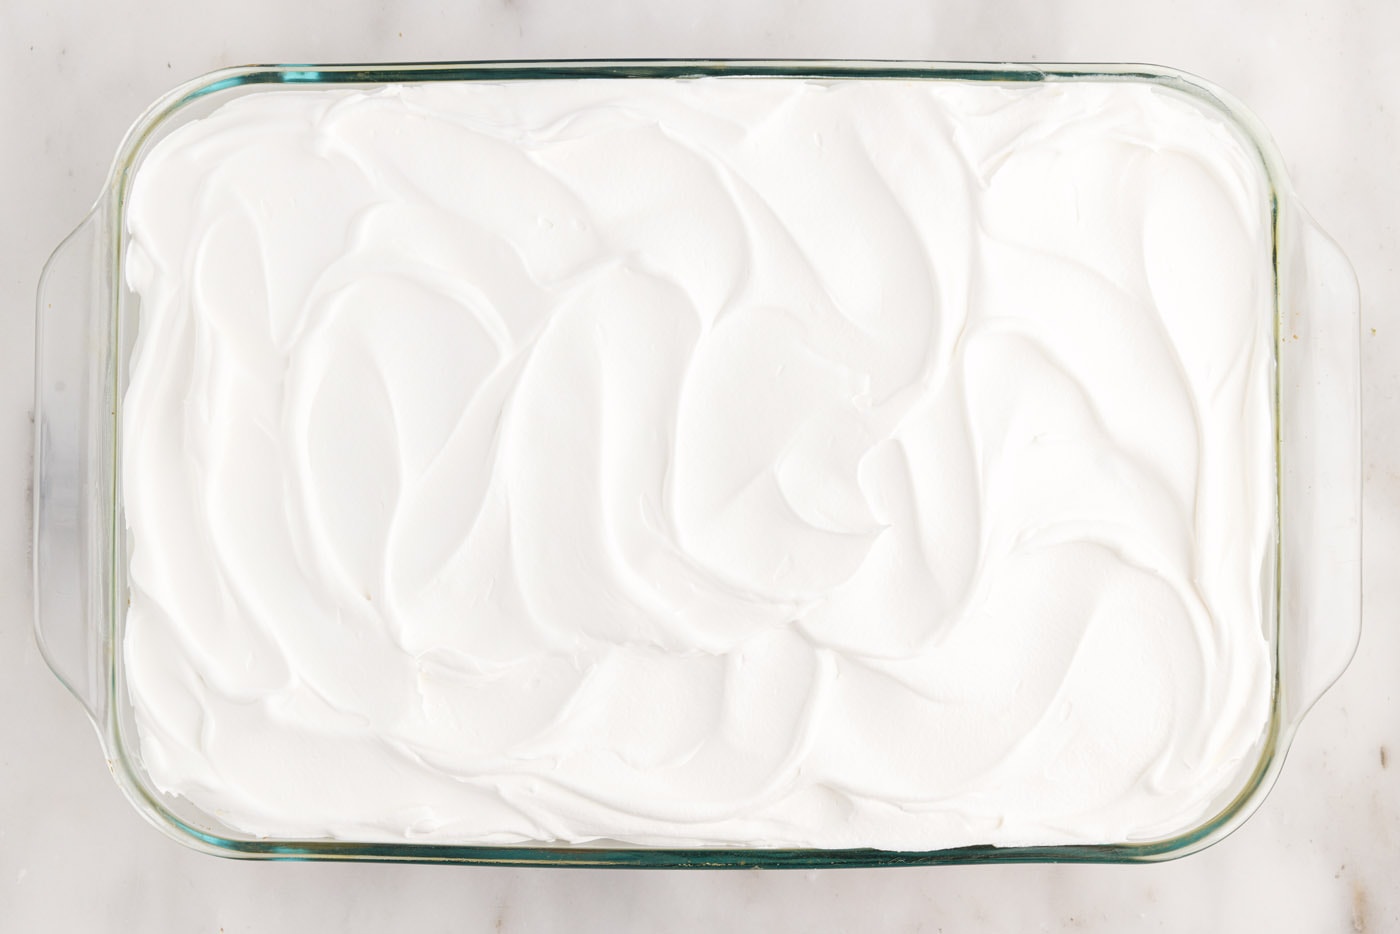
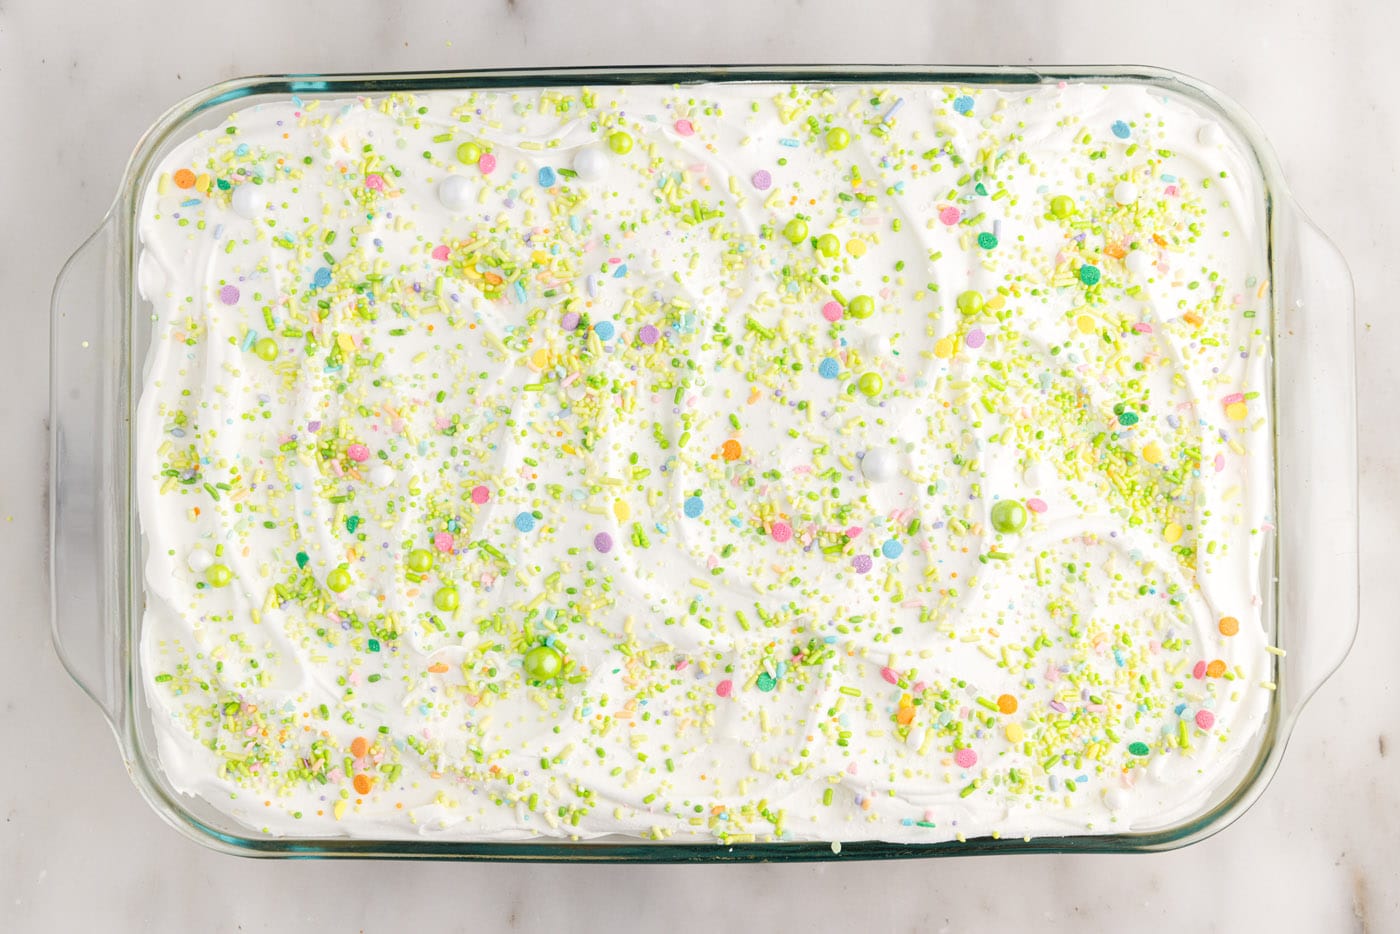
- Top the cake with Cool Whip and decorate with sprinkles or however you wish.
Frequently Asked Questions & Expert Tips
Store this poke cake, covered, in the refrigerator for up to 5 days. This cake can be frozen for up to 3 months, be sure to wrap it well. If freezing, I would recommend waiting to add the Cool Whip frosting until you are ready to serve, as it will be easier to wrap the cake without messing up the topping this way.
Yes, absolutely. You can prepare the cake including the topping a day or two in advance and store it in the refrigerator until you are ready to serve.
Serving Suggestions
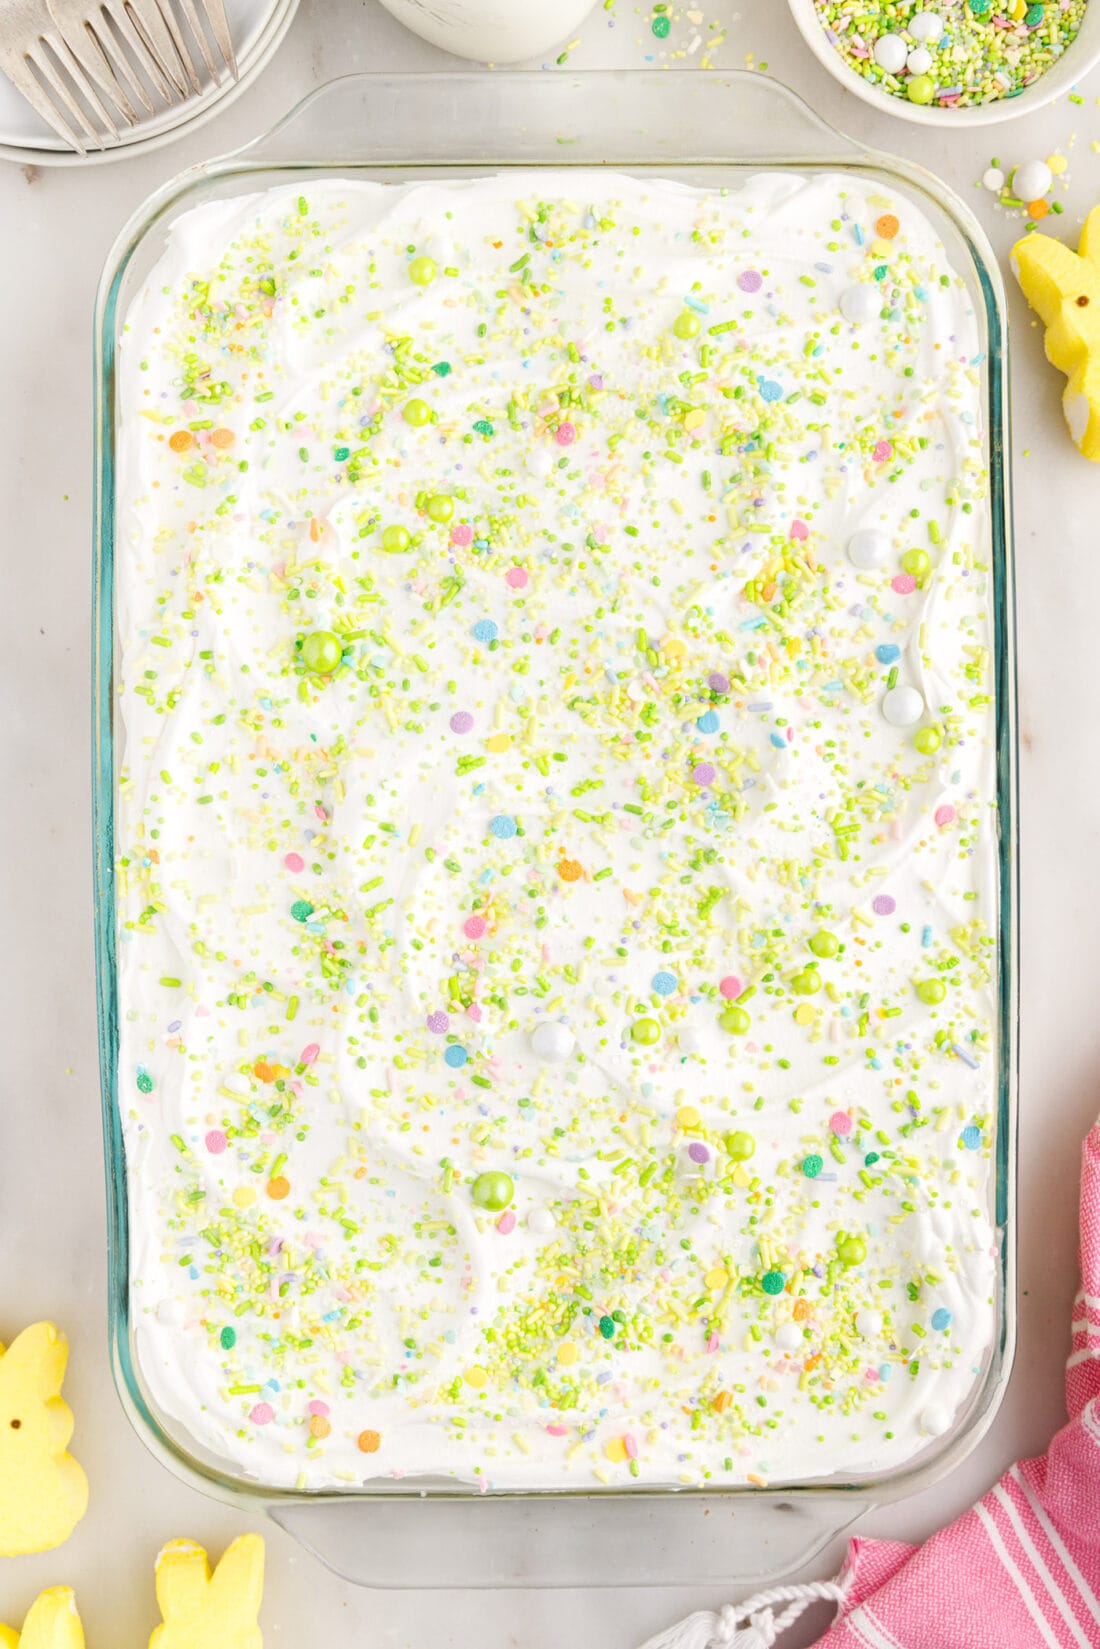
There are endless ways to decorate the top of your Easter poke cake, especially with all the cute Easter candies available. Stick with themed sprinkles or add pastel-colored Easter candy eggs or even marshmallow Peeps to the top of the cake! Enjoy chilled or at room temperature.
This cake can certainly pass as a Unicorn cake for a themed birthday party, simply garnish it with unicorn sprinkles!
More Easter Recipes
- Easter Toffee
- Easter Dirt Cake
- Rice Krispie Nests
- Easter Nest Cupcakes
- Bunny Butt Cupcakes
- Easter Bunny Cupcakes
I love to bake and cook and share my kitchen experience with all of you! Remembering to come back each day can be tough, that’s why I offer a convenient newsletter every time a new recipe posts. Simply subscribe and start receiving your free daily recipes!
Easter Poke Cake
IMPORTANT – There are often Frequently Asked Questions within the blog post that you may find helpful. Simply scroll back up to read them!
Print It Rate ItIngredients
- 15.25 ounce package of white cake mix
- 3 large eggs or egg whites, see notes below
- ½ cup vegetable oil
- 3 cups milk divided
- gel food coloring in 3-4 colors. We used pink, purple, and blue
- 3.4 ounces instant vanilla pudding mix
- 8 ounces Cool Whip or frozen whipped topping, thawed
- sprinkles or Easter candy for garnish
Things You’ll Need
- Wooden spoon or dowel for poking the holes
Before You Begin
- For a true white cake, use only egg whites instead of the whole eggs. The cake will rise, bake, and taste essentially the same. The slight yellow tint of the egg yolks in the batter may interfere with the colors when you are tinting the batter for the cake. However, we used whole eggs in our cake batter.
- Vanilla pudding has a pale yellow tint, which makes a nice fourth pastel color in the sliced cake. If you use yellow as one of your cake batter colors, I would recommend using white chocolate pudding mix for a truer white contrast.
- Store this poke cake, covered, in the refrigerator for up to 5 days. This cake can be frozen for up to 3 months, be sure to wrap it well. If freezing, I would recommend waiting to add the Cool Whip frosting until you are ready to serve, as it will be easier to wrap the cake without messing up the topping this way.
- You can prepare the cake including the topping a day or two in advance and store it in the refrigerator until you are ready to serve.
Instructions
- Preheat oven to 350°F. Spray a 9×13 glass baking dish with nonstick baking spray and set aside.
- Beat together cake mix, eggs (or just egg whites if using), oil, and 1 cup of milk until fully combined.
- Divide the cake batter evenly into three bowls.
- Tint each bowl of cake batter, adding just a drop or two of food coloring at a time and then adding more to control the color of the cake batter.
- Drop large spoonfuls of the cake batter throughout the prepared baking dish, rotating the colors.TIP – I like to use an ice cream scoop or large cookie dough scoop to drop the batter into the baking dish. It makes it easy to dispense the batter from the spoon. If you drop smaller scoops of batter, don’t swirl the batter together. The smaller scoops will create enough color variety as is.
- Use a knife to swirl the colors slightly – do not over swirl or the colors will become muddy and mixed.
- Bake the cake for 25-30 minutes, until the center is set and a toothpick comes out with just a few crumbs when poked in the center of the cake.
- Allow the cake to cool.
- When the cake has cooled most of the way, use the round handle of a wooden spoon or a wooden dowel to poke holes all over the cake. Poke the holes about 2⁄3 of the way down into the cake, spacing 3⁄4”-1: apart.
- Prepare the pudding mixture. Whisk together the instant pudding mix with the remaining 2 cups of milk. Whisk for 1-2 minutes until the mixture is fully combined and just beginning to thicken.
- Pour the pudding mixture over the cake and spread over the top, pressing the pudding down slightly while spreading so that it fills the holes.
- Place the cake in the refrigerator for 30 minutes to allow the pudding to thicken.
- Top the cake with Cool Whip and decorate with sprinkles or however you wish.
Nutrition
Lindsay Formaro
Latest posts by Lindsay Formaro (see all)
- Mini Candy Corn Cheesecakes - October 3, 2024
- Cake Mix Cookie Bars - August 8, 2024
- Lasagna Soup - February 26, 2024



Rita says
I am using white chocolate and coloring it yellow. We will see!