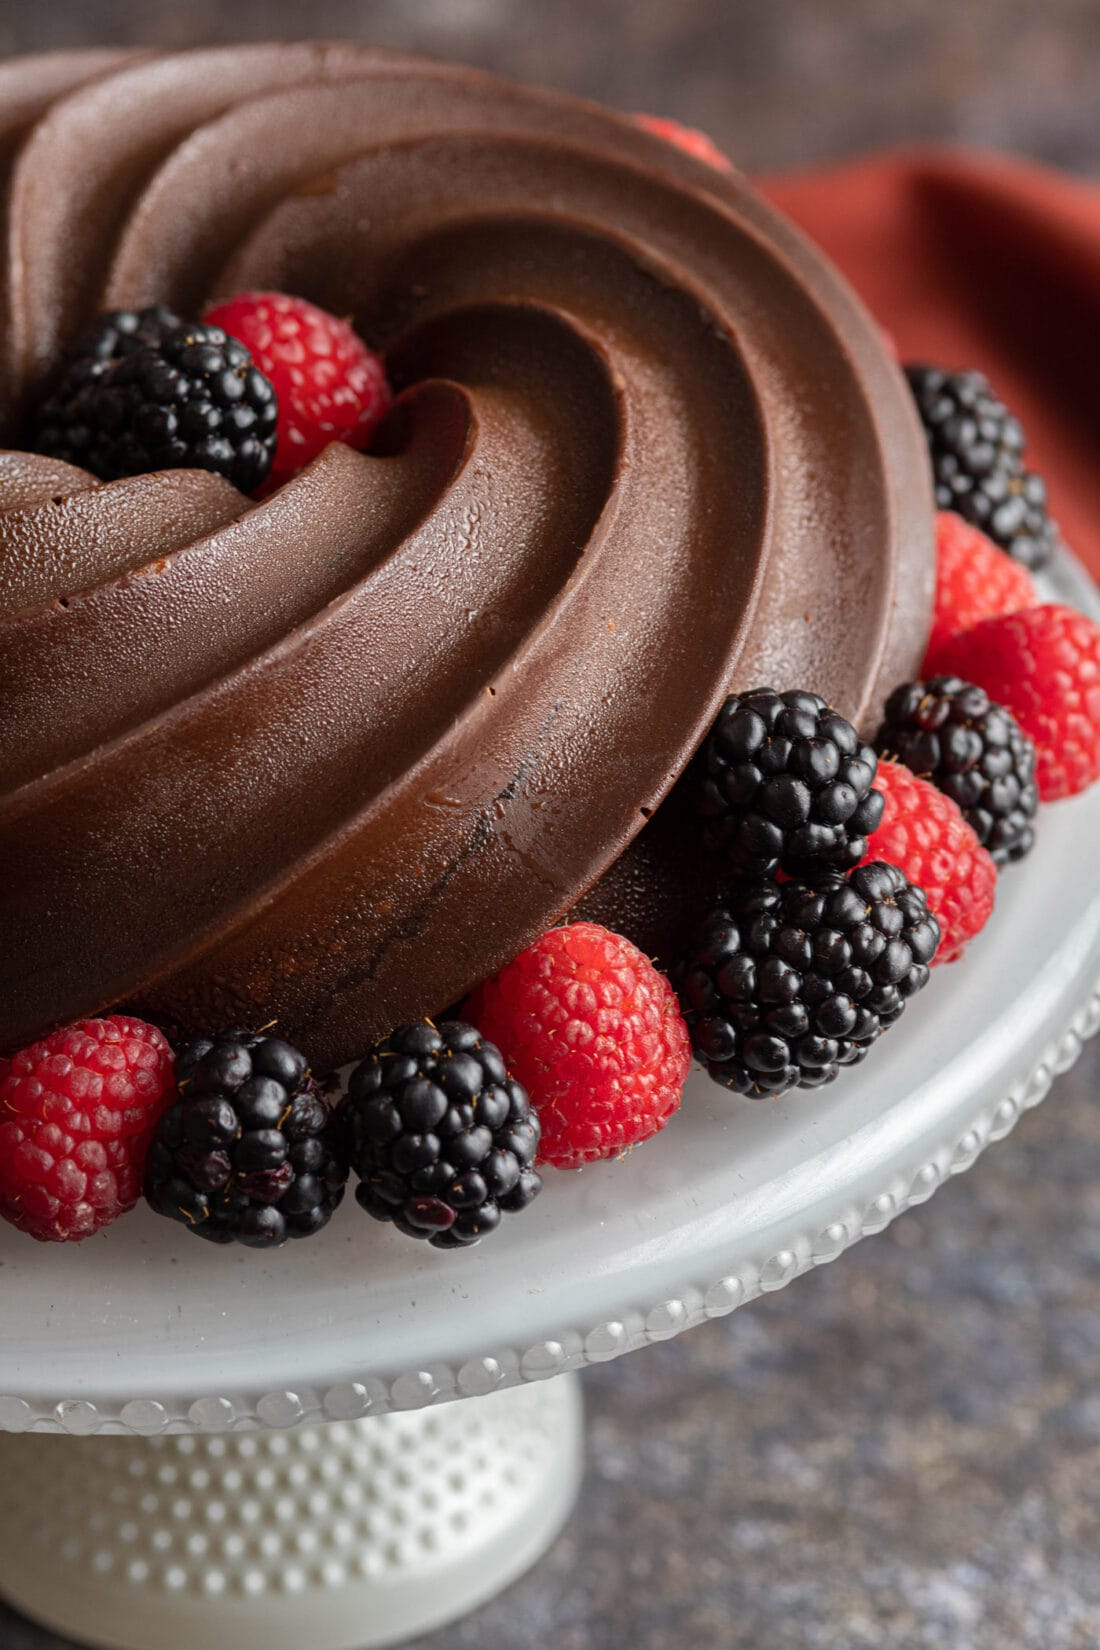
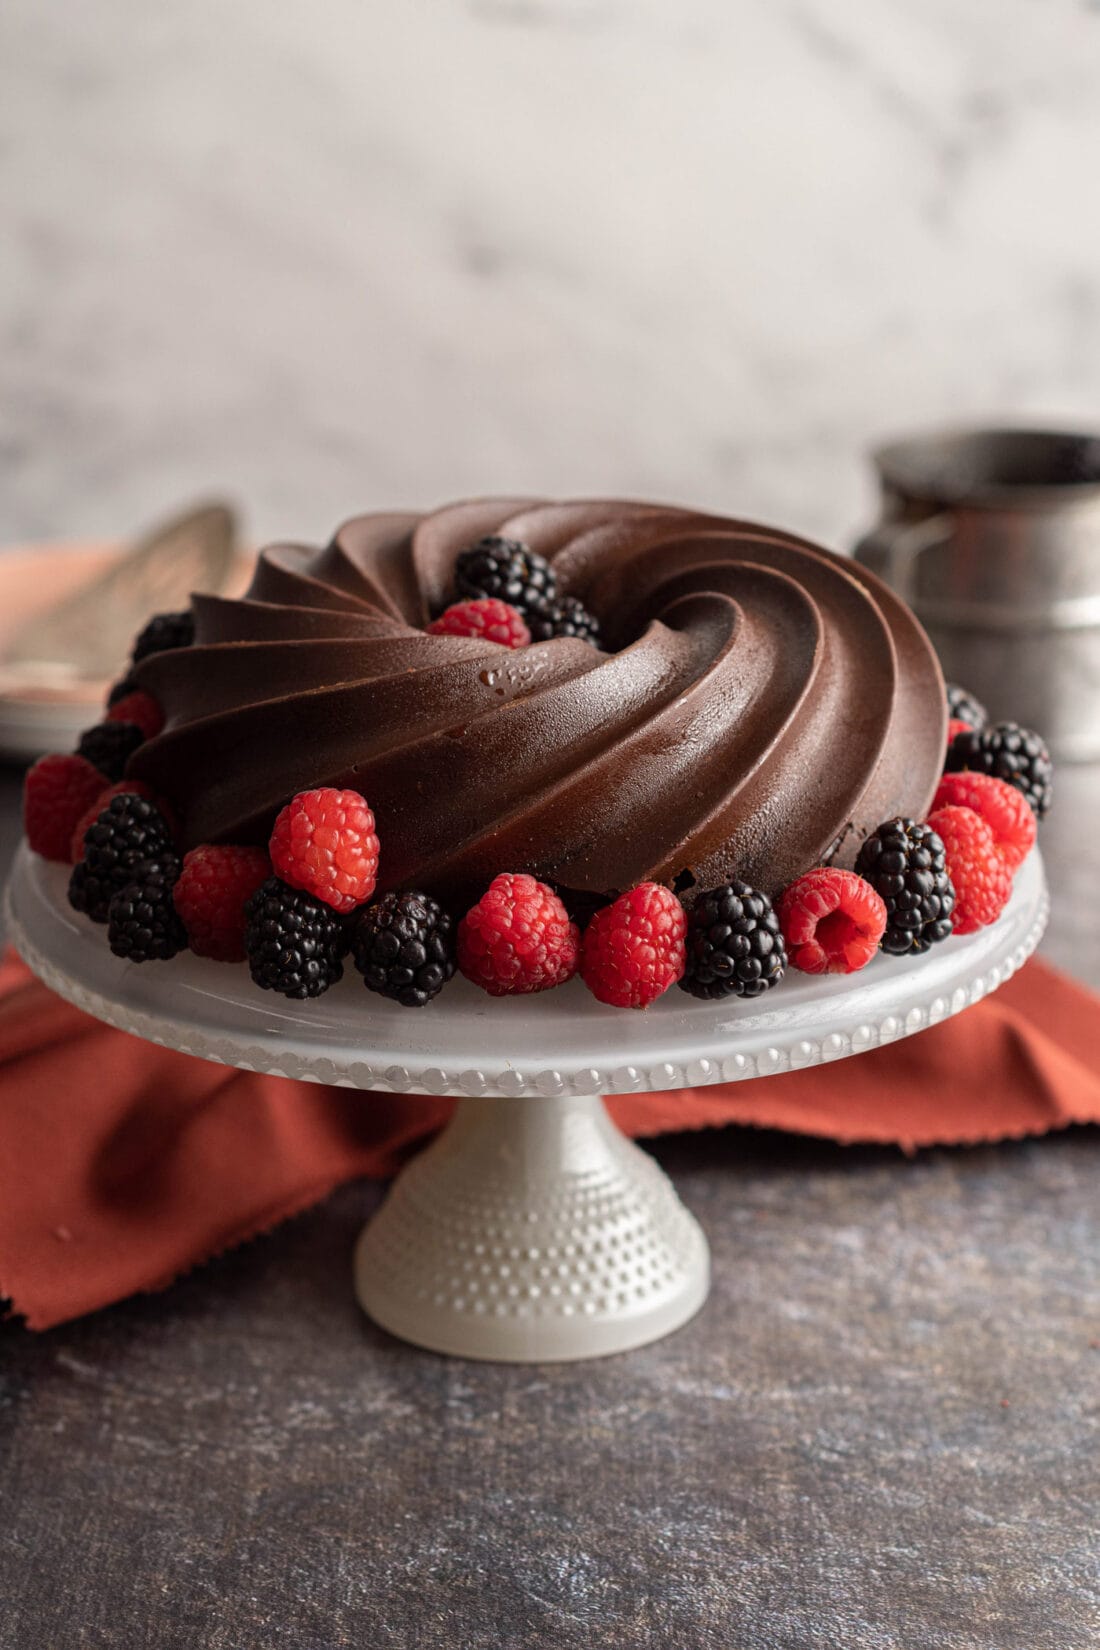
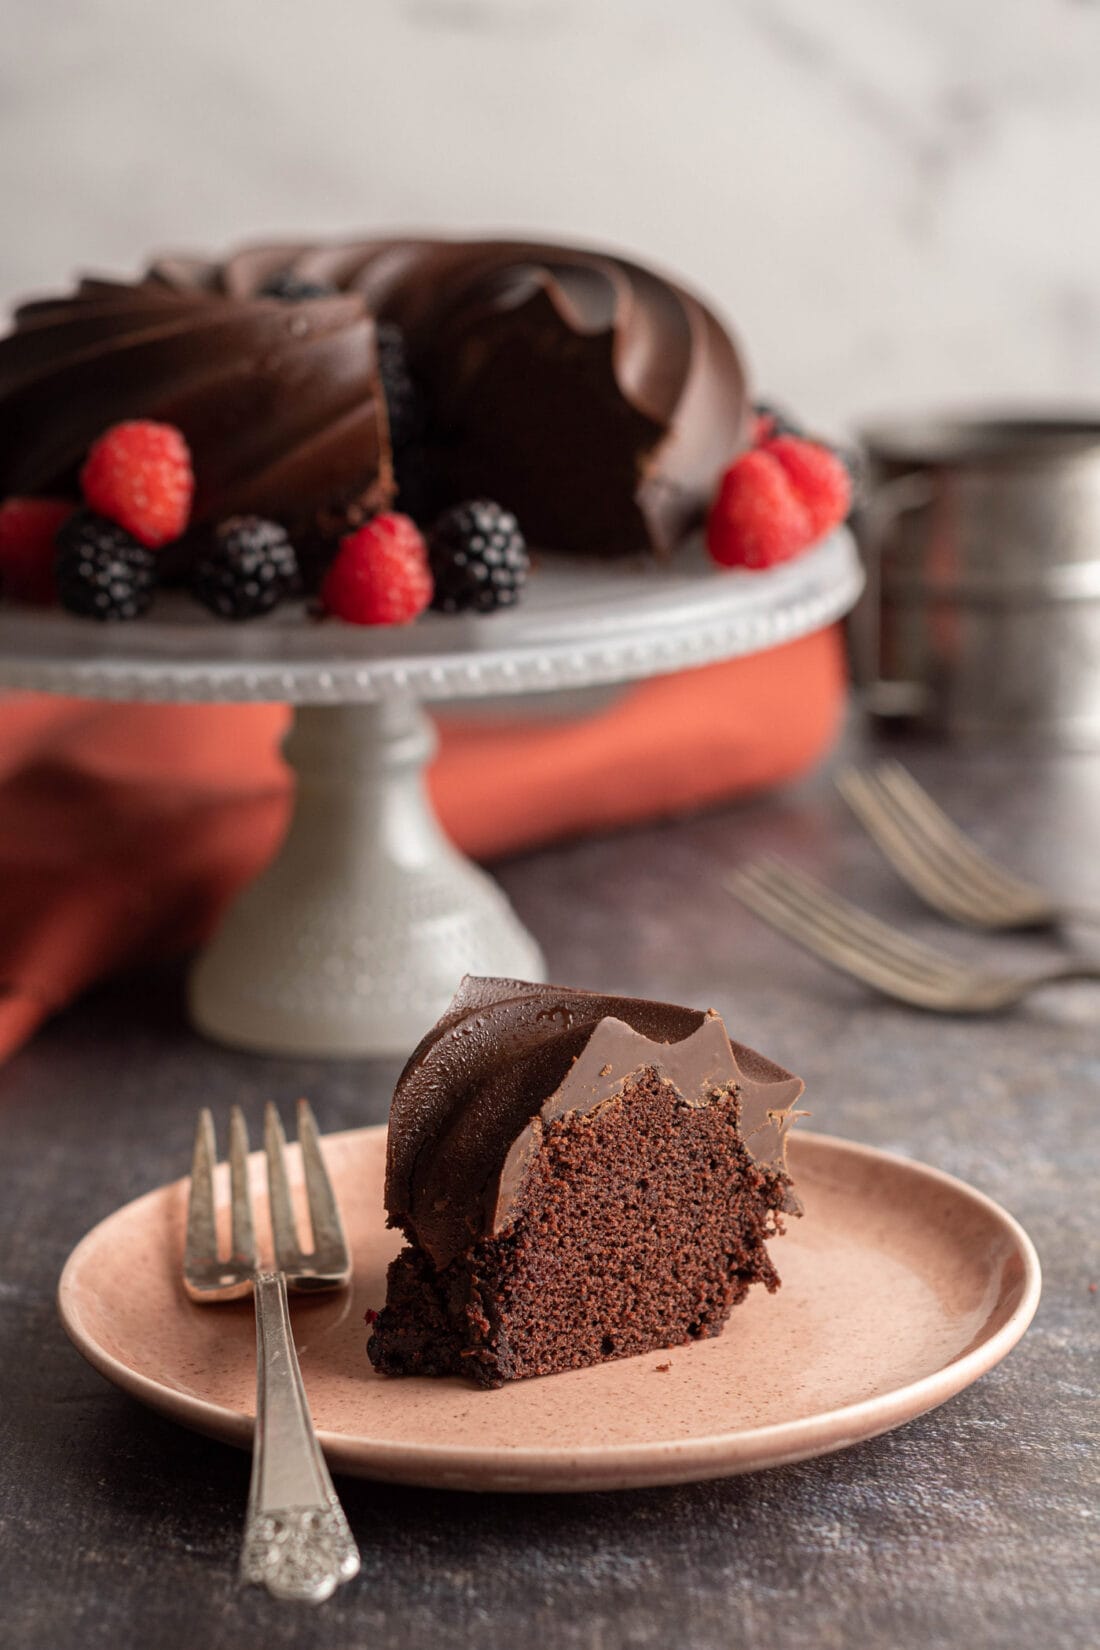
Make way for this richly dense, ultra-moist chocolate pound cake topped with a thick and fudgy chocolate coating. This is not your ordinary bundt cake!
Why this recipe works
Our chocolate pound cake goes the extra mile with a decadent chocolate shell that provides a lovely bit of texture against the soft cake. Though, this is no regular chocolate cake! It’s moist, dense, and yields the perfect crumb with heaps of rich chocolate flavor.
Ingredients you will need
Get all measurements, ingredients, and instructions in the printable version at the end of this post.
Ingredient Info and Substitution Suggestions
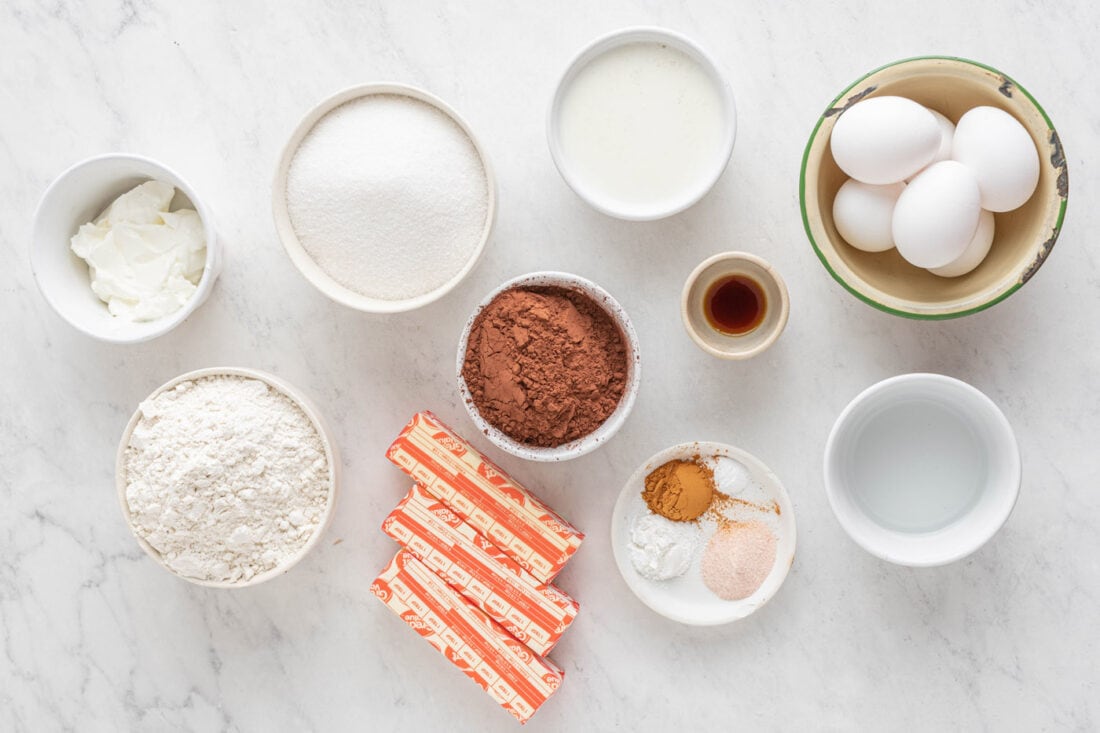
CAKE – I like to use Hershey’s dutch cocoa because it makes the cake richer and darker but you can use regular unsweetened cocoa powder as well. Baking powder and baking soda work in conjunction to provide a perfect rise in this dense cake. The cinnamon is optional but provides subtle flavor, we love incorporating it into this recipe. If you do not have sour cream, you can substitute it with plain yogurt.
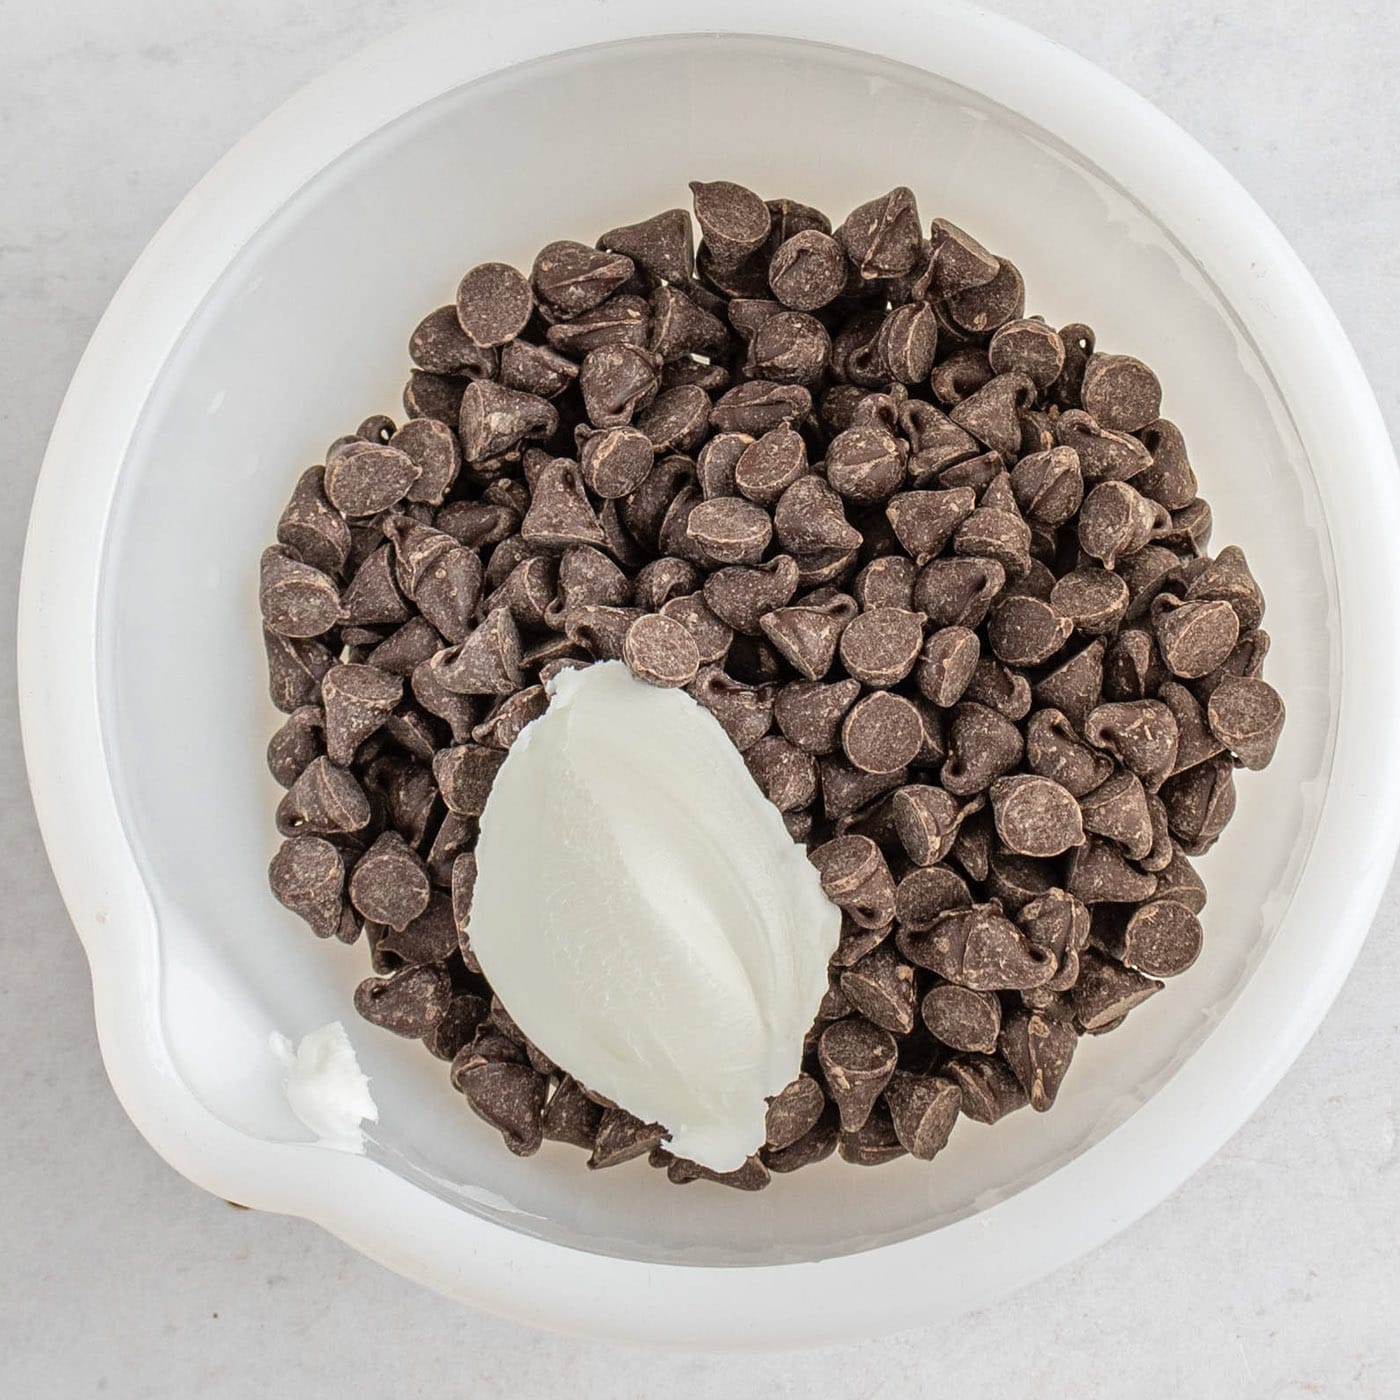
TOPPING – I used semi-sweet chocolate chips to further the dark chocolate profile of this cake, however, regular chocolate chips will work very well if that is your preference. The Crisco/butter will help the chocolate chips melt without seizing as well as give the outer chocolate shell a beautiful sheen.
How to Make Chocolate Pound Cake
These step by step photos and instructions are here to help you visualize how to make this recipe. You can Jump to Recipe to get the printable version of this recipe, complete with measurements and instructions at the bottom.
- Preheat your oven to 350F. Prep a silicone baking bundt mold by lightly spraying it with baking spray. Silicone is usually nonstick, however, sometimes the corners still stick and since we want crisp edges on this cake, it’s best to spray it for good measure.
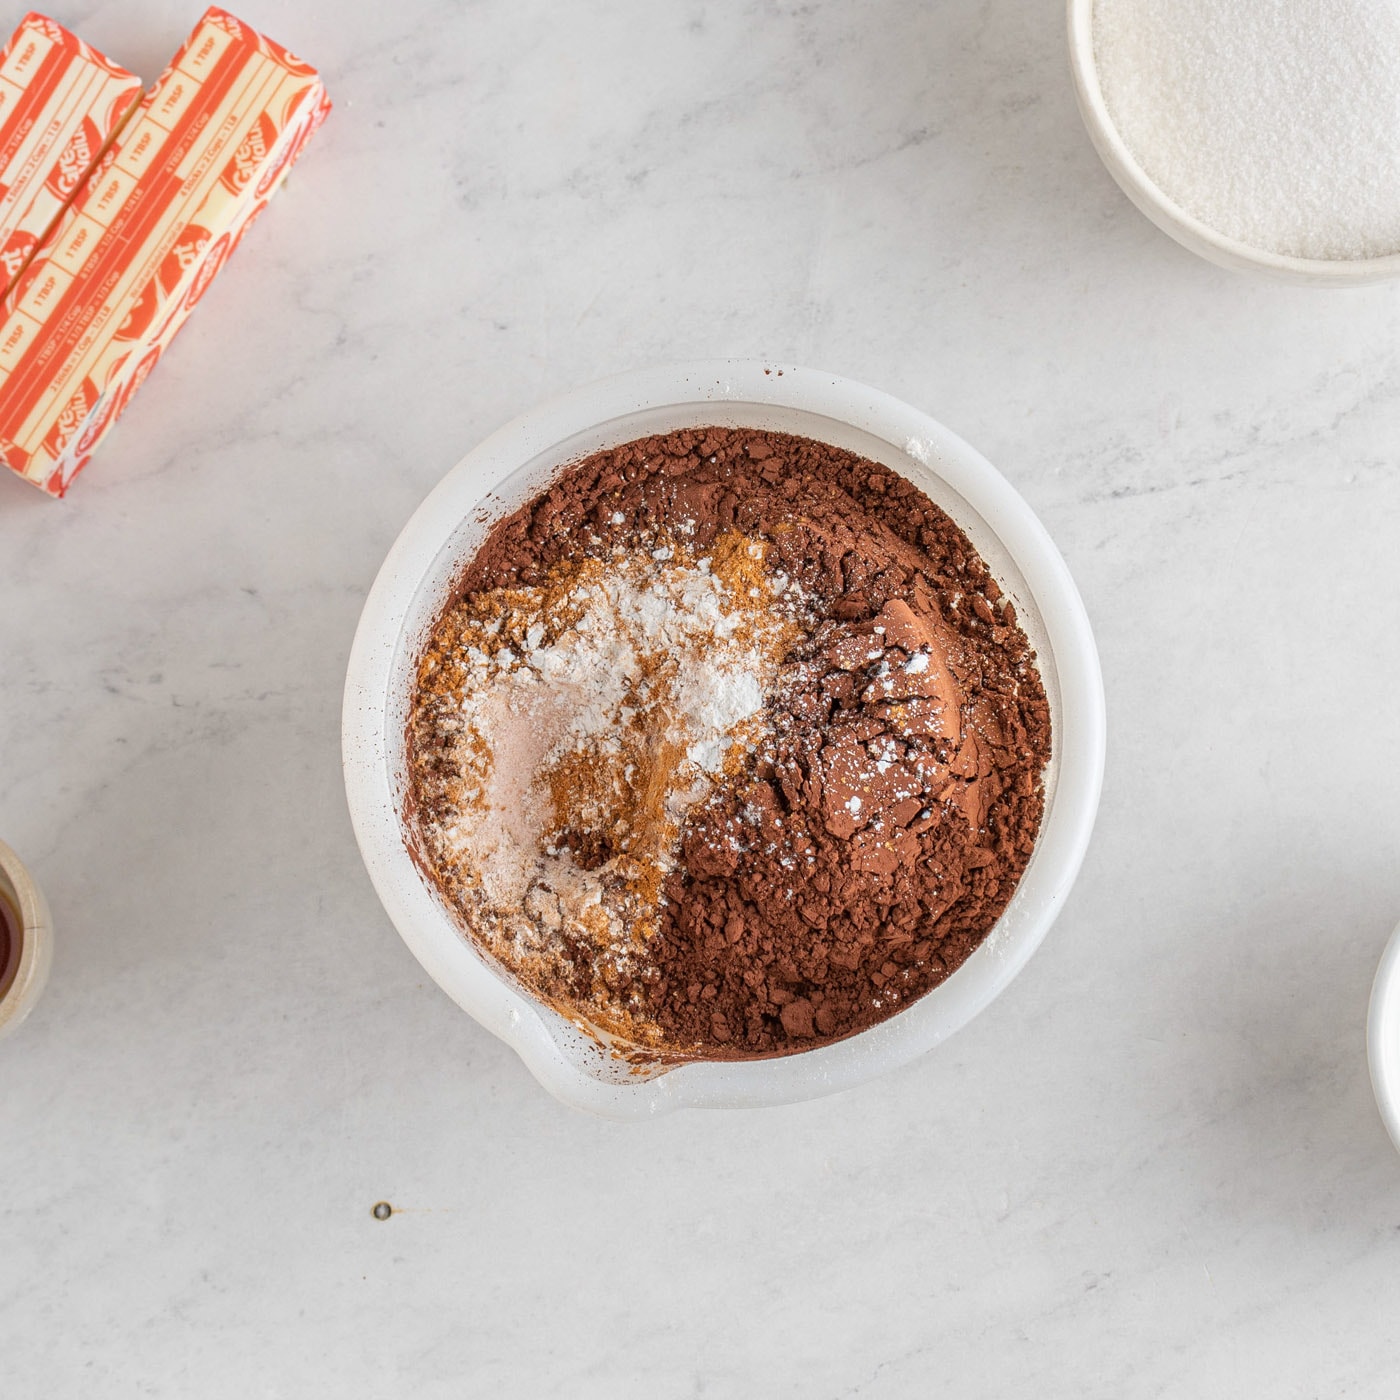
- In a medium sized bowl, combine the flour, cocoa, baking powder, baking soda, salt and cinnamon. Set aside.
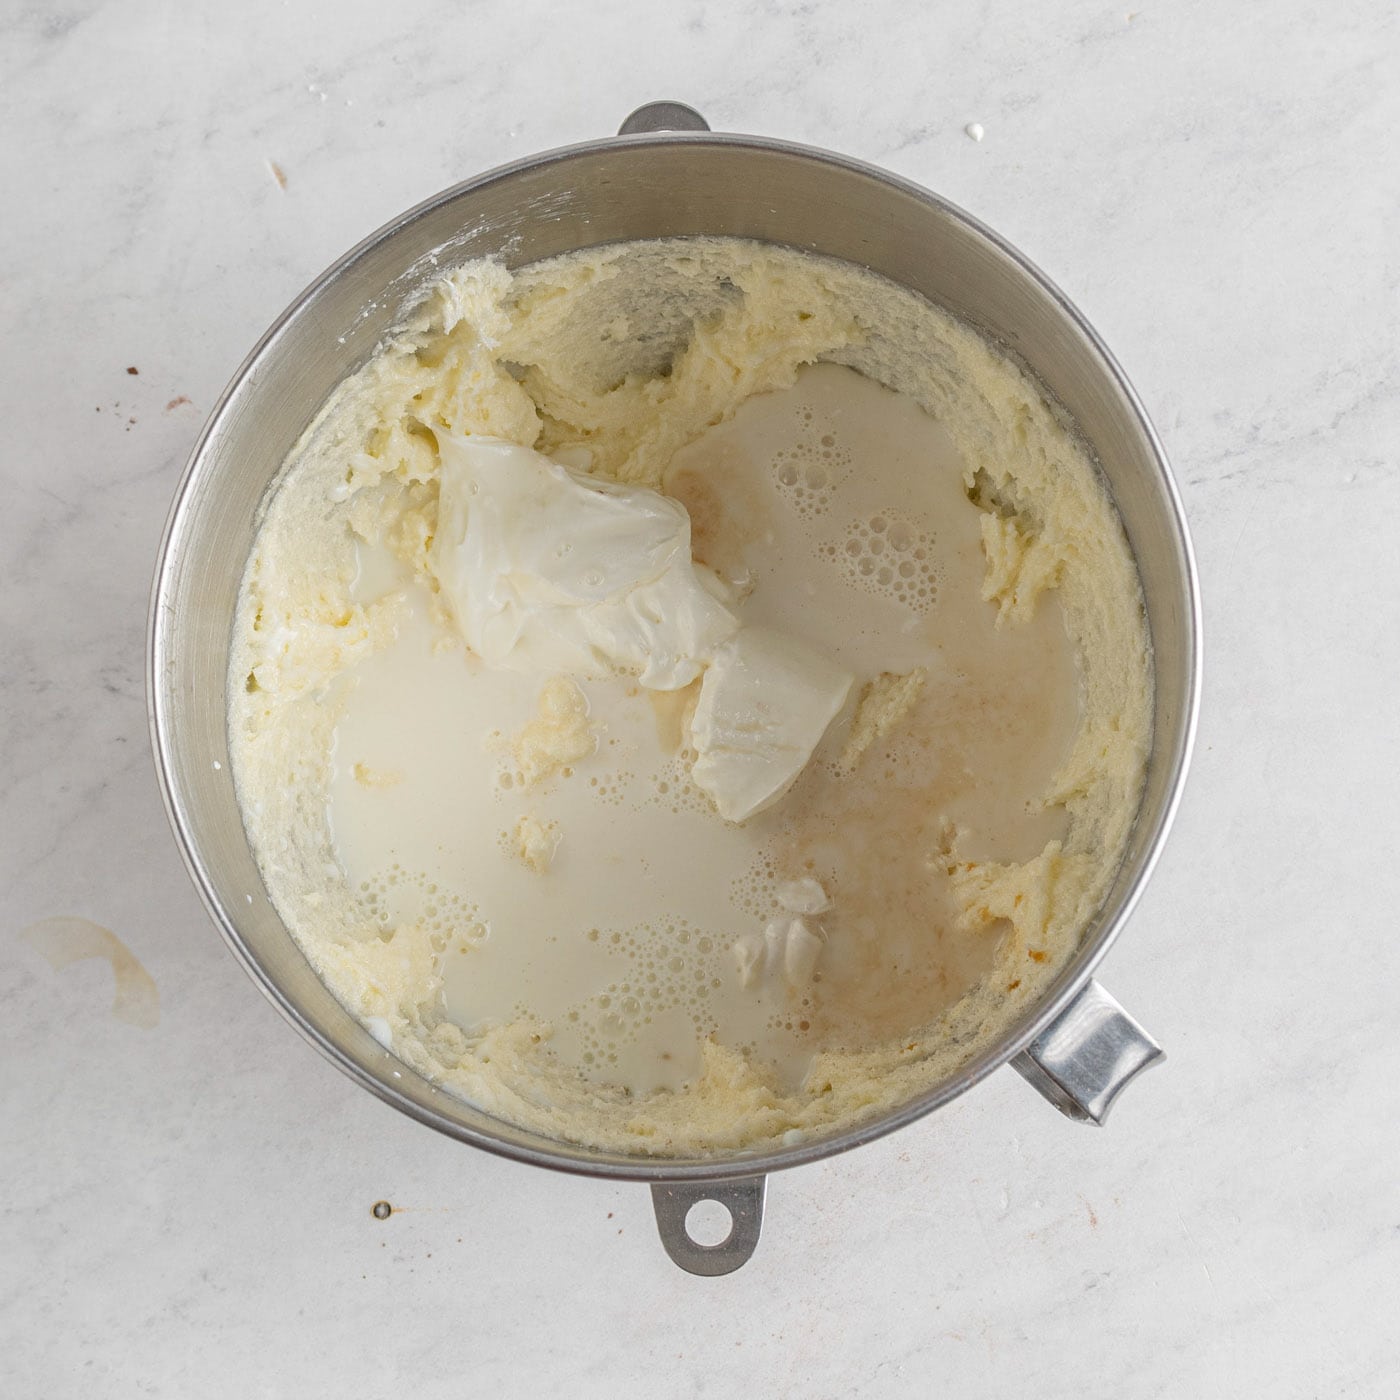
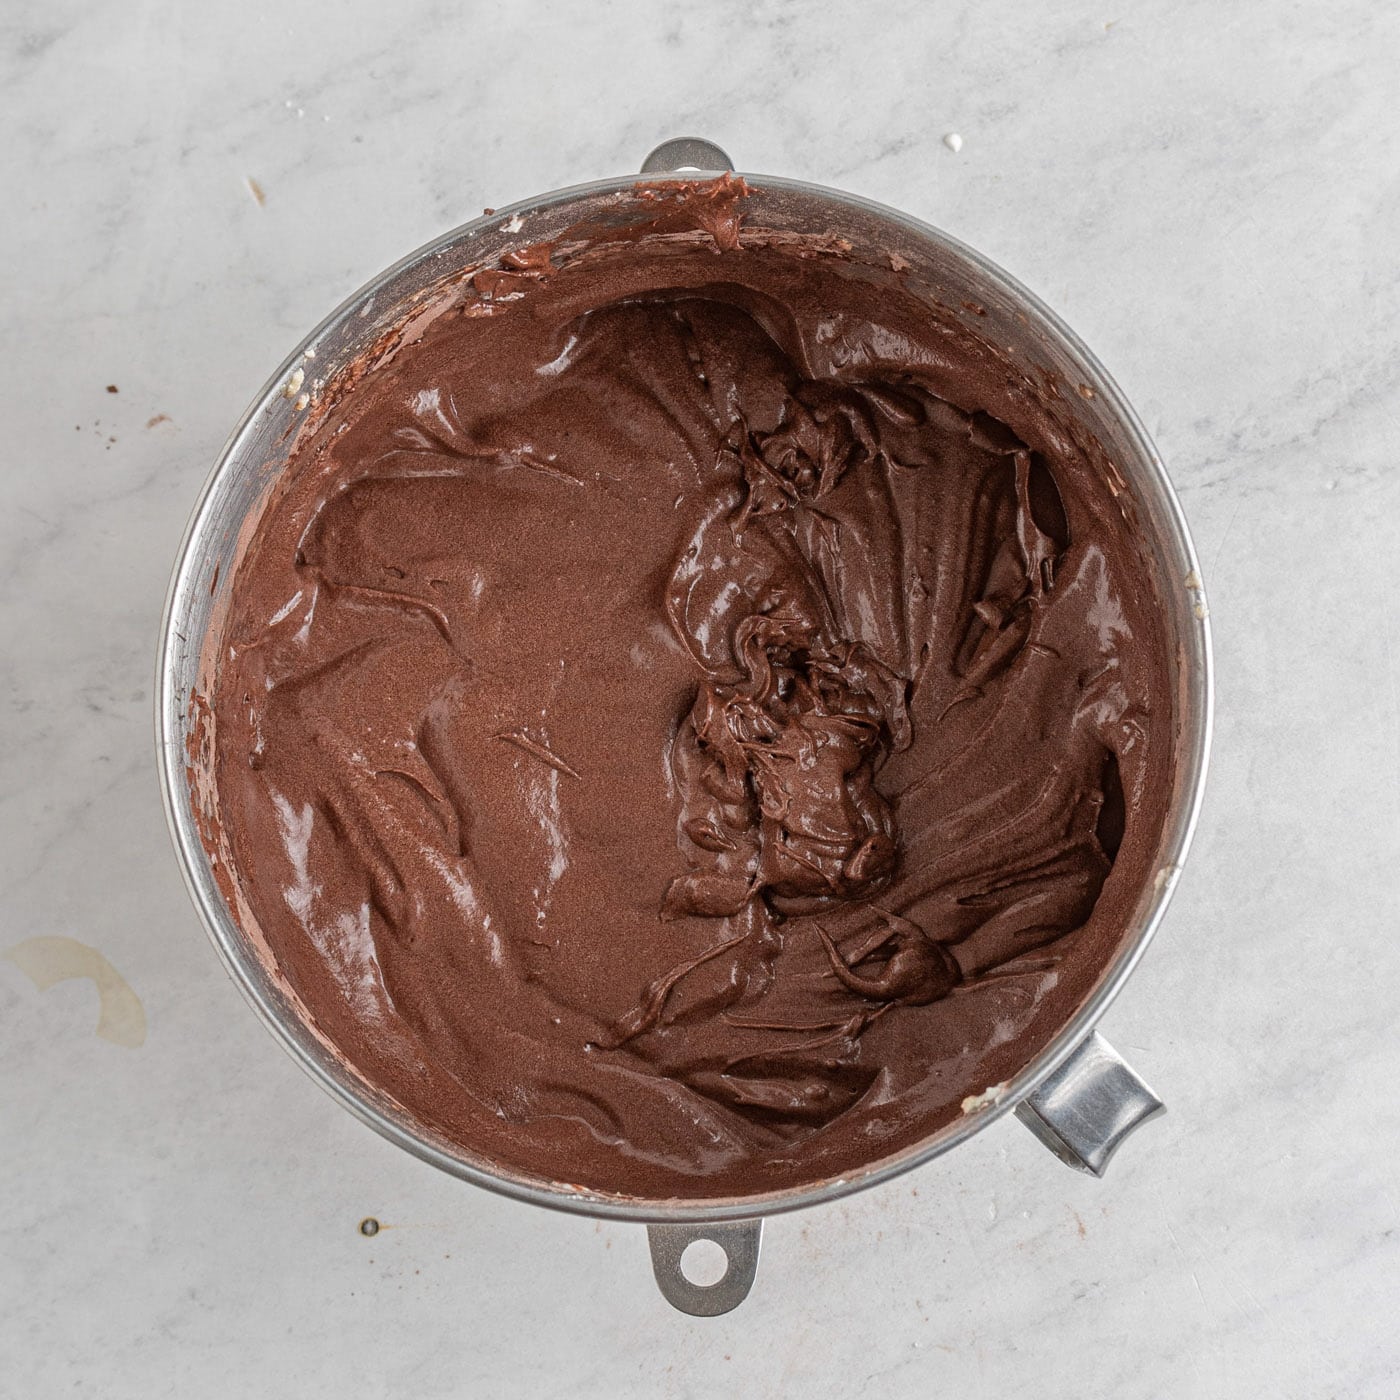
- In the bowl of a stand mixer, combine the butter and sugar. Using the paddle attachment, cream them together on medium speed for 1 minute. Add in the milk, sour cream and vanilla and beat together. Add in the eggs one at a time while the mixer is still running. Once everything is well incorporated, add in the flour mixture and mix for 1 minute. Add in the hot water and mix for another 30 seconds.
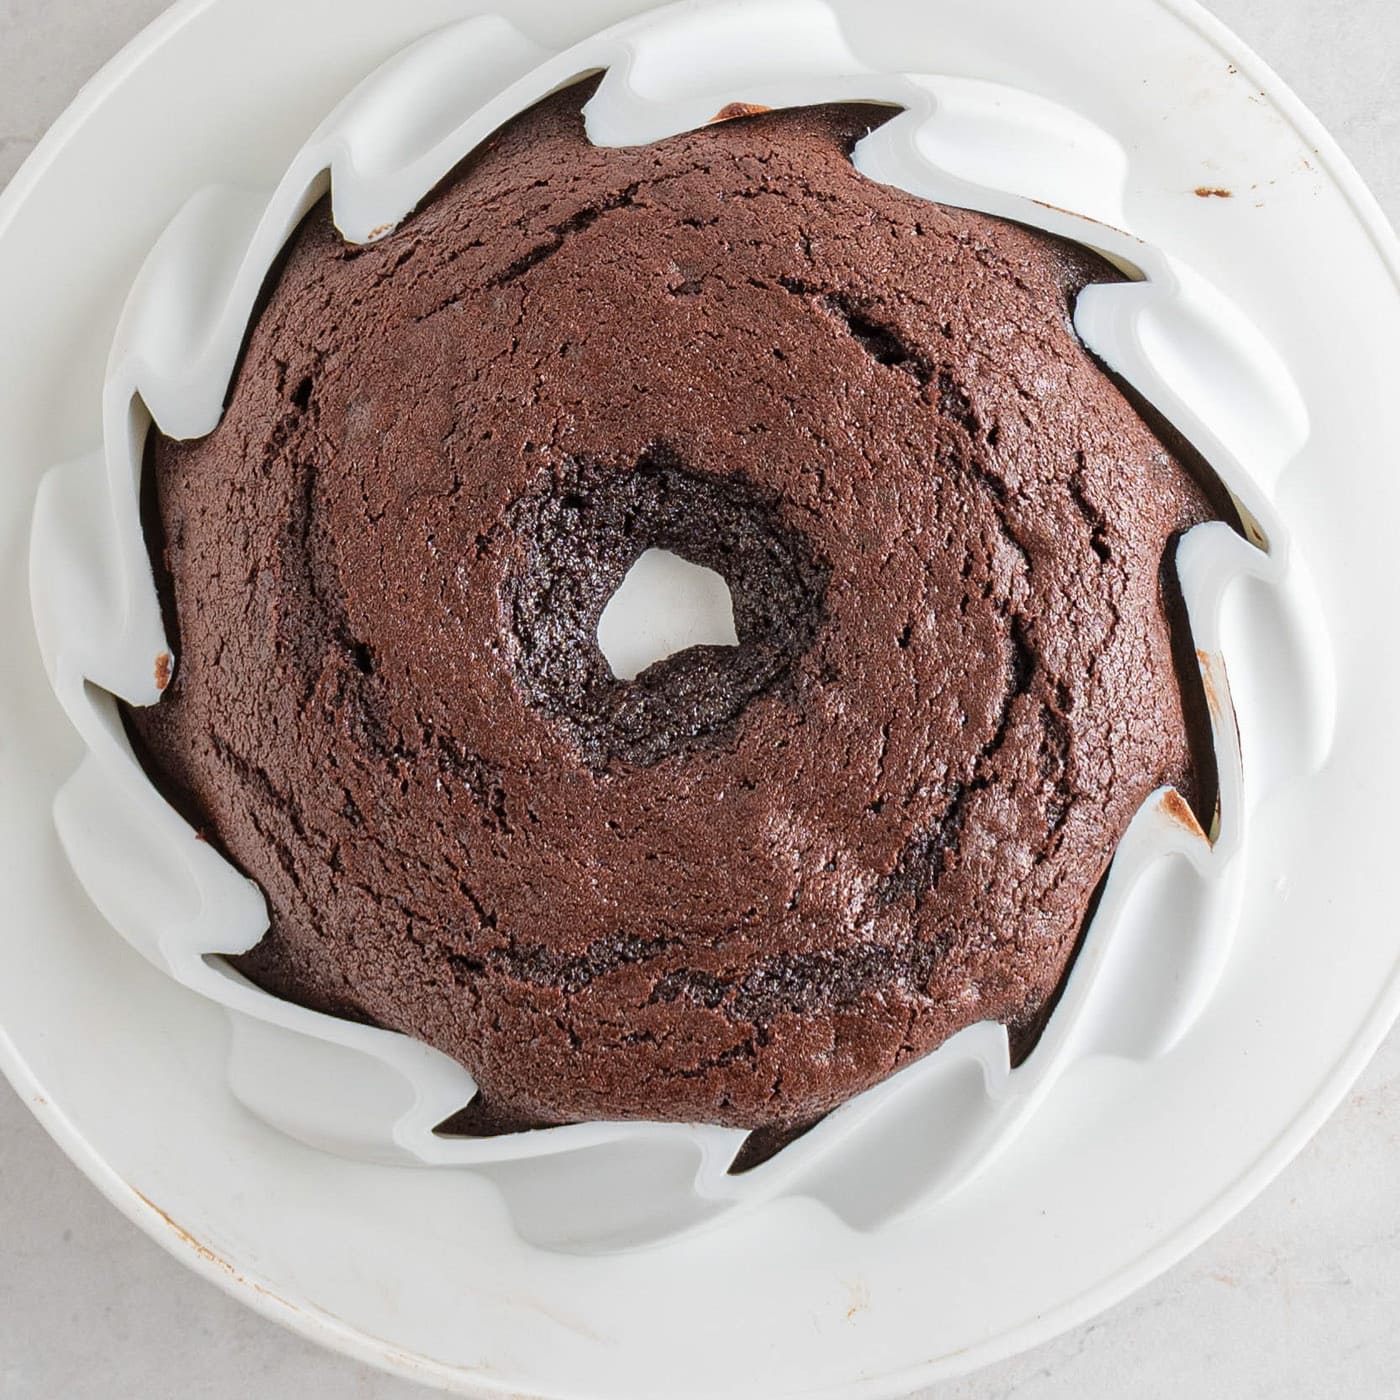
- Pour cake batter into prepared silicone mold. Bake for 70-80 minutes or until a toothpick inserted comes out clean or with moist crumbs. Remove from the oven and let cool completely down. Mine rose a bit in the center so I flipped it onto a plate to cool allowing the top to deflate so it would sit more level with a cake stand.
EXPERT TIP – If your silicone mold is wobbly and does not hold its shape well, you may want to put it onto a flat baking sheet before placing it into the oven so it retains its shape while baking.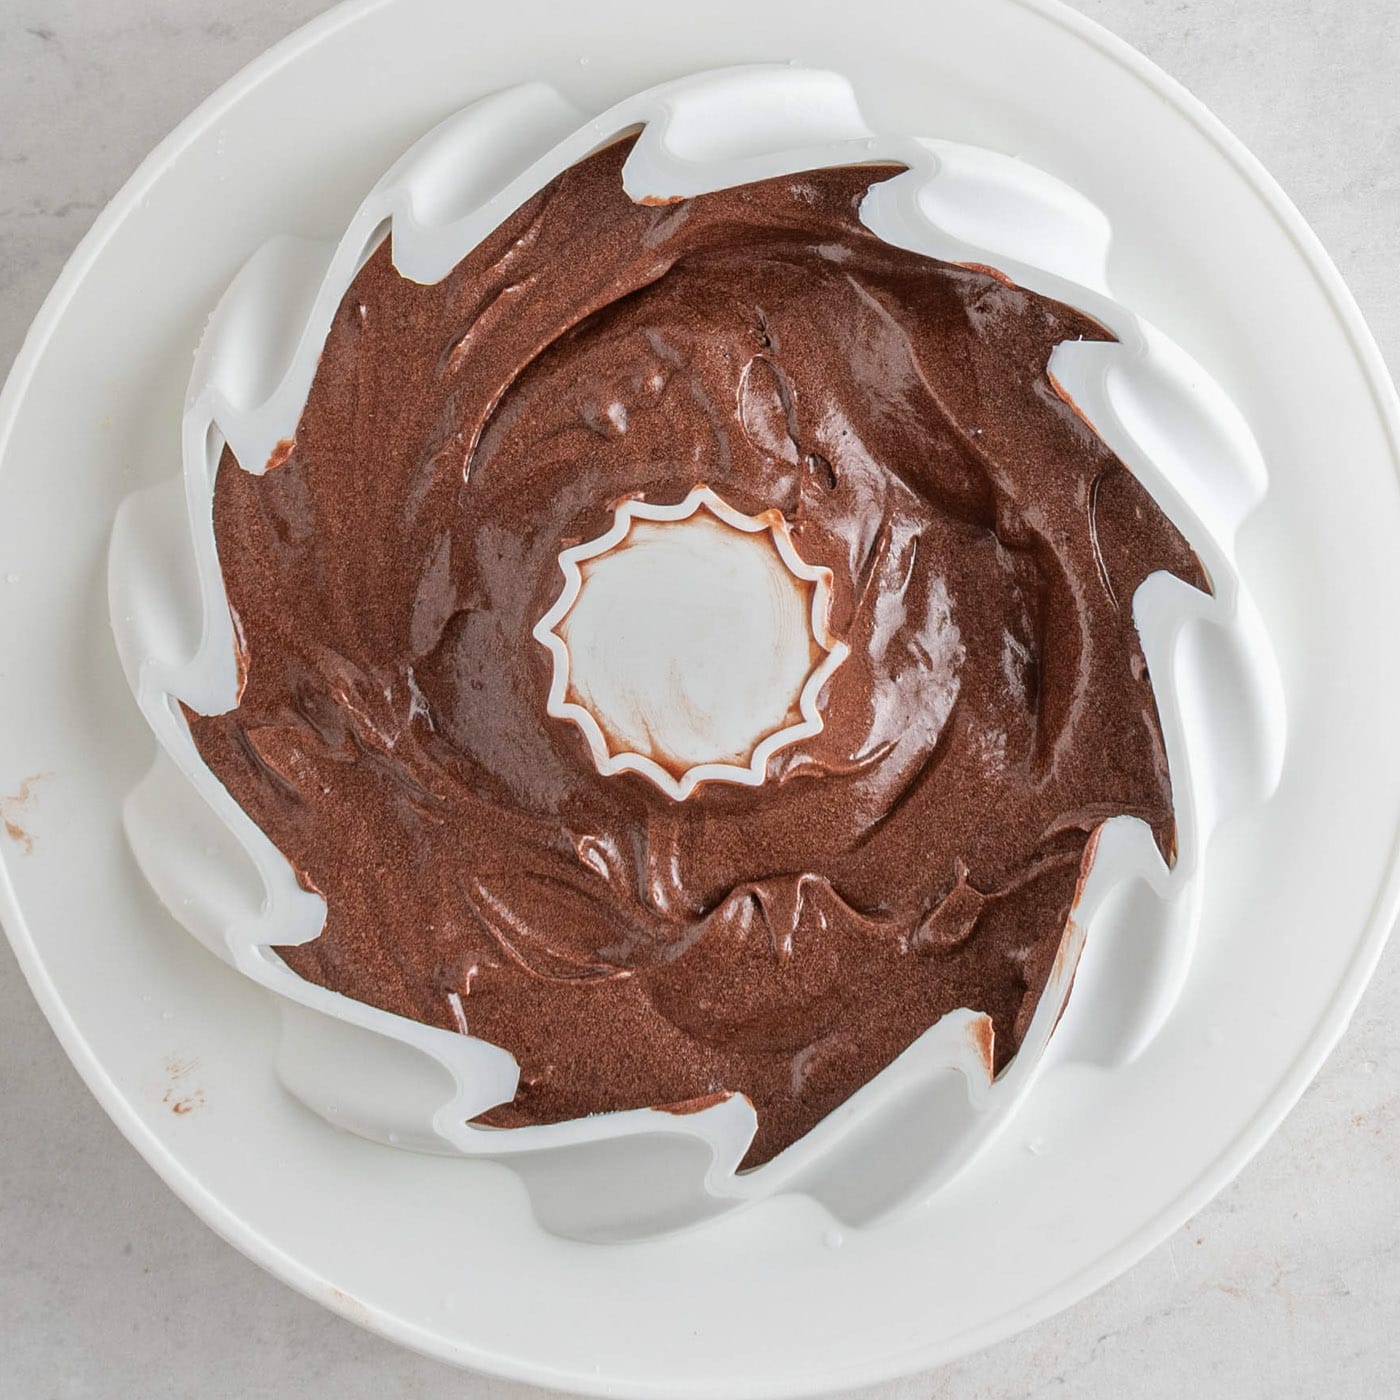
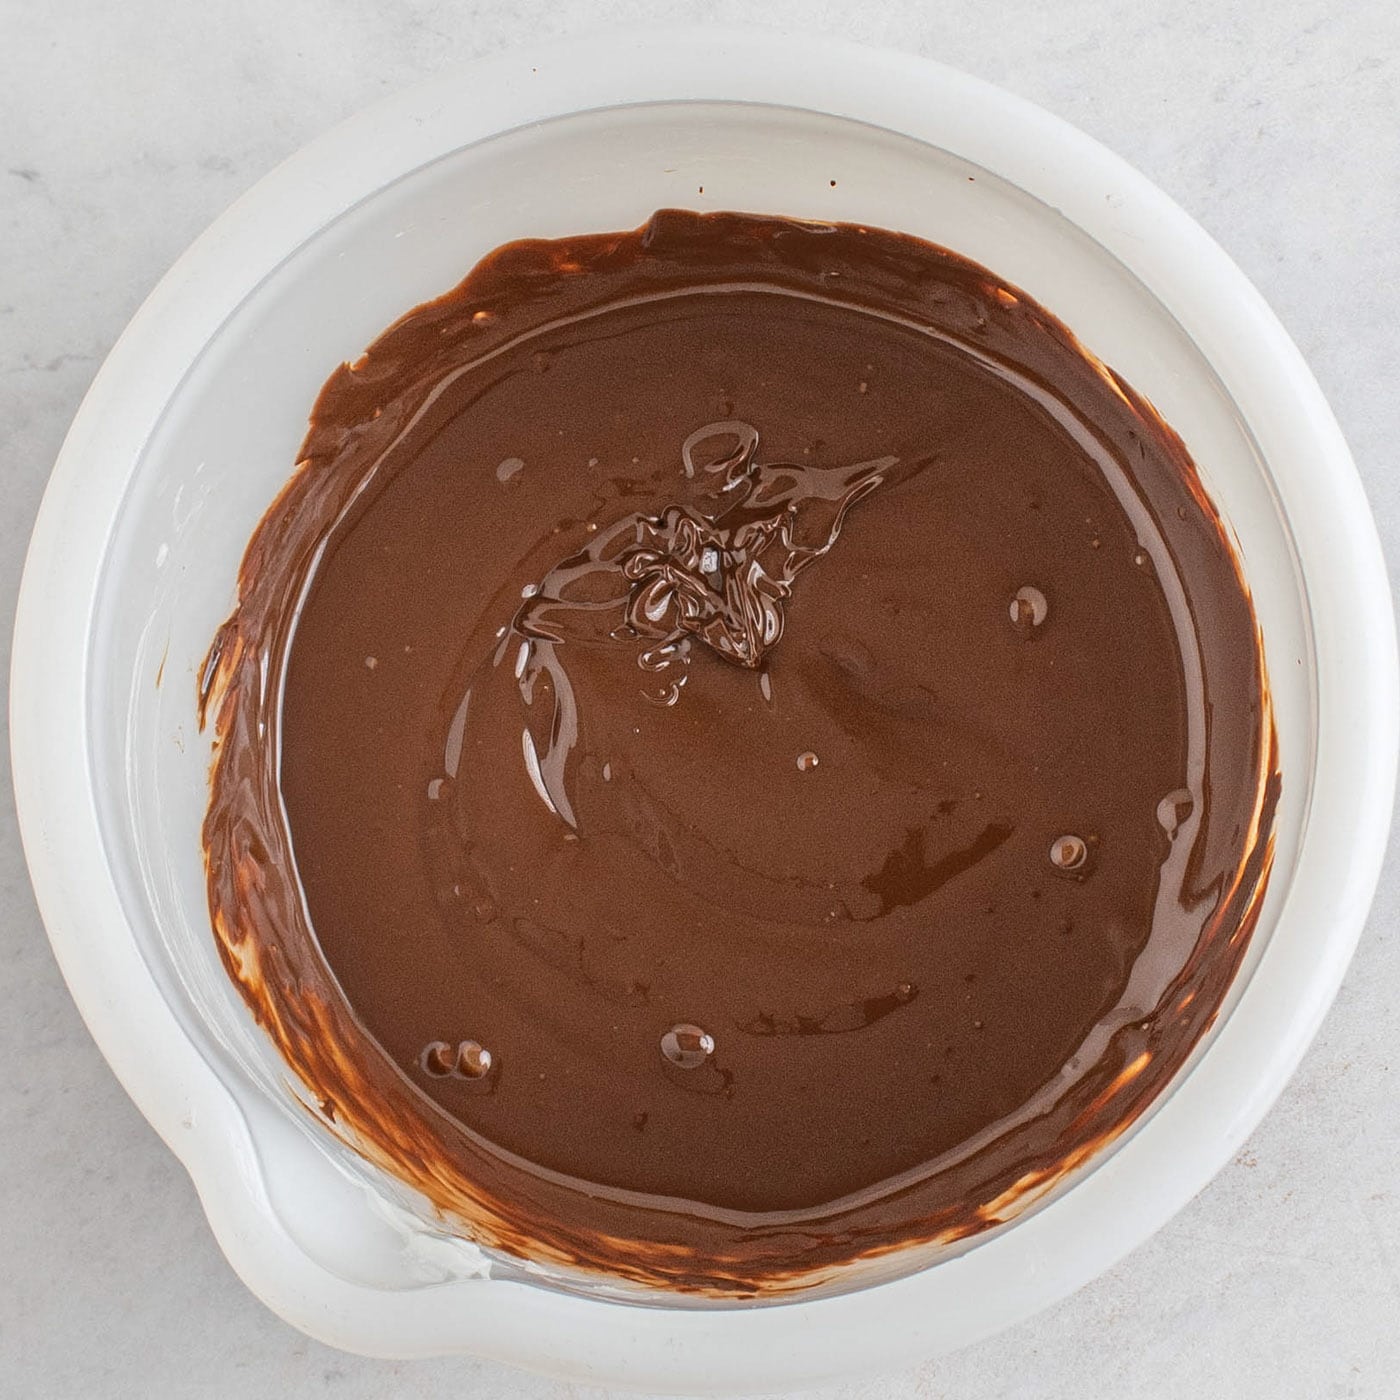
- Once your cake is cooled, prep the chocolate topping by placing the chocolate chips and crisco into a medium size, microwave safe bowl. Heat in 30 second increments, stirring in between. Be sure to stir well all the way to the bottom so it does not burn or seize. This should take about 1 ½ – 2 minutes.
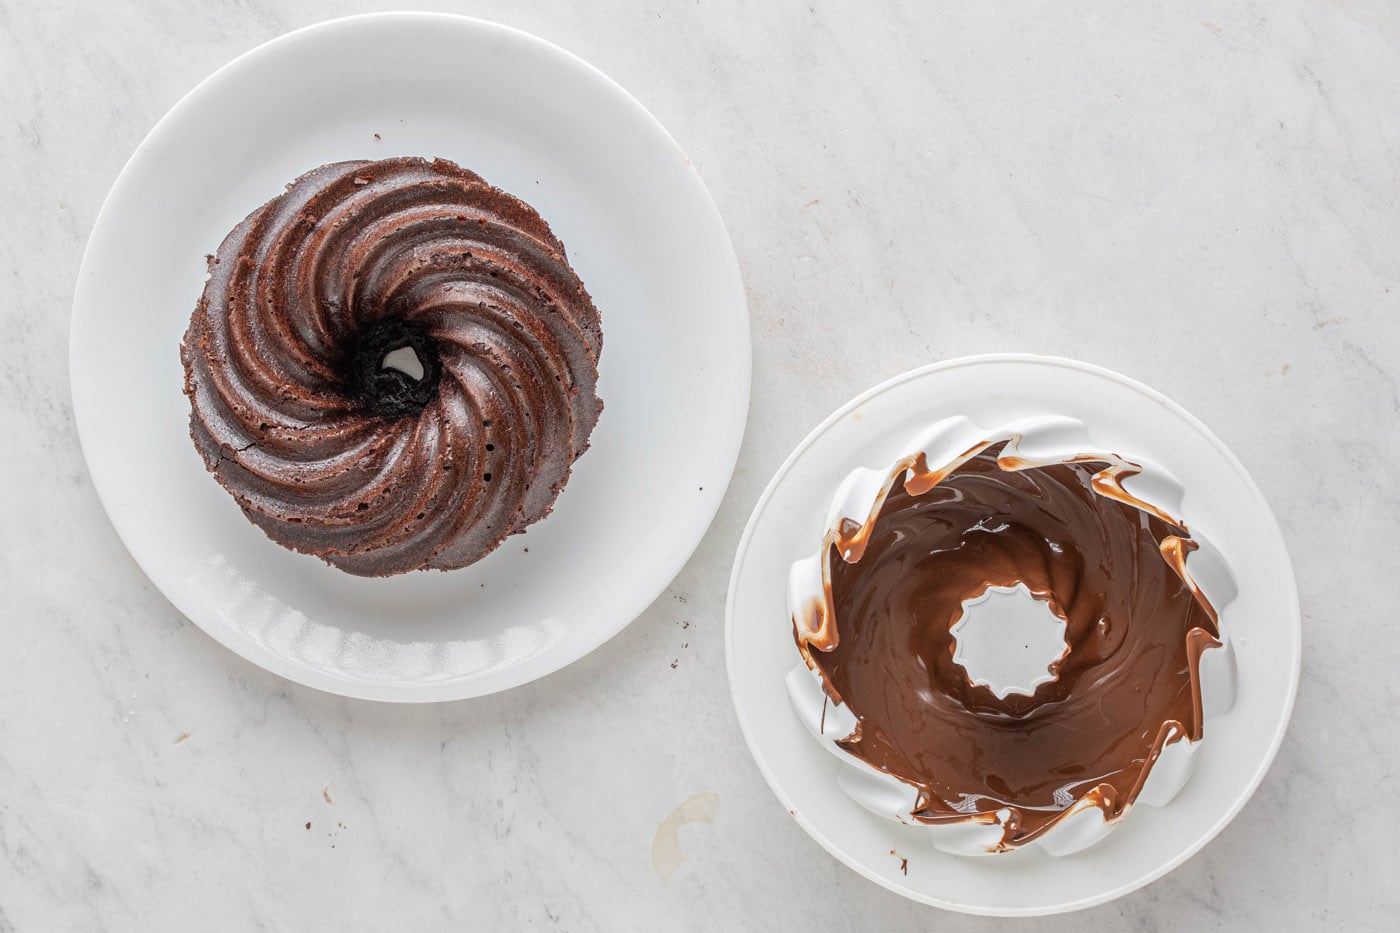
- Gently remove the cake from the silicone mold. You may need to rinse or wipe out your mold to ensure it is clean. Pour the chocolate into the mold and using a pastry brush or the back of a spoon, spread the chocolate around the entire mold as evenly as possible. If you have excess chocolate pooled in the bottom once you are done, simply pour it back into the bowl. Carefully place your cooled cake back into the mold ensuring that you line it up with it’s initial grooves. Place into the freezer for at least 2 hours to firm.
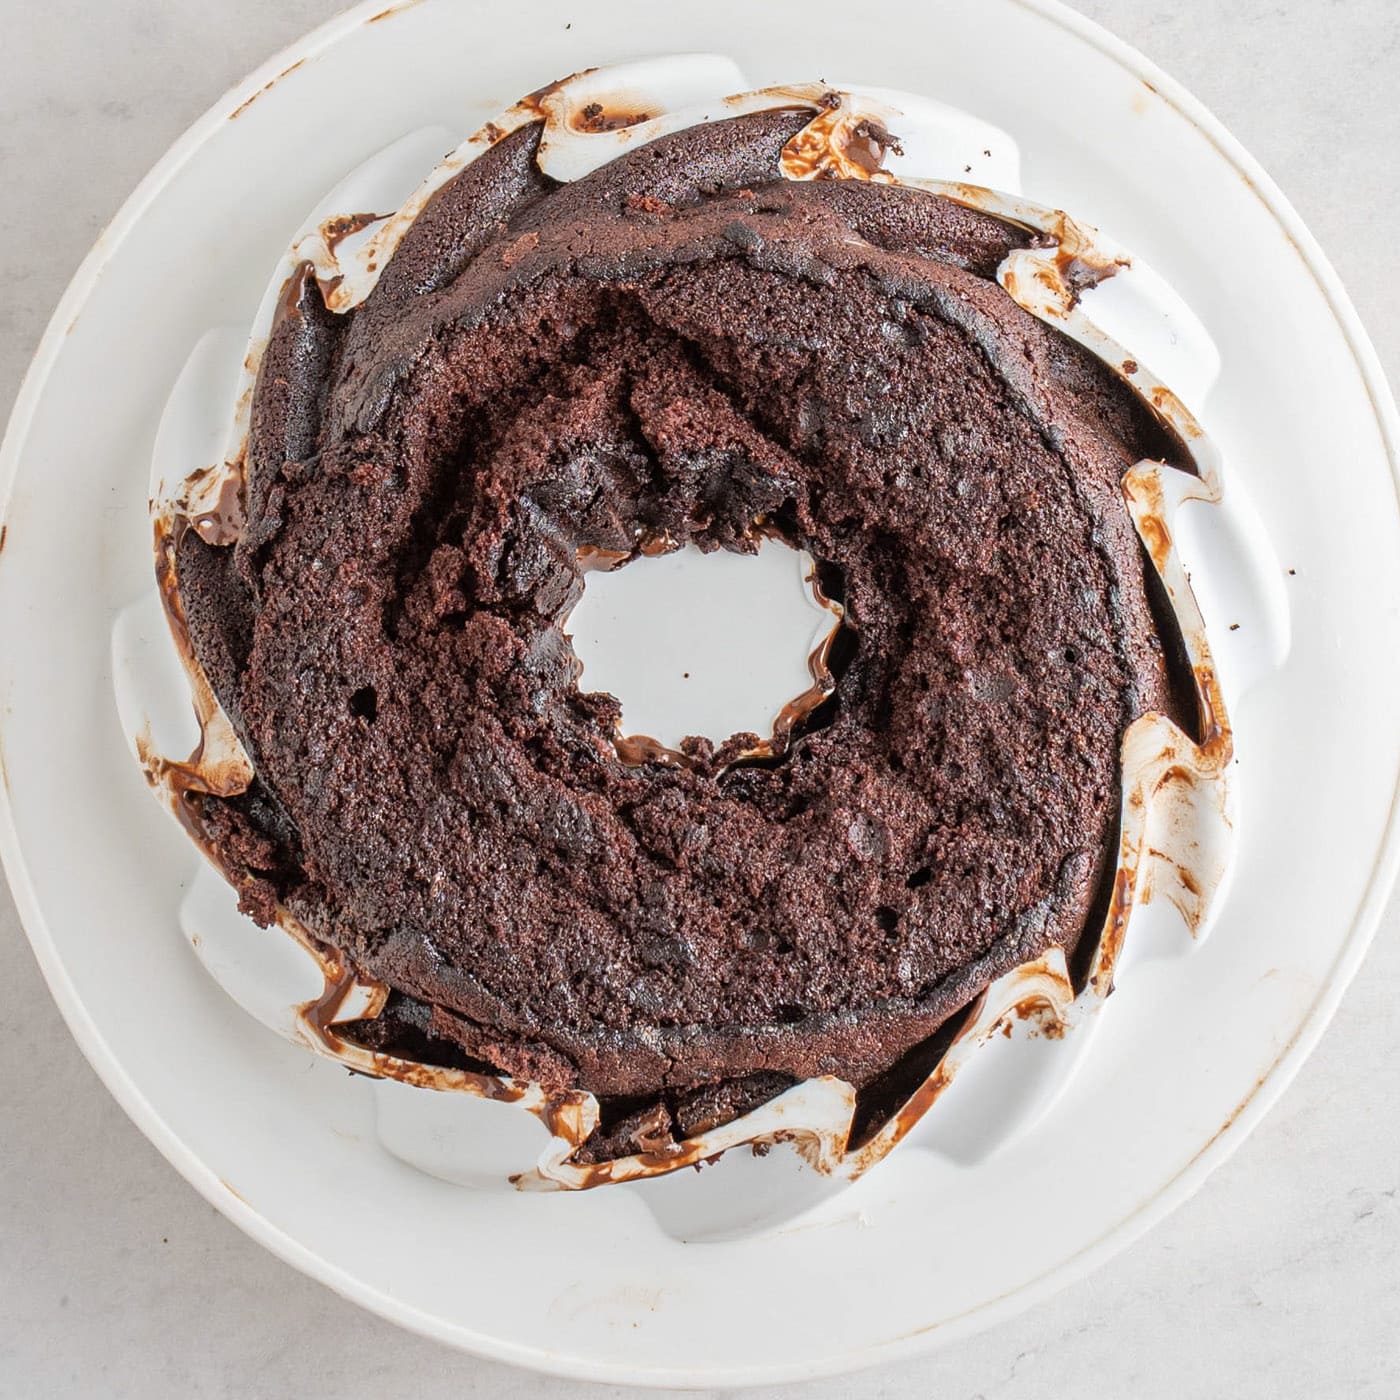
- Remove your chocolate covered cake from the silicone mold and place onto a plate. If there are any holes or cracks where the chocolate is too thin, you may do another layer of chocolate by brushing the mold and placing the covered cake back into it and into the freezer to freeze again.
- Serve and enjoy!
Frequently Asked Questions & Expert Tips
Yes and no. You must use a silicone pan for the chocolate coating to work. It will be extremely difficult if not impossible to remove the chocolate-covered cake once it has set. However, if you don’t plan on adding the chocolate coating on top then you can certainly use a regular bundt pan. This is the bundt cake mold we used, this recipe will make about 3 cakes using this pan.
Store your pound cake in an air-tight container or cake carrier in the refrigerator for up to 1 week.
Yes, you can freeze chocolate pound cake. I would suggest flash freezing the cake until the chocolate coating is nice and hard (or simply after step 6). Once the chocolate is set on the outside, wrap with plastic wrap followed by a layer of aluminum foil. Optionally place it in a large freezer bag and store it in the freezer for up to 4 months.
Absolutely. You can make this cake a day or two in advance if you’d like. It will keep well in the refrigerator if properly stored in an air-tight container.
Serving Suggestions
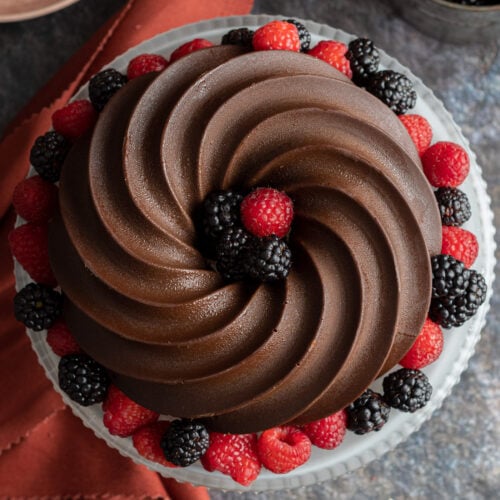
You can serve this chocolate pound cake with a hefty scoop of vanilla ice cream or top it with fresh fruit and whipped cream. If you want to skip the chocolate coating, try dusting it with powdered sugar instead. Add even more character to the cake by lining the base with fresh berries as seen in the photos above. It’s also worth noting that you can add chocolate chips to the batter before baking if desired.
More Cake Recipes
- Pound Cake Cupcakes
- Blueberry Bundt Cake
- Strawberry Bundt Cake
- Whipping Cream Pound Cake
- Maraschino Cherry Bundt Cake
- Orange Poppyseed Pound Cake
- Chocolate Texas Sheet Cake
I love to bake and cook and share my kitchen experience with all of you! Remembering to come back each day can be tough, that’s why I offer a convenient newsletter every time a new recipe posts. Simply subscribe and start receiving your free daily recipes!
Chocolate Pound Cake
IMPORTANT – There are often Frequently Asked Questions within the blog post that you may find helpful. Simply scroll back up to read them!
Print It Rate ItIngredients
- 2 ¼ cup all-purpose flour
- 1 cup unsweetened cocoa dutch cocoa or regular unsweetened
- 1 tsp baking powder
- ¼ tsp baking soda
- 1 ¼ tsp salt
- 1 tsp cinnamon optional
- 2 cup granulated sugar
- 1 ½ cup salted butter at room temperature
- ¾ cup milk whole or 2%
- ⅓ cup sour cream or plain yogurt
- 1 Tbsp vanilla extract
- 6 eggs
- ⅓ cup hot water
Chocolate Coating
- 2 cups semi-sweet chocolate chips
- 1 tsp crisco or butter
Things You’ll Need
- Silicone bundt pan
Before You Begin
- I used salted butter for this recipe. If you use unsalted butter, simply add an extra ½ tsp of salt.
- This recipe has only been tested with all-purpose flour, however, it may be attempted with good results using a gluten-free flour blend such as Pillsbury or Bob’s Red Mill.
- It’s also worth noting that you can add chocolate chips to the batter before baking if desired!
- This is the bundt cake mold we used, this recipe will make about 3 cakes using this pan.
Instructions
- Preheat your oven to 350F. Prep a silicone baking bundt mold by lightly spraying it with baking spray. Silicone is usually nonstick, however, sometimes the corners still stick and since we want crisp edges on this cake, it’s best to spray it for good measure.
- In a medium sized bowl, combine the flour, cocoa, baking powder, baking soda, salt and cinnamon. Set aside.
- In the bowl of a stand mixer, combine the butter and sugar. Using the paddle attachment, cream them together on medium speed for 1 minute. Add in the milk, sour cream and vanilla and beat together. Add in the eggs one at a time while the mixer is still running. Once everything is well incorporated, add in the flour mixture and mix for 1 minute. Add in the hot water and mix for another 30 seconds.
- Pour cake batter into prepared silicone mold. Bake for 70-80 minutes or until a toothpick inserted comes out clean or with moist crumbs. Remove from the oven and let cool completely down. Mine rose a bit in the center so I flipped it onto a plate to cool allowing the top to deflate so it would sit more level with a cake stand. TIP – If your silicone mold is wobbly and does not hold its shape well, you may want to put it onto a flat baking sheet before placing it into the oven so it retains its shape while baking.
- Once your cake is cooled, prep the chocolate topping by placing the chocolate chips and crisco in a medium size, microwave safe bowl. Heat in 30 second increments, stirring in between. Be sure to stir well all the way to the bottom so it does not burn or seize. This should take about 1 ½ – 2 minutes.
- Gently remove the cake from the silicone mold. You may need to rinse or wipe out your mold to ensure it is clean. Pour the chocolate into the mold and using a pastry brush or the back of a spoon, spread the chocolate around the entire mold as evenly as possible. If you have excess chocolate pooled in the bottom once you are done, simply pour it back into the bowl. Carefully place your cooled cake back into the mold ensuring that you line it up with it’s initial grooves. Place into the freezer for at least 2 hours to firm.
- Remove your chocolate covered cake from the silicone mold and place onto a plate. If there are any holes or cracks where the chocolate is too thin, you may do another layer of chocolate by brushing the mold and placing the covered cake back into it and into the freezer to freeze again.
- Serve and enjoy!
Nutrition
Amanda Davis
Latest posts by Amanda Davis (see all)
- Raspberry Poke Cake - January 21, 2025
- Chocolate Covered Strawberries - January 20, 2025
- Cauliflower Pizza Crust - January 13, 2025


J. says
The FAQ section says the recipe will make 3 cakes using the bundt pan you have in the photos. Are those mini cakes? i’m confused about making 3 cakes w/ this recipe.
Amanda Formaro says
I apologize for the confusion. This recipe will make one cake in a regular sized bundt pan. Using a silicone pan was absolutely necessary for making the coating for the outside of the cake as using a typical bundt pan would not have allowed the chocolate to come out.
Rhoda says
Very nice and easy 👌out of this world