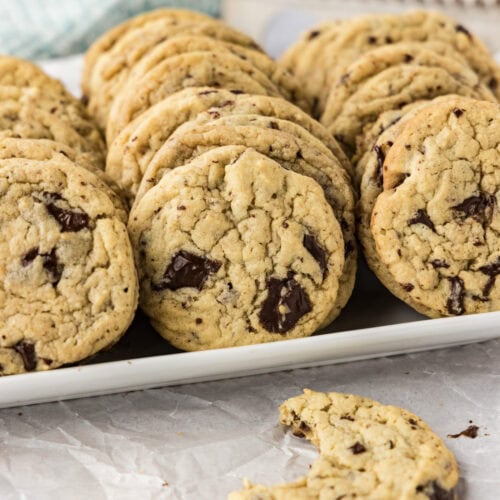
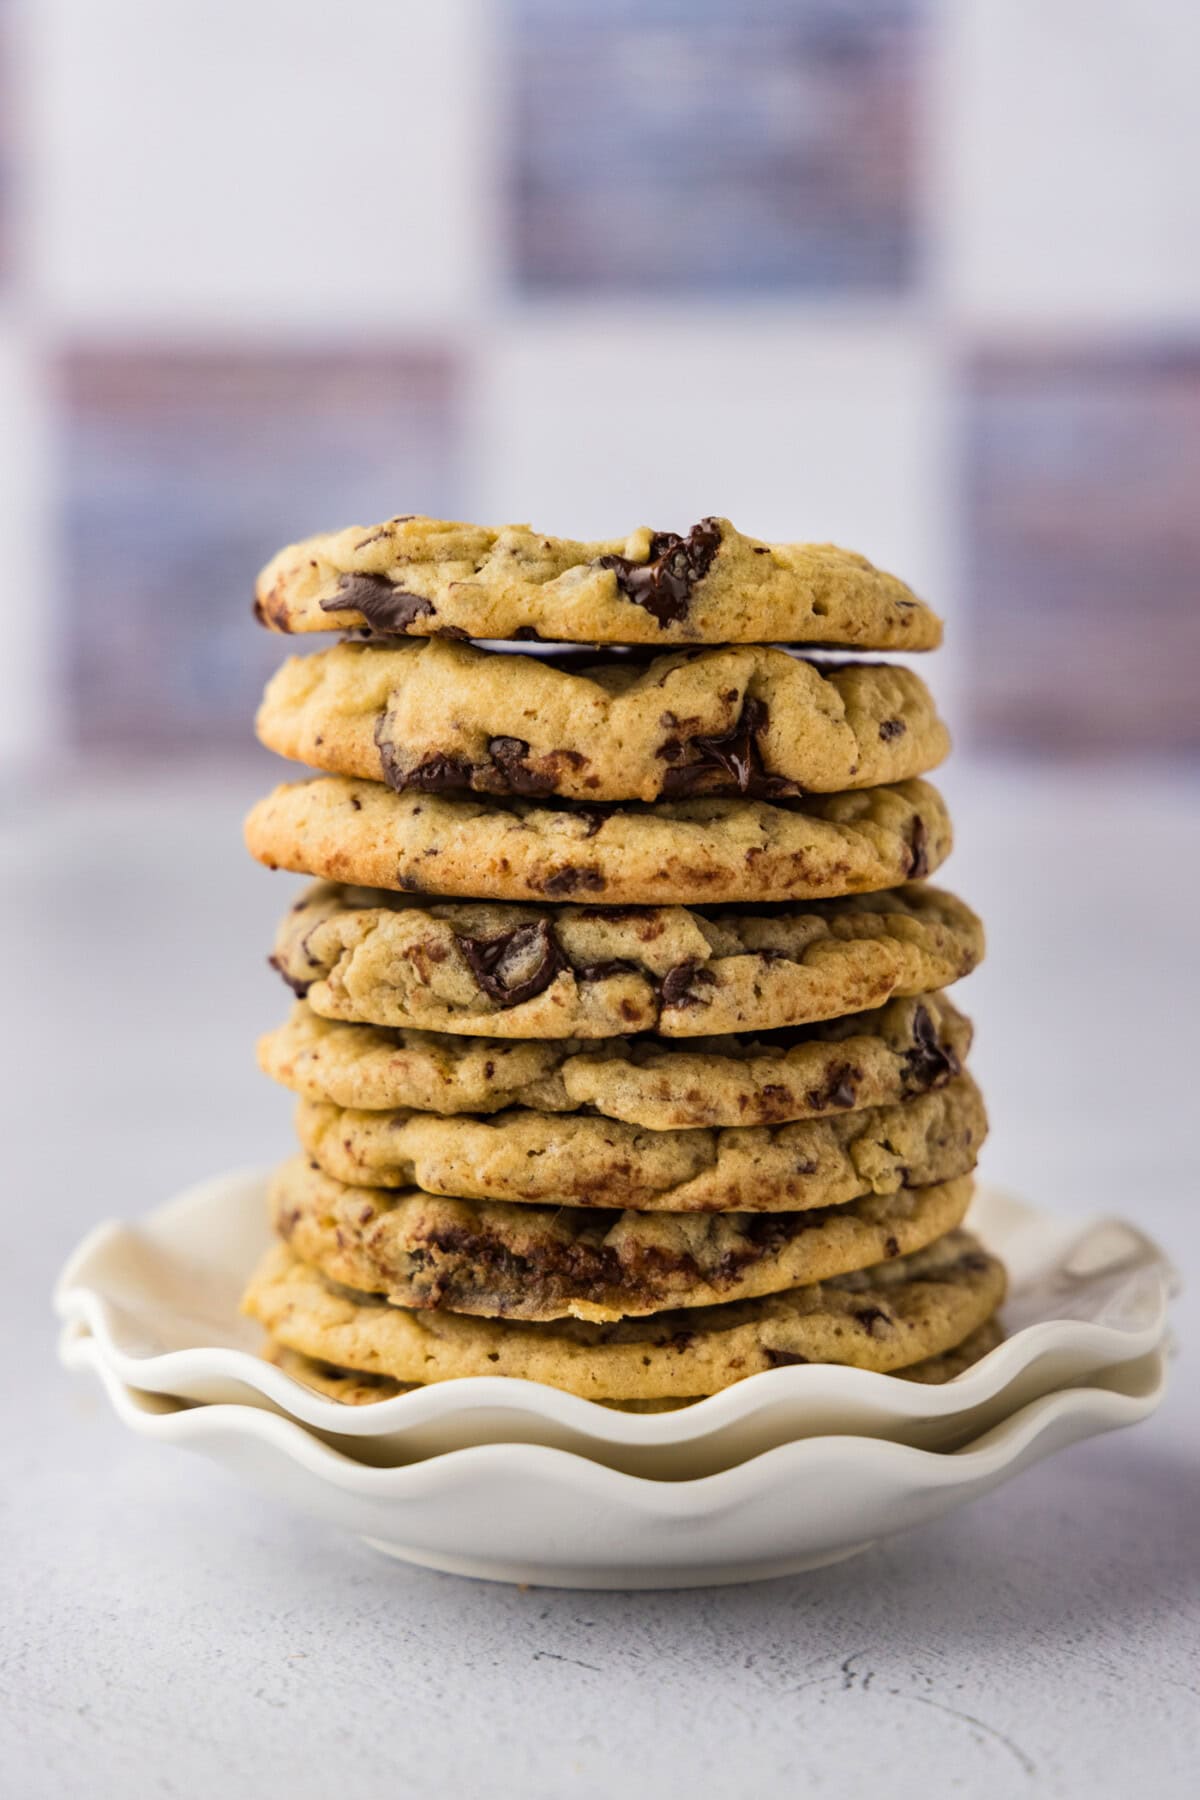
These easy buttermilk chocolate chip cookies are extra soft with a subtle tang and enhanced chocolate-studded taste thanks to their special ingredient!
Why this recipe works
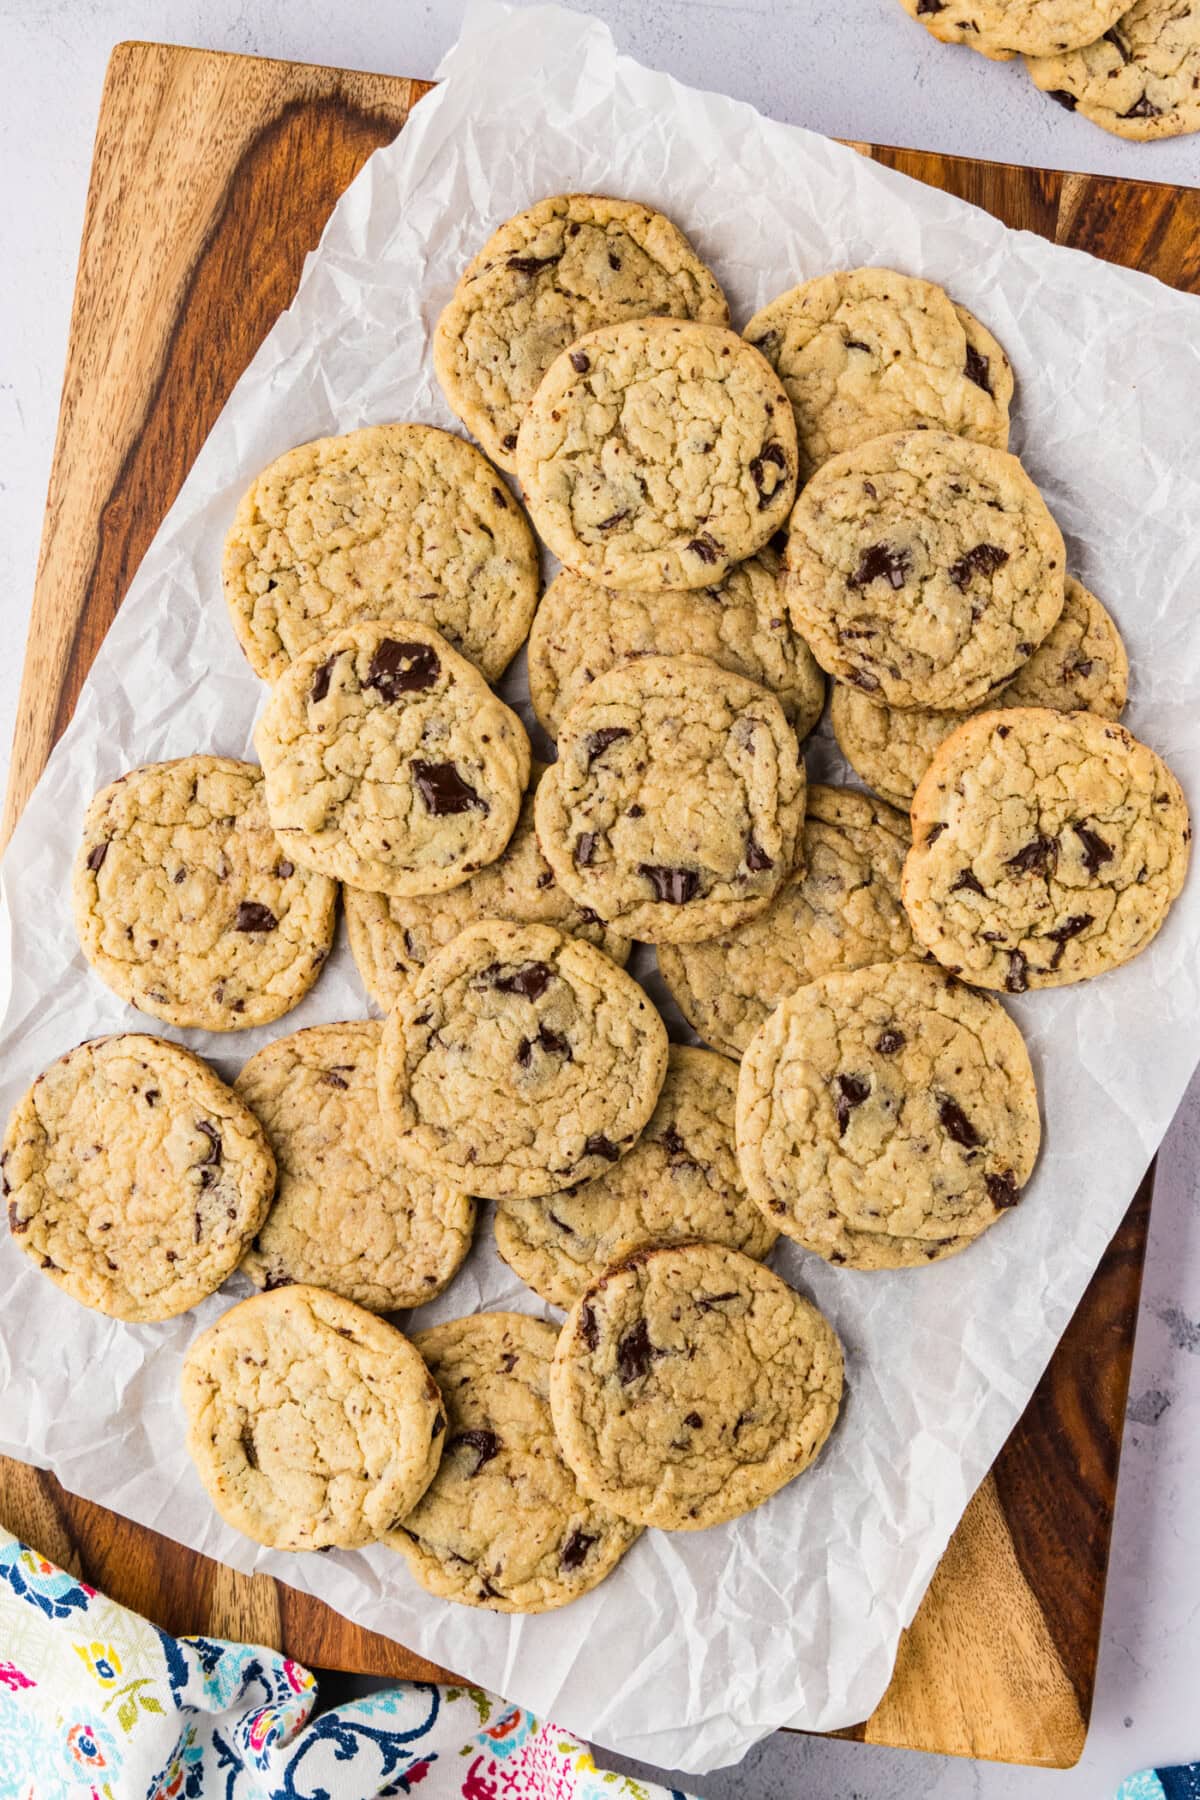
I’ve been making these old fashioned buttermilk chocolate chip cookies for years now. They are less sweet than “regular” chocolate chip cookies, but they are no less addictive! These cookies are excellent for those who love a good cookie but don’t have a massive sweet tooth.
So, why use buttermilk? Using buttermilk in chocolate chip cookies essentially tenderizes the dough by weakening the gluten, which results in a softer cookie. It also leaves behind a little tang, balancing the sweetness you would typically get from a classic chocolate chip cookie, while enhancing the flavor of the chocolate all in one. The buttermilk reacts with the baking soda, helping the dough rise. It’s a great example of the term “baking is a science”!
Ingredients you will need
Get all measurements, ingredients, and instructions in the printable version at the end of this post.
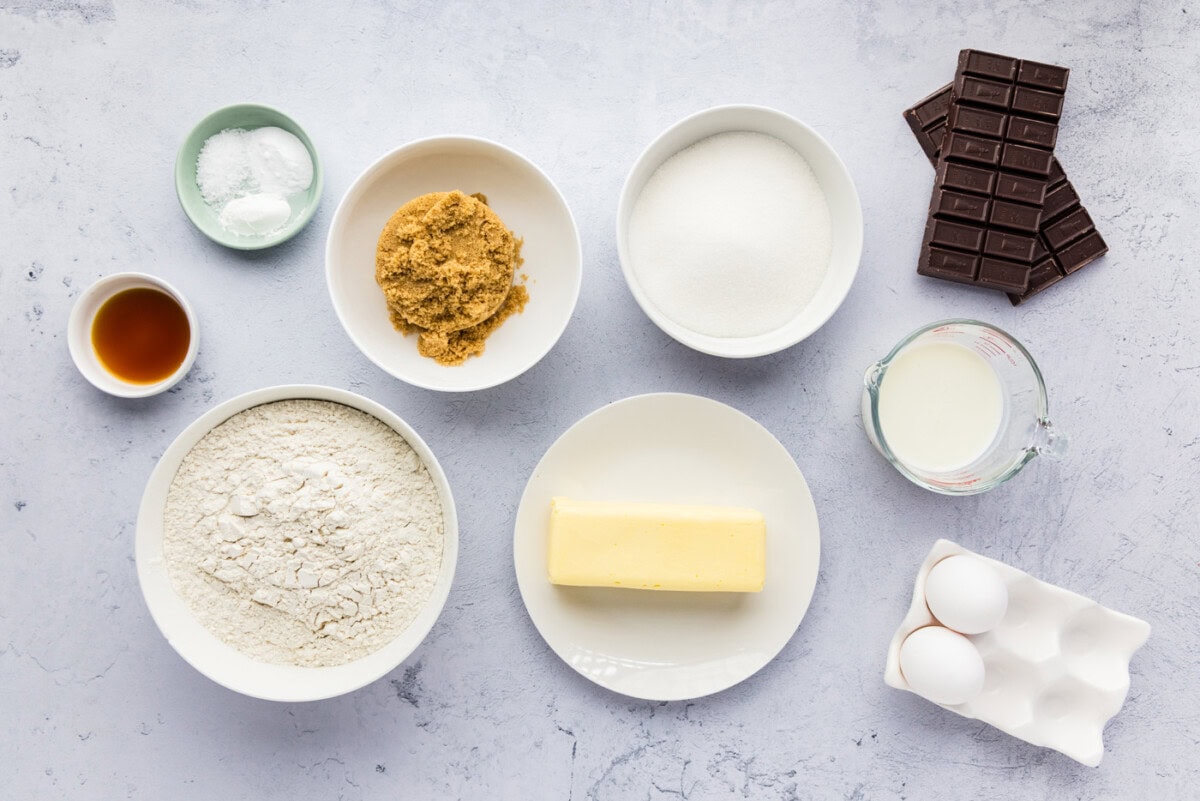
Ingredient Info and Substitution Suggestions
FLOUR – I highly recommend using a kitchen scale whenever you are baking. It truly makes a huge difference using weights instead of scooping, especially when it comes to flour, as it’s easy to under or over measure.
CHOCOLATE – We use baking chocolate and chop it ourselves. However, you can certainly use chocolate chips instead. Semi-sweet or dark chocolate is excellent here.
KOSHER SALT – I use Kosher salt in these, which helps bring out the sweetness of the chocolate a little more and adds that tiny salty kick.
How to Make Buttermilk Chocolate Chip Cookies
These step by step photos and instructions are here to help you visualize how to make this recipe. You can Jump to Recipe to get the printable version of this recipe, complete with measurements and instructions at the bottom.
- Preheat oven to 350 F. Line cookie sheets with parchment paper.
TIP – We highly recommend insulated baking sheets when making cookies. They help protect the bottom of the cookies from browning too fast. If you don’t have one, you can simply stack two baking pans instead. - Whisk together flour, baking powder, baking soda, and Kosher salt. Set aside.
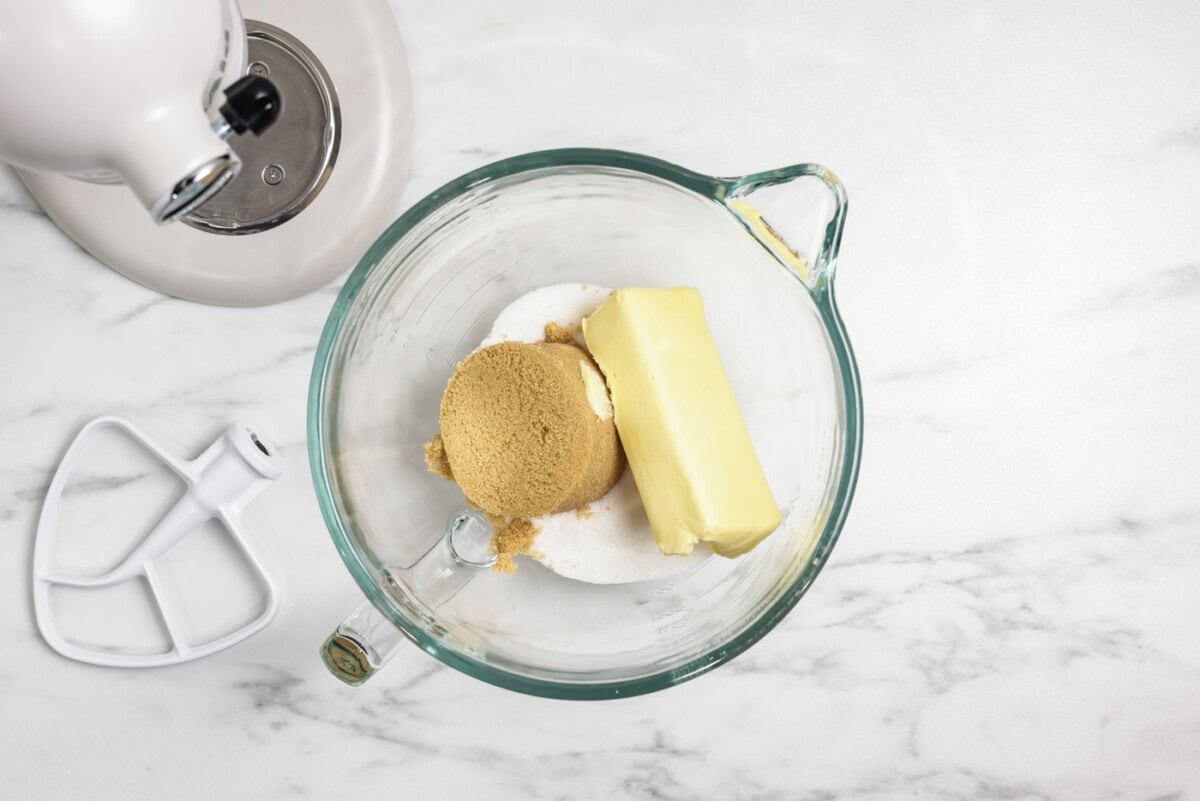
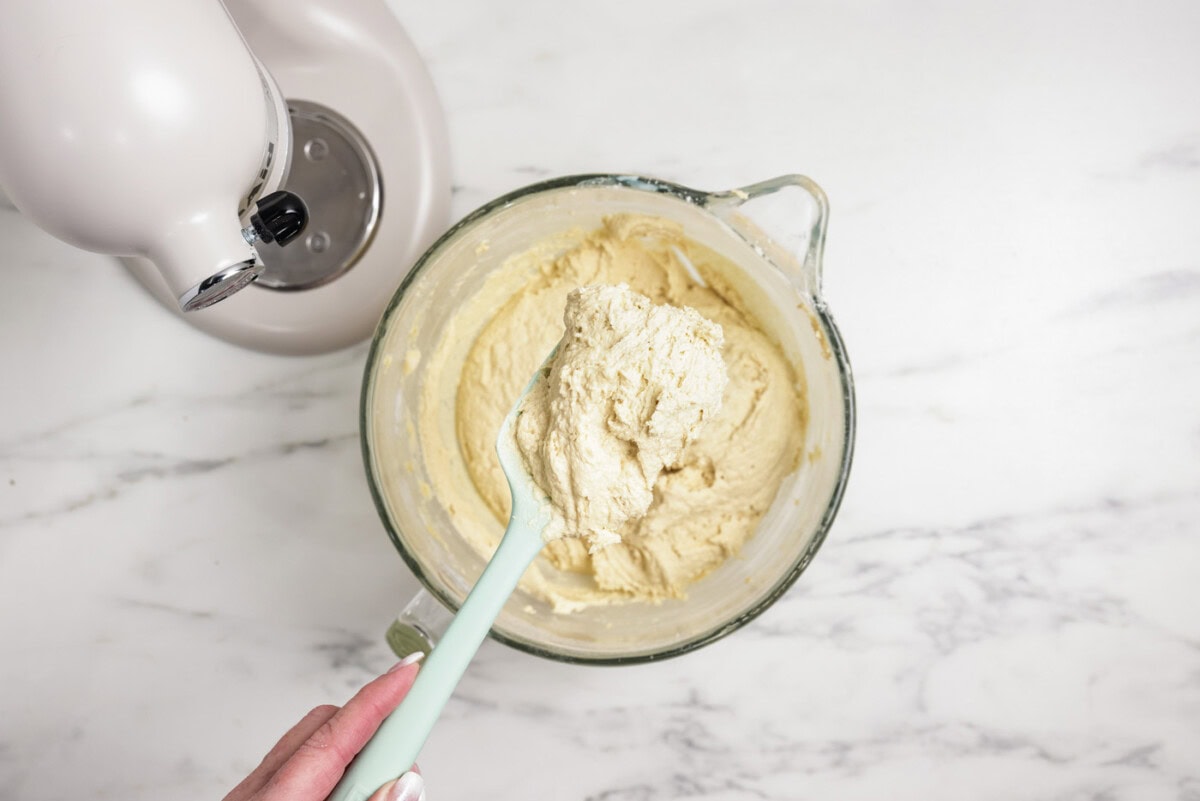
- Cream shortening and both sugars on medium speed in an electric mixer until light and fluffy, about 3 minutes.
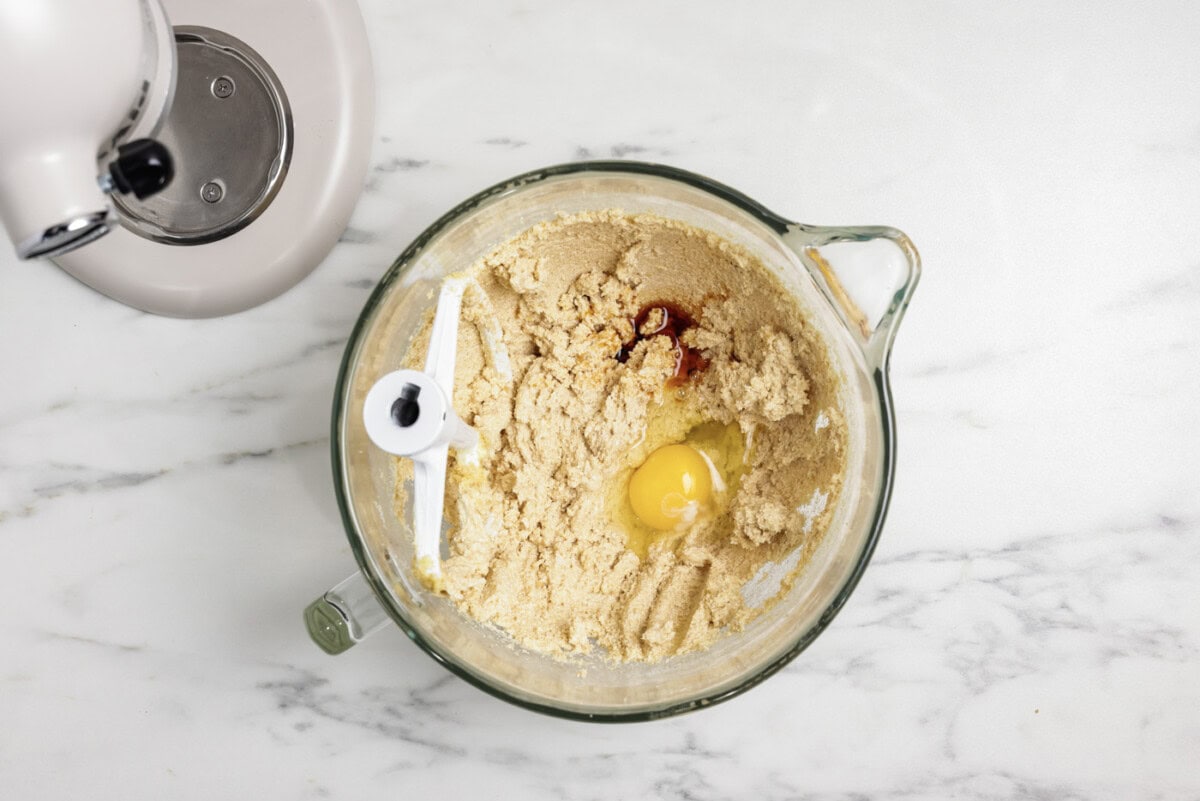
- Add eggs, one at a time, mixing for one minute after each addition. Add vanilla.
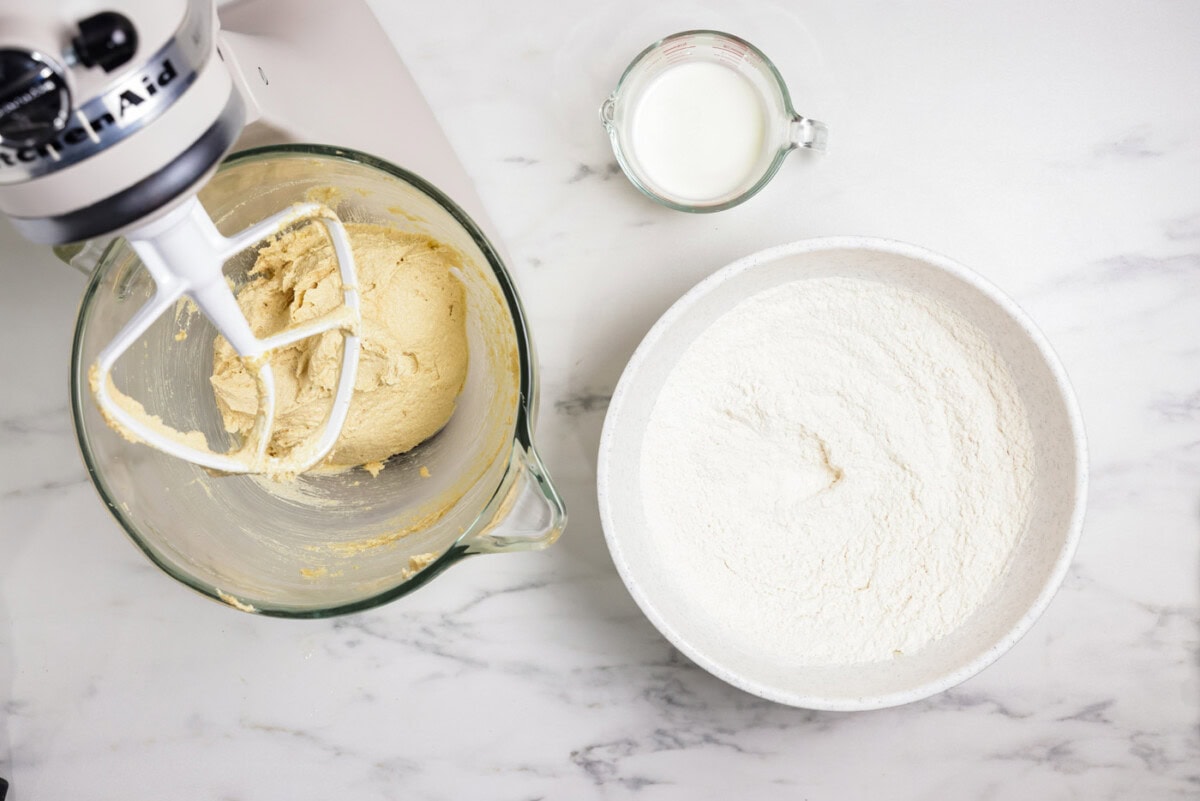
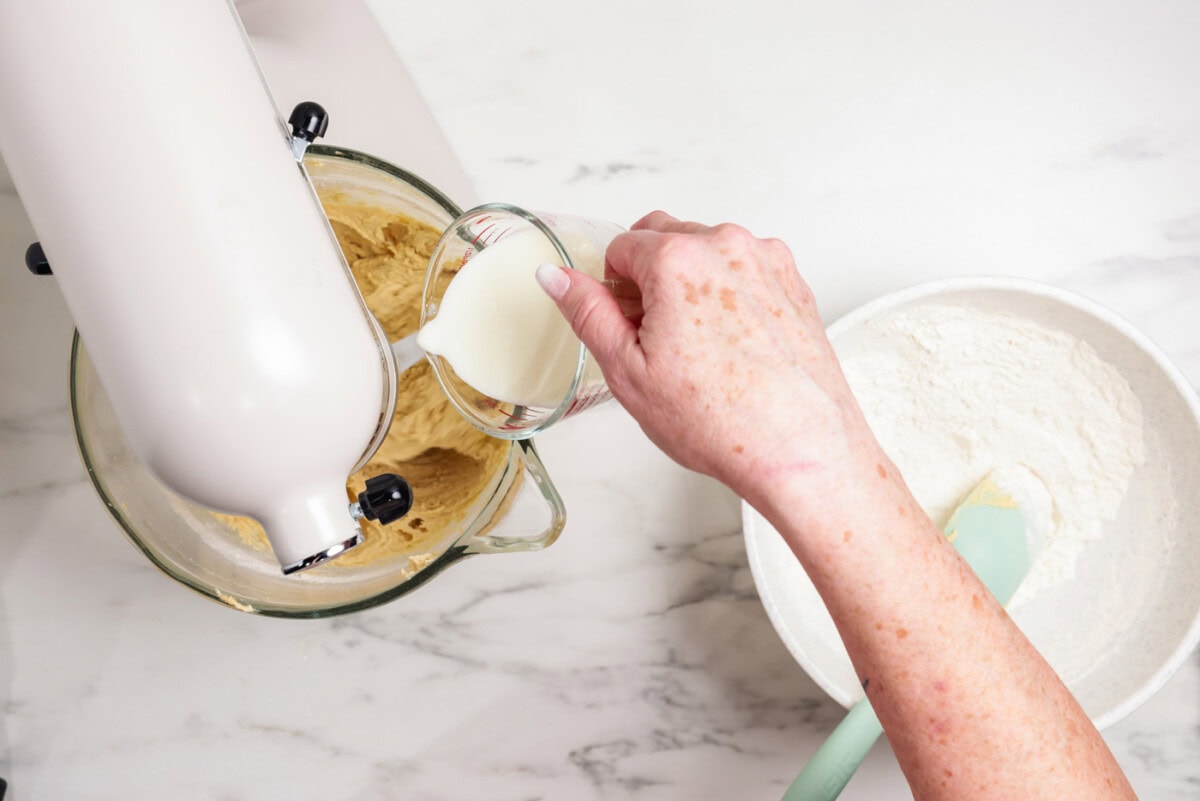
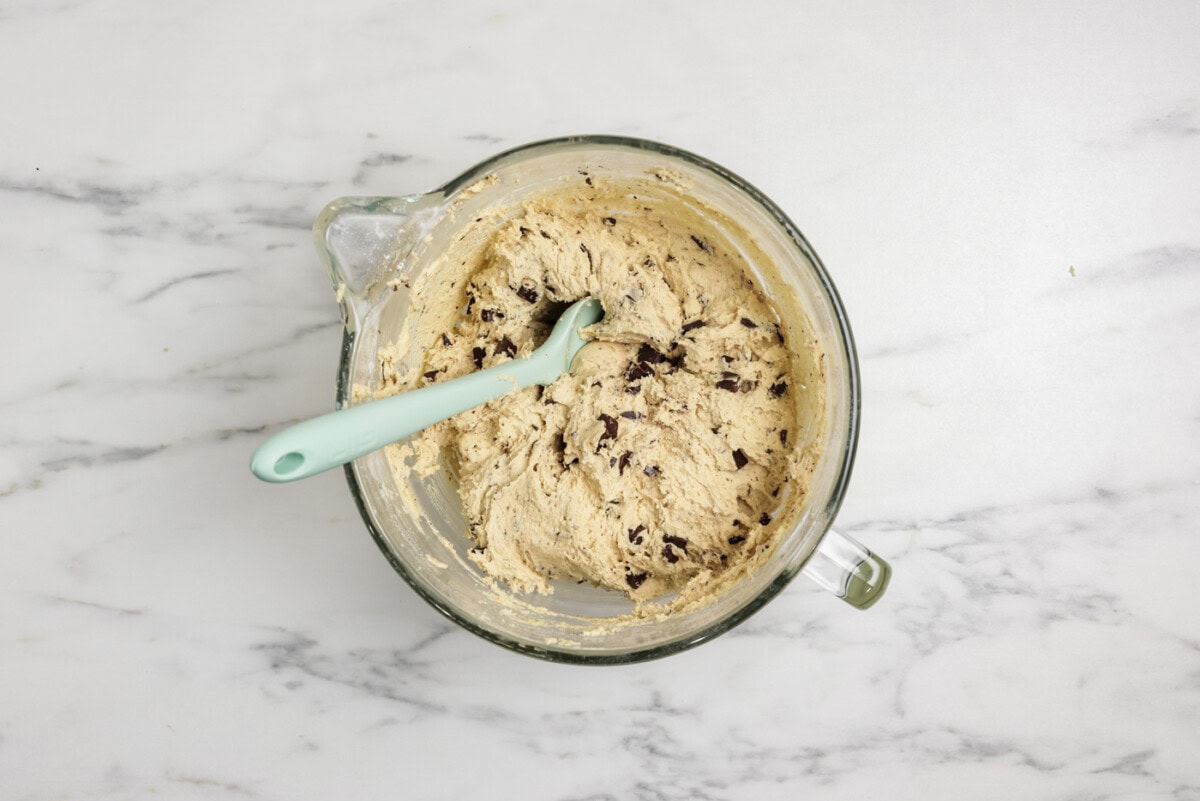
- Reduce mixer to low speed and slowly add flour mixture in 3 additions, alternating with buttermilk in two additions (flour, buttermilk, flour, buttermilk, flour).
- Turn off mixer and fold in chocolate.
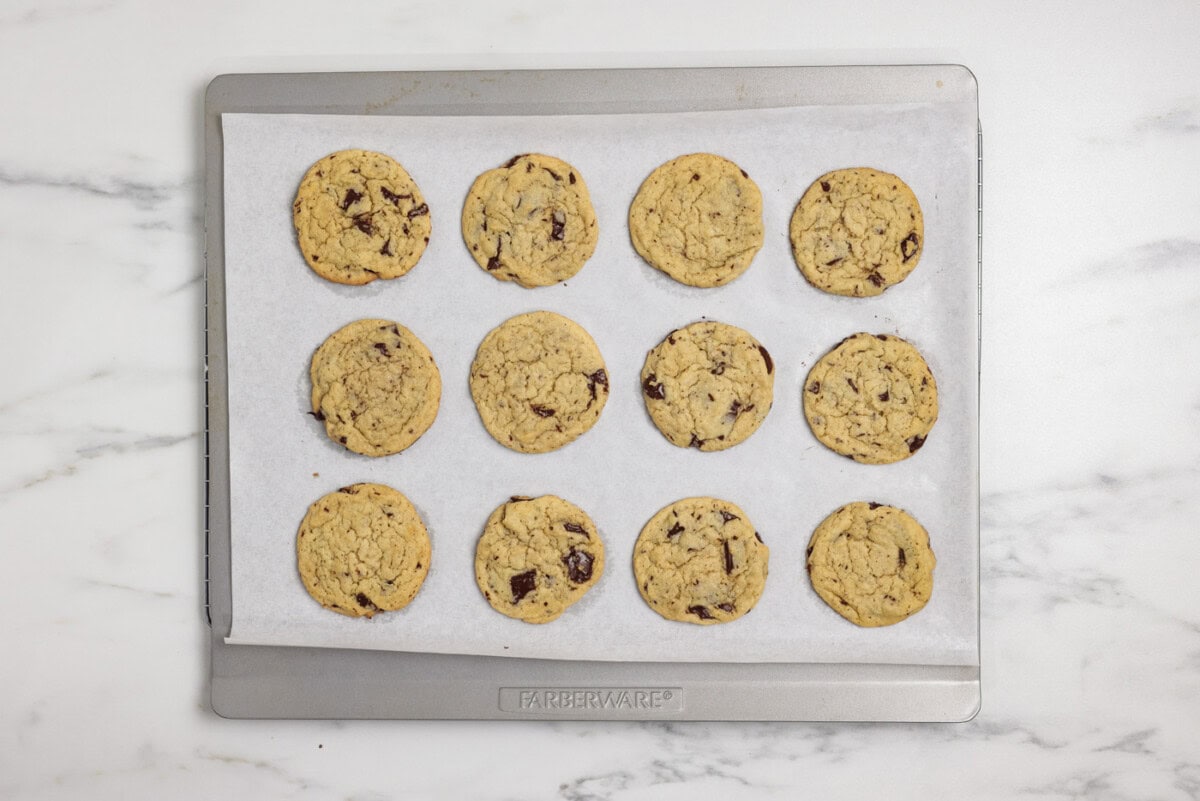
- Use a 2-tablespoon-sized (standard) cookie scoop and place on cookie sheet, about 2 inches apart. Bake for 10-12 minutes, or until edges are lightly browned.
- Immediately slide parchment onto cooling rack and let cookies cool for 5 minutes. Transfer cookies from parchment directly to cooling rack to cool completely.
Frequently Asked Questions & Expert Tips
Too many cookies? You don’t have to bake them all at once. Portion them out with your cookie scoop and freeze the dough balls on a wax paper-lined sheet or plate. When frozen, pop them into a freezer bag to be baked later, one at a time if you like! You can freeze the dough balls for up to 3 months. Allow them to sit on the baking sheet while you preheat the oven.
These cookies stay soft for days, even longer than a traditional cookie, thanks to the buttermilk. Store the fully cooled cookies in an airtight container or sealed ziptop bag squeezed of excess air for up to 5 days at room temperature. They may last even longer than that, though!
If you’d like to replace the buttermilk in this recipe, I would suggest hopping over to a traditional chocolate chip cookie recipe as this specific recipe is built around using buttermilk.
Your dough is sticky thanks to the buttermilk, which adds extra moisture to the mix. This is normal for this recipe, so don’t fret. If you can’t seem to work with it, pop it in the refrigerator for 30 minutes to chill.
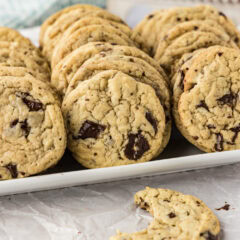
Buttermilk chocolate chip cookies are paler compared to other cookies. In short, the buttermilk’s acidity prevents deep browning from happening. Your cookies should be lightly golden around the edges and on the bottom. The edges should be set and the center should be slighty soft and pale when done.
Yes, you can substitute the two with an equal 1:1 swap. However, due to the water content in butter, your cookies will spread more, and the texture will be crisper. Shortening makes these cookies soft and puffy.
Serving Suggestions
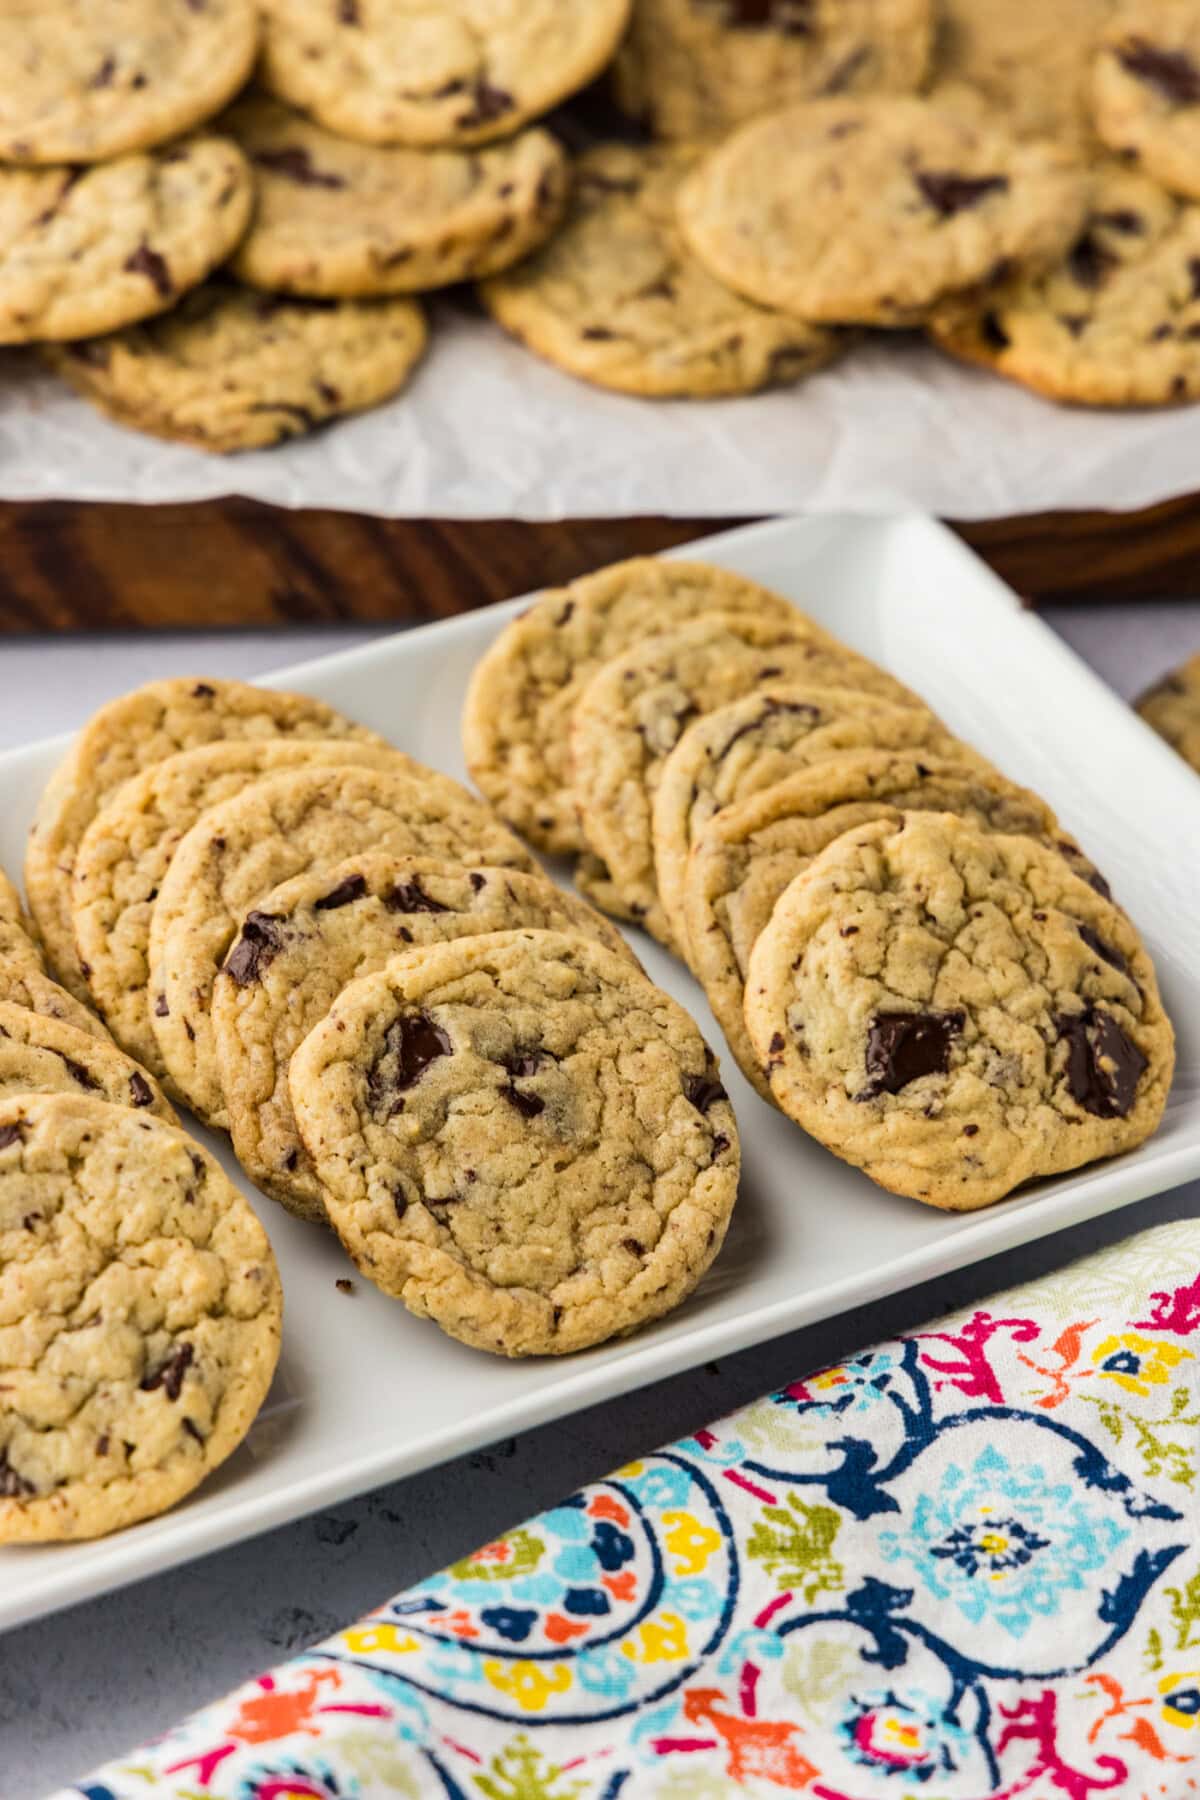
A cookie simply isn’t complete without a glass of cold milk. Serve your buttermilk chocolate chip cookies warm while the chocolate is still melty, bonus points if you pair it with vanilla ice cream. Since this recipe yields about 48 cookies, I always freeze half of the batch to pull out later. Hope you love them!
More Chocolate Chip Cookie Recipes
- Orange Chocolate Chip Cookies
- Chocolate Chip Pudding Cookies
- Double Tree Chocolate Chip Cookies
- Chocolate Chip Espresso Cookies
I love to bake and cook and share my kitchen experience with all of you! Remembering to come back each day can be tough, that’s why I offer a convenient newsletter every time a new recipe posts. Simply subscribe and start receiving your free daily recipes!
Buttermilk Chocolate Chip Cookies
IMPORTANT – There are often Frequently Asked Questions within the blog post that you may find helpful. Simply scroll back up to read them!
Print It Pin It Rate ItIngredients
- 467 grams all purpose flour 3 1/2 cups. 16.44 ounces
- 1 teaspoon baking powder
- 1 teaspoon baking soda
- 1 teaspoon Kosher salt
- 192 grams butter flavored shortening 1 cup. 6.75 ounces
- 200 grams granulated sugar 1/2 cup. 7.1 ounces
- 227 grams packed light brown sugar 1 1/2 cups. 8 ounces
- 2 large eggs
- 2 teaspoon vanilla extract
- 4 ounces buttermilk 1/2 cup
- 8 ounces chopped semisweet chocolate
Things You’ll Need
- Stand mixer or hand mixer
Before You Begin
- I highly recommend using a kitchen scale when you are baking. It truly makes a huge difference using weights instead of scooping, especially when it comes to flour, as it’s easy to under or over measure.
- Insulated baking sheets are best when making cookies. They help protect the bottom of the cookies from browning too fast. If you don’t have one, you can simply stack two baking pans instead.
- We use baking chocolate and chop it ourselves. However, you can certainly use chocolate chips instead.
Instructions
- Preheat oven to 350 F. Line cookie sheets with parchment paper.
- Whisk together flour, baking powder, baking soda, and Kosher salt. Set aside.467 grams all purpose flour, 1 teaspoon baking powder, 1 teaspoon baking soda, 1 teaspoon Kosher salt
- Cream shortening and both sugars on medium speed in electric mixer until light and fluffy, about 3 minutes.192 grams butter flavored shortening, 200 grams granulated sugar, 227 grams packed light brown sugar
- Add eggs, one at a time, mixing for one minute after each addition. Add vanilla.2 large eggs, 2 teaspoon vanilla extract
- Reduce mixer to low speed and slowly add flour mixture in 3 additions, alternating with buttermilk in two additions (flour, buttermilk, flour, buttermilk, flour).4 ounces buttermilk
- Turn off mixer and fold in chocolate.8 ounces chopped semisweet chocolate
- Use a 2-tablespoon sized (standard) cookie scoop and place on cookie sheet, about 2 inches apart. Bake for 10-12 minutes, or until edges are lightly browned.
- Immediately slide parchment onto cooling rack and let cookies cool for 5 minutes. Transfer cookies from parchment directly to cooling rack to cool completely.
Expert Tips & FAQs
- These cookies stay soft for days, even longer than a traditional cookie thanks to the buttermilk. Store the fully cooled cookies in an airtight container or sealed ziptop bag squeezed of excess air for up to 5 days at room temperature. They may last even longer than that, though!
- Too many cookies? You don’t have to bake them all at once. Portion them out with your cookie scoop and freeze the dough balls on a wax paper lined sheet or plate. When frozen, pop them into a freezer bag to be baked later – one at a time if you like! You can freeze the dough balls for up to 3 months. Allow them to sit on the baking sheet while you preheat the oven.
Nutrition
The recipes on this blog are tested with a conventional gas oven and gas stovetop. It’s important to note that some ovens, especially as they age, can cook and bake inconsistently. Using an inexpensive oven thermometer can assure you that your oven is truly heating to the proper temperature. If you use a toaster oven or countertop oven, please keep in mind that they may not distribute heat the same as a conventional full sized oven and you may need to adjust your cooking/baking times. In the case of recipes made with a pressure cooker, air fryer, slow cooker, or other appliance, a link to the appliances we use is listed within each respective recipe. For baking recipes where measurements are given by weight, please note that results may not be the same if cups are used instead, and we can’t guarantee success with that method.
This recipe comes from Linda Amendt’s cookie book, 400 Sensational Cookies. This post originally appeared here on Feb 10, 2010 and has since been updated with new photos and expert tips.

- 26 Best Ground Beef Casseroles for Easy Family Dinners - July 8, 2026
- Strawberry Shortcake Kabobs - July 2, 2026
- 30 Ground Beef Dinners Ready in 30 Minutes - June 26, 2026


Kathy says
Hi Amanda,
just wanted to compliment your recipe for these cookies. They are the best flavored and easiest to make cookies. Everyone loves them
My compliments to you and thanks for the great recipe,
Kathy
Leslie LAMANNA says
Used 1/2 the sugar (coconut sugar) and a pinch more salt. Fantastic flavor!
allie says
these cookies look fantastic, however the taste was very bland for me, definitly will still be finishing the whole batch, however maybe add more salt and alittle less sugar would be my reccomendation. definitly a good cookie base for additives though!
Lara says
I just made these using a 1:1 gluten free flour. I had to bake them a minute longer. Yes they puffed up right out of the oven but them fell flat (cookie flat) as they were cooling. They are really good. But my daughter liked the “bag” recipe for the dough better