
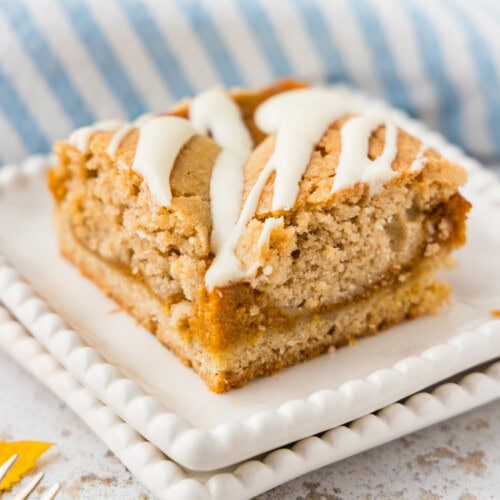
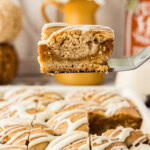
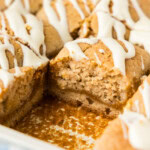
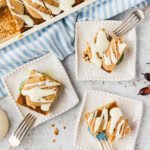
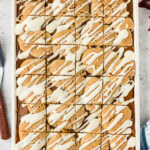
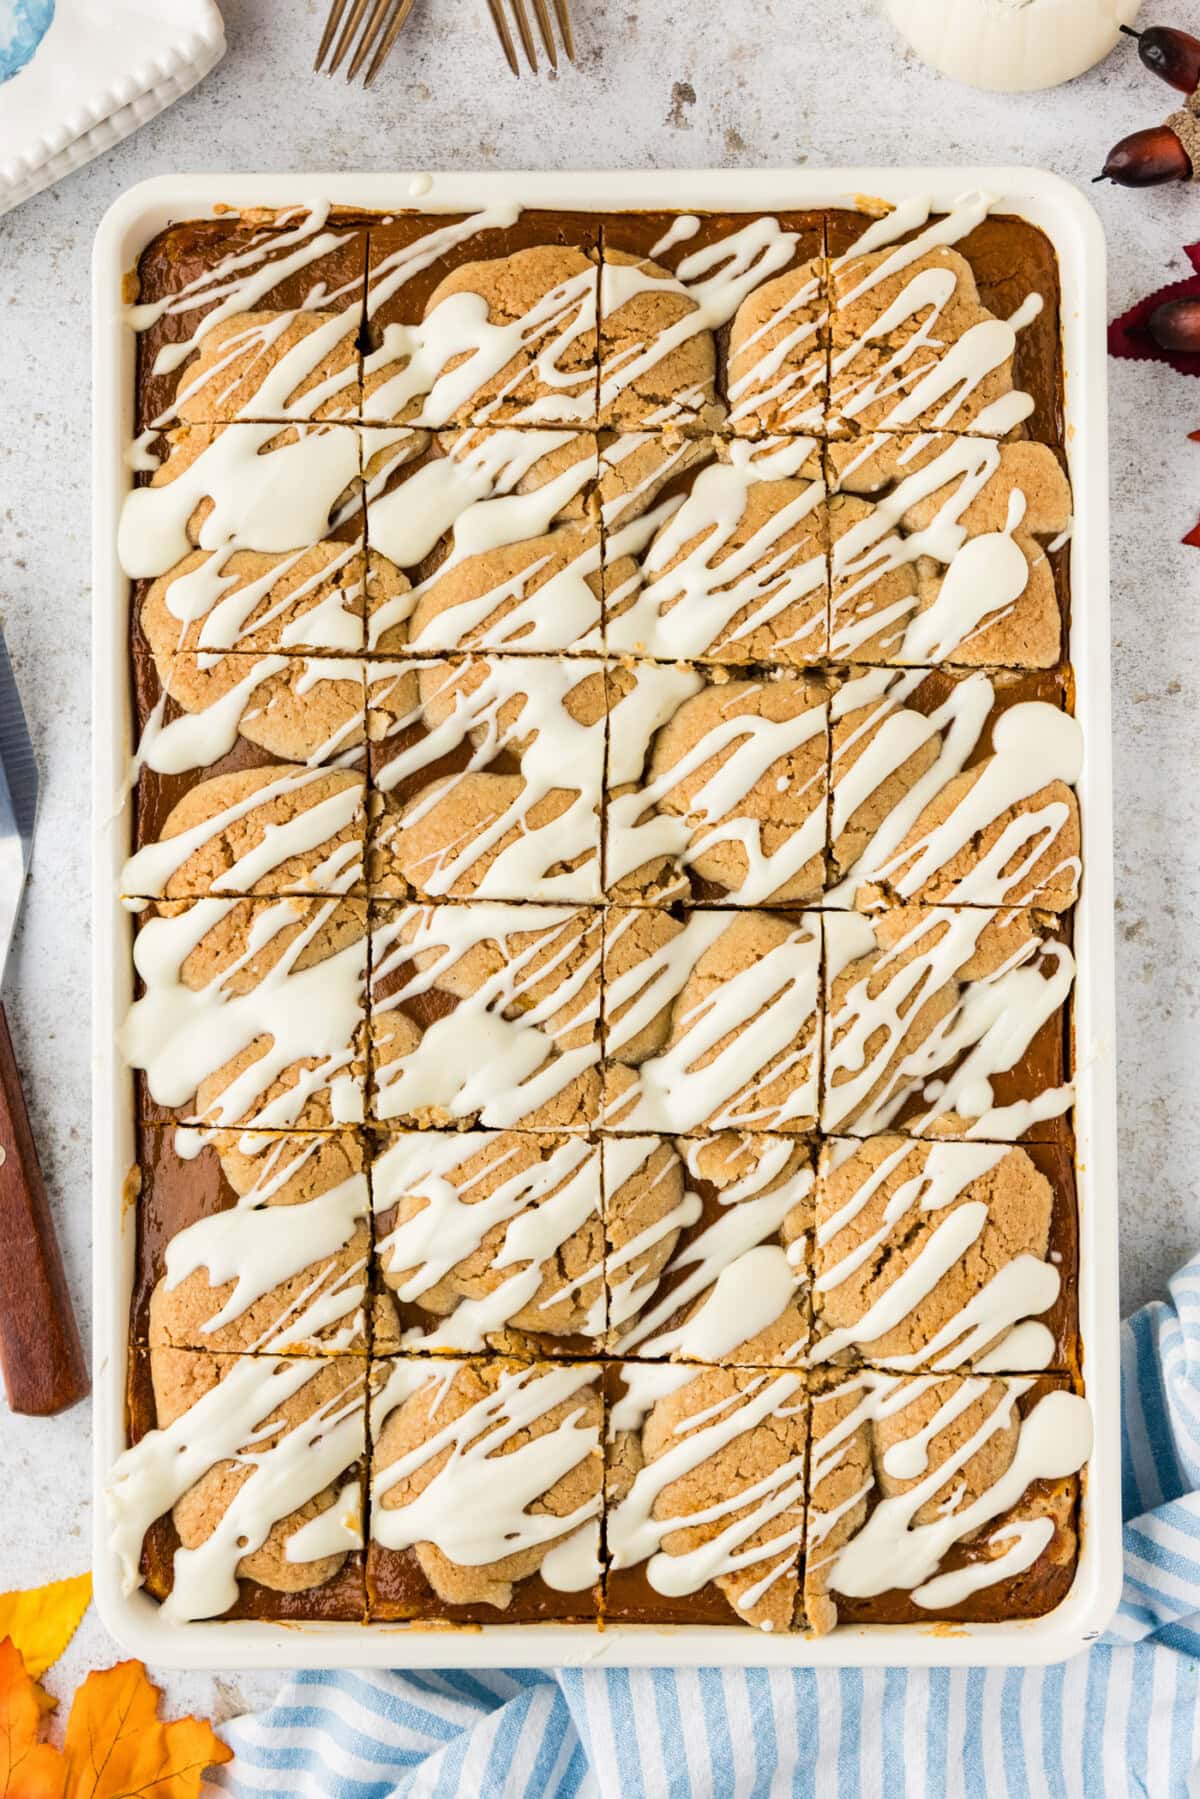
Soft, cakey pumpkin pie squares with pumpkin baked right into the middle and a cream cheese drizzle on top. No pie crust, no rolling pin, and it’s perfect for feeding a crowd!
Why this recipe works
There’s no pastry crust with these pumpkin pie squares. Think of it as a cake inspired by pumpkin pie. Half of the batter is placed down as the base, then the pumpkin layer goes on top of that, followed by spoonfuls of the remaining batter on top. Nothing to roll out, nothing to crimp or blind bake, and there’s no soggy bottom to worry about. It’s a cross between a pumpkin bar and a coffee cake that’s soft, sweet, and pillowy.
When my kids were younger, we used to go camping quite a bit. I guess it was technically “glamping” since we did so in an RV! Either way it was lots of fun and I often made my blackberry pie squares to take along. Everyone always loved them, so I really wanted to come up with a pumpkin version. I hope you enjoy this creation as much as we do here!
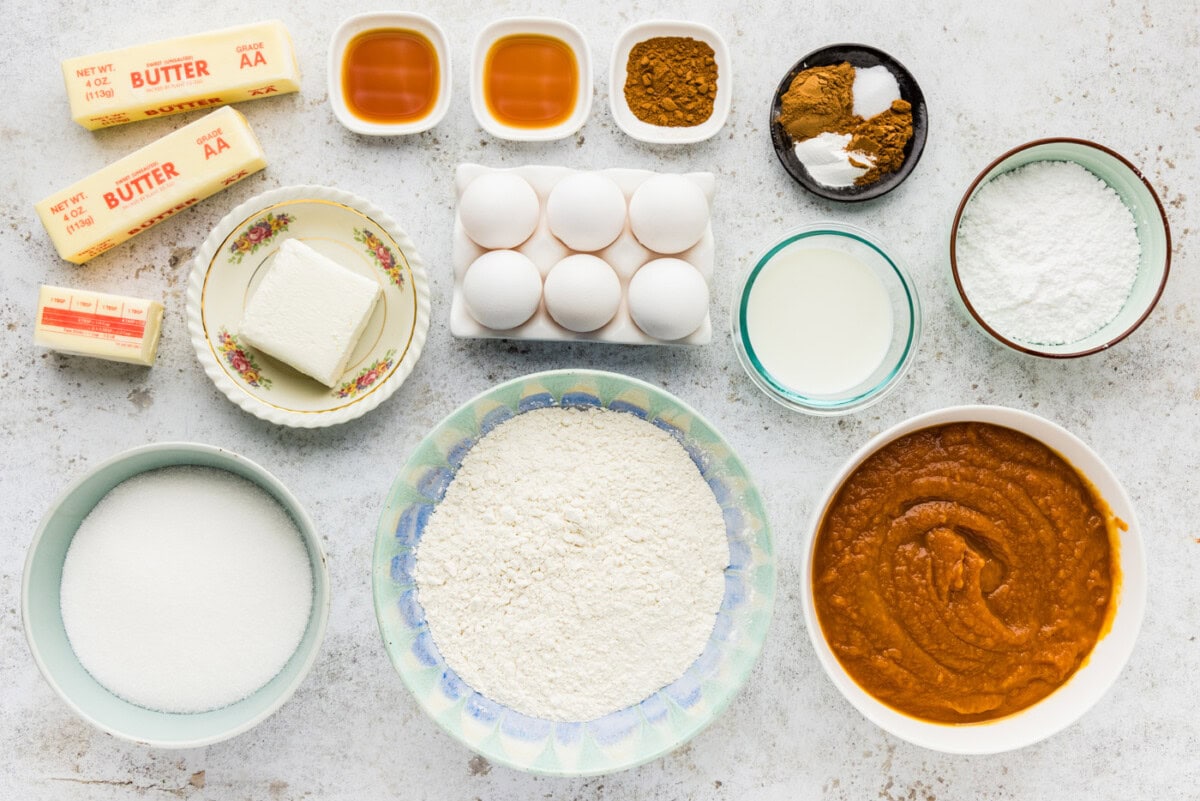
Ingredients you will need
Get all measurements, ingredients, and instructions in the printable version at the end of this post.
Ingredient Info and Substitution Suggestions
CANNED PUMPKIN PIE MIX – You need 30 ounces of pumpkin pie mix, which is already sweetened and spiced, not 100% pure pumpkin. Double check the can before starting! This specific recipe is built around using pumpkin pie mix, so if you swap it out with pure pumpkin it simply will not taste the same.
EGGS – Two of them go into the pumpkin along with the four in the batter. Canned pie mix is thinner than canned fruit pie filling, which comes out of the can already thickened, so the eggs are what help firm up the pumpkin layer so it’s easier to slice.
CREAM CHEESE – Use brick-style cream cheese, not the spreadable kind that comes in a tub. Let your cream cheese come to room temperature before starting. Cold cream cheese will leave lumps you can’t beat out once the sugar and milk are in. Those lumps will prevent the drizzle from actually drizzling and will pour out in blobs instead of pretty lines.
PUMPKIN PIE SPICE AND CINNAMON – Both the batter and the filling get spiced for extra flavor. Although the mix is already spiced, adding extra really helps make the flavor pop.
How to Make Pumpkin Pie Squares
These step by step photos and instructions are here to help you visualize how to make this recipe. You can Jump to Recipe to get the printable version of this recipe, complete with measurements and instructions at the bottom.
- Preheat oven to 350°F. Set an ungreased 15×10 jelly roll pan onto a 17×12 rimmed baking sheet.
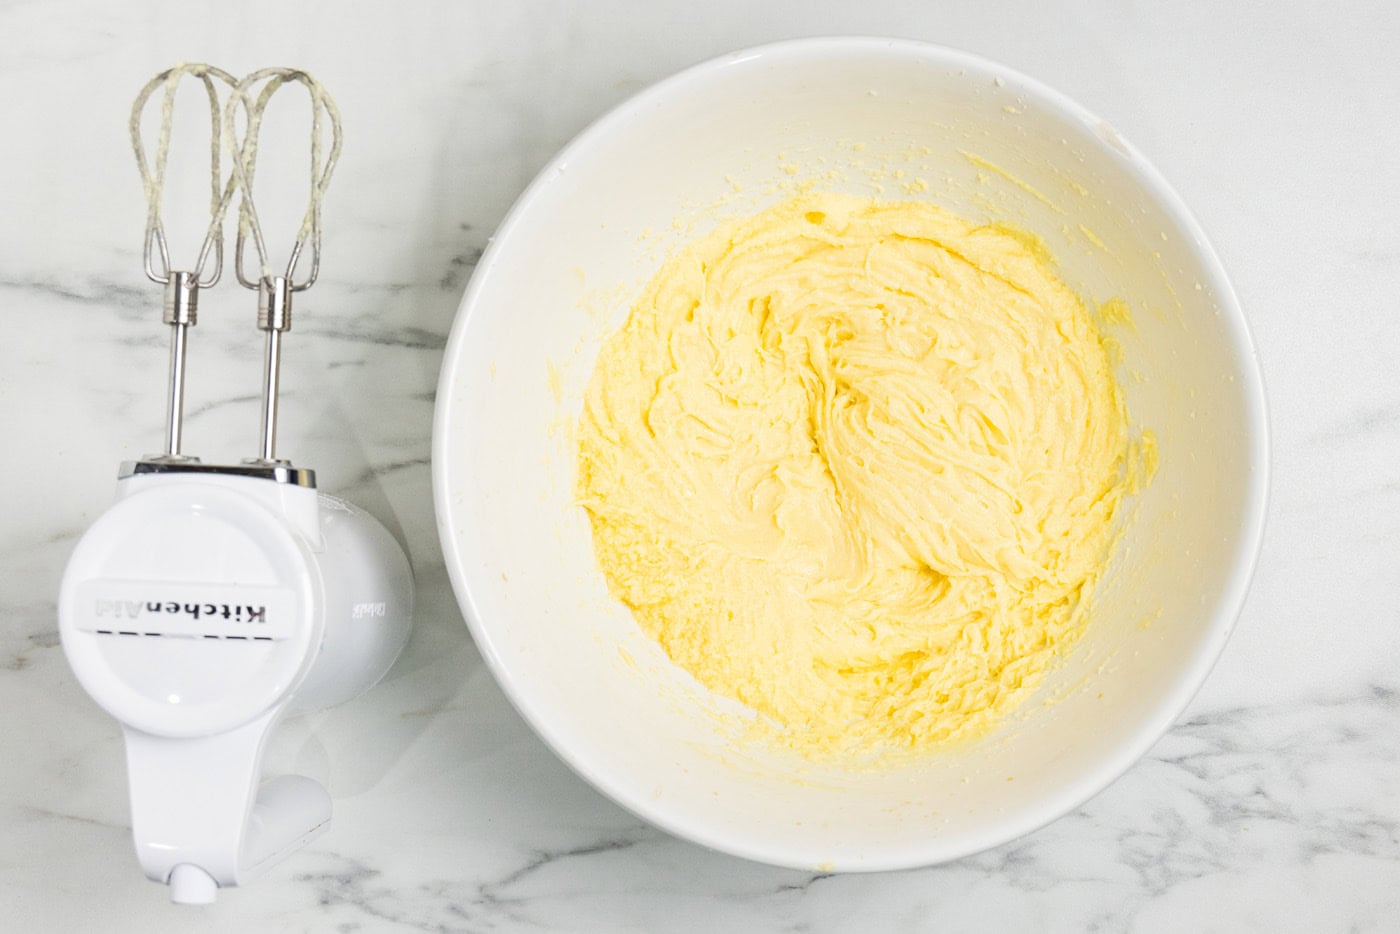
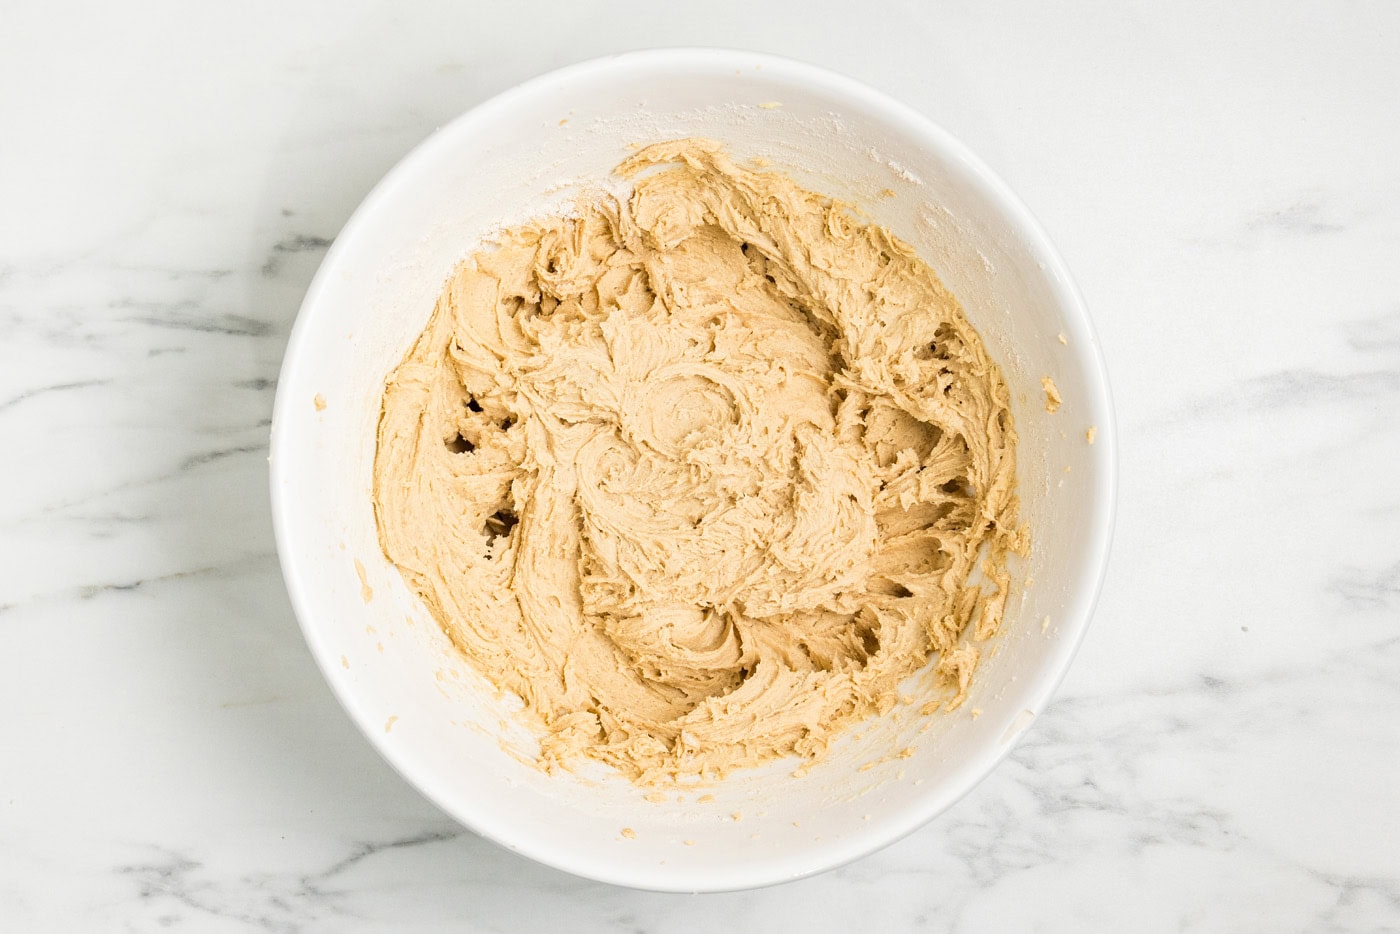
- Cream the granulated sugar and butter on medium speed until fluffy. Add the eggs one at a time until incorporated. Add the vanilla and beat well.
- Whisk together the flour, baking powder, cinnamon, pumpkin pie spice, and salt. Turn the mixer to its lowest setting and add the flour mixture slowly until completely combined.
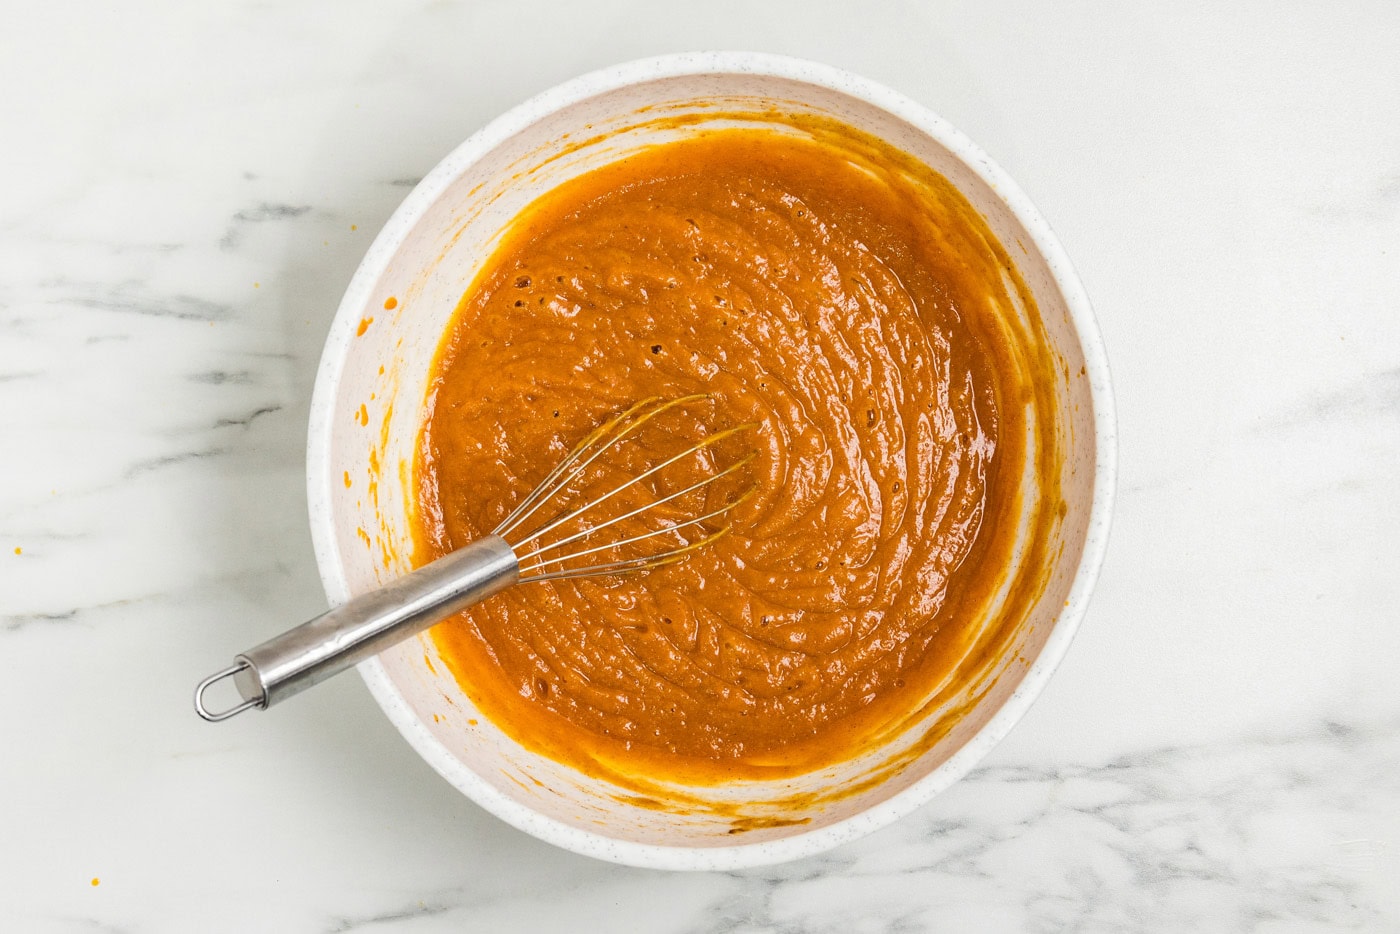
- In another bowl, whisk the canned pumpkin pie mix, 2 eggs, and pumpkin pie spice until smooth.
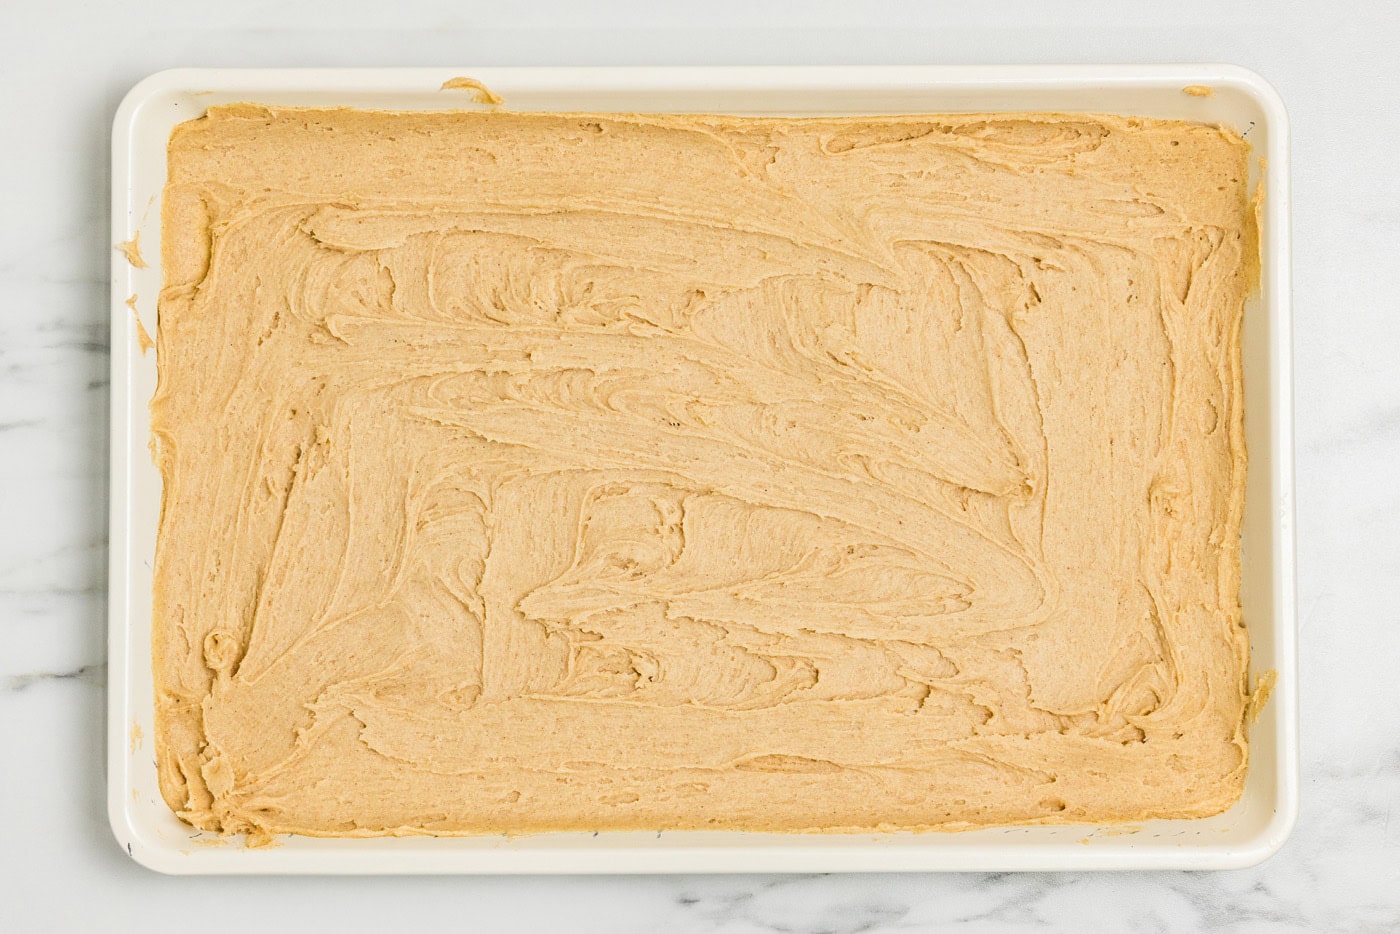
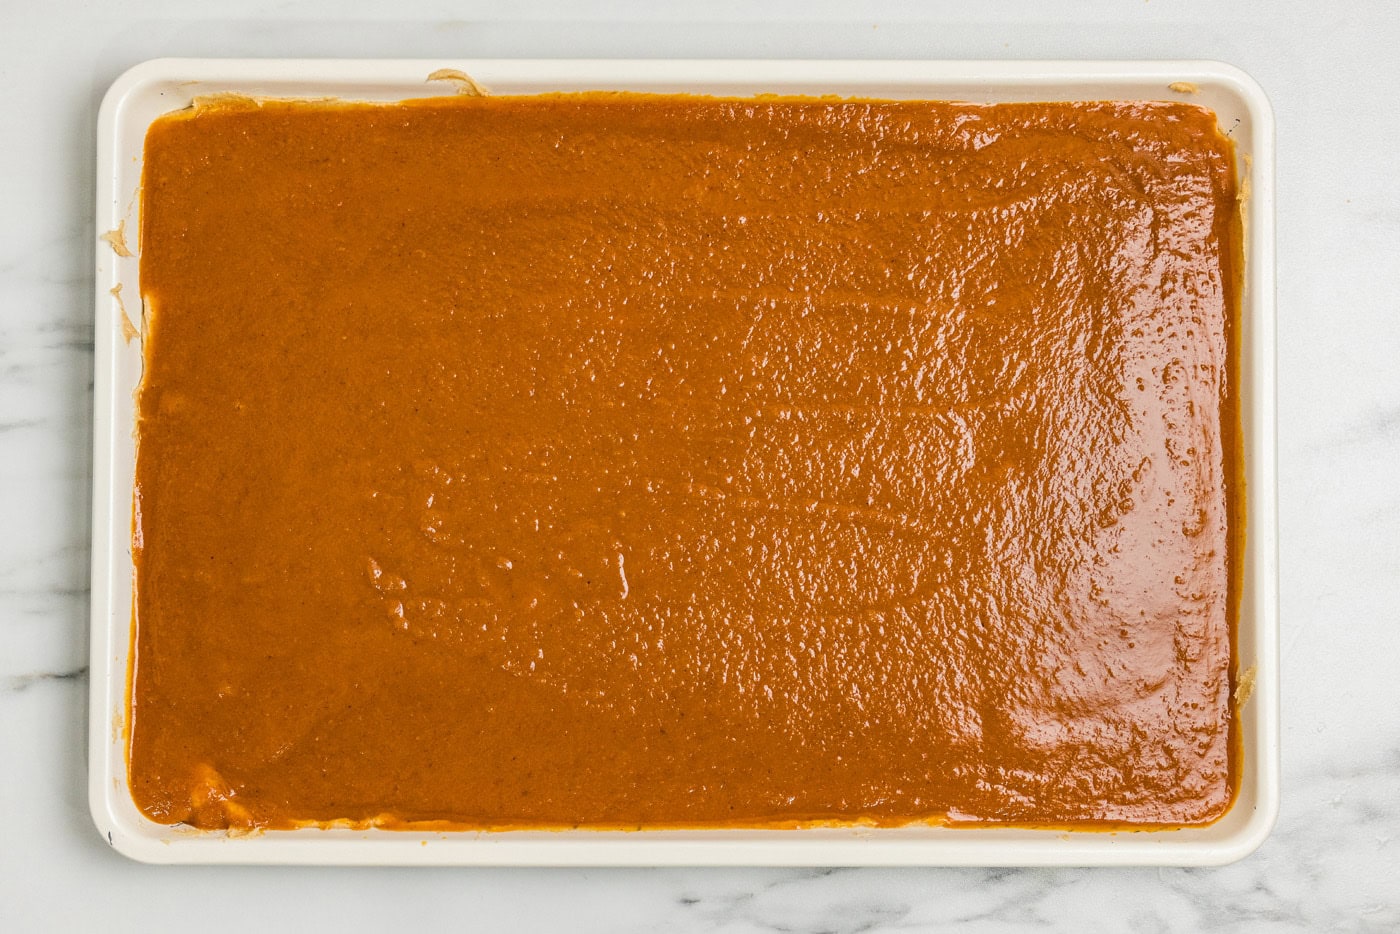
- Spread half the batter (weigh for even halves) into the pan. Spread the pumpkin filling evenly over the batter, all the way to the edges. Drop the remaining batter over the filling in small spoonfuls, roughly 1-2 tablespoon-sized, spaced out. Don’t try to cover the filling completely. You want those gaps.
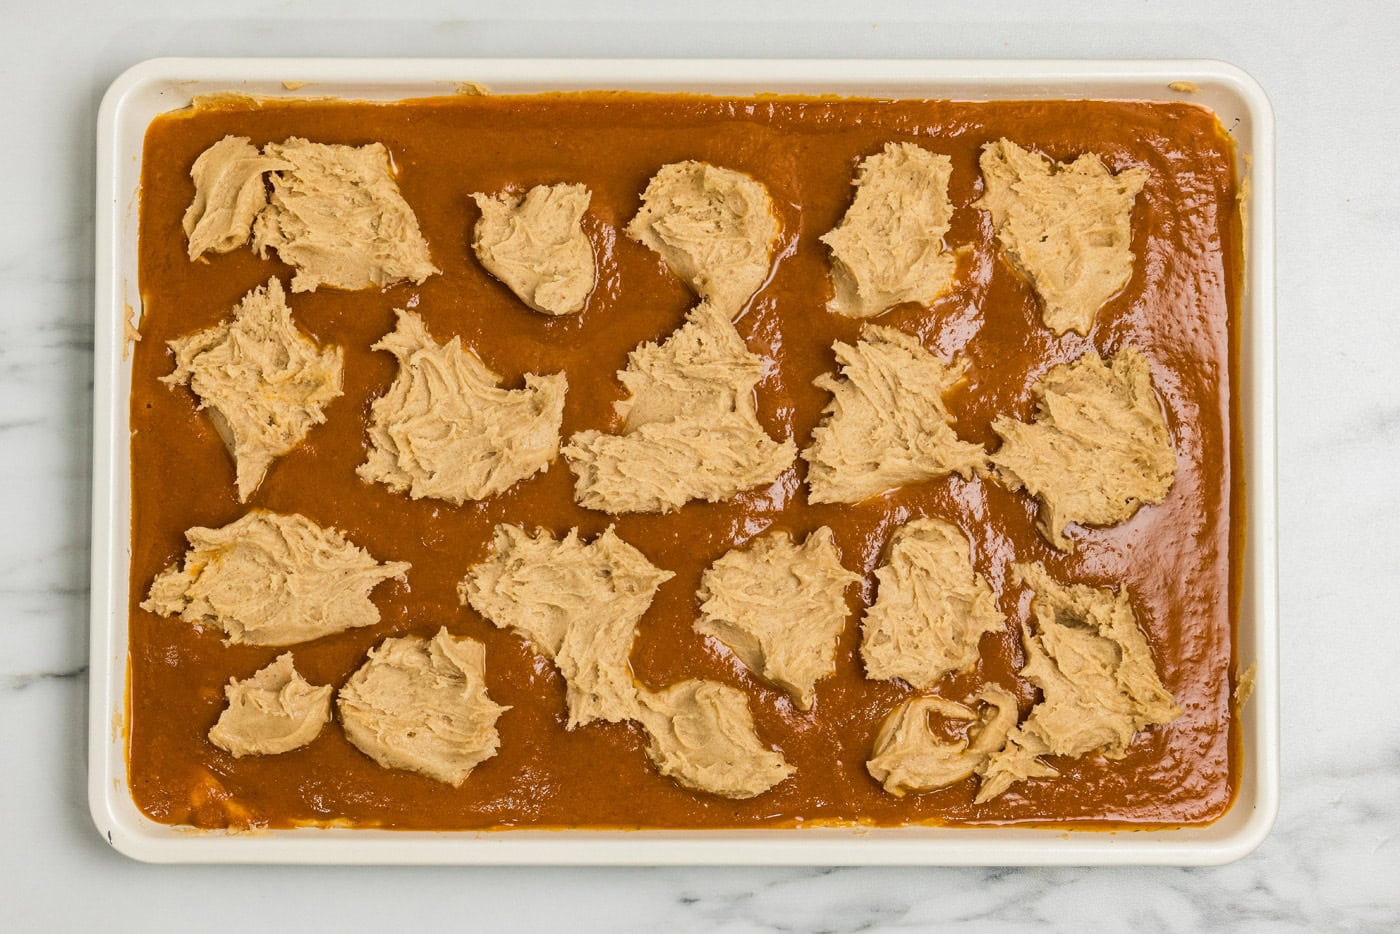
- Bake 55-60 minutes. The top should be golden brown and the center should not jiggle when you shake the pan. Do not under bake.
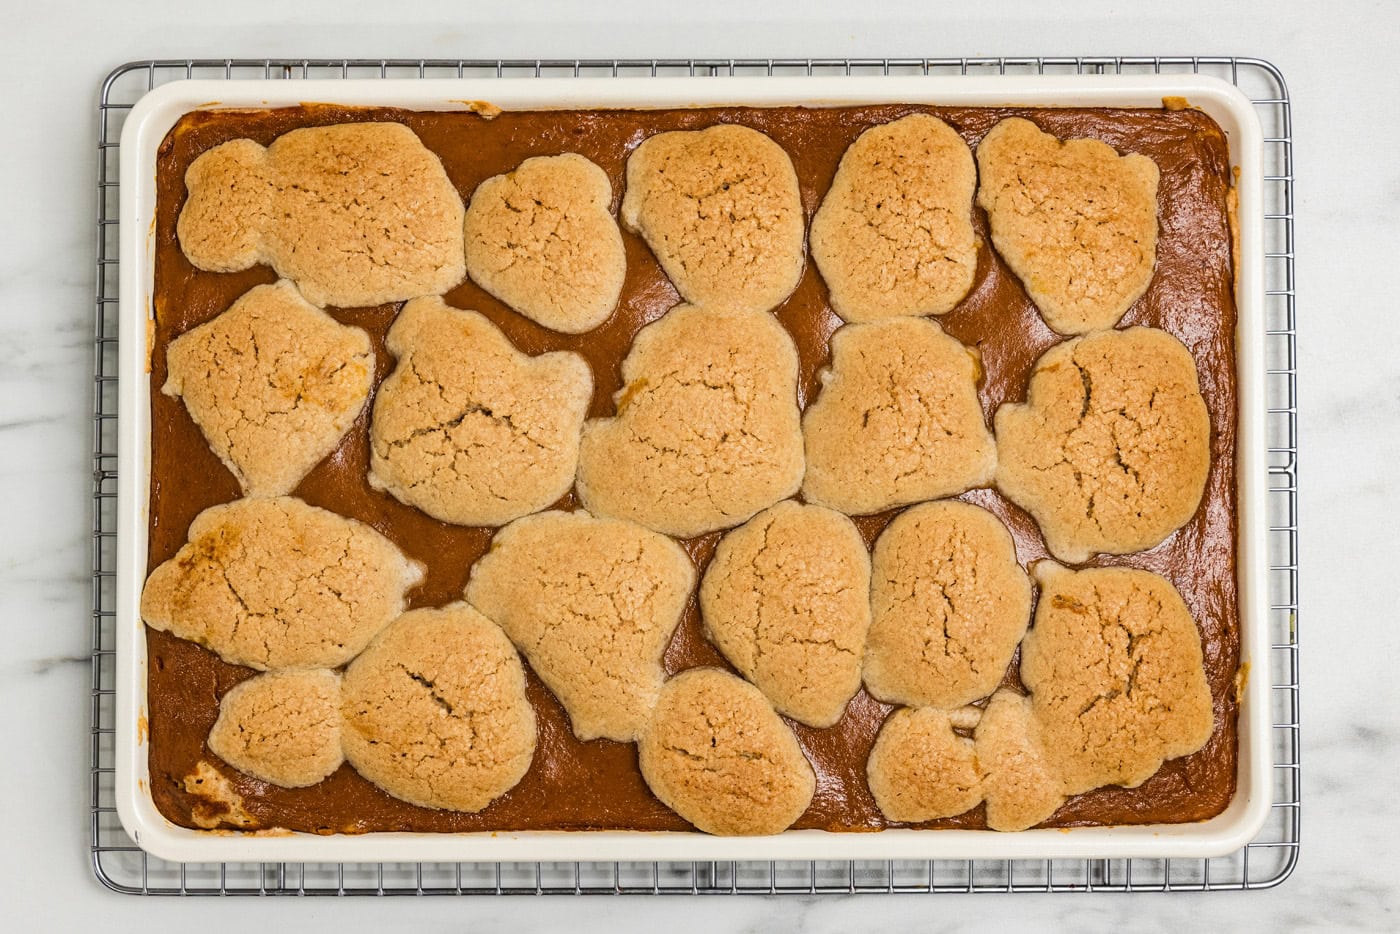
- Cool completely on a wire rack. The bars must be fully cool before drizzling or the cream cheese will melt and run.
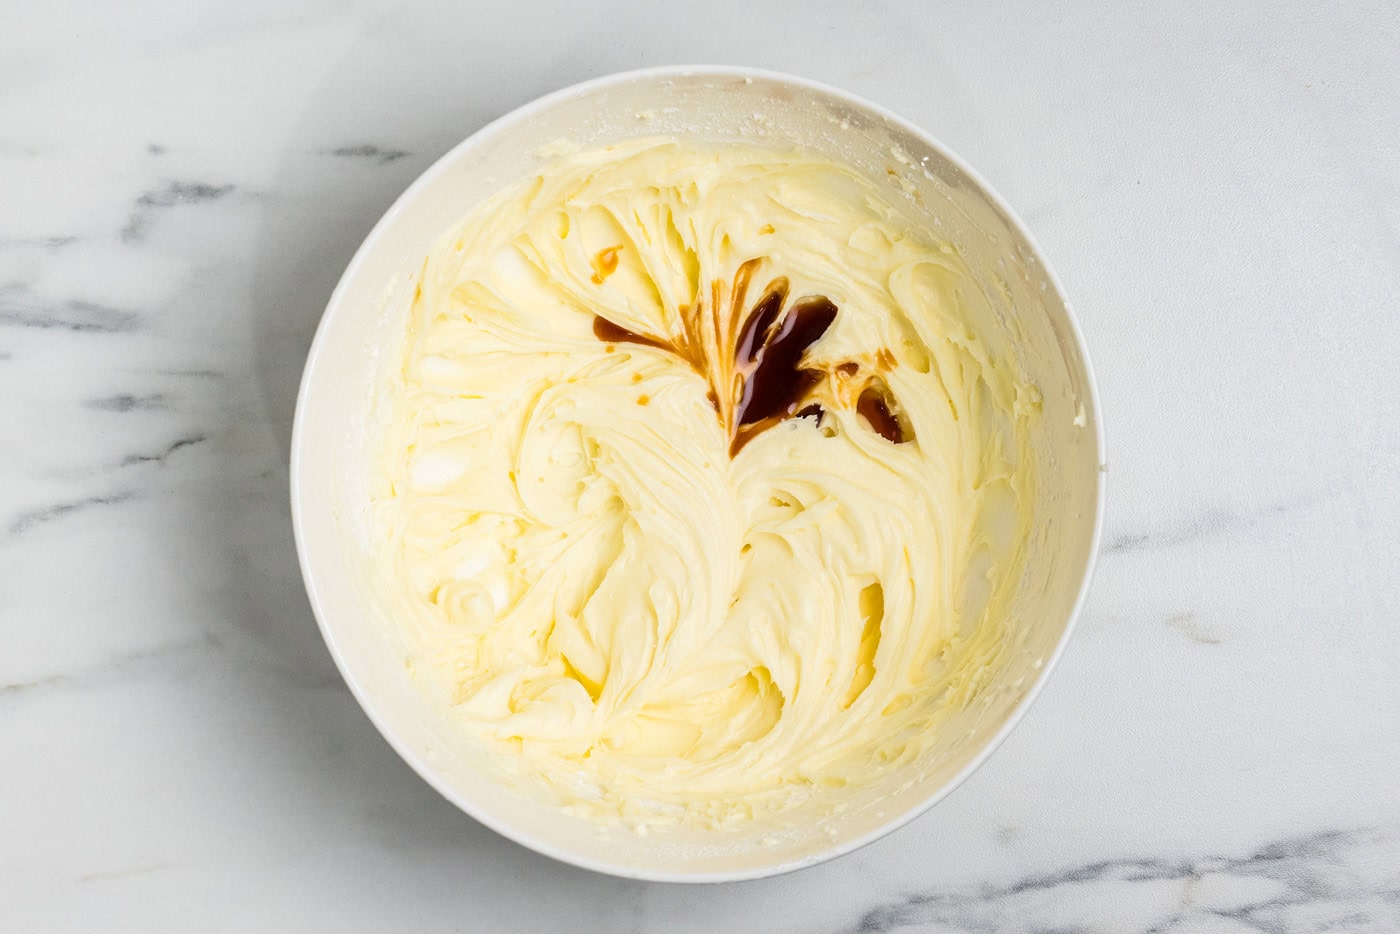
- To make the drizzle, beat the cream cheese and butter until smooth. Add the powdered sugar in two additions, then the vanilla, and beat until light. Add milk a couple tablespoons at a time until you reach the desired consistency. I use all 8 tablespoons.
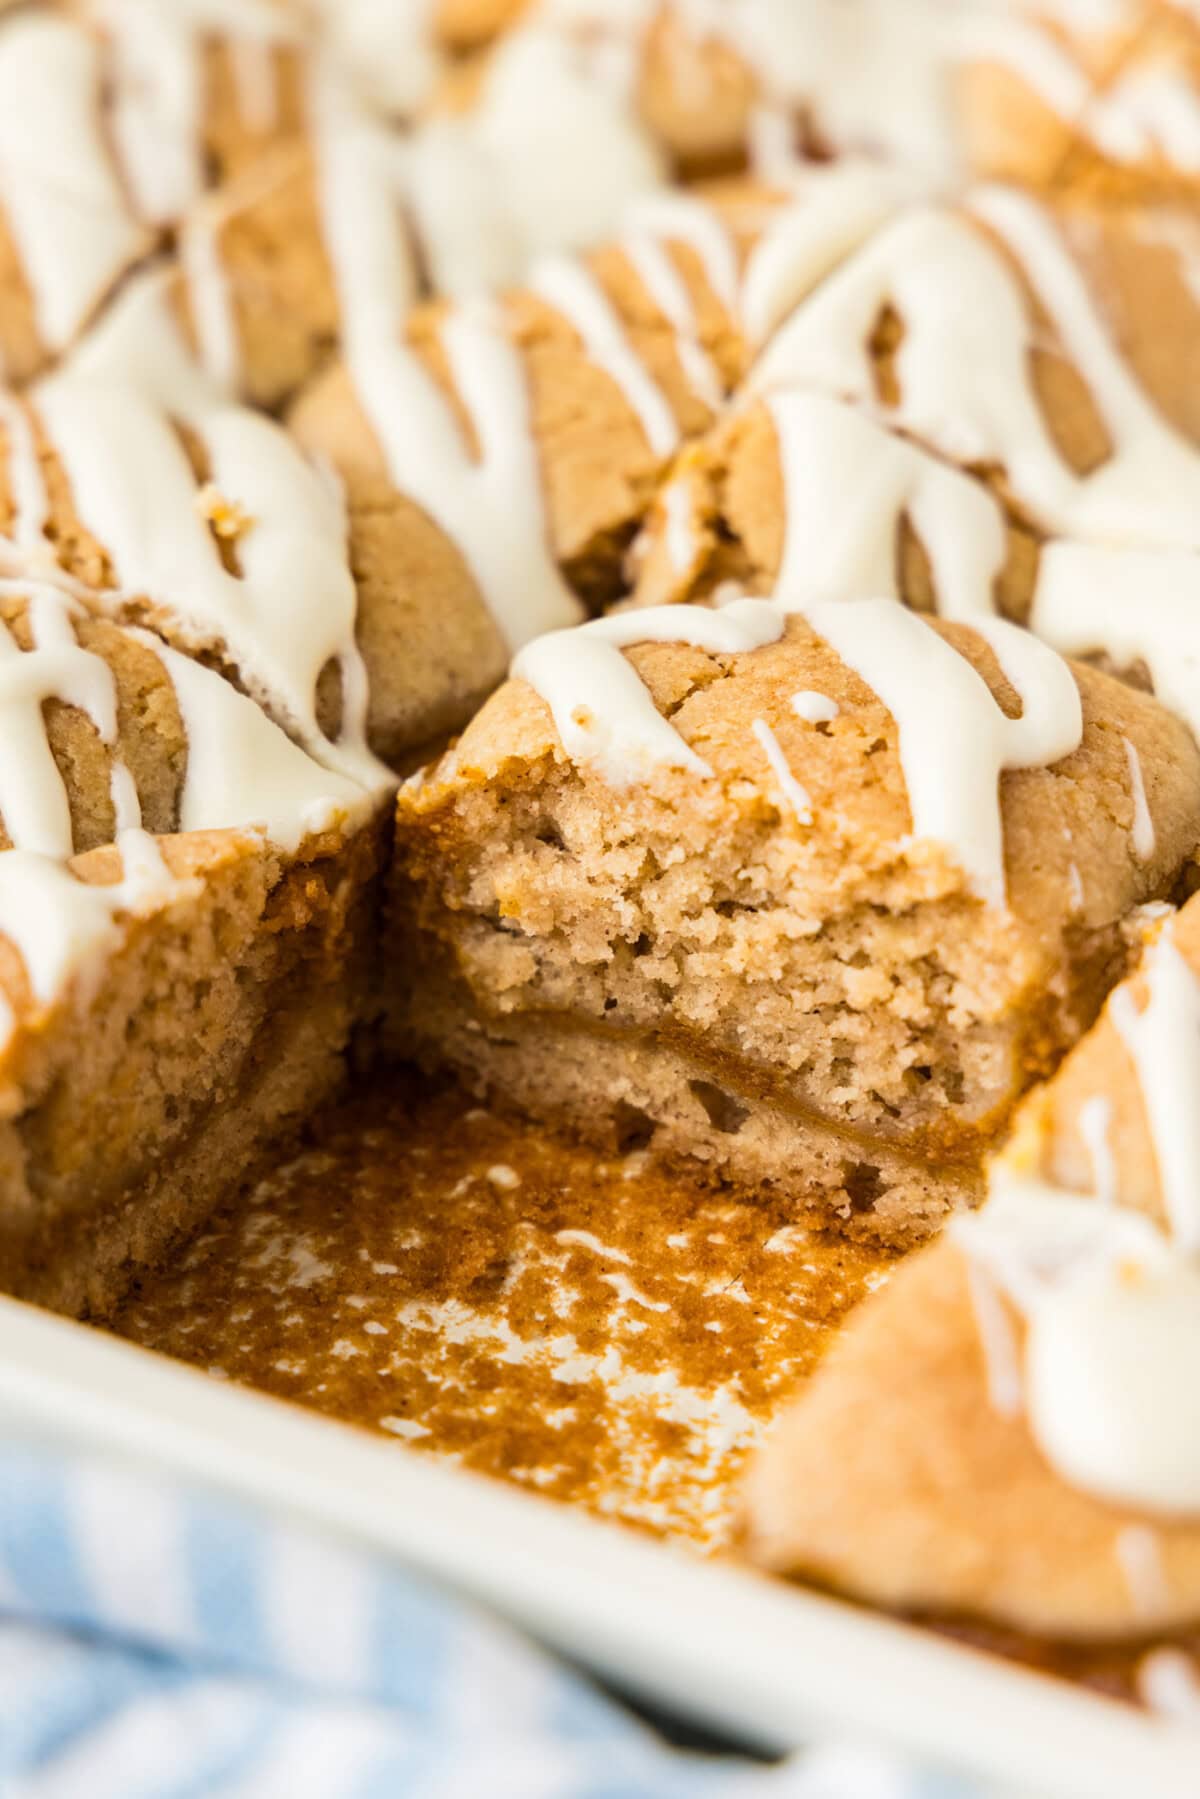
- Use a spoon or fork to drizzle lines across the cooled bars. If you like, you can place the pan in the refrigerator for 30 minutes to help speed up the setting of the drizzle. It will still remain fairly soft. Cut into squares.
Frequently Asked Questions & Expert Tips
No. Pumpkin pie mix is already sweetened and spiced, whereas pure pumpkin is neither, so a whole can of it would leave you with a bland, watery middle layer. I developed and tested this recipe using pumpkin pie mix, so that’s what I would suggest!
No. Those directions are for baking a pumpkin pie in a crust, where the crust holds a loose custard in place while it sets. There’s no crust here, so that liquid has nowhere to go but down into the bottom cake layer. Pay no mind to the directions on the can for this recipe.
It’s supposed to be. The cake layers are heavier than the filling and compress it as they bake. The pumpkin comes through in the open areas where there’s no cake on top, which is why the top layer goes on in spaced-out spoonfuls instead of being spread to the edges. Resist the urge to cover the whole pan.
I haven’t tested it and I probably wouldn’t recommend it. A 13×9 has meaningfully less surface area than a 15×10 jelly roll pan, so the same amount of batter and filling would sit much deeper. Doing so would cause the bake time to go up and the middle would take far longer to set.
Give the pan a gentle shake. The top should be golden brown and the center shouldn’t jiggle. There’s more moisture in these than in the fruit versions, so if the top is browning before the center has set, tent the pan loosely with foil and keep baking.
Yes, absolutely! A 21 ounce can of fruit pie filling works in place of the pumpkin. You can skip the two eggs since canned fruit filling is already thickened. I have full versions with blackberry and cherry.
Because there’s more cream cheese and butter in it than powdered sugar, which is what gives it that lovely tang. It won’t crust over the way a plain powdered sugar glaze does. If you want it firmer before you cut, slide the pan into the refrigerator for 30 minutes.
Storage and Freezing Information
Store these in a single layer in an airtight container. Don’t stack them. The cream cheese drizzle stays soft, so a second layer on top will smear the one underneath.
To freeze, let them cool completely on a wire rack first, then line a baking sheet with parchment and flash freeze the squares for 2 hours. The flash freeze will firm the drizzle enough to handle. Once they are solid, wrap each square individually in plastic wrap and transfer them into a freezer bag.
To thaw, unwrap them while they’re still frozen and let them come to room temperature. Don’t leave them wrapped while they thaw.
Serving Suggestions
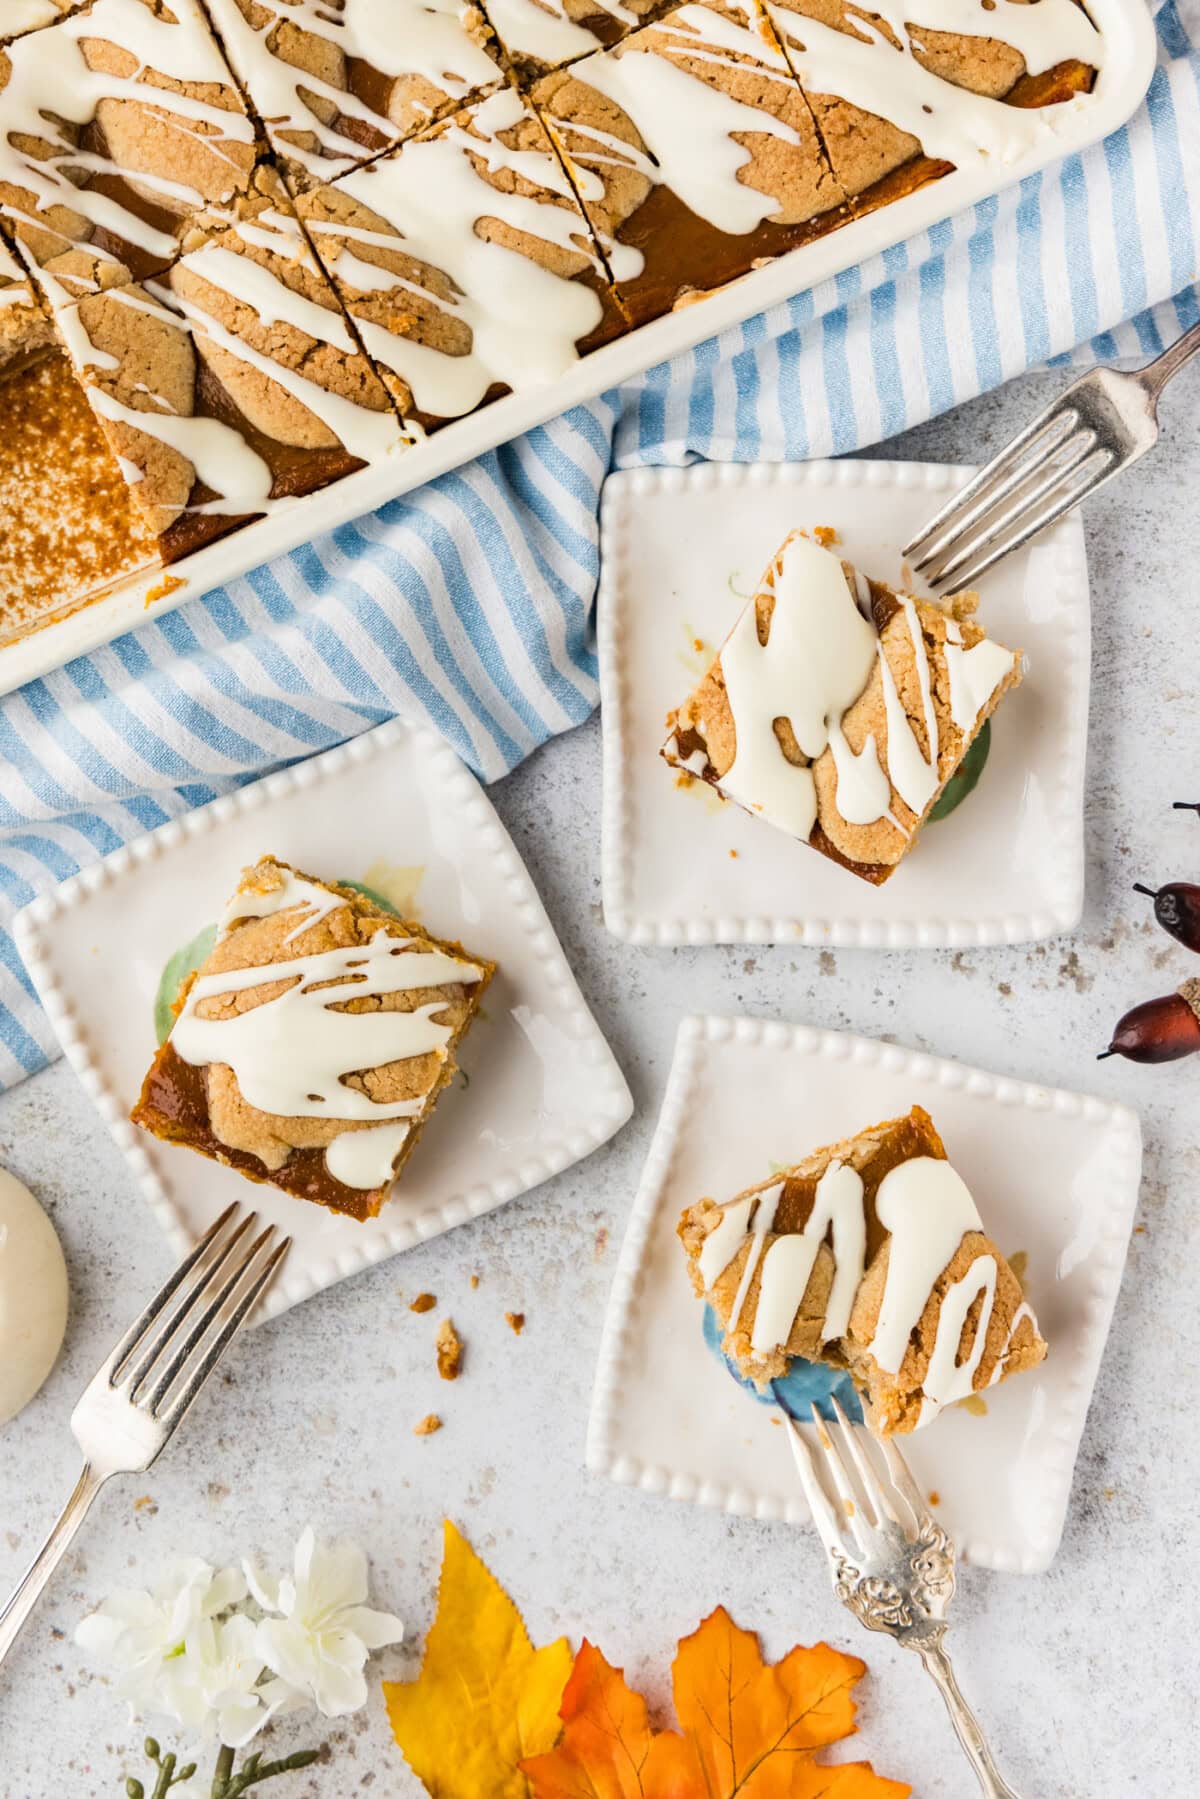
Pumpkin pie squares are good warm, at room temperature, and even chilled in the refrigerator! Cut them into squares in the pan and lift them out with a thin spatula. If you want the cleanest edges, chill the pan for 30 minutes first so the drizzle firms up before the knife goes in. A square with coffee is one of my favorite ways to eat these! They hold up well enough that leftovers make a very good breakfast the next morning.
More Pumpkin Recipes
These beauties belong on a Thanksgiving dessert table next to a classic pumpkin pie. One 15×10 pan cuts into 24 squares, which goes a lot further than a single pie.
For a bigger dessert spread, set them out alongside pumpkin slab pie or pumpkin trifle. I personally think they’d be great with a pumpkin spice latte.
Here are a few more ideas!
I love to bake and cook and share my kitchen experience with all of you! Remembering to come back each day can be tough, that’s why I offer a convenient newsletter every time a new recipe posts. Simply subscribe and start receiving your free daily recipes!
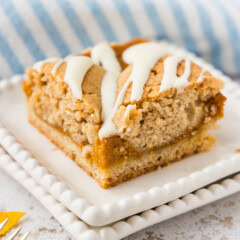
Pumpkin Pie Squares
IMPORTANT – There are often Frequently Asked Questions within the blog post that you may find helpful. Simply scroll back up to read them!
Print It Pin It Rate ItIngredients
Cake Layers
- 400 grams granulated sugar 1 3/4 cup
- 1 cup unsalted butter 2 sticks, softened
- 4 large eggs
- 1 teaspoon pure vanilla extract
- 395 grams unbleached all purpose flour 3 cups
- 5 grams baking powder 1 1/2 teaspoons
- 2 teaspoons ground cinnamon
- 1 teaspoon pumpkin pie spice
- ½ teaspoon salt
Pumpkin Pie Filling
- 30 ounces canned pumpkin pie mix one large can
- 2 large eggs
- 1 teaspoon pumpkin pie spice
Cream Cheese Drizzle
- 4 ounces cream cheese softened
- 4 Tablespoons unsalted butter 1/2 stick, softened
- 85 grams powdered sugar 3/4 cup, sifted
- 1 teaspoon pure vanilla extract
- 8 Tablespoons milk
Things You’ll Need
- Stand mixer or hand mixer
Before You Begin
- Buy canned pumpkin pie mix, which is already sweetened and spiced, not 100% pure pumpkin. The cans sit next to each other and are nearly the same size, 30 oz for the mix and 29 oz for pure pumpkin.
- Take the cream cheese and butter out ahead of time. Both need to be at room temperature or the drizzle will be lumpy.
- The bars must be completely cool before the drizzle goes on or the cream cheese will melt and run.
- The drizzle stays soft and won’t crust over. Refrigerate the pan for 30 minutes to firm it up before cutting.
- Weigh the batter to get even halves if you can. It makes a noticeable difference in how level the layers bake.
Instructions
- Preheat oven to 350°F. Set an ungreased 15×10 jelly roll pan onto a 17×12 rimmed baking sheet.
- Cream the granulated sugar and butter on medium speed until fluffy. Add the eggs one at a time until incorporated. Add the vanilla and beat well.400 grams granulated sugar, 1 cup unsalted butter, 4 large eggs, 1 teaspoon pure vanilla extract
- Whisk together the flour, baking powder, cinnamon, pumpkin pie spice, and salt. Turn the mixer to its lowest setting and add the flour mixture to the butter and sugar mixture slowly until completely combined.395 grams unbleached all purpose flour, 5 grams baking powder, 2 teaspoons ground cinnamon, 1 teaspoon pumpkin pie spice, 1/2 teaspoon salt
- In another bowl, whisk the canned pumpkin pie mix, 2 eggs, and pumpkin pie spice until smooth.30 ounces canned pumpkin pie mix, 2 large eggs, 1 teaspoon pumpkin pie spice
- Spread half the batter (weigh for even halves) into the pan. Spread the pumpkin filling evenly over the batter, all the way to the edges. Drop the remaining batter over the filling in small spoonfuls, roughly 1-2 tablespoon-sized, spaced out. Don't try to cover the filling completely. You want those gaps.
- Bake 55-60 minutes. The top should be golden brown and the center should not jiggle when you shake the pan. Do not under bake.
- Cool completely on a wire rack. The bars must be fully cool before drizzling or the cream cheese will melt and run.
To Make the Drizzle
- Beat the cream cheese and butter until smooth. Add the powdered sugar in two additions, then the vanilla, and beat until light. Add milk a couple tablespoons at a time until you reach the desired consistency. I use all 8 tablespoons.4 ounces cream cheese, 4 Tablespoons unsalted butter, 85 grams powdered sugar, 1 teaspoon pure vanilla extract, 8 Tablespoons milk
- Use a spoon or fork to drizzle lines across the cooled bars. If you like, you can place the pan in the refrigerator for 30 minutes to help speed up the setting of the drizzle. It will still remain fairly soft. Cut into squares.
Expert Tips & FAQs
- Don’t under bake. The top should be golden and the center shouldn’t jiggle when you shake the pan. If the top browns first, tent loosely with foil and keep baking.
- Store in a single layer in an airtight container. Don’t stack them because the drizzle will smear.
- To freeze, let them cool completely on a wire rack first, then line a baking sheet with parchment and flash freeze the squares for 2 hours. The flash freeze will firm the drizzle enough to handle. Once they are solid, wrap each square individually in plastic wrap and transfer them into a freezer bag.
- To thaw, unwrap them while they’re still frozen and let them come to room temperature. Don’t leave them wrapped while they thaw.
Nutrition
The recipes on this blog are tested with a conventional gas oven and gas stovetop. It’s important to note that some ovens, especially as they age, can cook and bake inconsistently. Using an inexpensive oven thermometer can assure you that your oven is truly heating to the proper temperature. If you use a toaster oven or countertop oven, please keep in mind that they may not distribute heat the same as a conventional full sized oven and you may need to adjust your cooking/baking times. In the case of recipes made with a pressure cooker, air fryer, slow cooker, or other appliance, a link to the appliances we use is listed within each respective recipe. For baking recipes where measurements are given by weight, please note that results may not be the same if cups are used instead, and we can’t guarantee success with that method.
- Pumpkin Pie Squares - October 15, 2026
- Halloween Dirt Cake - October 14, 2026
- Graveyard Taco Dip - October 13, 2026





Leave a Reply