


These Valentine cake pops are made purely out of love. Plus cake mix, frosting, and chocolate of course. Valentine’s Day has never been sweeter!
Why this recipe works
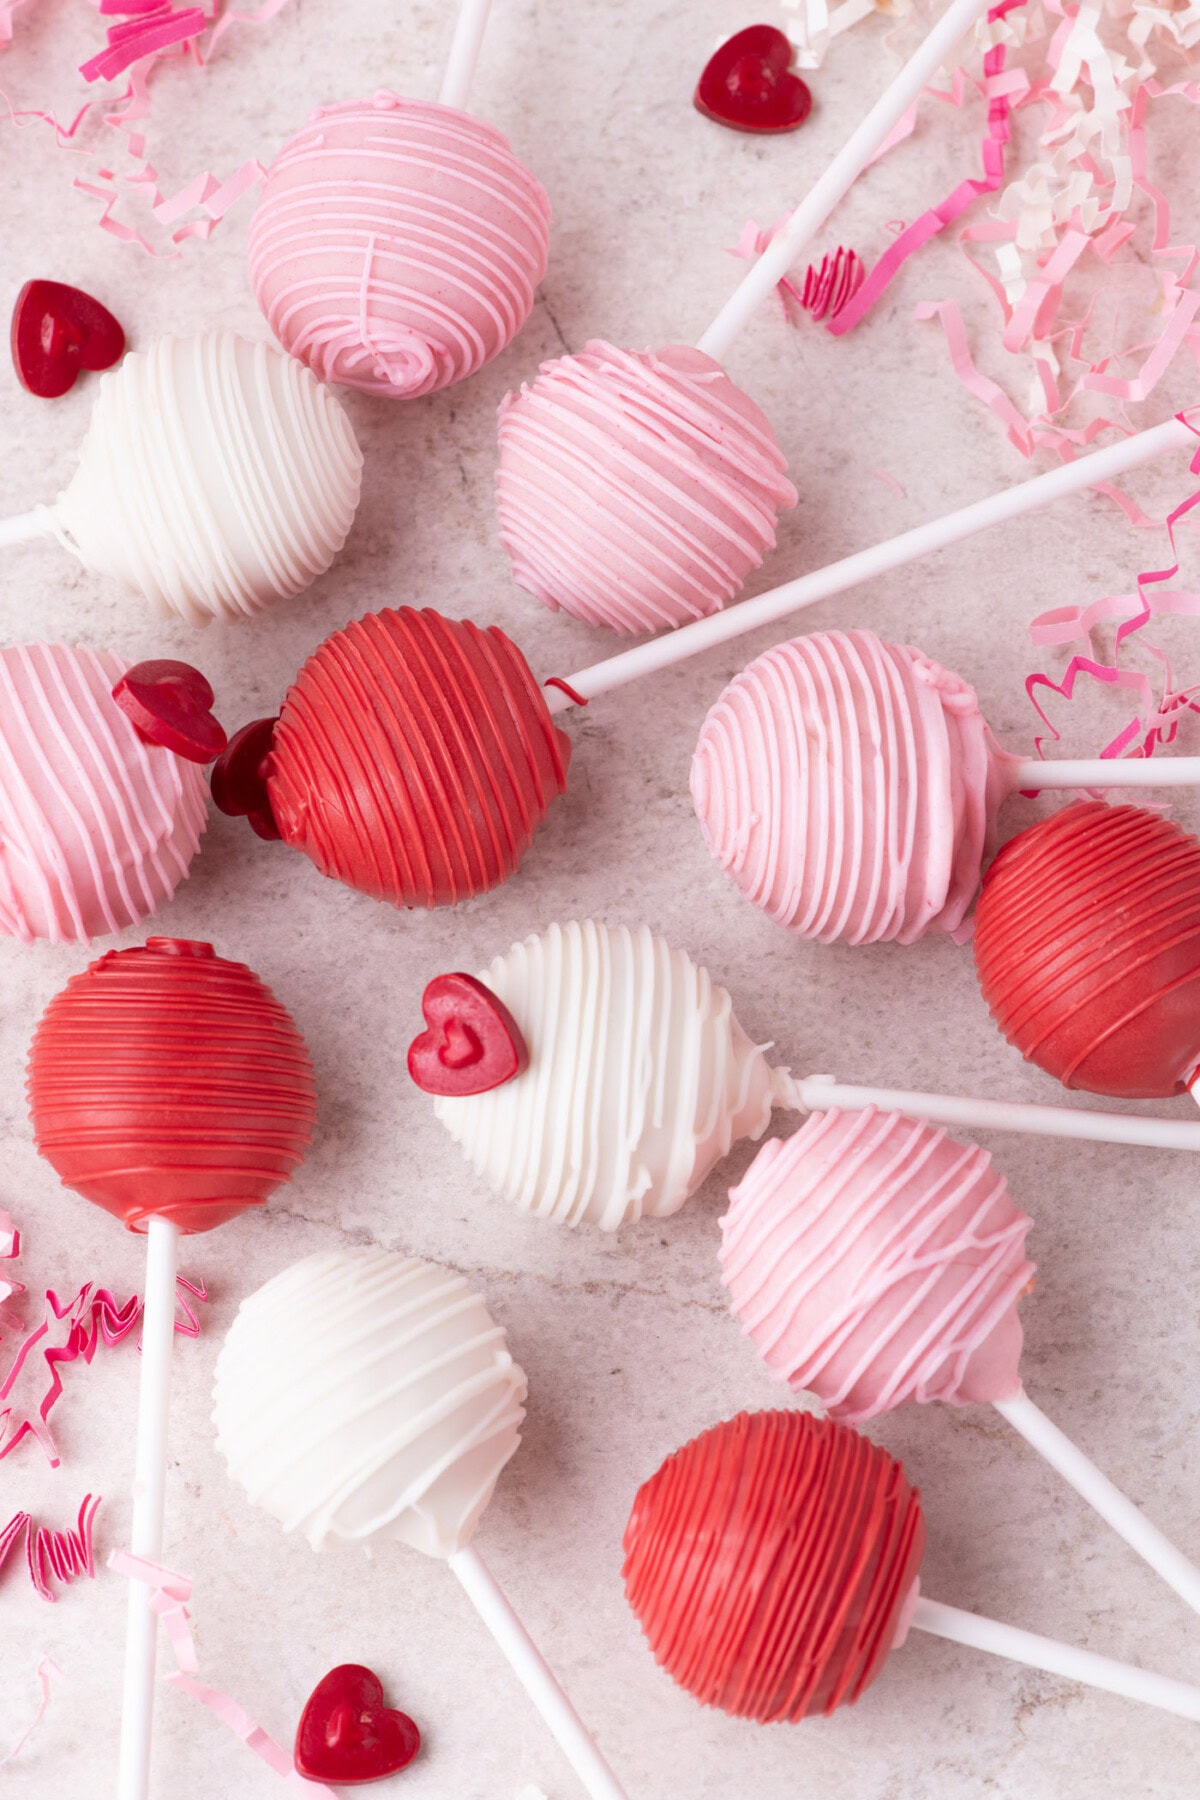
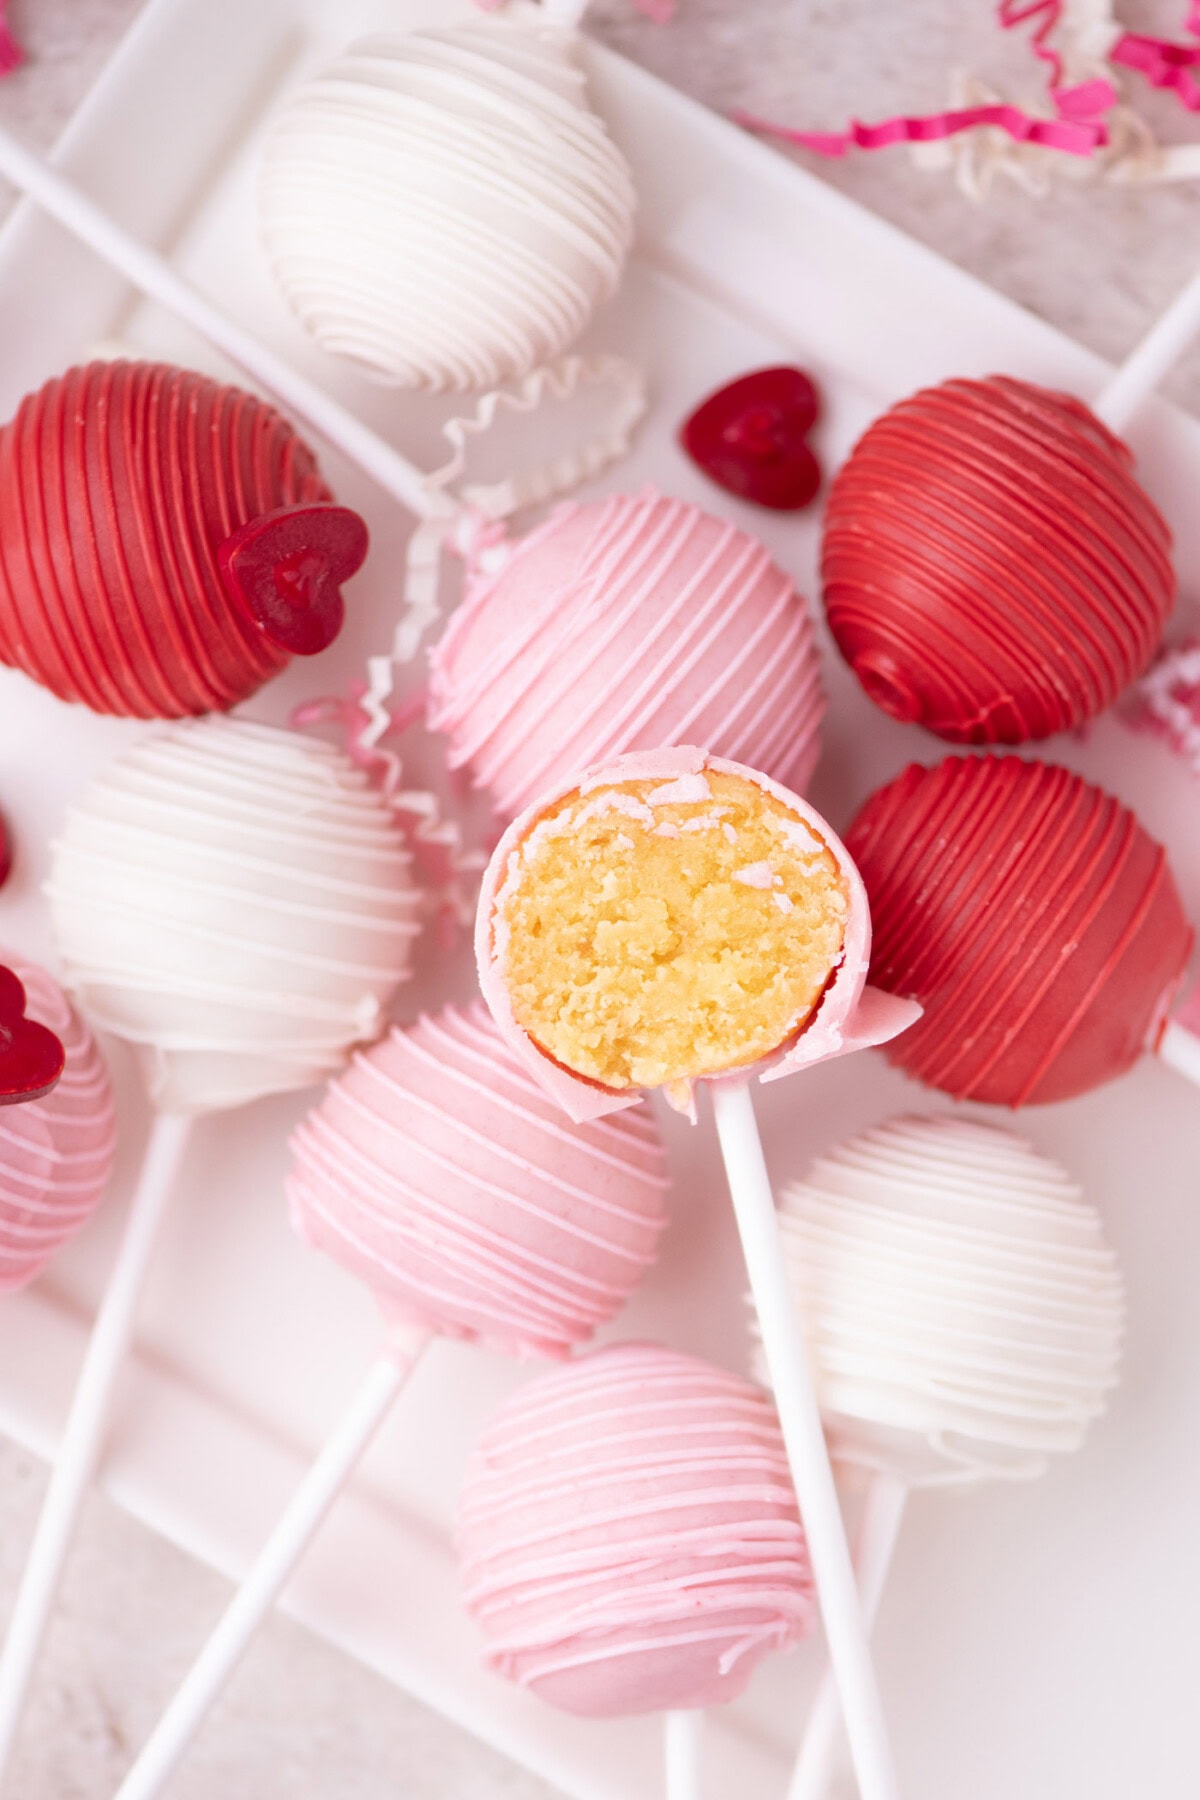
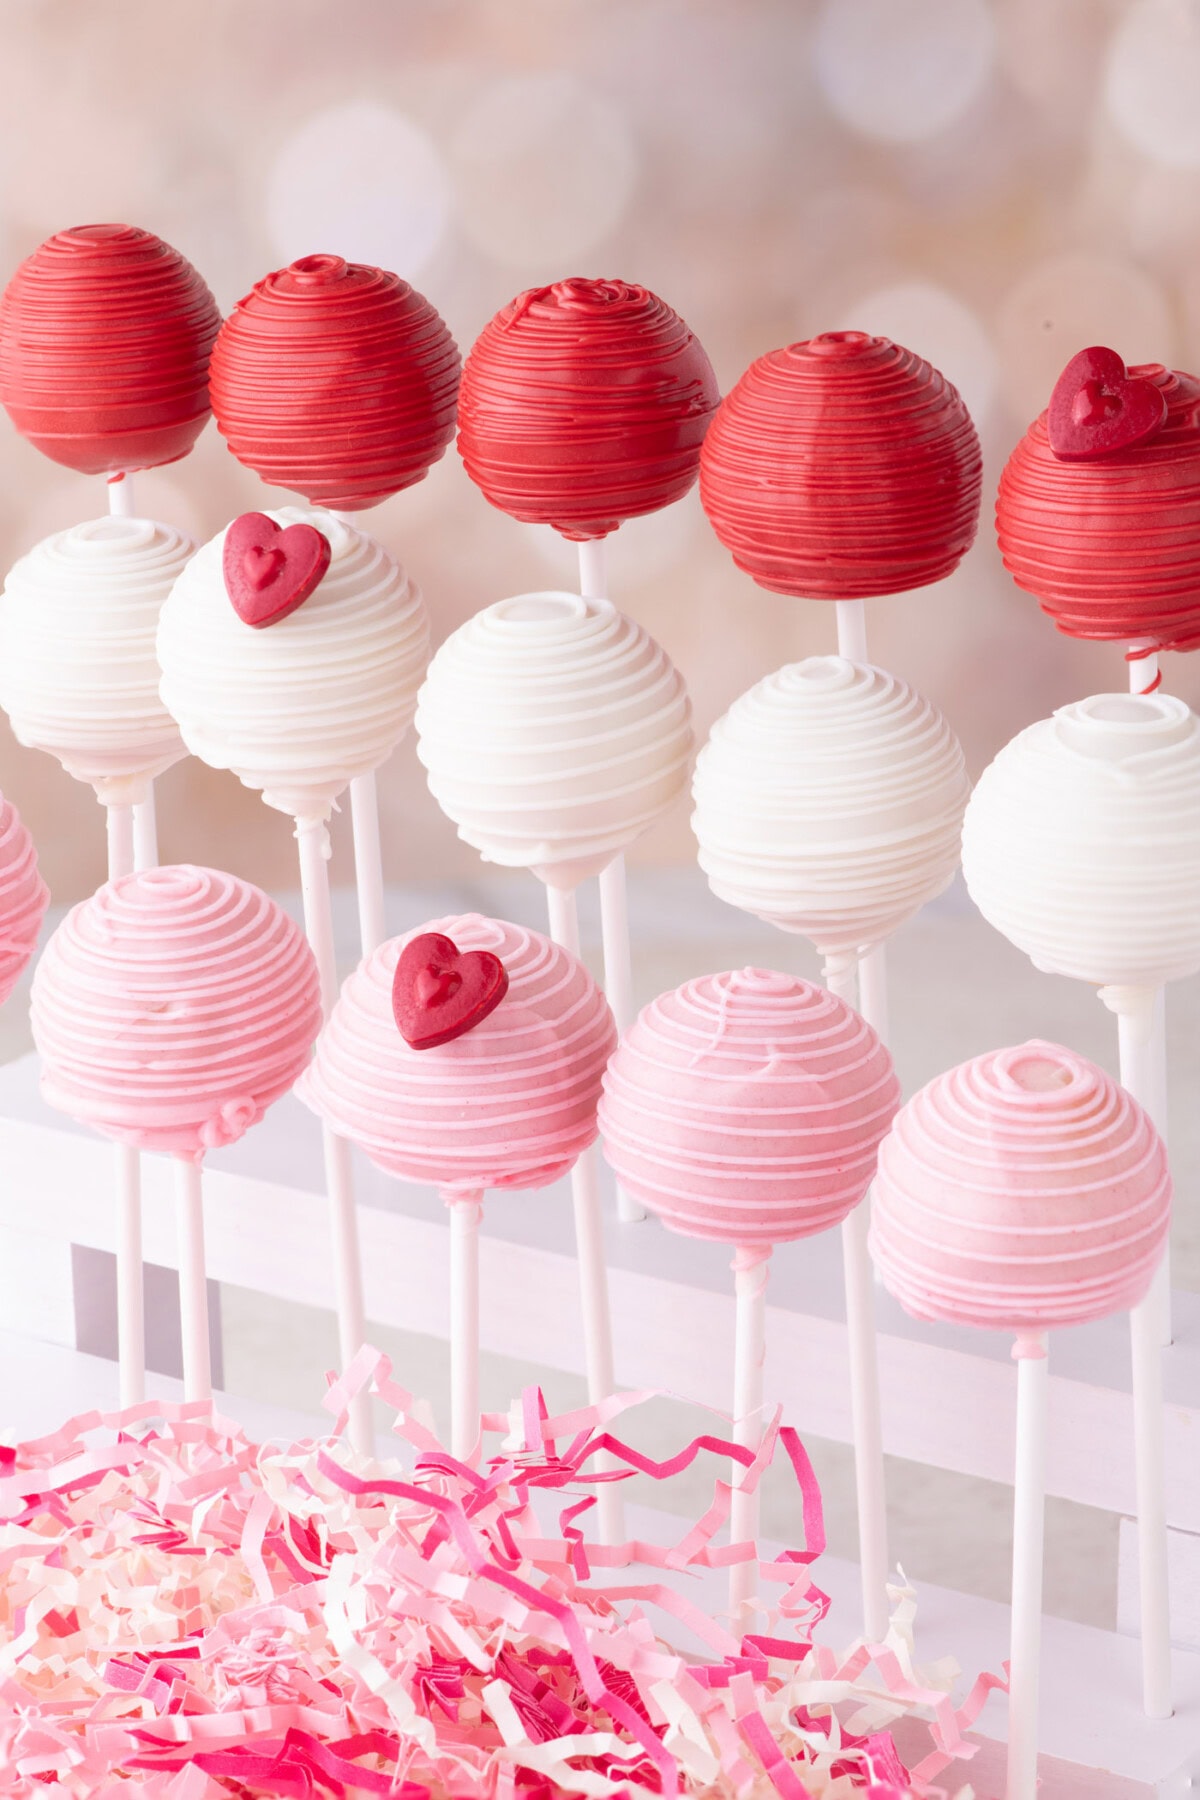
How darling are these Valentine cake pops? Red, white, and pink candy coated cake balls on a stick are the sweetest treat you can receive (or eat) on V-Day! And honestly, they’re really easy to make. A box of cake mix, a tub of frosting, and some colored candy wafers make this recipe seriously simple.
They’re adorable when wrapped in cellophane treat bags and tied with a bow for classroom parties or gift-giving. You can even enjoy them as regular ole Valentine cake balls without the stick.
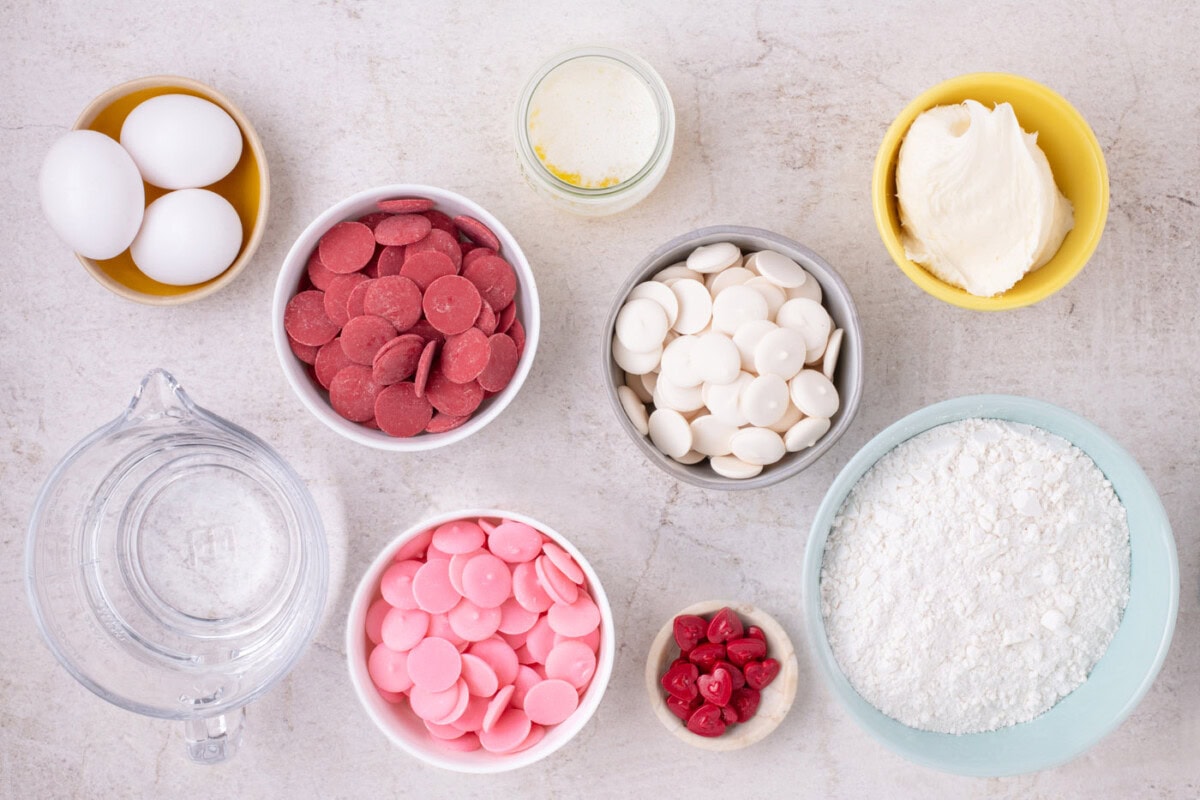
Ingredients you will need
Get all measurements, ingredients, and instructions in the printable version at the end of this post.
Ingredient Info and Substitution Suggestions
CAKE – When making the cake, it is important to replace the oil (called for on the back of the box) with butter. Doing so will ensure a more solid cake pop with less chance of it falling off the stick. Just follow our directions and ingredients below when preparing it.
FROSTING – Pick up a premade tub of vanilla frosting while you’re grabbing your cake mix. This is mixed in with the cake to help add moisture. Don’t use all the frosting in the container; only use the amount called for in the recipe card. Just like with the cake mix, you can substitute the frosting with your favorite flavor. Premade or homemade cream cheese frosting, chocolate, and vanilla are all excellent depending on the flavor of cake you choose.
CHOCOLATE COATING – We prefer to use candy melts when making cake pops because they’re specifically designed for melting and coating – plus, they come in premade colors. You can always tint regular vanilla almond bark or white chocolate chips with gel food coloring if preferred. If you use white chocolate chips, I would suggest using a small amount of coconut or vegetable oil to help thin it out for dipping.
How to Make Valentine Cake Pops
These step by step photos and instructions are here to help you visualize how to make this recipe. You can Jump to Recipe to get the printable version of this recipe, complete with measurements and instructions at the bottom.
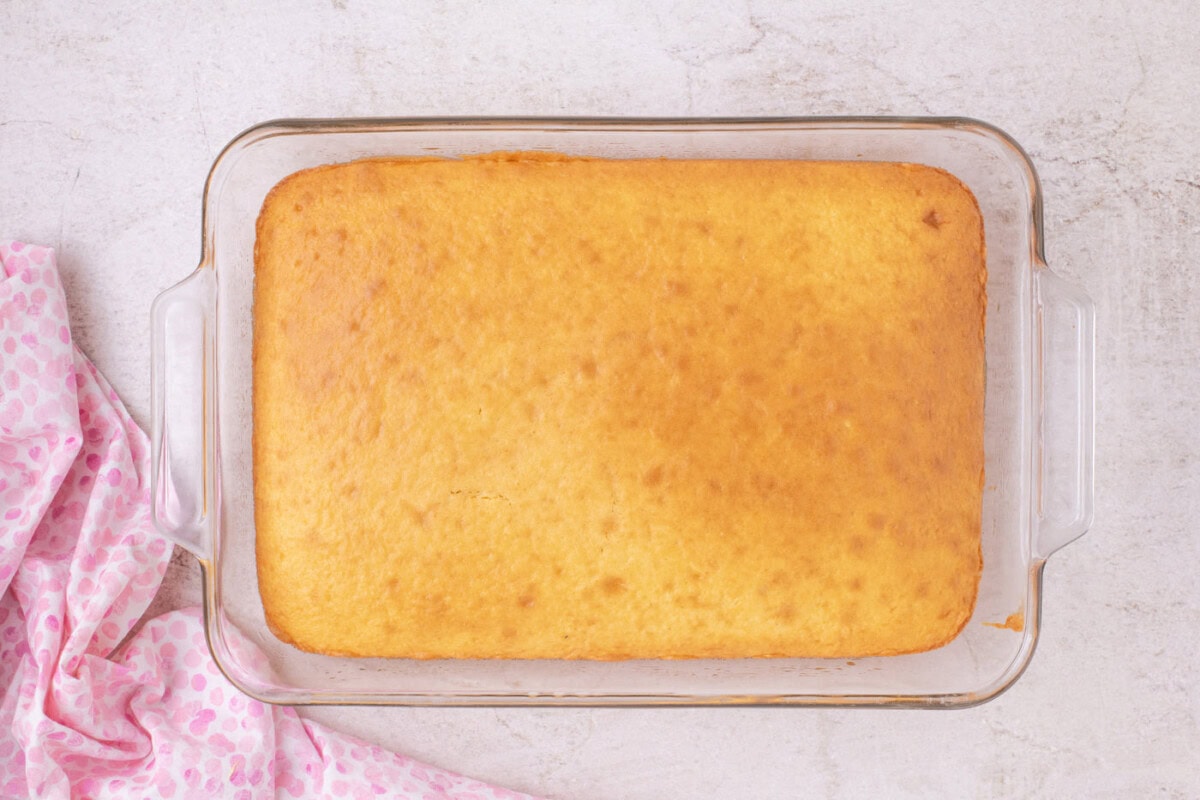
- Preheat oven to 325°F. Grease a 9 x 13-inch baking dish and place parchment paper onto two large baking sheets. Set them aside.
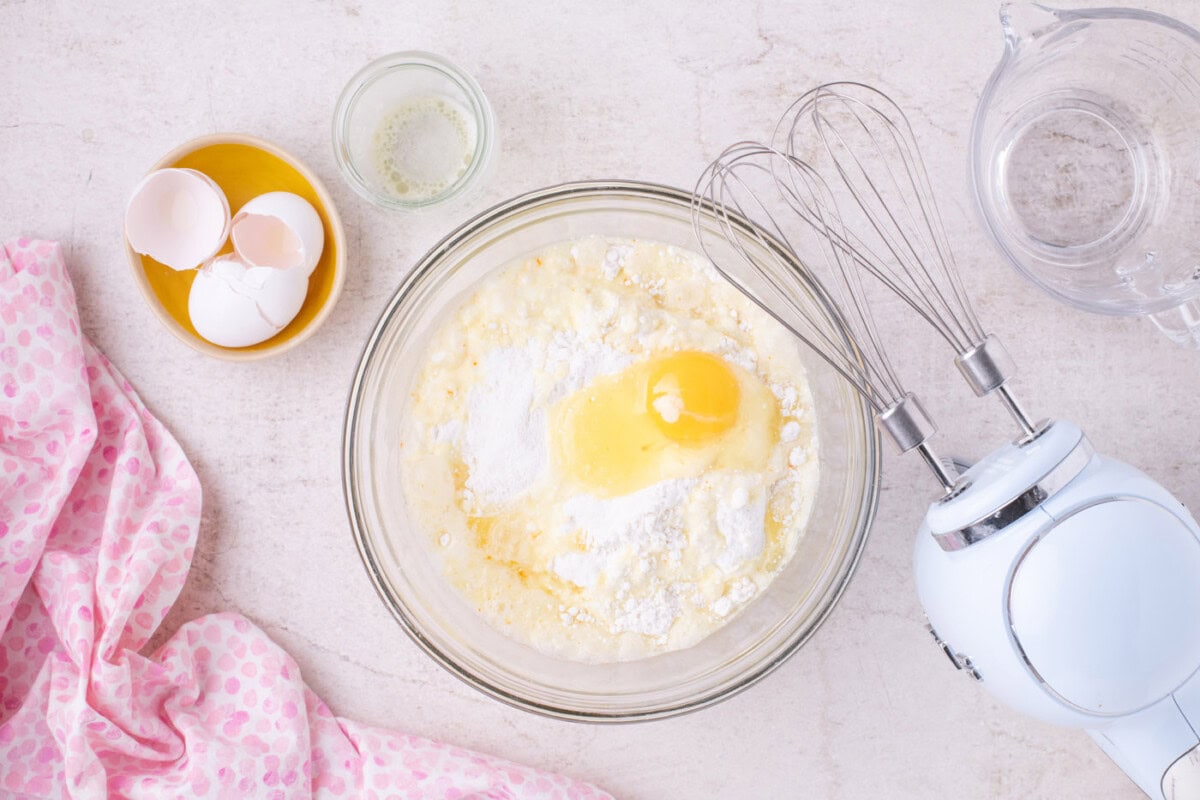
- In a large mixing bowl, combine cake mix, eggs, water, and melted butter. Blend until smooth.
- Transfer the cake batter to the prepared baking dish and bake for 20 to 22 minutes, or until a toothpick inserted comes out clean. Let the cake cool on a wire rack for 2 to 3 hours.
- Once the cake has cooled, break it up with your hands and place the pieces in a large mixing bowl.
- Using a fork, further break down the cake until it is crumbly.
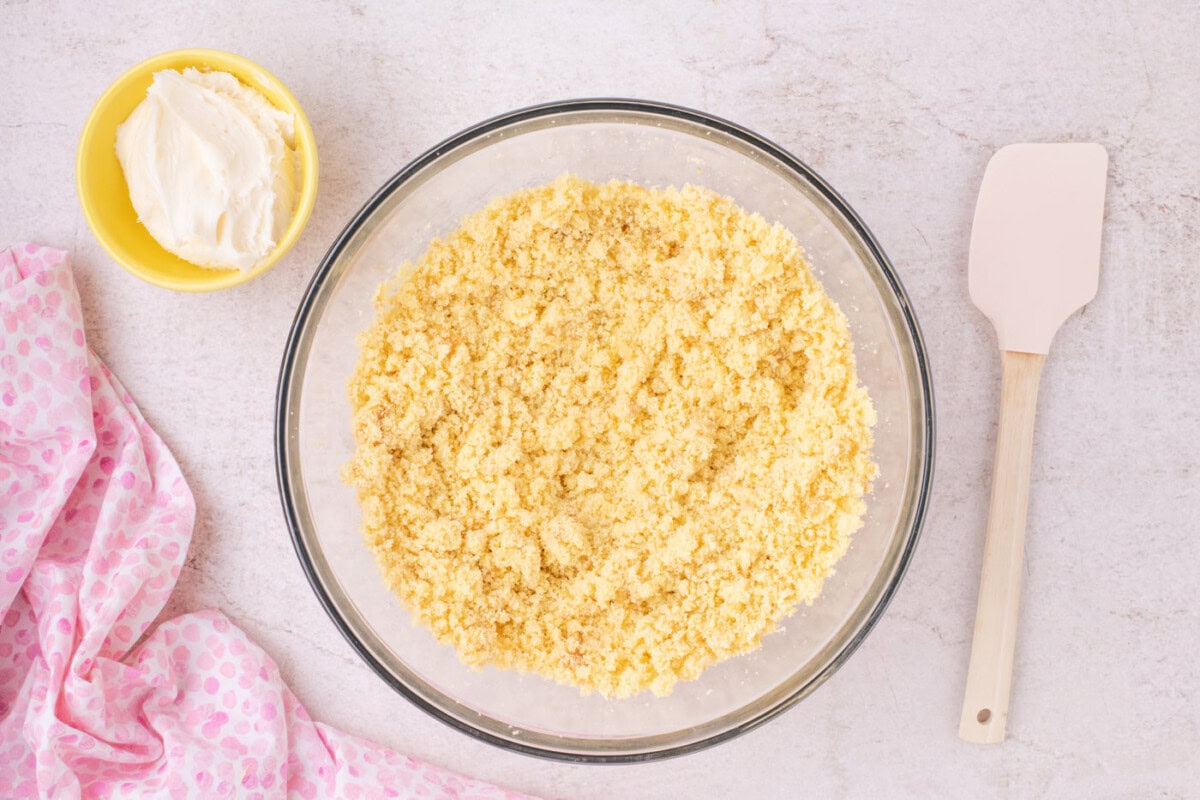
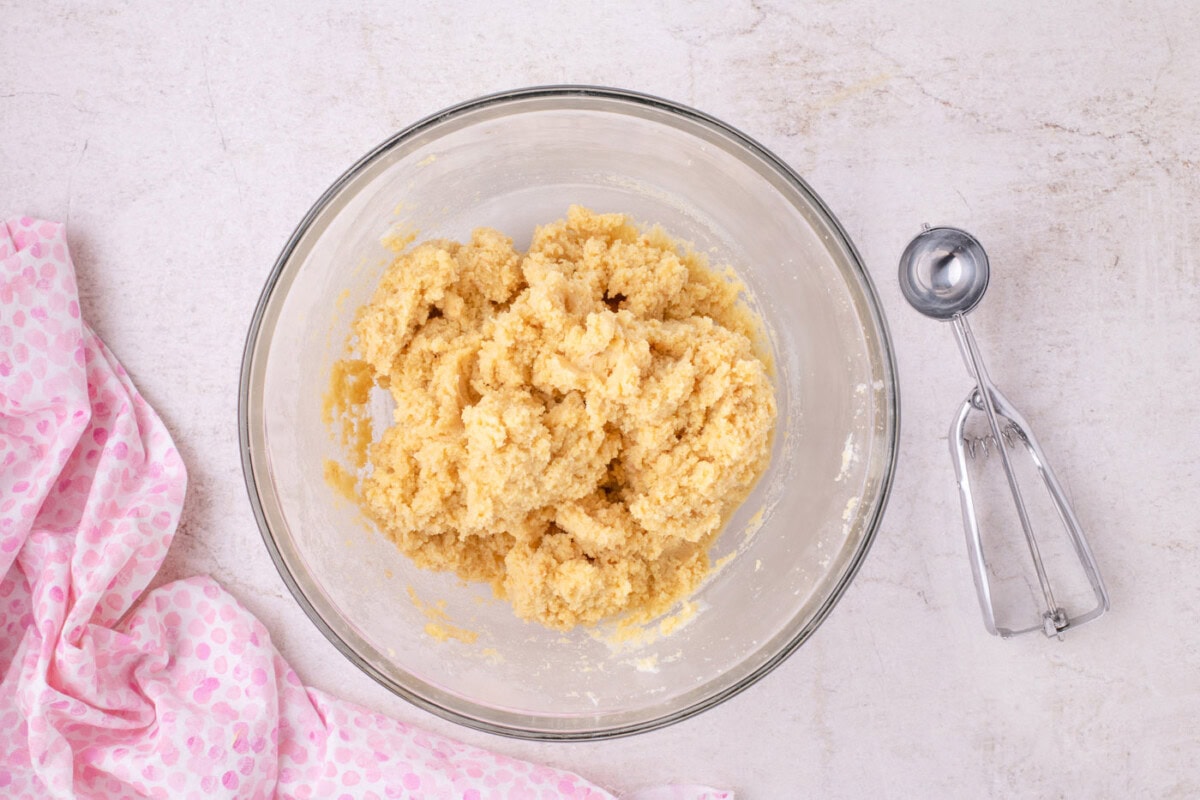
- Add the frosting ½ cup at a time, stirring it into the crumb mixture until fully incorporated.
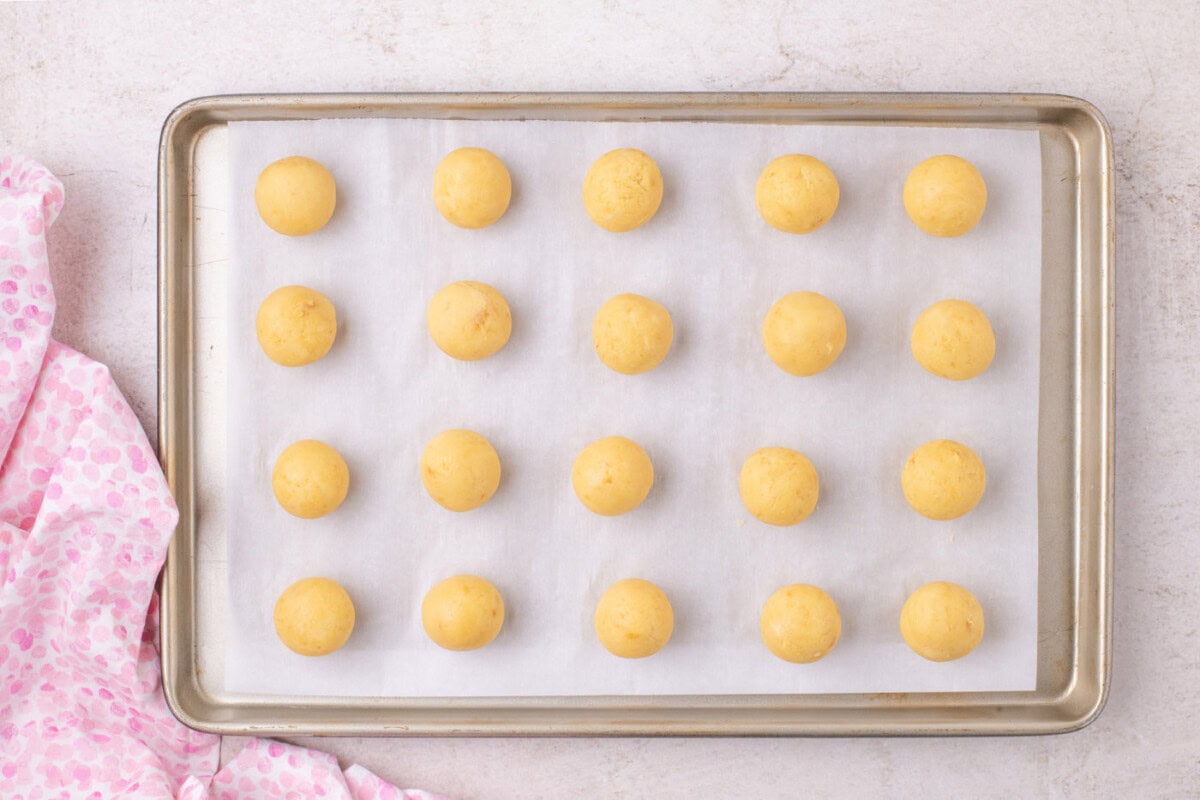
- Scoop out even-sized mounds of cake using a 2-tablespoon cookie scoop, placing them on the prepared baking sheet.
- Form each mound into a smooth round cake ball. Refrigerate the cake balls for one to two hours to allow them to harden.
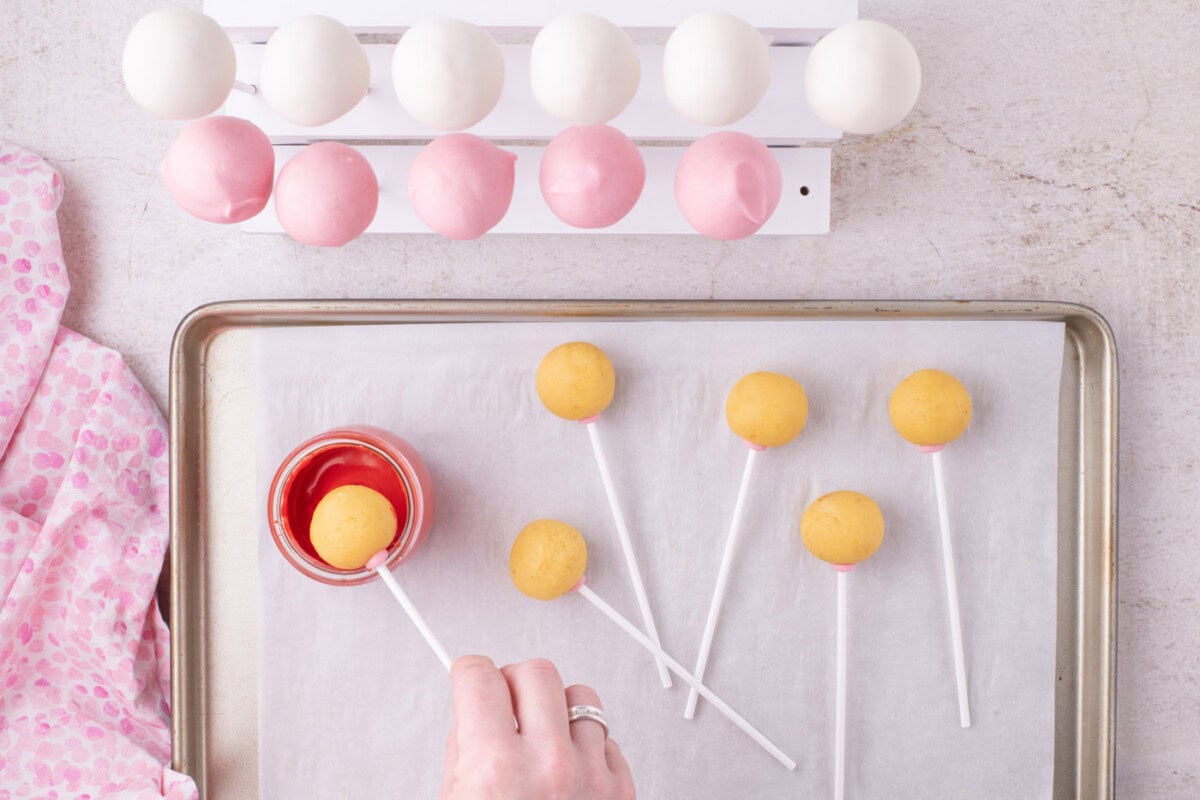
- Place each of the three colored candy melts in three separate bowls or glass jars. Heat the candy melts in the microwave in 30-second increments until they melt, then stir until smooth.
- Dip a cake pop stick into the melted candy coating about 1/2 inch deep. Then, push the coated end of the stick into the cake ball. Repeat with the remaining cake balls.
TIP – Make sure to push the cake stick into the cake ball past the middle point. This will provide better support when dipping it into the melted candy. - Once the candy base has hardened, dip the cake pop into the melted candy, gently tapping off any excess. Repeat with the remaining cake pops.
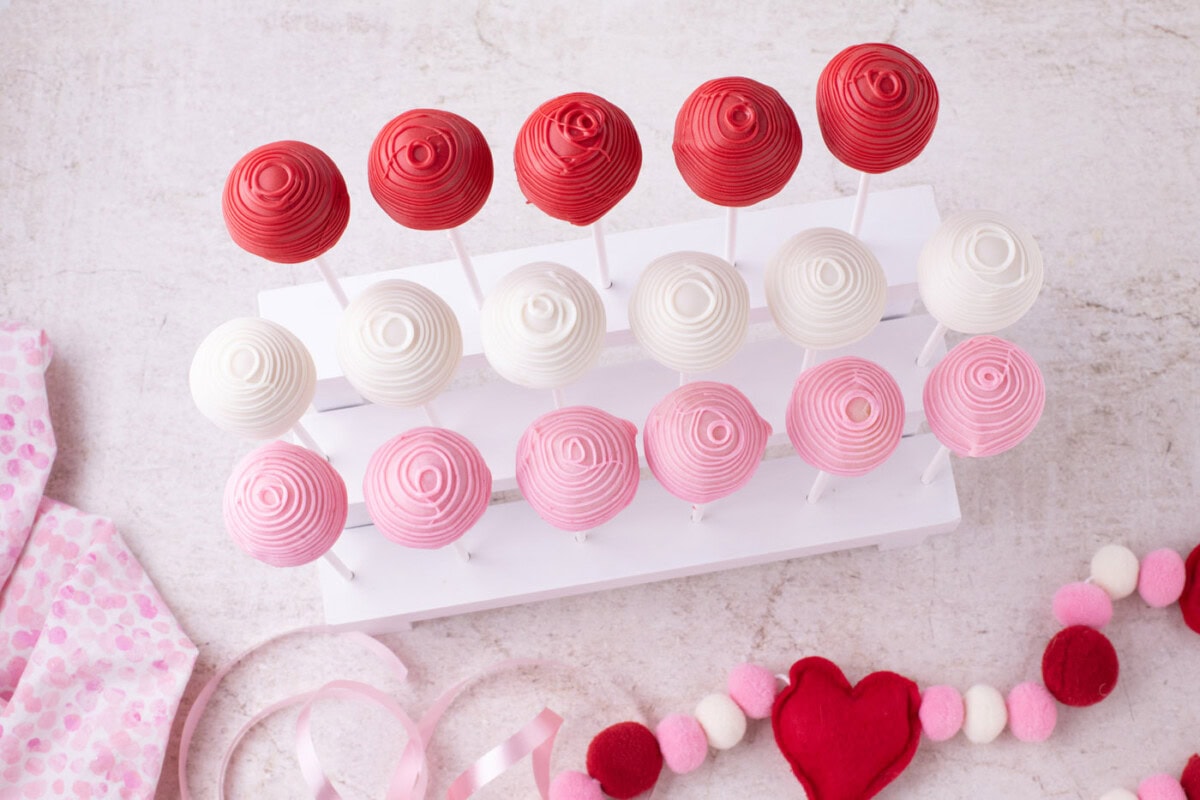
- Place the remaining melted candy into three disposable piping bags. Snip off the end of each bag and slowly drizzle even lines around the cake ball. If desired, a heart sprinkle can be added when the drizzle is still wet. Repeat this with the remaining cake pops and let them dry thoroughly on a cake pop stand before serving.
Frequently Asked Questions & Expert Tips
If the cake pop is too cold or the melted candy is too hot during dipping, it will crack. To avoid this, ensure the melted candy has had a chance to cool off for a minute after being heated.
If the melted candy is not coating the balls smoothly or starting to feel too thick to work with (and heating it again isn’t helping), stir in 1 teaspoon vegetable oil or coconut oil (which won’t yellow the white melted candy). Doing so will make the melted candy less viscous and easier to coat the cake pops.
Store your Valentine cake pops at room temperature in an air-tight container or sealed ziptop bag for up to one week.
You can use any flavor of cake to make cake balls! Strawberry, chocolate, yellow, white, funfetti, and red velvet all make divine little morsels when crumbled and mixed with frosting.
Serving Suggestions
I can’t recommend using cute heart sprinkles enough! They add the final touch of love to your Valentine cake pops. Optionally wrap the top of the cake balls in cellophane treat bags and tie with a bow for gift giving.
Valentine cake pops are only the tip of the iceberg when it comes to combinations. You can easily change the flavors and colors to match your party’s theme whether that’s for a holiday, gender reveal, birthday party, or football party.
More Valentine Recipes
- Valentine Muddy Buddies
- Valentine Cherry Hand Pies
- Chocolate Peanut Butter Hearts
- Valentine’s Day Heart Cupcakes
I love to bake and cook and share my kitchen experience with all of you! Remembering to come back each day can be tough, that’s why I offer a convenient newsletter every time a new recipe posts. Simply subscribe and start receiving your free daily recipes!

Valentine Cake Pops
IMPORTANT – There are often Frequently Asked Questions within the blog post that you may find helpful. Simply scroll back up to read them!
Print It Pin It Rate ItIngredients
- 13.25 ounce package yellow cake mix we used Betty Crocker
- 3 eggs
- 1 cup water
- 5 Tablespoons unsalted butter melted. 70g
- 11 ounces vanilla frosting 312g
- 12 ounces white candy melts 340g
- 12 ounces pink candy melts 340g
- 12 ounces red candy melts 340g
- heart shaped sprinkles optional as decoration
Things You’ll Need
- Piping bags or ziptop bag with the end snipped
Before You Begin
- *Use the ingredients listed in the recipe card to prepare your cake mix.*
- When making the cake, it is important to replace the oil (called for on the back of the box) with butter. Doing so will ensure a more solid cake pop with less chance of it falling off the stick.
- Disregard the oven temperature or bake time on the back of the cake mix box; instead, follow the directions above. You don’t want to overbake or brown the cake too much.
- Don’t use all the frosting in the container; only use the required amount.
- If the melted candy starts to harden, reheat it in 10-second increments in the microwave until you reach the desired consistency.
Instructions
- Preheat oven to 325°F. Grease a 9 x 13-inch baking dish and place parchment paper onto two large baking sheets. Set them aside.
- In a large mixing bowl, combine the dry cake mix, eggs, water, and melted butter. Blend until smooth.
- Transfer the cake batter to the prepared baking dish and bake for 20 to 22 minutes, or until a toothpick inserted comes out clean. Let the cake cool on a wire rack for 2 to 3 hours.
- Once the cake has cooled, break it up with your hands and place the pieces in a large mixing bowl.
- Using a fork, further break down the cake until it is crumbly.
- Add the frosting ½ cup at a time, stirring it into the crumb mixture until fully incorporated.
- Scoop out even-sized mounds of cake using a 2-tablespoon cookie scoop, placing them on the prepared baking sheet.
- Form each mound into a smooth round cake ball. Refrigerate the cake balls for one to two hours to allow them to harden.
- Place each of the three colored candy melts in three separate bowls or glass jars. Heat the candy melts in the microwave in 30-second increments until they melt, then stir until smooth.
- Dip a cake pop stick into the melted candy coating about 1/2 inch deep. Then, push the coated end of the stick into the cake ball. Repeat with the remaining cake balls.TIP – Make sure to push the cake stick into the cake ball past the middle point. This will provide better support when dipping it into the melted candy.
- Once the candy base has hardened, dip the cake pop into the melted candy, gently tapping off any excess. Repeat with the remaining cake pops.
- Place the remaining melted candy into three disposable piping bags. Snip off the end of each bag and slowly drizzle even lines around the cake ball. If desired, a heart sprinkle can be added when the drizzle is still wet. Repeat this with the remaining cake pops and let them dry thoroughly on a cake pop stand before serving.
Expert Tips & FAQs
- Store your Valentine cake pops at room temperature in an air-tight container or sealed ziptop bag for up to one week.
- If the melted candy is not coating the balls smoothly or starting to feel too thick to work with (and heating it again isn’t helping), stir in 1 teaspoon vegetable oil or coconut oil (which won’t yellow the white melted candy). Doing so will make the melted candy less viscous and easier to coat the cake pops.
Nutrition
The recipes on this blog are tested with a conventional gas oven and gas stovetop. It’s important to note that some ovens, especially as they age, can cook and bake inconsistently. Using an inexpensive oven thermometer can assure you that your oven is truly heating to the proper temperature. If you use a toaster oven or countertop oven, please keep in mind that they may not distribute heat the same as a conventional full sized oven and you may need to adjust your cooking/baking times. In the case of recipes made with a pressure cooker, air fryer, slow cooker, or other appliance, a link to the appliances we use is listed within each respective recipe. For baking recipes where measurements are given by weight, please note that results may not be the same if cups are used instead, and we can’t guarantee success with that method.

- Pecan Pie Bars - November 5, 2025
- Mummy Pops - October 23, 2025
- Chicken Parmesan Meatballs - May 27, 2025


Gwendolyn Crocker says
I made these yesterday with my five-year-old great niece. we had so much fun, and they were truly delicious.