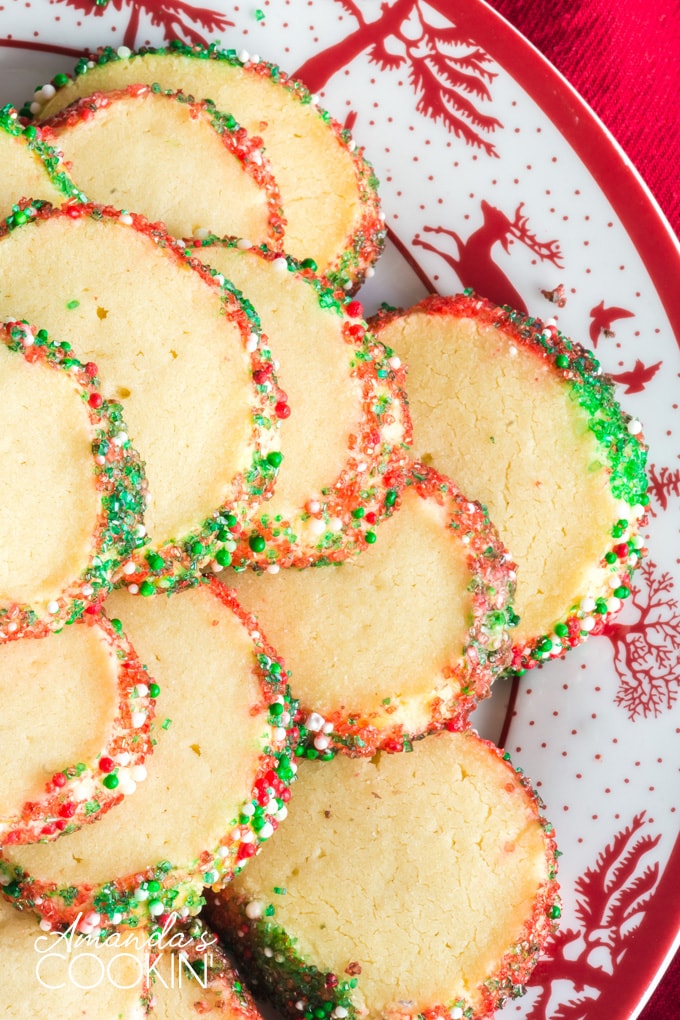
Shortbread cookies couldn’t be simpler. Butter, sugar, powdered sugar, salt, a few eggs, and some flour. Shortbread cookies are great anytime, but they’re lovely decorated in sugar for the holidays. I like to add these to a tray with Grandma’s Sugar Cookies.
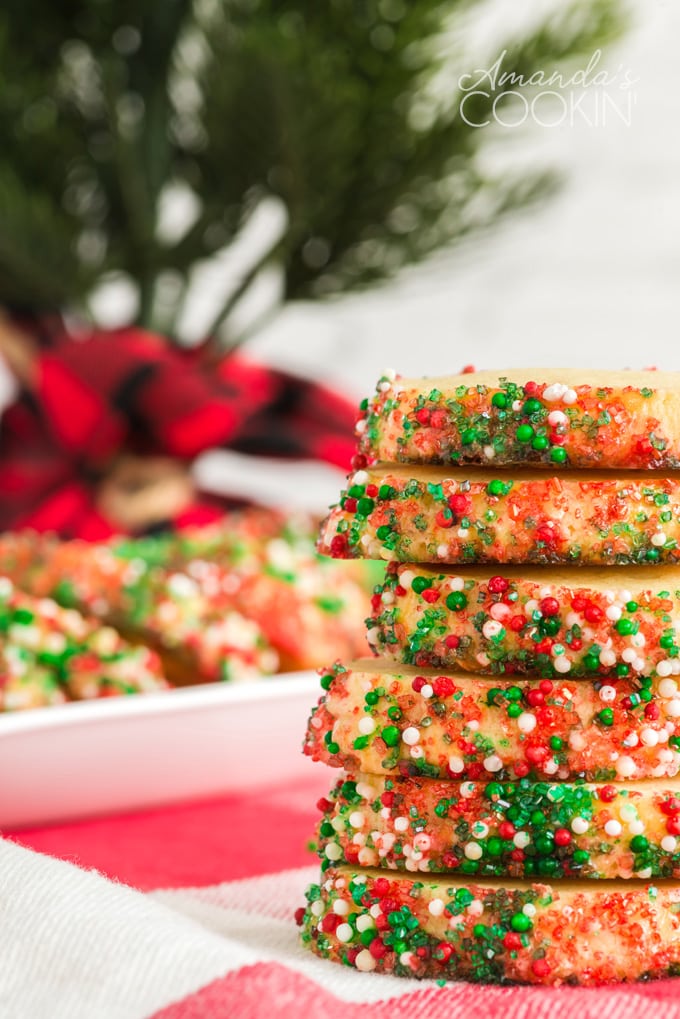
Shortbread Cookies Recipe
This delicious shortbread recipe comes from Dorie Greenspan’s book, Baking From My Home to Yours. Dorie calls them sables, I call them buttery and delicious.
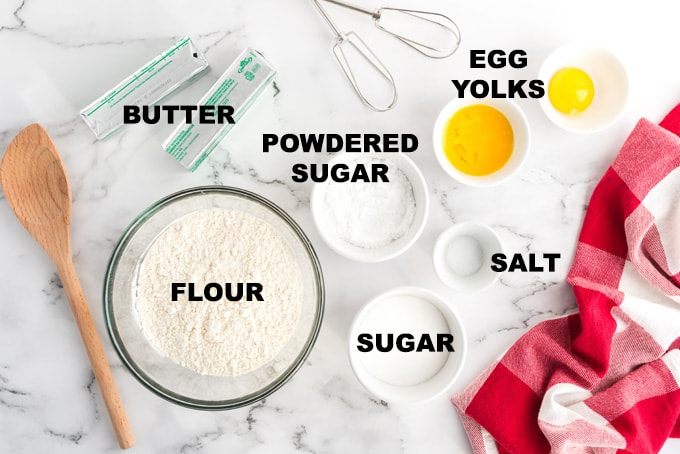
Ingredients you will need:
- Dry ingredients: all-purpose flour
- Wet ingredients: unsalted butter, granulated sugar, powdered sugar, salt, egg yolks
- Decorations: nonpareils, colored sugar
Helpful baking tools:
- Stand mixer
- Measuring cups and spoons
- Rubber spatula
- Insulated baking sheets
- Silicone baking mat
- Wire cooling racks
12 DAYS OF CHRISTMAS COOKIES
12 Christmas cookies you will love, PLUS bonus baking tips and TWO extra recipes you will not find on this blog! See ALL my cookbooks here!
Get the Christmas cookies cookbook! ONLY $9.97!!

Baking Tips:
- Mix just until the flour disappears into the dough and the dough looks uniformly moist.
- If most of the flour is incorporated but you’ve still got some in the bottom of the bowl, use a rubber spatula to work the rest of the flour into the dough.
- The dough will not clean the sides of the bowl, nor will it come together in a ball — and it shouldn’t. You want to work the dough as little as possible.
- Pinch it, and it will feel a little like Play-Doh.
How to Make Shortbread Cookies
We aren’t going to preheat the oven right away because the cookie dough should be refrigerated for about 3 hours before baking. You can go ahead and line two baking sheets with silicone baking mats or parchment paper to get ready.
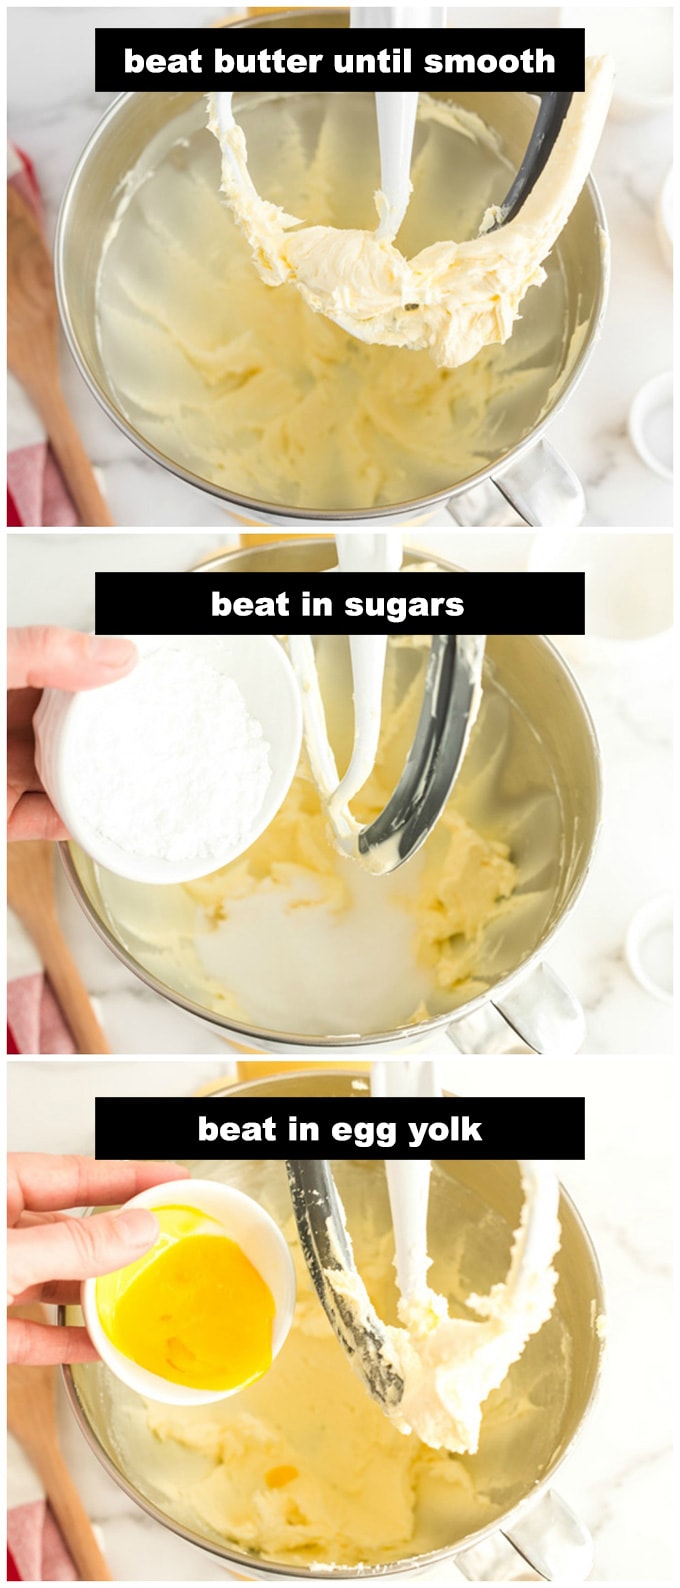
- Beat the butter at medium speed until smooth and very creamy. Add the sugars and salt and beat until well blended, about 1 minute.
- Reduce the mixer speed to low and beat in 2 of the egg yolks.
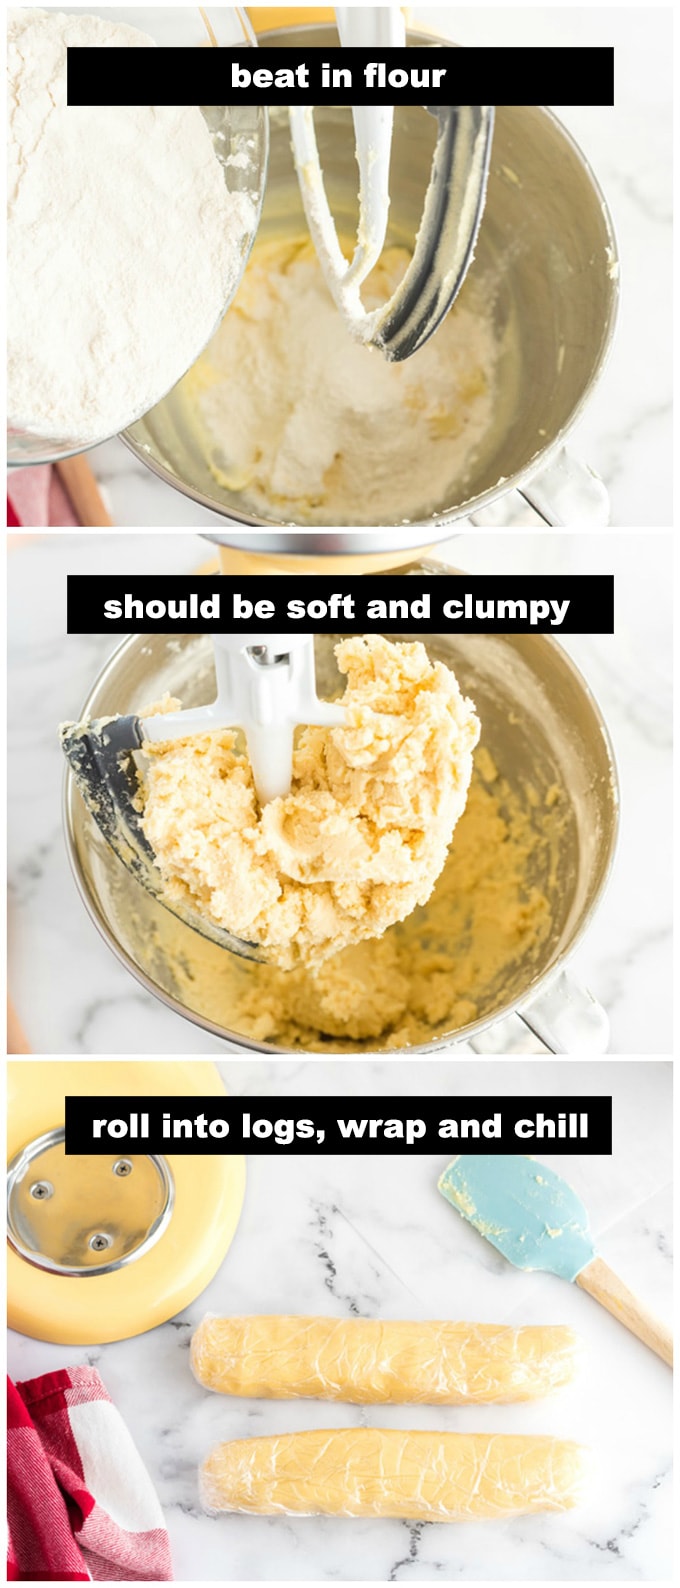
- Turn off the mixer. Pour in the flour, drape a kitchen towel over the stand mixer to protect yourself from flying flour and pulse the mixer at low speed about 5 times, a second or two each time. Take a peek — if there is still a lot of flour on the surface of the dough, pulse a couple more times; if not, remove the towel.
- Continuing at low speed, mix for about 30 seconds more, just until the flour disappears into the dough and the dough looks uniformly moist. You’re aiming for is a soft, moist, clumpy (rather than smooth) dough. Pinch it, and it will feel a little like Play-Doh.
- Scrape the dough out onto a smooth work surface, gather it into a ball and divide it in half. Shape each piece into a smooth log about 9 inches long. Wrap the logs well and refrigerate them for at least 3 hours, preferably longer.
- GETTING READY TO BAKE: Preheat the oven to 350 degrees F.
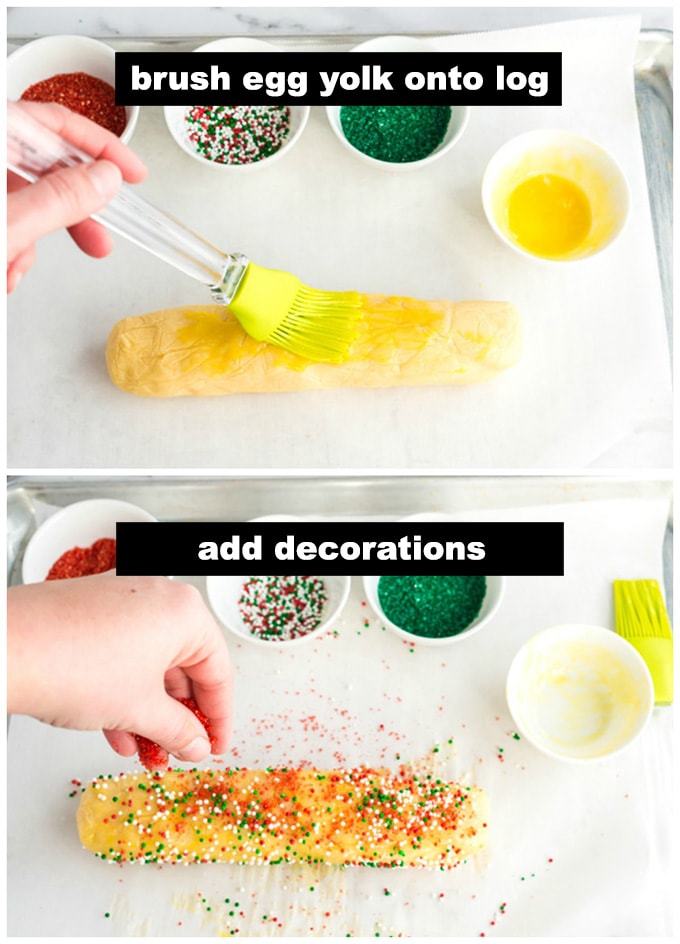
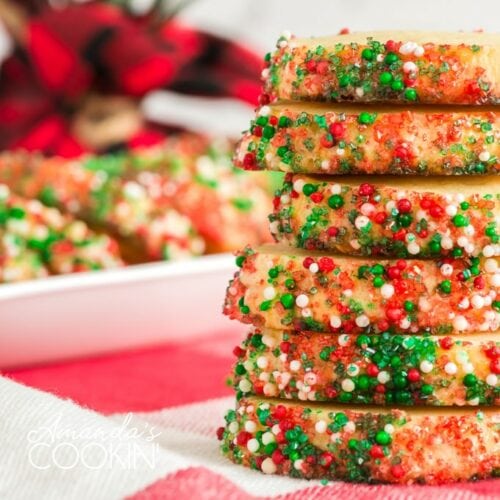
- Remove a log of dough from the refrigerator. Whisk the remaining egg yolk until it is smooth, and brush some of the yolk all over the sides of the dough — this is the glue — then sprinkle the entire surface of the log with decorating sugar.
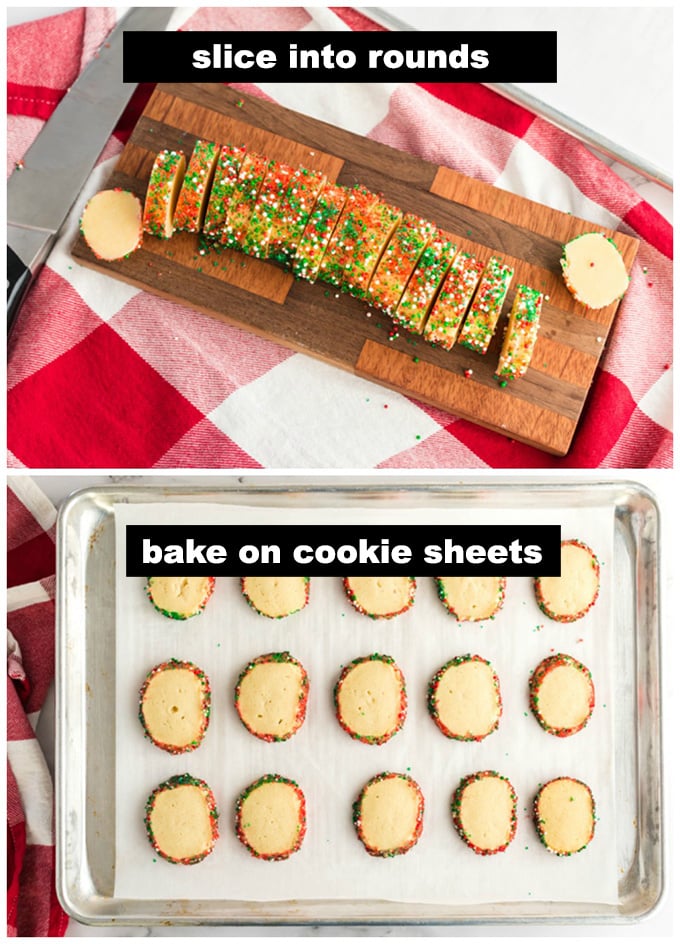
- Trim the ends of the roll if they’re ragged, and slice the log into 1/3-inch-thick cookies. Place the rounds on the baking sheets, leaving an inch of space between them.
- Bake one sheet at a time for 17 to 20 minutes. Remove from the oven and let the cookies rest a minute or two before carefully lifting them onto a rack to cool to room temperature.
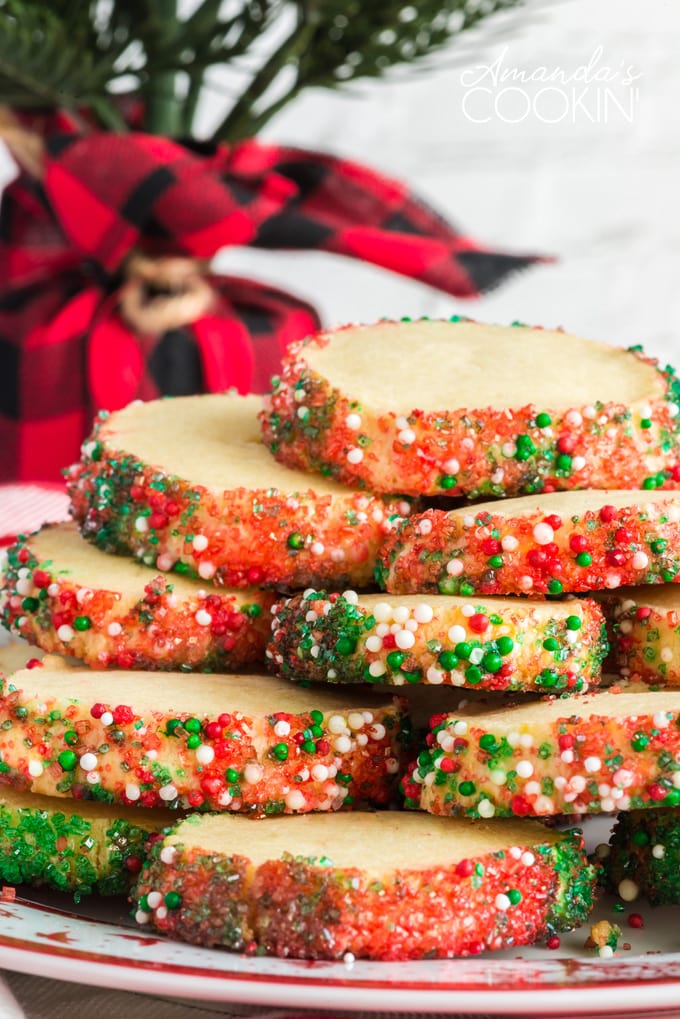
I love a simple recipe, and these shortbread cookies totally fit the bill. They are great for Christmas cookie exchanges, but don’t bury this recipe. It’s good all year round!
More Cookie Recipes
- Butter Cookies
- Chocolate Crinkle Cookies
- Thumbprint Cookies
- Neapolitan Cookies
- Cherry Pie Cookies
- Danish Butter Cookies
- Fluffernutter Cookies
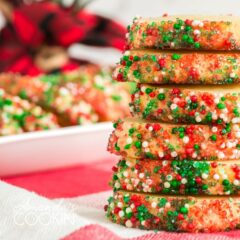
Shortbread Cookies
IMPORTANT - There are often Frequently Asked Questions within the blog post that you may find helpful. Simply scroll back up to read them!
Print It Rate ItIngredients
- 1 cup unsalted butter softened
- ½ cup granulated sugar
- ¼ cup confectioners' sugar sifted
- ½ teaspoon salt
- 3 large egg yolks divided
- 2 cups all-purpose flour
- course sugar or nonpareils optional
Things You'll Need
Before You Begin
- Mix just until the flour disappears into the dough and the dough looks uniformly moist.
- If most of the flour is incorporated but you've still got some in the bottom of the bowl, use a rubber spatula to work the rest of the flour into the dough.
- The dough will not clean the sides of the bowl, nor will it come together in a ball -- and it shouldn't. You want to work the dough as little as possible.
- Pinch it, and it will feel a little like Play-Doh.
Instructions
- Beat the butter at medium speed until smooth and very creamy. Add the sugars and salt and beat until well blended, about 1 minute. The mixture should be smooth and velvety, not fluffy and airy. Reduce the mixer speed to low and beat in 2 of the egg yolks, again beating until the mixture is homogeneous.
- Turn off the mixer. Pour in the flour, drape a kitchen towel over the stand mixer to protect yourself and the counter from flying flour and pulse the mixer at low speed about 5 times, a second or two each time. Take a peek -- if there is still a lot of flour on the surface of the dough, pulse a couple more times; if not, remove the towel. Continuing at low speed, mix for about 30 seconds more, just until the flour disappears into the dough and the dough looks uniformly moist. (If most of the flour is incorporated but you've still got some in the bottom of the bowl, use a rubber spatula to work the rest of the flour into the dough.) The dough will not clean the sides of the bowl, nor will it come together in a ball -- and it shouldn't. You want to work the dough as little as possible. What you're aiming for is a soft, moist, clumpy (rather than smooth) dough. Pinch it, and it will feel a little like Play-Doh.
- Scrape the dough out onto a smooth work surface, gather it into a ball and divide it in half. Shape each piece into a smooth log about 9 inches long: it's easiest to work on a piece of plastic wrap and use the plastic to help form the log. Wrap the logs well and refrigerate them for at least 3 hours, preferably longer.
- GETTING READY TO BAKE: Center a rack in the oven and preheat the oven to 350 degrees F. Line two baking sheets with parchment or silicone mats.
- Remove a log of dough from the refrigerator, unwrap it and place it on a piece of parchment or wax paper. Whisk the remaining egg yolk until it is smooth, and brush some of the yolk all over the sides of the dough -- this is the glue -- then sprinkle the entire surface of the log with decorating sugar.
- Trim the ends of the roll if they're ragged, and slice the log into 1/3-inch-thick cookies. Place the rounds on the baking sheets, leaving an inch of space between them.
- Bake one sheet at a time for 17 to 20 minutes, rotating the baking sheet at the midway point. When properly baked, the cookies will be light brown on the bottom, lightly golden around the edges and pale on top; they may feel tender when you touch the top gently, and that's fine. Remove from the oven and let the cookies rest a minute or two before carefully lifting them onto a rack with a wide metal spatula to cool to room temperature.
- Repeat with the remaining log of dough, making sure the baking sheets are cool before you bake the second batch.
Nutrition
This post originally appeared here on Dec 8, 2009.
Amanda Davis
Latest posts by Amanda Davis (see all)
- Cauliflower Pizza Crust - January 13, 2025
- Keto Peanut Butter Cookies - January 9, 2025
- Cloud Bread - January 6, 2025


SK says
Can I roll out the dough and use a cookie cutter instead?
Cindy says
Just want to thank you, Amanda, for the well written, clear and instructive Christmas cookie recipes.
Photos of the cookies are beautiful. Planning on Cornflake Christmas Wreaths, Spritz Cookies and Shortbread Cookies at sisters, daughters and cousins Christmas cookie baking this weekend. These will be a hit.
Joan says
Great Christmas cookie recipe! I would love to find the holiday nonpareils for next year!
dharmagirl says
such pretty cookies! i love the heavy sugar edges. and, i love your milk glass plate. my grandma found me a cake stand a few years ago and i love it:)
margot says
The plates are so pretty! The cookies look great too, I love all the colors. I was happy for an easy recipe this week.
Liz says
Wow, what a gorgeous platter! I also love the different sparkling sugar borders, so lovely and festive.
Ingrid says
Luuuuuuuuv the platter. I want one but the cake stand.
I liked the look of these cookies. They're so pretty and festive rimmed with colored sugar!
~ingrid
Jessica {The Novice Chef} says
These are beautiful! I love all the fun colors! Out of all the TWD posts I saw today, your sables are the best!
Mimi says
Your cookies look fantastic. I love going to antique malls, so many pretty things.
Mimi
foodie ffanatic says
Love the plates! Love the cookies – simple but very Christmasy!
Bungalow Barbara says
Thank you for baking along with me this week!
I love all your different colors of sugar. And the plates are fabulous — what a find!
Clivia says
Both plates are beautiful. And your cookies are picture perfect all on their own. Beautifully done!
Nina says
Amanda–your cookies are stunning! Love the beautiful colors you used and that plate….spectacular!
Susan says
Your plates are beautiful and your cookies aren't too bad either! :) Great job!
Raelynn says
OH…what a great idea to use colored sugar for the holidays….didn't even think of it!! They look great!!
Mary Ann says
Your cookies turned out great! I love all the colors and the plate is pretty too!
jillbert says
They look so pretty with the colored sugar on the white plates!
I'm NW of Milwaukee (about 40 minutes), so we're not quite neighbors, but also not that far away. Enjoy the snow if you can!
Cakelaw says
These are purty with their coloured sugar rims. I love both of your serving plates as well – so elegant.
Bridgett says
I love all the colored sugars. That really gives them a festive vibe. Excellent idea!
Lillian says
I skipped the egg yolk, and I didn't take the time to color sugar. But yours look so lovely that I think I might just have to make another batch (or five!).