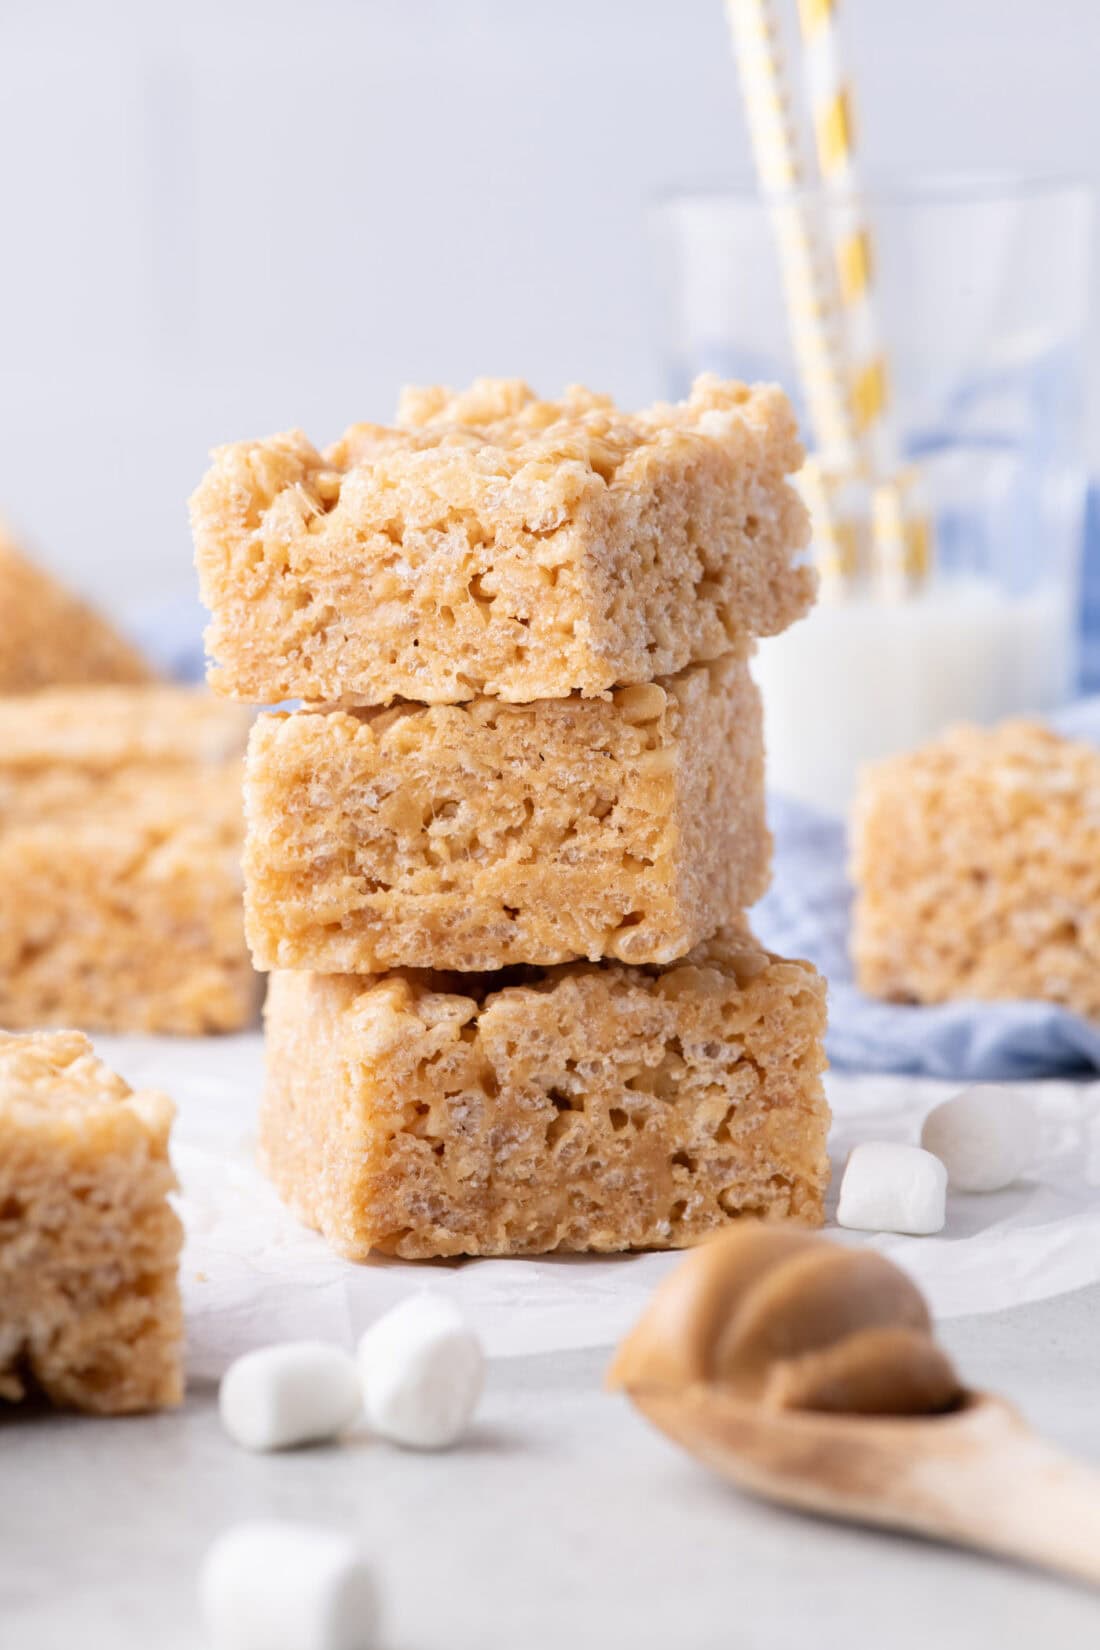
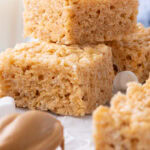
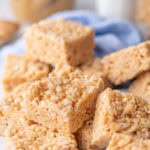
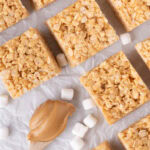
Peanut butter rice krispie treats are easy to make with only 5 ingredients. Every bite is filled with crispy crunchy peanut butter bliss.
Why this recipe works
Peanut butter rice krispie treats have me in a chokehold with its creamy peanut butter mixed with sticky melted marshmallow and crisp cereal. Swoon. A good old-fashioned rice krispie treat will always be good enough, but adding peanut butter to the mix really makes them magical.
It must be the nostalgia. Now that I’m grown and realize I can mix other goodies into rice krispies gets me all excited. Born out of that excitement comes these hot cocoa rice krispie treats and of course, this peanut butter lovers rendition.
Ingredients you will need
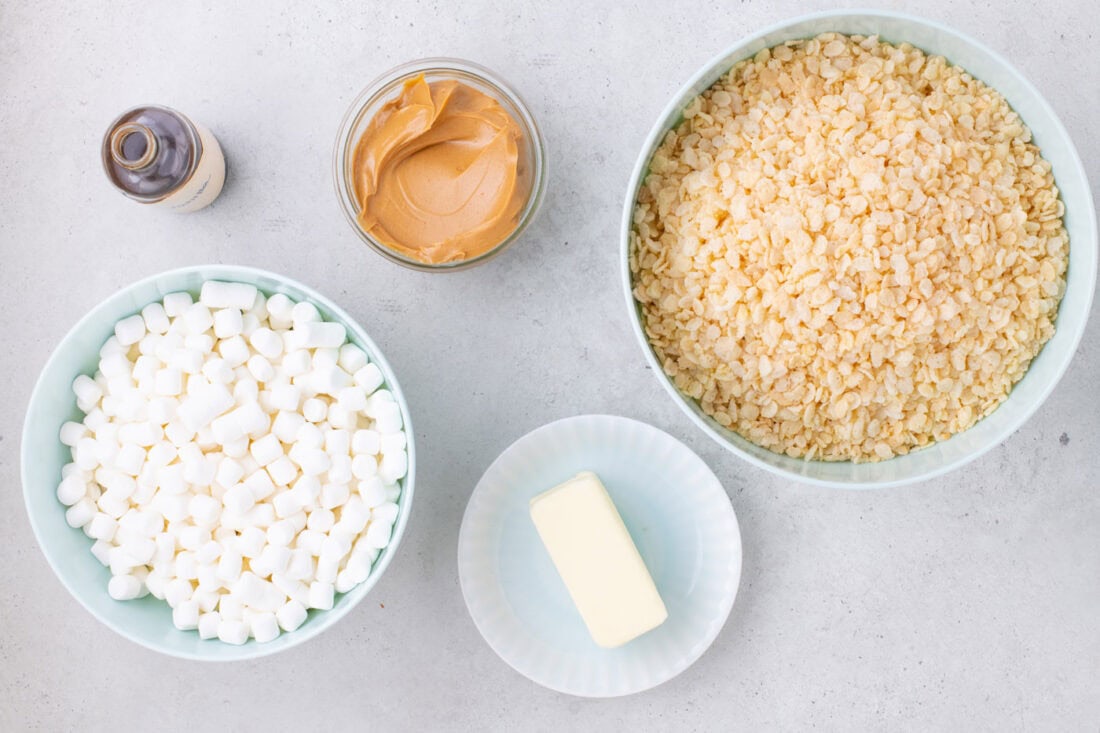
Get all measurements, ingredients, and instructions in the printable version at the end of this post.
Ingredient Info and Substitution Suggestions
PEANUT BUTTER – Stick to creamy peanut butter for this recipe. I personally prefer the typical big-name peanut butters because they don’t separate, but natural peanut butter will do the trick as well as long as you are sure to mix it thoroughly before beginning.
CEREAL – Is it really Rice Kripies without the Rice Krispie cereal? On a real note, you can absolutely use off-brand cereal to make just as tasty of a treat!
MARSHMALLOWS – Mini marshmallows melt more easily, but you can swap them with regular-sized marshmallows if that’s what you have on hand. I would recommend chopping full-sized marshmallows up to help them melt quickly.
How to Make Peanut Butter Rice Krispie Treats
These step by step photos and instructions are here to help you visualize how to make this recipe. You can Jump to Recipe to get the printable version of this recipe, complete with measurements and instructions at the bottom.
- Line a 9×13-inch baking pan with parchment paper.
TIP – If you don’t have parchment paper to line the baking pan, you can also grease the pan with butter (having the parchment paper makes for slightly easier removal). - Cut butter into quarters and place in a large pot over medium heat.
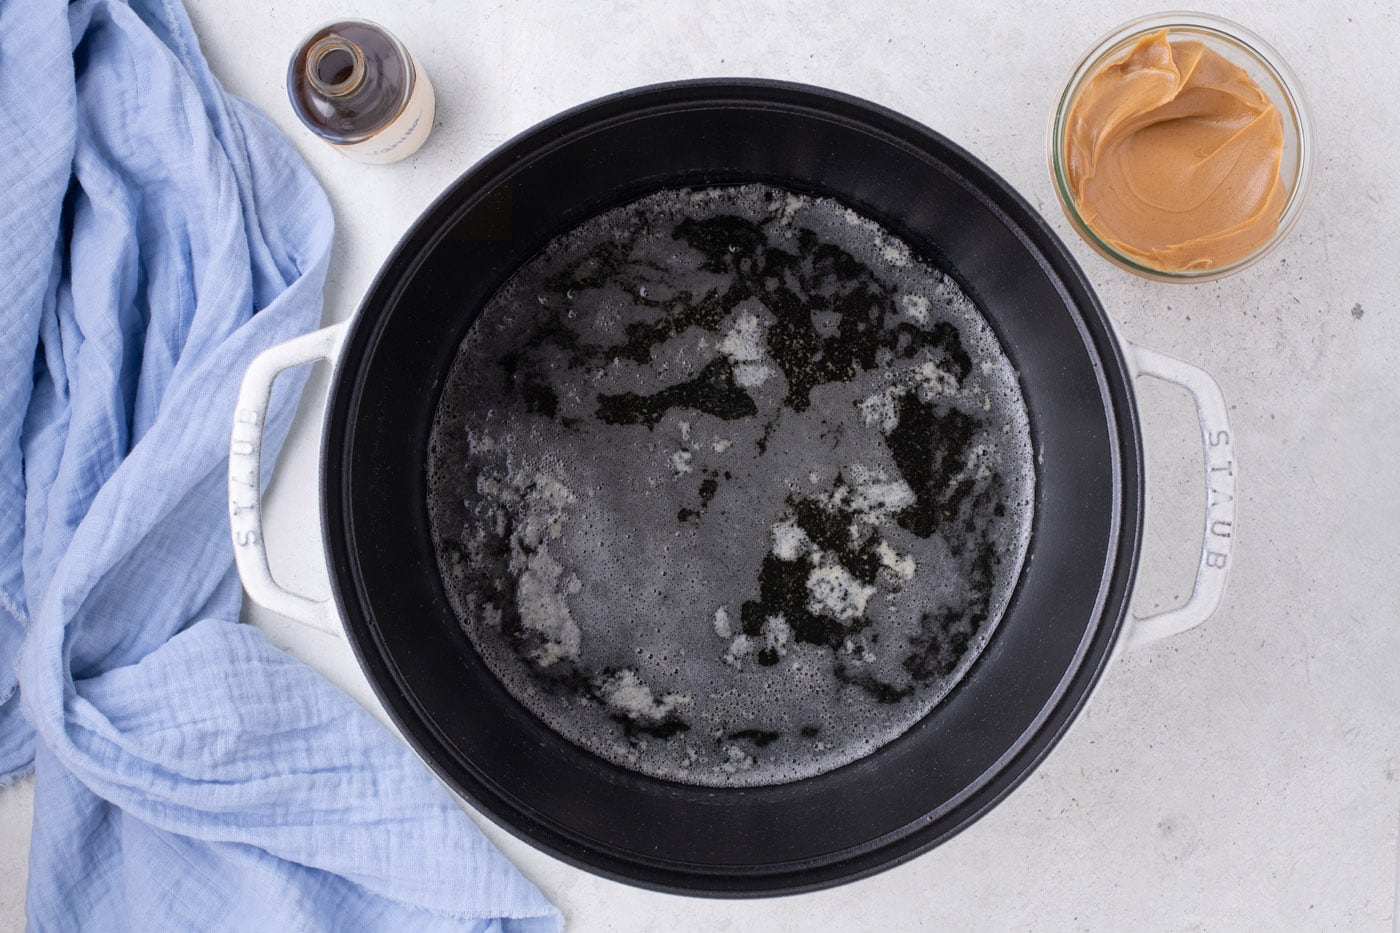
- Once the butter starts to foam, reduce the heat to low and add the peanut butter and vanilla extract. Stirring until smooth.
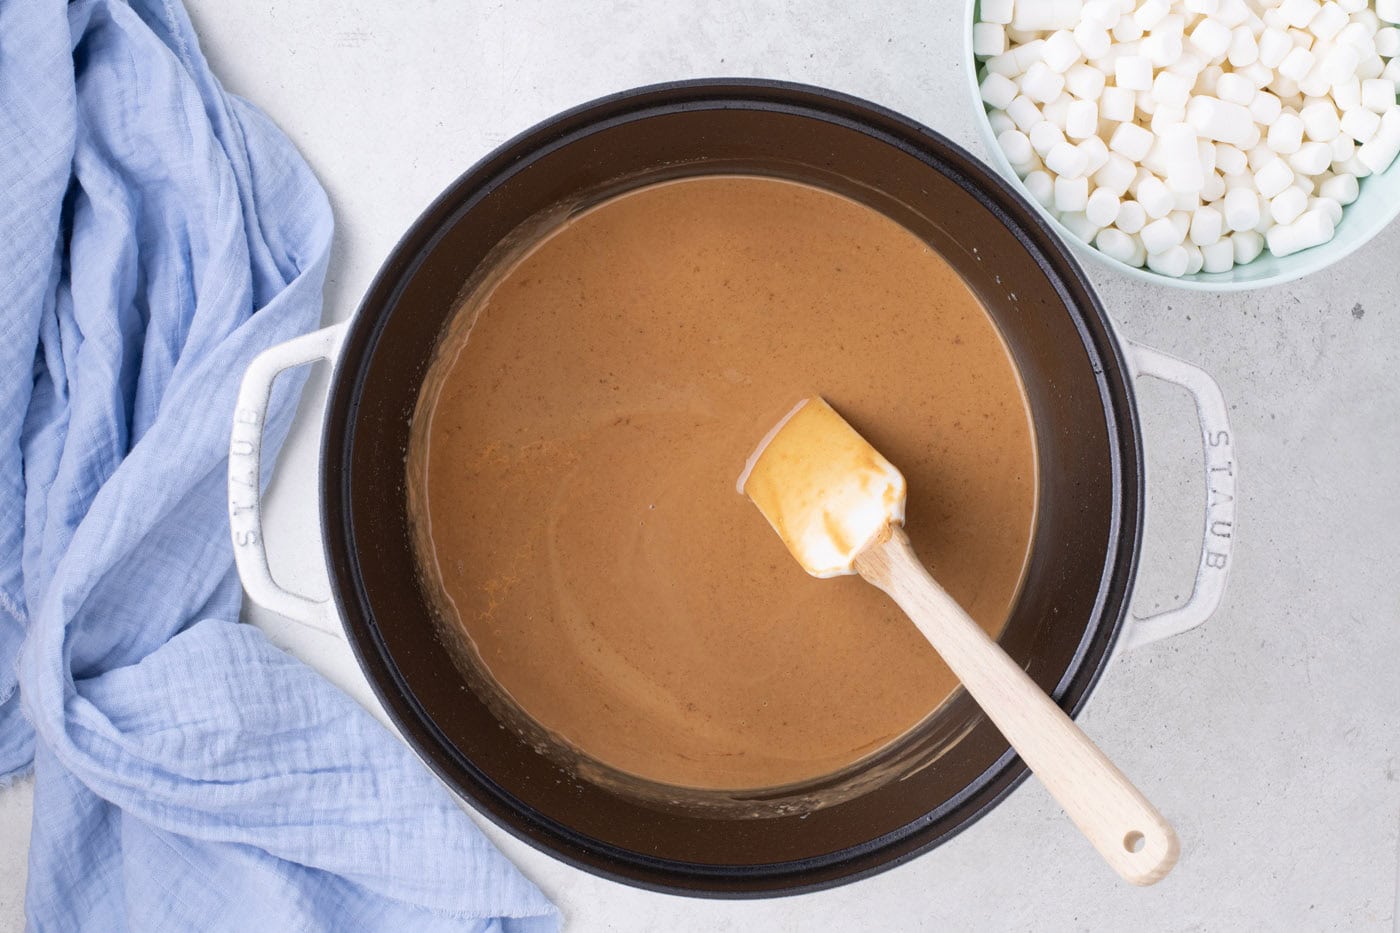
- Add the mini marshmallows and stir continuously until they are melted and no white streaks remain.
TIP – Be careful not to burn the marshmallow mixture while melting it. It’s important to keep it at a low heat and stir continuously.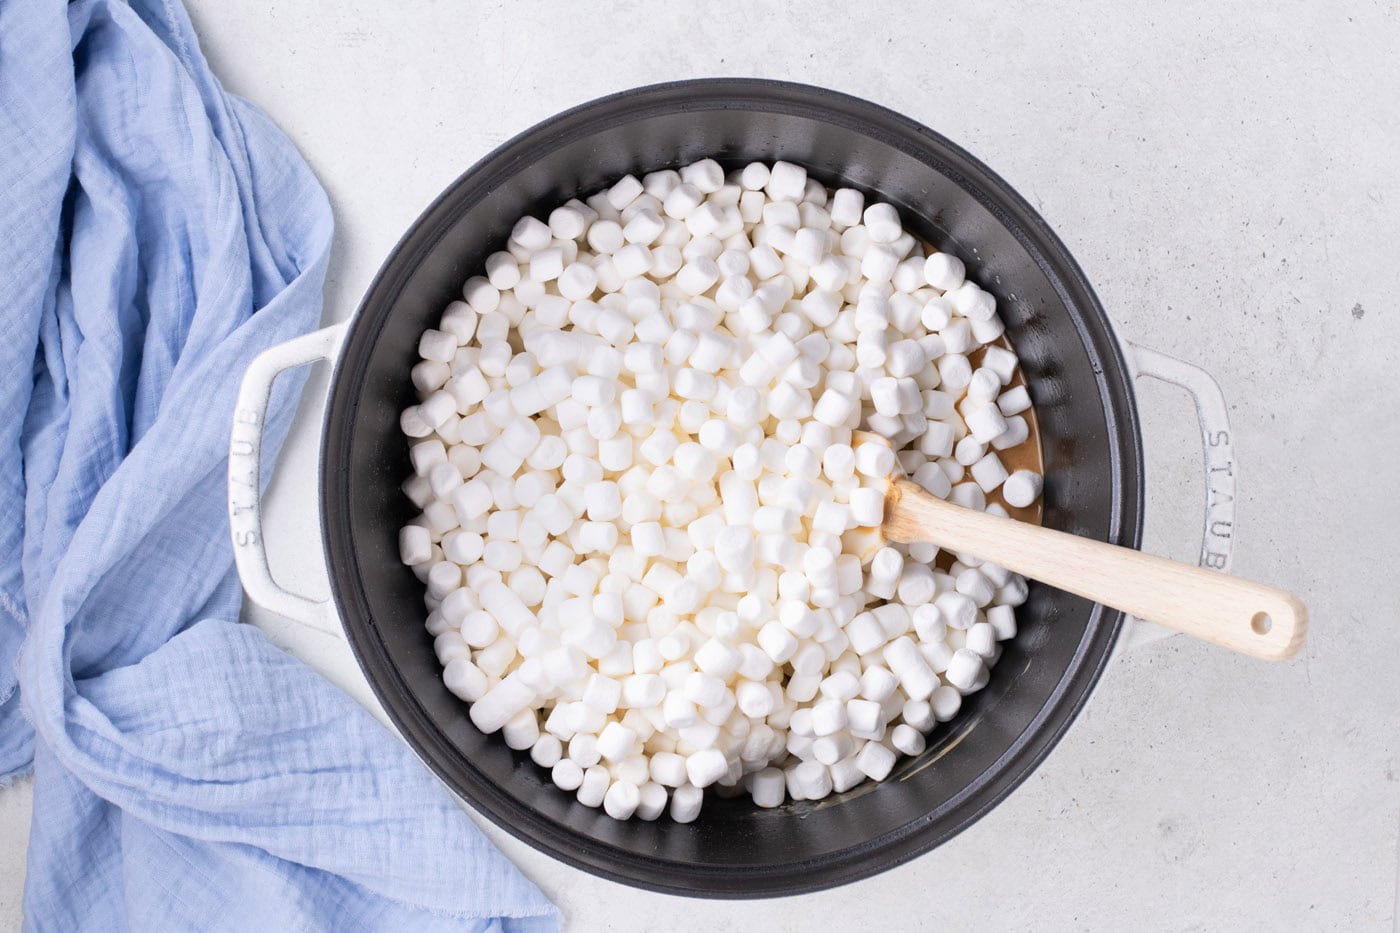
- Pour in the Rice Krispies cereal, and, working quickly, stir until the cereal is coated in the marshmallow mixture. Be careful not to crush the cereal when stirring (I find using a soft silicone spatula avoids this).
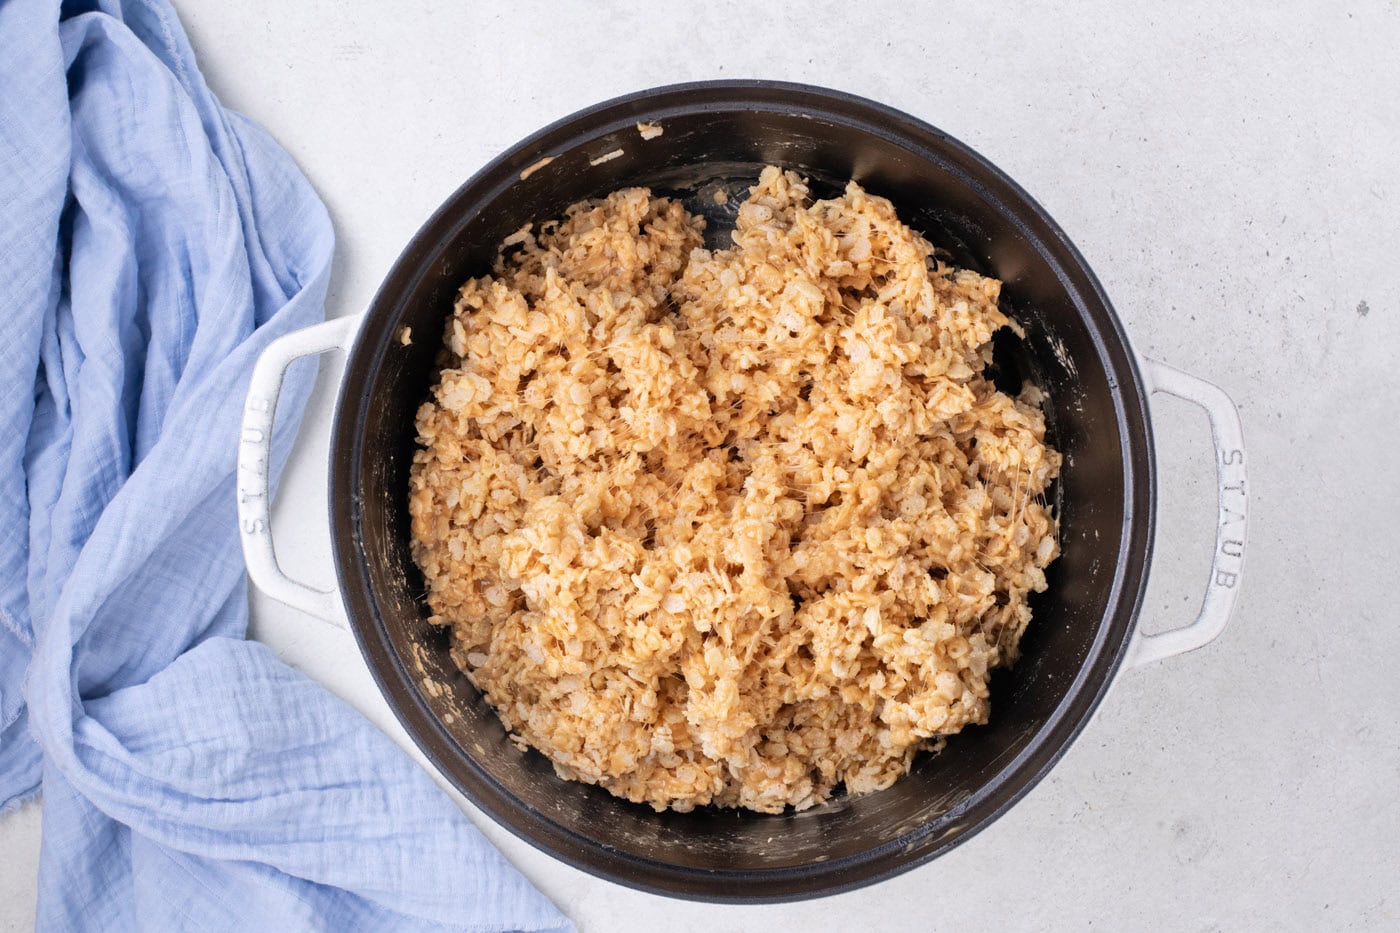
- Transfer the mixture to the prepared baking pan and spread it into an even layer, making sure to reach the corners.
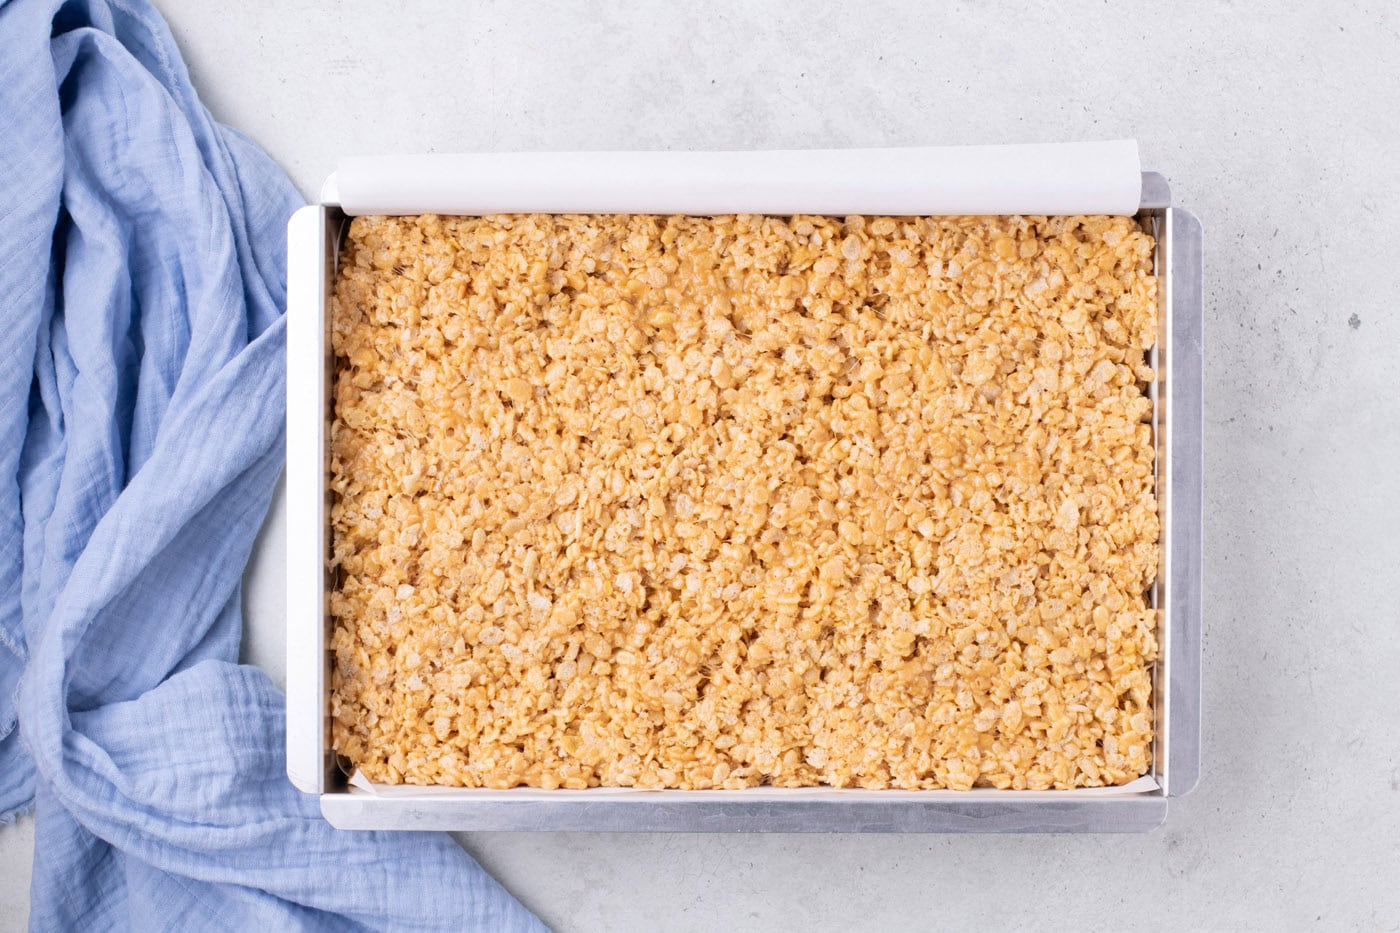
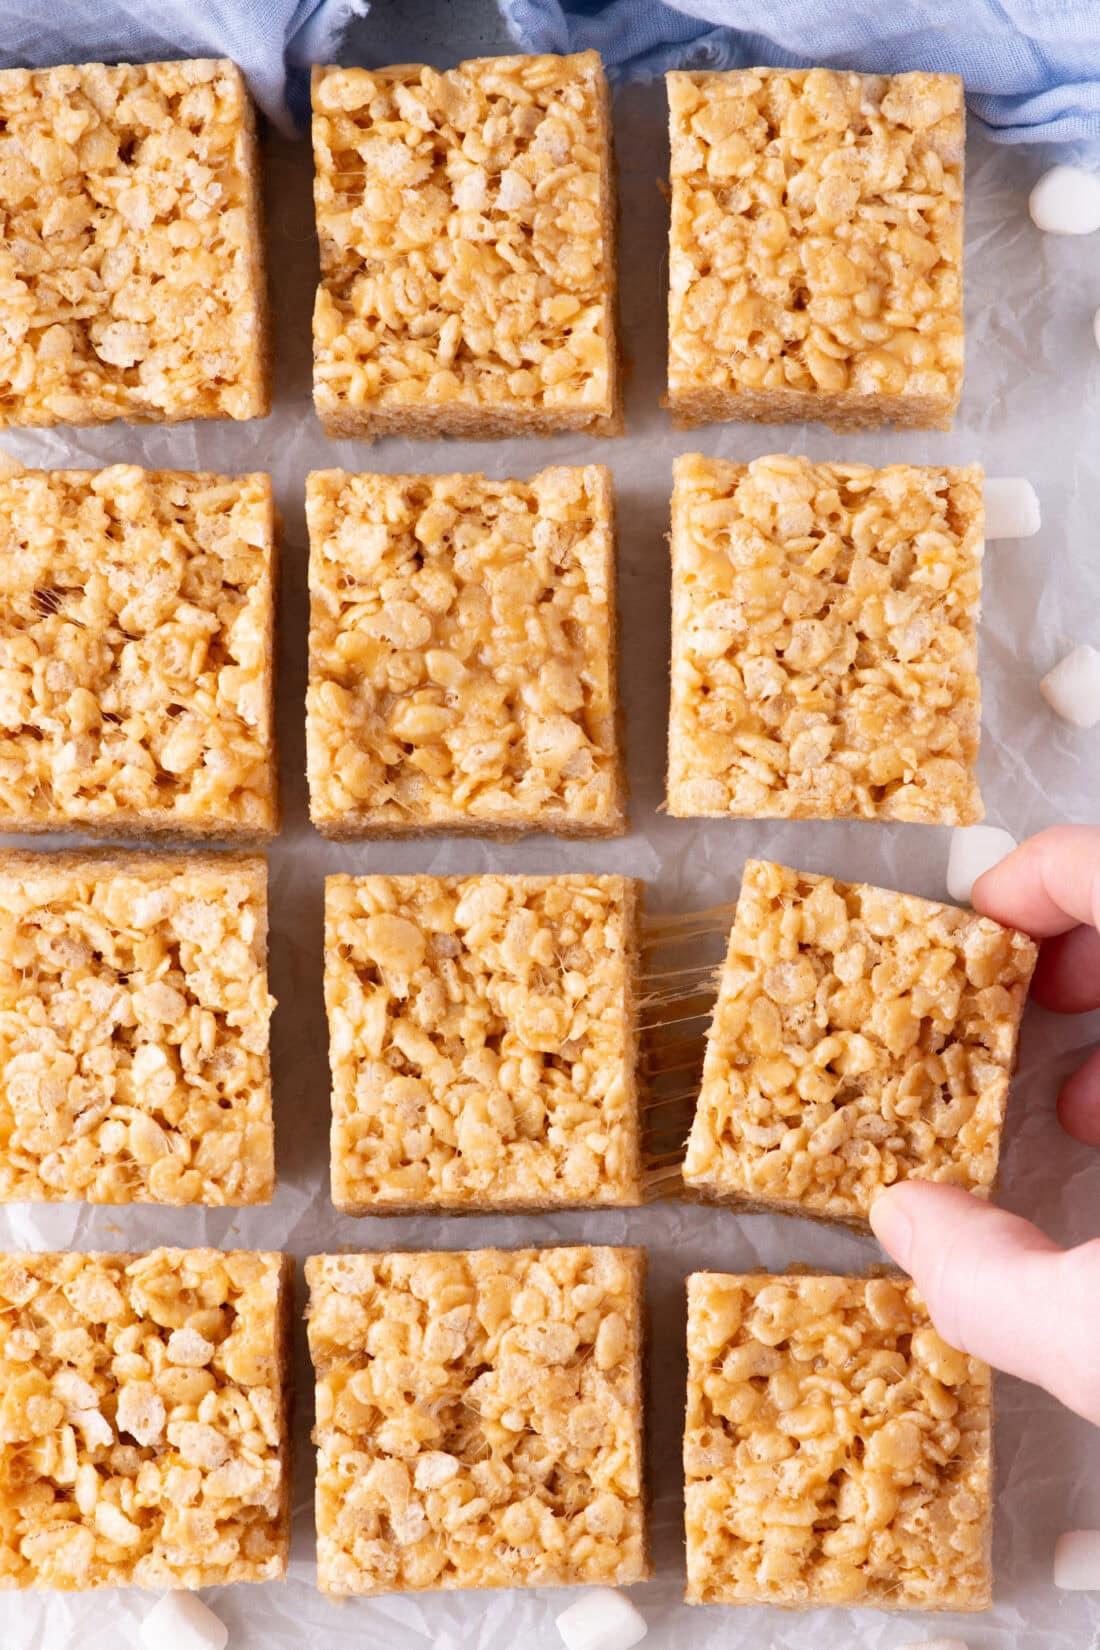
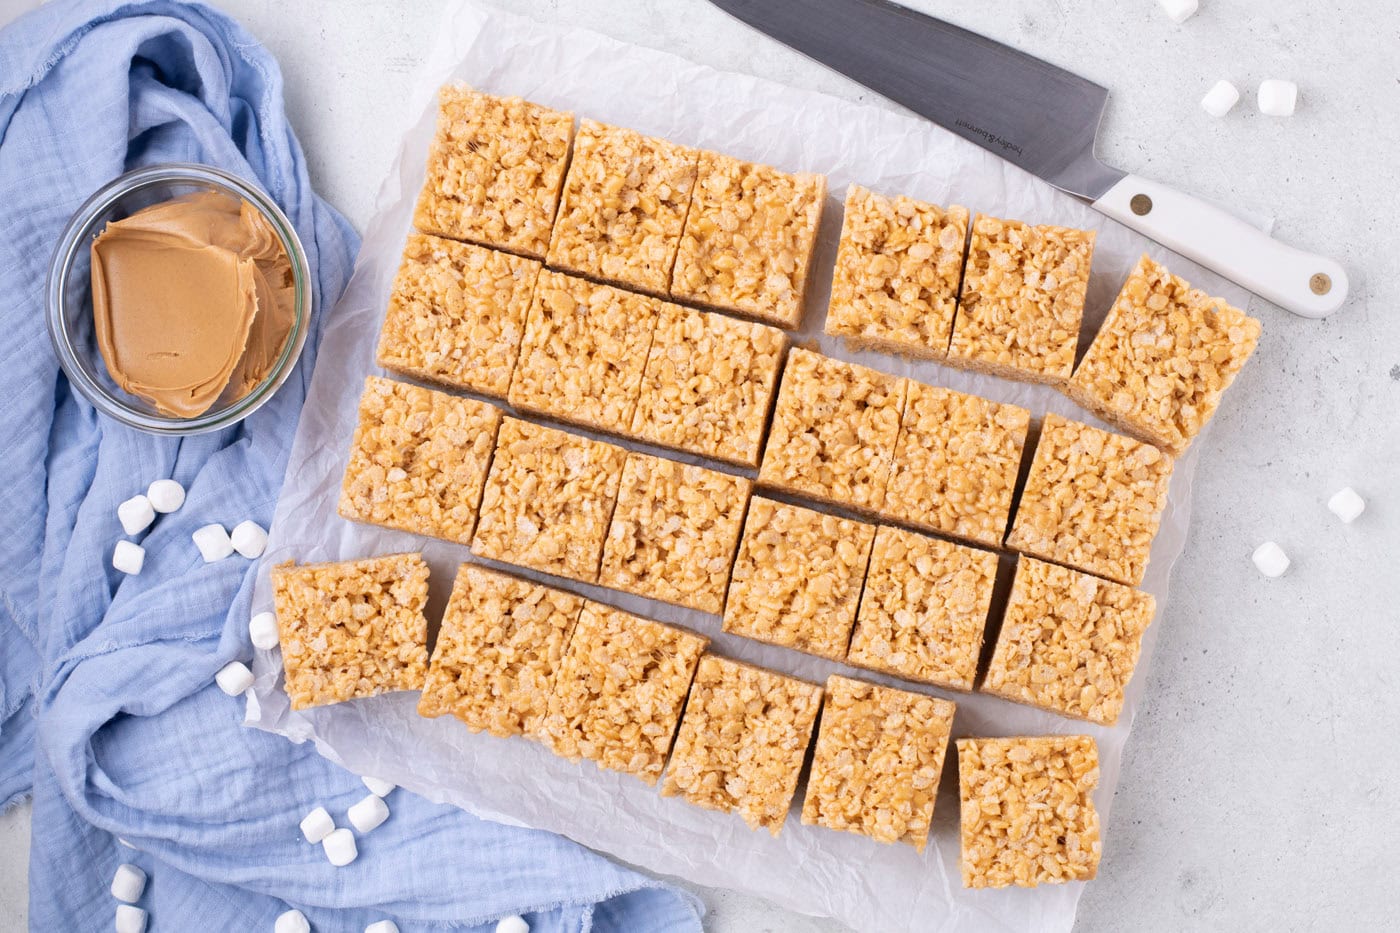
- Allow to set for 30 minutes and then slice into 24 equal servings.
Frequently Asked Questions & Expert Tips
You can use any peanut butter, as long as it is not crunchy-style, as this will affect the overall texture of the treats.
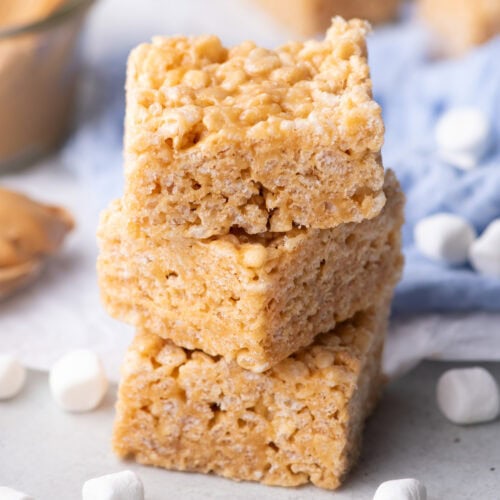
It is best to store them at room temperature kept in an air-tight container. They don’t need to be refrigerated, (doing so will make the treats hard).
To avoid hard or overly dense treats, only lightly press the mixture down in the pan. If you press them too hard into the pan you are eliminating all the air and condensing them too much. Also, do not refrigerate the finished treats; doing so will make them hard.
Serving Suggestions
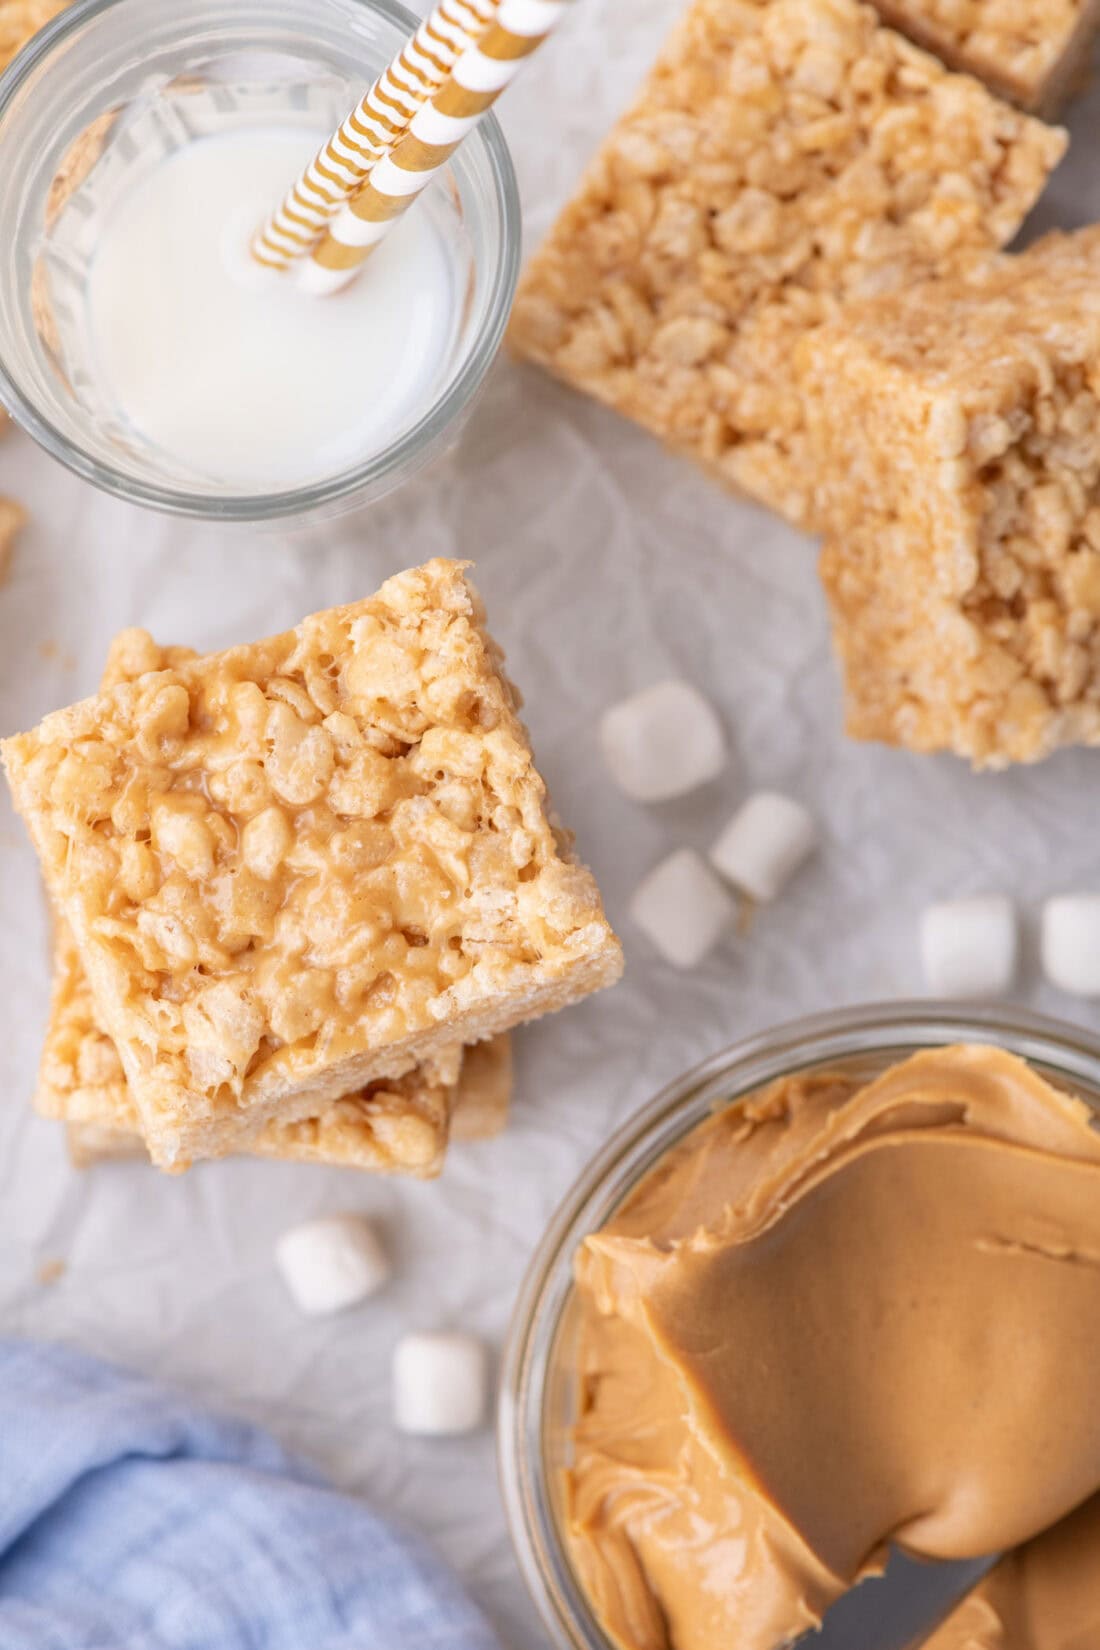
To jazz up your peanut butter rice krispie treats you can drizzle either melted chocolate or peanut butter on top. Otherwise, they’re perfectly delicious all on their own! Enjoy at room temperature.
More Peanut Butter Recipes
- Peanut Butter Brownies
- Chocolate Peanut Butter Balls
- Peanut Butter Chocolate Chip Bars
- Peanut Butter Bread – yes, you saw that right!
I love to bake and cook and share my kitchen experience with all of you! Remembering to come back each day can be tough, that’s why I offer a convenient newsletter every time a new recipe posts. Simply subscribe and start receiving your free daily recipes!
Peanut Butter Rice Krispie Treats
IMPORTANT – There are often Frequently Asked Questions within the blog post that you may find helpful. Simply scroll back up to read them!
Print It Rate ItIngredients
- ½ cup unsalted butter at room temperature
- 1 cup creamy peanut butter
- 2 teaspoons pure vanilla extract
- 20 ounces mini marshmallows two 10 ounce bags
- 10 cups Rice Krispies cereal
Things You’ll Need
- Stockpot or other large pot
Before You Begin
- You can use any peanut butter, as long as it is not crunchy-style, as this will affect the overall texture of the treats.
- Mini marshmallows melt more easily, but you can swap them with regular-sized marshmallows if that’s what you have on hand. I would recommend chopping full-sized marshmallows up to help them melt quickly.
- To avoid hard or overly dense treats, only lightly press the mixture down in the pan. If you press them too hard into the pan you are eliminating all the air and condensing them too much. Also, do not refrigerate the finished treats; doing so will make them hard.
Instructions
- Line a 9×13-inch baking pan with parchment paper.TIP – If you don’t have parchment paper to line the baking pan, you can also grease the pan with butter (having the parchment paper makes for slightly easier removal)
- Cut butter into quarters and place in a large pot over medium heat.1/2 cup unsalted butter
- Once the butter starts to foam, reduce the heat to low and add the peanut butter and vanilla extract. Stirring until smooth.1 cup creamy peanut butter, 2 teaspoons pure vanilla extract
- Add the mini marshmallows and stir continuously until they are melted and no white streaks remain.TIP – Be careful not to burn the marshmallow mixture while melting it; it’s important to keep it at a low heat and stir continuously20 ounces mini marshmallows
- Pour in the Rice Krispies cereal, and, working quickly, stir until the cereal is coated in the marshmallow mixture. Be careful not to crush the cereal when stirring (I find using a soft silicone spatula avoids this).10 cups Rice Krispies cereal
- Transfer the mixture to the prepared baking pan and spread it into an even layer, making sure to reach the corners.
- Allow to set for 30 minutes and then slice into 24 equal servings.
Expert Tips & FAQs
- It is best to store them at room temperature kept in an air-tight container. They don’t need to be refrigerated, (doing so will make the treats hard).
Nutrition
Kristen Rittmer
Latest posts by Kristen Rittmer (see all)
- Peanut Butter Rice Krispie Treats - January 22, 2025
- Chicken Pot Pie Pasta - January 15, 2025
- Butterscotch Brownies - January 8, 2025


Leave a Reply