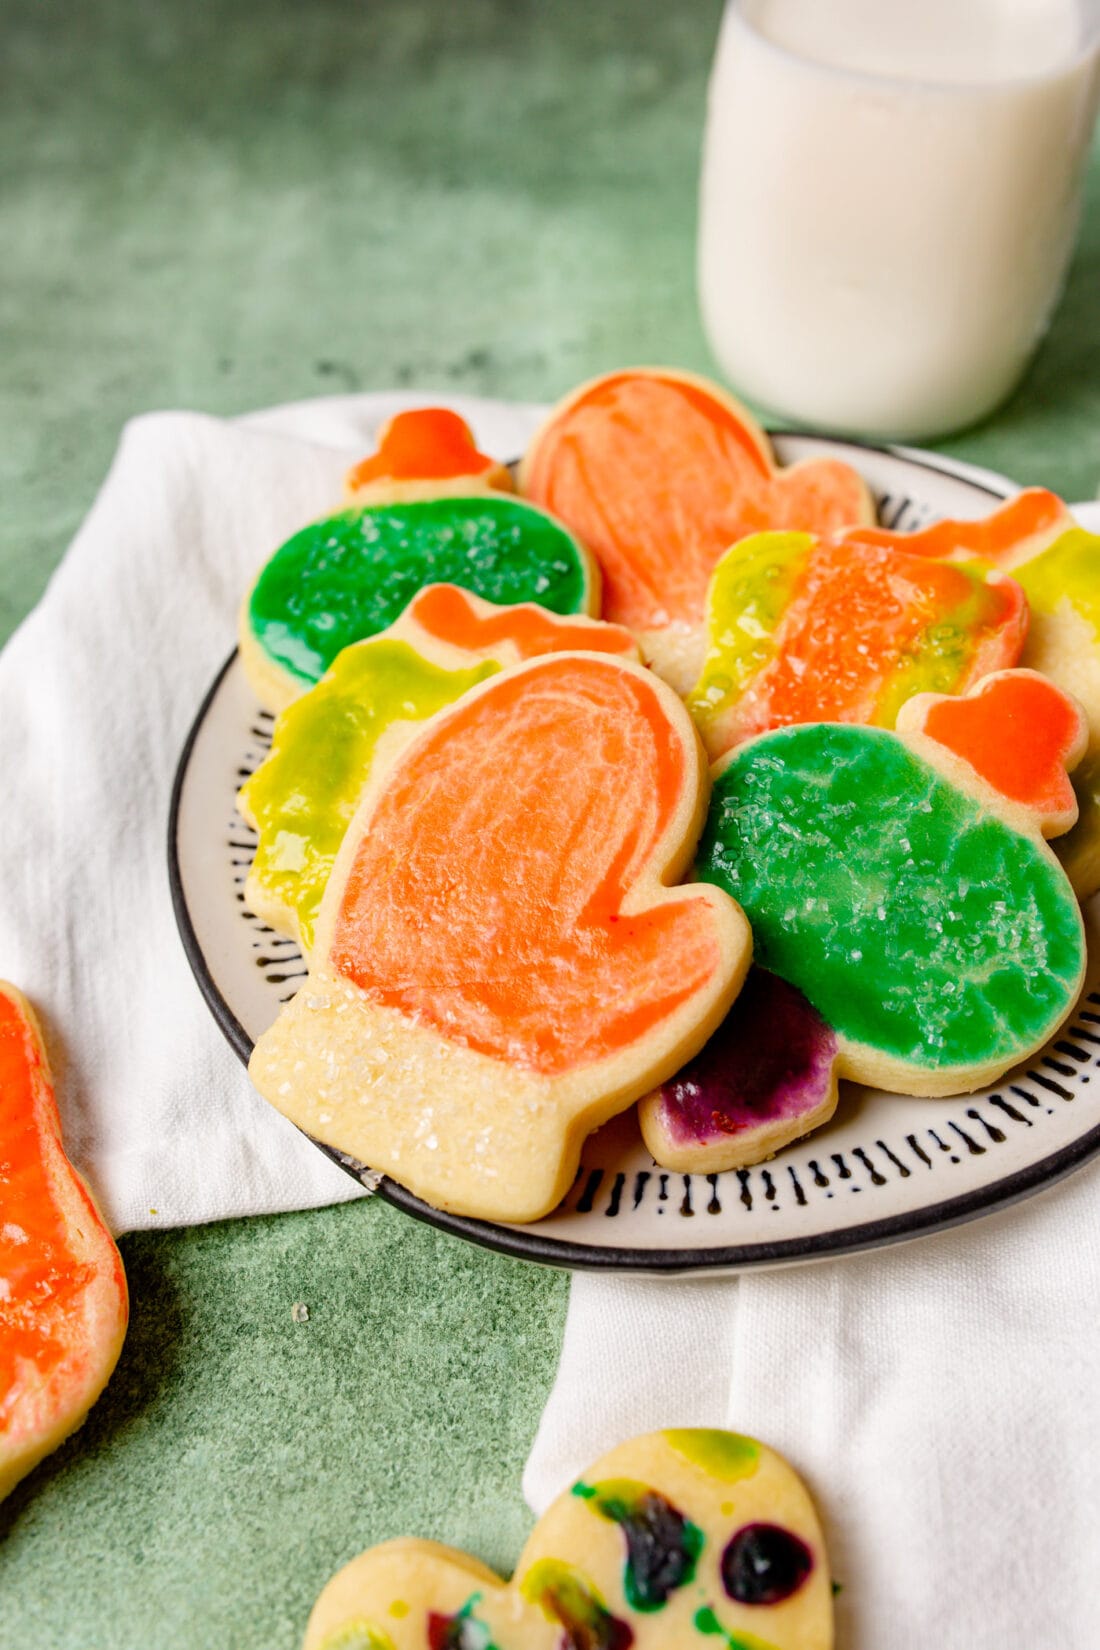
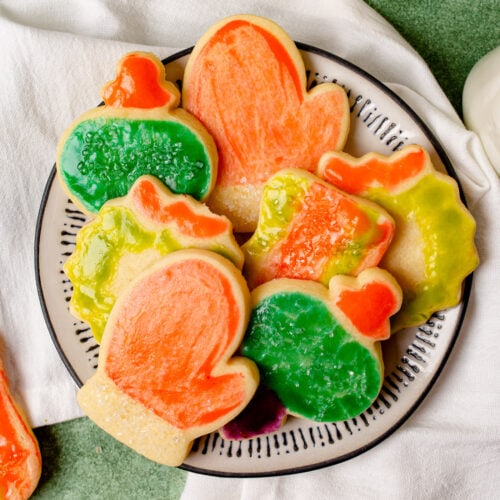
Paintbrush cookies are simply sugar cookies adorned with egg yolk paint. They’re a fun and festive tradition to start with the kids this year!
Why this recipe works
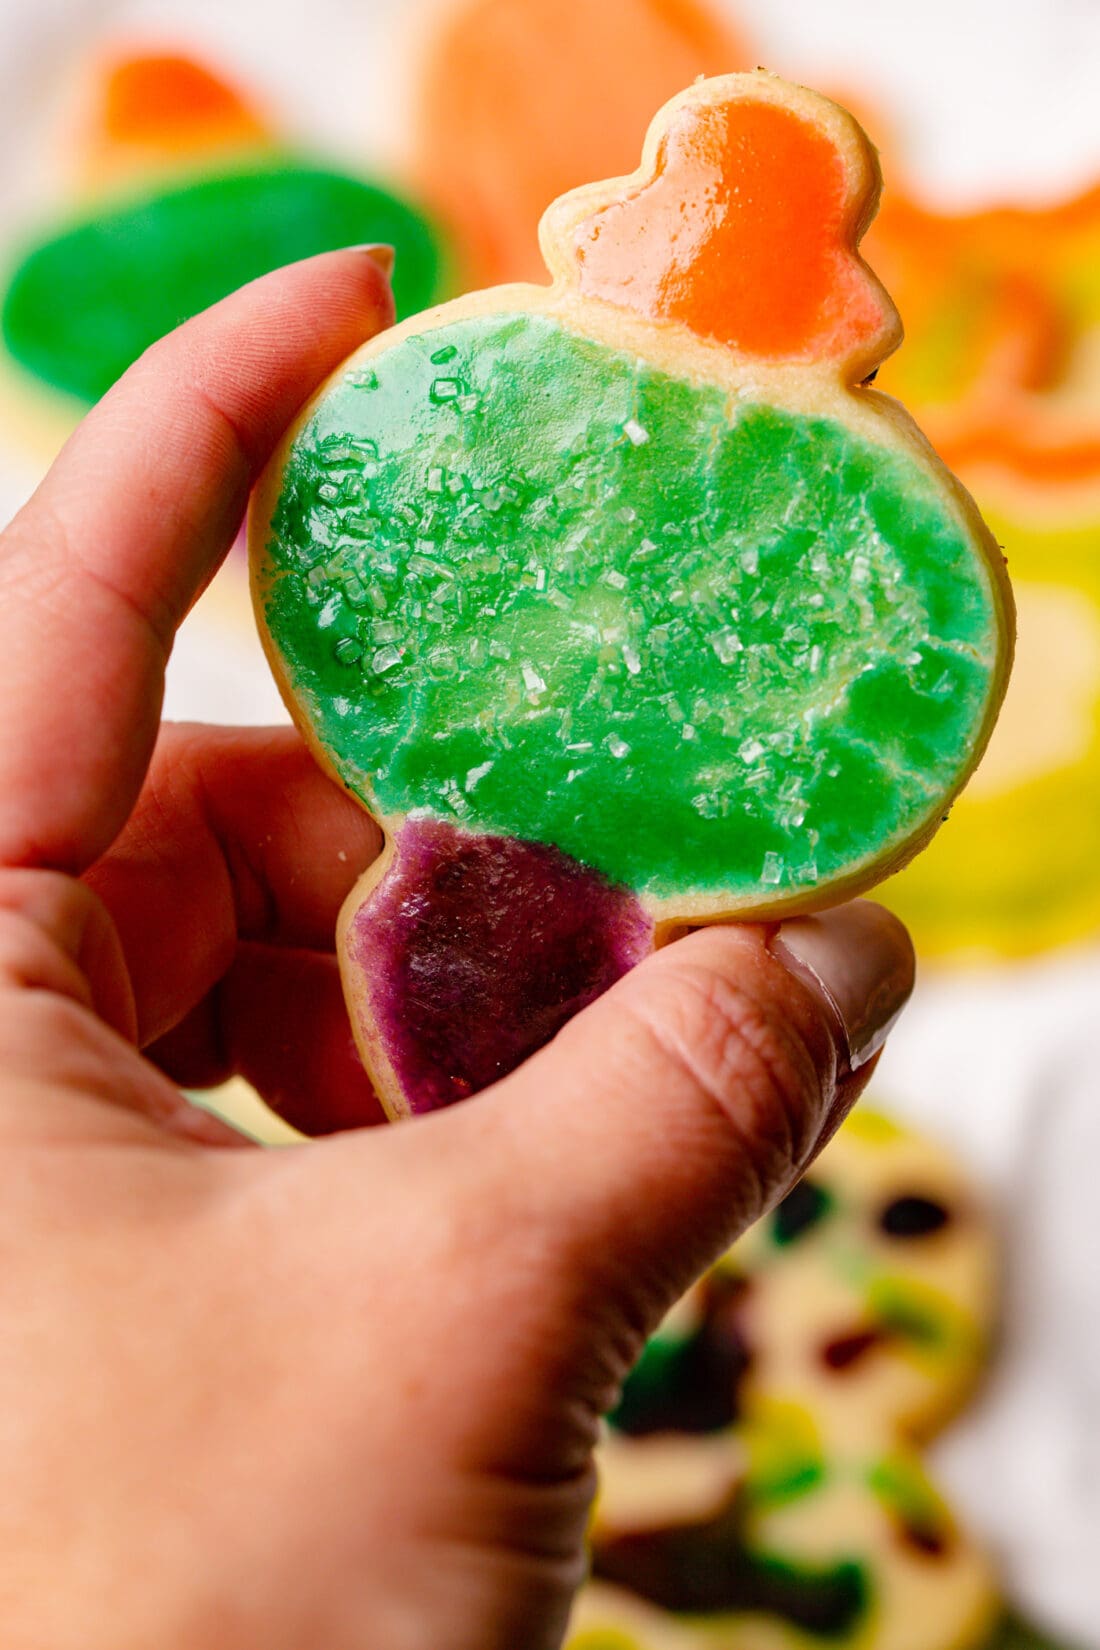
The idea behind these adorable paintbrush cookies is to cut them with holiday-themed cookie cutters then decorate them with festive colors. They’re really just sugar cookies painted with an easy-to-make egg yolk paint. How fun is that?
I first heard of these paintbrush cookies from a reader last year who said she used to make them every year during the holidays with her daughter. The original recipe comes from Betty Crocker. We love keeping these cherished traditions alive and passing them along to others to continue on!
Ingredients you will need
Get all measurements, ingredients, and instructions in the printable version at the end of this post.
Ingredient Info and Substitution Suggestions
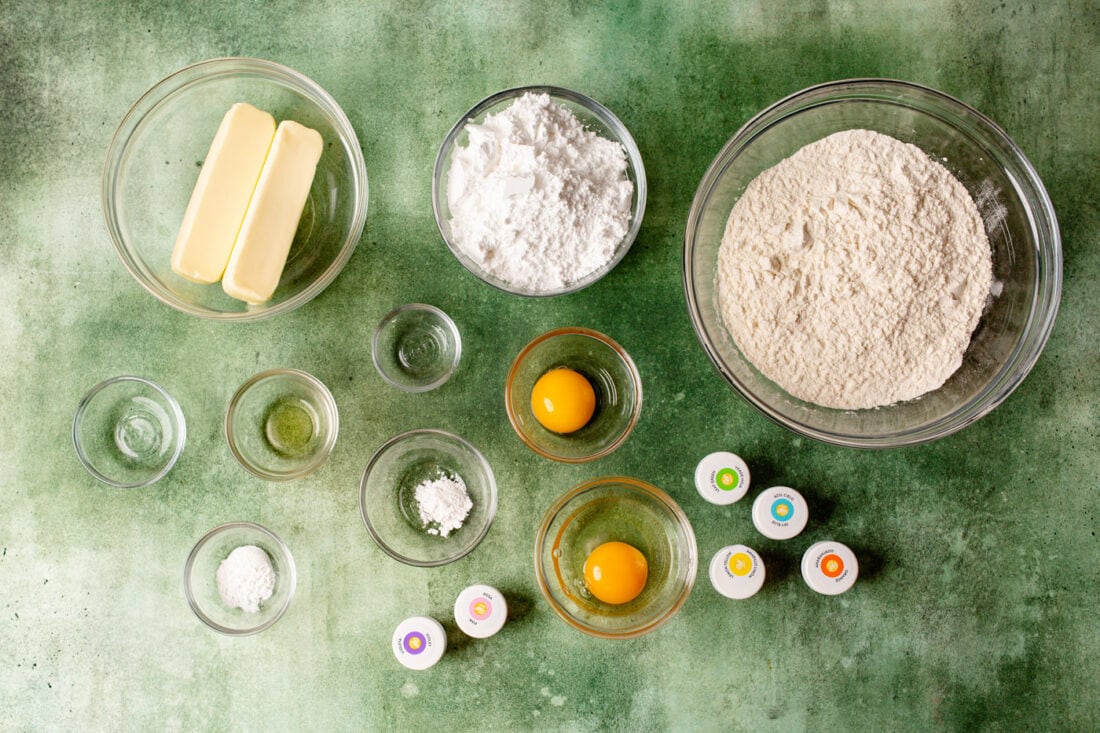
DOUGH – This is an easy-to-make sugar cookie dough using powdered sugar, butter (or margarine), vanilla and almond extract, flour, cream of tartar, baking soda, and an egg. However, you can certainly opt for store-bought refrigerated sugar cookie dough if you prefer!
PAINT – You will need 1 egg yolk, 1/4 tsp of water, and food coloring for the “paint”. I suggest using gel food coloring over the liquid kind as the colors will be much more vibrant.
How to Make Paintbrush Cookies
These step by step photos and instructions are here to help you visualize how to make this recipe. You can Jump to Recipe to get the printable version of this recipe, complete with measurements and instructions at the bottom.
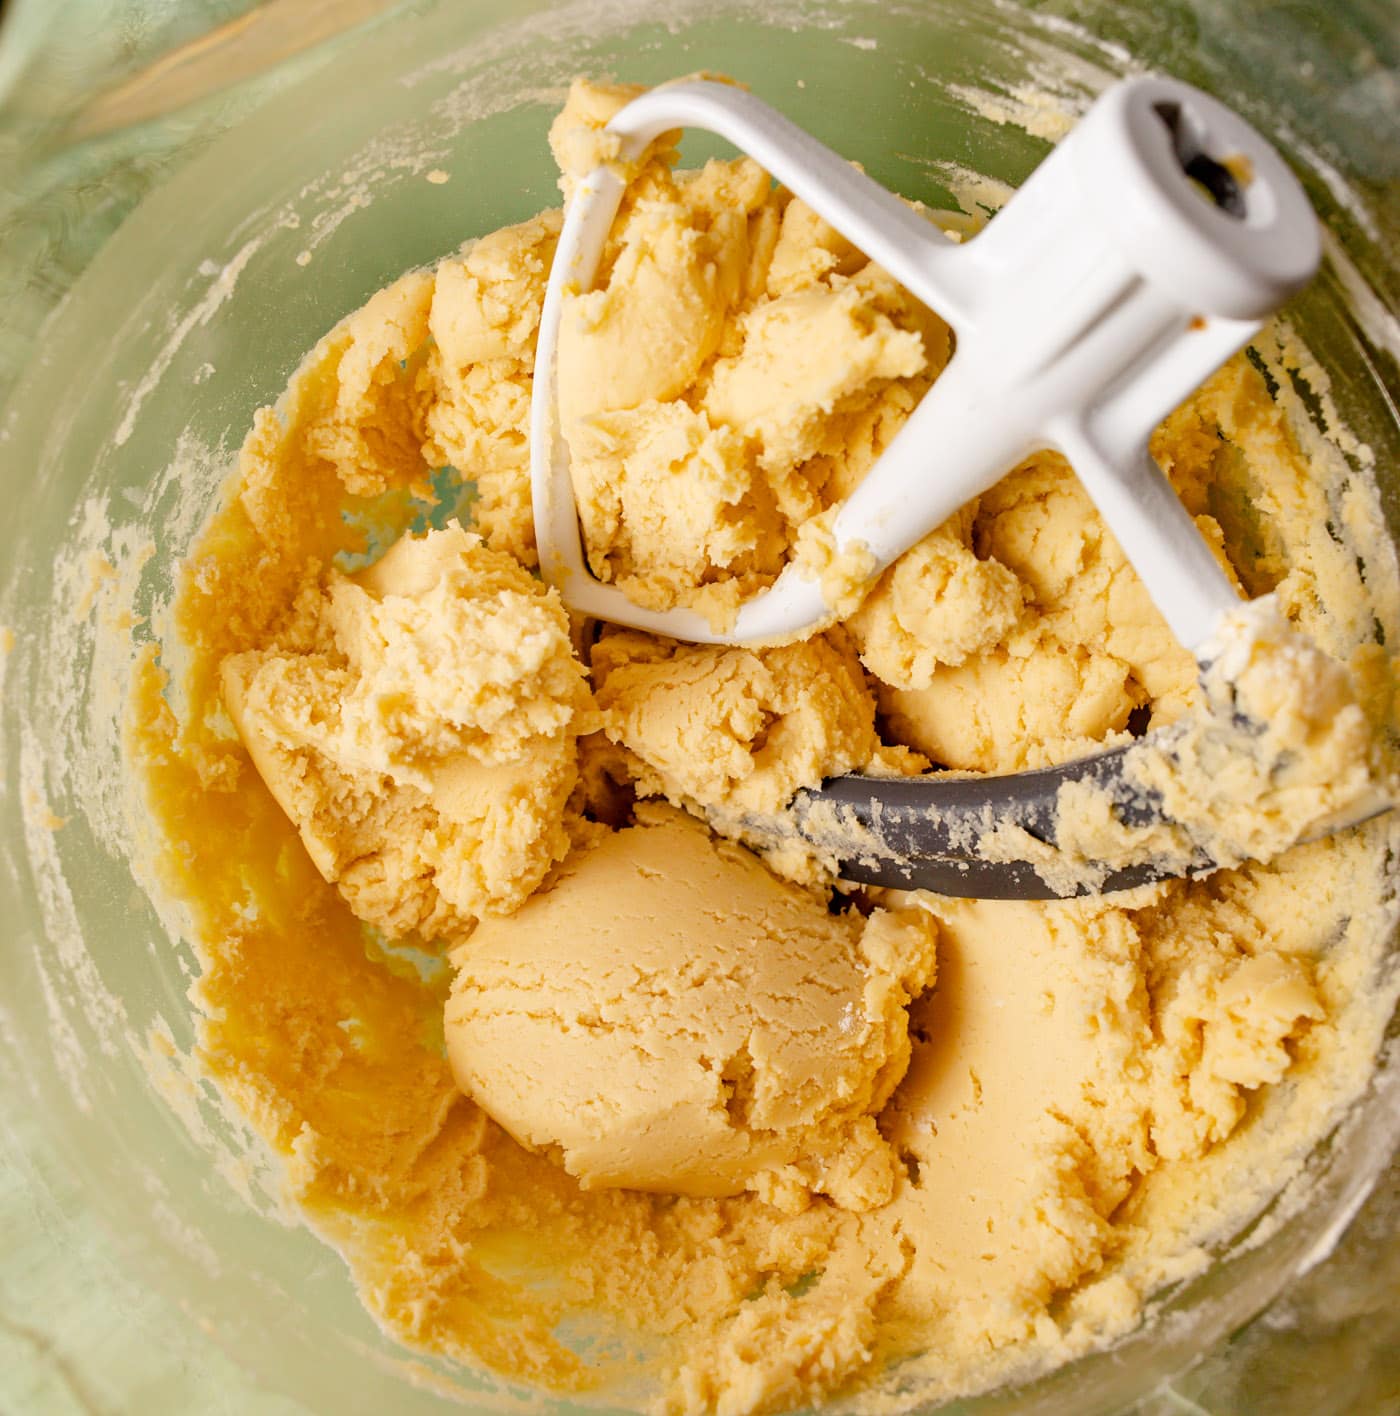
- In a large bowl of the stand mixer add powdered sugar, butter, vanilla, almond extract and egg. Beat on low with a paddle attachment.
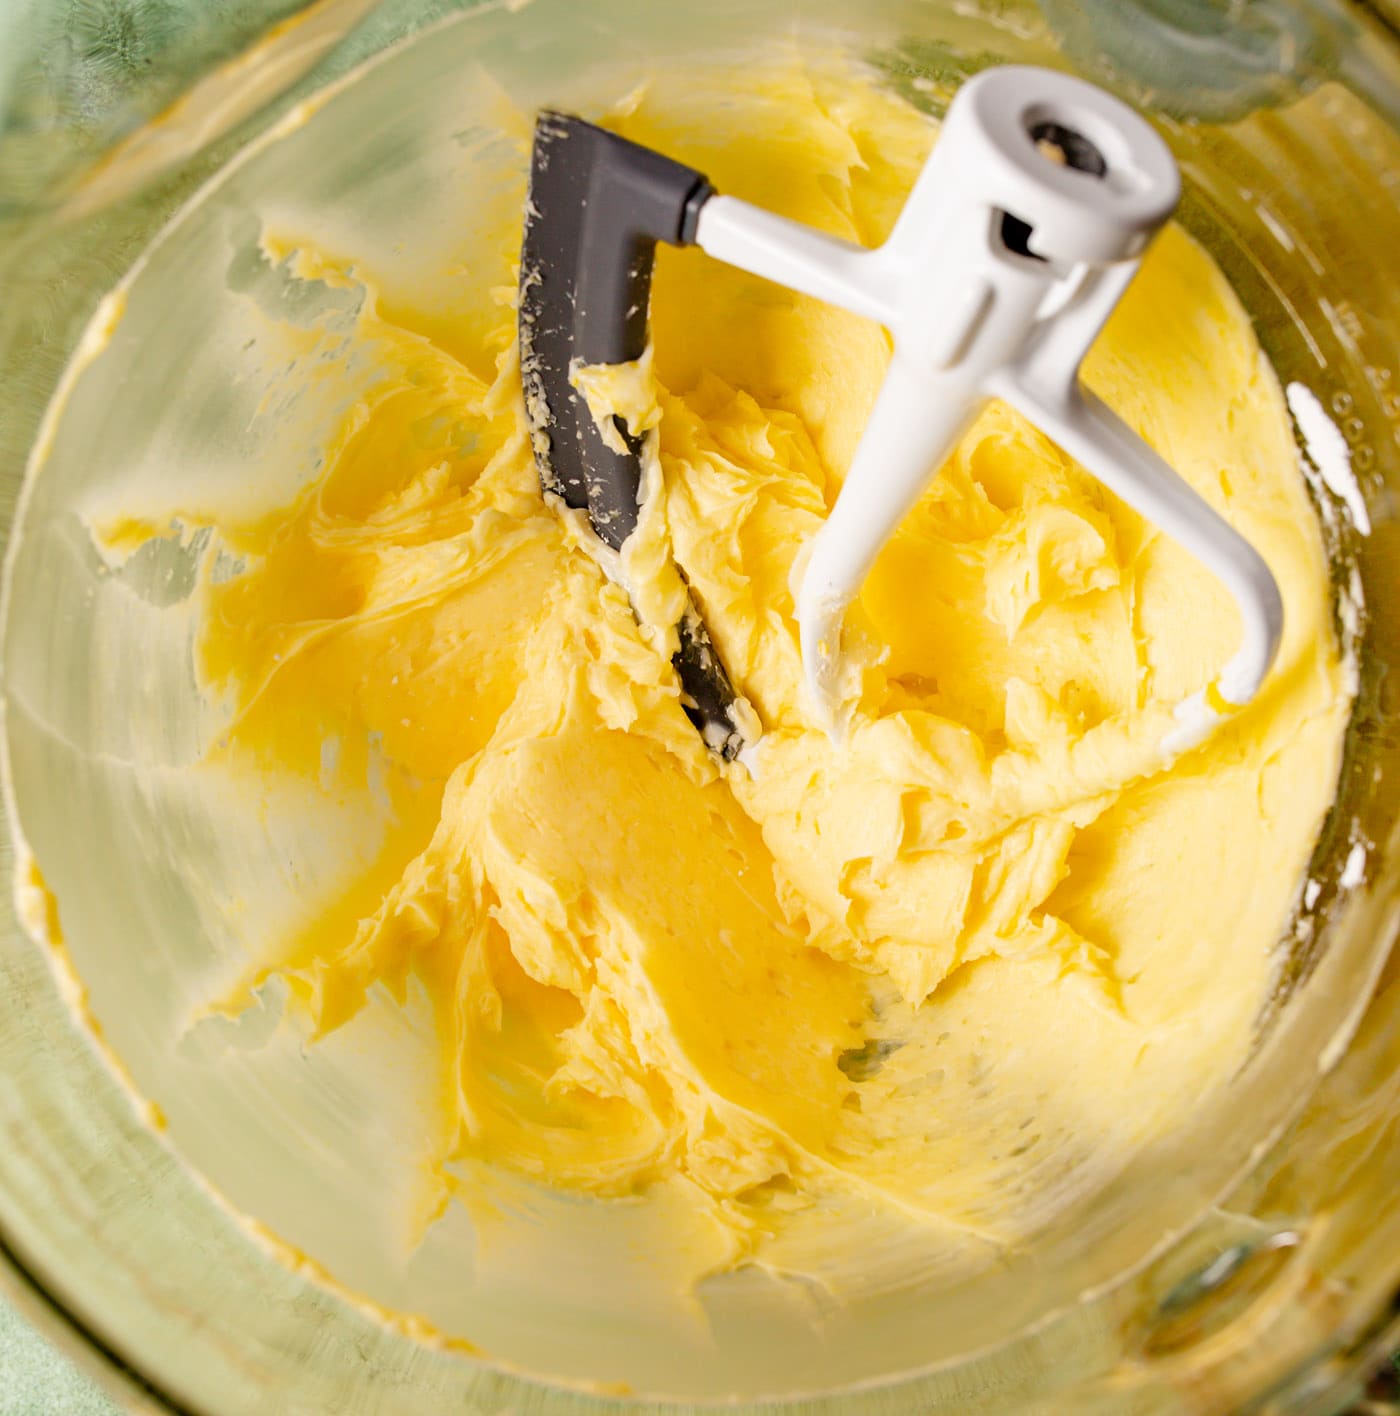
- Add the flour, baking soda, and cream of tartar. Mix until well combined. Cover and refrigerate 2 to 3 hours.
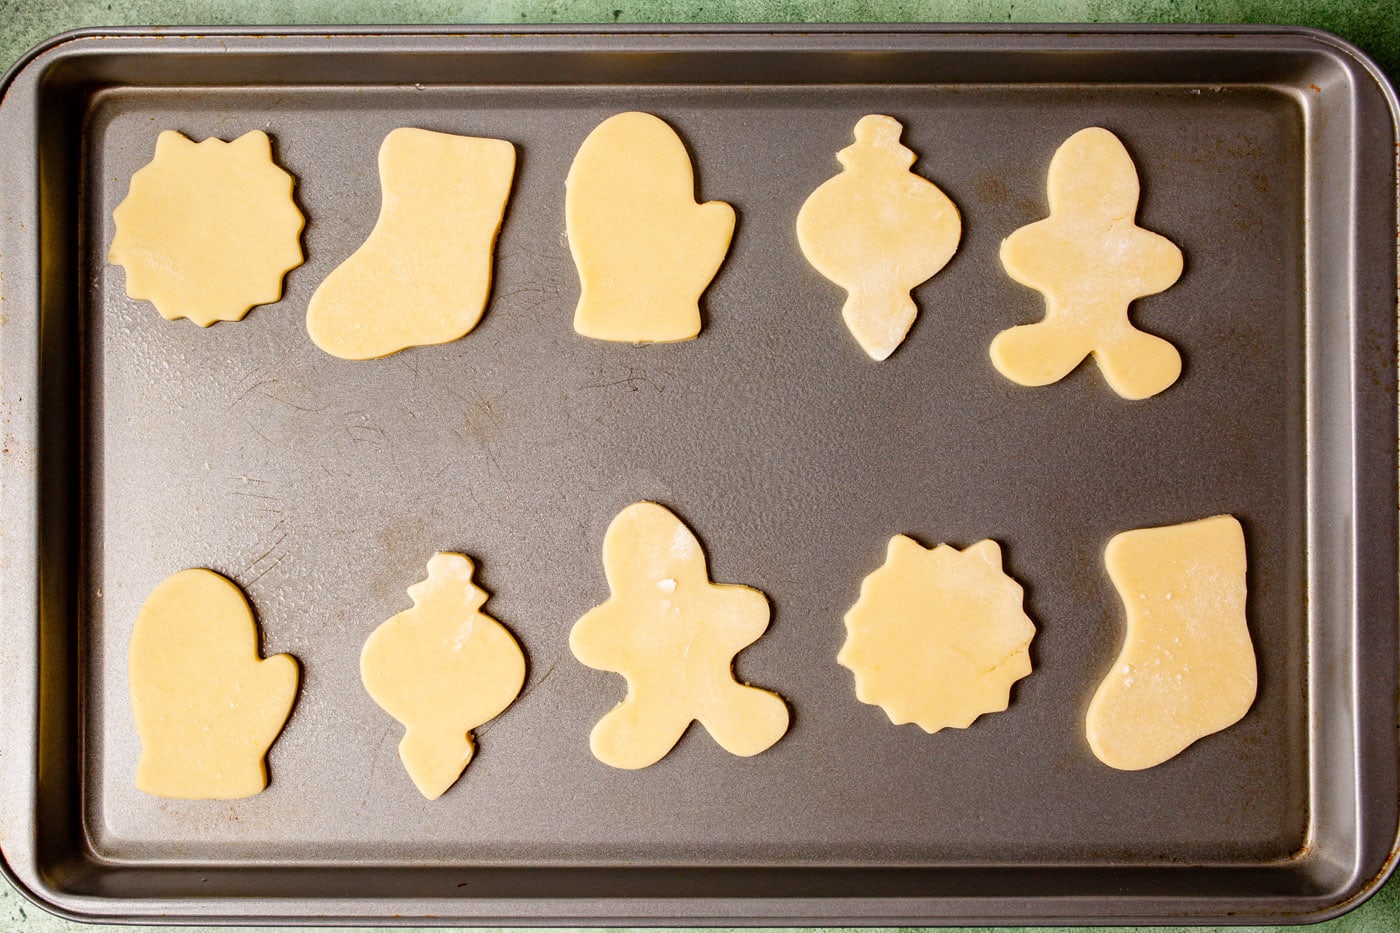
- Heat oven to 375°F. Lightly grease cookie sheet with shortening or spray with cooking spray. On a lightly floured surface, roll dough 3/16 inch thick. Use the cookie cutters to make designs. Place on the baking sheet about 2 inches apart.
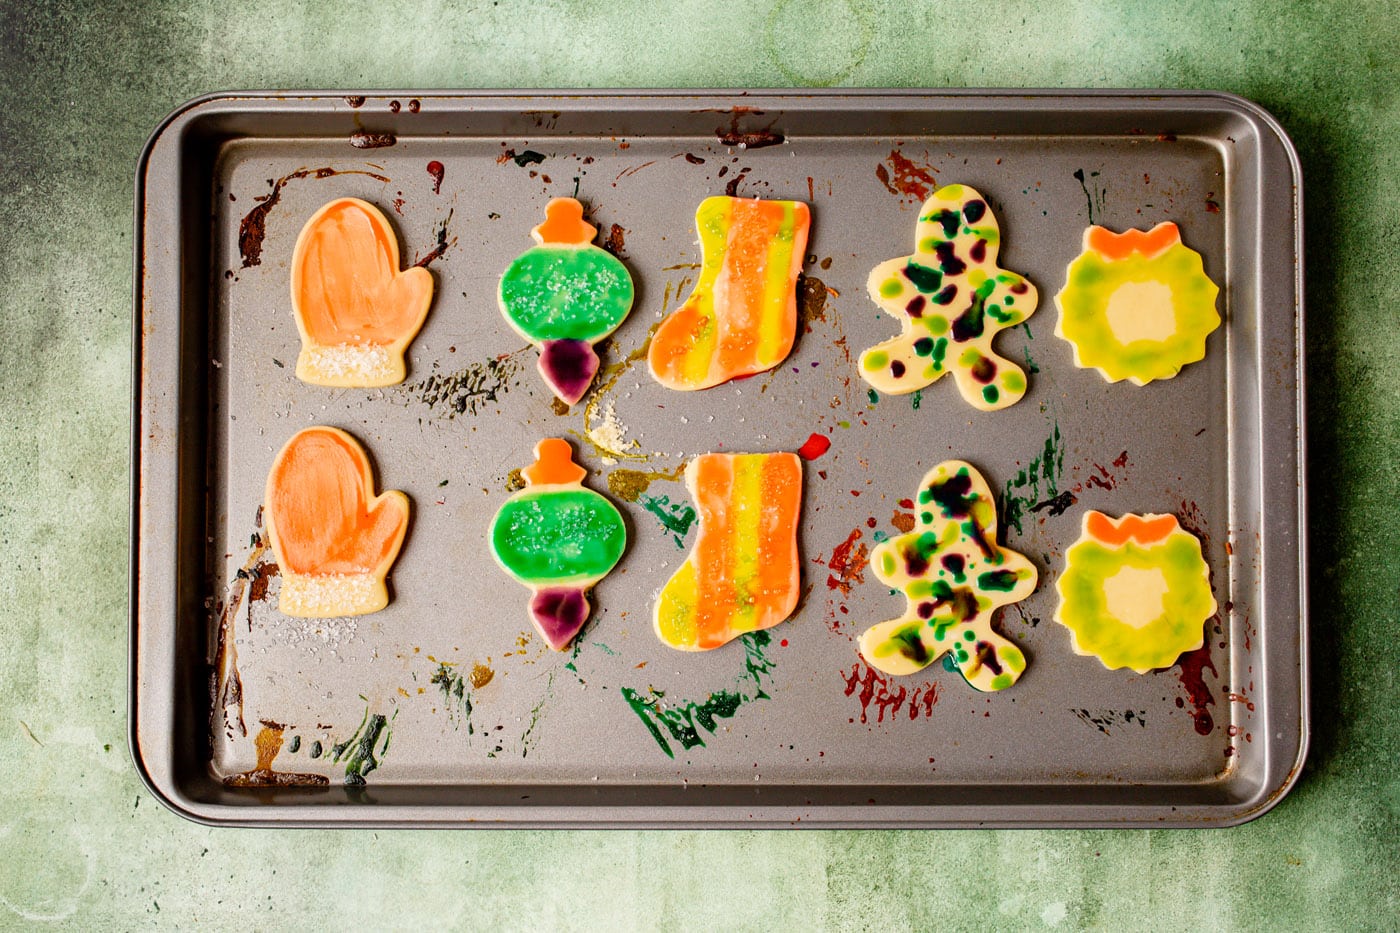
- In small bowl, mix egg yolk and water. Divide mixture among several smaller bowls. Tint each with a different food color to make bright colors. (If paint thickens while standing, stir in a few drops of water.) Paint designs on cookies with small paintbrushes and embellish with sprinkles.
- Bake 7 to 8 minutes or until edges are light brown. Remove from cookie sheet to a wire rack to cool.
Frequently Asked Questions & Expert Tips
Paintbrush cookies should last for about 5 days when stored in an air-tight container. You may also freeze the dough for up to 3 months (unbaked, without designs).
Serving Suggestions
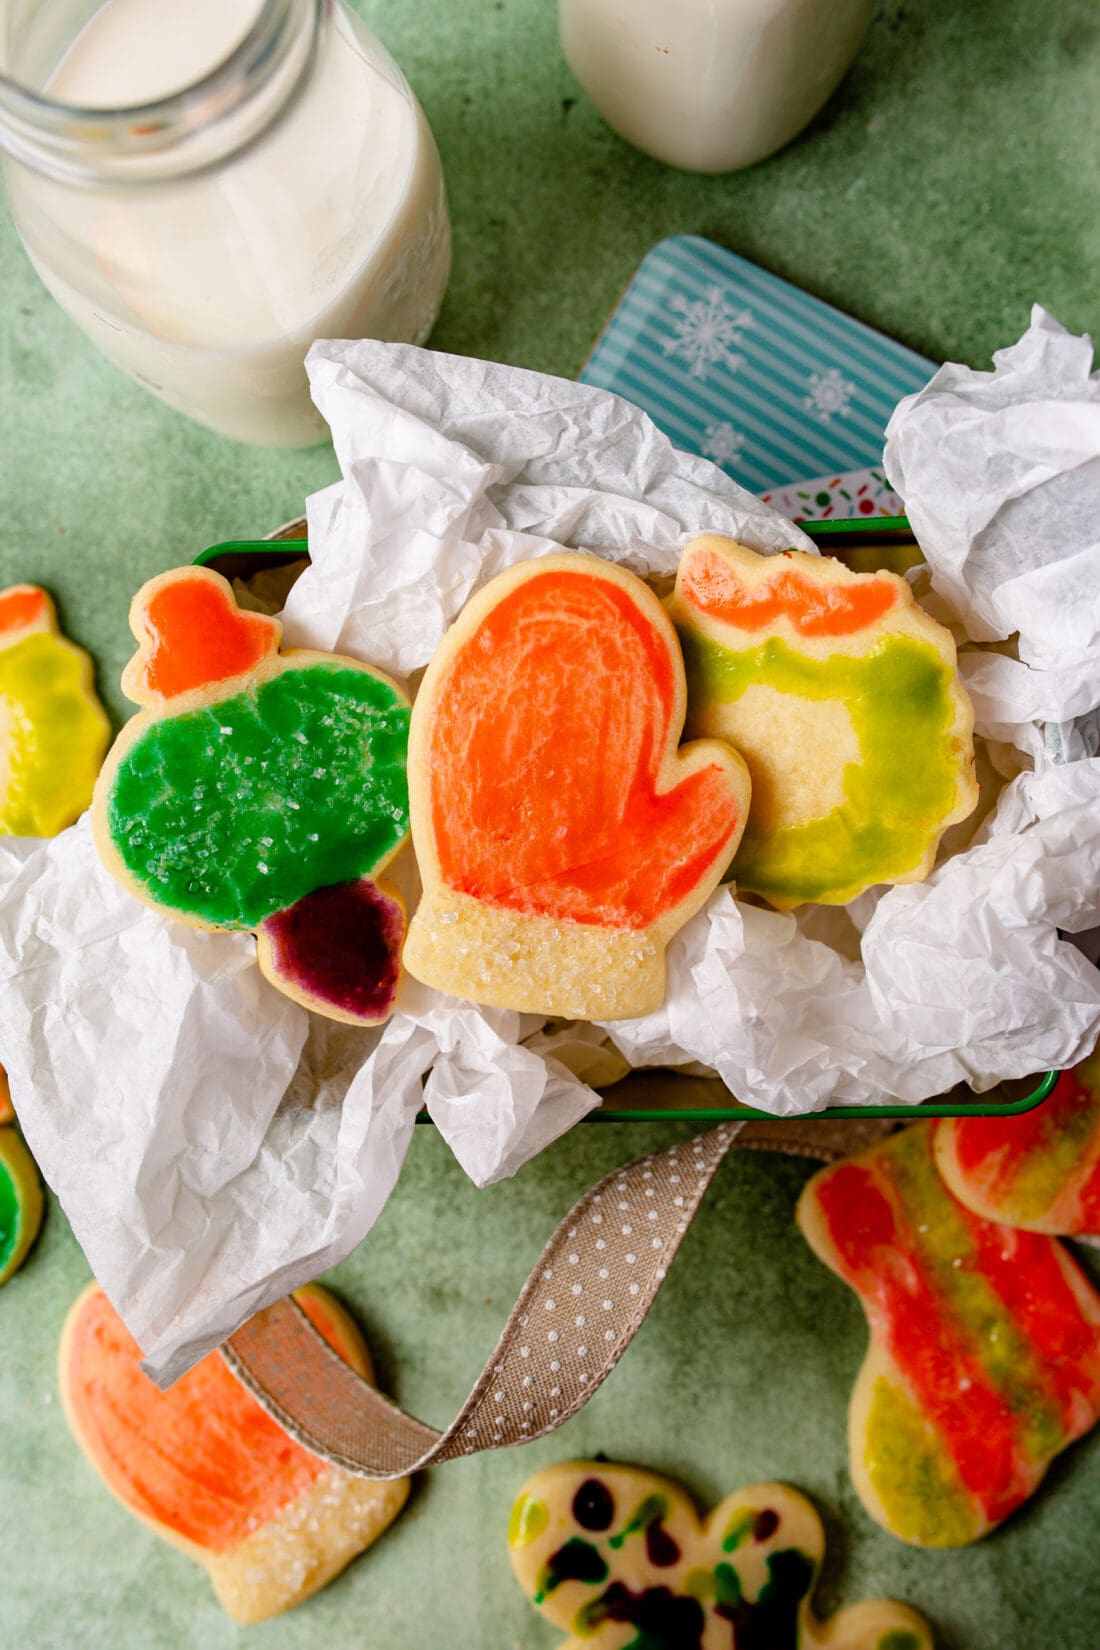
There are endless ways to decorate these paintbrush cookies. Shape them using cookie cutters and paint with colors that fit the theme of any holiday, sport, or season.
What a fun tradition to start with your family and friends! Lay out a station with prebaked cookies and an assortment of egg wash paint colors and let the creativity run wild.
More Cookie Recipes
- Gingerbread Cookies
- Christmas Kiss Cookies
- Stained Glass Cookies
- Chocolate Thumbprint Cookies
- Easy Decorated Sugar Cookies
- Danish Butter Cookies
I love to bake and cook and share my kitchen experience with all of you! Remembering to come back each day can be tough, that’s why I offer a convenient newsletter every time a new recipe posts. Simply subscribe and start receiving your free daily recipes!

Paintbrush Cookies
IMPORTANT – There are often Frequently Asked Questions within the blog post that you may find helpful. Simply scroll back up to read them!
Print It Rate ItIngredients
- 1 ½ cup powdered sugar
- 1 cup butter softened. or margarine
- 1 tsp vanilla extract
- ½ tsp almond extract
- 1 egg
- 2 ½ cup all-purpose flour
- 1 tsp baking soda
- 1 tsp cream of tartar
Egg Yolk Paint
- 1 egg yolk
- ¼ tsp water
- gel food coloring in colors of your choice
Things You’ll Need
- paintbrushes
Before You Begin
- I suggest using gel food coloring over the liquid kind as the colors will be much more vibrant.
Instructions
- In a large bowl of the stand mixer add powdered sugar, butter, vanilla, almond extract and egg. Beat on low with a paddle attachment.
- Add the flour, baking soda, and cream of tartar. Mix until well combined. Cover and refrigerate 2 to 3 hours.
- Heat oven to 375°F. Lightly grease cookie sheet with shortening or spray with cooking spray. On a lightly floured surface, roll dough 3/16 inch thick. Use the cookie cutters to make designs. Place on the baking sheet about 2 inches apart.
- In a small bowl, mix the egg yolk and water. Divide mixture among several smaller bowls. Tint each with a different food color to make bright colors. (If paint thickens while standing, stir in a few drops of water.) Paint designs on cookies with small paintbrushes and embellish with sprinkles.
- Bake 7 to 8 minutes or until edges are light brown. Remove from cookie sheet to wire rack to cool.
Nutrition
Amanda Davis
Latest posts by Amanda Davis (see all)
- Halloween Candy Apples - October 15, 2024
- Witch Finger Cookies - October 8, 2024
- Homemade Croutons - October 4, 2024



Abigail Melis says
Perfect cookie
Eva says
Have always loved these cookies and so many memories making them