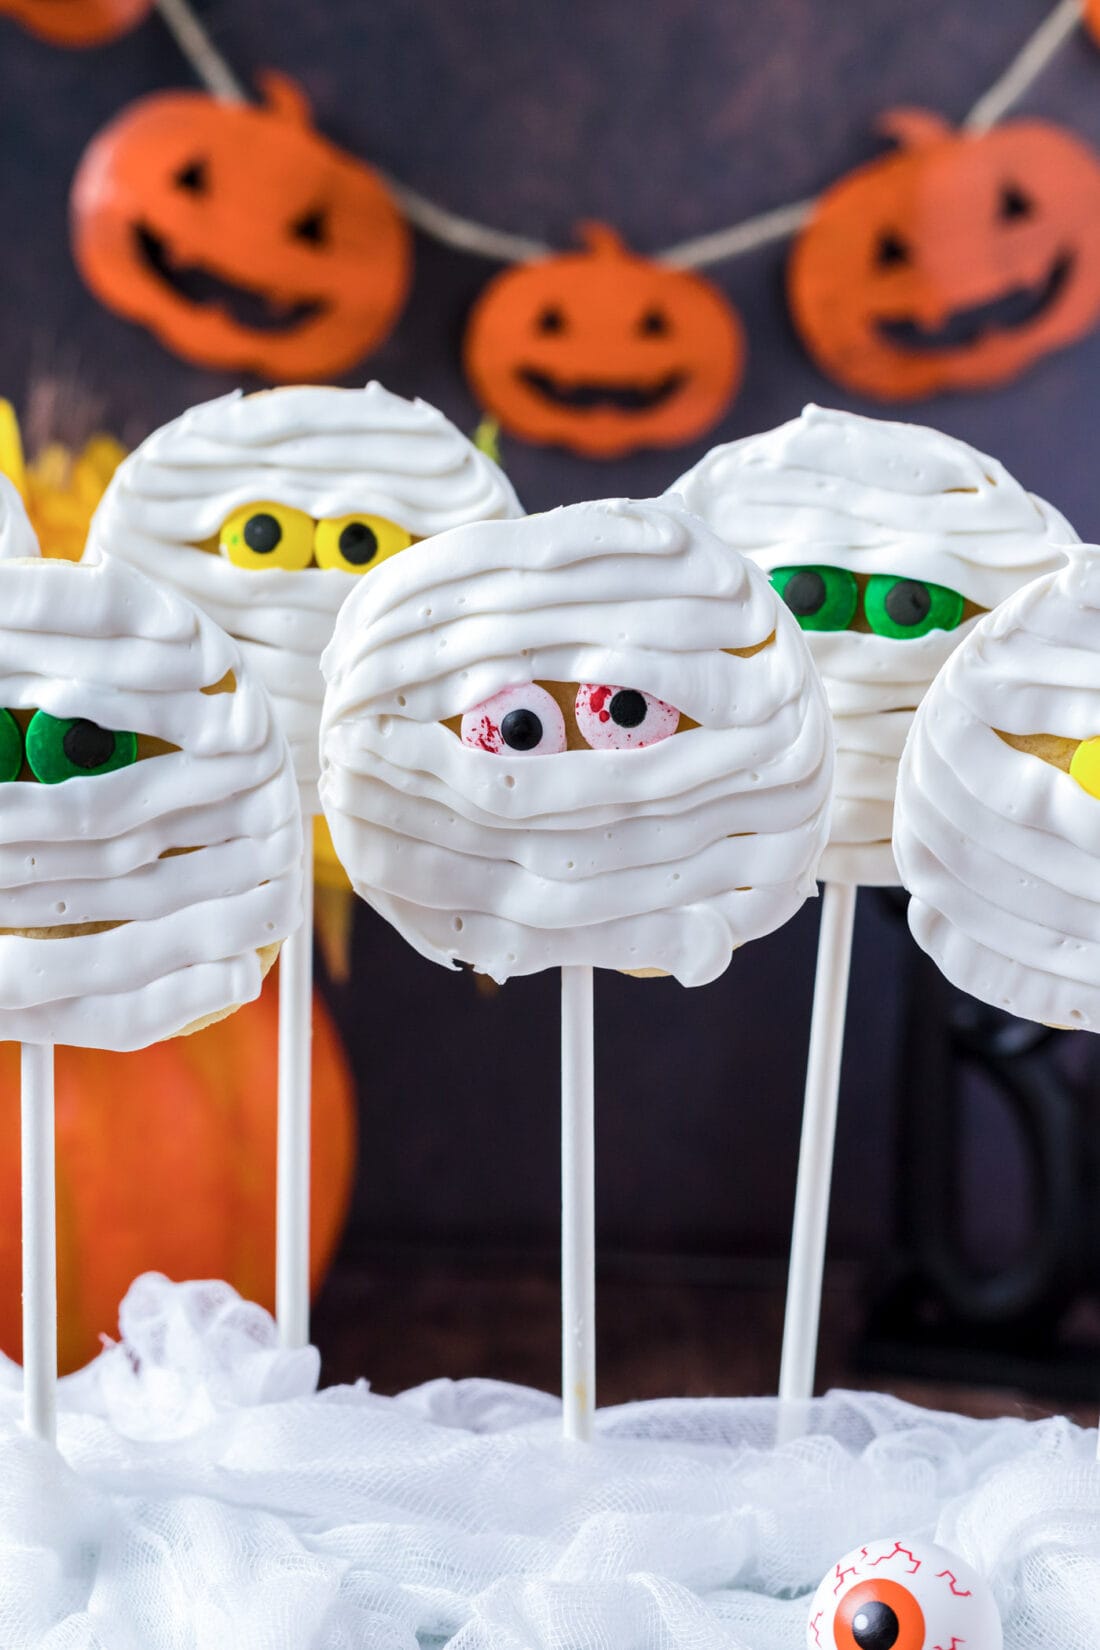
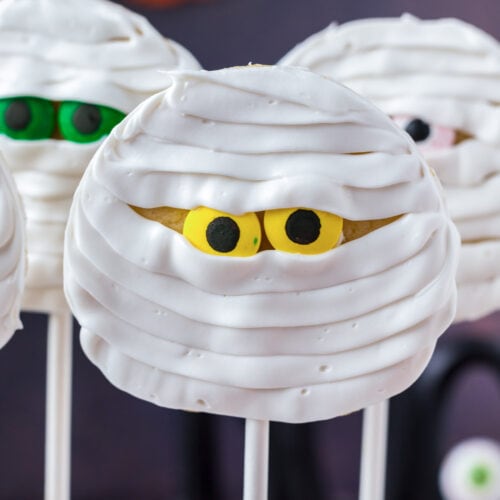
Quick, easy, and a touch spooky, these mummy cookies come together with only 4 ingredients to make a cute Halloween party dessert.
Why this recipe works
These mummy cookies couldn’t be easier to make. We’ve included directions on how to use refrigerated sugar cookie dough, canned frosting mixed with powdered sugar, and candy eyeballs to make them quick to throw together in a snap. You can call these Halloween cookie pops because we serve them on a lollipop stick, though you can leave them as is and they’d still be adorable.
We made these mummy cookies a few years ago for a pumpkin painting party, but they make a great addition to just about any Halloween-themed party or gathering whether you serve them as cookie pops, on a platter, or wrapped in cellophane baggies as a party favor. They’d even be fun as a dessert after a main course of mummy meatloaf!
Ingredients you will need
Get all measurements, ingredients, and instructions in the printable version at the end of this post.
Ingredient Info and Substitution Suggestions
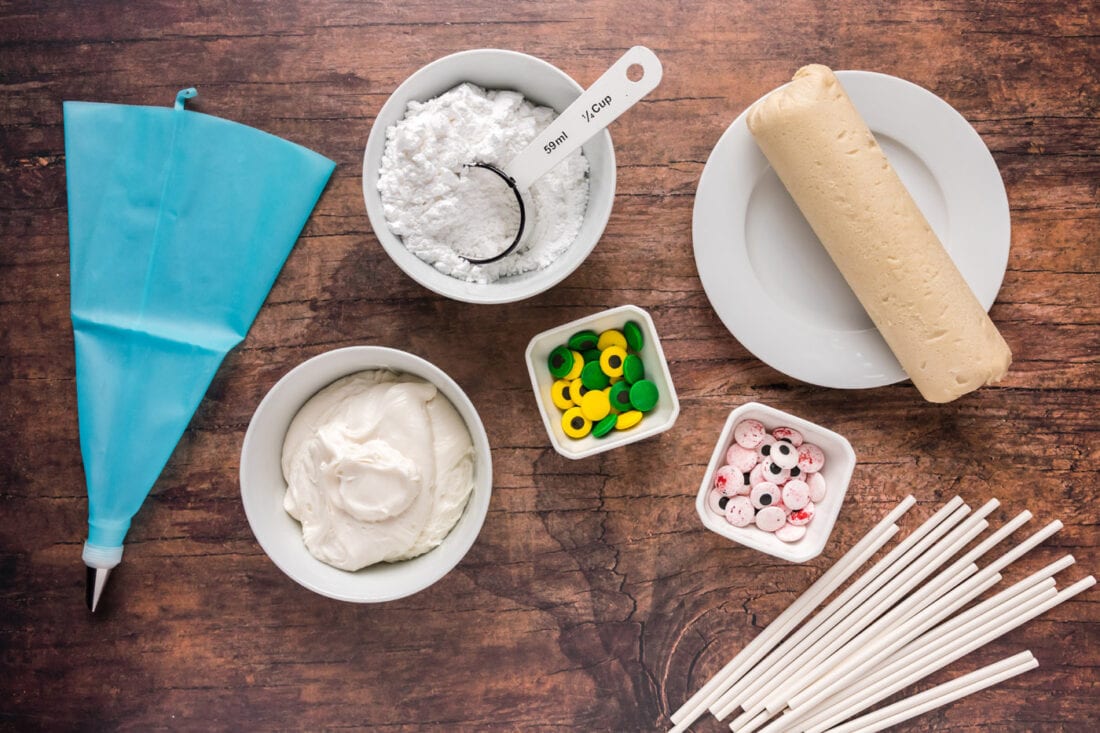
COOKIES – Refrigerated sugar cookie dough makes these cookies extra quick and easy, however, if preferred, you can use our homemade sugar cookie recipe instead.
FROSTING – Just like the cookie base, canned frosting cuts a lot of time out of the prep work. I suggest using white canned frosting for the mummy look, however, you can certainly use chocolate, cream cheese, or whatever kind of frosting you prefer. We add 1/2 cup of powdered sugar to the frosting to thicken it up and help it pipe onto the cookies better. If you would like a homemade alternative, check out our buttercream frosting recipe.
CANDY – We used bloodshot candy eyeballs and also green and yellow candy eyeballs which can be found on Amazon or at stores like Michales, Party City, and Walmart around Halloween time. You can substitute with M&M’s, regular candy eyeballs, or even chocolate chips.
How to Make Mummy Cookies
These step by step photos and instructions are here to help you visualize how to make this recipe. You can Jump to Recipe to get the printable version of this recipe, complete with measurements and instructions at the bottom.
- Preheat oven according to cookie dough package instructions (ours was 350 F).
- Line an insulated baking sheet with parchment paper.
- Cut refrigerator cookie dough into 16 slices, approximately 1/2-inch thick.
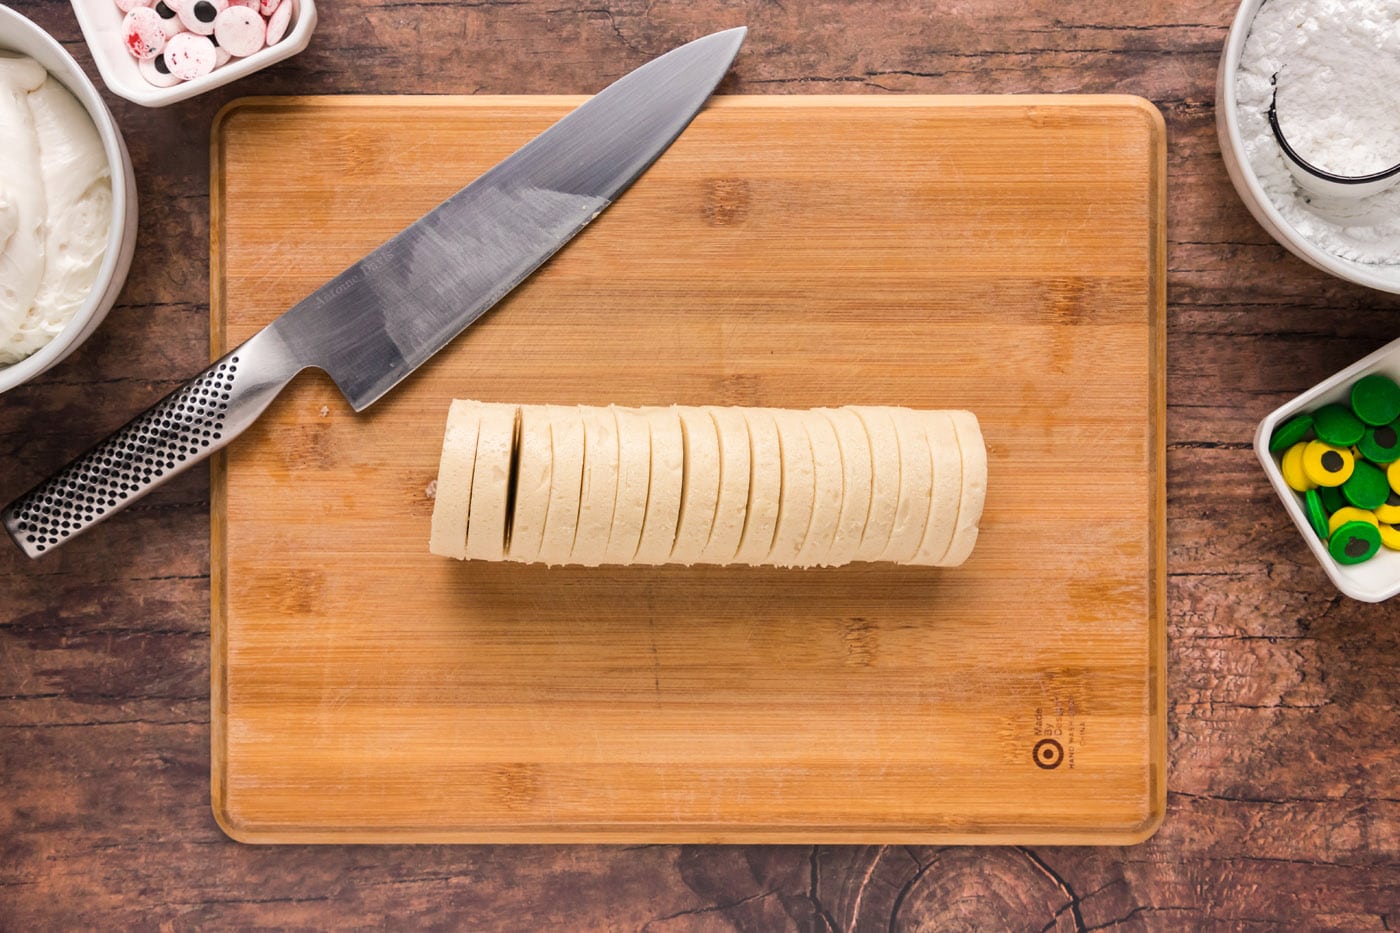
- Carefully insert a lollipop stick into each cookie slice and place on baking sheet, making sure to leave space between cookies as the dough will expand when it bakes.
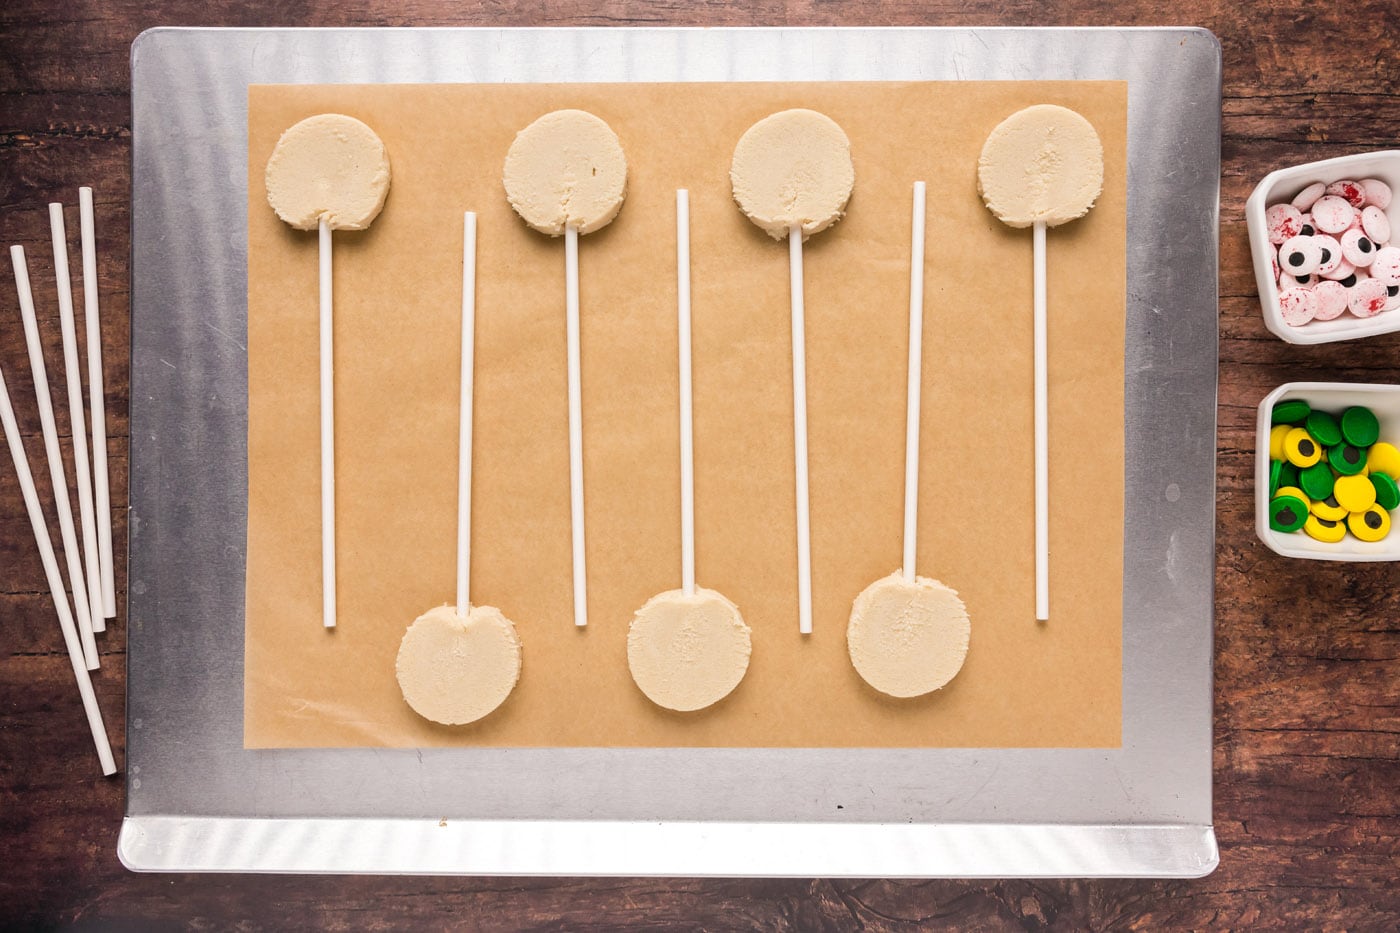
- Bake according to cookie package instructions. Ours said 11-14 minutes and we baked ours for 12 minutes.
- Remove from oven and place pan on a wire rack. Carefully push the lollipop stick a little further into the cookie if needed. Cool on pan on rack for 5 minutes. After 5 minutes, slide the parchment with the cookies off the sheet and onto the wire rack to cool completely.
EXPERT TIP – Do not try to remove the cookie pops until they have cooled or the cookies will break.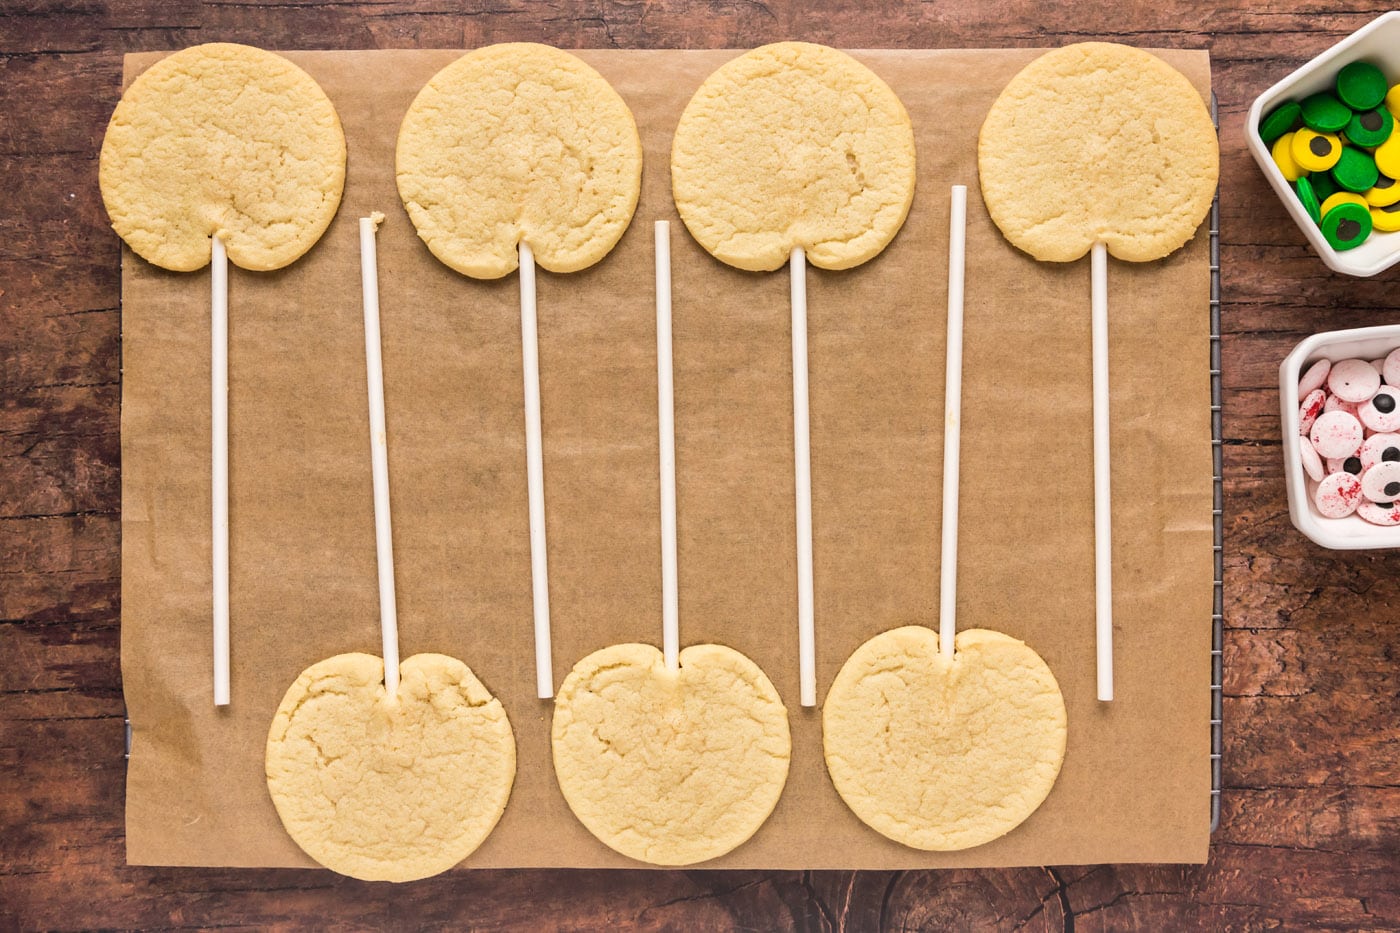
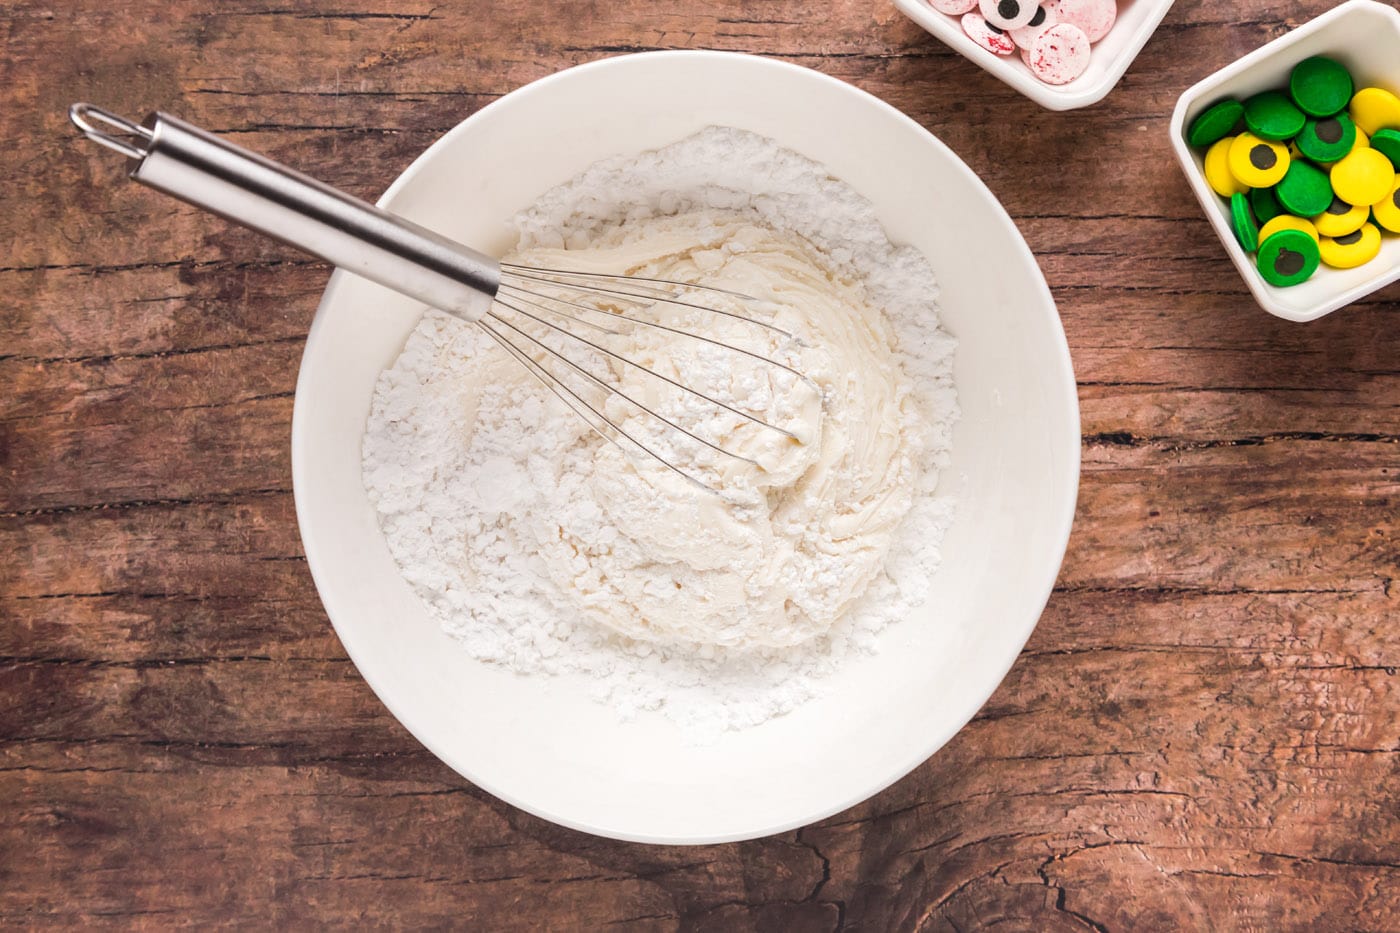
- In a large bowl, whisk together the can of white frosting and 1/2 cup powdered sugar until completely combined. Add frosting to a piping bag fitting with a flat piping tip.
- Add a dot of frosting to the back of a candy eye and gently press it to the top third of the cookie. Repeat for a second eye.

- Pipe white frosting horizontally across the face of each cookie to look like bandages, overlapping slightly with each row. Overlap the eyes just slightly so they appear to be looking out through the bandages.
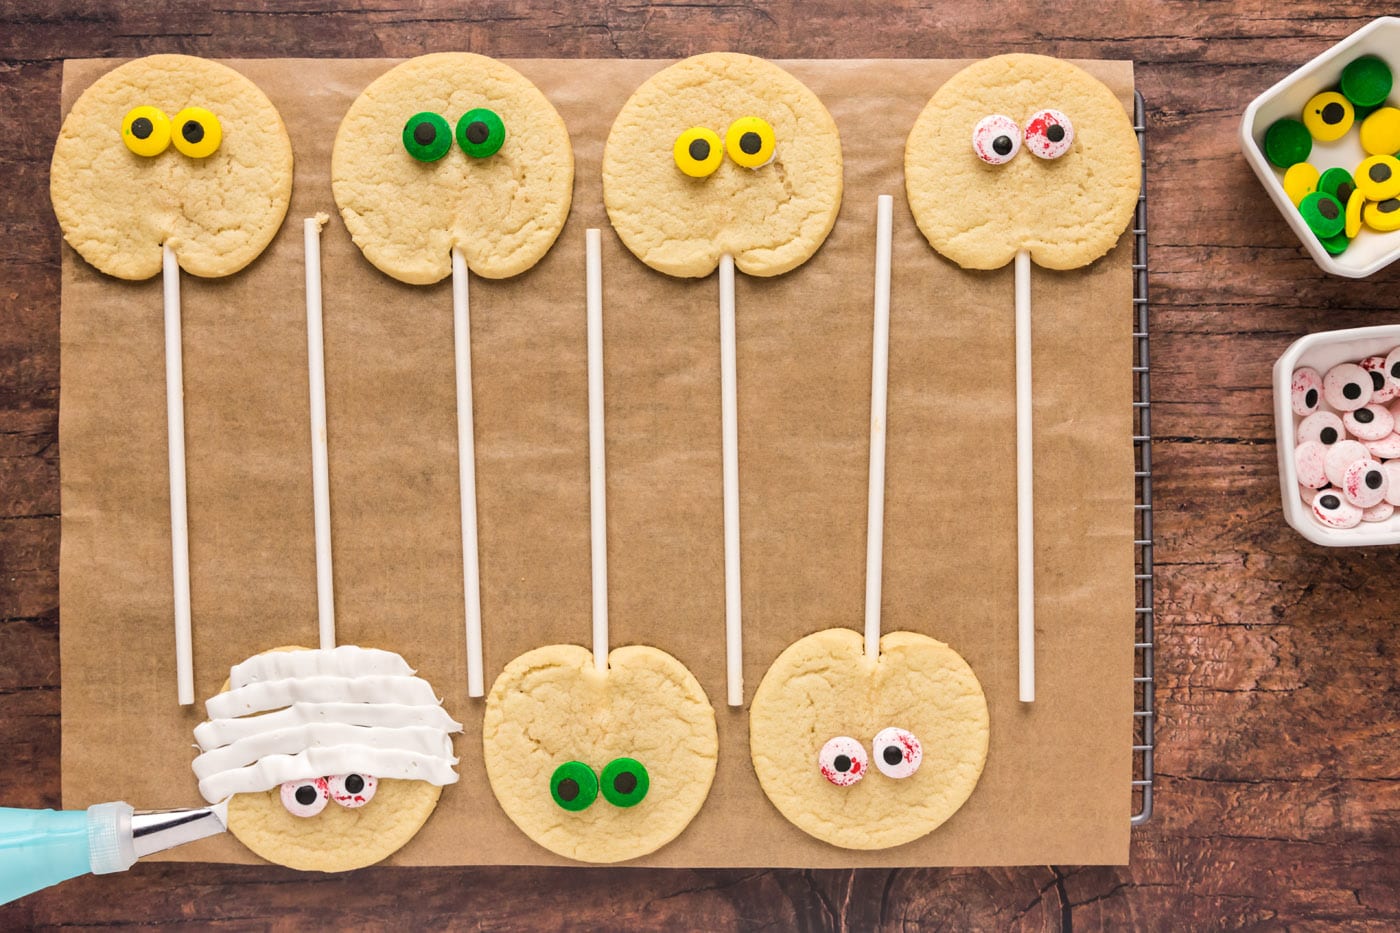
- Use an extra lollipop stick or skewer to clean up extra frosting around the outside edges of the cookies.
EXPERT TIP – The frosting will need to dry and set before handling. They will begin to set as early as 15 minutes, but it’s best to make these early in the day for an afternoon/evening Halloween party.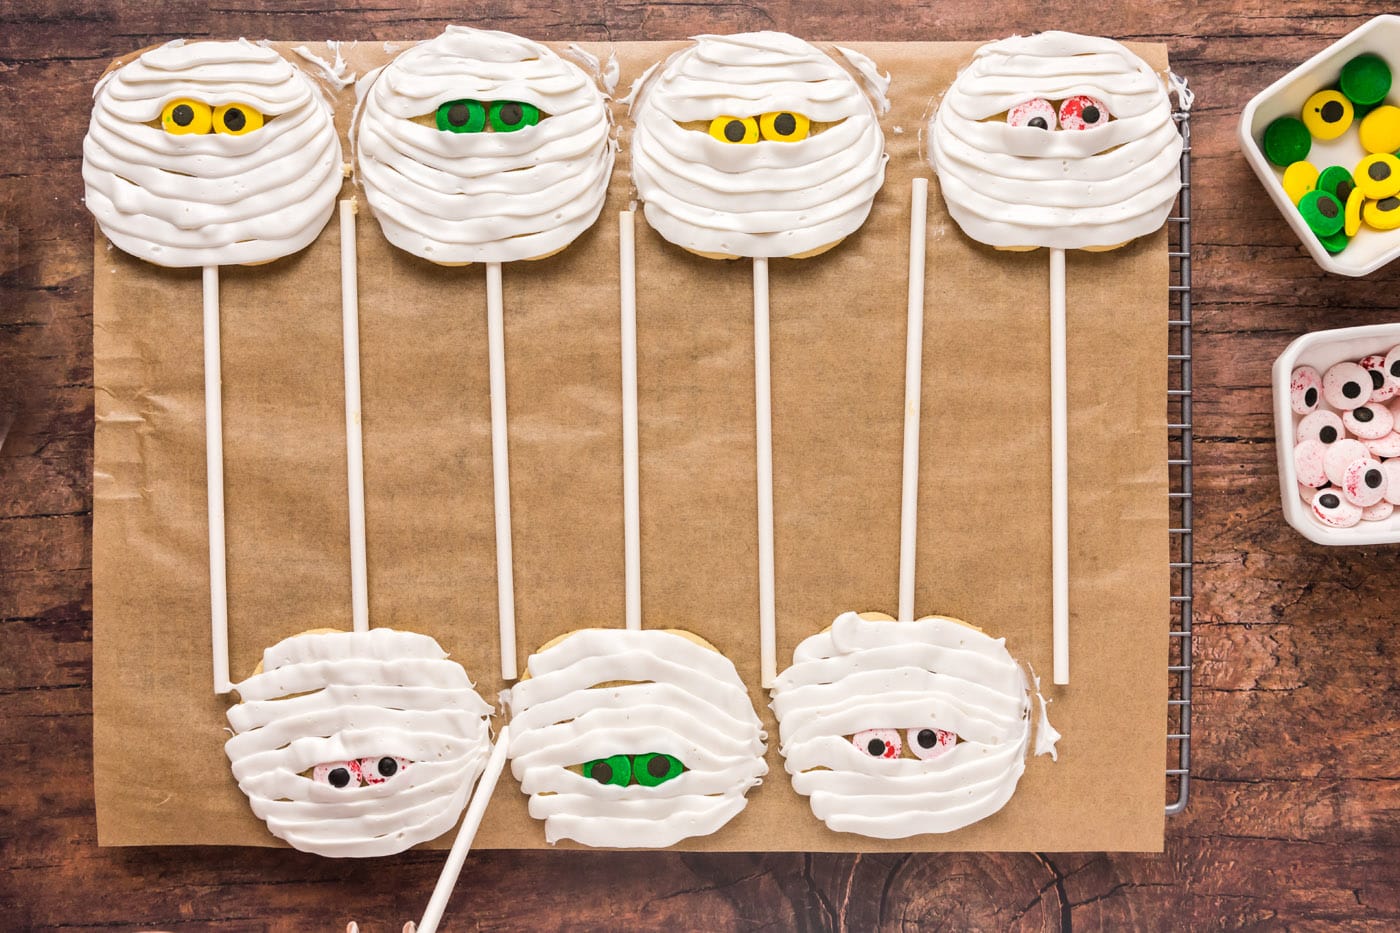
Frequently Asked Questions & Expert Tips
Store these mummy cookies in an air-tight container at room temperature for 3-4 days.
Yes, you can prepare your mummy cookies the morning of or even the night before you plan on serving them.
Serving Suggestions
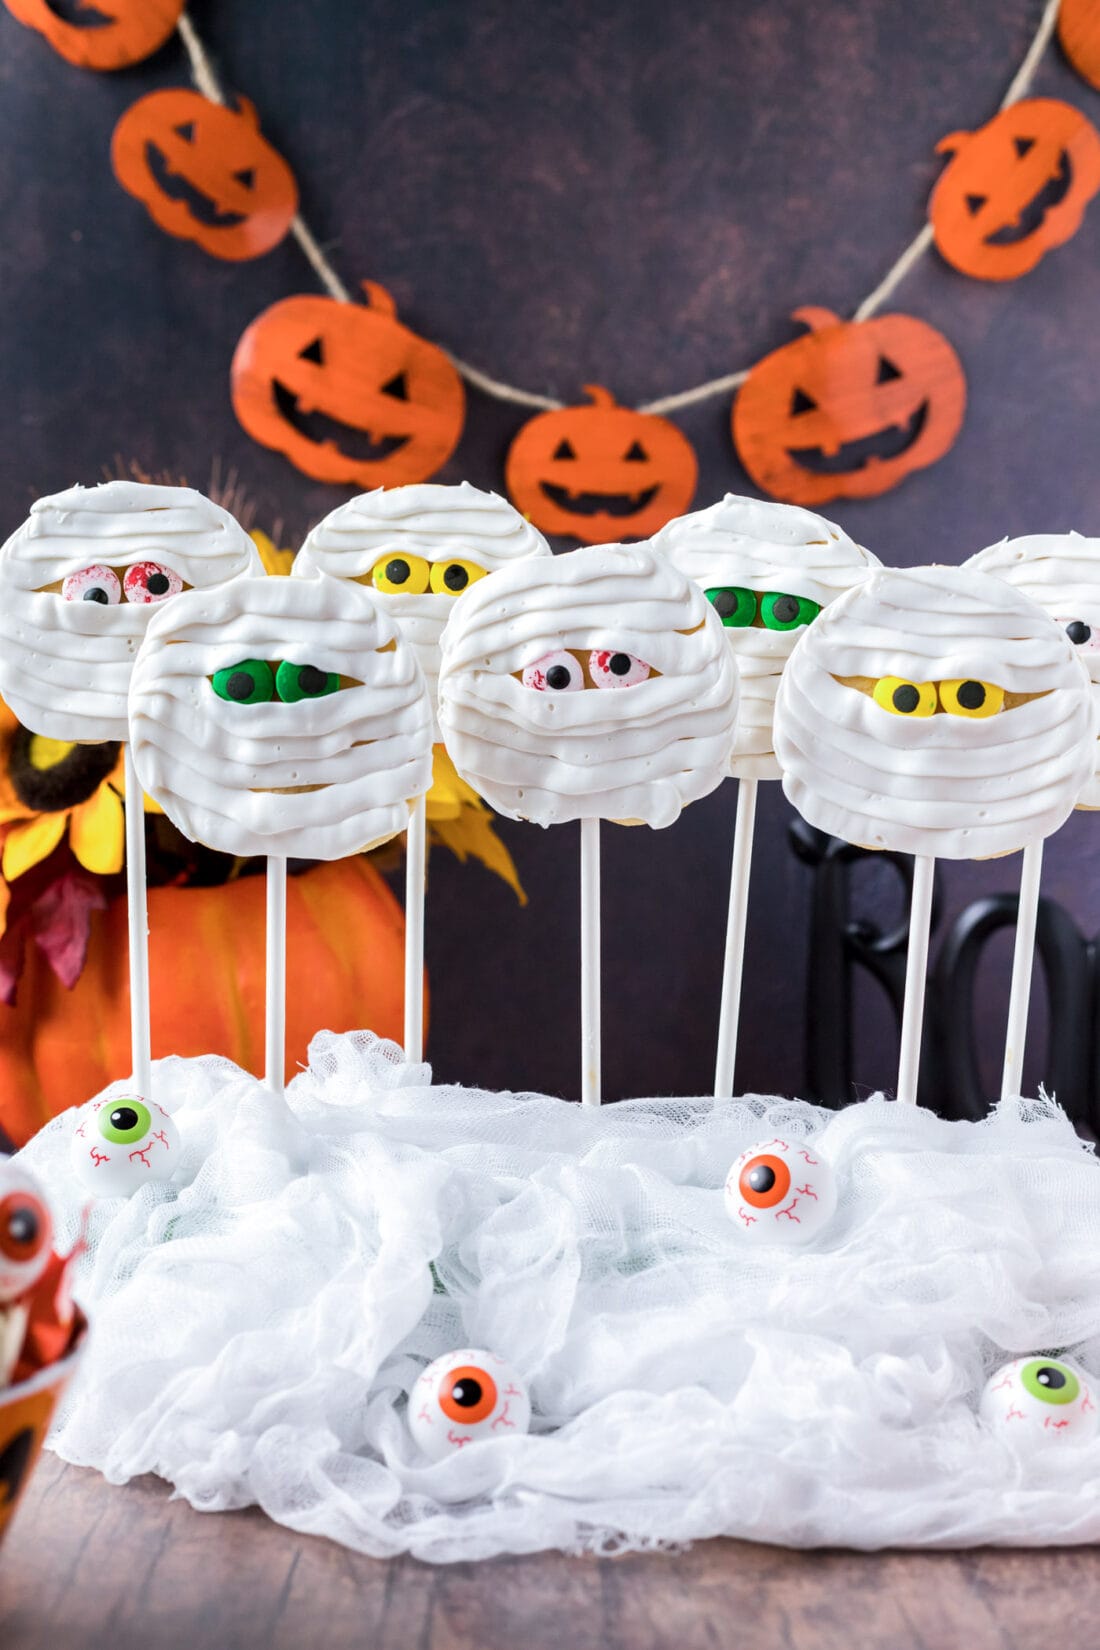
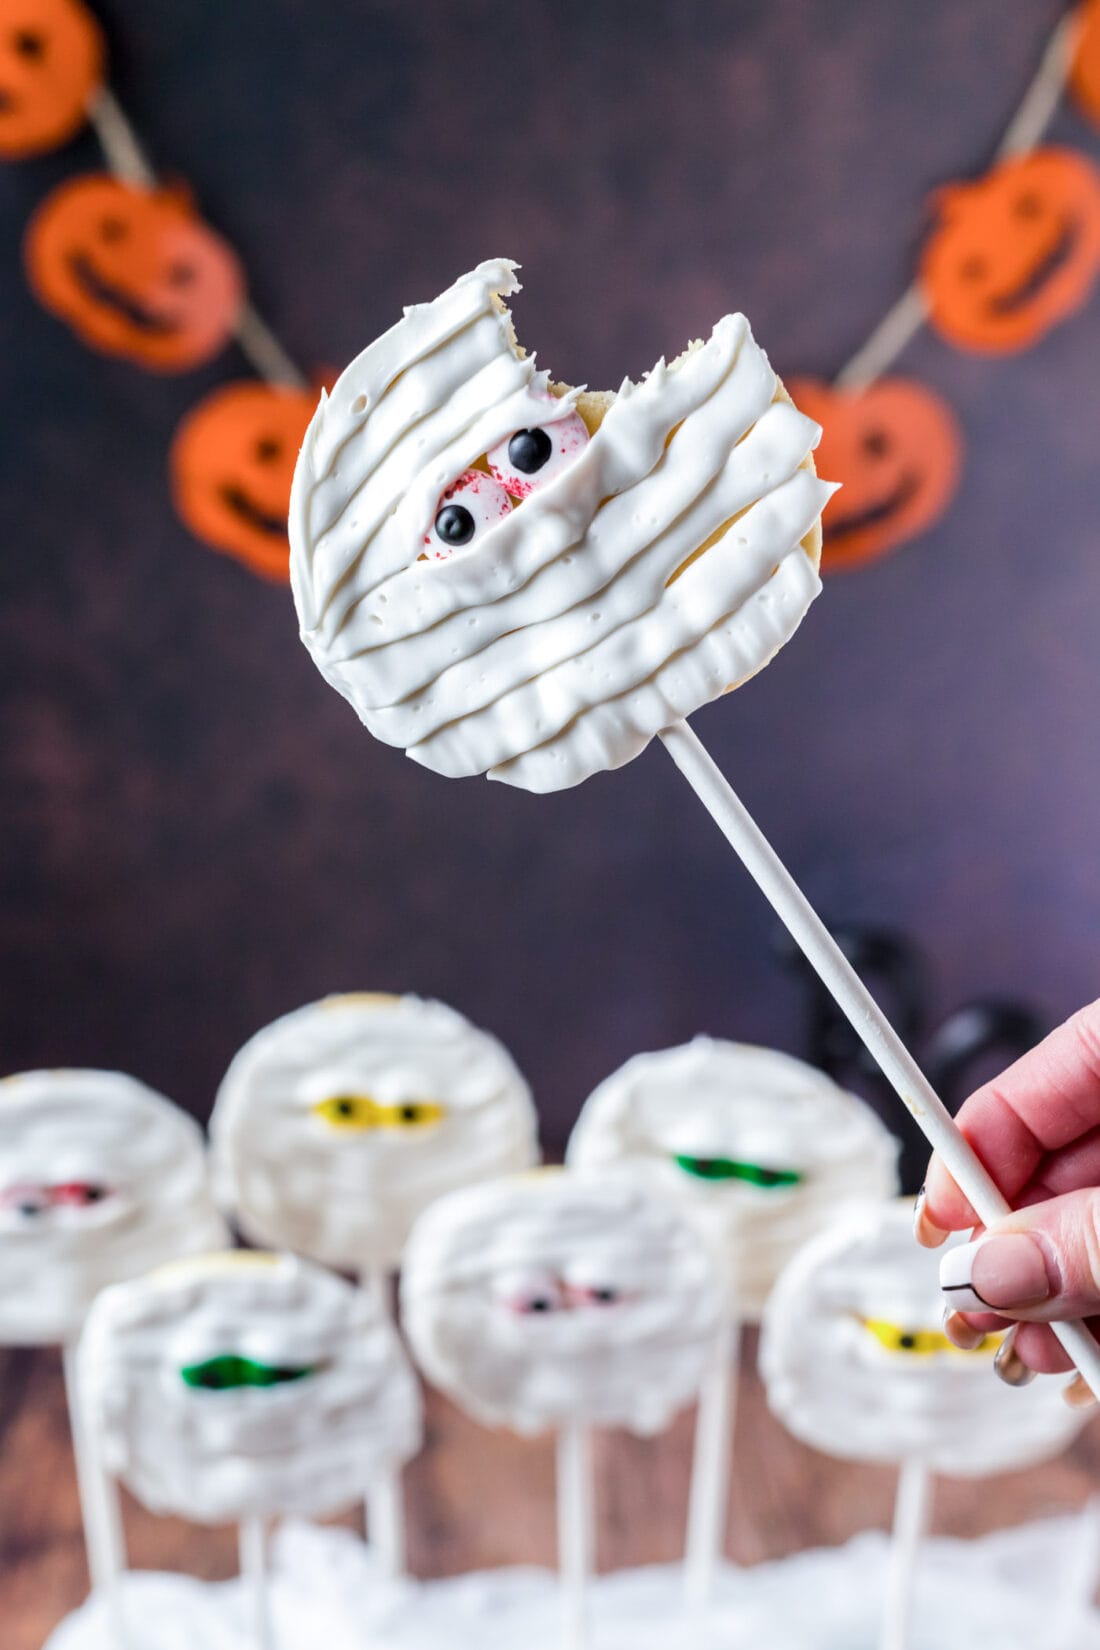
Display your mummy cookies as we did on some floral foam wrapped with fake spiderwebs for a fun presentation or pass them out as party favors. It’s not necessary to use lollipop sticks so if you’d like to serve them on a tray, go right ahead!
A quick note, if you do decide to wrap them into cellophane baggies for gift giving or to use as favors, be very careful as the frosting doesn’t harden the way that royal icing would. Use a plenty large enough favor bag to wrap the cookie so it has space inside to not smear and press up against the bag.
More Halloween Recipes
- Halloween Dirt Cups
- Spiderweb Taco Dip
- Witch Finger Cookies
- Halloween Eyeball Salsa
- Jalapeno Popper Mummies
- Cheese and Pretzel Broomsticks
I love to bake and cook and share my kitchen experience with all of you! Remembering to come back each day can be tough, that’s why I offer a convenient newsletter every time a new recipe posts. Simply subscribe and start receiving your free daily recipes!

Mummy Cookies
IMPORTANT – There are often Frequently Asked Questions within the blog post that you may find helpful. Simply scroll back up to read them!
Print It Rate ItIngredients
- 16 ounce refrigerated sugar cookie dough
- 32 candy eyeballs
- 16 ounces canned white frosting
- ½ cup powdered sugar
Things You’ll Need
- 16 Lollipop sticks 6 inches
- Piping bag with coupler
Before You Begin
- You should have just enough frosting to decorate 16 cookies. However, this does depend on how many “bandages” you pipe on and how thick you make them. To be safe, it’s not a bad idea to have an extra can of frosting on hand, just in case!
- We added 1/2 cup of powdered sugar to thicken the canned frosting and make it pipeable.
Instructions
- Preheat oven according to cookie dough package instructions (ours was 350 F).
- Line an insulated baking sheet with parchment paper.
- Cut refrigerator cookie dough into 16 slices, approximately 1/2-inch thick.
- Carefully insert a lollipop stick into each cookie slice and place on baking sheet, making sure to leave space between cookies as the dough will expand when it bakes.
- Bake according to cookie package instructions. Ours said 11-14 minutes and we baked ours for 12 minutes.
- Remove from oven and place pan on a wire rack. Carefully push the lollipop stick a little further into the cookie if needed. Cool on pan on rack for 5 minutes. After 5 minutes, slide the parchment with the cookies off the sheet and onto the wire rack to cool completely.
- TIP: Do not try to remove the cookie pops until they have cooled or the cookies will break.
- In a large bowl, whisk together the can of white frosting and 1/2 cup powdered sugar until completely combined. Add frosting to a piping bag fitting with a flat piping tip.
- Add a dot of frosting to the back of a candy eye and gently press it to the top third of the cookie. Repeat for a second eye.
- Pipe white frosting horizontally across the face of each cookie to look like bandages, overlapping slightly with each row. Overlap the eyes just slightly so they appear to be looking out through the bandages.
- Use an extra lollipop stick or skewer to clean up extra frosting around the outside edges of the cookies.
- TIP: The frosting will need to dry and set before handling. They will begin to set as early as 15 minutes, but it’s best to make these early in the day for an afternoon/evening Halloween party.
Nutrition
This post was originally published here on September 29, 2022.
Amanda Davis
Latest posts by Amanda Davis (see all)
- Raspberry Poke Cake - January 21, 2025
- Chocolate Covered Strawberries - January 20, 2025
- Cauliflower Pizza Crust - January 13, 2025


Leave a Reply