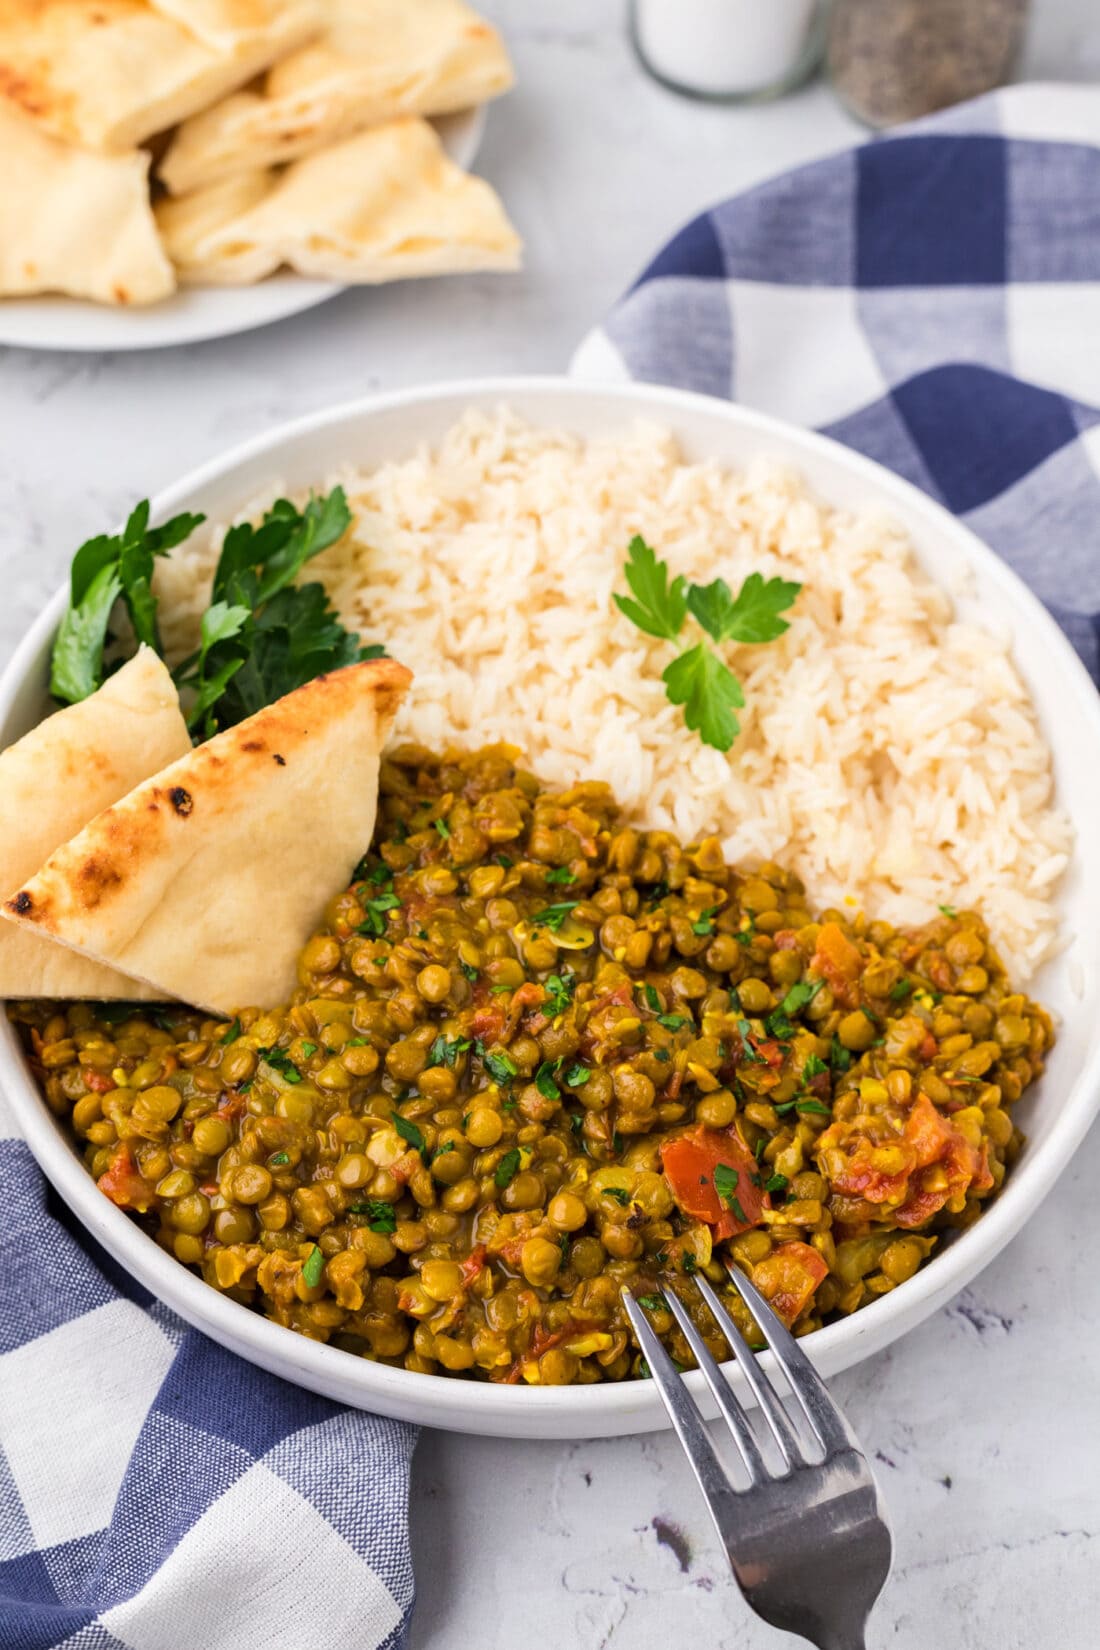
This lentil curry recipe is hearty, comforting, and nutritious with a burst of deeply flavorful spices. Plus, it’s super easy to prepare on the stovetop!
Why this recipe works
Plant-based protein has never tasted so good! Lentil curry is a great vegetarian option for chicken or shrimp curry and it’s packed with incredible flavor.
Tender and soft lentils (but not mushy!) soak up the flavors of every ingredient incorporated and they are an excellent candidate to pair with aromatic Indian spices. You get a touch of sweet creaminess when using coconut milk while the spices and seasonings work their magic to add a vibrant taste to this dish.
Ingredients you will need
Get all measurements, ingredients, and instructions in the printable version at the end of this post.
Ingredient Info and Substitution Suggestions
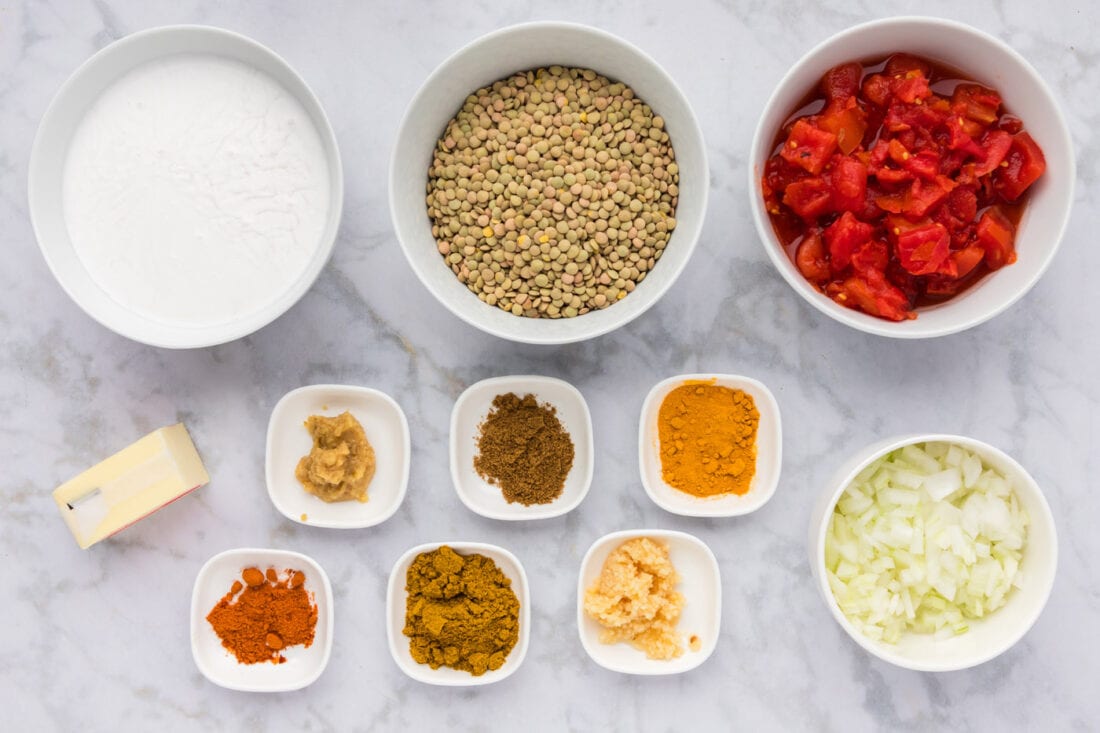
LENTILS – We prefer to use green or brown lentils because they soften nicely, but you can also use red lentils. Red lentils will be even creamier if that’s the consistency you prefer, but do note that they cook faster than green or brown lentils.
ADDITIONS – You can use fresh or pre-minced garlic and ginger, it’s up to you! On top of that, you will also need onion and diced tomatoes (crushed will also work). Cayenne pepper, ground cumin, curry powder, and turmeric are what bring the most flavor to this dish. Feel free to incorporate garam masala if desired.
COCONUT MILK – Makes your curry rich and creamy.
How to Make Lentil Curry
These step by step photos and instructions are here to help you visualize how to make this recipe. You can Jump to Recipe to get the printable version of this recipe, complete with measurements and instructions at the bottom.
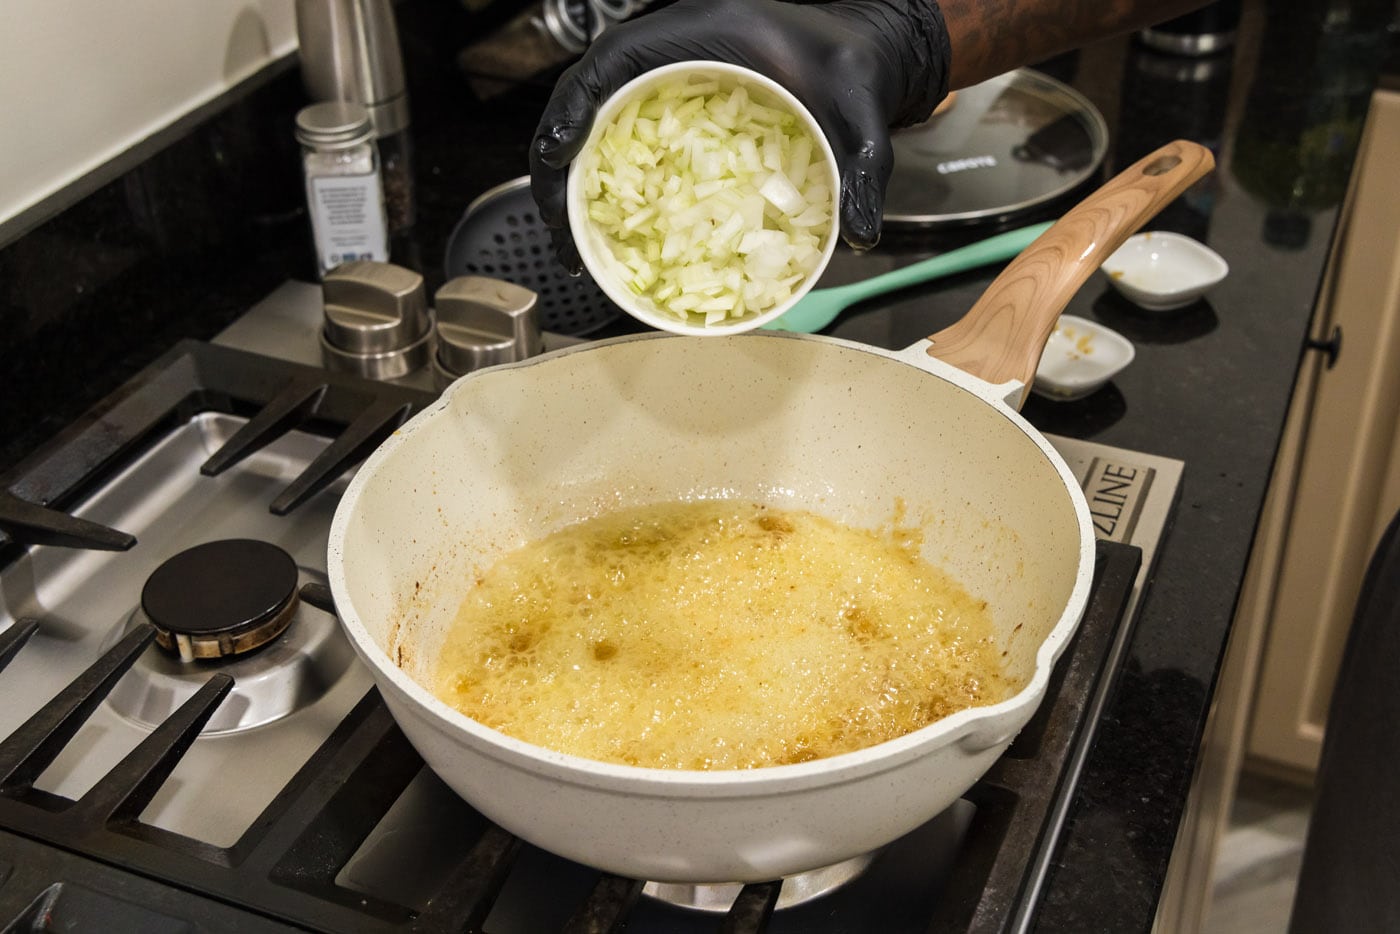
- Melt the butter in a large deep sided skillet over medium-high heat.
- To the melted butter add garlic, ginger, and onion. Cook for 2-3 minutes, until onions soften.
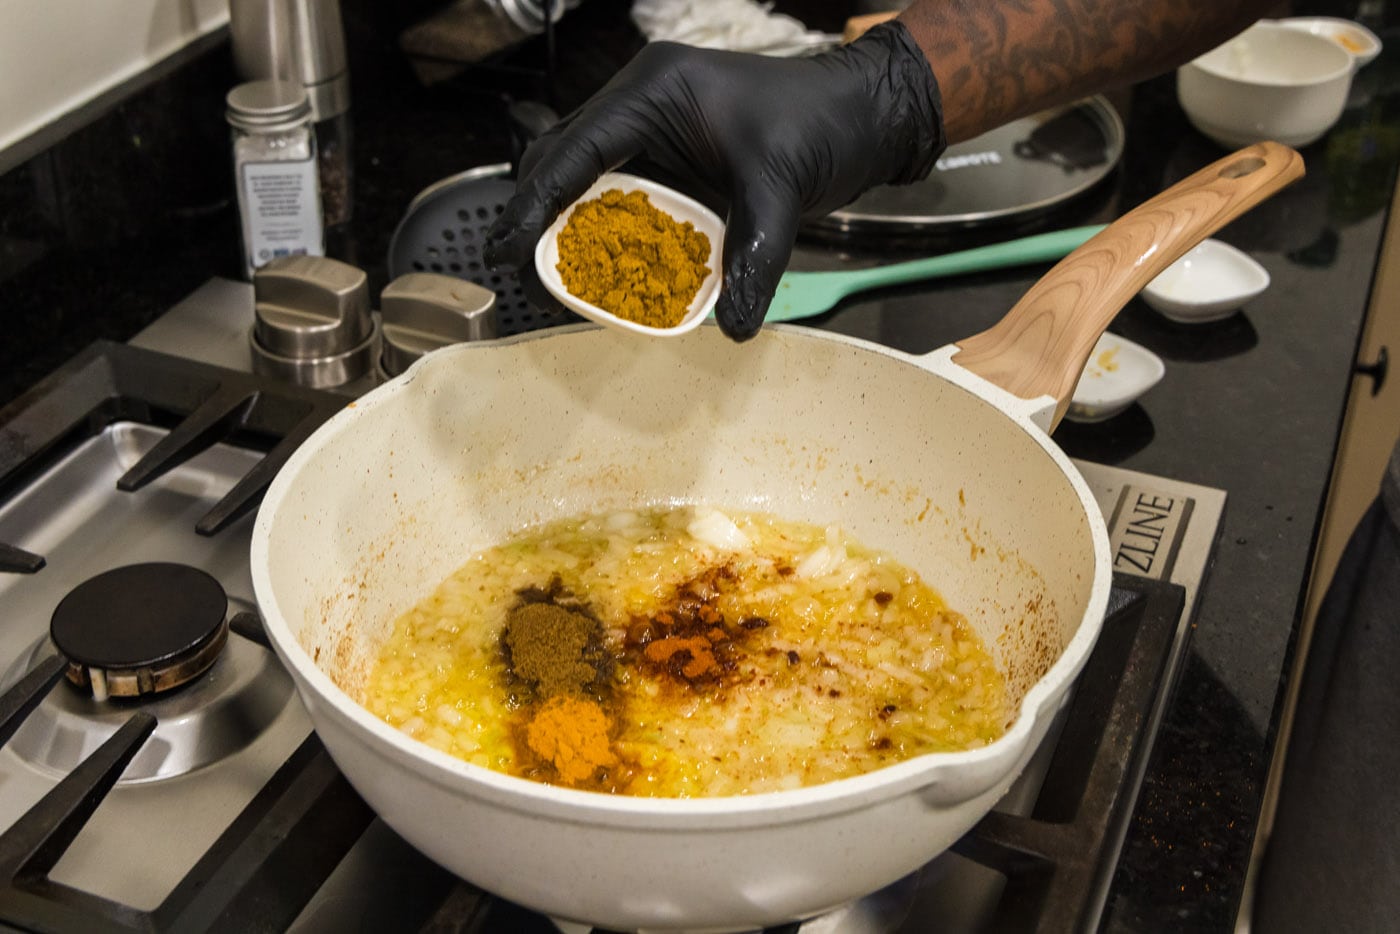
- Add in the cayenne pepper, cumin, curry, and turmeric. Stir to combine well.
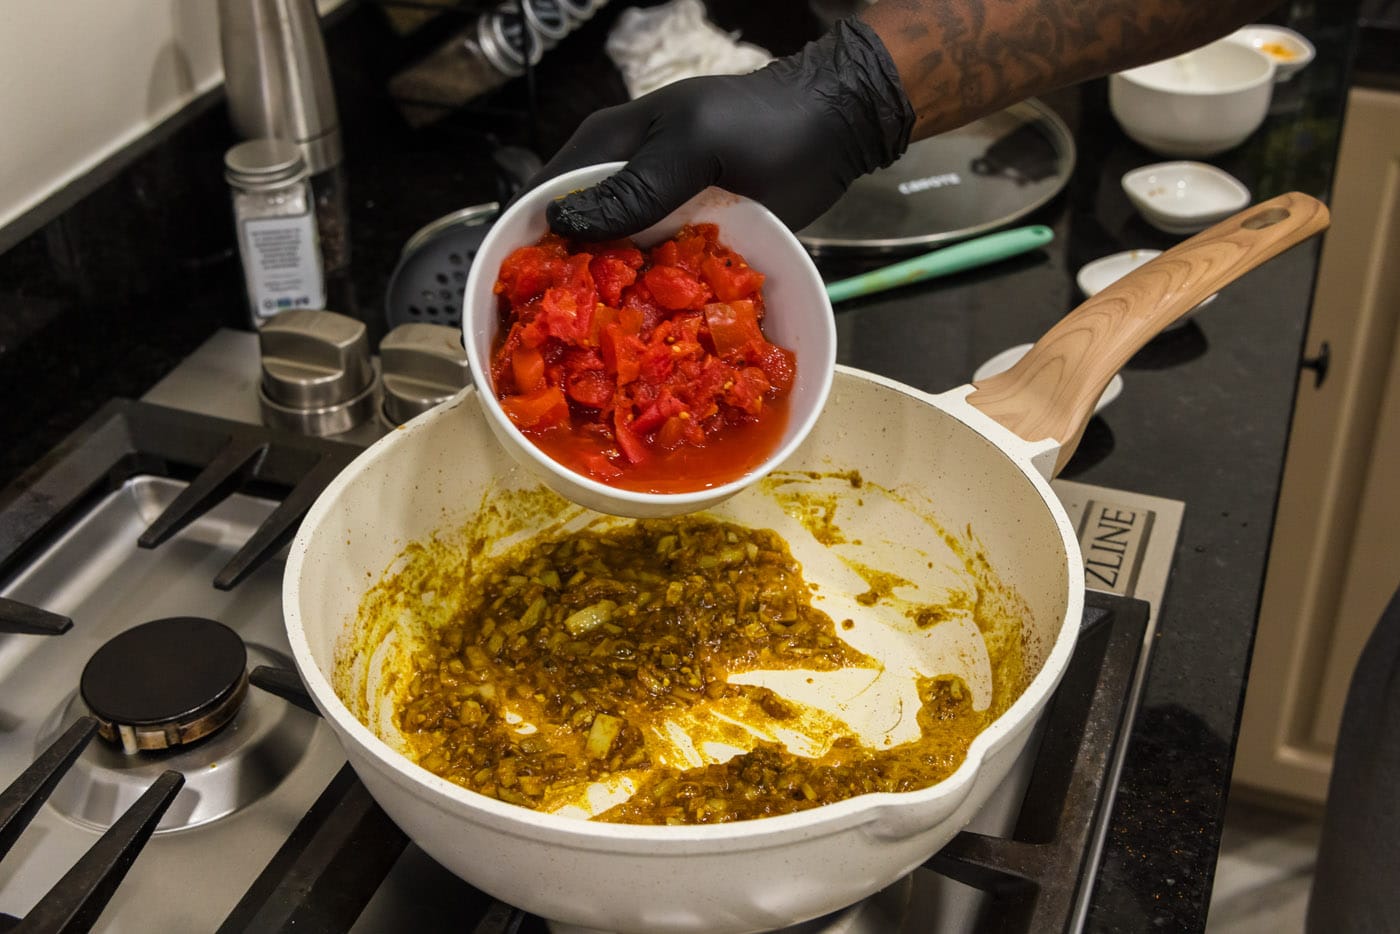
- Add canned tomatoes and stir well.
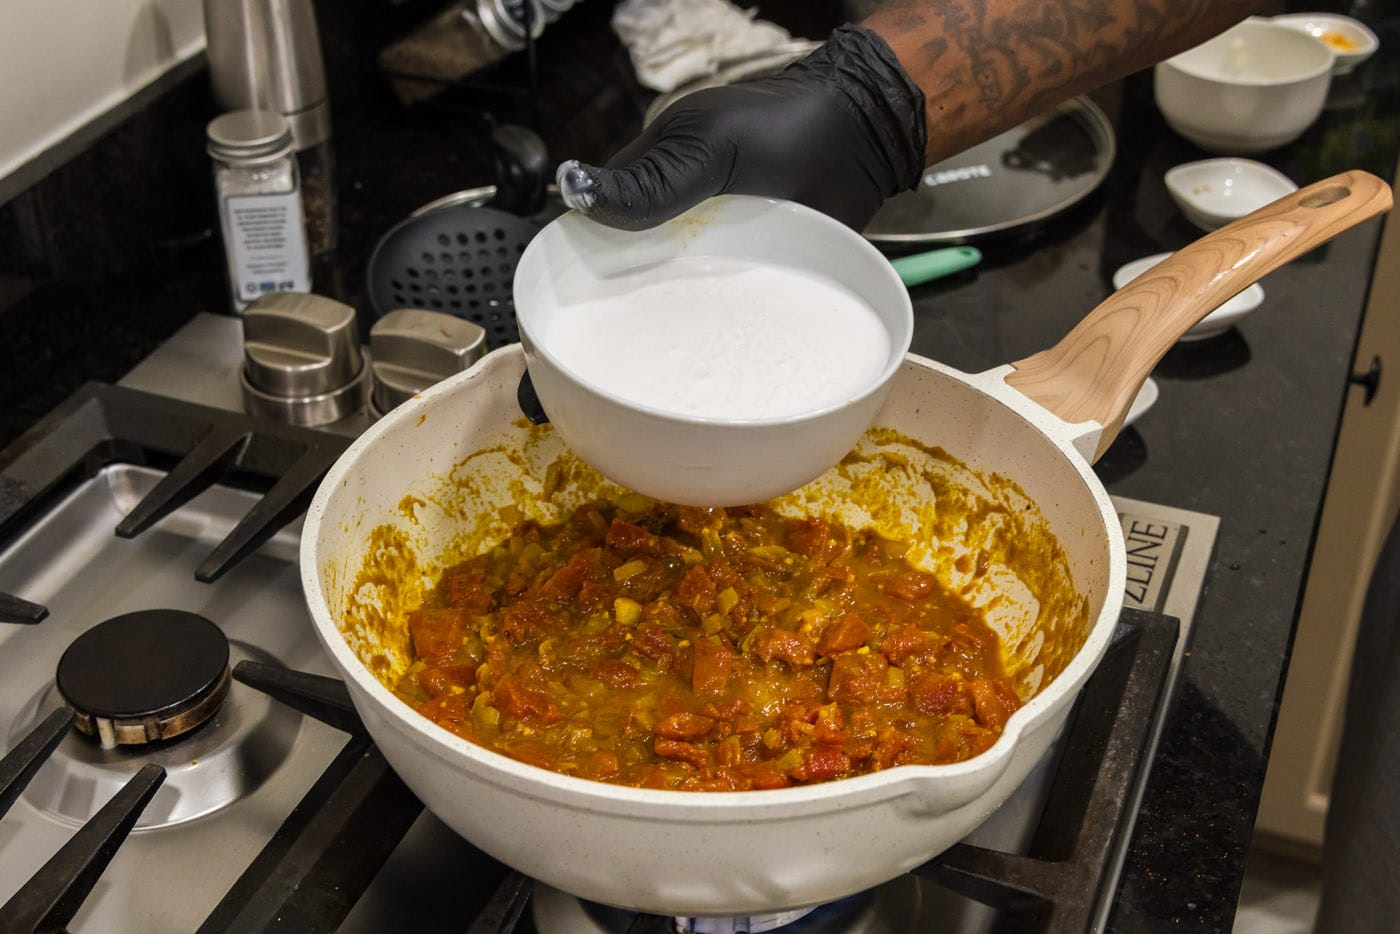
- Pour in the coconut milk and stir well.
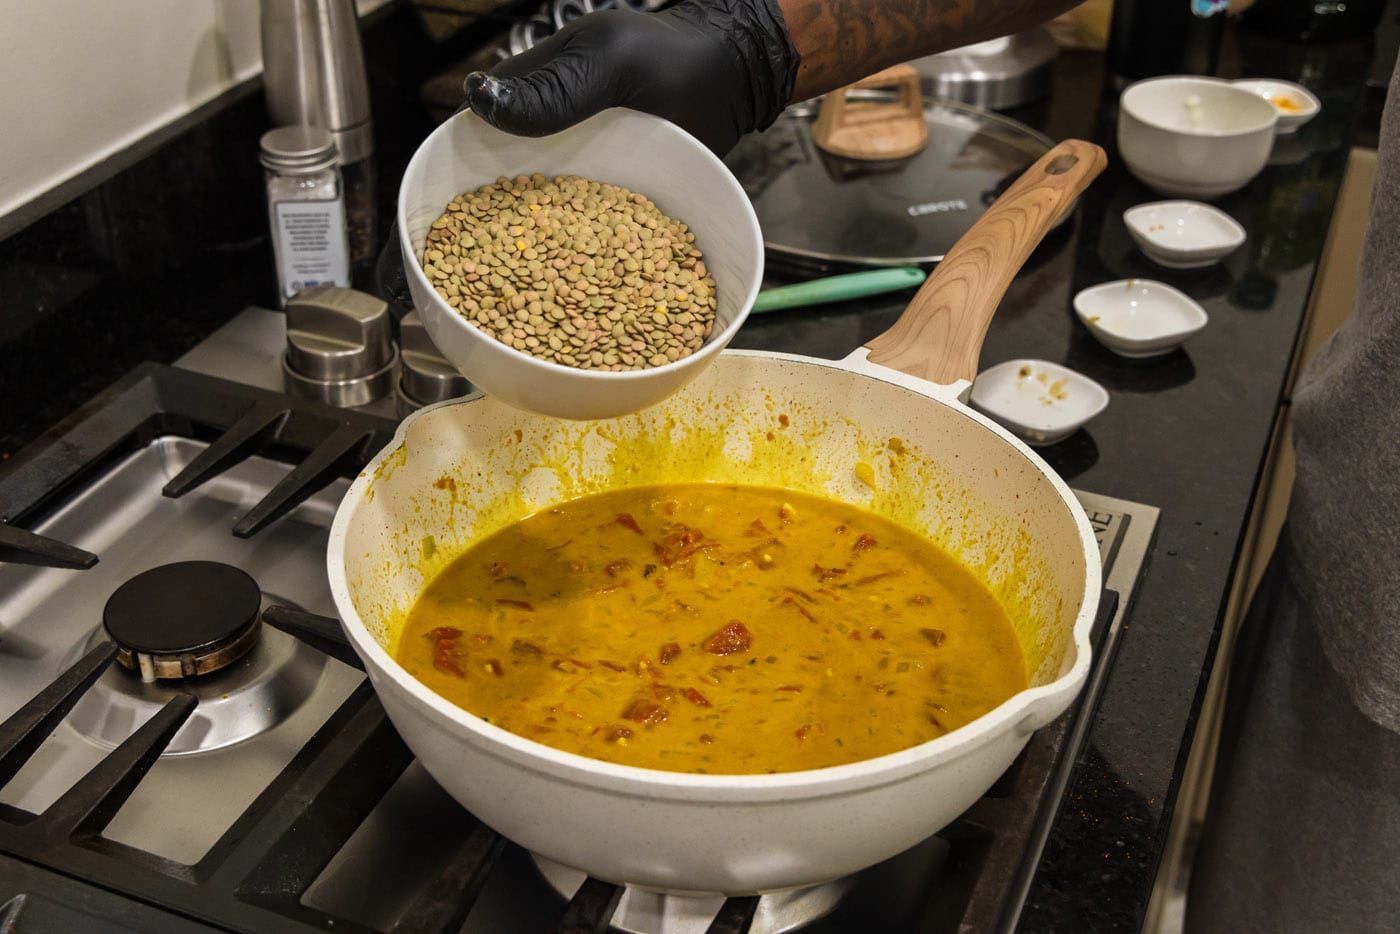
- Add lentils to the pan and stir well. Bring mixture to a boil. Put lid on pan, turn heat down to low, and simmer for 25-30 minutes, stirring occasionally.
TIP – If the mixture has thickened too much and the lentils aren’t quite tender enough yet (you don’t want them mushy), you can add the optional water and let it cook until the lentils are done.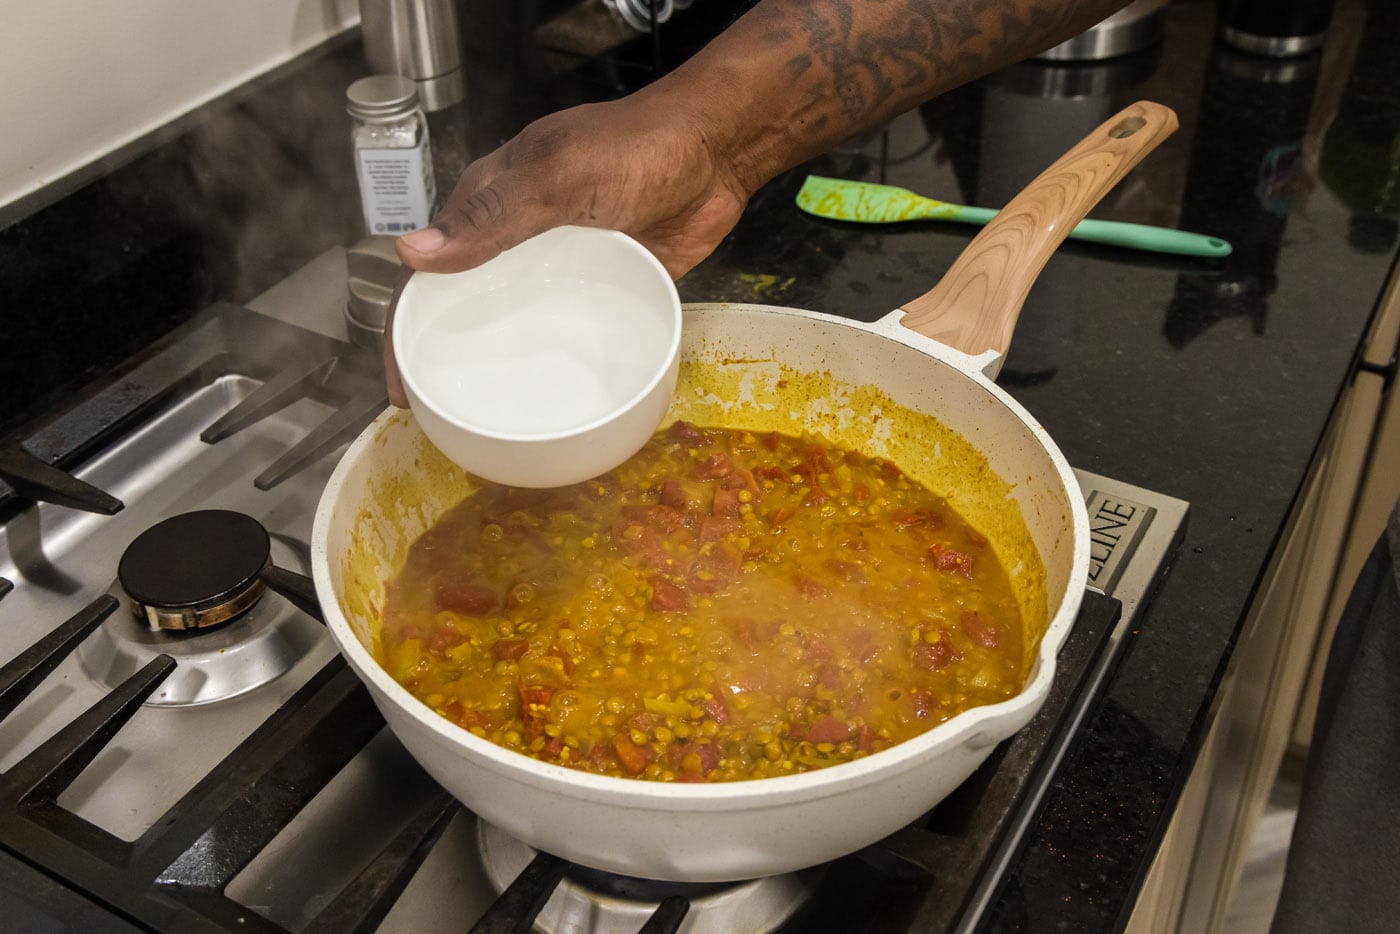
Frequently Asked Questions & Expert Tips
Store any leftover lentil curry in an air-tight container kept in the refrigerator for up to 5 days.
Yes, you can freeze this dish. Transfer the cooled lentil curry into an air-tight container or large ziptop bag and store in the freezer for up to 3 months. Thaw in the refrigerator overnight.
Reheat lentil curry in a saucepan over medium-low heat until warmed through. You can also rewarm it in the microwave.
We have not tried using canned lentils for this recipe, but I don’t see why they wouldn’t work! Because they are already cooked and you only need to warm them up, you can add them in toward the end of the recipe.
Serving Suggestions
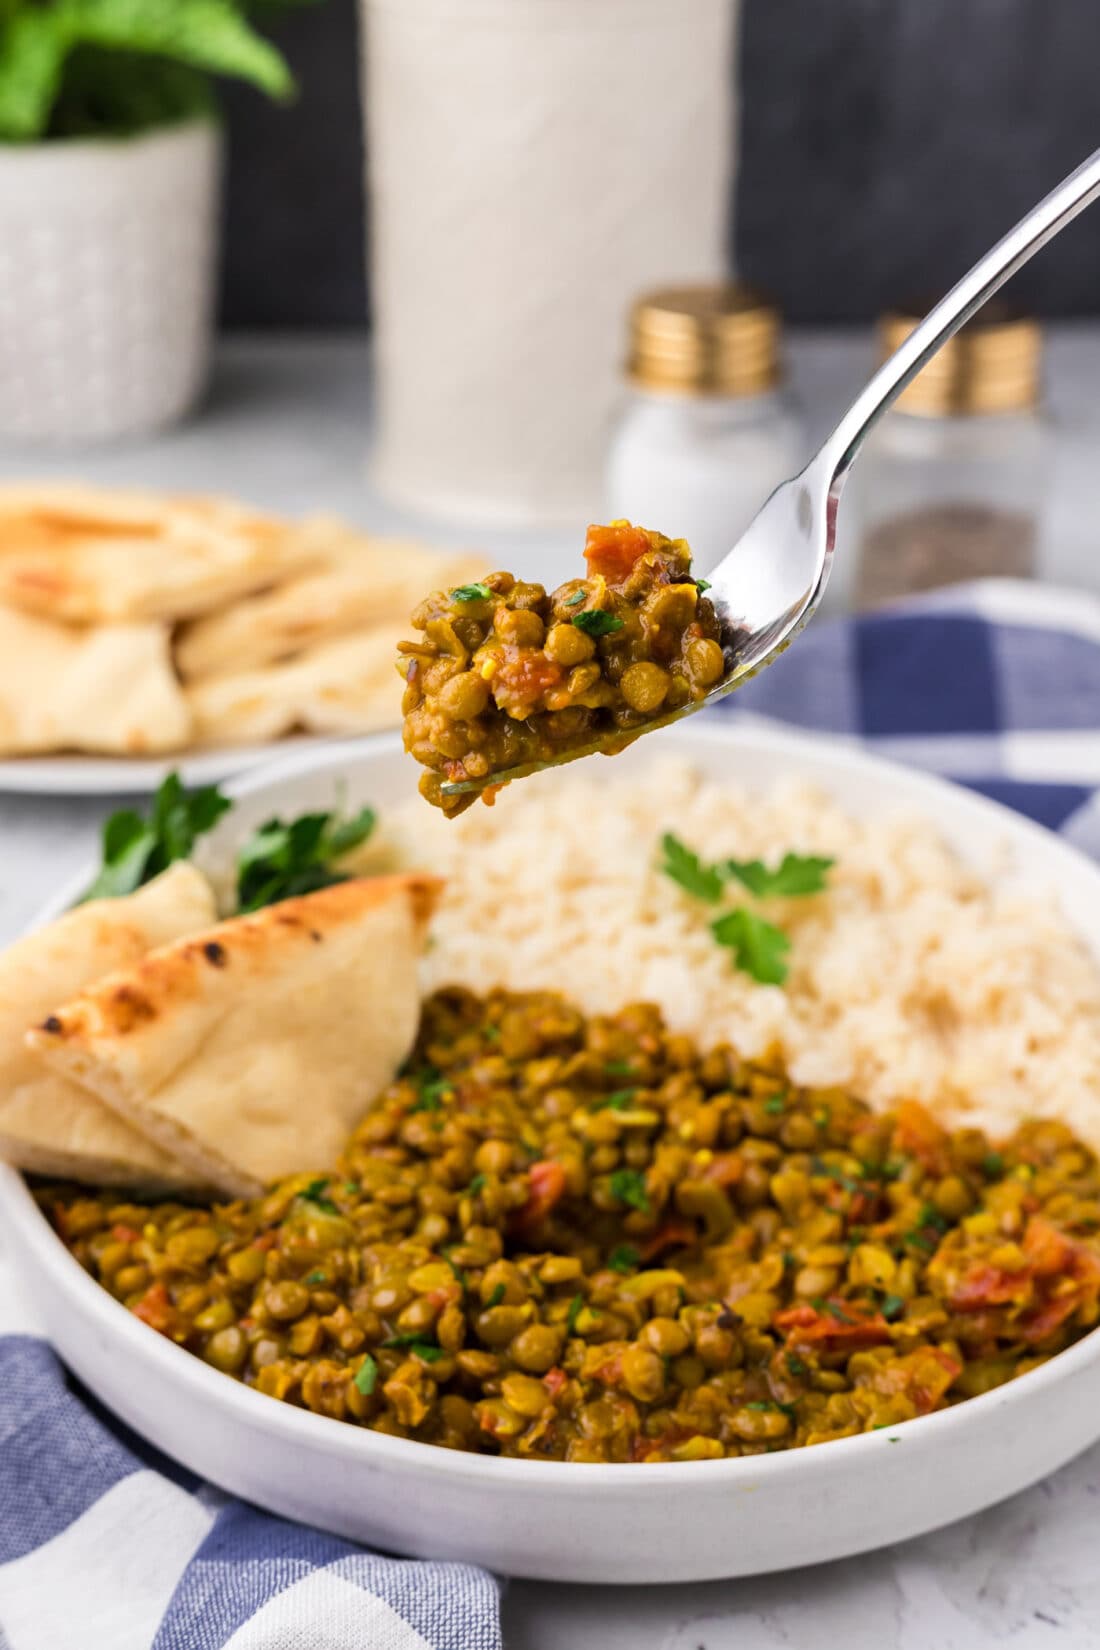
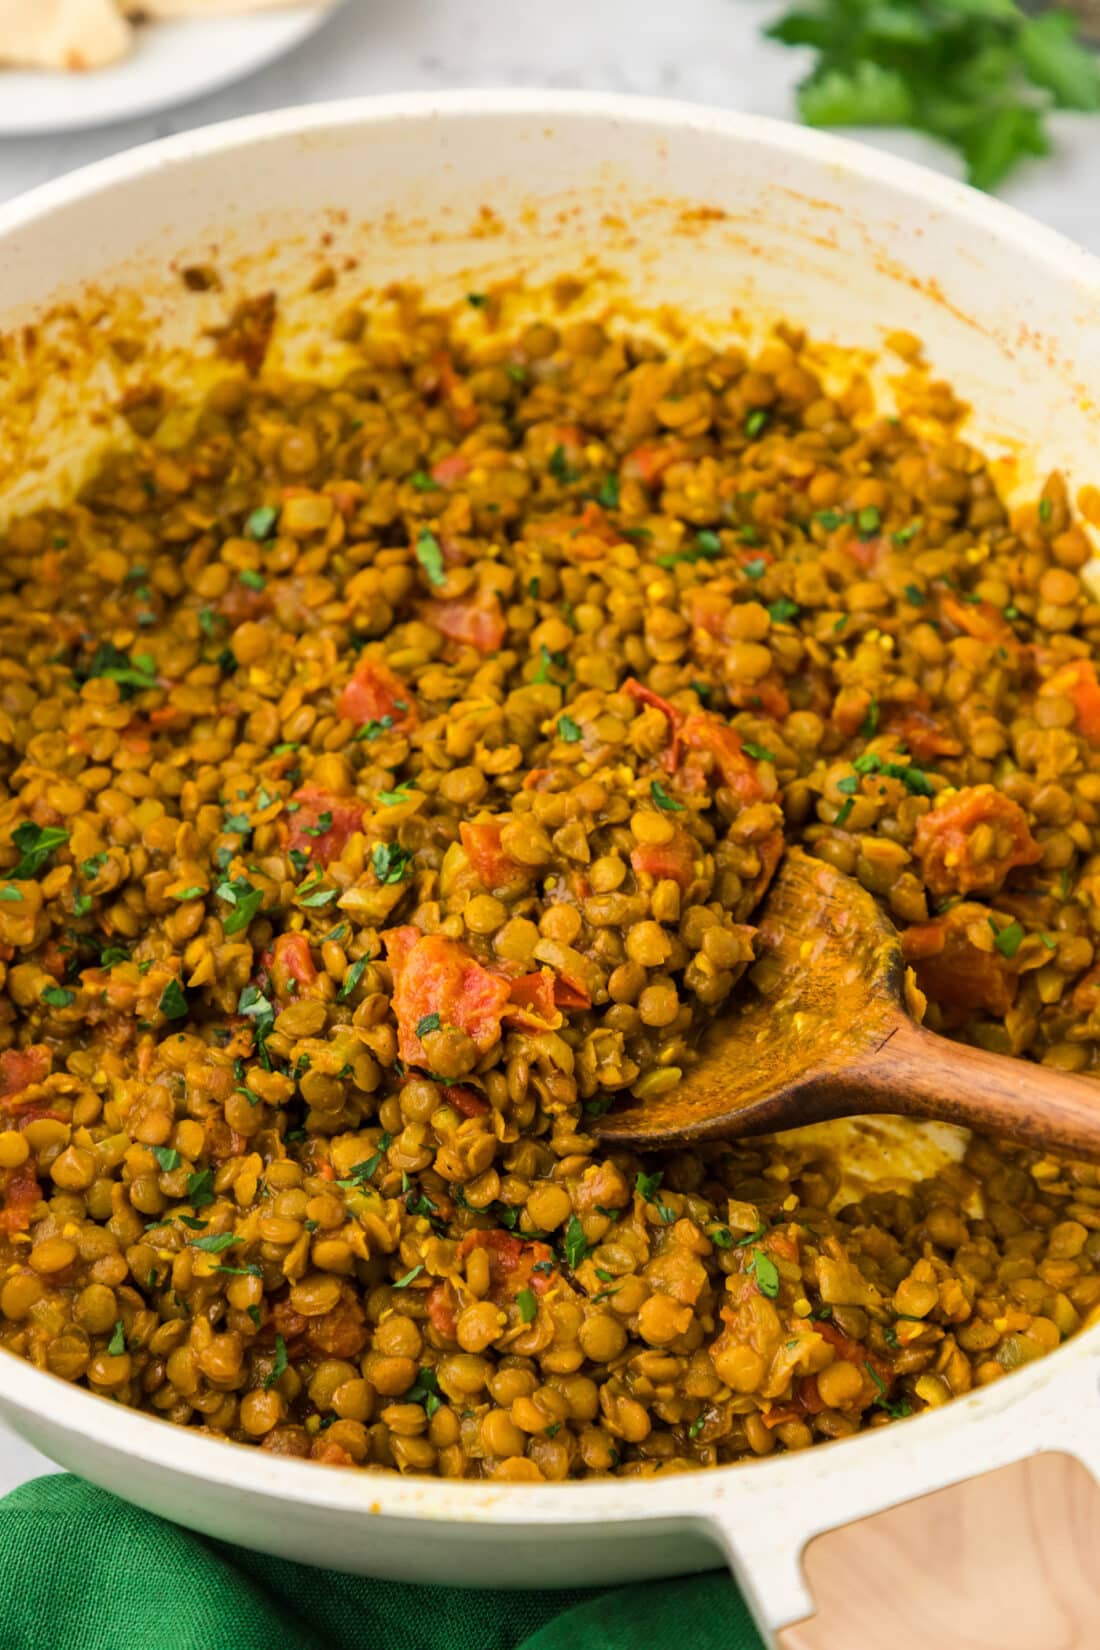
Serve lentil curry over basmati, white rice, or cauliflower rice to soak up the surrounding sauce. Naan is always a welcome addition to curry as well! Garnish with fresh chopped parsley if desired.
More Related Recipes
I love to bake and cook and share my kitchen experience with all of you! Remembering to come back each day can be tough, that’s why I offer a convenient newsletter every time a new recipe posts. Simply subscribe and start receiving your free daily recipes!
Lentil Curry
IMPORTANT – There are often Frequently Asked Questions within the blog post that you may find helpful. Simply scroll back up to read them!
Print It Rate ItIngredients
- 4 Tablespoons unsalted butter
- 2 teaspoons minced garlic
- 1 teaspoon minced ginger
- ½ cup chopped onion
- 1 teaspoon cayenne pepper
- 1 teaspoon ground cumin
- 1 ½ teaspoon curry powder
- 1 Tablespoon turmeric
- 14 ounces canned diced tomatoes undrained
- 14 ounces unsweetened canned coconut milk
- 9 ounces green or brown lentils
- ½ cup water optional, see below
Things You’ll Need
- Large heavy bottomed skillet with lid
Before You Begin
- We prefer to use green or brown lentils because they soften nicely, but you can also use red lentils. Red lentils will be even creamier if that’s the consistency you prefer, but do note that they cook faster than green or brown lentils.
- We have not tried using canned lentils for this recipe, but I don’t see why they wouldn’t work. Because they are already cooked and you only need to warm them up, you can add them in toward the end of the recipe.
Instructions
- Melt the butter in skillet over medium high heat.
- To the melted butter add garlic, ginger, and onion. Cook for 2-3 minutes, until onions soften.
- Add in the cayenne pepper, cumin, curry, and turmeric. Stir to combine well.
- Add canned tomatoes and stir well.
- Pour in the coconut milk and stir well.
- Add lentils to the pan and stir well. Bring mixture to a boil. Put lid on pan, turn heat down to low and simmer for 25-30 minutes, stirring occasionally.TIP – If the mixture has thickened too much and the lentils aren’t quite tender enough yet (you don’t want them mushy), you can add the optional water and let it cook until lentils are done.
Expert Tips & FAQs
- STORAGE – Store any leftover lentil curry in an air-tight container kept in the refrigerator for up to 5 days.
- FREEZE – Transfer the cooled lentil curry into an air-tight container or large ziptop bag and store in the freezer for up to 3 months. Thaw in the refrigerator overnight.
- REHEAT – Reheat the curry in a saucepan over medium-low heat until warmed through. You can also rewarm it in the microwave.
Nutrition
Chef Antoine Davis
Latest posts by Chef Antoine Davis (see all)
- Vegetable Lo Mein - January 16, 2025
- Korean Fried Rice - January 14, 2025
- Creamy Salmon - January 7, 2025


Elena Syrrakos says
I have never made curry and this recipe is so simple and perfect! Exactly the flavor I was looking for and craving on a chilly day. I added a chopped sweet potato and a pinch of salt. Although I had rice and naan on deck I served it with cornbread I had just made and my daughter and I loved it. Yum!