Dunk, decorate, and devour these easy Halloween Oreo truffles 3 different ways! Perfect for Halloween parties or a cozy night in to celebrate the spooky season.
Why this recipe works
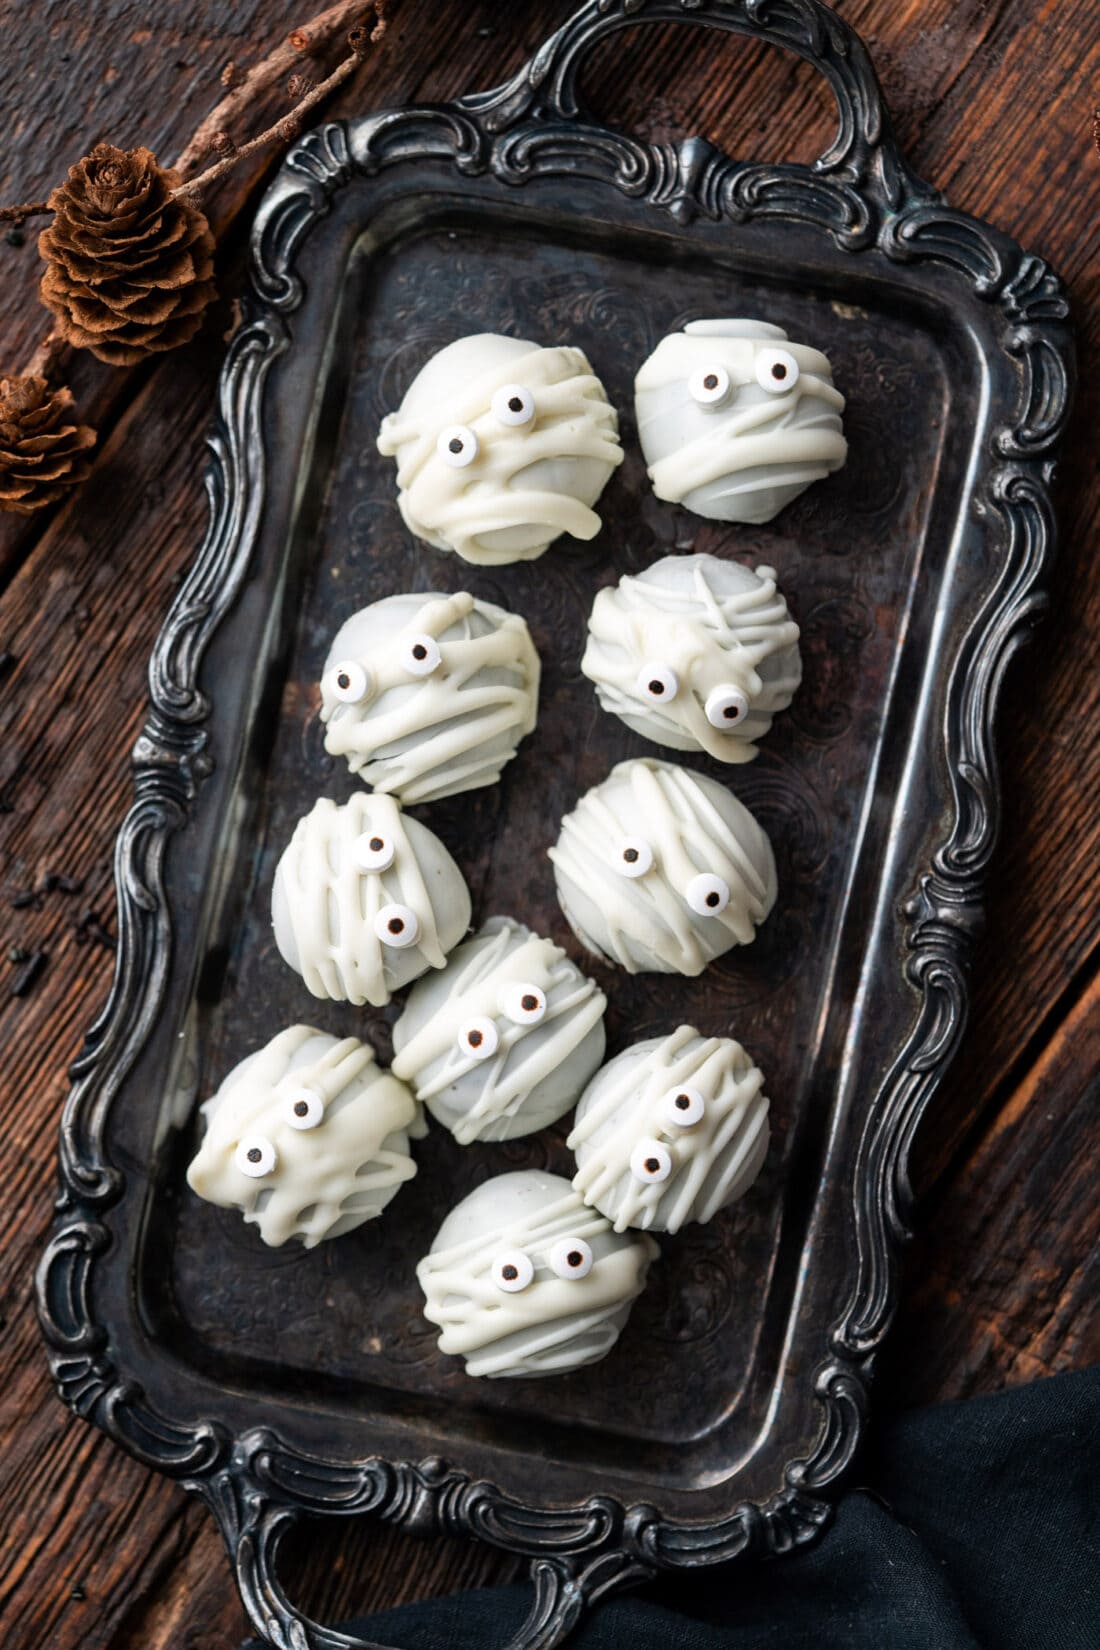
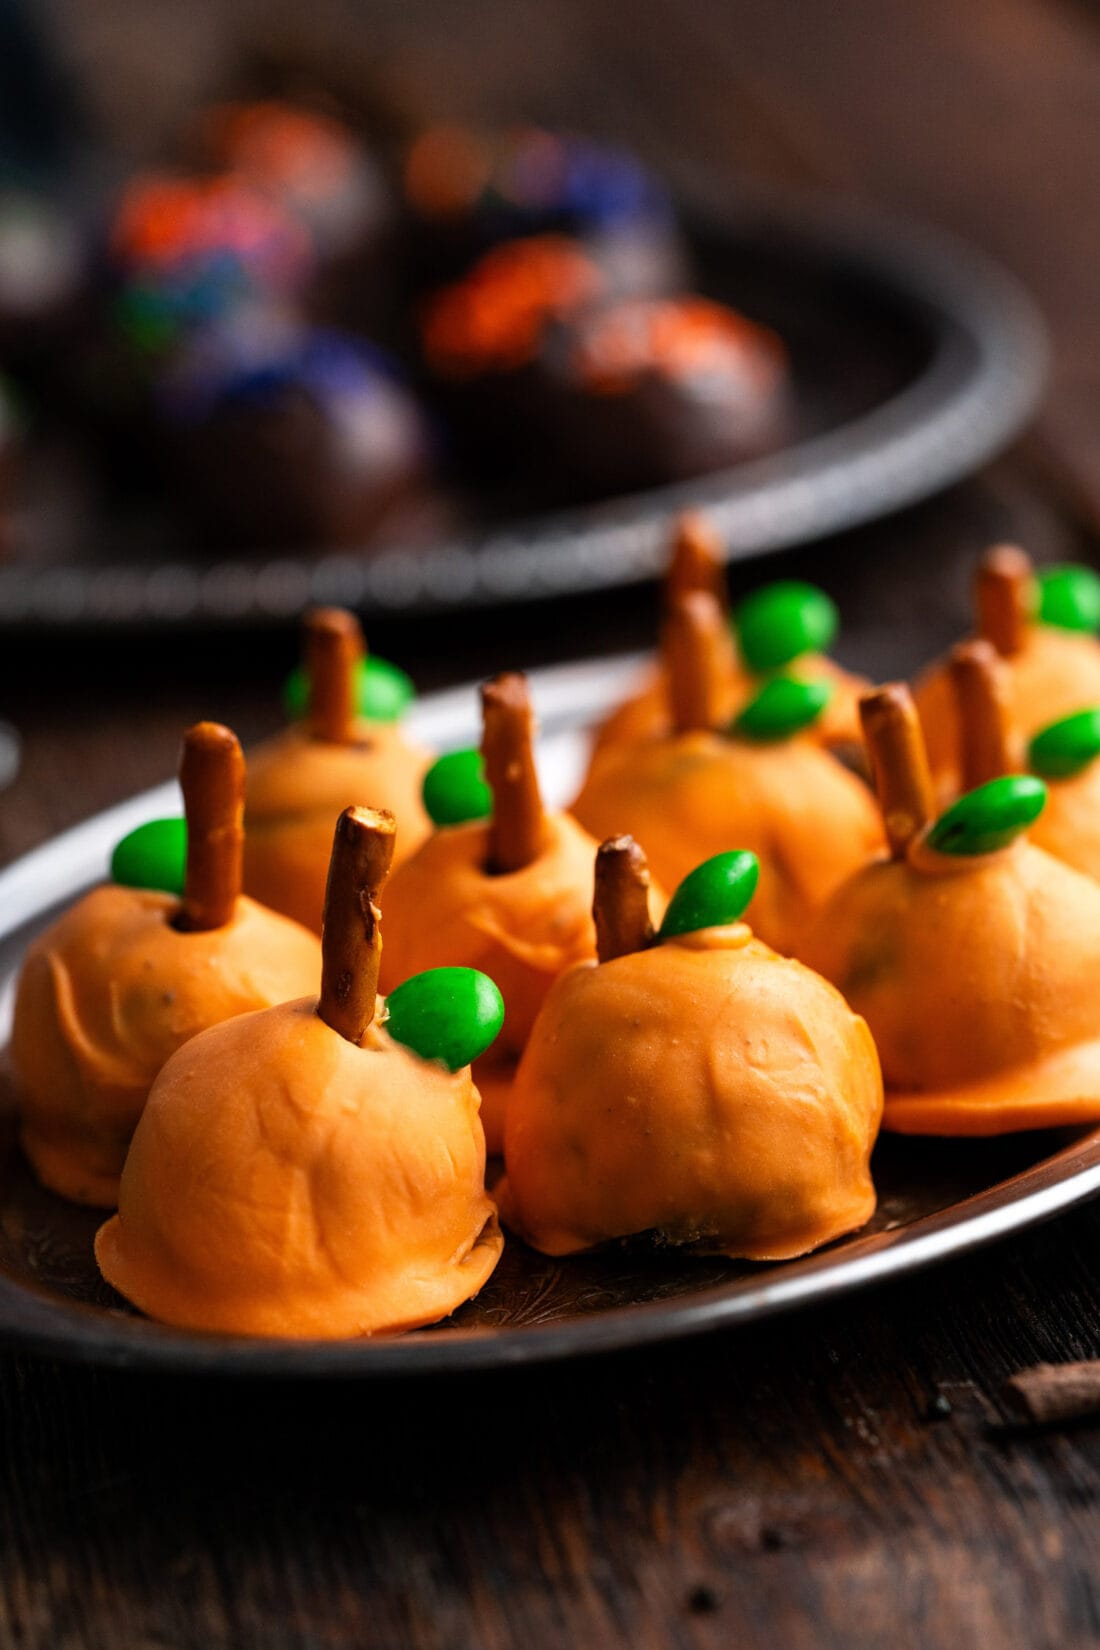
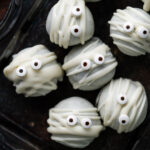
We made these Halloween Oreo truffles three different ways for you to choose from (or make them all!) – creepy mummies, cute pumpkins, and festive sprinkle garnished truffles. These spooky yet adorable little bites will deck out your Halloween party spread and they couldn’t be easier to prepare.
Oreo truffles are one of the best desserts to make for holidays or to mix and match to color-themed sports teams or birthday parties. Cream cheese, Oreo cookies, and melted chocolate are all you need to make them, plus whatever you want to decorate with of course!
Ingredients you will need
Get all measurements, ingredients, and instructions in the printable version at the end of this post.
Ingredient Info and Substitution Suggestions
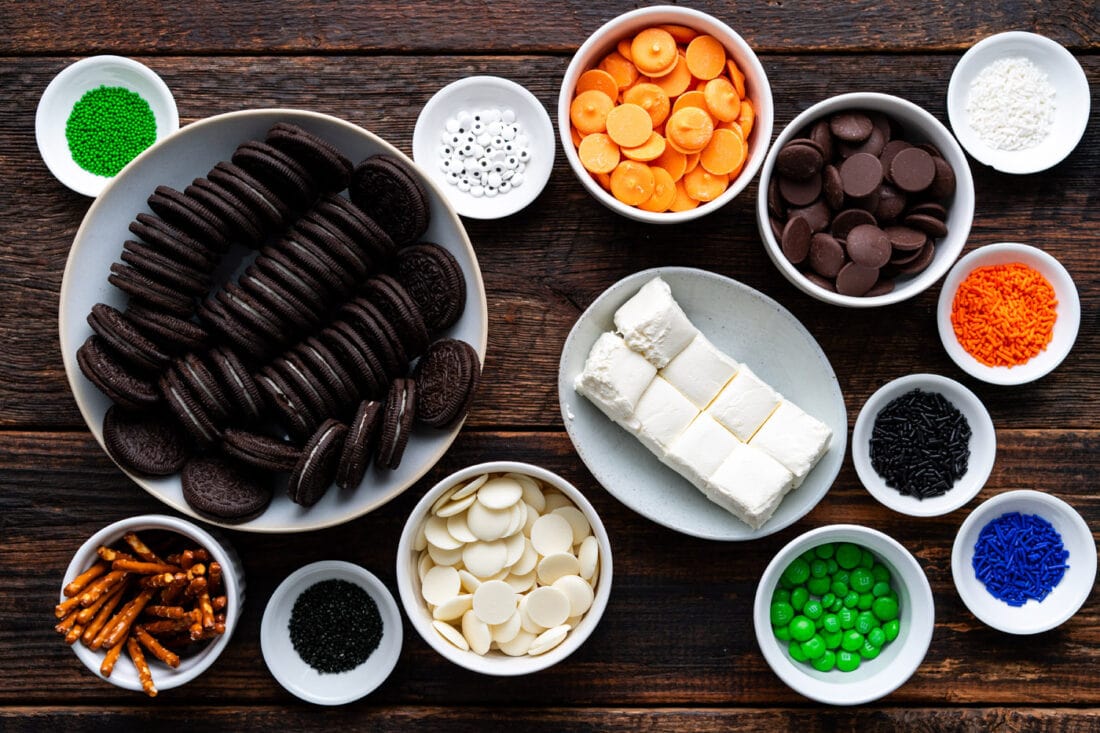
OREOS – You will need 36 regular (not double stuffed) Oreo sandwich cookies, filling included. The filling lends moisture to the mixture. You can easily substitute with golden Oreos or other flavors as you wish.
CREAM CHEESE – The cream cheese works as a binder, but it also adds great flavor. It’s best to start with room temperature cream cheese. Cut the cream cheese into cubes and allow it to rest at room temp for 30-45 minutes to properly soften it.
CHOCOLATE – Ghiradelli semi-sweet or white chocolate melts are great for this recipe, but you can also chop up a bar of baking chocolate. Chocolate chips will also work but we’ve found that the white chocolate chips don’t melt as smoothly and easily seize when warming. If you can’t find orange melting wafers, you can tint white chocolate with a little orange gel food coloring. Orange melting wafers are a bit harder to work with than white or chocolate melting wafers, as it doesn’t melt quite as smoothly. If you need to, you can add a little bit of shortening or coconut oil (about 1 teaspoon per 8 ounces of melting wafers) to help thin it out.
How to Make Halloween Oreo Truffles
These step by step photos and instructions are here to help you visualize how to make this recipe. You can Jump to Recipe to get the printable version of this recipe, complete with measurements and instructions at the bottom.
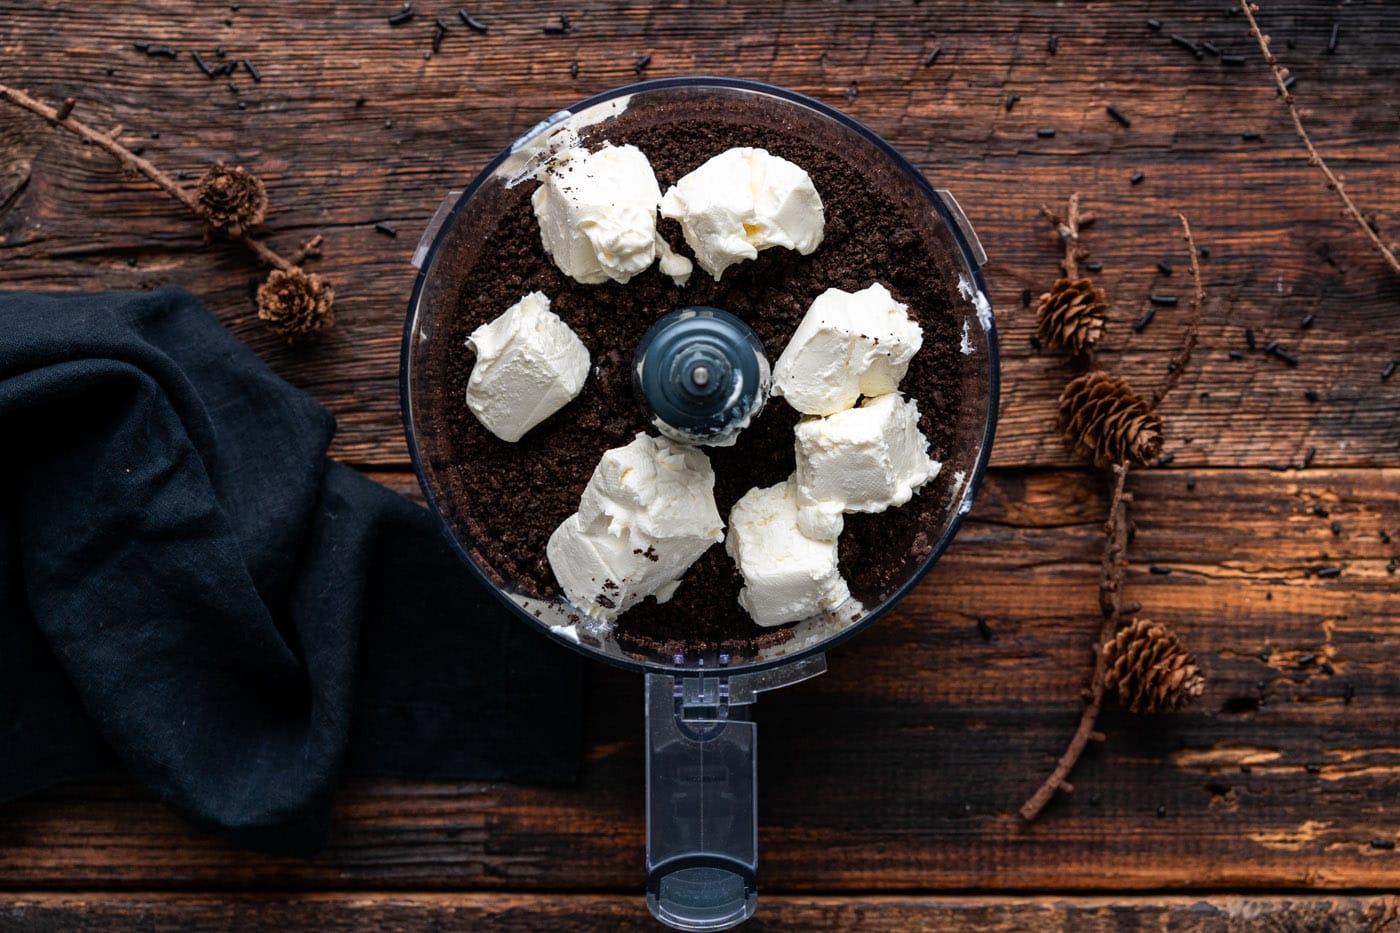
- Place the Oreos in the bowl of a food processor and pulverize into small crumbs.
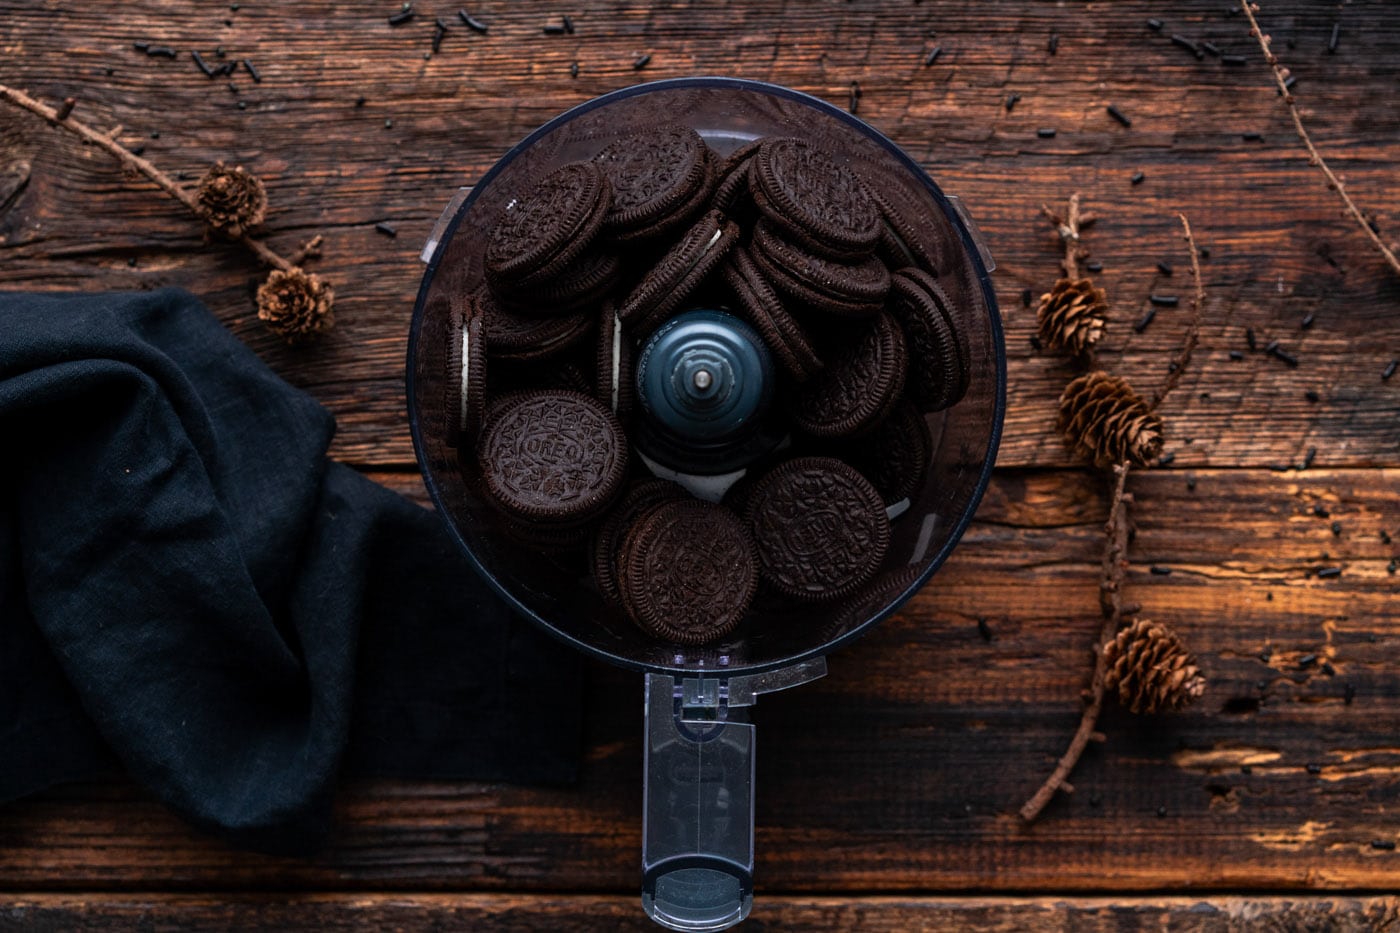
- Add the cream cheese into the food processor, and process until the mixture is fully combined and clumps into a “dough”.
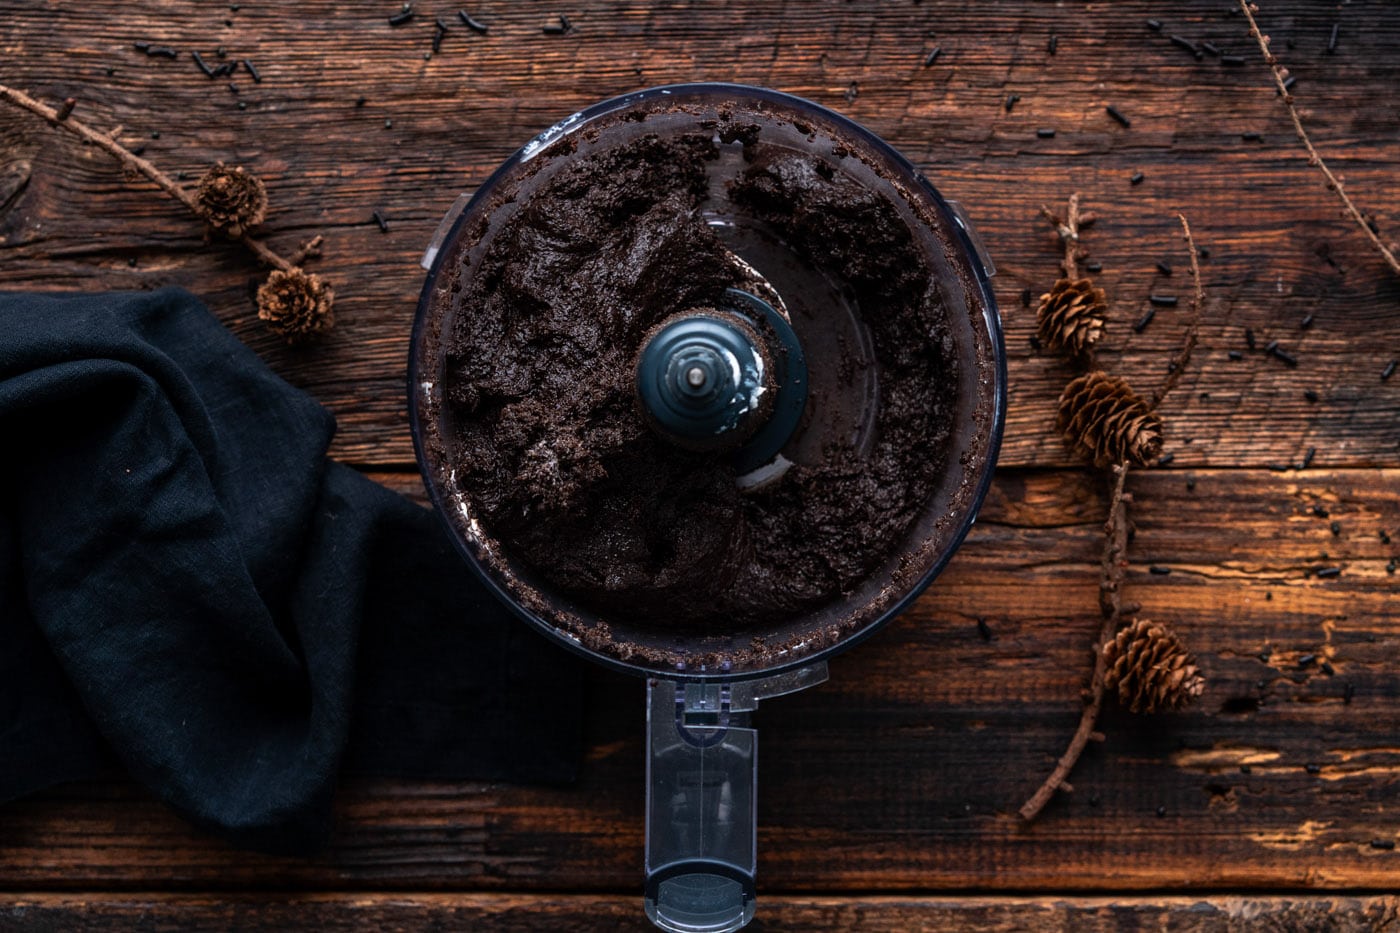
- Use a 1-tablespoon sized scoop to make balls of the mixture, and place each ball on a parchment paper-lined baking sheet.
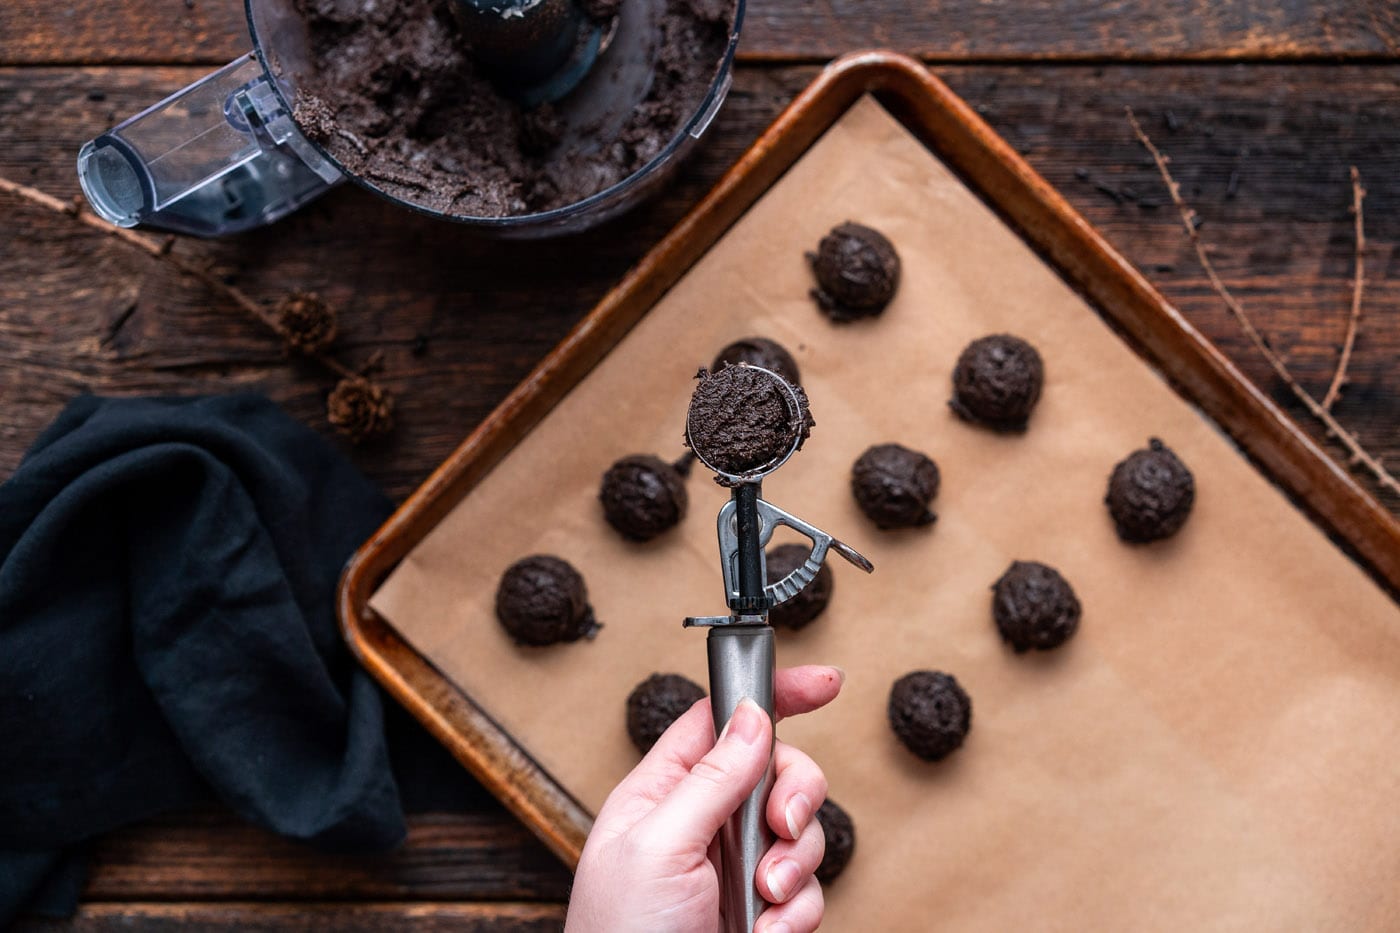
- Chill in the freezer for 10 minutes to firm the dough a bit.
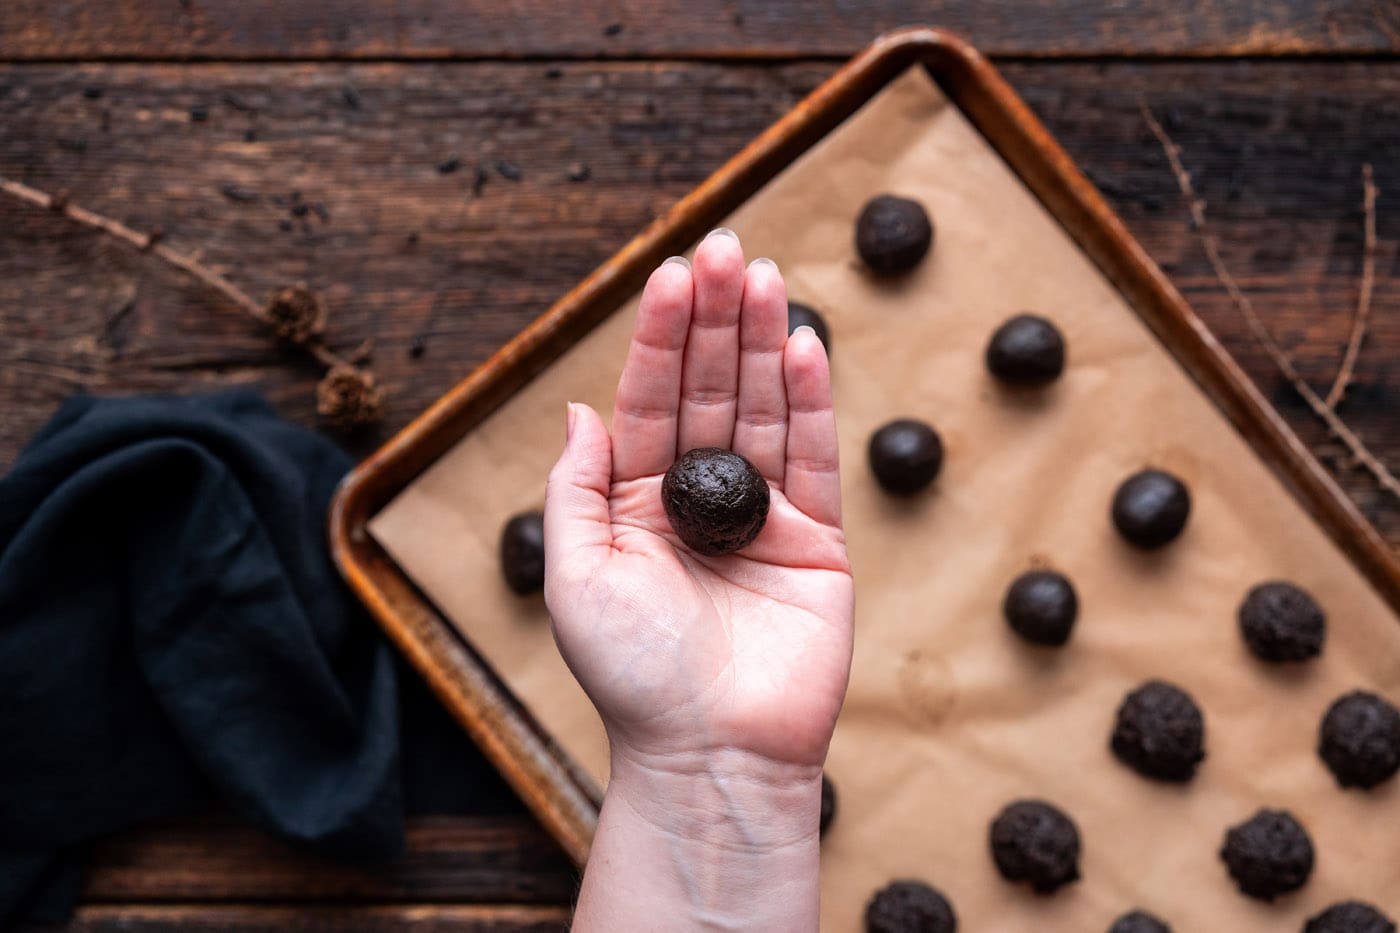
- Roll each ball between the palms of your hands to form a smooth ball. Place the tray back into the freezer for an additional 10 to 15 minutes, or in the refrigerator for about 30 minutes.
Mummy Oreo Truffles
- Put 8 ounces of white melting wafers in a microwave-safe bowl. Heat in 30-second increments, stirring between each interval, until the wafers are melted and smooth.
- Working with one ball at a time, dip into the melted white candy, turning it gently to coat completely. Use a fork to lift it out, tap off the excess coating, and place the coated ball on a baking sheet lined with clean parchment paper. Continue this way until all the mummy truffles are coated.
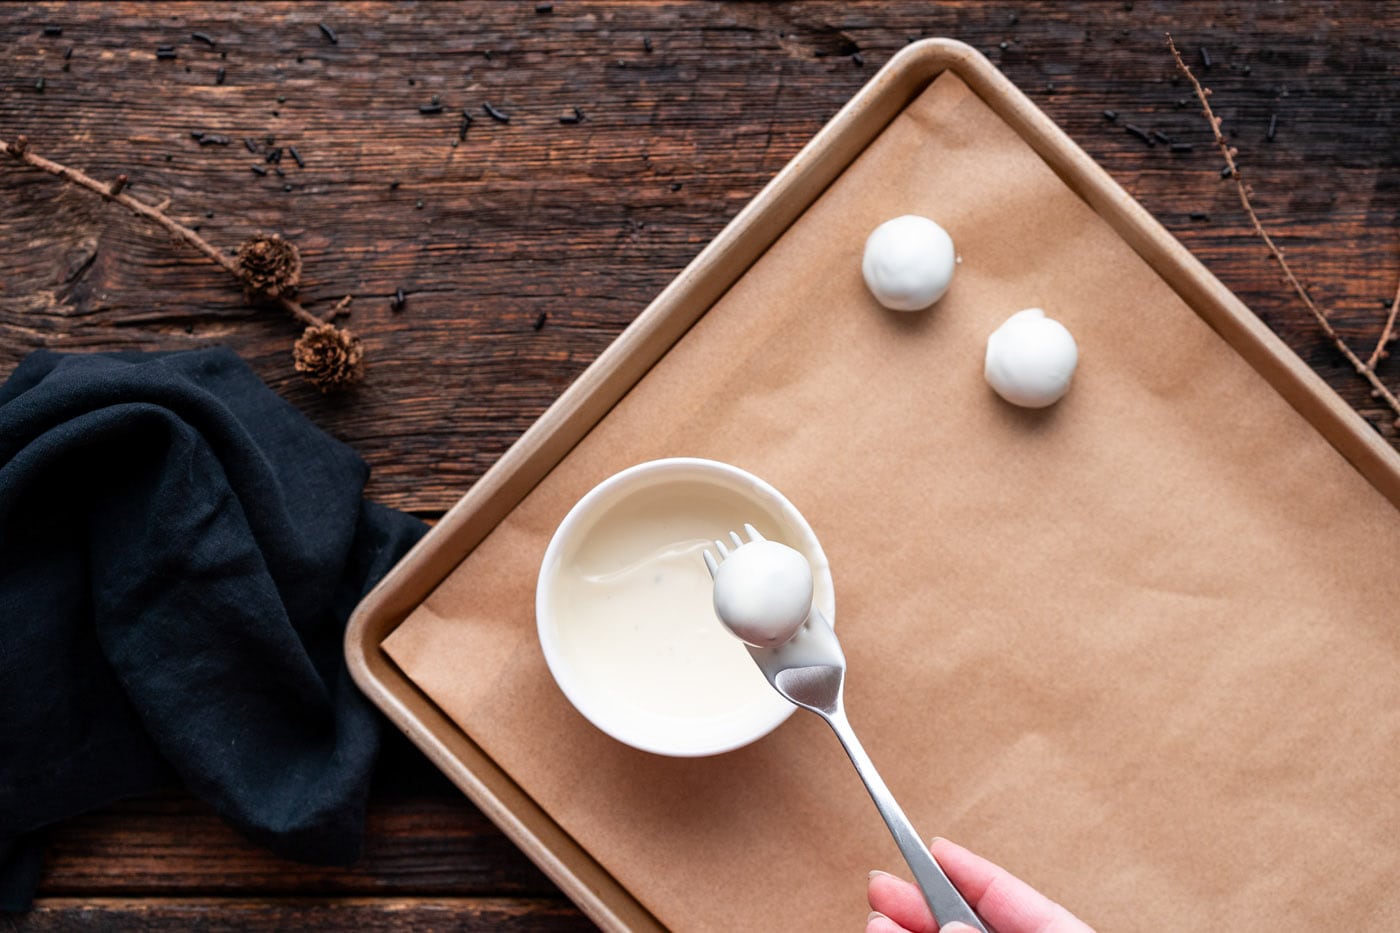
- Melt the remaining 2 ounces of white melting wafers the same way. Transfer the melted candy to a small zip-top bag, and snip off one corner of the bag. Working with one mummy truffle at a time, drizzle the white melted candy across one truffle to look like mummy bandages. Immediately put on 2 candy eyes.

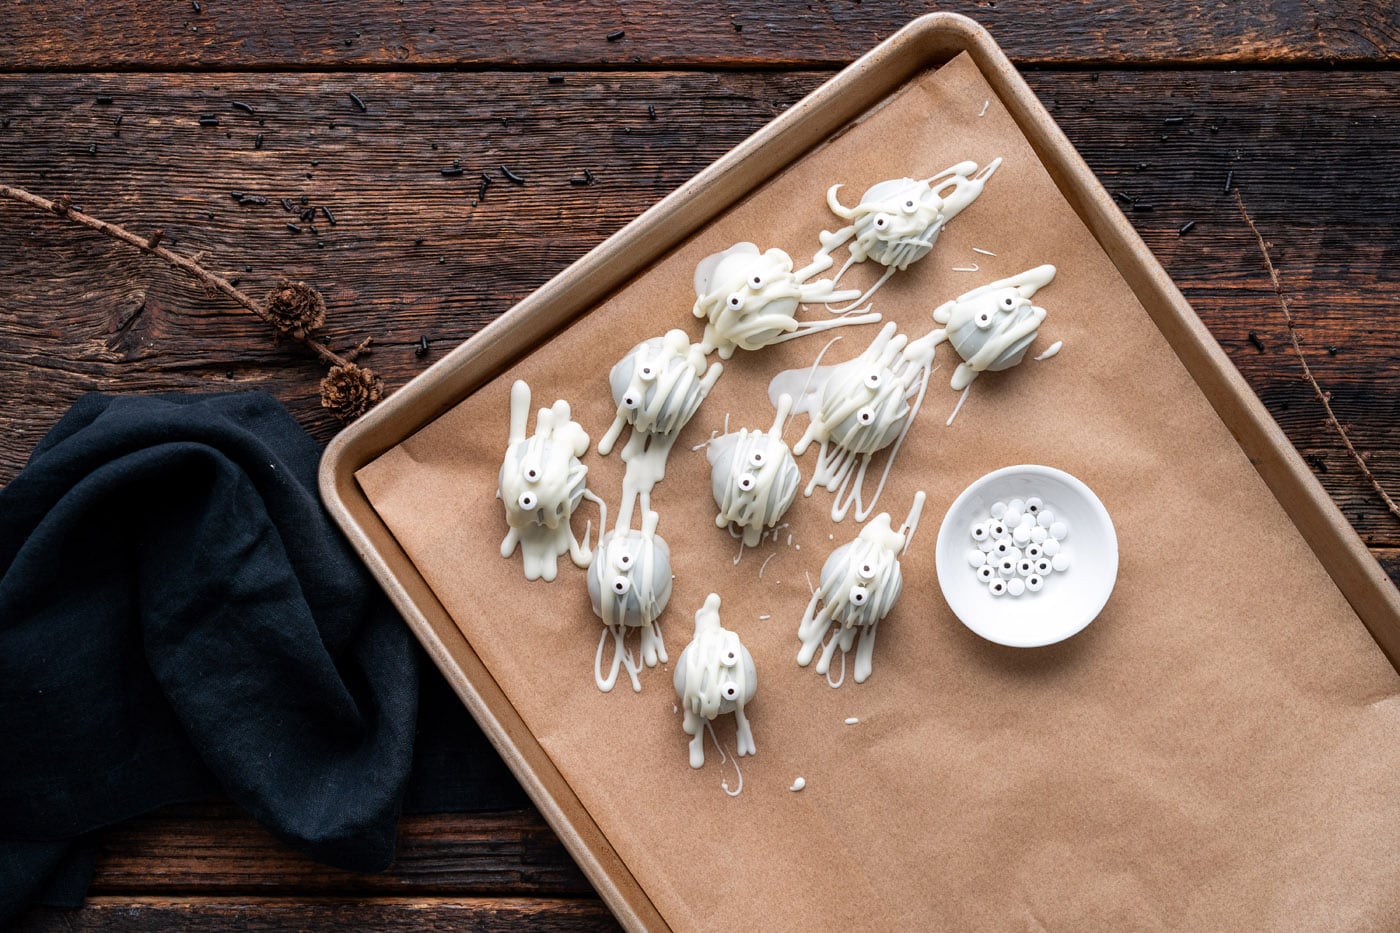
- Continue this way until all the mummy truffles are made.
Pumpkin Oreo Truffles
- Put the orange melting wafers in a microwave-safe bowl. Heat in 30-second increments, stirring between each interval, until the wafers are melted and smooth.
- Working with one ball at a time, dip the ball into the melted orange wafer, turning it gently to coat completely. Use a fork to lift it out and tap off the excess coating. Place the coated ball on a baking sheet lined with clean parchment paper.
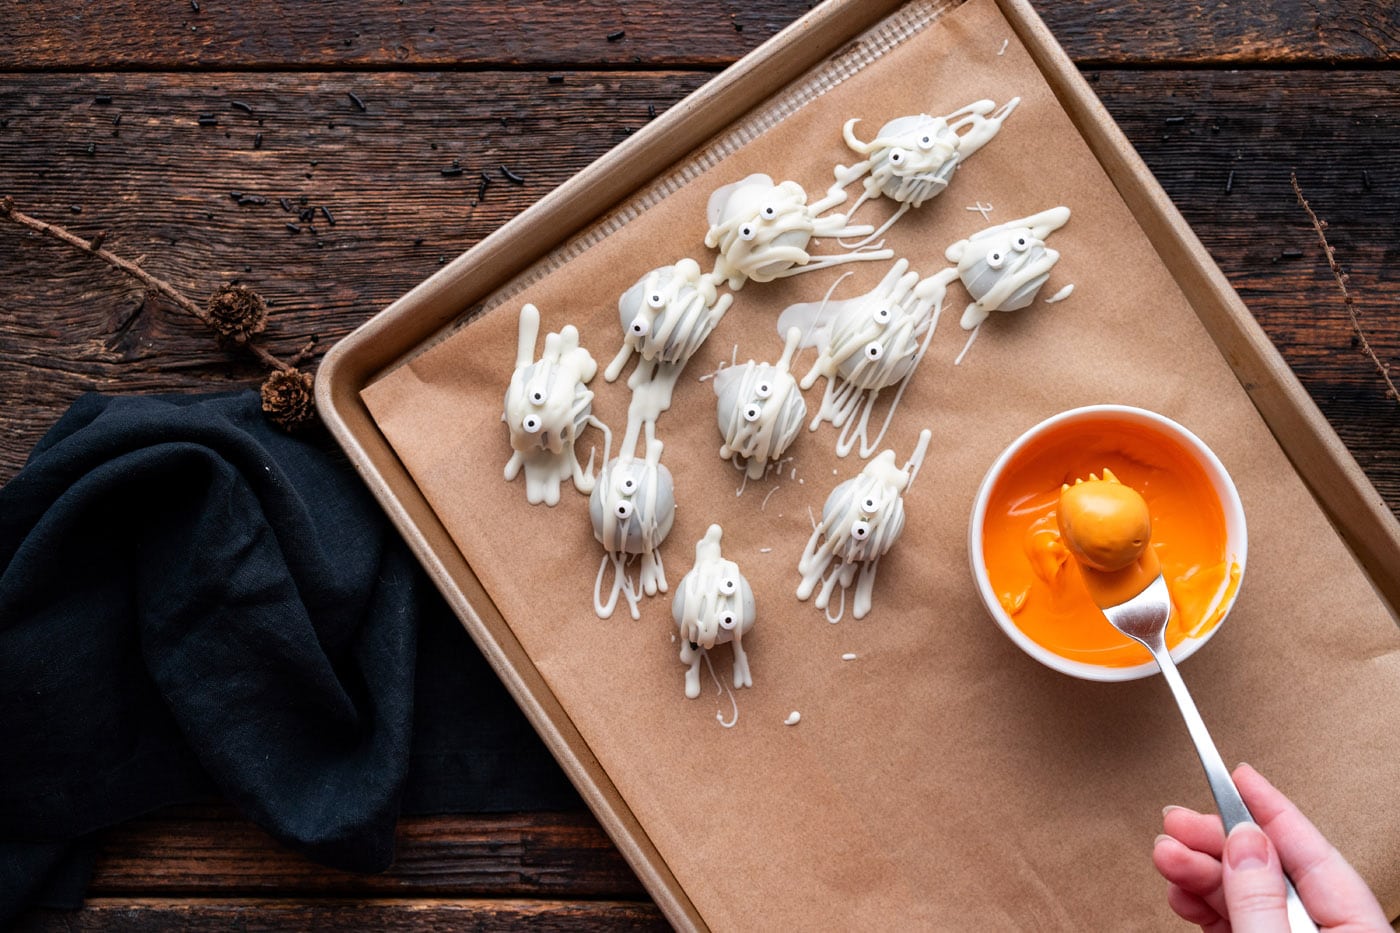
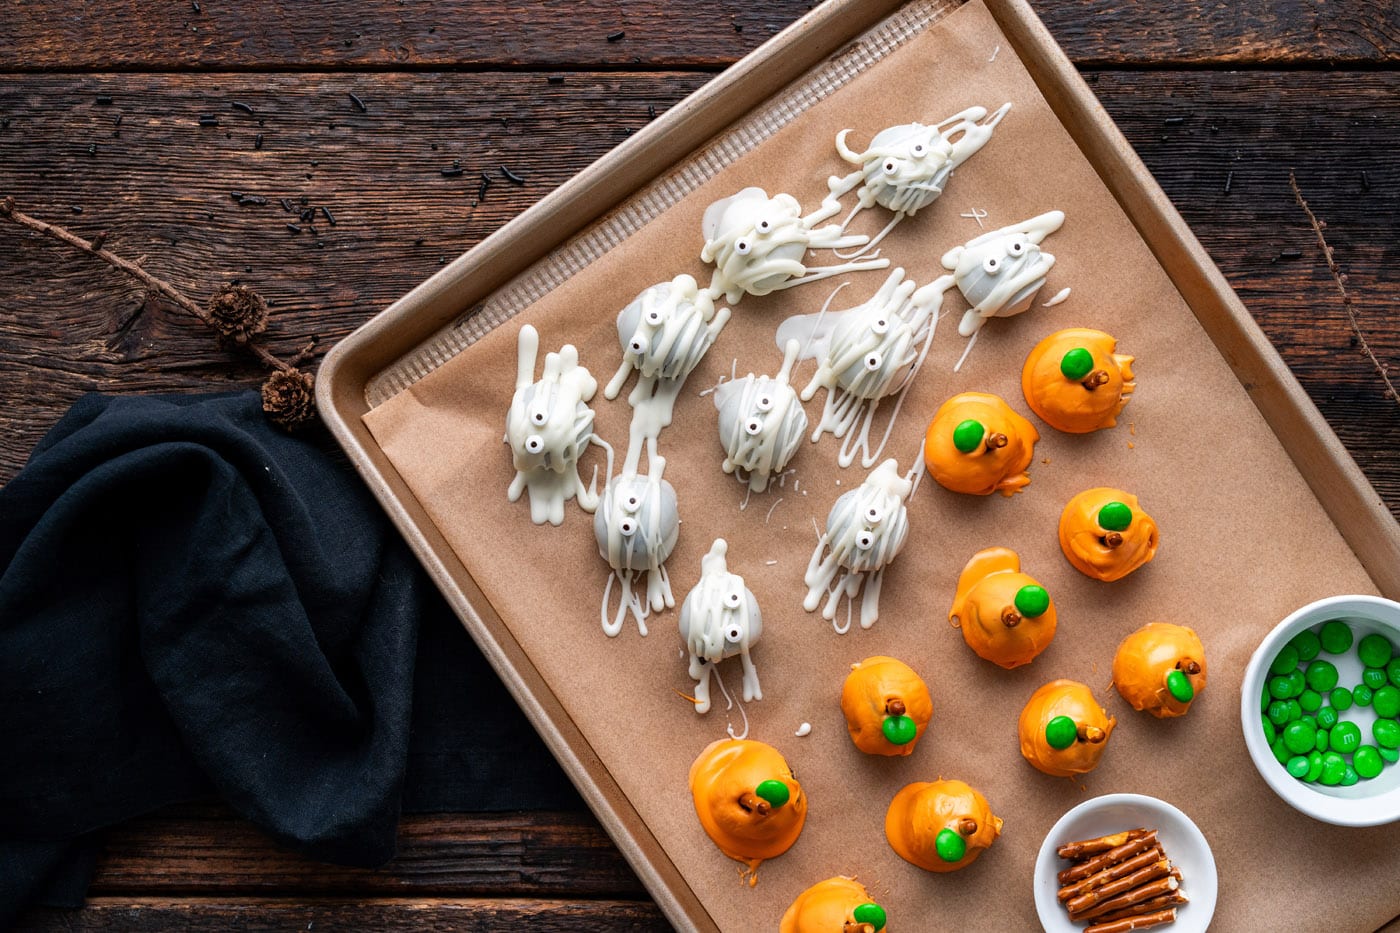
- Immediately insert half a small pretzel stick into the center of the truffle so a small part of it sticks out (for the pumpkin stem). Immediately place a green M&M next to the pretzel (for a leaf).
- Continue this way until all the pumpkin truffles are made.
Halloween Oreo Truffles
- Put 8 ounces of chocolate melting wafers in a microwave-safe bowl. Heat in 30-second increments, stirring between each interval, until the wafers are melted and smooth.
- Working with one ball at a time, dip the ball into the melted chocolate, turning it gently to coat completely. Use a fork to lift it out, tap off the excess coating, and place the coated ball on a baking sheet lined with parchment paper.

- Once coated, immediately top with assorted Halloween sprinkles.

- Continue this way until all the Halloween truffles are made.
Frequently Asked Questions & Expert Tips
Store the Halloween Oreo balls in an air-tight container layered between pieces of parchment paper. Store in the refrigerator for up to 2 weeks. They must be refrigerated as they contain cream cheese. However, do note that they will develop condensation when removed from the fridge. This won’t affect the truffles themselves.
Yes, you can freeze Oreo truffles. You have two options of doing so – freeze the balls without the chocolate coating, or freeze them with the chocolate coating. For freezing the balls without the coating, place them on a baking sheet and flash-freeze them until solid. This way they don’t stick together. Once solid, transfer them to a large ziptop bag and freeze for up to 3 months. To freeze with the coating, allow the chocolate to fully set before transferring to a large ziptop bag or air-tight container. Freeze for up to 3 months. Freeze carefully to avoid messing up any of your decorating!
Yes, absolutely. You can prepare them a day in advance and store in the refrigerator in an air-tight container until you are ready to serve.

Serving Suggestions
You can have fun with these Halloween Oreo truffles and decorate them however you want. Candy eyeballs, nonpareils or other Halloween-themed sprinkles, as well as purple, orange, or green melted candy wafers drizzled on top would be fun ideas to implement!
Candy melting wafer coating hardens quite quickly, so I recommend decorating the truffles as you go so that the decorations stick. However, there is a fix for the mummy truffles; if you wait too long to add the mummy eyes, you can always add a tiny bit of melted candy on the back of each eyeball (as “glue”) and then place them on the truffles.
Serve on a platter or on a tiered tray for Halloween parties. They’d also be a fun recipe to make with the kids or friends and family!
More Halloween Recipes
- Monster Cupcakes
- Halloween Dirt Cups
- Witch Finger Cookies
- Halloween Candy Apples
- Cheese and Pretzel Broomsticks
- Mini Candy Corn Cheesecakes
I love to bake and cook and share my kitchen experience with all of you! Remembering to come back each day can be tough, that’s why I offer a convenient newsletter every time a new recipe posts. Simply subscribe and start receiving your free daily recipes!

Halloween Oreo Truffles
IMPORTANT – There are often Frequently Asked Questions within the blog post that you may find helpful. Simply scroll back up to read them!
Print It Rate ItIngredients
- 36 Oreo cookies regular stuffed, filling included
- 8 ounces cream cheese softened at room temp
Pumpkin Truffles
- 8 ounces orange melting wafers
- 5 small pretzel sticks each halved for a total of 10 sticks
- 10 green M&M's
Mummy Truffles
- 10 ounces white melting wafers divided into 8 ounces and 2 ounces
- 20 small candy eyeballs
Halloween Sprinkle Truffles
- 8 ounces chocolate melting wafers
- assorted Halloween sprinkles in orange, green, purple, and white
Things You’ll Need
Before You Begin
- You will need 36 regular (not double stuffed) Oreo sandwich cookies, filling included. The filling lends moisture to the mixture. You can easily substitute with golden Oreos or other flavors as you wish.
- If you melt all the melting wafers at the same time, they will likely harden before you’re done making the first type of truffles. Work on one type of truffle at a time, and then move on to the next.
- Candy melting wafer coating hardens quite quickly, so I recommend decorating the truffles as you go so that the decorations stick. However, there is a fix for the mummy truffles; if you wait too long to add the mummy eyes, you can always add a tiny bit of melted candy on the back of each eyeball (as “glue”) and then place them on the truffles.
- The orange candy melts are a bit harder to work with than white melting wafers, and especially chocolate melting wafers, as it doesn’t melt quite as smoothly. If you need to, you can add a little bit of shortening or coconut oil (about 1 teaspoon per 8 ounces of melting wafers) to help thin it out.
- STORING – Store the Halloween Oreo balls in an air-tight container layered between pieces of parchment paper. Store in the refrigerator for up to 2 weeks. They must be refrigerated as they contain cream cheese, however, do note that they will develop condensation when removed from the fridge. This won’t affect the truffles themselves.
- You can prepare them a day or two in advance and store them in the refrigerator in an air-tight container until you are ready to serve.
Instructions
- Place the Oreos in the bowl of a food processor and pulverize into small crumbs.
- Add the cream cheese into the food processor, and process until the mixture is fully combined and clumps into a “dough”.
- Use a 1-tablespoon sized scoop to make balls of the mixture, and place each ball on a parchment paper-lined baking sheet.
- Chill in the freezer for 10 minutes to firm the dough a bit.
- Roll each ball between the palms of your hands to form a smooth ball. Place the tray back into the freezer for an additional 10 to 15 minutes, or in the refrigerator for about 30 minutes.
To Make the Pumpkin Truffles
- Put the orange melting wafers in a microwave-safe bowl and heat in 30-second increments, stirring between each interval, until the wafers are melted and smooth.
- Working with one ball at a time, dip the firm ball into the melted orange wafer candy, turning it gently to coat completely. Use a fork to lift it out, tap off the excess coating, and place the coated ball on a baking sheet lined with clean parchment paper.
- Immediately insert half a small pretzel stick into the center of the truffle so a small part of it sticks out (for the pumpkin stem). Immediately place a green M&M next to the pretzel (for a leaf).
- Continue this way until all the pumpkin truffles are made.
To Make the Mummy Truffles
- Put 8 ounces of white melting wafers in a microwave-safe bowl and heat in 30-second increments, stirring between each interval, until the wafers are melted and smooth.
- Working with one ball at a time, place the firm ball into the melted white wafer candy, turning it gently to coat completely. Use a fork to lift it out, tap off the excess coating, and place the coated ball on a baking sheet lined with clean parchment paper. Continue this way until all the mummy truffles are coated.
- Melt the remaining 2 ounces of white melting wafers the same way. Transfer the melted candy to a small zip-top bag, and snip off one corner of the bag. Working with one mummy truffle at a time, drizzle the white melted candy across one truffle to look like mummy bandages, and immediately put on 2 candy eyes.
- Continue this way until all the mummy truffles are made.
To Make the Halloween Sprinkle Truffles
- Put 8 ounces of chocolate melting wafers in a microwave-safe bowl and heat in 30-second increments, stirring between each interval, until the wafers are melted and smooth.
- Working with one ball at a time, dip the firm ball into the melted chocolate wafer candy, turning it gently to coat completely. Use a fork to lift it out, tap off the excess coating, and place the coated ball on a baking sheet lined with clean parchment paper.
- Once coated, immediately top with assorted Halloween sprinkles.
- Continue this way until all the Halloween truffles are made.
Nutrition
Kristen Rittmer
Latest posts by Kristen Rittmer (see all)
- Chicken Pot Pie Pasta - January 15, 2025
- Butterscotch Brownies - January 8, 2025
- Instant Pot Split Pea Soup - December 25, 2024






Leave a Reply