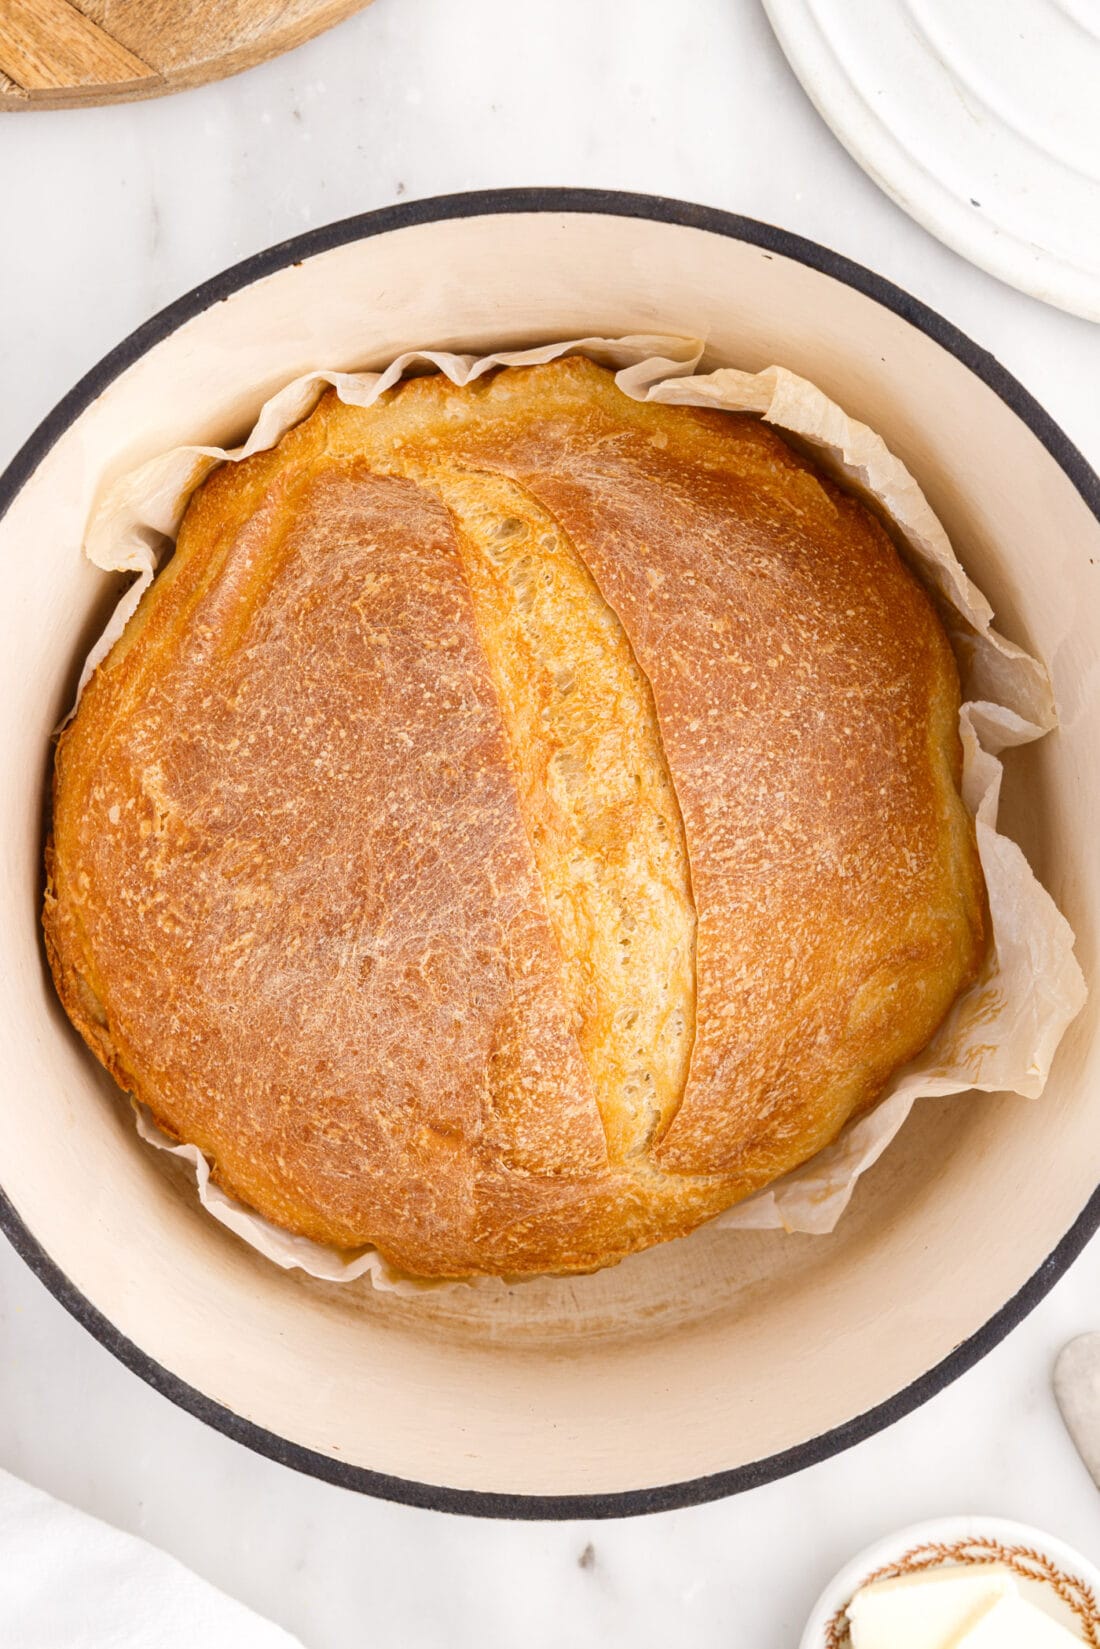
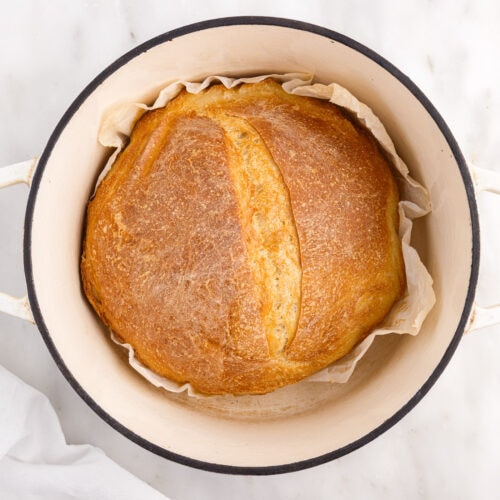
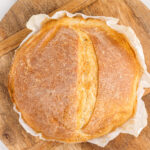
This easy dutch oven bread recipe only requires 4 ingredients to yield a gorgeous golden brown-crusted artisan loaf with a delicate crumb.
Why this recipe works
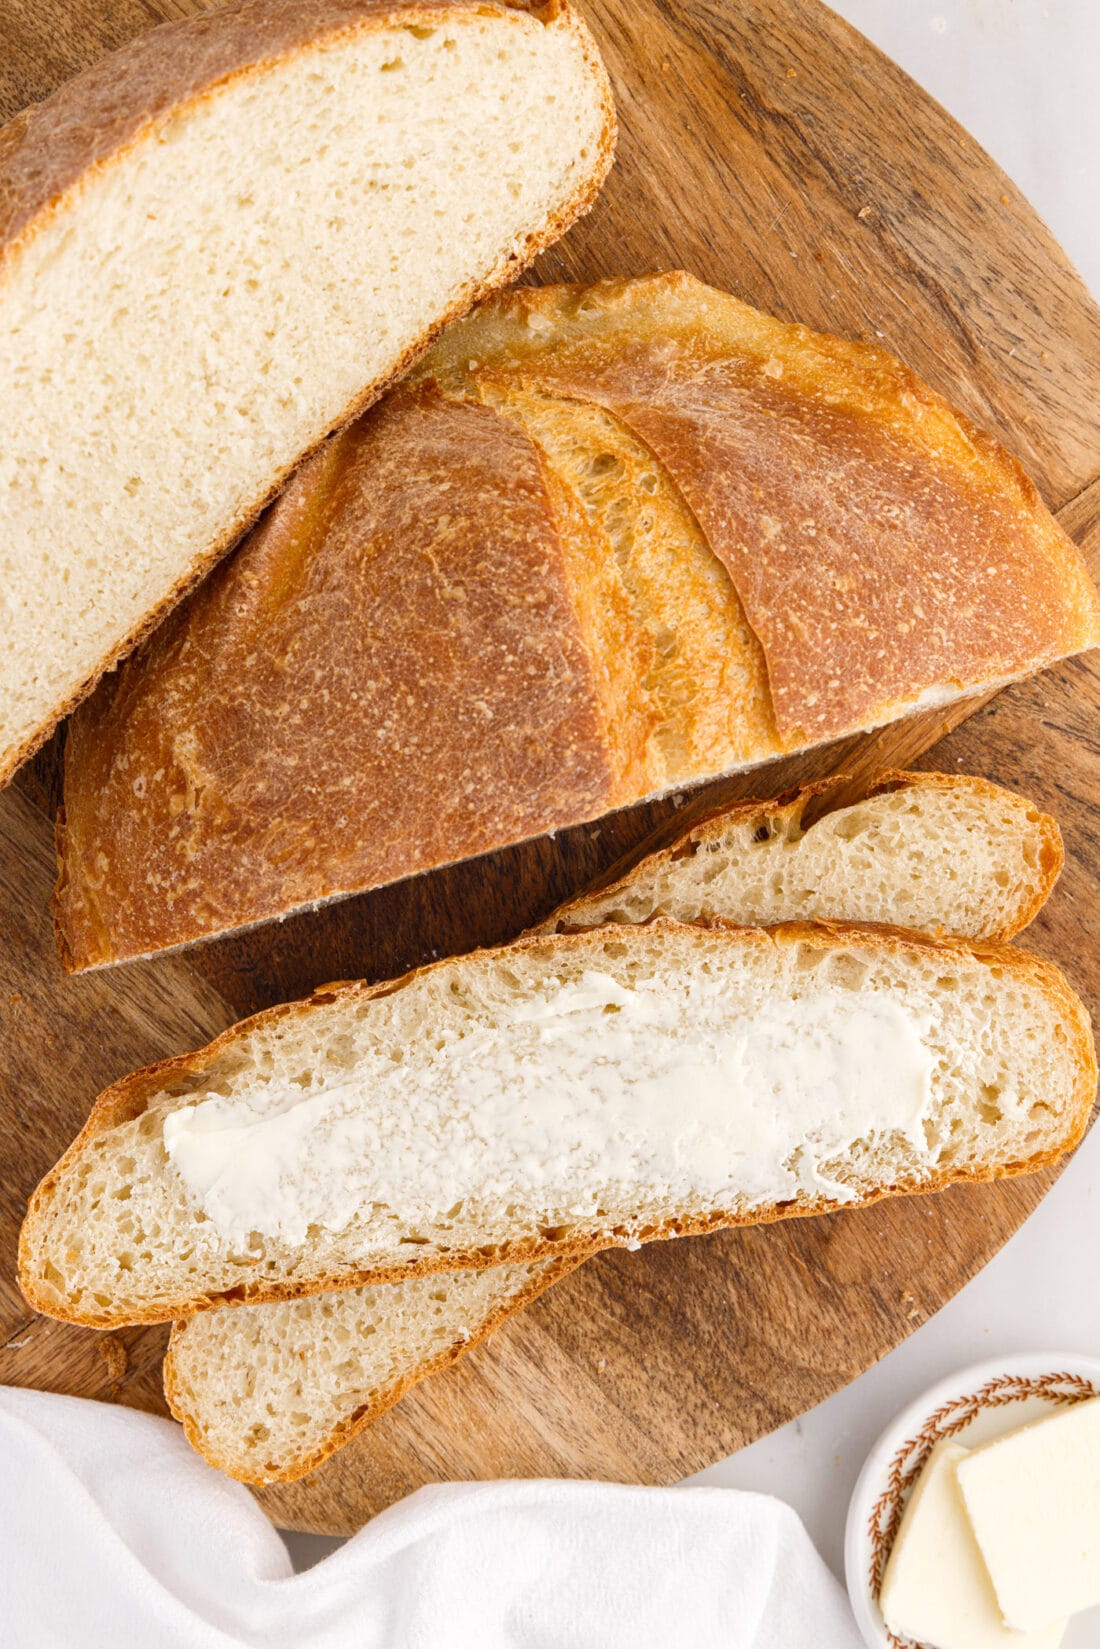
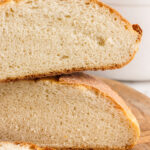
Dutch oven bread has a soft interior with a crackly crisp crust on the exterior. This artisan bread has the best of both worlds – and it only takes around 4 hours from start to finish and less than a handful of ingredients to whip together with the basics of flour, salt, yeast, and water.
So, why bake bread in a dutch oven? Well, a dutch oven is an excellent conductor of heat. It works to trap the moisture inside the pot while the bread bakes, providing it with the perfect environment to rise properly. Essentially, you are baking your bread with steam when using a dutch oven, as opposed to baking it on a pan in the oven as we do in our homemade Italian bread recipe.
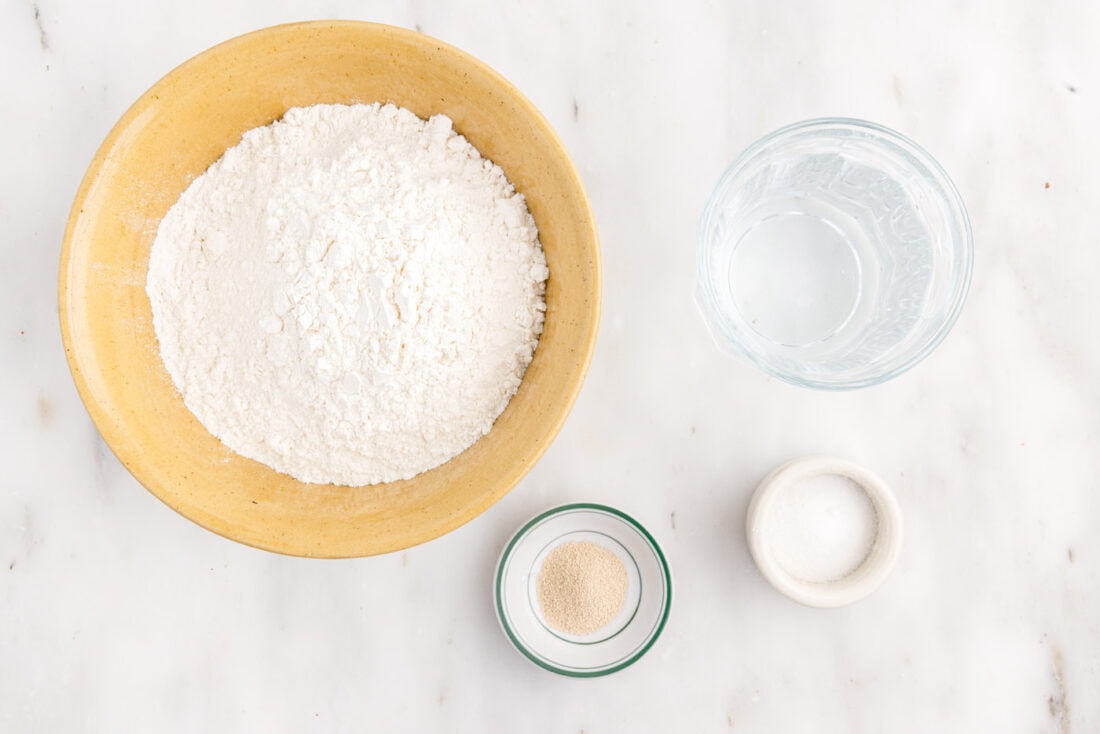
Ingredients you will need
Get all measurements, ingredients, and instructions in the printable version at the end of this post.
Ingredient Info and Substitution Suggestions
WATER – Lukewarm water is fine. The temperature should be around 100 degrees F. If the water is too hot it will kill the yeast, and too cold of water will delay the rise process.
SALT – The salt is important for seasoning the bread – it will taste a bit flat if you don’t add enough salt to the dough.
How to Make Dutch Oven Bread
These step by step photos and instructions are here to help you visualize how to make this recipe. You can Jump to Recipe to get the printable version of this recipe, complete with measurements and instructions at the bottom.
- In the bowl of a standing mixer, whisk together the flour, salt, and yeast until combined.
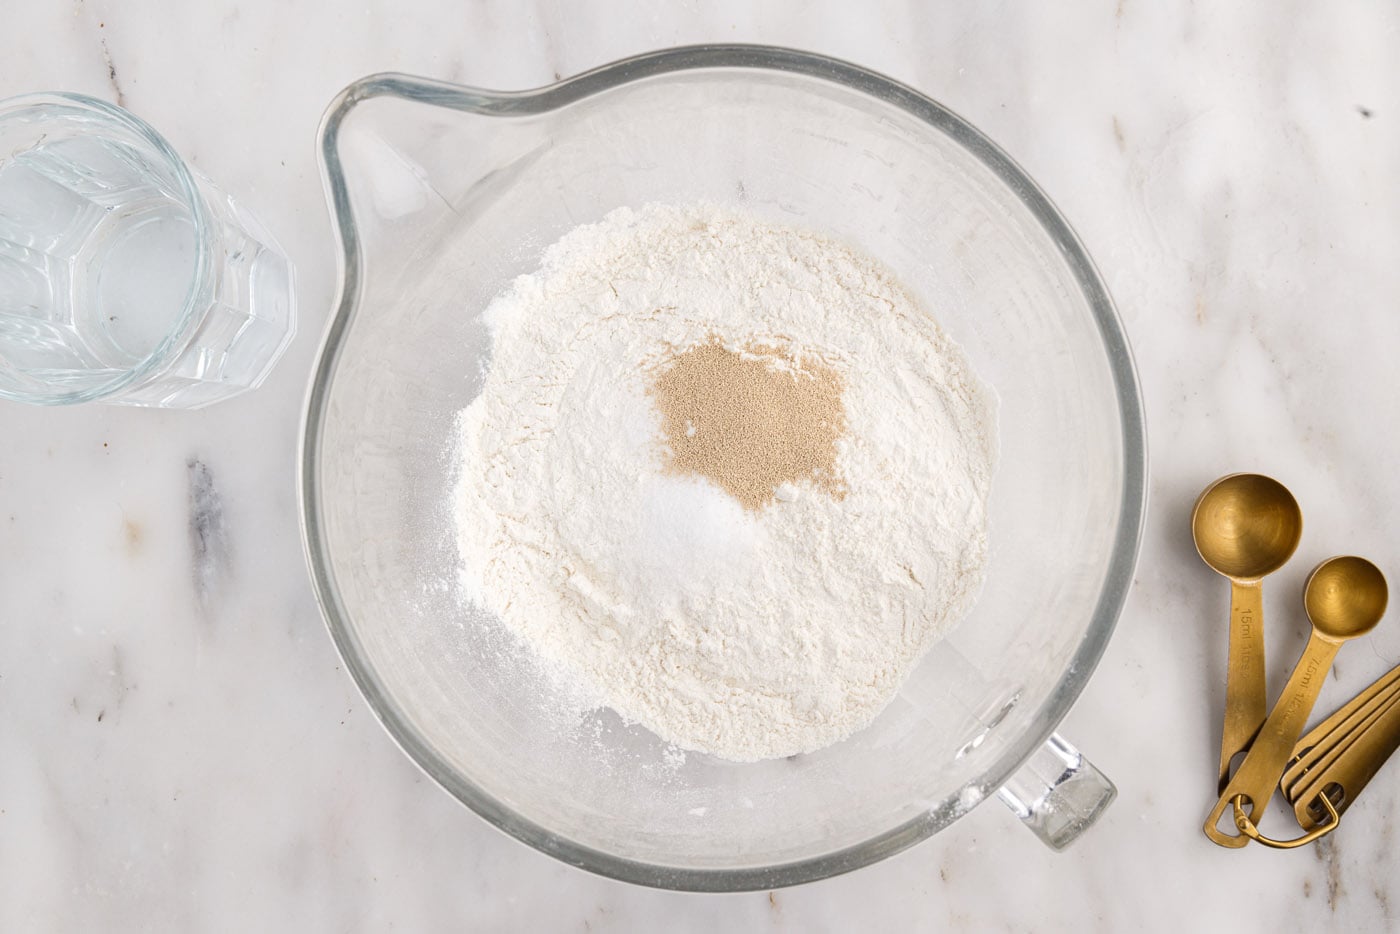
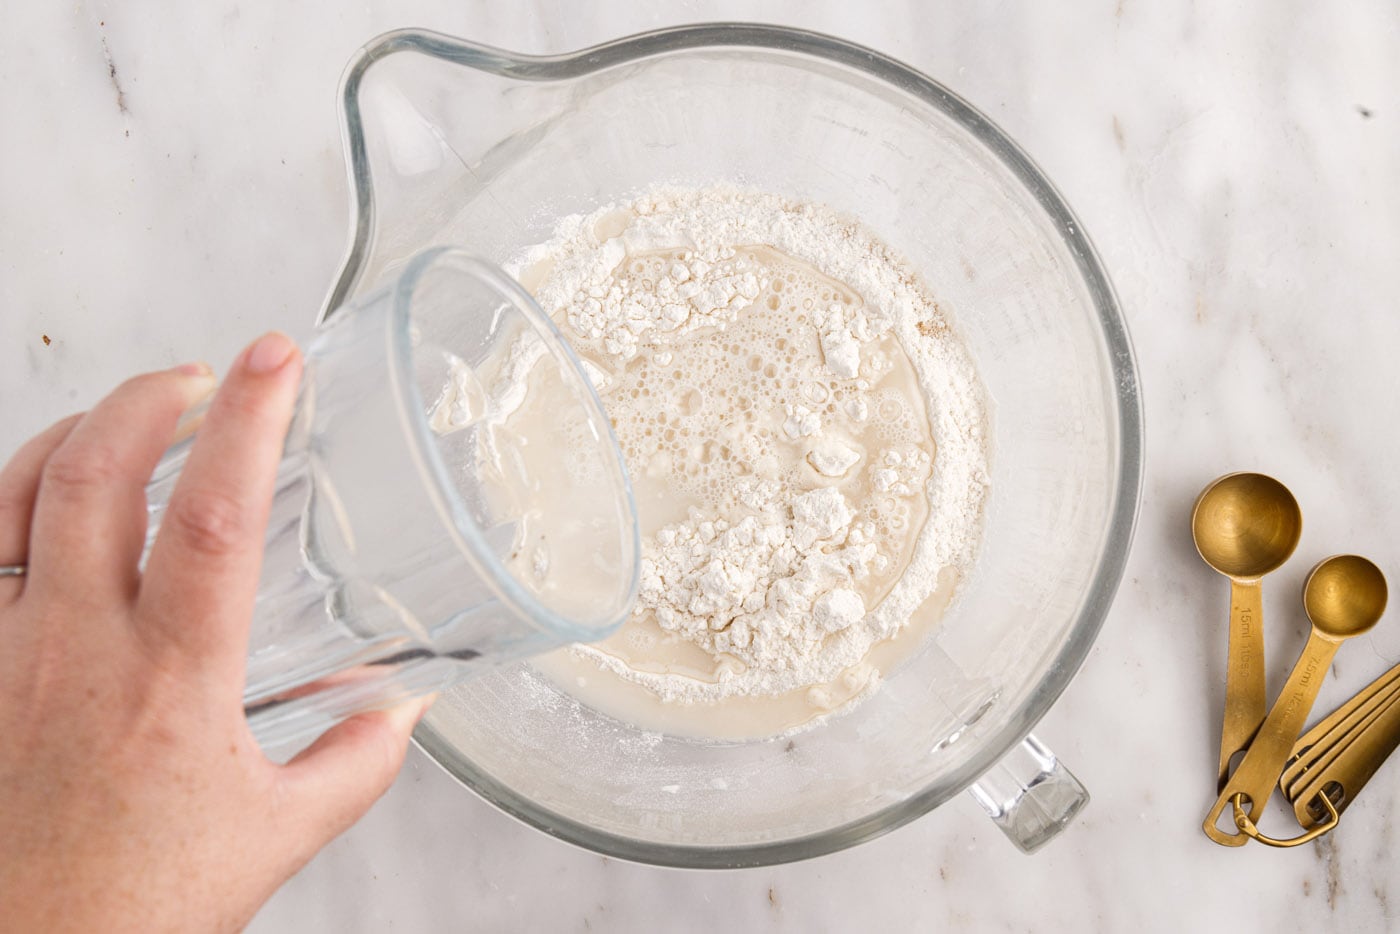
- Add the water to the flour mixture and beat to combine. Use the bread hook attachment on the mixer to mix dough on medium-high speed for 3-4 minutes, until the dough becomes elasticized and wraps into a ball around the hook.
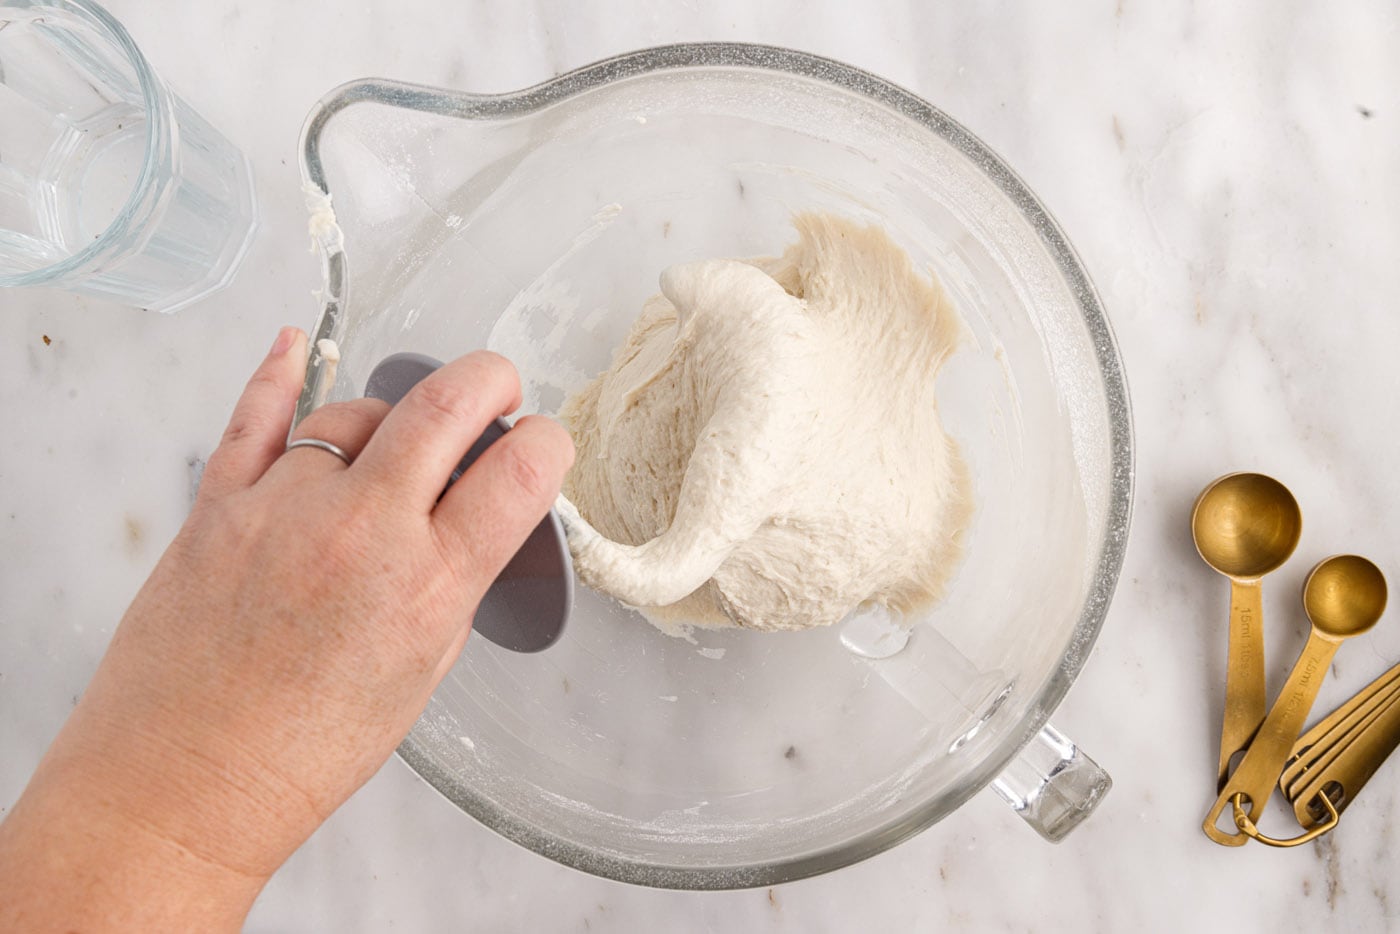
- Scrape the dough from the hook and use a spatula or floured hands to form the dough into a ball.
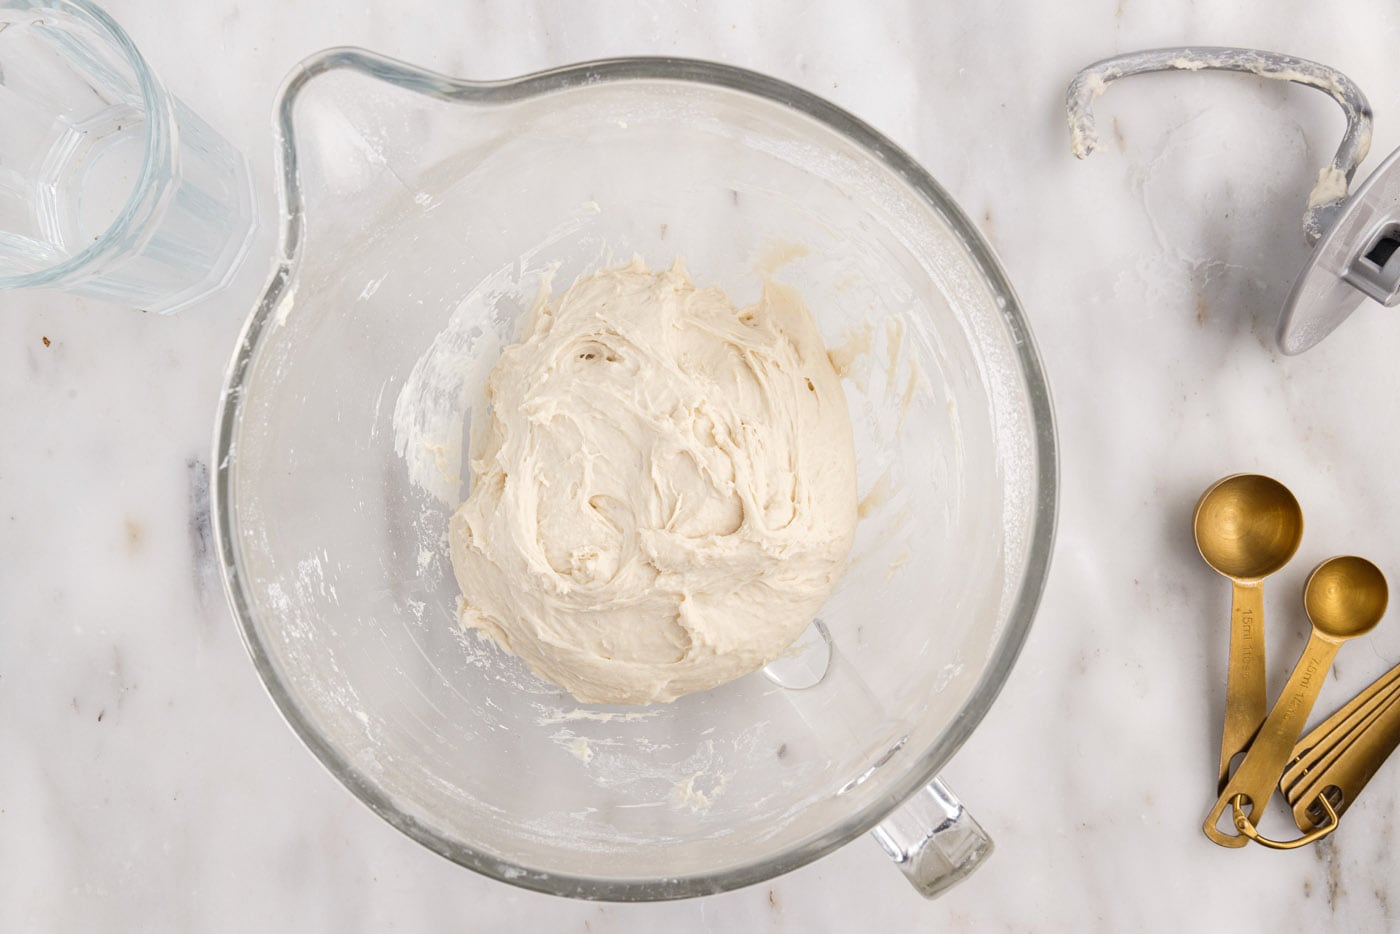
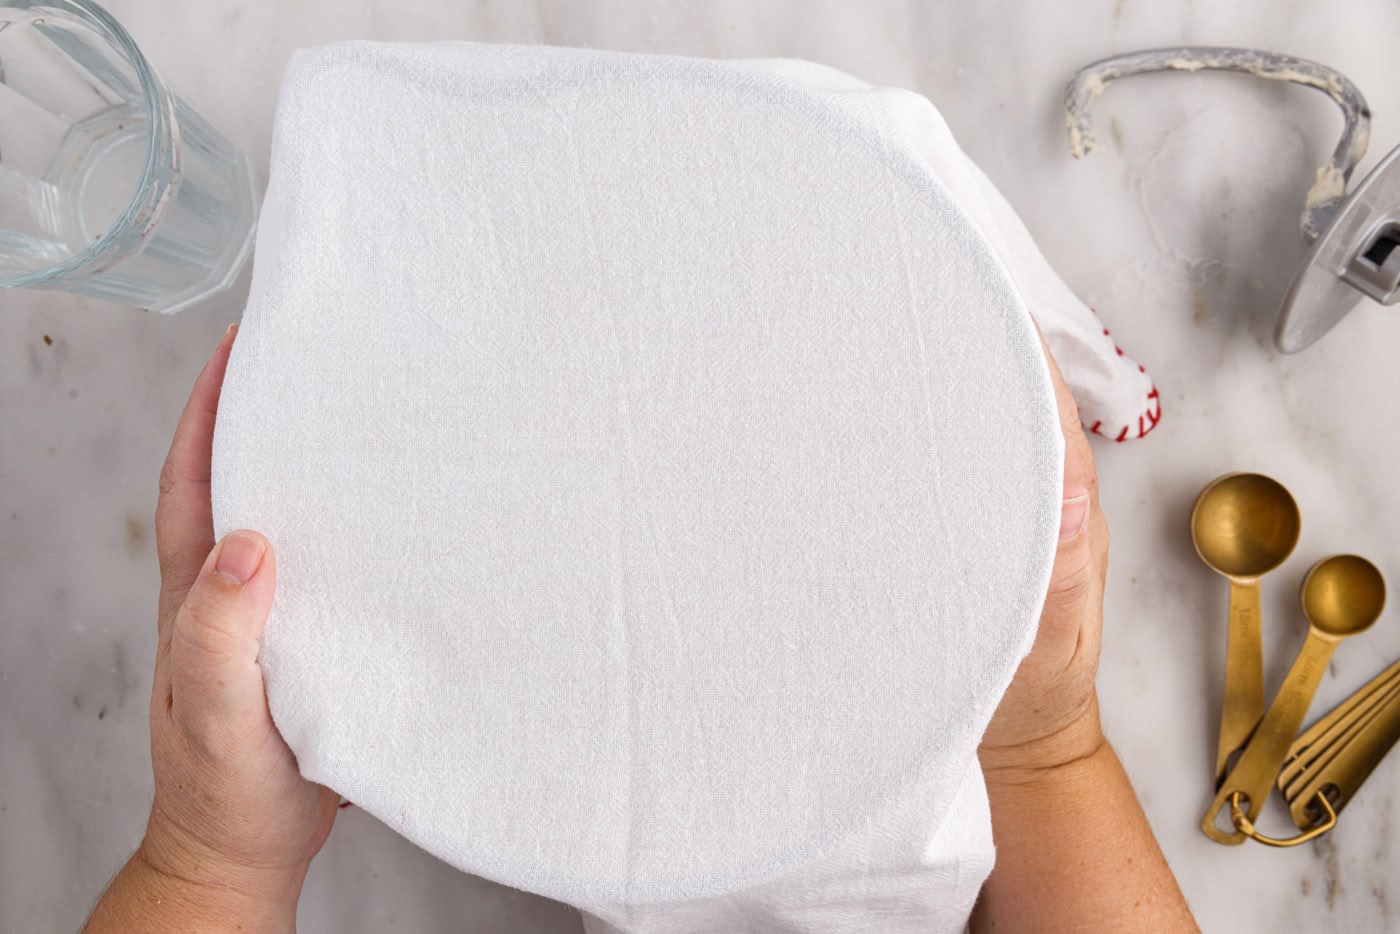
- Place in the bottom of the bowl, cover with a light kitchen towel and set in a warm, draft-free location to rise for about 2 hours.
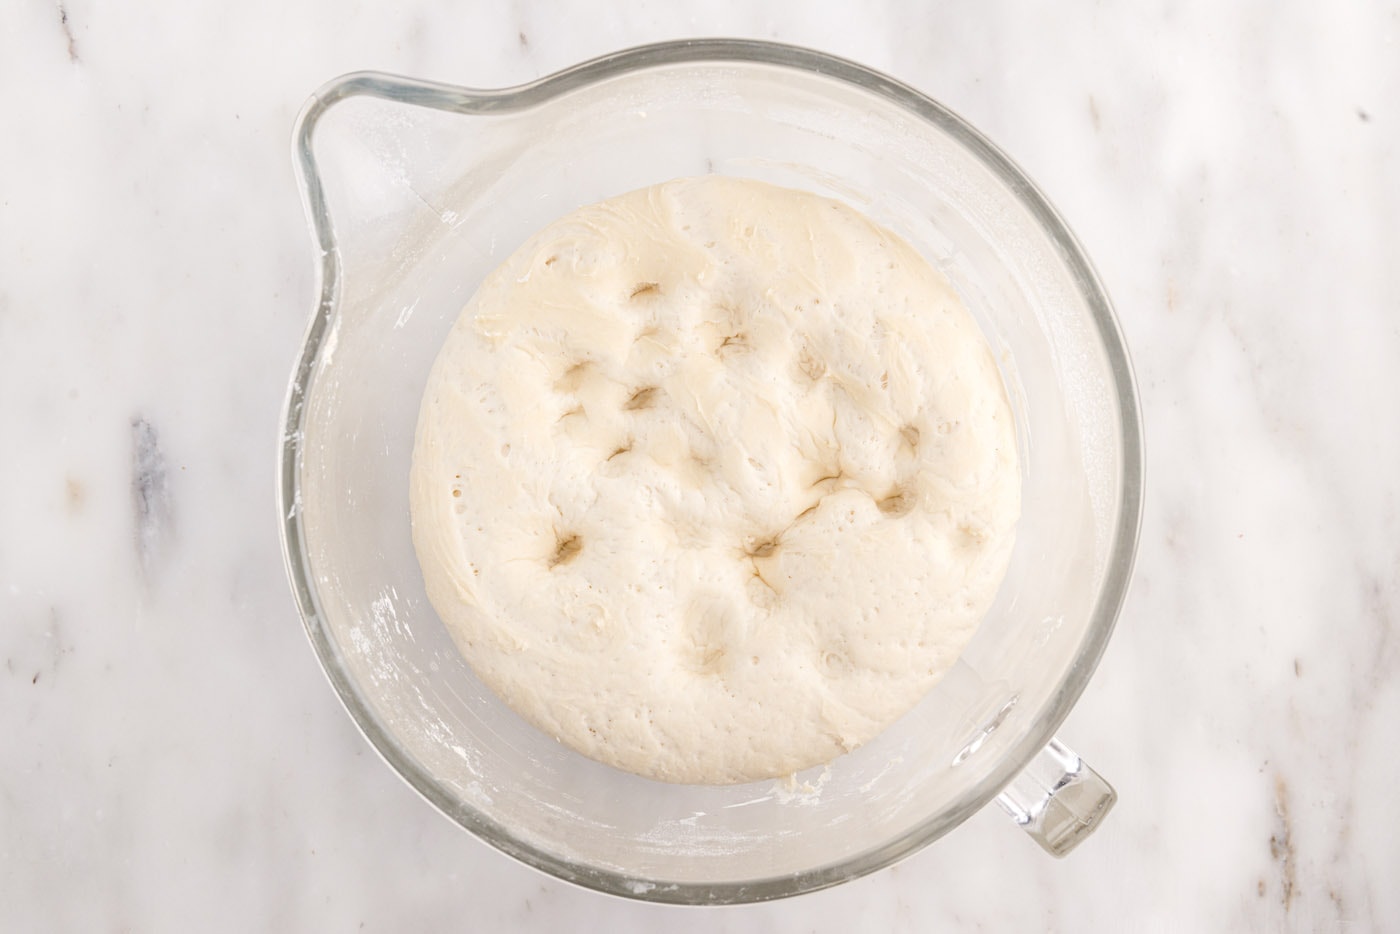
- After 2 hours, poke your fingers into the bread to deflate it and then turn it out onto a lightly floured board.
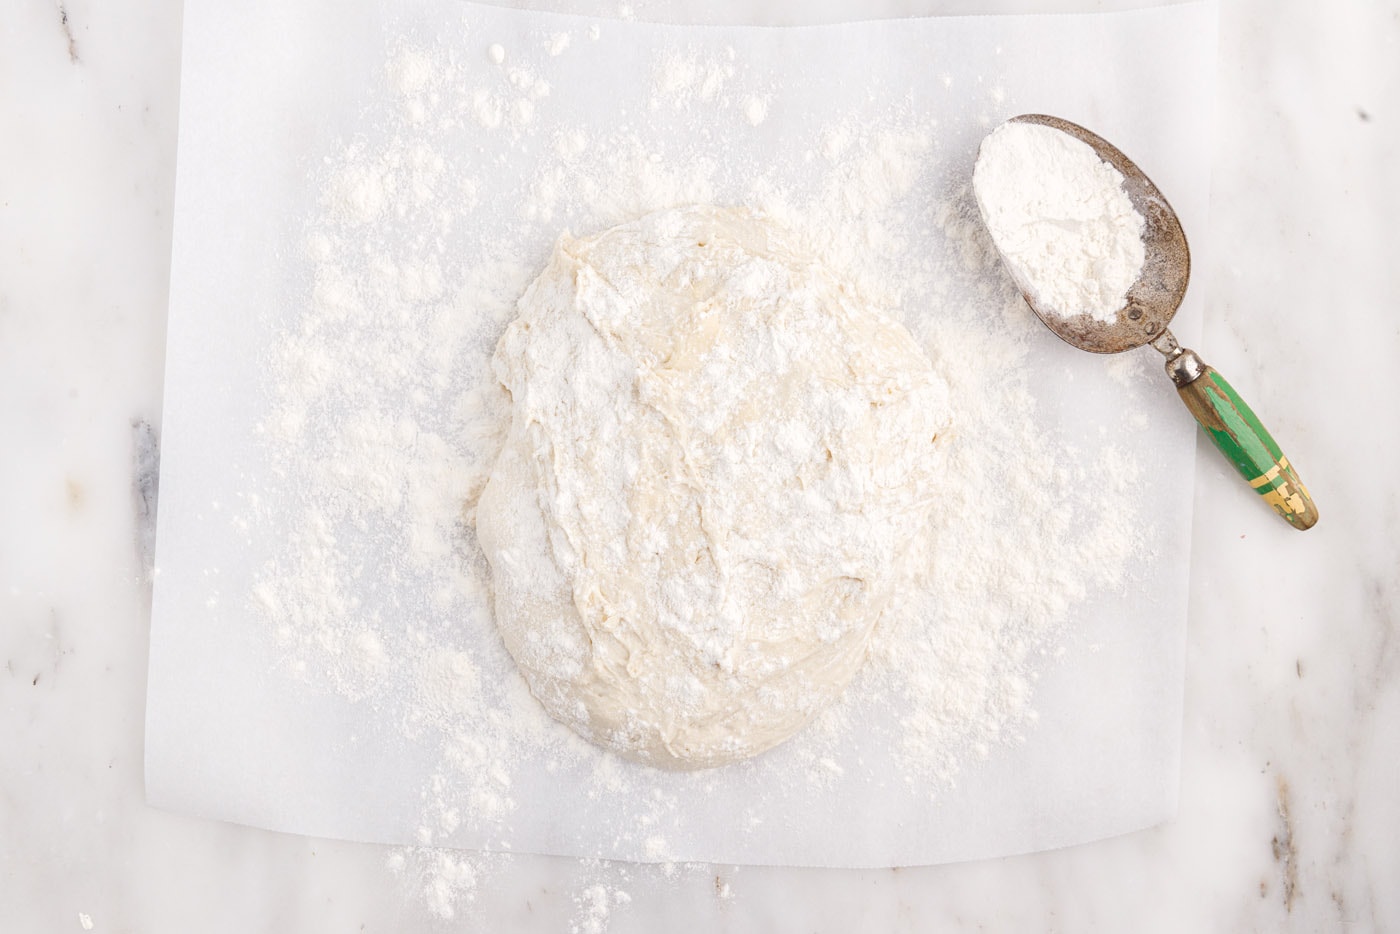
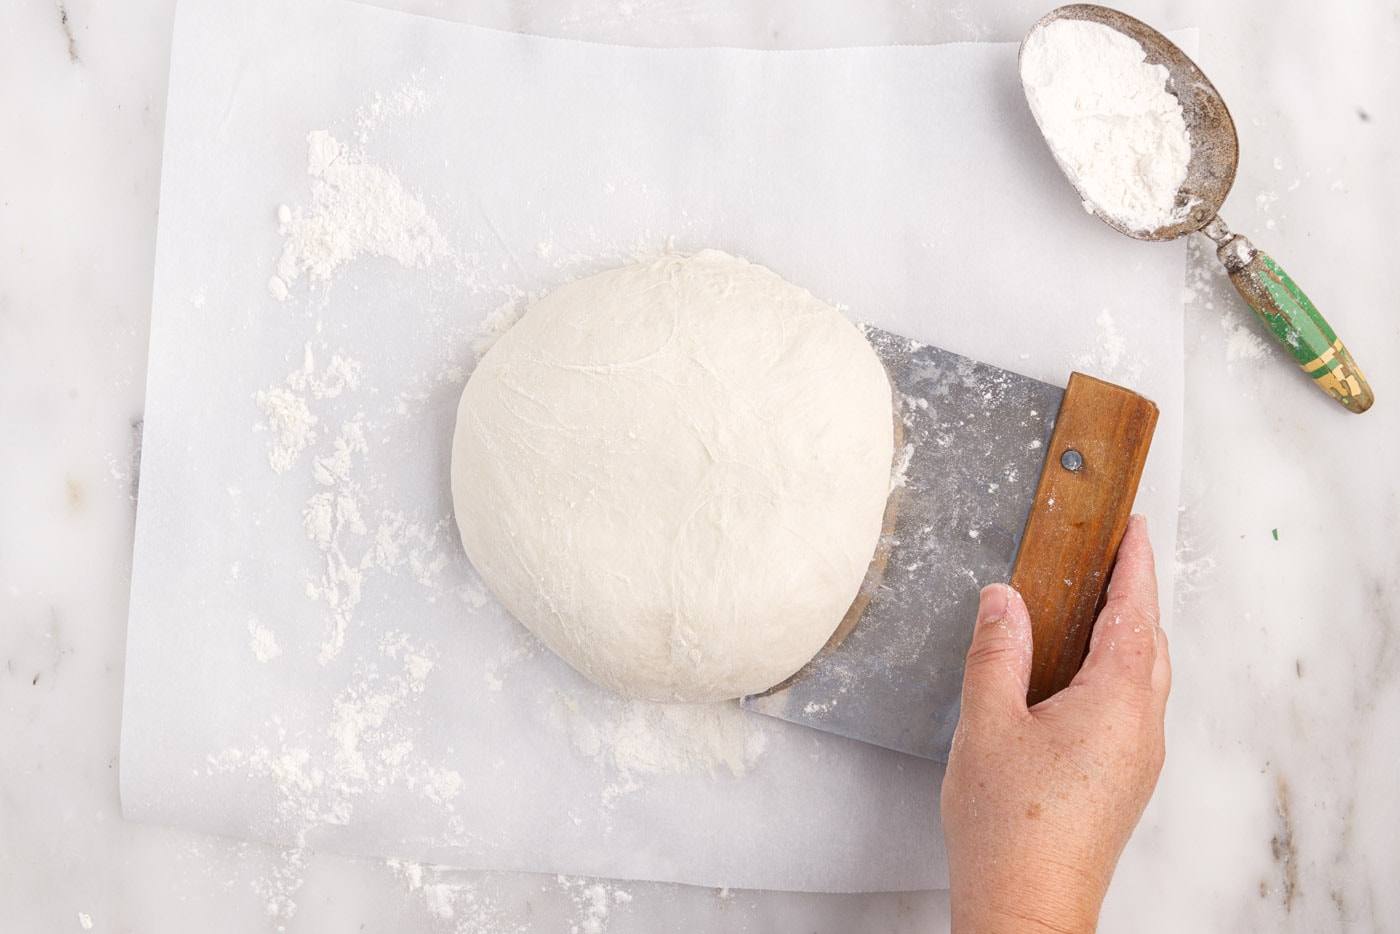
- Use a bench scraper (or your hands) to reform the dough back into a nice sturdy round of dough.
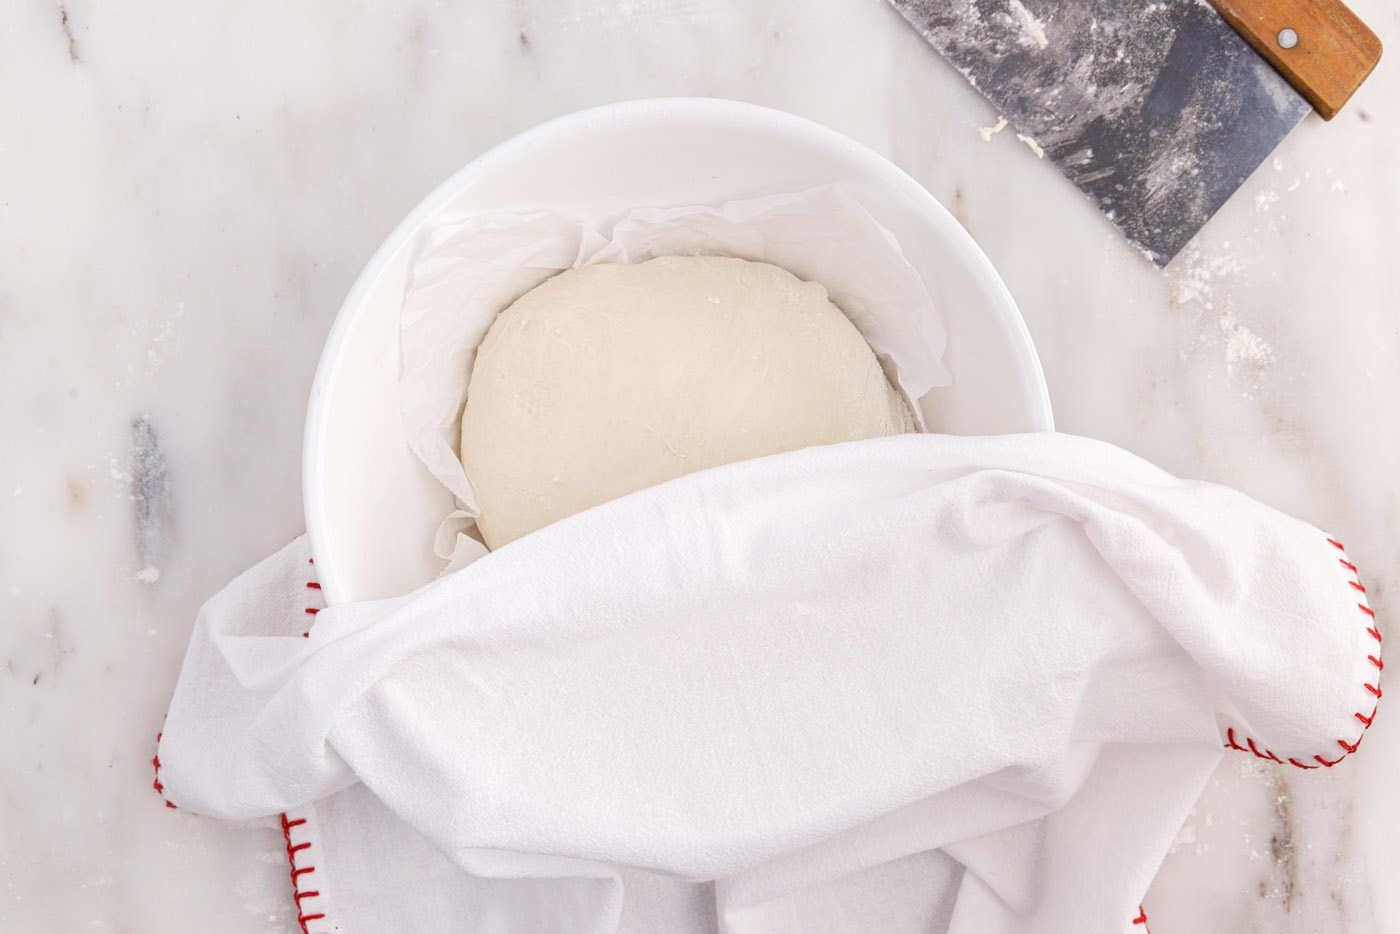
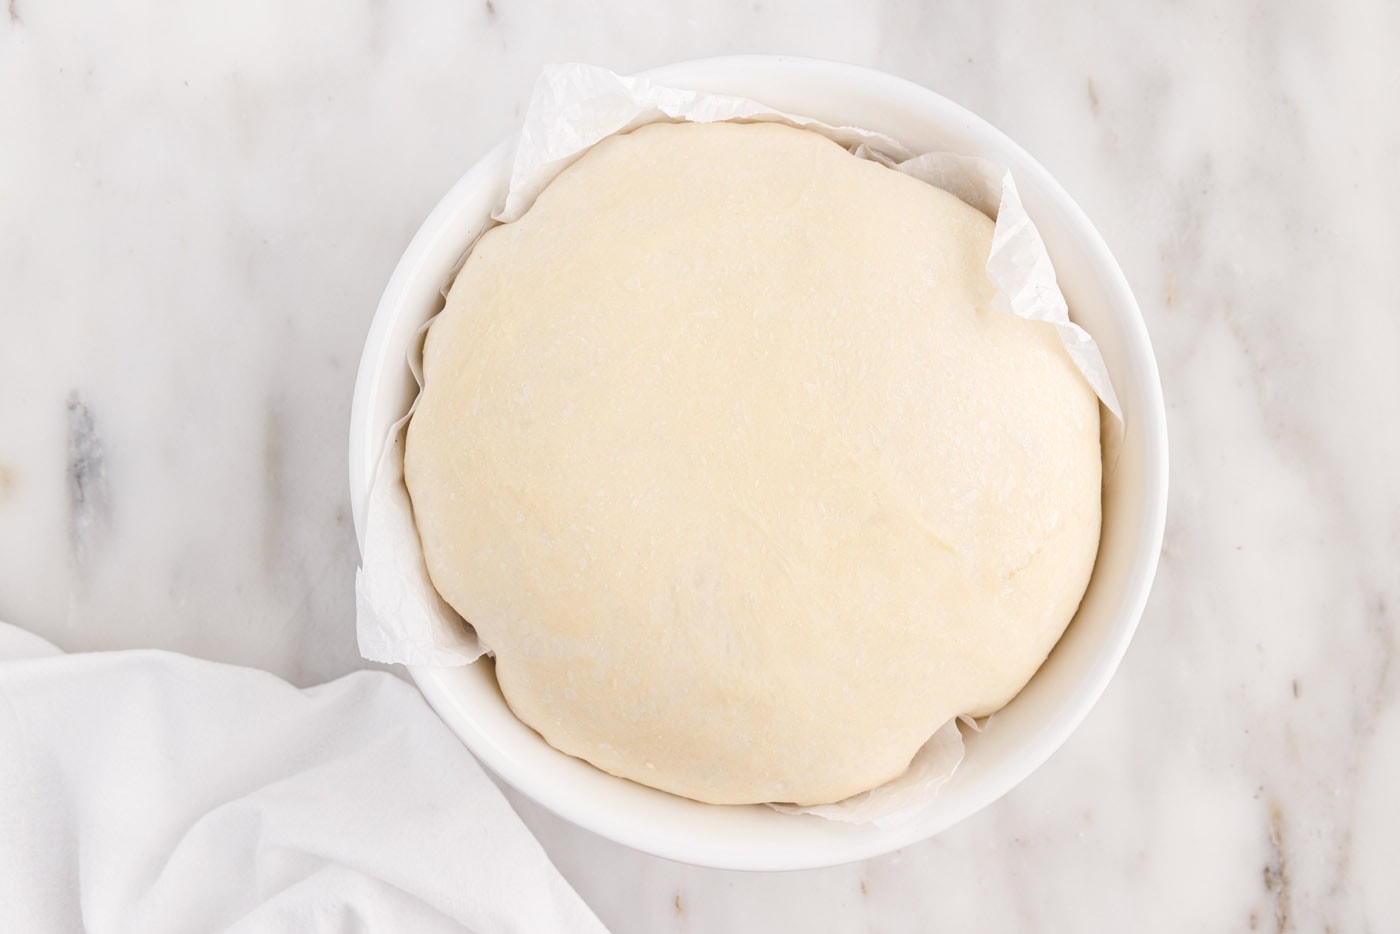
- Transfer the dough to a bowl on top of a sheet of parchment paper. Cover and allow to rise a second time (1-2 hours). If you gently press your finger in the dough and it does not bounce right back, it is ready to bake.
- 30 minutes to 1 hour before the bread is ready to bake, place the Dutch oven (with lid on) into the oven and preheat to 450°F. Allow the oven and Dutch oven to heat at this temperature for at least 30 minutes (I try to do 1 hour).
- Carefully take the hot Dutch oven out of the oven. Lift the dough loaf by the parchment paper into the hot Dutch oven.
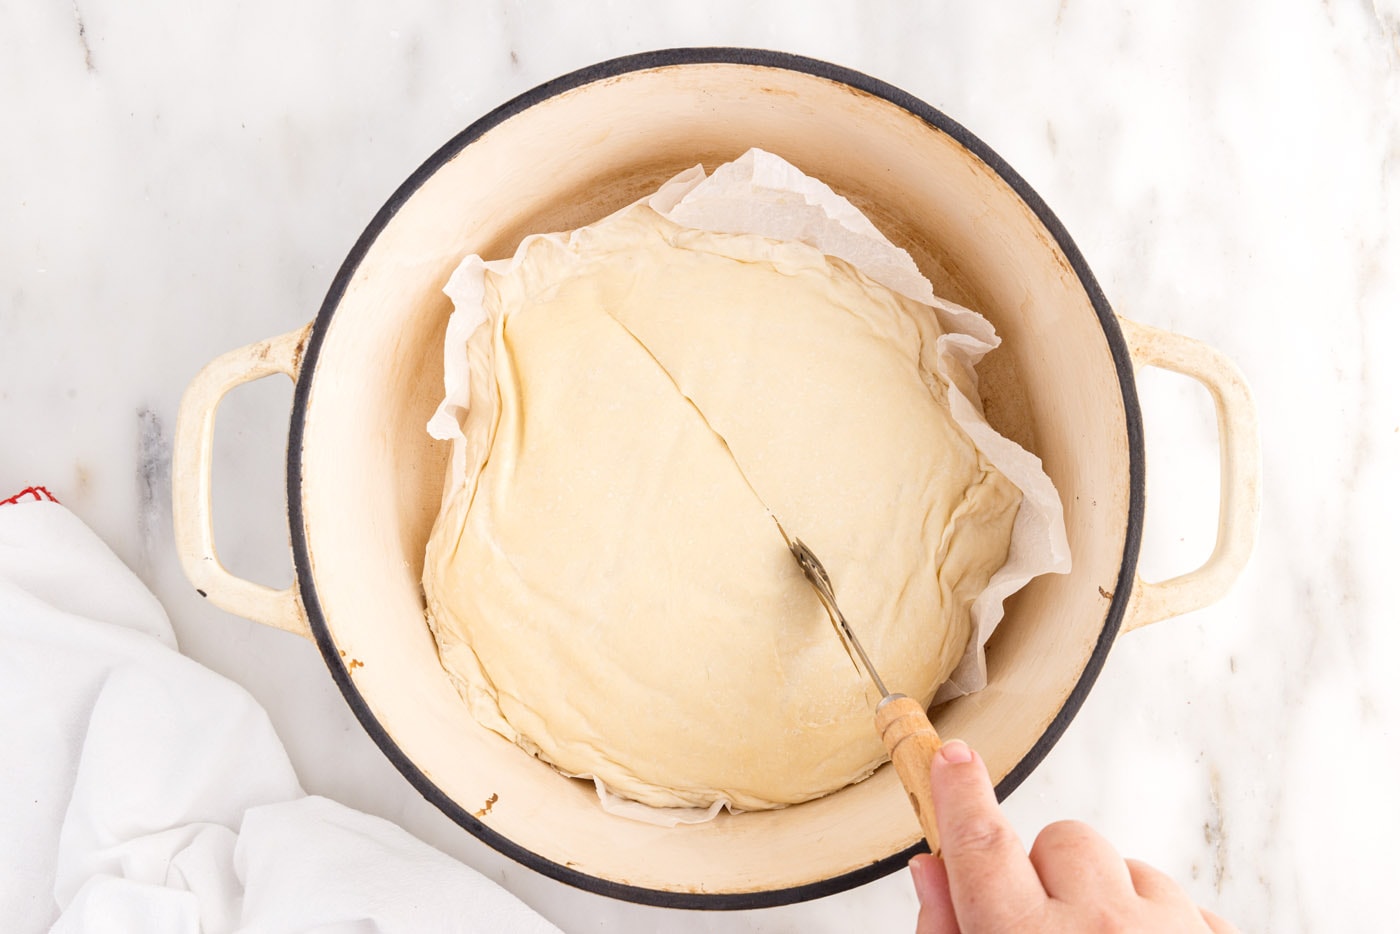
- Score the loaf with the lame or a sharp serrated knife. This gives the bread an area for steam to escape and the loaf to puff during baking. A straight line or an x will work fine.
- Quickly place the lid onto the Dutch oven and return it to the oven. Bake for 30 minutes at 450°F.
- Remove the lid – turning the lid away from you so that the steam rises away and doesn’t burn you – and continue baking 5-10 minutes longer until the crust is deep golden brown.
- Remove from the oven and transfer the loaf to a cooling rack to cool completely.
Frequently Asked Questions & Expert Tips
The difference between no-knead recipes and a “knead” recipe mostly involves time. When you knead the dough (like we do here with the bread hook in the standing mixer), it begins to develop the gluten and that gluten is what gives the bread its structure. If you just roughly mix together the ingredients, you can set the bowl for the first rise – but it can take 7-8 hours rather than 2-3 when you spend a few extra minutes with the mixer at the beginning.
Store the cooled Dutch oven bread in an airtight container once it has been cut into. This bread is best the first day after baking but can be stored for 5-6 days.
Yes, do not skip the step of preheating the Dutch oven. Preheating it will bring it to the correct temperature which is vital to baking your bread.
Serving Suggestions
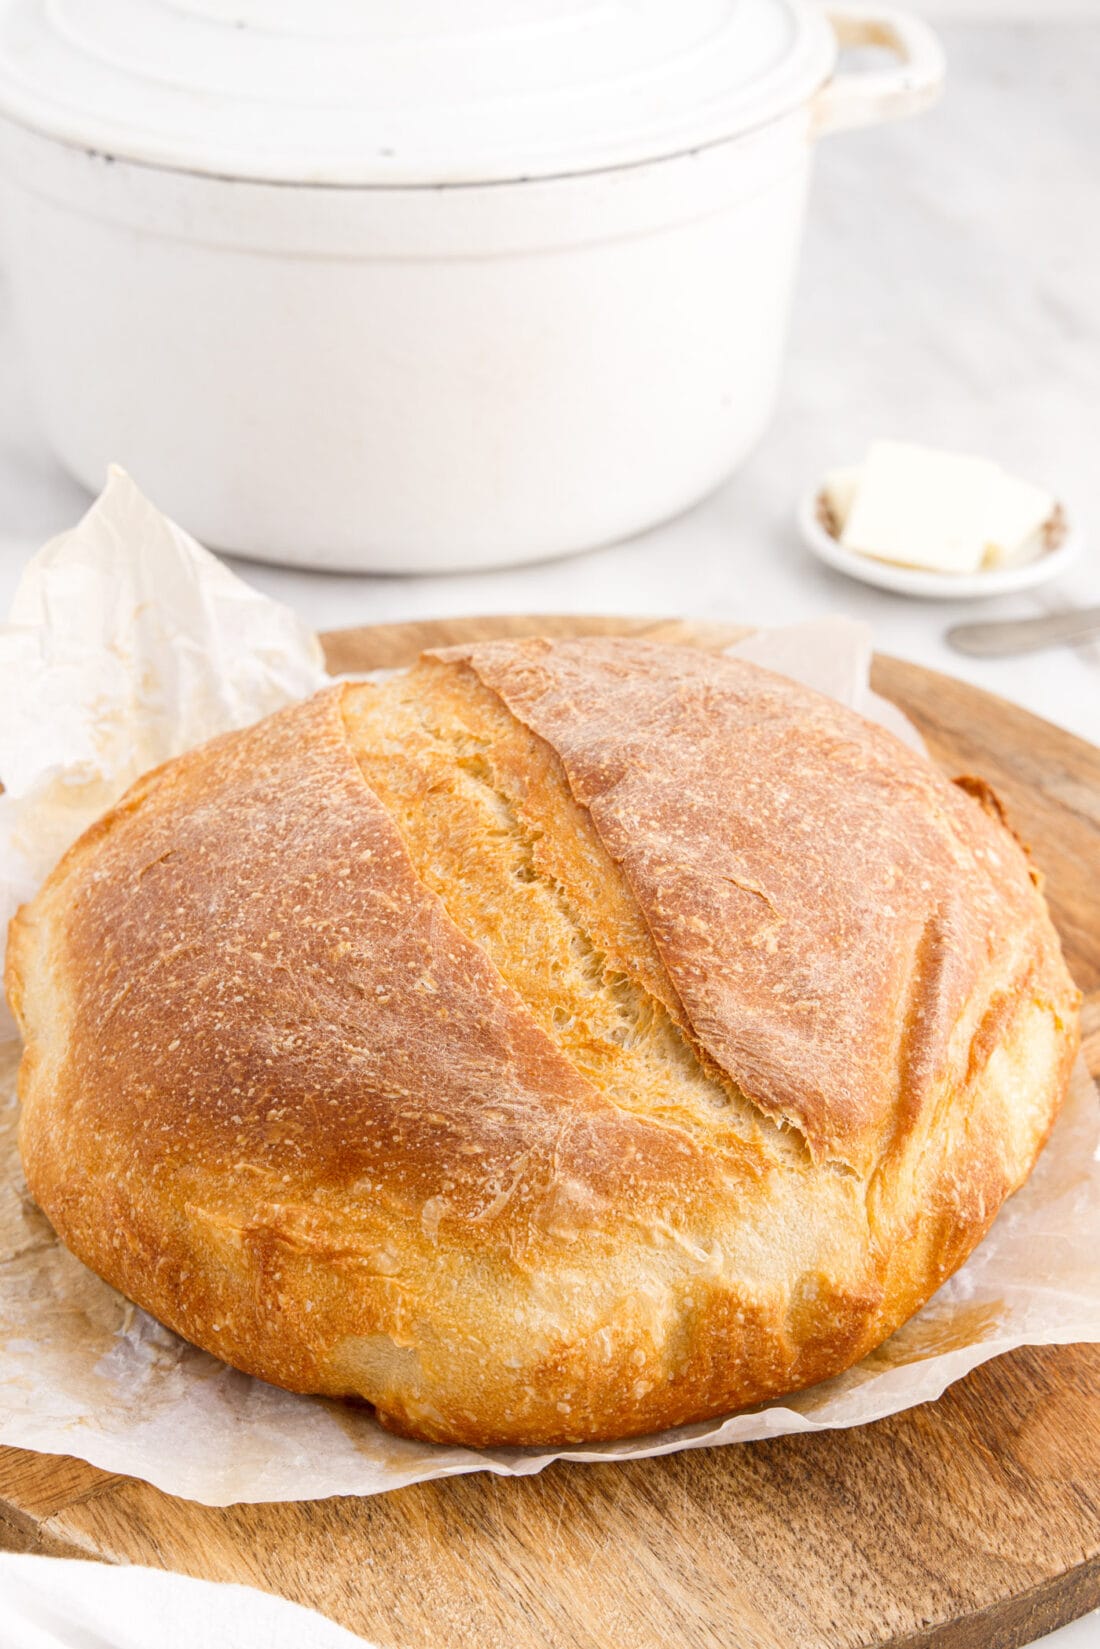
What wouldn’t go well with Dutch oven bread is the real question. Slice and smear with butter, jam, cinnamon honey butter, or serve with soup, stew, and hearty casseroles for dunking. This is also a fantastic bread to make sandwiches with!
More Bread Recipes
- Irish Soda Bread
- Amish White Bread
- Homemade Italian Bread
- Homemade Multigrain Bread
- 1963 Homemade White Bread
I love to bake and cook and share my kitchen experience with all of you! Remembering to come back each day can be tough, that’s why I offer a convenient newsletter every time a new recipe posts. Simply subscribe and start receiving your free daily recipes!
Dutch Oven Bread
IMPORTANT – There are often Frequently Asked Questions within the blog post that you may find helpful. Simply scroll back up to read them!
Print It Rate ItIngredients
- 4 cups all-purpose flour
- ½ Tablespoon sea salt
- 1 teaspoon active dry yeast
- 1 ½ cups warm water not warmer than 100F
Things You’ll Need
- Stand mixer with dough hook
- Dutch oven 4-6 quart
Before You Begin
- If the water is too hot, it will kill the yeast and the dough will not rise. Lukewarm is fine.
- The salt is important for seasoning the bread – it will taste a bit flat if you don’t add enough salt to the dough
- Do not skip the step of preheating the Dutch oven. Preheating it will bring it to the correct temperature which is vital to baking your bread.
- If you’d like to add a bit of oil to the bowl or to coat the dough while it’s rising, that will help prevent a skin forming on the dough.
- The difference between no-knead recipes and a “knead” recipe mostly involves time. When you knead the dough (like we do here with the bread hook in the standing mixer), it begins to develop the gluten and that gluten is what gives the bread its structure. If you just roughly mix together the ingredients, you can set the bowl for the first rise – but it can take 7-8 hours rather than 2-3 when you spend a few extra minutes with the mixer at the beginning.
- Store the cooled Dutch oven bread in an airtight container once it has been cut into. This bread is best the first day after baking but can be stored for 5-6 days.
Instructions
- In the bowl of a standing mixer, whisk together the flour, salt, and yeast until combined.
- Add the water to the flour mixture and beat to combine. Use the bread hook attachment on the mixer to mix dough on medium-high speed for 3-4 minutes, until the dough becomes elasticized and wraps into a ball around the hook.
- Scrape the dough from the hook and use a spatula or floured hands to form the dough into a ball.
- Place in the bottom of the bowl, cover with a light kitchen towel and set in a warm, draft-free location to rise for about 2 hours.
- After 2 hours, poke your fingers into the bread to deflate it and then turn it out onto a lightly floured board.
- Use a bench scraper (or your hands) to reform the dough back into a nice sturdy round of dough.
- Transfer the dough to a bowl on top of a sheet of parchment paper. Cover and allow to rise a second time (1-2 hours). If you gently press your finger in the dough and it does not bounce right back, it is ready to bake.
- 30 minutes to 1 hour before the bread is ready to bake, place the Dutch oven (with lid on) into the oven and preheat to 450°F. Allow the oven and Dutch oven to heat at this temperature for at least 30 minutes (I try to do 1 hour).
- Carefully take the hot Dutch oven out of the oven. Lift the dough loaf by the parchment paper into the hot Dutch oven.
- Score the loaf with the lame or a sharp serrated knife. This gives the bread an area for steam to escape and the loaf to puff during baking. A straight line or an x will work fine.
- Quickly place the lid onto the Dutch oven and return it to the oven. Bake for 30 minutes at 450°F.
- Remove the lid – turning the lid away from you so that the steam rises away and doesn’t burn you – and continue baking 5-10 minutes longer until the crust is deep golden brown.
- Remove from the oven and transfer the loaf to a cooling rack to cool completely.
Nutrition
Amanda Davis
Latest posts by Amanda Davis (see all)
- Banana Bundt Cake - July 23, 2024
- Lemon Icebox Cake - July 22, 2024
- Philly Cheesesteak Dip - July 15, 2024


Kirsten Miller Proverbs says
I was able to make this bread in my small wood burning stove with some specific changes related to the stove, and it was fantastic! I will try with other spices added, such as cinnamon and raisins or garlic.
Samir says
wonderful I like it
Susan says
So good! Did 2 – 2 hour proofings. And it looks so beautiful. I wish I could post a picture!
Mary says
Would this recipe work at. 8500 ft elevation?
Amanda Formaro says
We have not tested this recipe at higher elevations, however i did find this article helpful https://www.wheatmontana.com/content/high-altitude-baking-how-make-your-recipes-work-mountains
Lee Wheeler says
Can instant yeast be used?
Amanda Formaro says
Yes
Vicki says
My son recently bought me a KitchenAid Stand Mixer and I haven’t used it yet so I may try this. I love homemade bread!