I have always been a fan of iced coffee. When I first heard about the cold brew method it made complete sense. A cold glass of iced coffee, especially on a warm day, is something I could definitely handle regularly! While I love a tall homemade frappucino, there’s a bit too much sugar to indulge in those daily.

This post sponsored by Silk and So Delicious Dairy Free Creamers.
Cold Brew Iced Coffee
My family has a history of high cholesterol. While my levels are fine according to my latest check up, I’m still conscious about the cholesterol content of the food and beverages I take in. Because of that, I’ve switched to coconut milk dairy-free creamer for my morning coffee. We all have a morning routine, and I simply can’t function without my coffee to get me started!
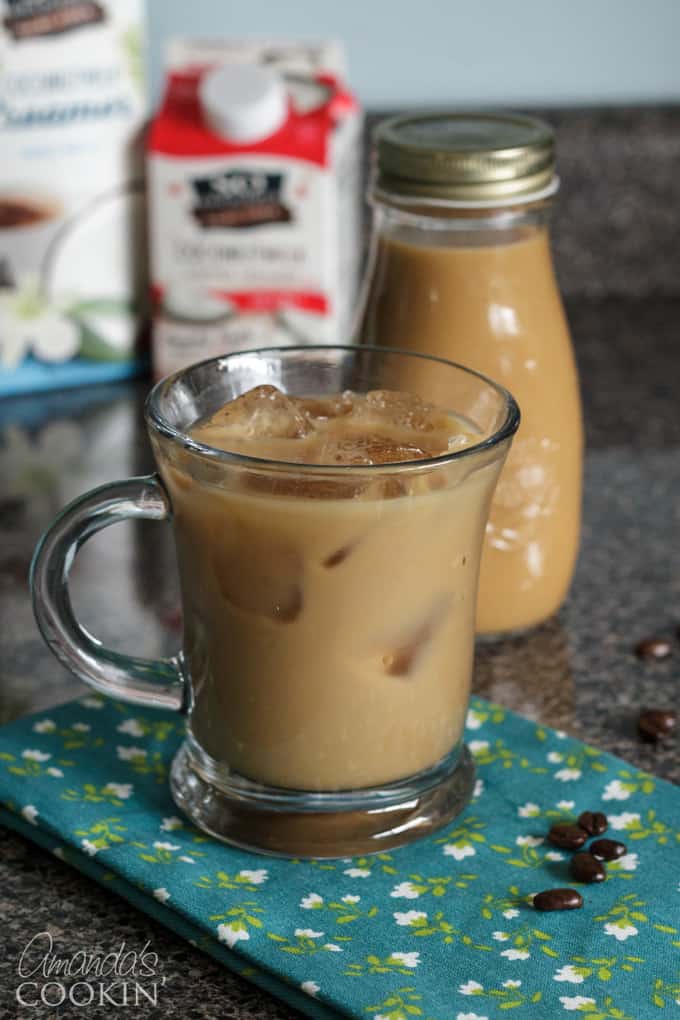
During the warmer months I drink a lot more iced coffee than I do hot coffee. I learned how to make cold brew iced coffee and I’m going to show you just how easy it is to make at home! Imagine the money you will save making your iced coffee at home instead of stopping to buy one each day. Turning it into vanilla iced coffee is as simple as your creamer choice.

Plan Ahead to Properly Cold Brew
There are a couple of ways to make iced coffee, hot and cold brews. I used to just refrigerate the coffee that was left over in the coffee pot, but it’s definitely not as good as a cold brew! Now that I’m on my own and the only one drinking coffee in the morning, I’ve abandoned my coffee pot for a French press and make one delicious cup at a time now.
Cold brewing takes a little planning. Basically, you will prepare the coffee and then it has to steep for a minimum of 8 hours or overnight. It’s totally worth the wait though, and you can make a good-sized batch, depending on how much you drink. Cold brew coffee is usually good in the refrigerator for 2-3 days.
How to Make Cold Brew Coffee
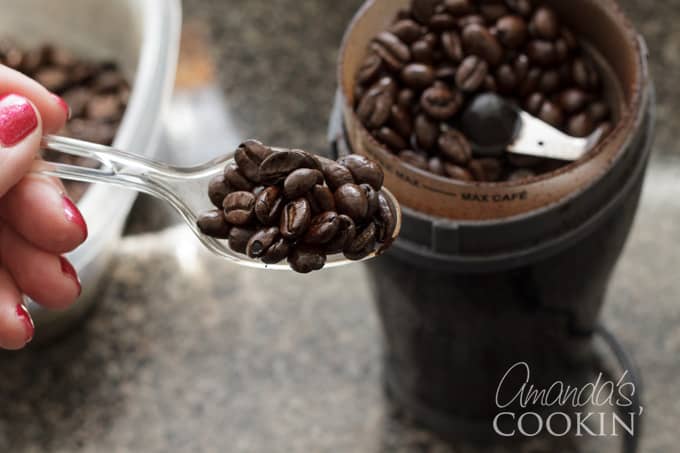
You can use ground coffee you have on hand, I prefer to grind my beans each time I brew a cup. Both ways work just fine.
For this recipe you will need:
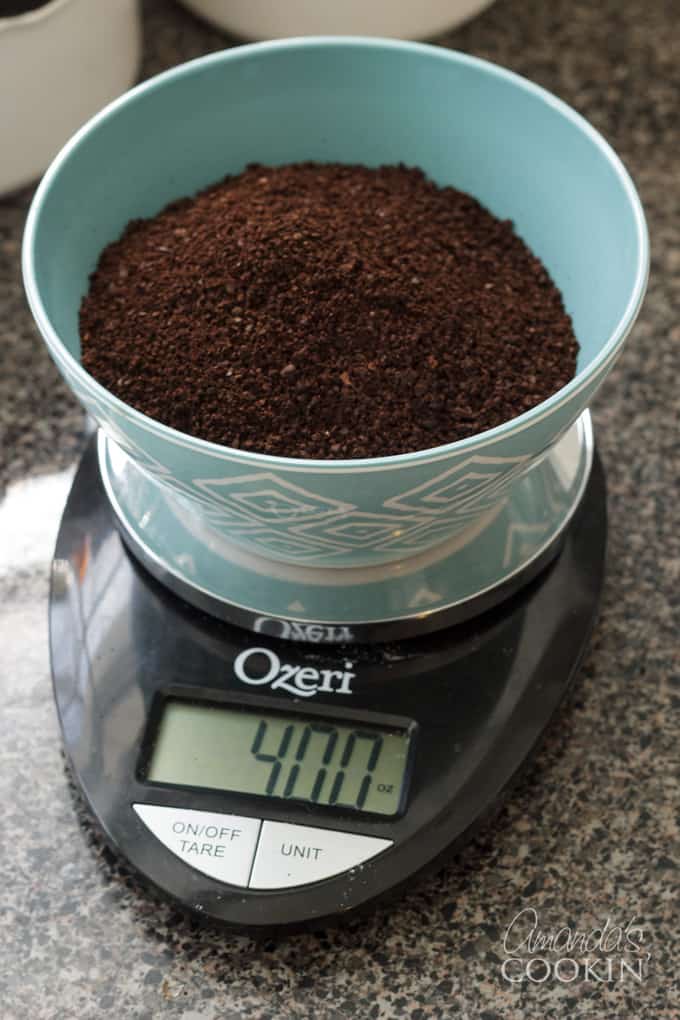
- 4 oz ground coffee
- 2 quart pitcher
- Fresh water (approximately 2 quarts)
- Lid or foil
- Cheesecloth
- Fine mesh strainer
- Vanilla creamer
- Grind enough coffee to measure 4-ounces, I use a simple kitchen scale.
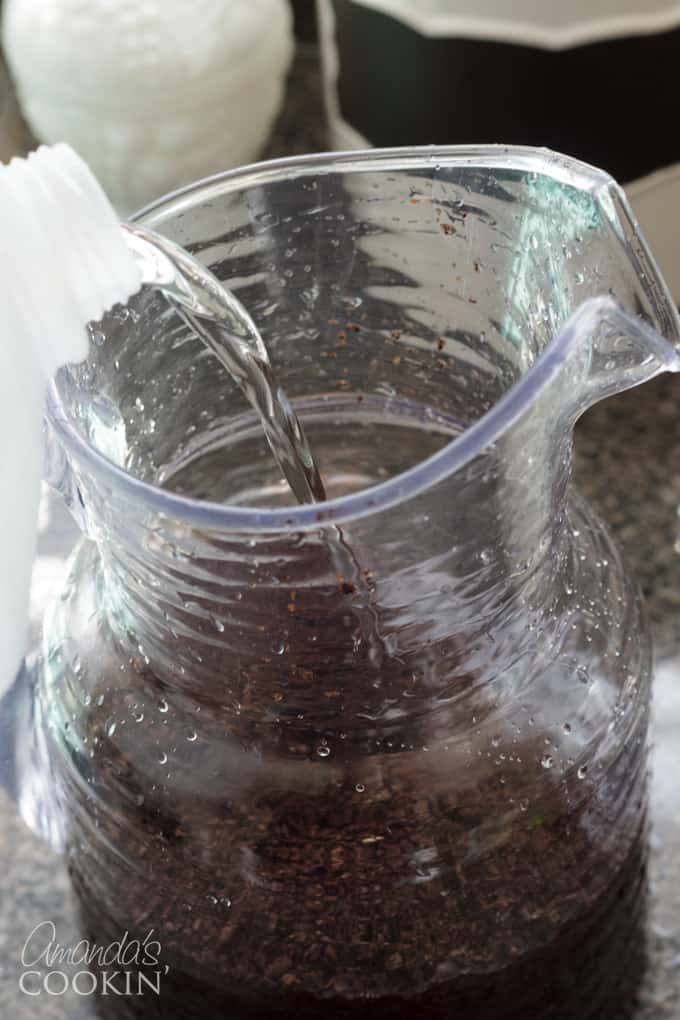
- Place the ground coffee into a 2-quart pitcher and fill the pitcher with fresh water.
- Stir the mixture to make sure all the ground coffee is wet.
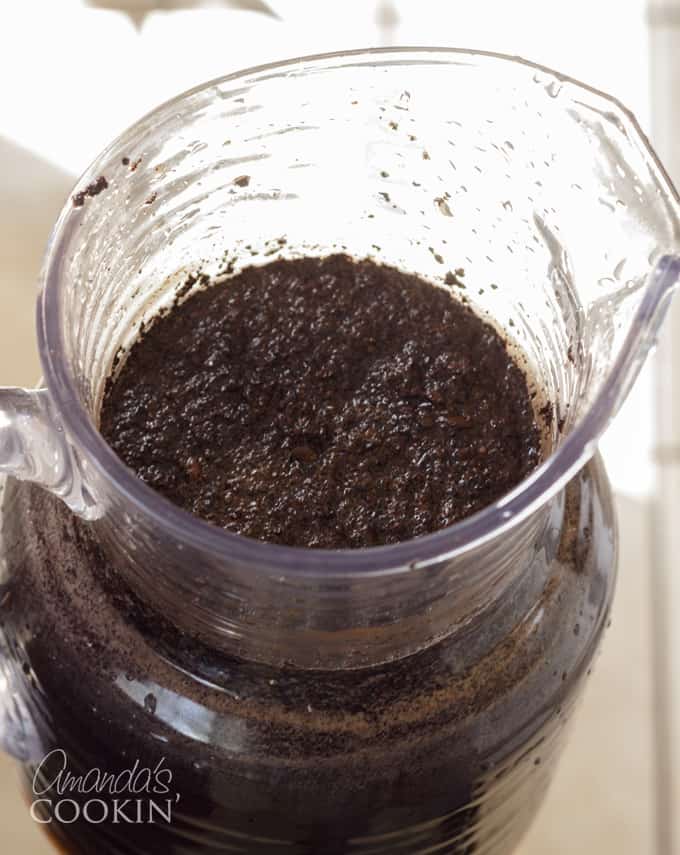
- Now for the hard part. You have to wait. Cover the top of the pitcher and let it sit at room temperature to steep for at least 8-hours; I just leave mine overnight.
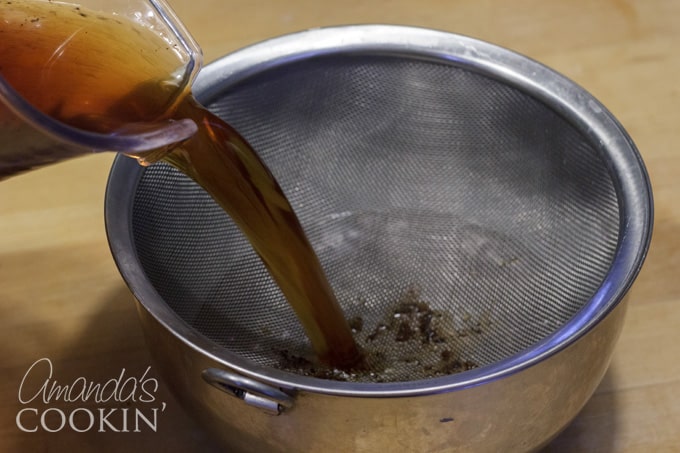
- The next morning, run the steeped coffee through a fine mesh strainer.
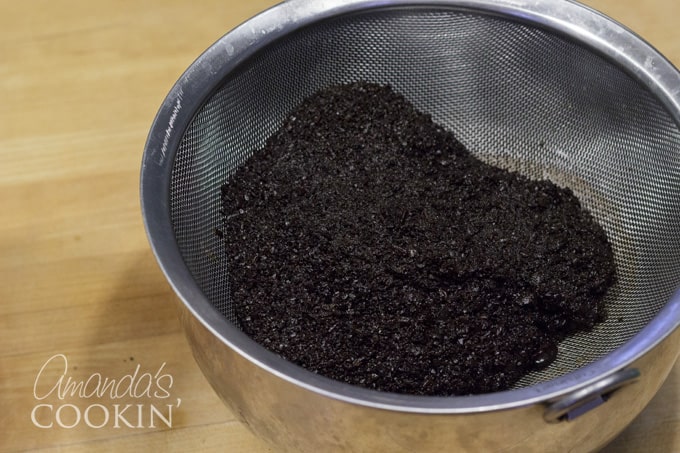
- Discard or compost the coffee grounds.
- Finally, run the coffee through the strainer again, only this time add a layer of cheesecloth to make sure you are catching any small grounds that might have snuck through the first time.
- Now you are ready to add the finishing touch! I use vanilla coconut milk creamer for my iced coffee. The vanilla flavor is already slightly sweetened, so I don’t need to add sugar.
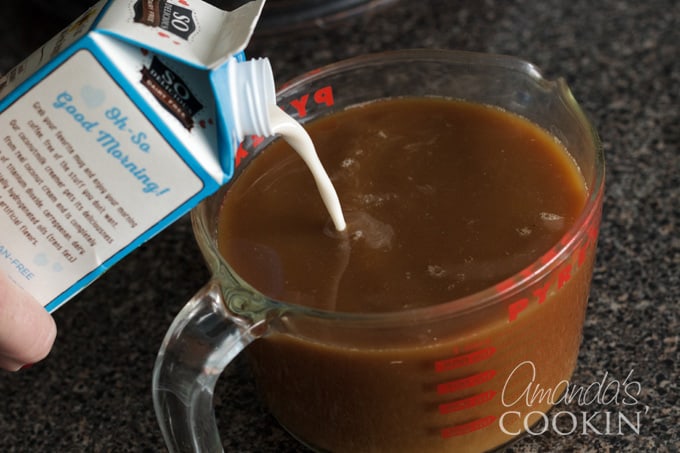
This batch makes about 8 cups of iced coffee, so I split mine into 4-cups each. I added vanilla creamer to the first half and original creamer to the second half. I didn’t need to add sugar to my vanilla batch, but the original version needed sweetening. This is a personal preference and you can adjust the sweetness according to your tastes.
Now all you need is a glass full of ice!

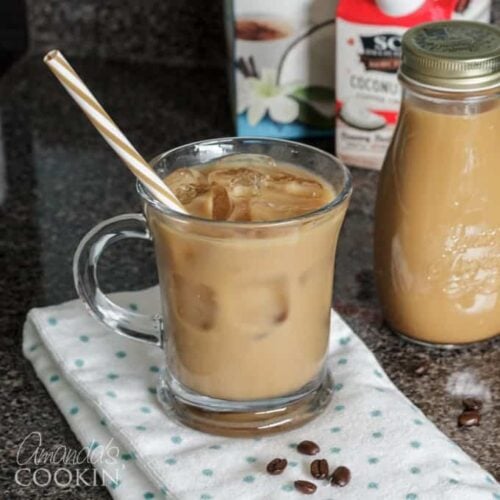
Pour your iced coffee in and enjoy!

Want more ideas for your morning cup of joe? Check out these Homemade Mocha Frappuccinos, skip the Starbuck’s line every morning and give this homemade version a go! Add a twist to your coffee drink and make this Baileys Coffee Float, yum! And if you love smoothies, try our Loaded Coffee Smoothie for breakfast!

Cold Brew Iced Coffee
IMPORTANT - There are often Frequently Asked Questions within the blog post that you may find helpful. Simply scroll back up to read them!
Print It Rate ItIngredients
- 4 oz ground coffee
- 2 quart pitcher
- Fresh water approximately 2 quarts
- Lid or foil
- Cheesecloth
- Fine mesh strainer
- 1 cup Vanilla creamer
- Sugar or sweetener optional
Instructions
- Grind enough coffee to measure 4-ounces, I use a simple kitchen scale. Place the ground coffee into a 2-quart pitcher and fill the pitcher with fresh water. Stir the mixture to make sure all the beans are wet.
- Now for the hard part. You have to wait. Cover the top of the pitcher and let it sit at room temperature for at least 8-hours, I just leave mine overnight.
- The next morning, run the steeped coffee through a fine mesh strainer.
- Discard or compost the coffee grounds.
- Finally, run the coffee through the strainer again, only this time add a layer or cheesecloth to make sure you are catching any small grounds that might have snuck through the first time.
- Now you are ready to add the finishing touch! I use vanilla coconut milk creamer for my iced coffee. The vanilla flavor is already slightly sweetened, so I don't need to add sugar.
- This batch makes about 8 cups of iced coffee, so I split mine into 4-cups each. I added vanilla creamer to the first half and original creamer to the second half. I didn't need to add sugar to my vanilla batch, but the original version needed sweetening. This is a personal preference and you can adjust the sweetness according to your tastes.
Nutrition
Amanda Davis
Latest posts by Amanda Davis (see all)
- Air Fryer Pretzel Bites - January 27, 2025
- Raspberry Poke Cake - January 21, 2025
- Chocolate Covered Strawberries - January 20, 2025


Leave a Reply